_GOTOBOTTOM
Cold War (1950-1974)
Discuss the aircraft modeling subjects during the Cold War period.
Hosted by Tim Hatton
Tamiya F-84G 1/72
spaarndammer
_VISITCOMMUNITY
Noord-Holland, Netherlands
Joined: January 28, 2007
KitMaker: 1,945 posts
AeroScale: 388 posts
Posted: Wednesday, August 10, 2011 - 12:30 AM UTC
Hi everybody,

For quite a while (I am a slow builder) I am busy with Tamiya's F-84G in 1/72 scale, which I think is a very nice kit.


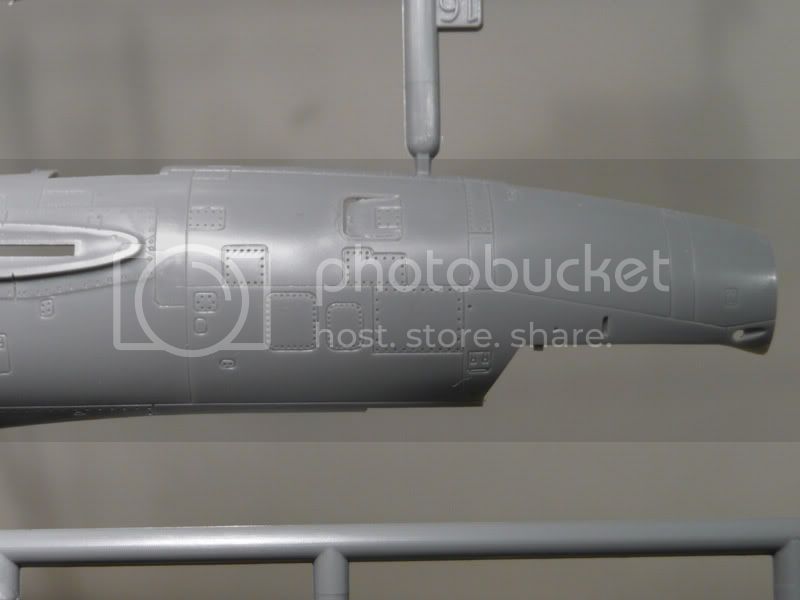
The kit has very nice detail:


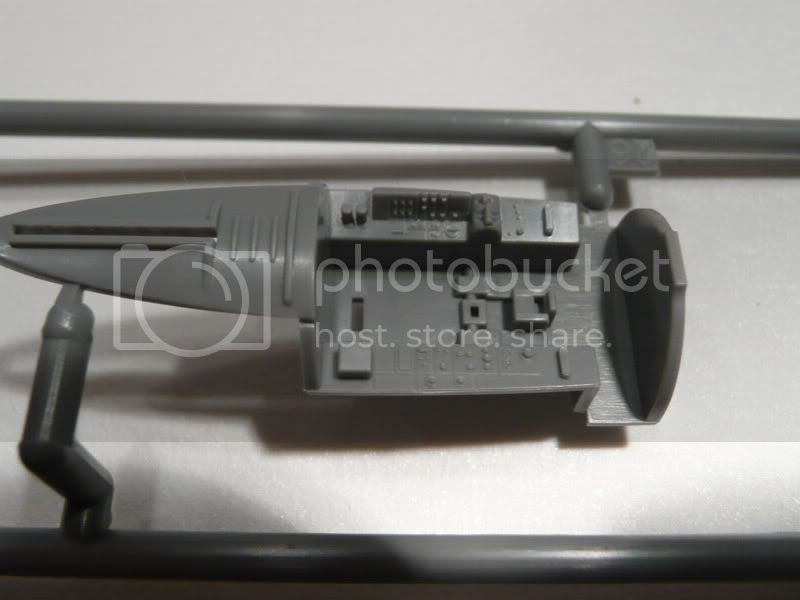
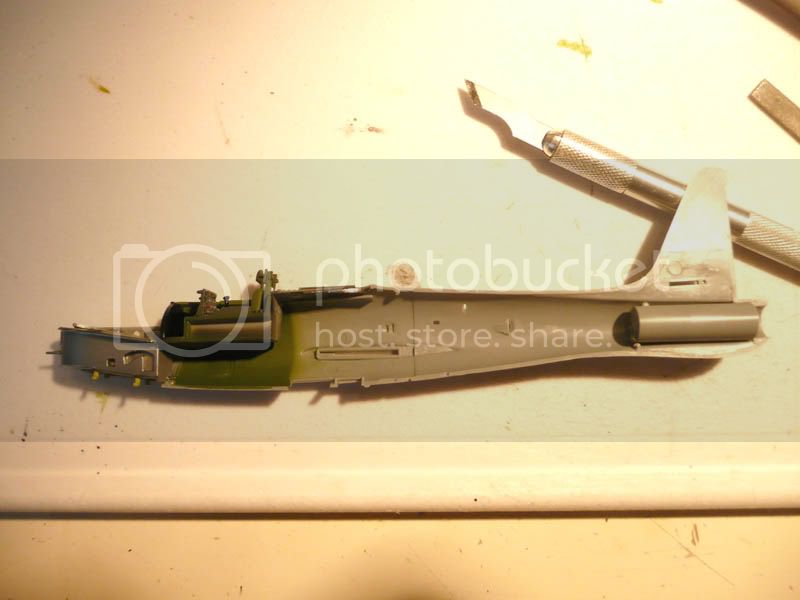
The build started with the cockpit, which I updated a bit with Eduard PE.


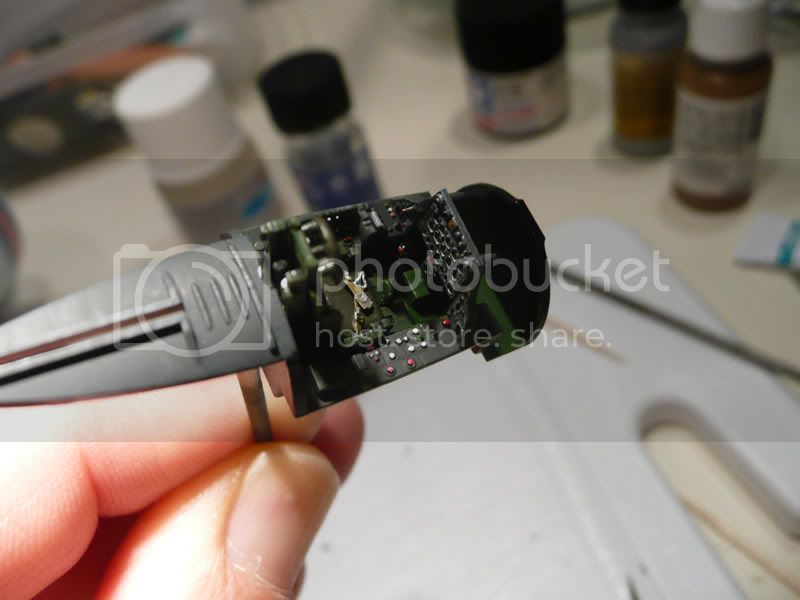
Needlles to say (as humble I am ), the final model will have its canopy open.

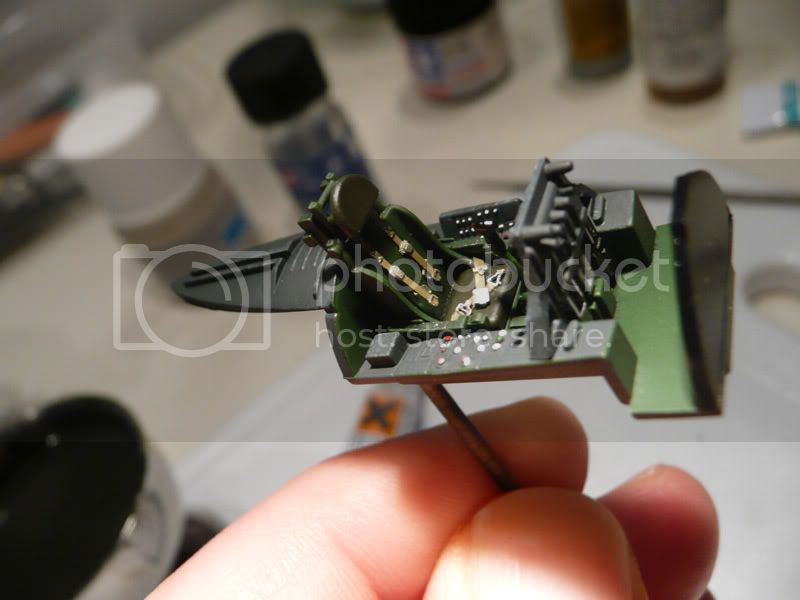
Cockpit on its final location:


Dryfit of the main parts. The tape is to hold the 2 pieces of each wing together after gluing.


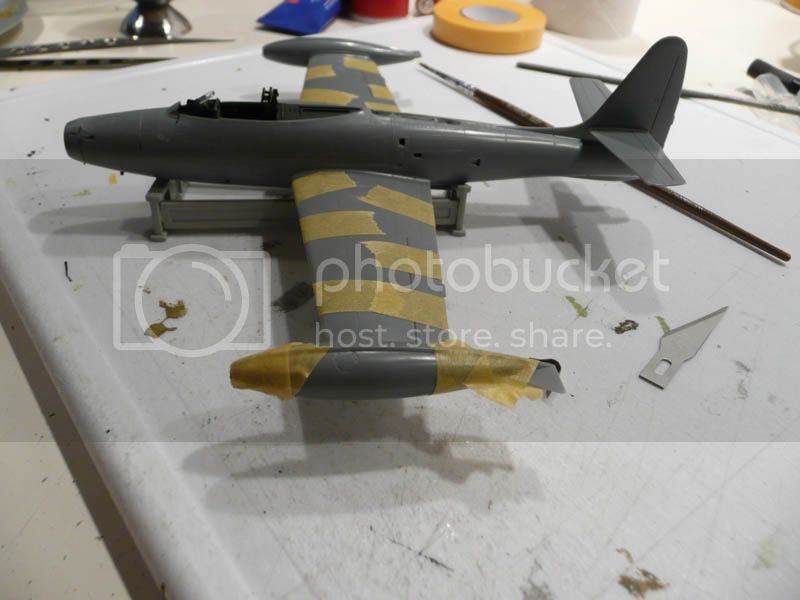
Masked Canopy temporarily attached:


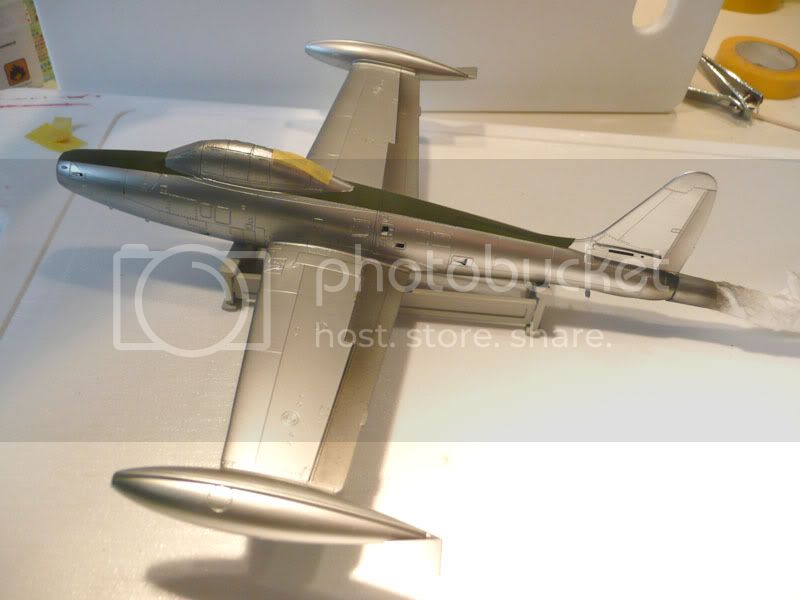
After careful sanding to get rid of the seems, the kit received a coat of Tamiya gloss black. This coat was needed to spray the Alclad aluminium on. After the Alclad alu, I filled in some panels on the wings with Alclad white alu. Thereafter, I sprayed the top part of the fuselage green.

I also tried to make the flaps more dark with Tamiya smoke, but as you can see, to much was sprayed on. This is however been improved after giving the flaps a thin coat of the base color.


I will post a new photo of the result soon.

I also have build and updated the landing gear. Only the light on the nose gear should be added and then the landing gear can be painted.


In the meanwhile, I am trying to spray tamiya smoke on the stabilizers. Unfortunately, me and Tamiya smoke doesn't go very well together and I will soon give it a new try.

As this build progresses, I will keep you updated!


Jelger
Siderius
_VISITCOMMUNITY
Tennessee, United States
Joined: September 20, 2005
KitMaker: 1,747 posts
AeroScale: 1,673 posts
Posted: Thursday, August 11, 2011 - 01:55 PM UTC
Great to see you building this kit, I have the same one and want to build it soon. Looking forward to seeing your progress. Keep modeling! Russell
spaarndammer
_VISITCOMMUNITY
Noord-Holland, Netherlands
Joined: January 28, 2007
KitMaker: 1,945 posts
AeroScale: 388 posts
Posted: Monday, August 22, 2011 - 09:03 PM UTC
Thanks for your comment Russel. It is a very nice model to build.

Yesterday I have started to put the decals in place on the model.


The photo was made just after adding the decal and needs extra Sol to fit it better to the hull. I only use Sol as I heard that with Set, there isn't much time for changing the decal in position (I need the time!). However, de decals really don't go that easy in the panel lines after application of Sol, which is a bit of a pitty. Maybe the decals are a bit thick (At least they look like).

Soon more progress on this very colourful bird to be!


Jelger
spaarndammer
_VISITCOMMUNITY
Noord-Holland, Netherlands
Joined: January 28, 2007
KitMaker: 1,945 posts
AeroScale: 388 posts
Posted: Tuesday, August 23, 2011 - 09:32 AM UTC
More decalling done tonight:


About 2/3 of the decals has been added. However, the bigest challenge has yet to come: the tail section. This contains of 2 decals on both sides: one below and one above the stabilizer. Perfect alignment is the goal, as the tail section is striped.... We will see!


Jelger
Siderius
_VISITCOMMUNITY
Tennessee, United States
Joined: September 20, 2005
KitMaker: 1,747 posts
AeroScale: 1,673 posts
Posted: Tuesday, August 23, 2011 - 12:58 PM UTC
Good luck! She looks great. Russell
SgtRam
Staff MemberEditor-at-Large
AEROSCALE
#197
_VISITCOMMUNITY
Ontario, Canada
Joined: March 06, 2011
KitMaker: 3,971 posts
AeroScale: 511 posts
Posted: Tuesday, August 23, 2011 - 02:17 PM UTC
Great looking model, good job.
 _GOTOTOP