England - West Midlands, United Kingdom
Joined: March 21, 2009
KitMaker: 379 posts
AeroScale: 75 posts
Posted: Sunday, August 21, 2011 - 07:58 PM UTC
Hello
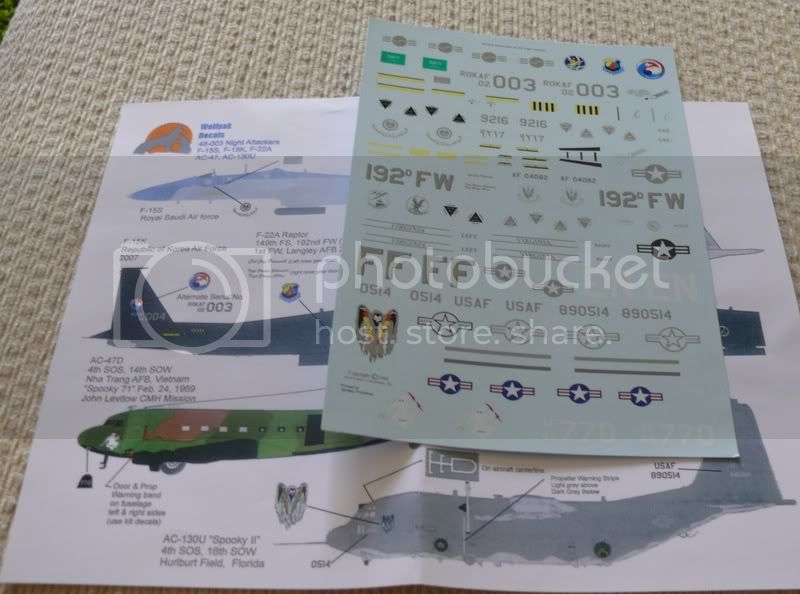
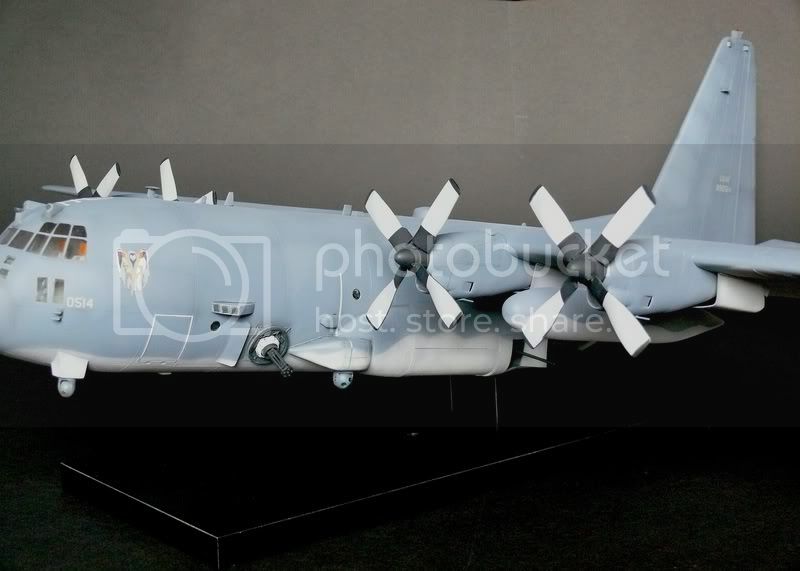
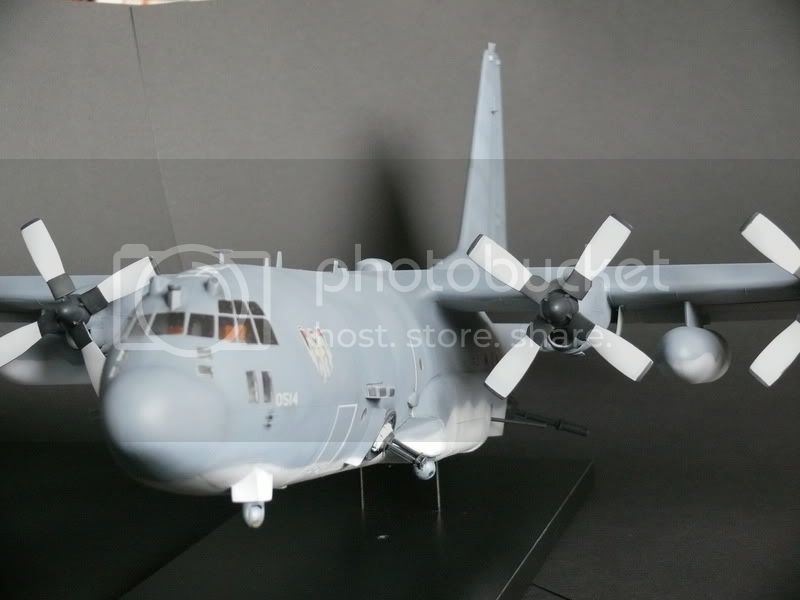
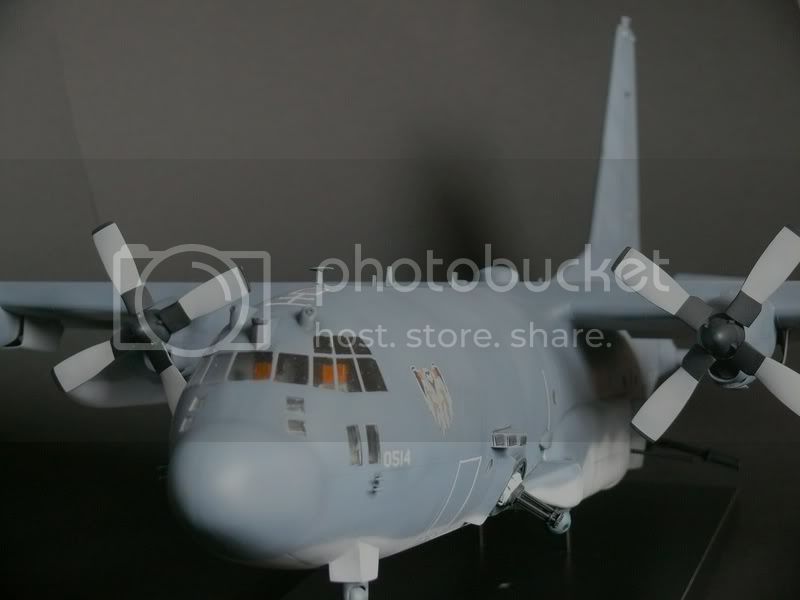
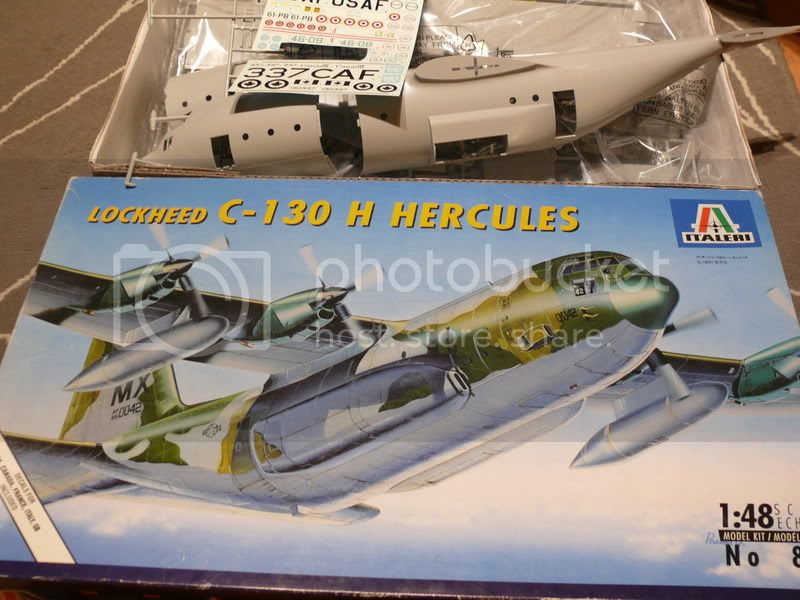
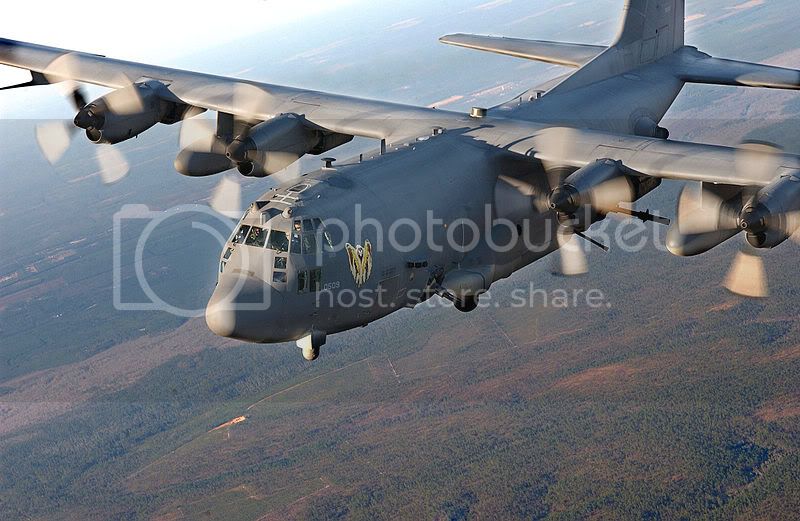
It is time for me to start new project and as i was dreaming to have a spooky in my collection for ages i will convert Italeri C-130H into AC-130U.
I now there is a kit for this version, however i wasn't able to locate one for a long time and when i found that kit on show yesterday i just couldn't resist anymore.
I am starting this build today after work, so i will post some pictures later of progress.
So far kit and idea:
[url=http://photobucket.com/Ratatouille-collection?albumview=slideshow][img]http://i.imgur.com/kFPfg.jpg[/img][/url]
England - West Midlands, United Kingdom
Joined: March 21, 2009
KitMaker: 379 posts
AeroScale: 75 posts
Posted: Saturday, August 27, 2011 - 11:00 AM UTC
Hello
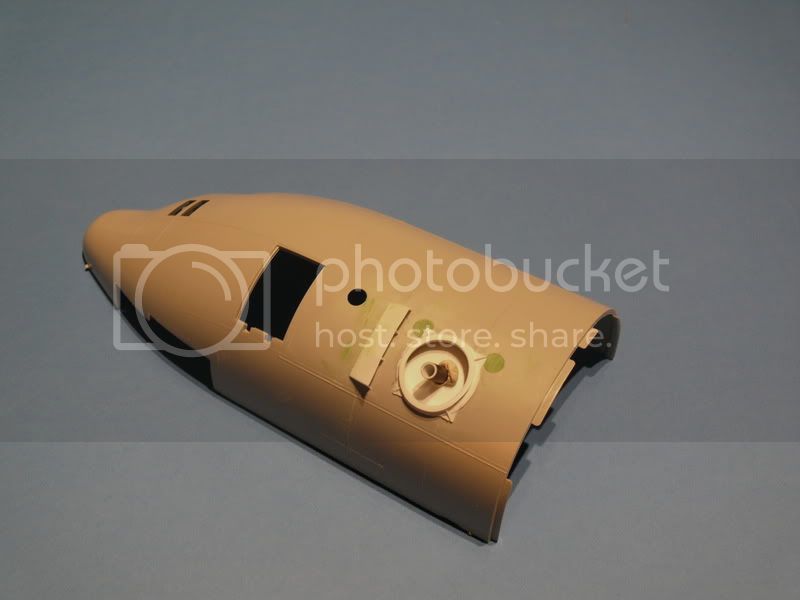
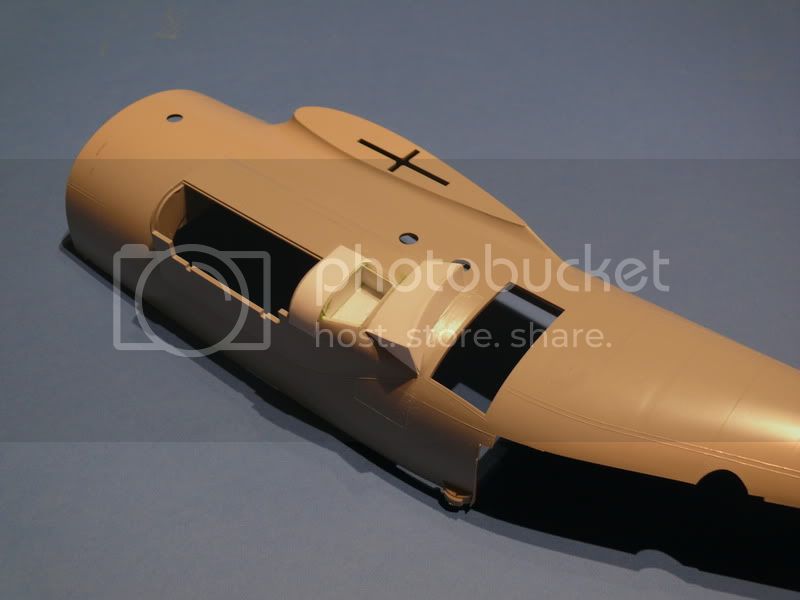
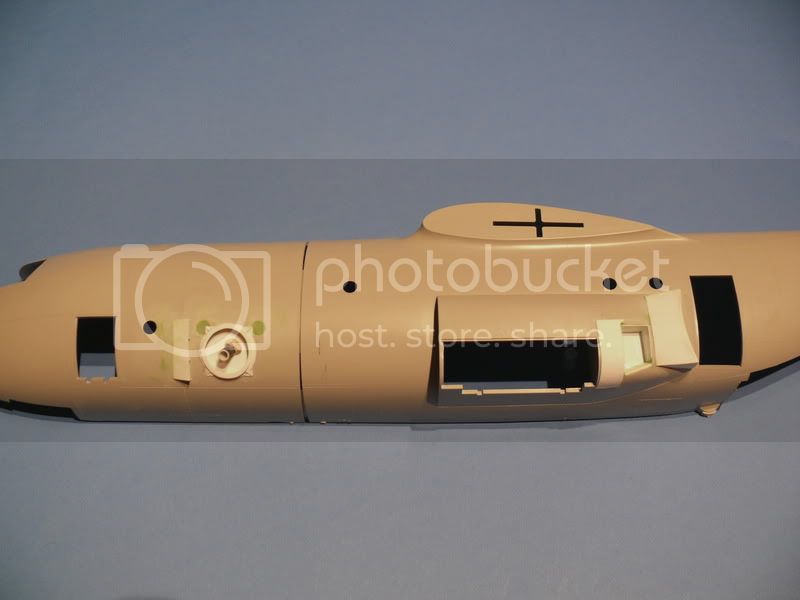
There is some progress, maybe not as much as i would like to but still forward.
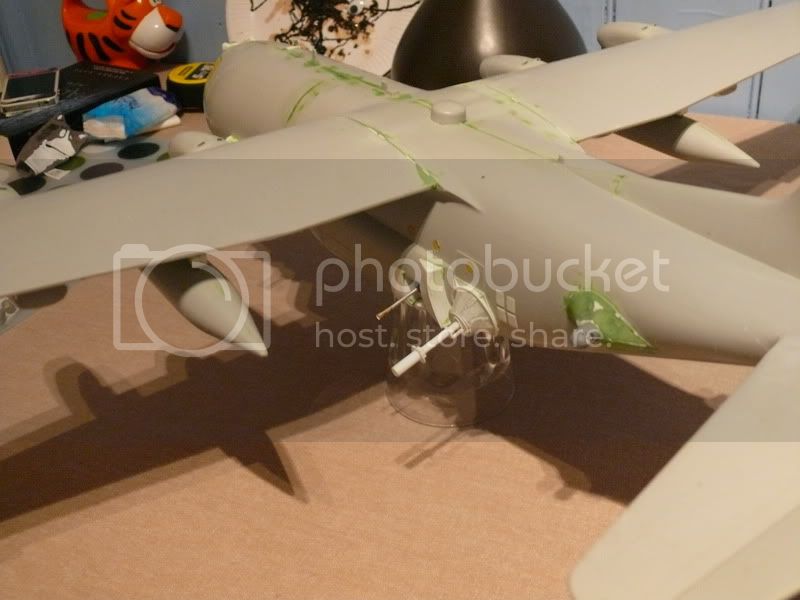
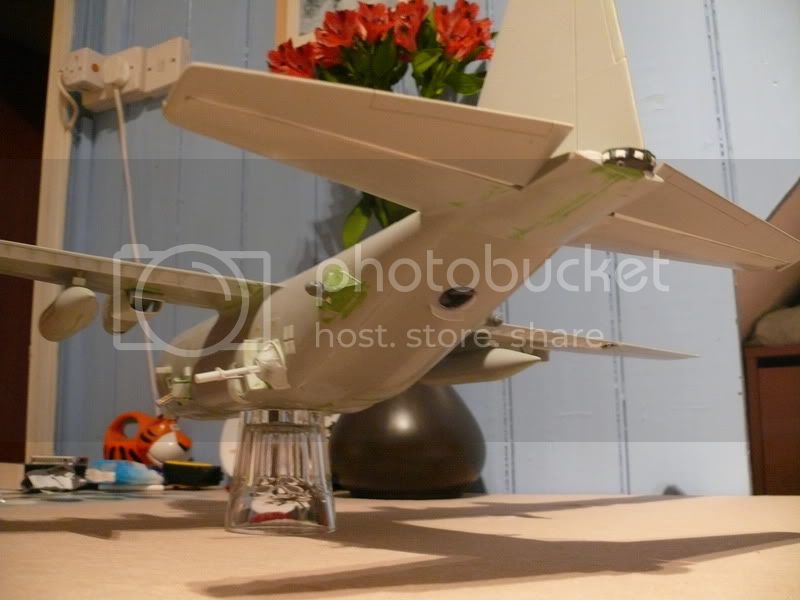
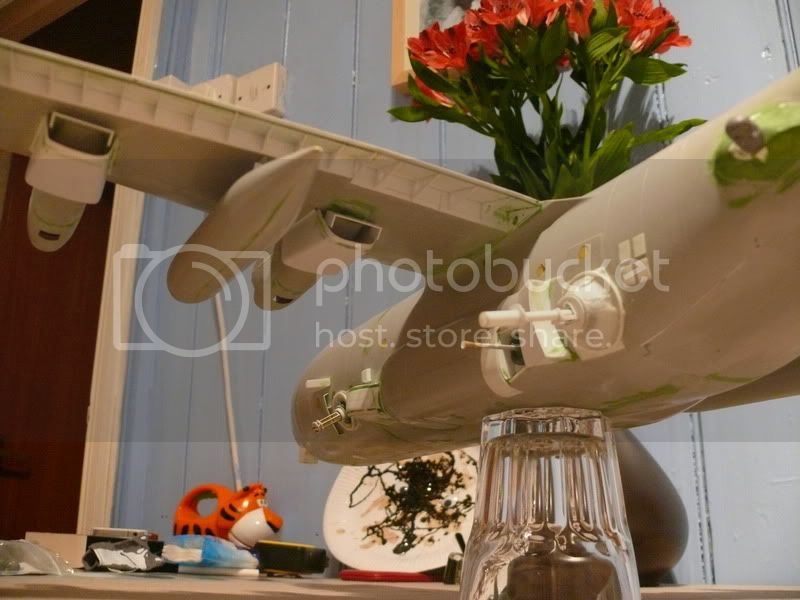
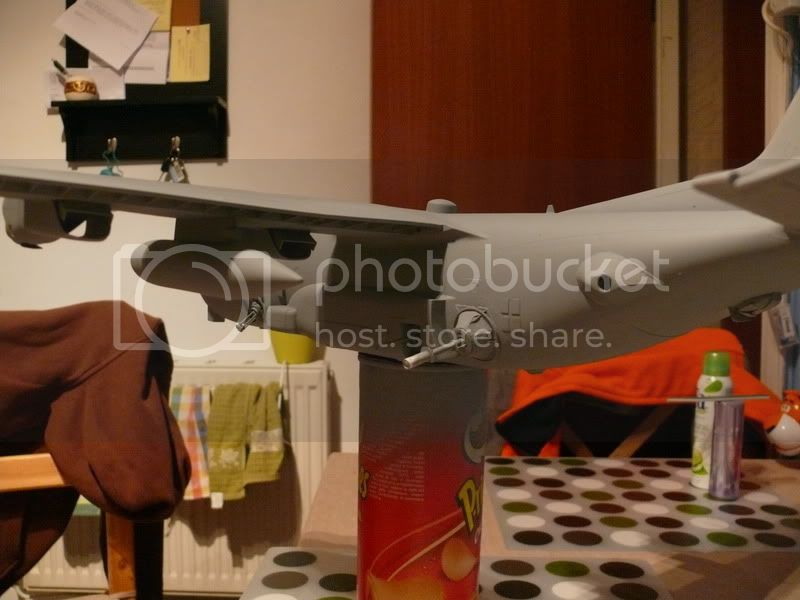
So far i made Nest for 25mm and bofors, also wind deflecting shield for 105mm.
[url=http://photobucket.com/Ratatouille-collection?albumview=slideshow][img]http://i.imgur.com/kFPfg.jpg[/img][/url]
Hamilton, New Zealand
Joined: May 09, 2007
KitMaker: 298 posts
AeroScale: 120 posts
Posted: Saturday, August 27, 2011 - 02:28 PM UTC
Looking good so far , i have always wanted to build a 1/48 AC

On the bench
NZ Army Scorpion
Tamiya RNZAF Corsair
Hasegawa Royal Navy Hellcat Mk1
Revell Panzer 3 Ausf J
England - West Midlands, United Kingdom
Joined: March 21, 2009
KitMaker: 379 posts
AeroScale: 75 posts
Posted: Saturday, September 03, 2011 - 05:46 AM UTC
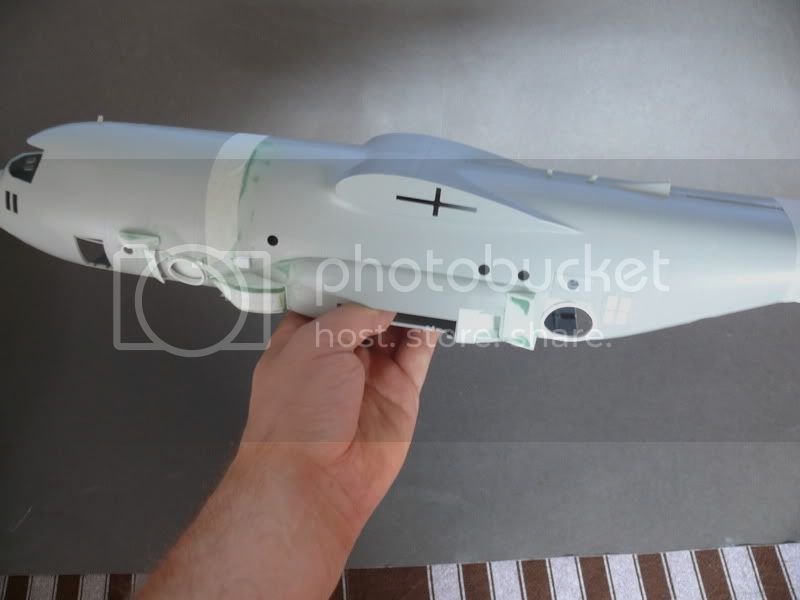
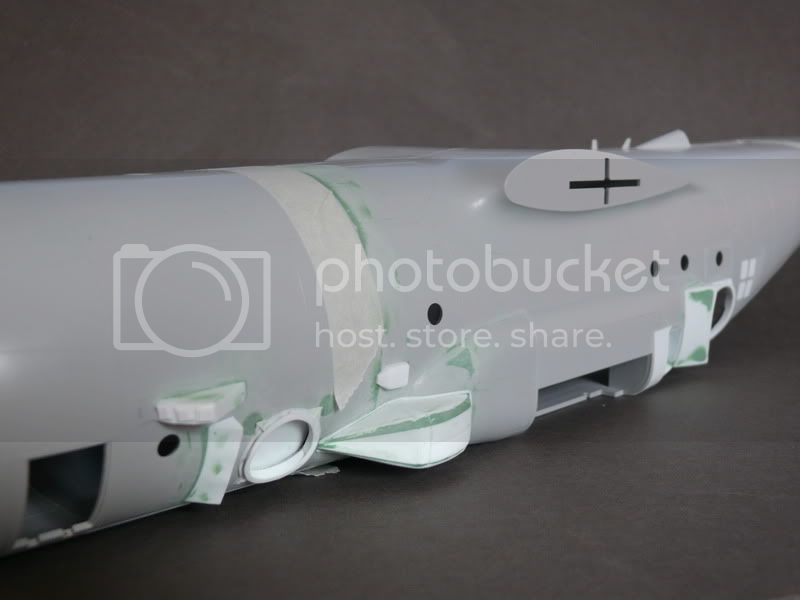
Hello
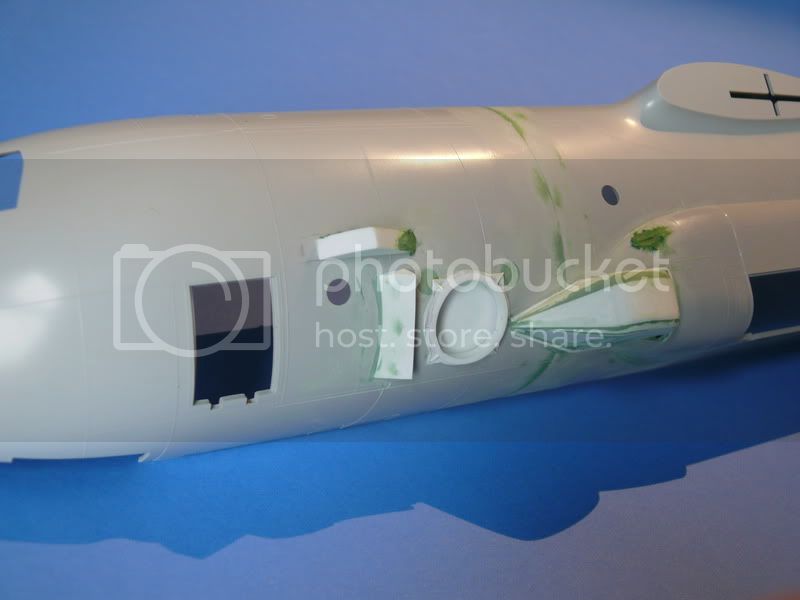
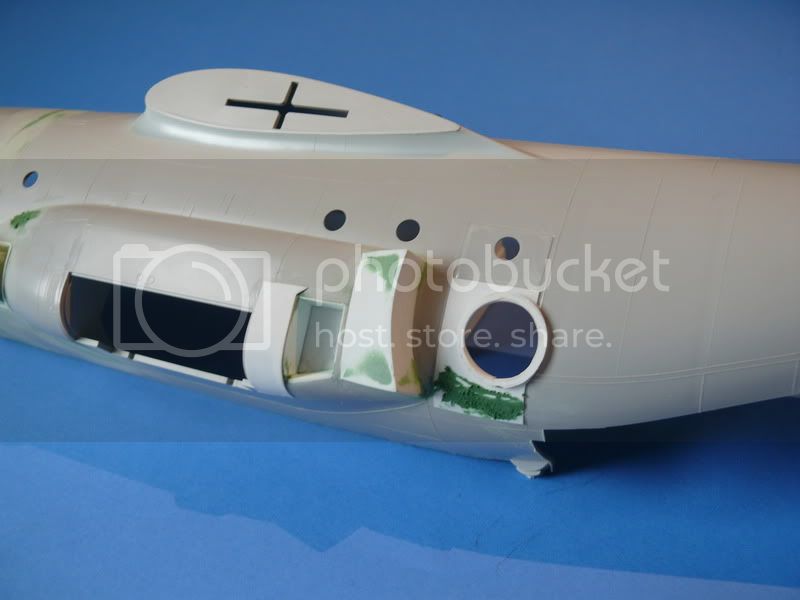
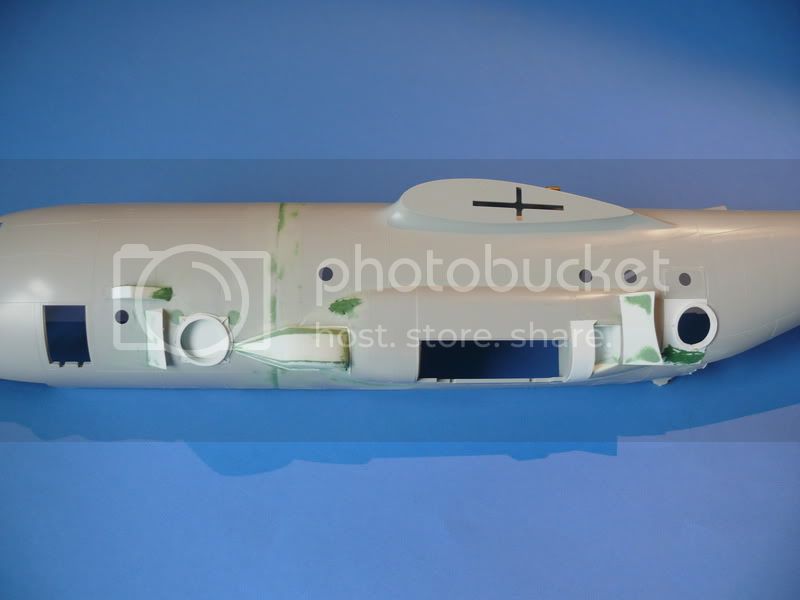
Progress is slow, mainly to "Modern Warfare" and being to tired after work to work on it, but not to tired to play games.
So far a lot of putty and sanding, how all this will look like i will have to wait to primer stage.
[url=http://photobucket.com/Ratatouille-collection?albumview=slideshow][img]http://i.imgur.com/kFPfg.jpg[/img][/url]
England - West Midlands, United Kingdom
Joined: February 16, 2008
KitMaker: 597 posts
AeroScale: 30 posts
Posted: Monday, September 12, 2011 - 04:24 AM UTC
Good job so far Adam! I'm definitely subscribed to this build,and I can't wait to see more progress.
Don't worry about playing MW2, just get the AC-130 kill streak and call it research!
Anirudh
Ohio, United States
Joined: May 02, 2010
KitMaker: 596 posts
AeroScale: 197 posts
Posted: Thursday, September 15, 2011 - 06:51 PM UTC
Wow...that kit is a beast! And I know I'm going to upset some people here, (

) but I did not care for MW2, or even MW1 for that matter. All the CoD games after their WWII stint were so formulaic and unimaginative.
But your 130? I can't wait to see more of this one!!

England - West Midlands, United Kingdom
Joined: March 21, 2009
KitMaker: 379 posts
AeroScale: 75 posts
Posted: Friday, September 16, 2011 - 10:19 AM UTC
[url=http://photobucket.com/Ratatouille-collection?albumview=slideshow][img]http://i.imgur.com/kFPfg.jpg[/img][/url]
New Jersey, United States
Joined: May 24, 2008
KitMaker: 346 posts
AeroScale: 307 posts
Posted: Tuesday, September 20, 2011 - 01:06 PM UTC
As a former C-130 mechanic I'm loving this build but damn is this a huge one.
England - West Midlands, United Kingdom
Joined: March 21, 2009
KitMaker: 379 posts
AeroScale: 75 posts
Posted: Thursday, September 22, 2011 - 09:23 AM UTC
Quoted Text
As a former C-130 mechanic I'm loving this build but damn is this a huge one.
Tell me about this mate

, i haven't even put wings together and already thinking about box big enough to keep it safe.
[url=http://photobucket.com/Ratatouille-collection?albumview=slideshow][img]http://i.imgur.com/kFPfg.jpg[/img][/url]
Colorado, United States
Joined: January 25, 2004
KitMaker: 11,669 posts
AeroScale: 11,011 posts
Posted: Saturday, September 24, 2011 - 06:00 PM UTC
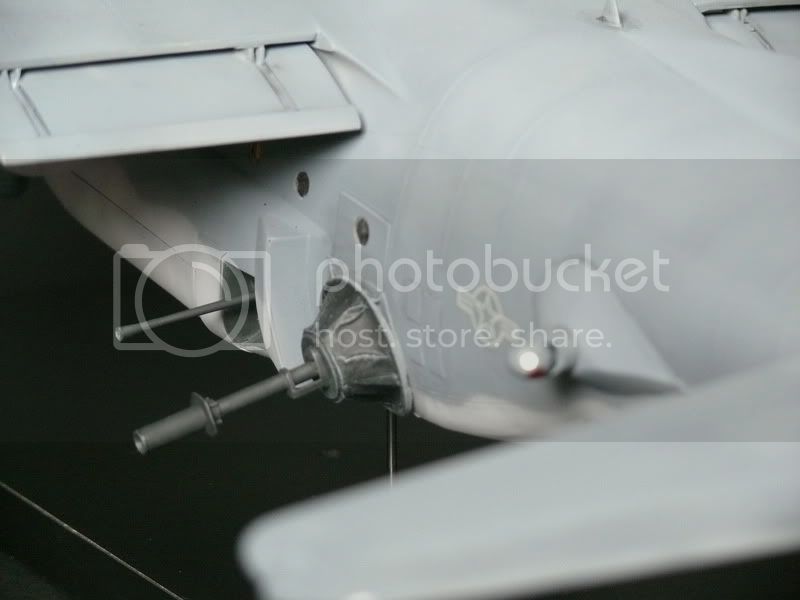
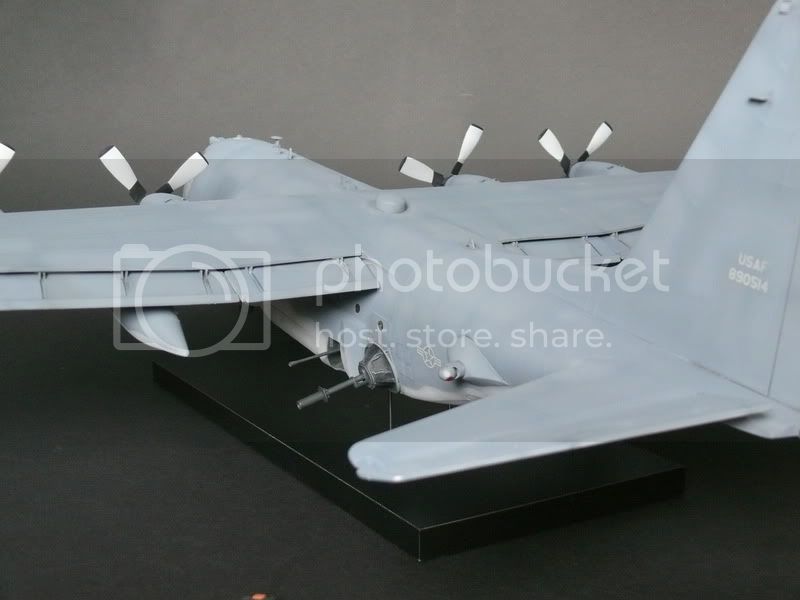
Now that is Close Air Support! You know Aber makes a killer detail set for the miniguns in 1/48 & 1/32 .

I did the review for the 1/32 set and the 1/48 looks identical.
website here. Several of our advertisers carry the Aber line.
Aeroscale review
here.". . .The most important thing is to know why you build and then get the most that you can out of building." via D.D.
England - West Midlands, United Kingdom
Joined: March 21, 2009
KitMaker: 379 posts
AeroScale: 75 posts
Posted: Sunday, September 25, 2011 - 04:48 AM UTC
Very cool looking set, however for "U-Boat" needs to be 5 barrel 25mm GAU 12 not M61.
[url=http://photobucket.com/Ratatouille-collection?albumview=slideshow][img]http://i.imgur.com/kFPfg.jpg[/img][/url]
England - West Midlands, United Kingdom
Joined: March 21, 2009
KitMaker: 379 posts
AeroScale: 75 posts
Posted: Sunday, October 02, 2011 - 02:12 AM UTC
[url=http://photobucket.com/Ratatouille-collection?albumview=slideshow][img]http://i.imgur.com/kFPfg.jpg[/img][/url]
North Carolina, United States
Joined: January 29, 2004
KitMaker: 177 posts
AeroScale: 42 posts
Posted: Sunday, October 09, 2011 - 02:16 PM UTC
Looking really good. Sometimes these things build at their own pace. Just keep the updates coming as you move forward.
Be polite, be courteous, but have a plan to kill everyone in the room.
England - West Midlands, United Kingdom
Joined: March 21, 2009
KitMaker: 379 posts
AeroScale: 75 posts
Posted: Sunday, October 16, 2011 - 07:12 AM UTC
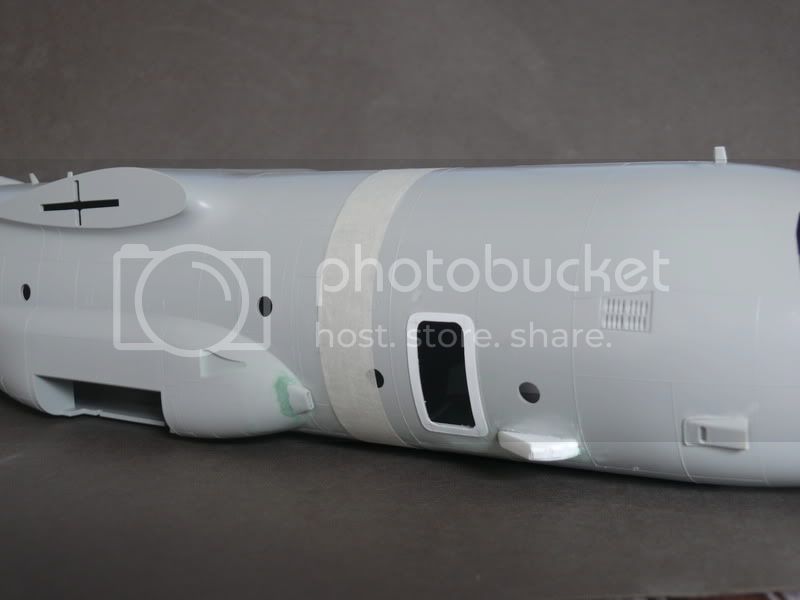
Good afternoon
Here i come with another update.
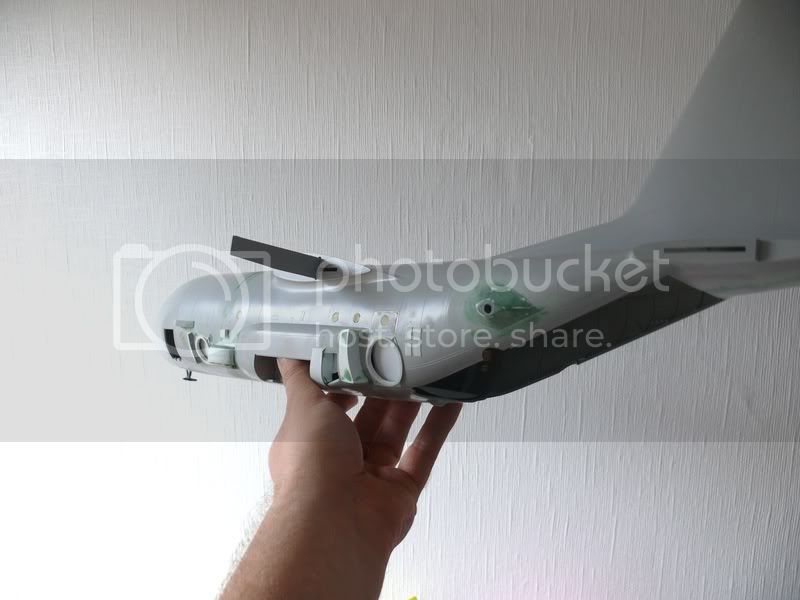
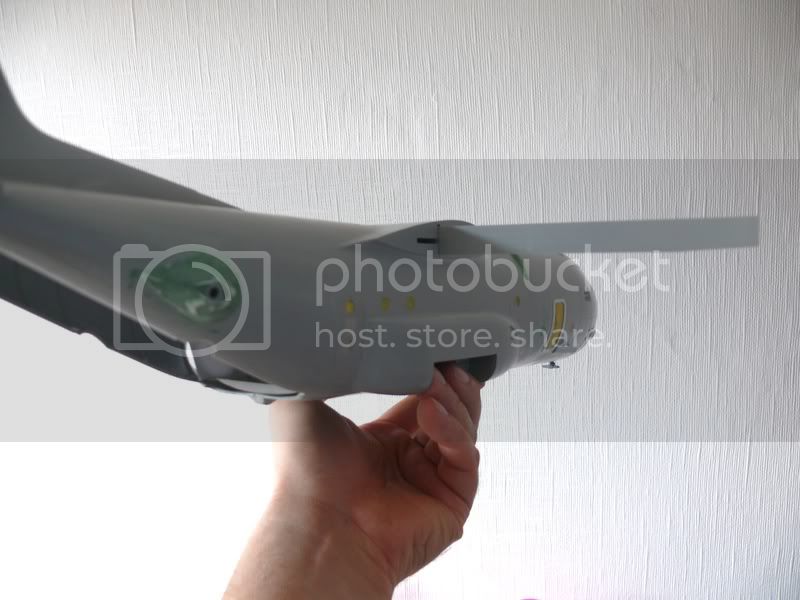
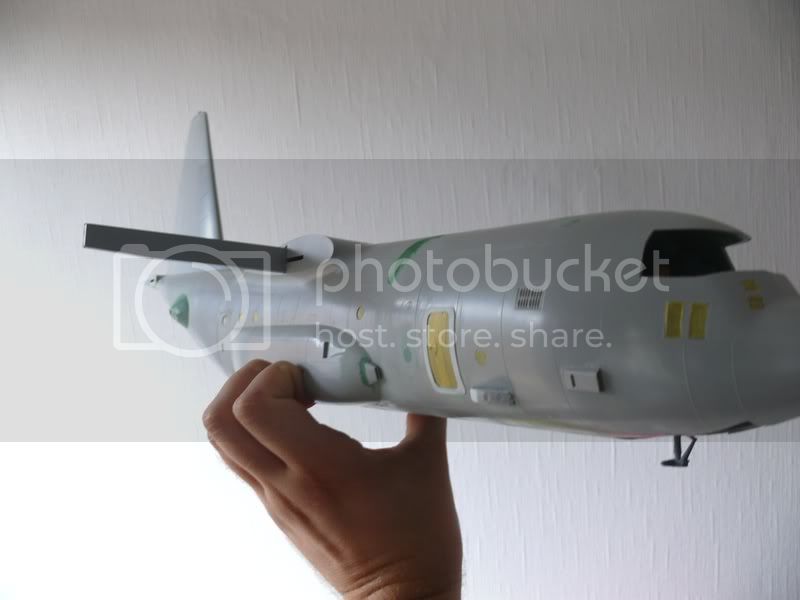
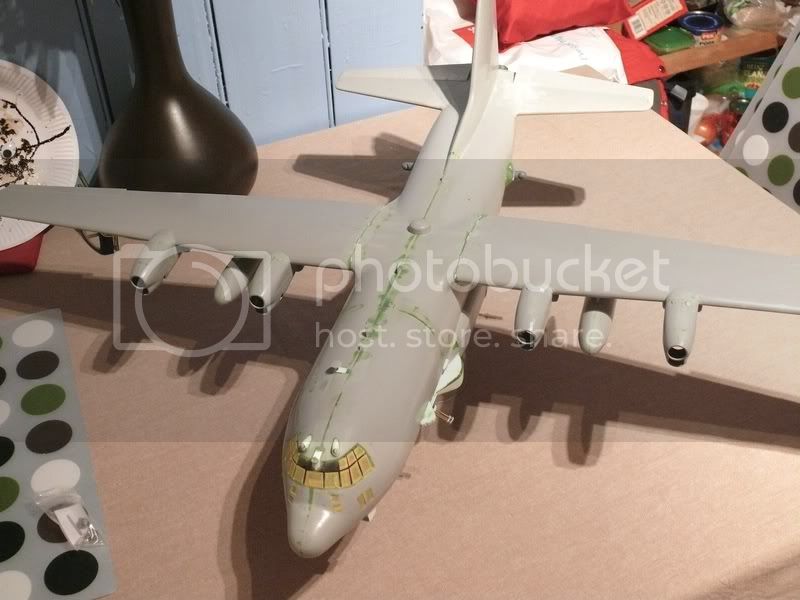
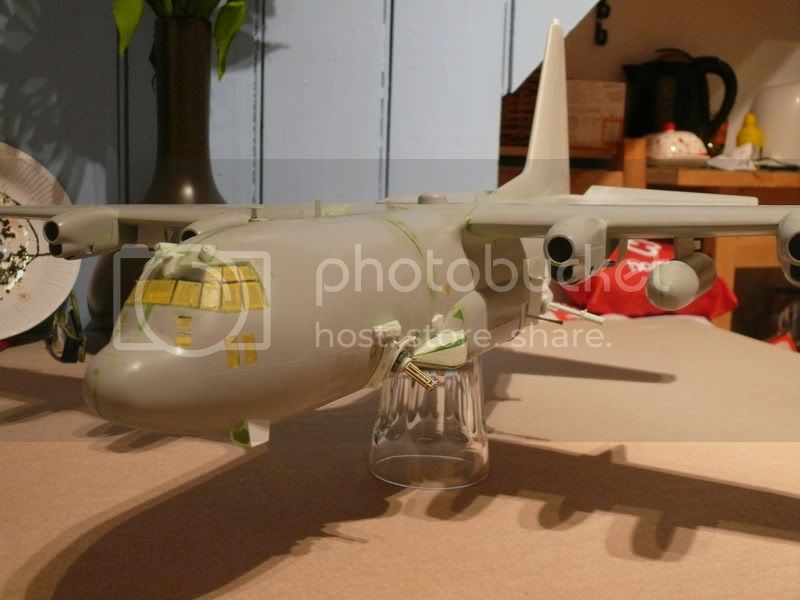
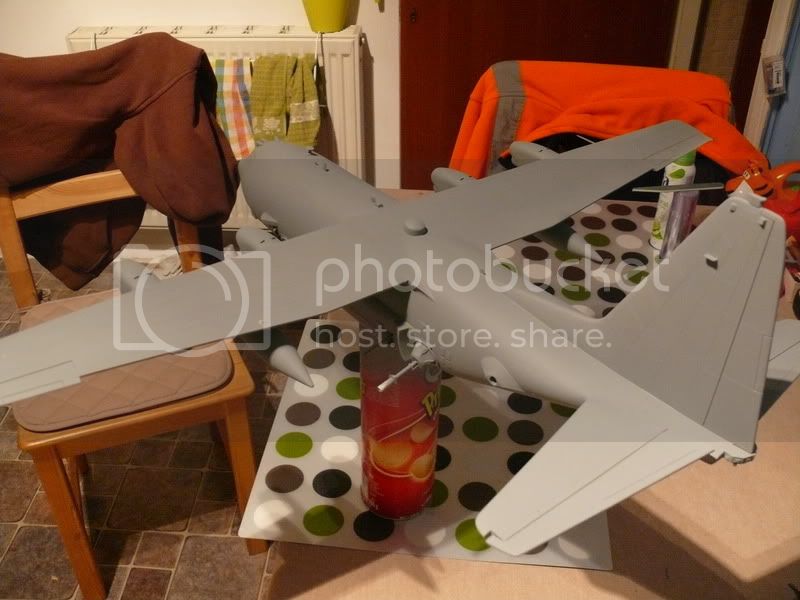
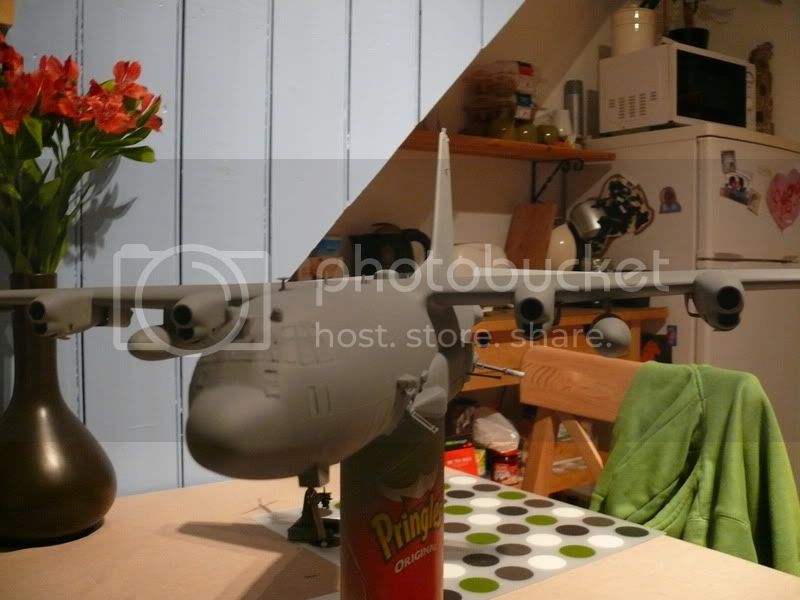
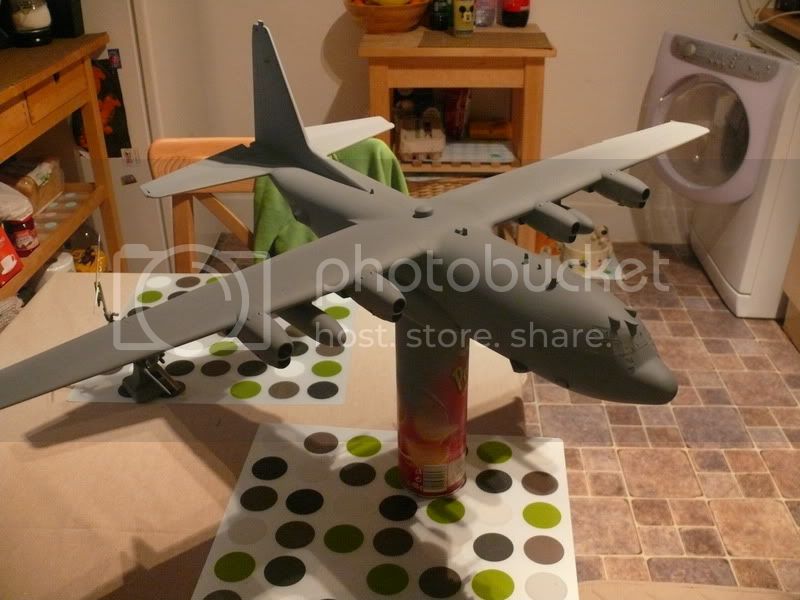
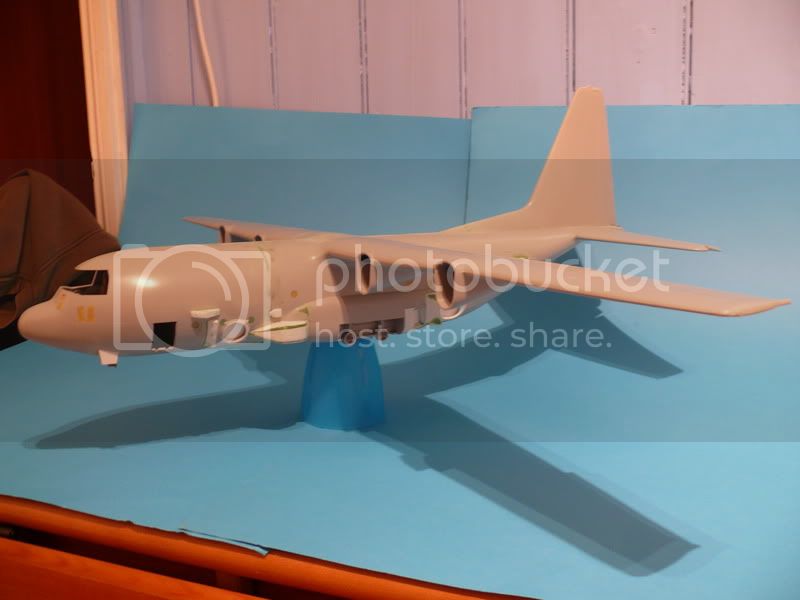
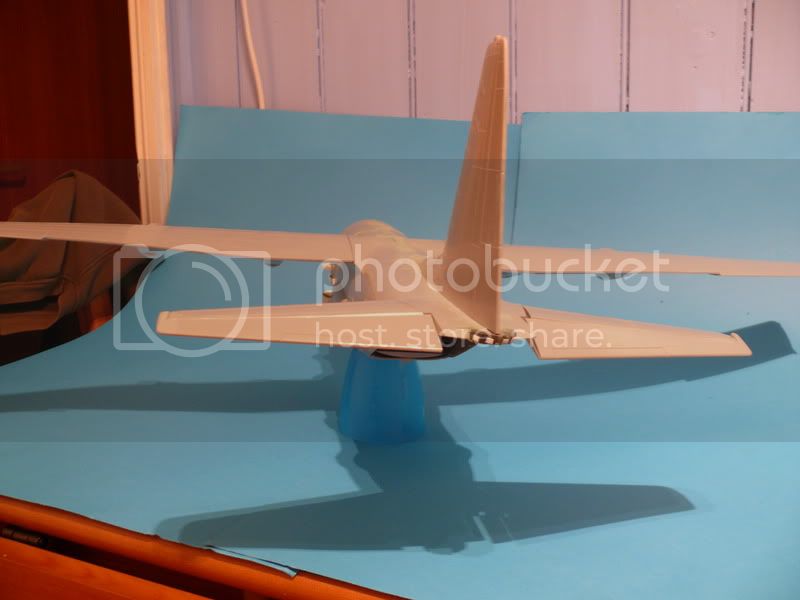
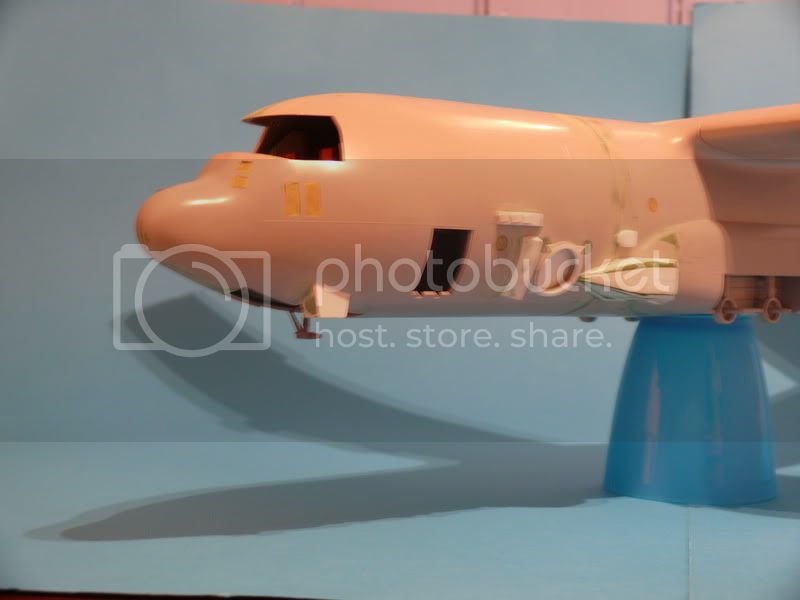
I decided to take advantage of the size and i will open flaps. I know that there will be some work with it, but end result should add more life to this beast.
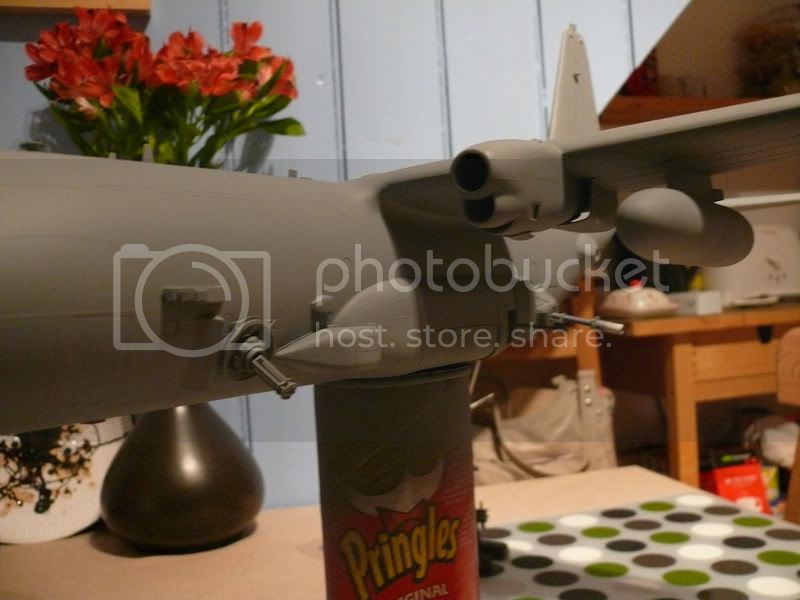
At this moment i nearly finished all the basic modifications to fuselage and concentrate on wings and those exhaust covers that reduce heat siganture

[url=http://photobucket.com/Ratatouille-collection?albumview=slideshow][img]http://i.imgur.com/kFPfg.jpg[/img][/url]
Indiana, United States
Joined: July 31, 2003
KitMaker: 1,523 posts
AeroScale: 175 posts
Posted: Monday, October 17, 2011 - 12:47 PM UTC
Looking pretty good so far Max. Left side looks good, real good.... Right side the Cargo AC doesnt look quite right. the Intake should be part of the cowling. The cowling are is alos about 12 inches wider, meaning it comes foward more on the Aircraft. Also the entire aircraft does not have to have recessed panel lines.... an important part on the top of the wings are the bay bay panels, they are round and not square, the square is from the A-model wings which are no were to be found anymore. Most of the panels are sealed and create a raised appearance when looked at.
maybe this will help you....

Keep up the good work!!
Herky

England - West Midlands, United Kingdom
Joined: March 21, 2009
KitMaker: 379 posts
AeroScale: 75 posts
Posted: Sunday, January 22, 2012 - 08:21 AM UTC
[url=http://photobucket.com/Ratatouille-collection?albumview=slideshow][img]http://i.imgur.com/kFPfg.jpg[/img][/url]
Ohio, United States
Joined: May 02, 2010
KitMaker: 596 posts
AeroScale: 197 posts
Posted: Sunday, January 22, 2012 - 08:38 AM UTC
I have to admit, I kinda forgot about this build...glad I subscribed to it, because I'd hate to miss how this gem comes out! Glad to see you're back at it, and I'm looking forward to seeing this Spooky finished!
Florida, United States
Joined: January 14, 2009
KitMaker: 2,798 posts
AeroScale: 2,443 posts
Posted: Sunday, January 22, 2012 - 10:28 AM UTC
excellent scratch work sir god job

"From time to time, the tree of liberty must be watered with the blood of
tyrants and patriots."
- Thomas Jefferson
IPMS#47611
England - West Midlands, United Kingdom
Joined: March 21, 2009
KitMaker: 379 posts
AeroScale: 75 posts
Posted: Sunday, January 22, 2012 - 10:57 AM UTC
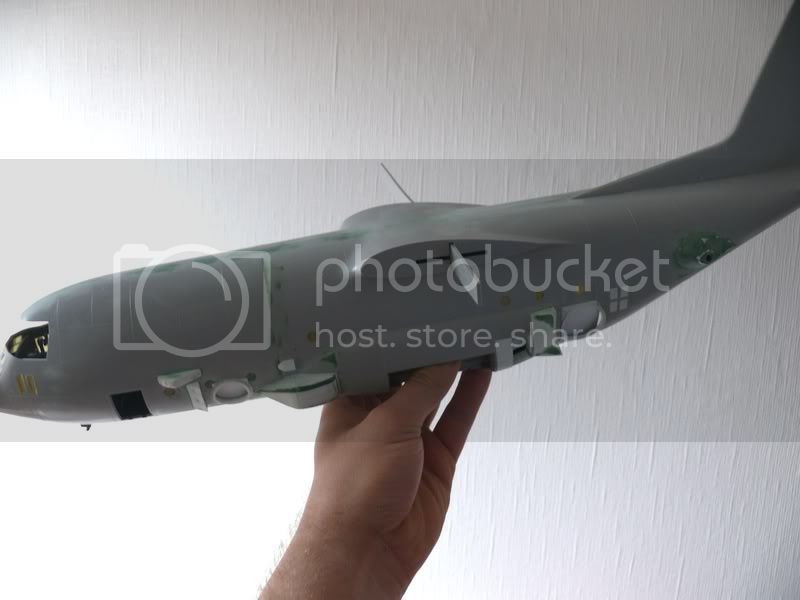
Hello
thanks for watching Lads
I know that i am draging this build, but somehow i just can't find motivation these days.
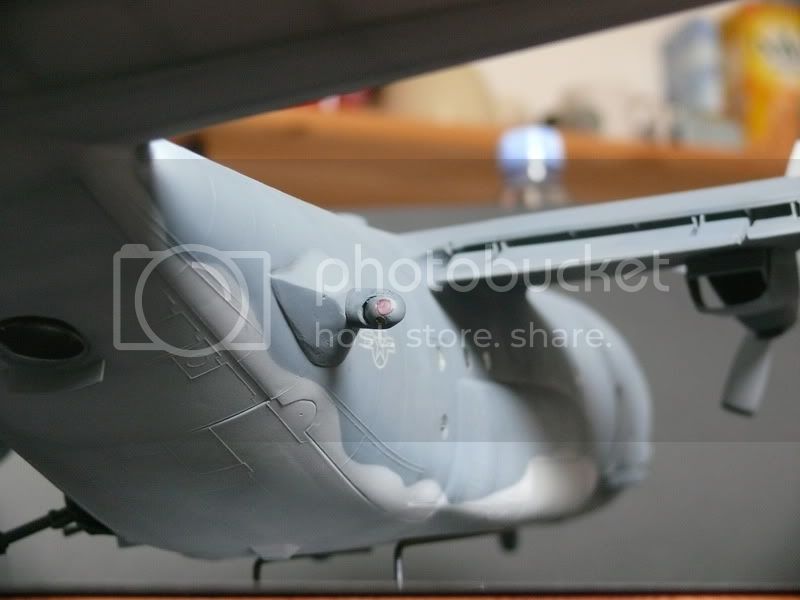
Anyway all i got left to assemble is probe under the wing, few antenas and sensors.
I hope that priming will not show some ugly problems.
I can't wait to start painting, this will be a different story.
[url=http://photobucket.com/Ratatouille-collection?albumview=slideshow][img]http://i.imgur.com/kFPfg.jpg[/img][/url]
Indiana, United States
Joined: July 31, 2003
KitMaker: 1,523 posts
AeroScale: 175 posts
Posted: Friday, January 27, 2012 - 12:54 AM UTC
Are you going to depict this bird in an actual combat configuration? If you are then the Externals would not be on there as they take away avaliable weight for the Ammo. If not then you are spot on so far. Kind of interested as to whether you messed with the cargo AC pack at all.... Looks really good though. Let me know if you need any photo or technical help. been on the 130 for YEARS now (almost 17). Was also looking at the pics and did you seal the crew entrance door closed??? They are still used for entry and exit on the U. Now the H has a camera there and the remove the door for flight. But as for the U they actually use it as a door... HTH
Herky
England - West Midlands, United Kingdom
Joined: March 21, 2009
KitMaker: 379 posts
AeroScale: 75 posts
Posted: Friday, January 27, 2012 - 08:12 AM UTC
Quoted Text
Are you going to depict this bird in an actual combat configuration? If you are then the Externals would not be on there as they take away avaliable weight for the Ammo. If not then you are spot on so far. Kind of interested as to whether you messed with the cargo AC pack at all.... Looks really good though. Let me know if you need any photo or technical help. been on the 130 for YEARS now (almost 17). Was also looking at the pics and did you seal the crew entrance door closed??? They are still used for entry and exit on the U. Now the H has a camera there and the remove the door for flight. But as for the U they actually use it as a door... HTH
Herky
Hello
every scrathcbuild part is based on visual interpretation, so there will be some discrepancies.
It will be in flight display (however i have no clue so far for base), all pictures i have seen are with tanks so that is why i haven't remove them.
Not sure what you mean for cargo AC, is that scoop in the front of landing gear bay? i know that is way to small and wrong shape, but i have no plans to correct it anymore.
Doors are there, i haven't sealed them.
Do you by any chance have a close pictures of that probe under left wing, that is the last thing i got left and i struggle for close up pictures.
I am glad you like it, it always nice to hear good word from actual users.
[url=http://photobucket.com/Ratatouille-collection?albumview=slideshow][img]http://i.imgur.com/kFPfg.jpg[/img][/url]
England - West Midlands, United Kingdom
Joined: March 21, 2009
KitMaker: 379 posts
AeroScale: 75 posts
Posted: Sunday, January 29, 2012 - 06:52 AM UTC
[url=http://photobucket.com/Ratatouille-collection?albumview=slideshow][img]http://i.imgur.com/kFPfg.jpg[/img][/url]
England - West Midlands, United Kingdom
Joined: March 21, 2009
KitMaker: 379 posts
AeroScale: 75 posts
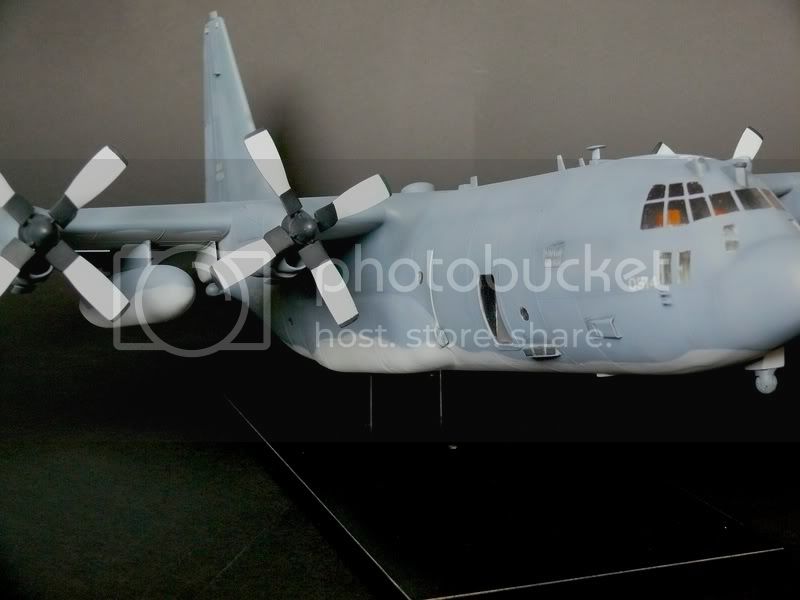
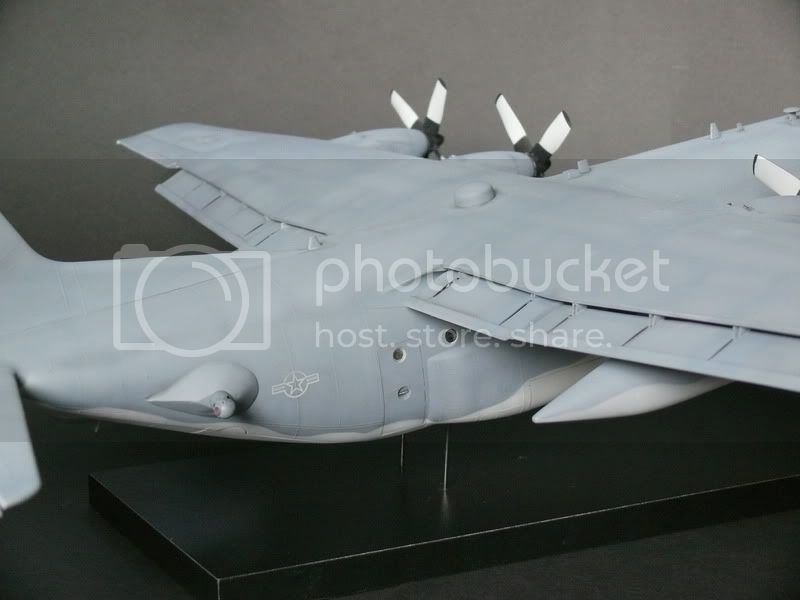
Posted: Sunday, March 04, 2012 - 02:44 AM UTC
[url=http://photobucket.com/Ratatouille-collection?albumview=slideshow][img]http://i.imgur.com/kFPfg.jpg[/img][/url]
Ohio, United States
Joined: May 02, 2010
KitMaker: 596 posts
AeroScale: 197 posts
Posted: Sunday, March 04, 2012 - 02:57 AM UTC
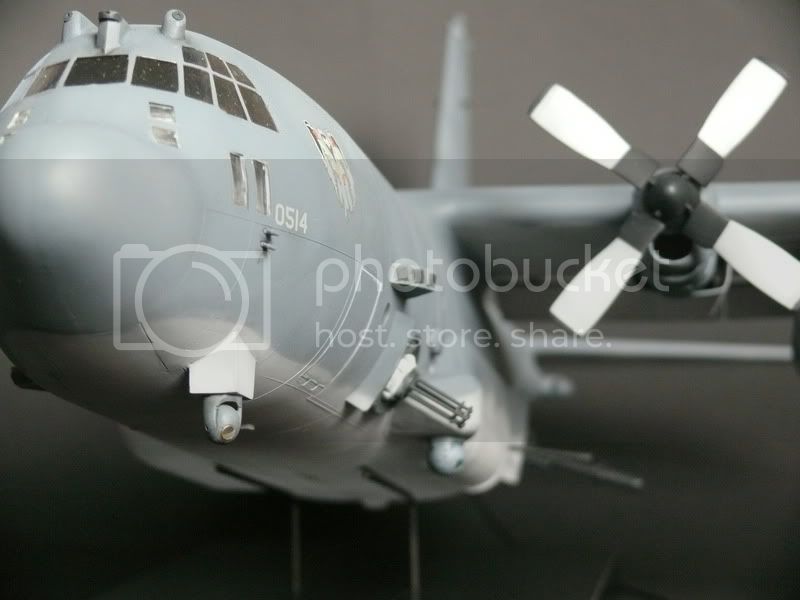
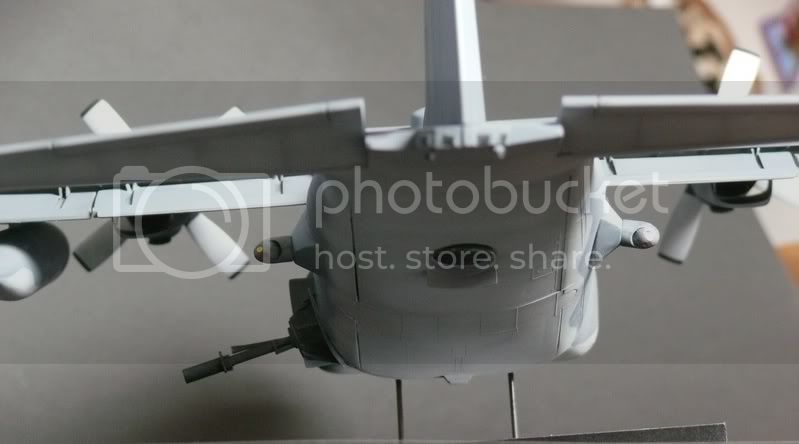
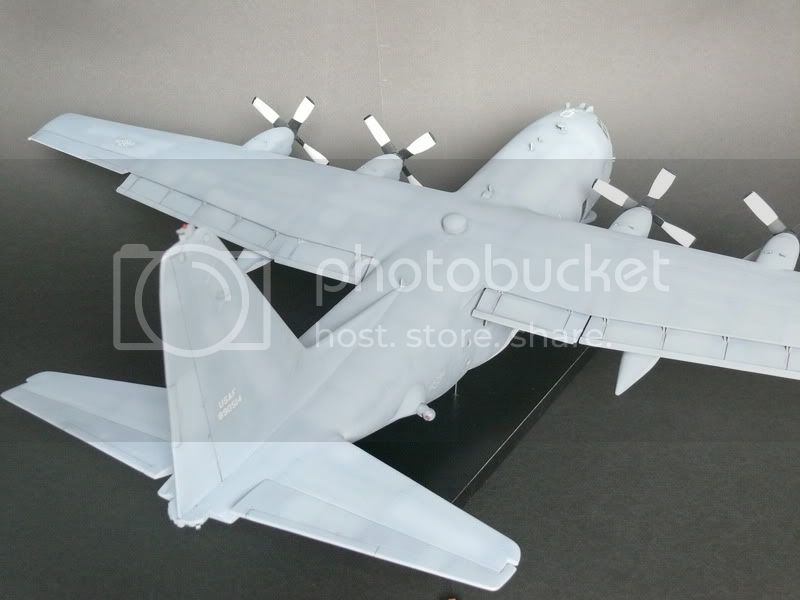
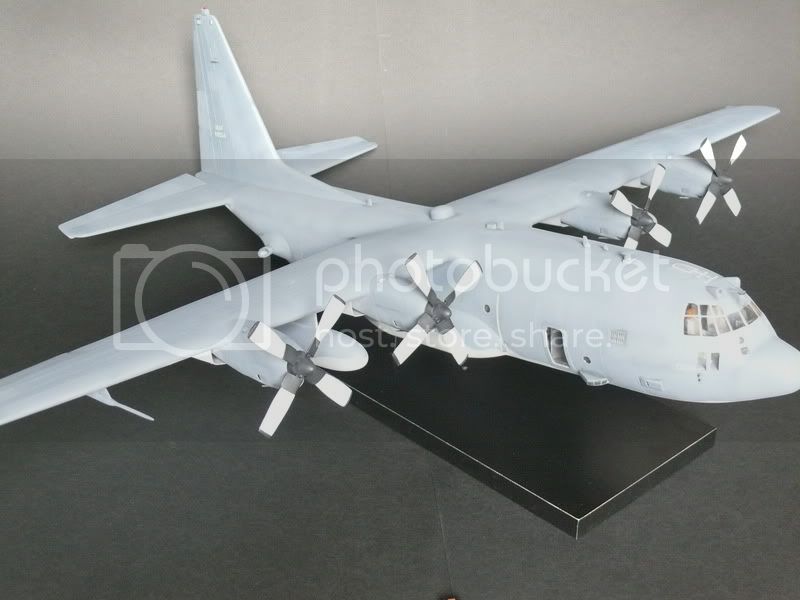
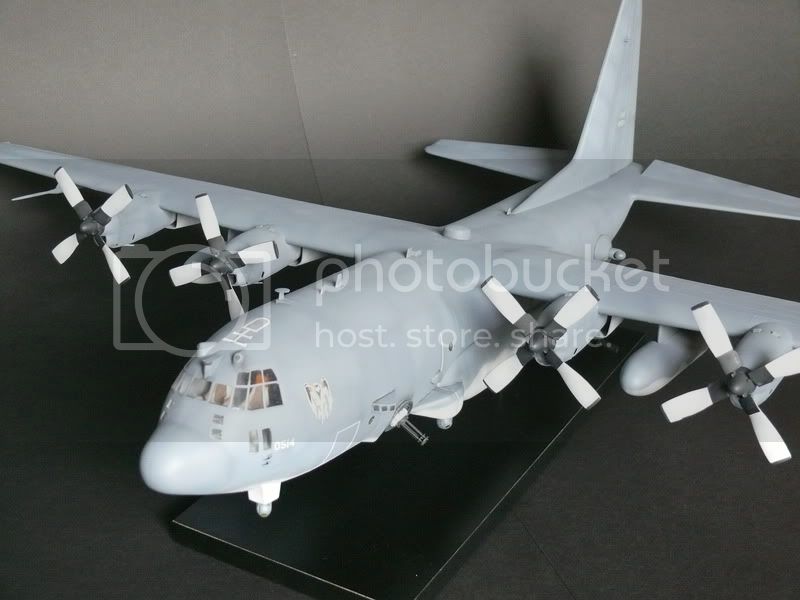
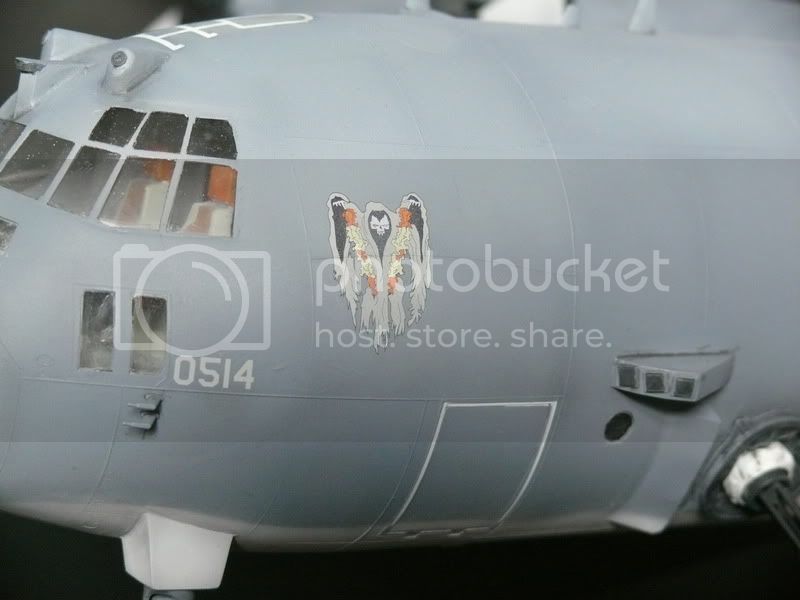
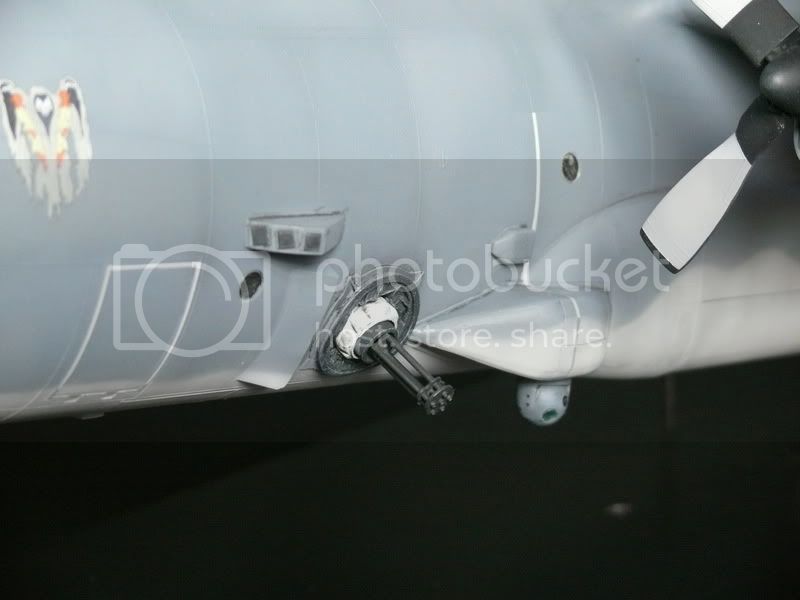
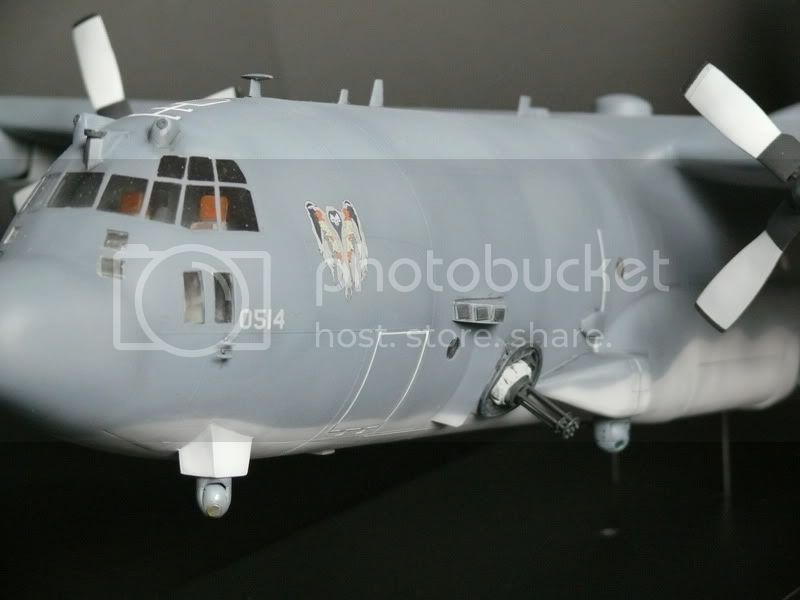
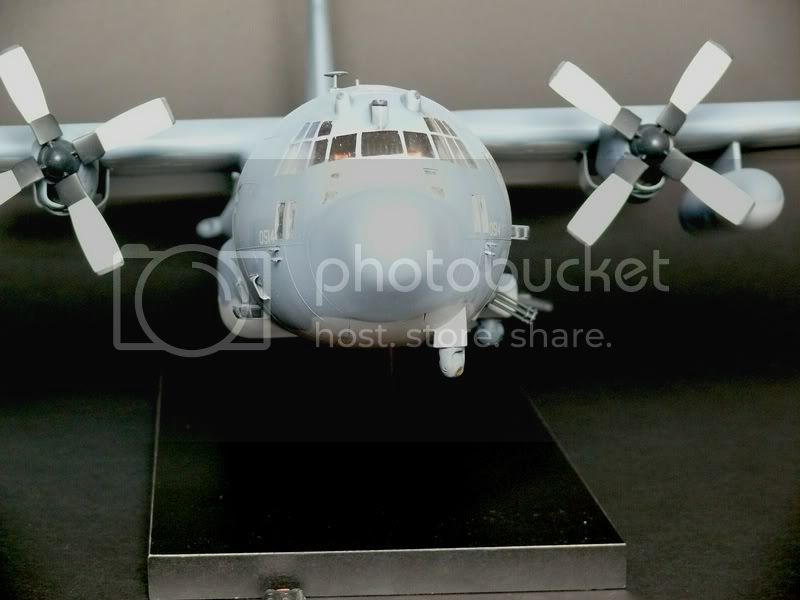
WOW. Simply brilliant modeling! My only question concerns the starboard fuselage...I'm almost certain there's a hatch missing. Since I doubt you would've overlooked a detail like that, what's the reason behind leaving it open?
England - West Midlands, United Kingdom
Joined: March 21, 2009
KitMaker: 379 posts
AeroScale: 75 posts
Posted: Sunday, March 04, 2012 - 06:27 AM UTC
Hello
It is not open, there is a observer window in place of it.
Unfortunate angle of this pictures makes it looks like it.
[url=http://photobucket.com/Ratatouille-collection?albumview=slideshow][img]http://i.imgur.com/kFPfg.jpg[/img][/url]


