


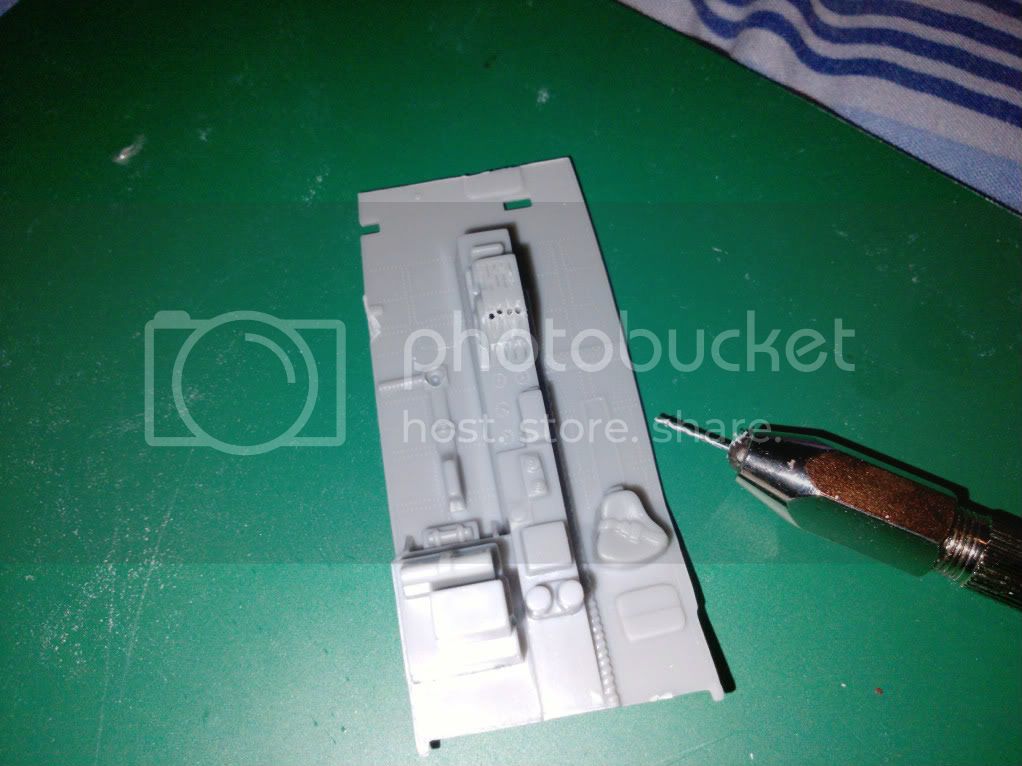
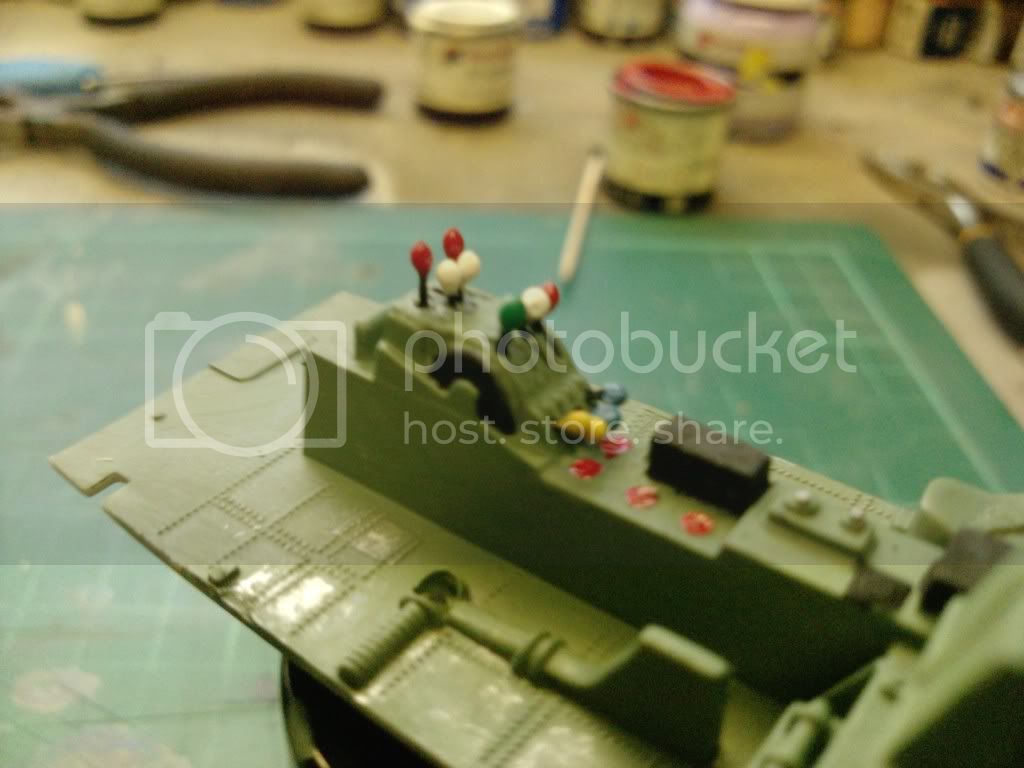
Ok so the first thing i noticed with the cockpit was the lack of convincing control leavers for the throttle and fuel mixture ect the kit just has slight bumps where they should be so i decided to try and scratch build my own . I did this by using the trimmings from guitar strings that my friend kindly saves for me they are great for several uses like aerials ect and in this case leaver arms . The handles on the top of the leavers was a little more tricky i first tried to use a very small amount of Millput but i just couldnt get them right so in the end i decided to just simply dip the ends of the wire into the corresponding paint and then let them hang so the paint would form a small blob on the end of the wire this seems to work quite well

sorry the picture is a bit blurry but my camera just wouldnt focus on them but you get the idea . Once i was happy that it was going to work i carefully sanded off the little bumps on the center control column and drilled out the holes for the wires to go in
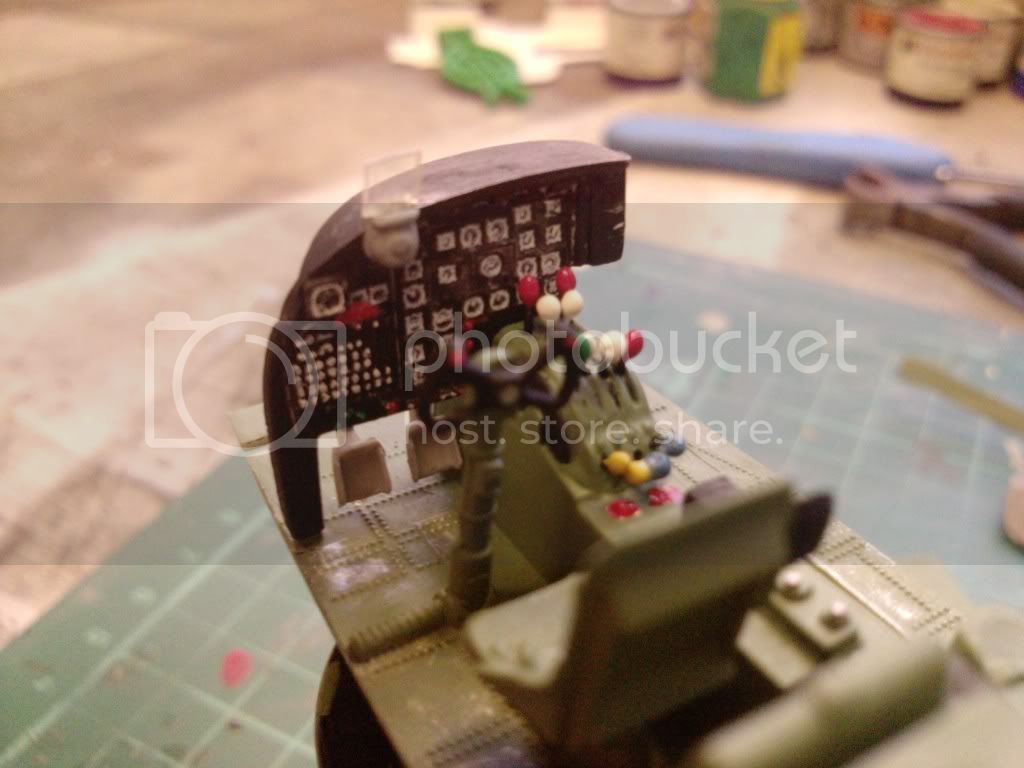
I then turned my attention the the main control panel as the leavers need some time to dry, this was fairly straight forward and the only thing i had to add was the gun sight glass as the kit didnt come with any

After leaving everything for a day or two to dry i went back to the main cockpit area and gave it a coat of interior green , the leavers had now dried quite nicely so i painted the wires black and started to fit them into the holes i had drilled , once they were all in place i was very pleased with how they look
I then fitted the the rest of the cockpit items including the main instruments and pilot seat ect . The control column was painted and also fitted

Well this is as far as i have got so far i will update this thread when i have some more done ... Thanks for looking and any feedback would be great

Thanks guys
Dave aka Shifty

Hi guys .. well iv finally had some time to work on the invader . I ordered a pilot off the net and i must say im very pleased with how hes turned out


I think he looks great sat at the controls too


I finished off the rest of the interior and started work on the gunner


I use an old 1/48 pilot for the gunner but he need some serious surgery
i had to remove his legs and reattach them so he could sit on his seat i then tidied him up and used millputt to fill all the gaps and make a chute for him after a lot of sanding and fetteling i was happy with with the fit ...

I then glued the two halves of the fuzz together and turned my attention to the engines .. I added the ignition wires and gave them a coat of paint and used light silver to highlight them


Then the wings were glued together and clamped then left to dry

After all was dry i carefully fitted the wings to the fuzz ( its starting to look like an Invader now )

Well thats all for now i will post more as the model progresses
Thanks guys


