_GOTOBOTTOM
World War II
Discuss WWII and the era directly before and after the war from 1935-1949.
Hosted by Rowan Baylis
1/72 Testors B-25C Mitchell
ShawnM
_VISITCOMMUNITY
Missouri, United States
Joined: November 24, 2008
KitMaker: 564 posts
AeroScale: 510 posts
Posted: Sunday, November 06, 2011 - 11:56 AM UTC
Here we are again, another build that will test my eyesight and my sanity.
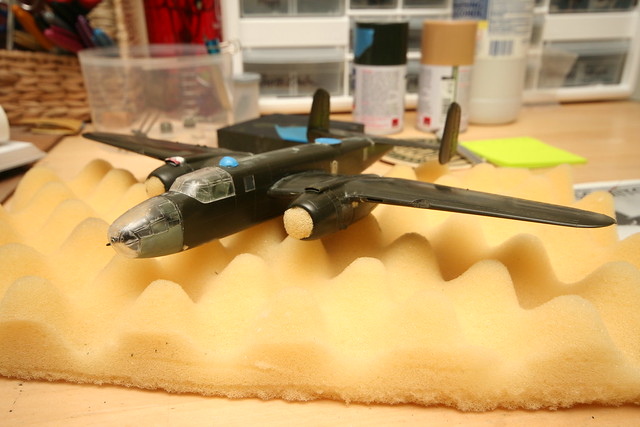
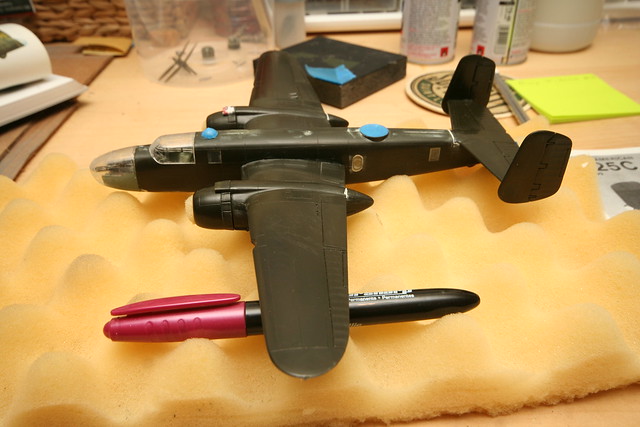
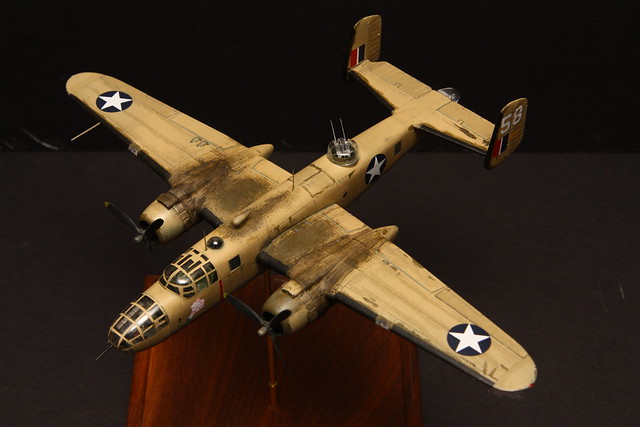
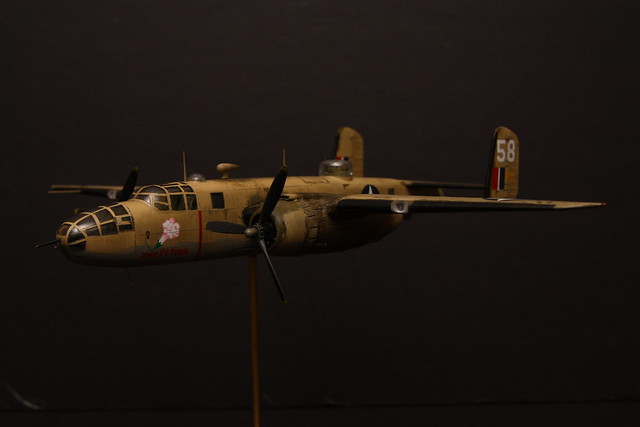
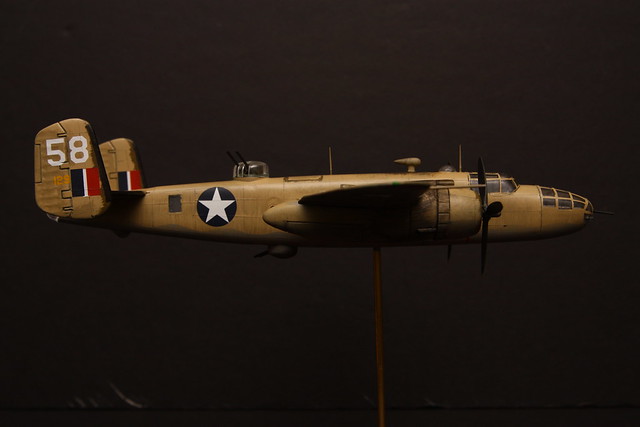
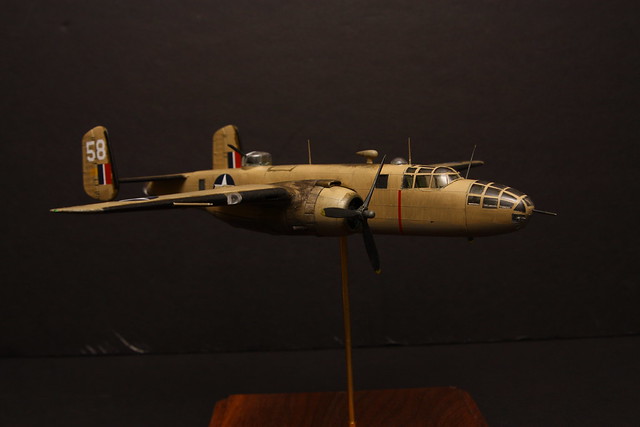
I built this ages ago and received the same kit as a gift a few years back.
So far the cockpit has been completed including PE sprue levers, spares bin rudder pedals, masking tape belts and some floor detail you cant see once the over scale seats are installed. Oh well...I know its there.


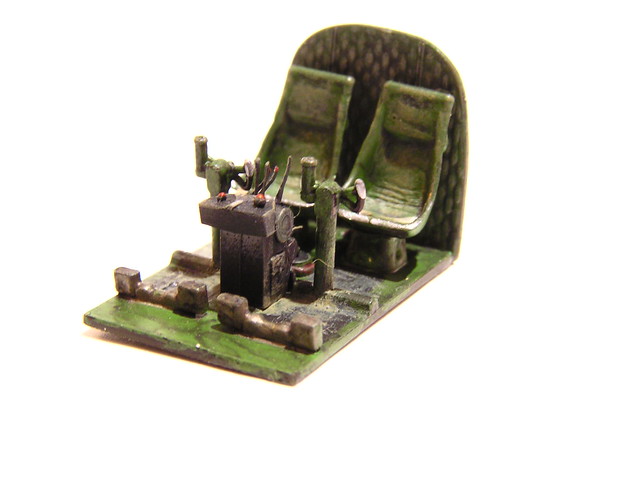
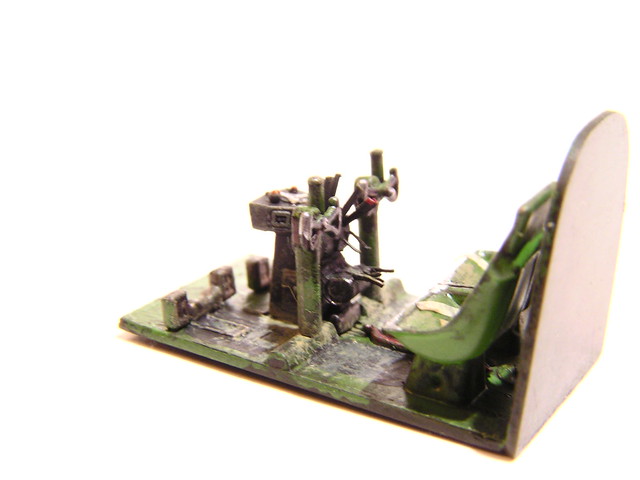
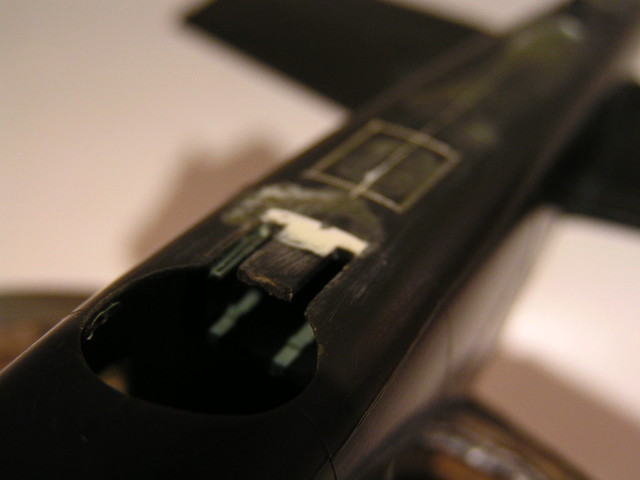
Next up was the forward bulk head. The kits was devoid of detail. SO I added the crew seat with head rest and back rest. Added some belts and chipping around the entrance to the crew tunnel. Also added the panel line that provides access to the IP.


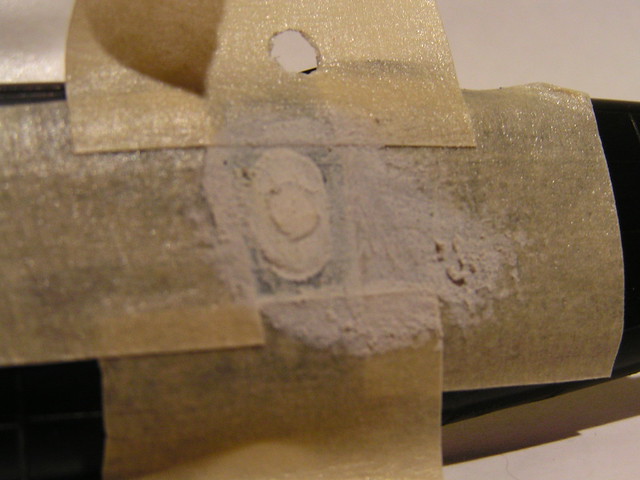
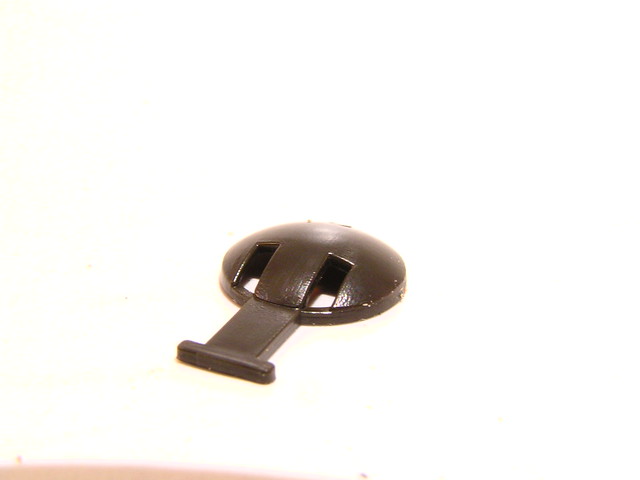
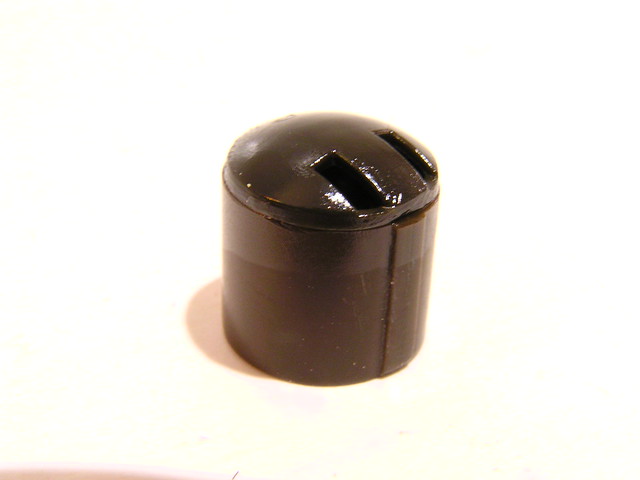
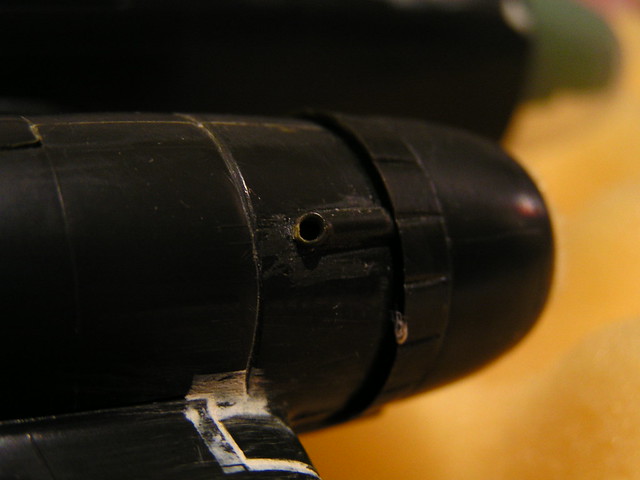
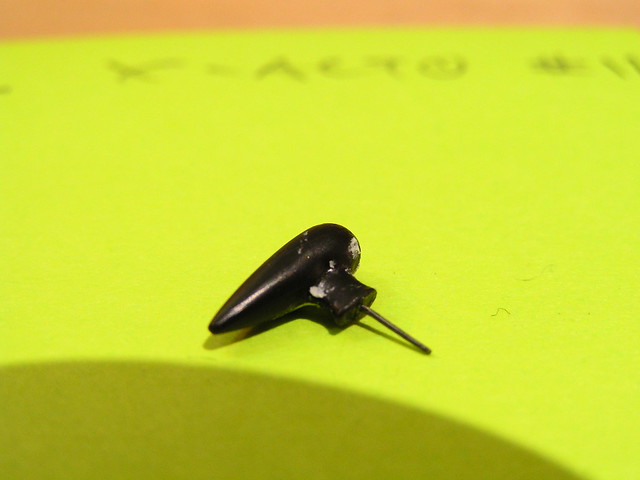
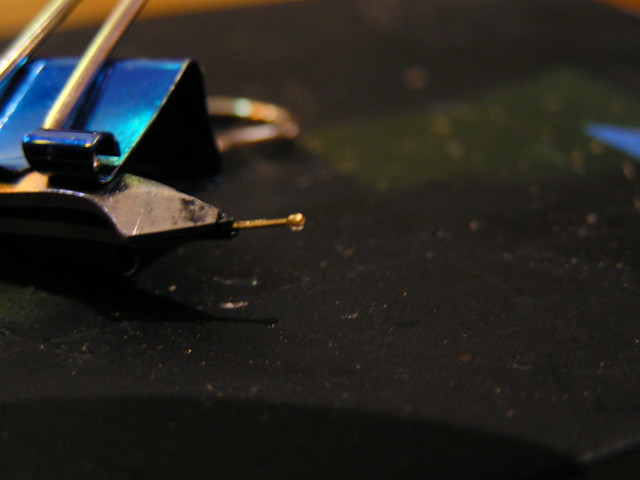
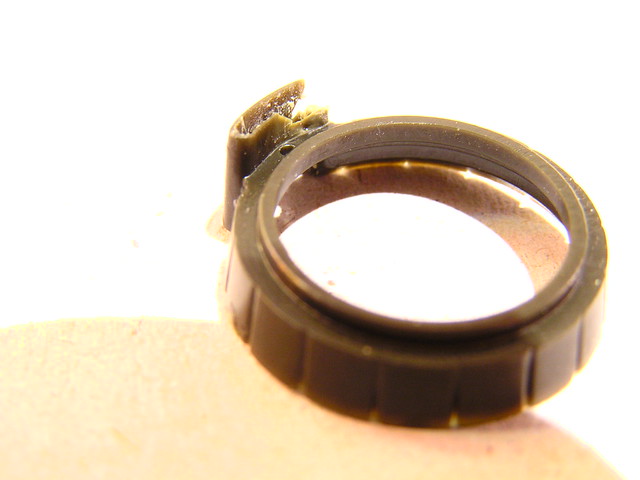
For giggles I decided to open up the carb scoops on the nacelles. One came out perfect, the other...not so much.


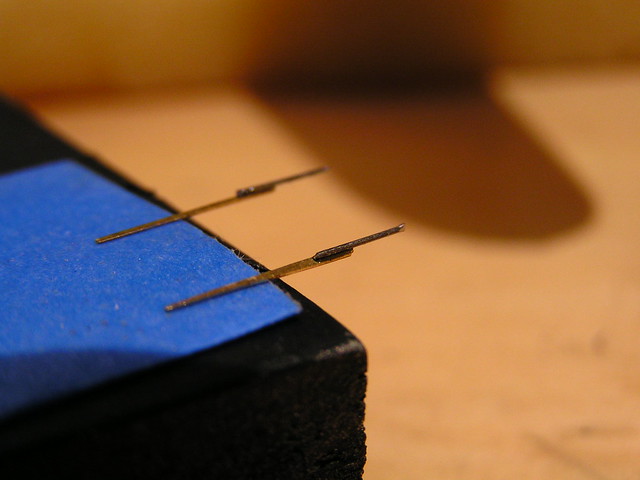
SO, wine foil to the rescue I made a new inlet lip and glued 'er on there. Some filling and sanding and it "should" look good.


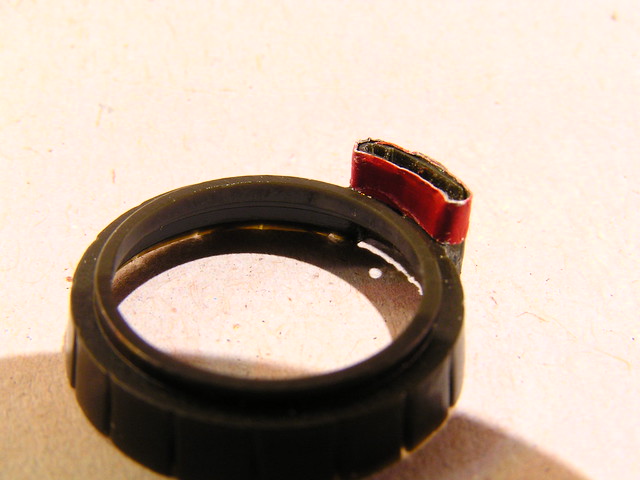
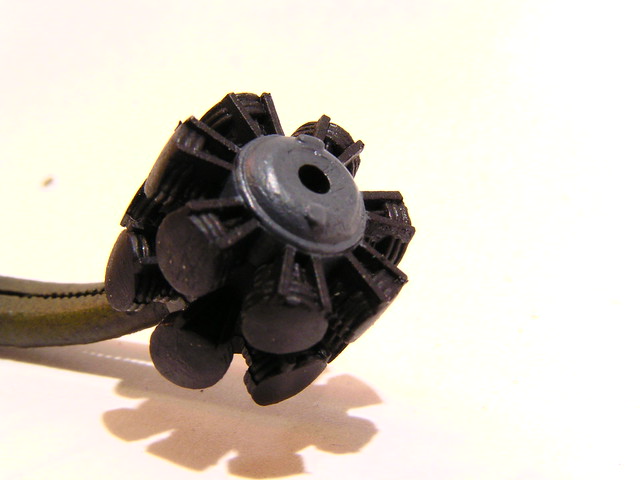
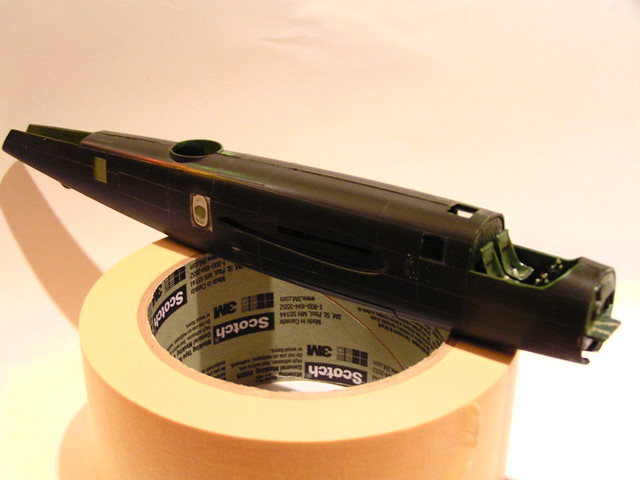
Please bear in mind these cowling are the diameter of a quarter.

Stay tuned as I build a ship in a bottle....err the bombardiers station.
ShawnM
_VISITCOMMUNITY
Missouri, United States
Joined: November 24, 2008
KitMaker: 564 posts
AeroScale: 510 posts
Posted: Monday, November 07, 2011 - 10:41 AM UTC
Upper turret done:
added Pe back piece, ammo belts and sight:

Started the engines:

Added the side windows and filled the gaps, small round mask for window:

Started the ventral Turret.
The kit part shows it as retracted only:

Sine my Pink Petunia will be inflight, I wanted the turret extended so:

Turns out a 1/32 Scale Mulit Rocket pod from my Apache is the EXACT correct size
Details to come.
AussieReg
Staff MemberAssociate Editor
AUTOMODELER
#007
_VISITCOMMUNITY
Victoria, Australia
Joined: June 09, 2009
KitMaker: 8,156 posts
AeroScale: 3,756 posts
Posted: Tuesday, November 08, 2011 - 12:38 AM UTC
Good work so far Shawn, some really nice innovative mods and repairs.

Cheers, D
ShawnM
_VISITCOMMUNITY
Missouri, United States
Joined: November 24, 2008
KitMaker: 564 posts
AeroScale: 510 posts
Posted: Tuesday, November 08, 2011 - 08:07 AM UTC
Thanks D, I dont know how some of you work in this scale!

So today I added ignition wires, I now know how insanity feels.


I also added all the fuse windows and sealed up the fuse.
ShawnM
_VISITCOMMUNITY
Missouri, United States
Joined: November 24, 2008
KitMaker: 564 posts
AeroScale: 510 posts
Posted: Monday, November 21, 2011 - 08:34 AM UTC
now that my latest drumset restoration is almost complete, Im back to the Mitchell.

Detailing the nose area is like building a ship in a bottle!
I've added ammo cans/belt on one side, bombardier controls on the other side:


Added the field mod .50cal, bomardiers seat and ammo belt to the floor as well:


Finished off the ventral turret and well as well:


I need to mask all the glazing, add the flexible machine gun and its support then glue the nose on.
ShawnM
_VISITCOMMUNITY
Missouri, United States
Joined: November 24, 2008
KitMaker: 564 posts
AeroScale: 510 posts
Posted: Tuesday, November 29, 2011 - 07:43 AM UTC
spare PE dorsal antennae, I pinned for easier installation later:


Opened up the exhaust stacks:


Pinned the Foot Ball Antenna as well:


Made a Trailing Antenna:


All assembled and ready for paint!


This thing is small....


And since I'm airbrushless, I have to wait till the weather perks up a bit to paint it.
ShawnM
_VISITCOMMUNITY
Missouri, United States
Joined: November 24, 2008
KitMaker: 564 posts
AeroScale: 510 posts
Posted: Friday, December 16, 2011 - 11:55 AM UTC
Finished:


a wee dark, sorry bout that. T'was a quick shoot.
Siderius
_VISITCOMMUNITY
Tennessee, United States
Joined: September 20, 2005
KitMaker: 1,747 posts
AeroScale: 1,673 posts
Posted: Friday, December 16, 2011 - 03:43 PM UTC
Good job Shawn. I really like the stand, I think more people should mount their aircraft models on a stand, it really looks good. Now take that airplane to the hanger and give it a good wash!! Russell
ShawnM
_VISITCOMMUNITY
Missouri, United States
Joined: November 24, 2008
KitMaker: 564 posts
AeroScale: 510 posts
Posted: Monday, December 19, 2011 - 02:10 AM UTC
Thank you

lol, no washing of the aircraft in my hanger!

This is the second build I've done with a stand/base. I do like them for sure. However I have primarily 1/32 aircraft that tend to be quite heavy so i prefer them on the ground.
 _GOTOTOP