_GOTOBOTTOM
World War II
Discuss WWII and the era directly before and after the war from 1935-1949.
Hosted by Rowan Baylis
Turkish Spitfires
atoplu
_VISITCOMMUNITY
Ontario, Canada
Joined: August 17, 2003
KitMaker: 753 posts
AeroScale: 174 posts
Posted: Friday, December 16, 2011 - 12:28 AM UTC
I want to build a Mk Vb and a Mk IXe that has served in the Turkish Air Force between 1943 and 1947.


For the decals, I will use this decal sheet which was recently issued.


I began the assembly with the cockpit. On both models, I will cut and remove the cockpit hatch and replace it with an Ultracast resin hatch. The cockpit color is from the Gunze set. After I install the Eduard photo-etch seatbelts I will start the assembly of the fuselage parts.
1/48 Tamiya Spitfire Mk.Vb


Hasegawa Spitfire MkIXe
Jessie_C
_VISITCOMMUNITY
British Columbia, Canada
Joined: September 03, 2009
KitMaker: 6,965 posts
AeroScale: 6,247 posts
Posted: Friday, December 16, 2011 - 03:41 AM UTC
Don't forget to paint the seat back cushion black. It was always black leather (which means you can have lots of fun making it look nice and used).
Tomcat31
#042
_VISITCOMMUNITY
England - North East, United Kingdom
Joined: November 18, 2006
KitMaker: 2,828 posts
AeroScale: 1,720 posts
Posted: Friday, December 16, 2011 - 05:01 AM UTC
Is it me or are both of the pictures exactly the same
atoplu
_VISITCOMMUNITY
Ontario, Canada
Joined: August 17, 2003
KitMaker: 753 posts
AeroScale: 174 posts
Posted: Friday, December 16, 2011 - 05:14 AM UTC
Thanks for advice Jessica.

Yes, you are right Allen, this one is true.

berktuzuner
_VISITCOMMUNITY
Istanbul, Turkey / Türkçe
Joined: November 07, 2011
KitMaker: 20 posts
AeroScale: 19 posts
Posted: Friday, December 16, 2011 - 06:49 AM UTC
I think you (we) will need after market parts for mk 9.
I recieved the decals today they are looking really good.
Congratulations
Jessie_C
_VISITCOMMUNITY
British Columbia, Canada
Joined: September 03, 2009
KitMaker: 6,965 posts
AeroScale: 6,247 posts
Posted: Friday, December 16, 2011 - 10:26 AM UTC
Those are going to look vey interesting. It's always nice to see aricraft in non-'traditional' markings. It might even be neat to see them parked beside an equally Turkish FW-190
atoplu
_VISITCOMMUNITY
Ontario, Canada
Joined: August 17, 2003
KitMaker: 753 posts
AeroScale: 174 posts
Posted: Friday, December 16, 2011 - 11:10 AM UTC
Yes Berk, i bought some aftermarket parts for MkIXe.

Jessica, like this.


or

17741907
_VISITCOMMUNITY
Istanbul, Turkey / Türkçe
Joined: December 05, 2007
KitMaker: 953 posts
AeroScale: 5 posts
Posted: Friday, December 16, 2011 - 11:44 AM UTC
Looks great...Watching will be interesting for me....Good luck...
Jessie_C
_VISITCOMMUNITY
British Columbia, Canada
Joined: September 03, 2009
KitMaker: 6,965 posts
AeroScale: 6,247 posts
Posted: Friday, December 16, 2011 - 01:21 PM UTC
Exactly like that! Now I'm wondering how I can get that decal here in Canada...
atoplu
_VISITCOMMUNITY
Ontario, Canada
Joined: August 17, 2003
KitMaker: 753 posts
AeroScale: 174 posts
Posted: Tuesday, December 20, 2011 - 12:03 PM UTC
Cockpit is done.


AussieReg
Staff MemberAssociate Editor
AUTOMODELER
#007
_VISITCOMMUNITY
Victoria, Australia
Joined: June 09, 2009
KitMaker: 8,156 posts
AeroScale: 3,756 posts
Posted: Tuesday, December 20, 2011 - 05:54 PM UTC
Very neat work so far Ayhan, I'm going to be following this dual-build for sure. Great choice of uncommon subjects.

Cheers, D
emroglan
_VISITCOMMUNITY
Istanbul, Turkey / Türkçe
Joined: December 16, 2004
KitMaker: 1,163 posts
AeroScale: 255 posts
Posted: Tuesday, December 20, 2011 - 08:57 PM UTC

Quoted Text

Exactly like that! Now I'm wondering how I can get that decal here in Canada...


If you are serious Jessica, I might obtain the decals here and then send them to you via air post. It will take two days for the decals to reach me and I assume about a month for them to reach you.
Jessie_C
_VISITCOMMUNITY
British Columbia, Canada
Joined: September 03, 2009
KitMaker: 6,965 posts
AeroScale: 6,247 posts
Posted: Wednesday, December 21, 2011 - 04:28 AM UTC

Quoted Text

If you are serious Jessica, I might obtain the decals here and then send them to you via air post. It will take two days for the decals to reach me and I assume about a month for them to reach you.


Thanks for the kind and generous thought. Ayhan's already offered me a set, so look for a review once they get here

However I'm sure that there may be more North American modellers who would be willing to take you up on the offer. Maybe set up a paypal account and become an exporter?
vanize
_VISITCOMMUNITY
Texas, United States
Joined: January 30, 2006
KitMaker: 1,954 posts
AeroScale: 1,163 posts
Posted: Wednesday, December 21, 2011 - 06:50 AM UTC

Quoted Text


Quoted Text

If you are serious Jessica, I might obtain the decals here and then send them to you via air post. It will take two days for the decals to reach me and I assume about a month for them to reach you.


Thanks for the kind and generous thought. Ayhan's already offered me a set, so look for a review once they get here

However I'm sure that there may be more North American modellers who would be willing to take you up on the offer. Maybe set up a paypal account and become an exporter?


I'm interested!

I've been meaning to do a Turkish Fw 190 since I visited Turkey in 2004!
atoplu
_VISITCOMMUNITY
Ontario, Canada
Joined: August 17, 2003
KitMaker: 753 posts
AeroScale: 174 posts
Posted: Sunday, December 25, 2011 - 10:09 PM UTC
After assembling the fuselage, I began the conversion for the Mk IX. The type E gun covers were obtained from Ultracast and these were replaced with kit parts. This will take some effort, but no major issues here. In addition, the machine guns must be deleted for a proper Mk IX conversion. To do this I first masked the panels on the wings and the ejection holes underneath the wing, then applied putty over these. The same was also done for the MG barrel holes. As you can see in the photos, the two bulges on the wings that Tamiya somehow made up were also masked to protect the detail around and then were removed by sanding.


As you can see, Tamiya is progressing faster than Tamiya and Hasegawa, as always. The wing assembly was also done, with a minor issue in the fuselage-wing-nose connection. I applied putty to the problematic area and I will sand it properly in a while. By the way, the gun barrels are from RB models and they are not fixed in place yet, they might be looking crooked at the moment.
EdgarBrooks
_VISITCOMMUNITY
England - South East, United Kingdom
Joined: June 03, 2006
KitMaker: 397 posts
AeroScale: 384 posts
Posted: Sunday, December 25, 2011 - 11:33 PM UTC

Quoted Text

After assembling the fuselage, I began the conversion for the Mk IX. The type E gun covers were obtained from Ultracast and these were replaced with kit parts. This will take some effort, but no major issues here. In addition, the machine guns must be deleted for a proper Mk IX conversion. To do this I first masked the panels on the wings and the ejection holes underneath the wing, then applied putty over these. The same was also done for the MG barrel holes. As you can see in the photos, the two bulges on the wings that Tamiya somehow made up were also masked to protect the detail around and then were removed by sanding.]


Although the outer guns were removed, on the E wing, the compartments remained, and the covers were simply replaced by plain examples, so there's no need to fill the panel lines.
The "two bulges on the wings" were stiffeners, fitted to A & B wings, from July, 1942. There's no absolute guarantee that they were in place at the end of the war, but it's more likely that they were there.
Edgar
atoplu
_VISITCOMMUNITY
Ontario, Canada
Joined: August 17, 2003
KitMaker: 753 posts
AeroScale: 174 posts
Posted: Monday, December 26, 2011 - 12:22 AM UTC
Hi Edgar,
I have some reference photos about your comments.


EdgarBrooks
_VISITCOMMUNITY
England - South East, United Kingdom
Joined: June 03, 2006
KitMaker: 397 posts
AeroScale: 384 posts
Posted: Monday, December 26, 2011 - 02:58 AM UTC
If you don't want to believe me (and Vickers-Supermarine,) that's entirely up to you.
atoplu
_VISITCOMMUNITY
Ontario, Canada
Joined: August 17, 2003
KitMaker: 753 posts
AeroScale: 174 posts
Posted: Monday, December 26, 2011 - 09:02 PM UTC

Quoted Text

If you don't want to believe me (and Vickers-Supermarine,) that's entirely up to you.


Sorry if I misunderstood you. Did you mean the shell case holes under the wing that should have been remained?
EdgarBrooks
_VISITCOMMUNITY
England - South East, United Kingdom
Joined: June 03, 2006
KitMaker: 397 posts
AeroScale: 384 posts
Posted: Monday, December 26, 2011 - 11:00 PM UTC
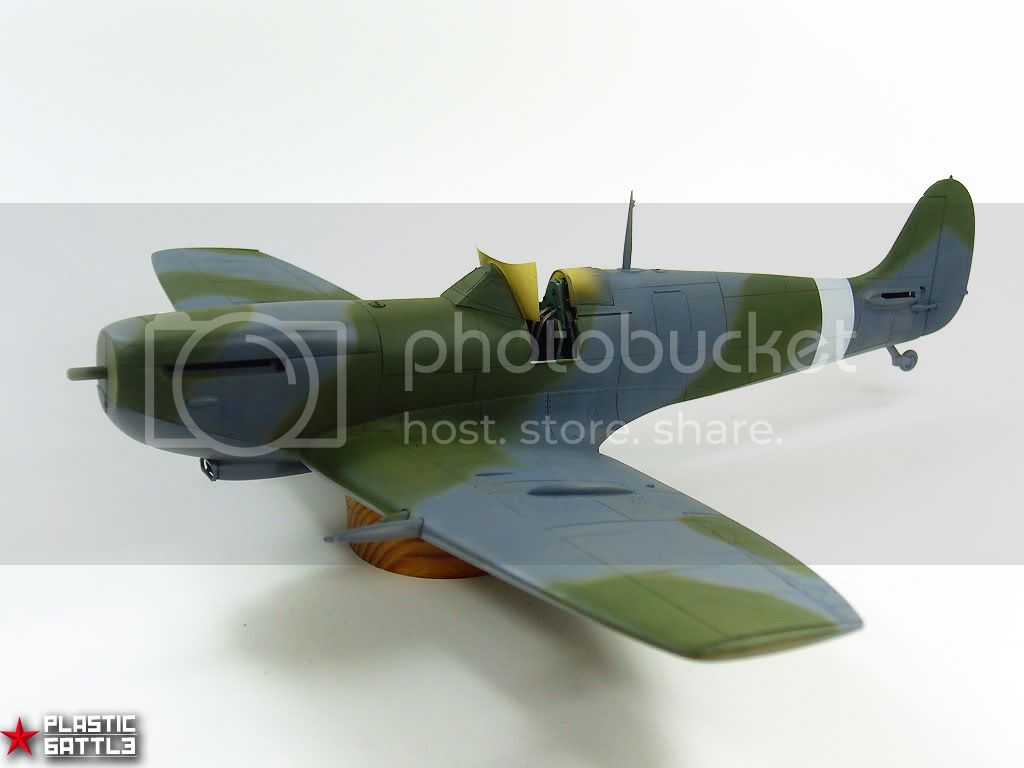
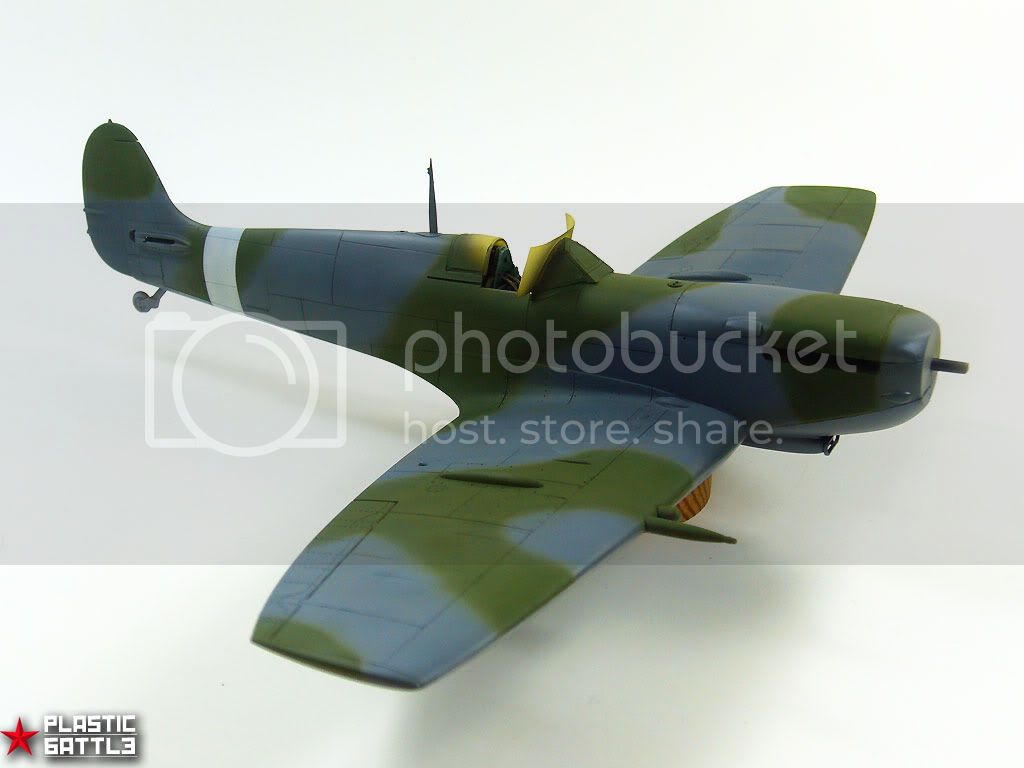
No, the covers were replaced by completely plain types (even the small bulge on the top of the outermost cover, which made room for the rear of the ,303", was removed.) When the first conversions, in the RAF, were done, it was permissible to cover the ejection ports, and gun muzzles, with a double layer of plain (not red) fabric patches; later, plain covers became available.
The bulges, just in front of the ejection ports, were there to deflect cold air away from the ports, to stop the breeches freezing up; when the guns were removed the bulges became redundant, too.
It's entirely possible that the covers might have been sealed (the compartments made ideal receptacles for bringing bootleg liquour home,) but even a couple of coats of paint would make the lines quite indistinct.
On the low-back XVI, due to the extra fuselage fuel tank, the outer compartments were use to house the displaced compressed-air tanks, plus a couple of oxygen cylinders.
Only the late XIVe, F.R.XIVe, and XVIII had completely plain outer wing surfaces, since there were never any plans to fit the .303" guns in them.
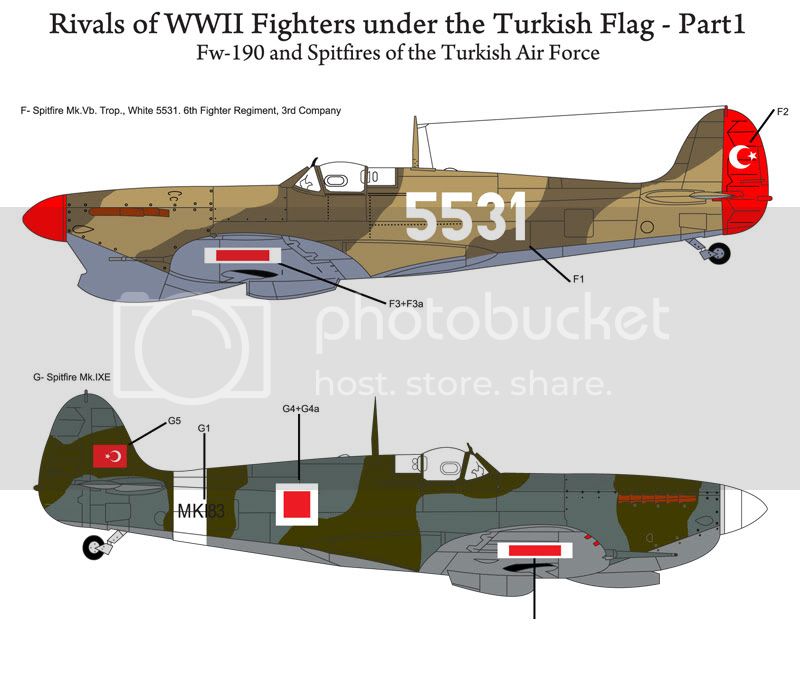
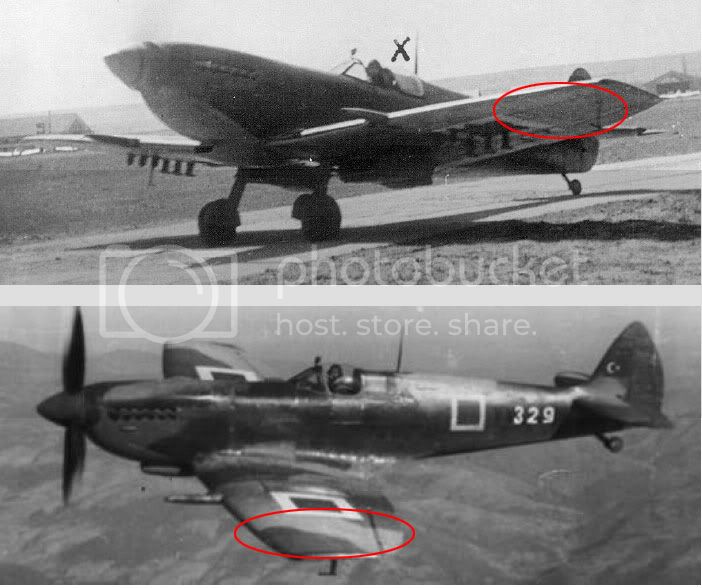
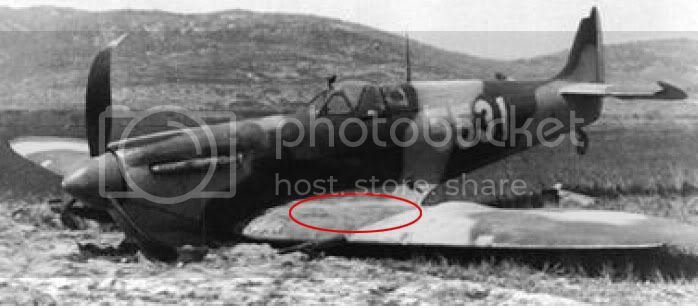
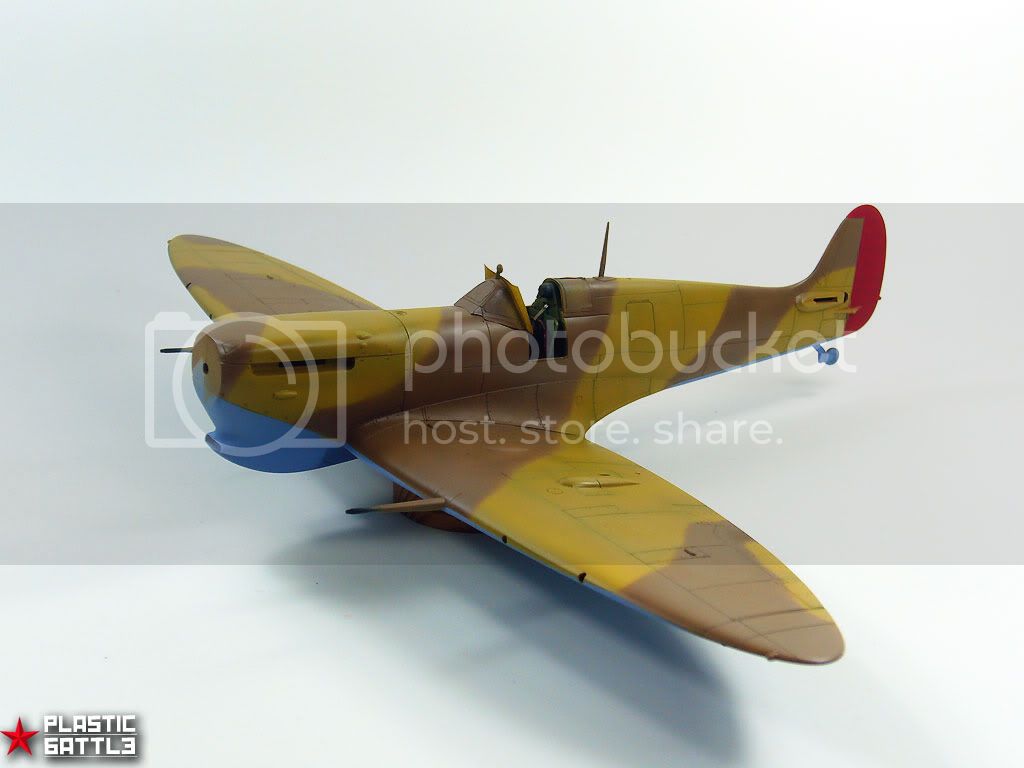
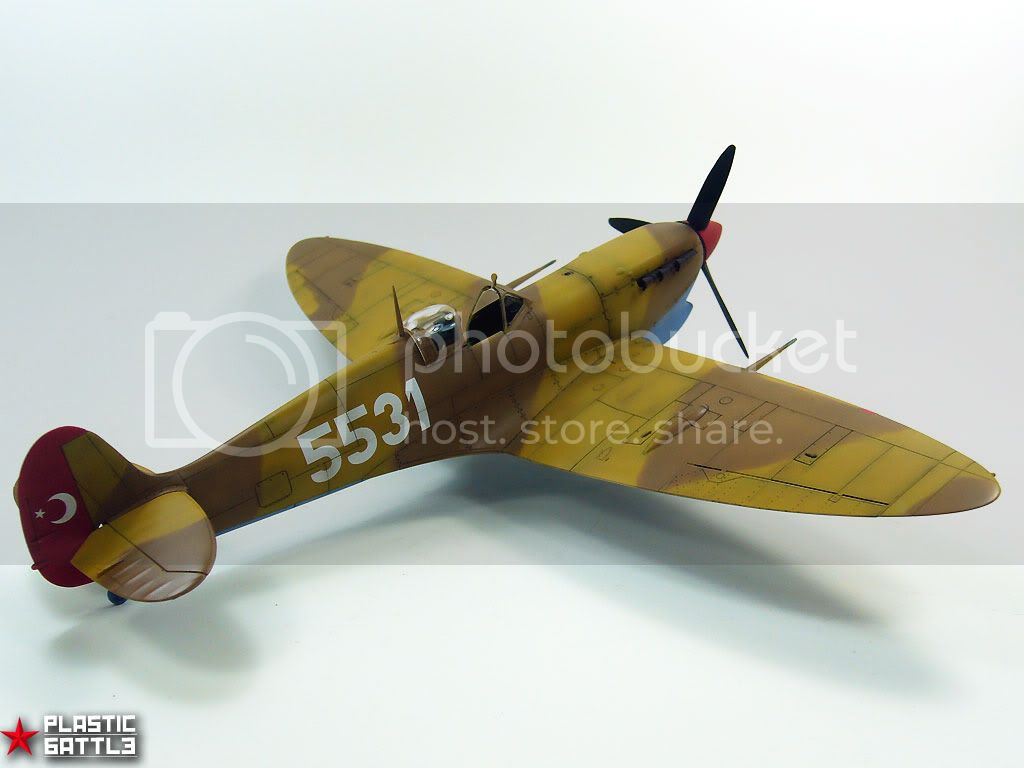
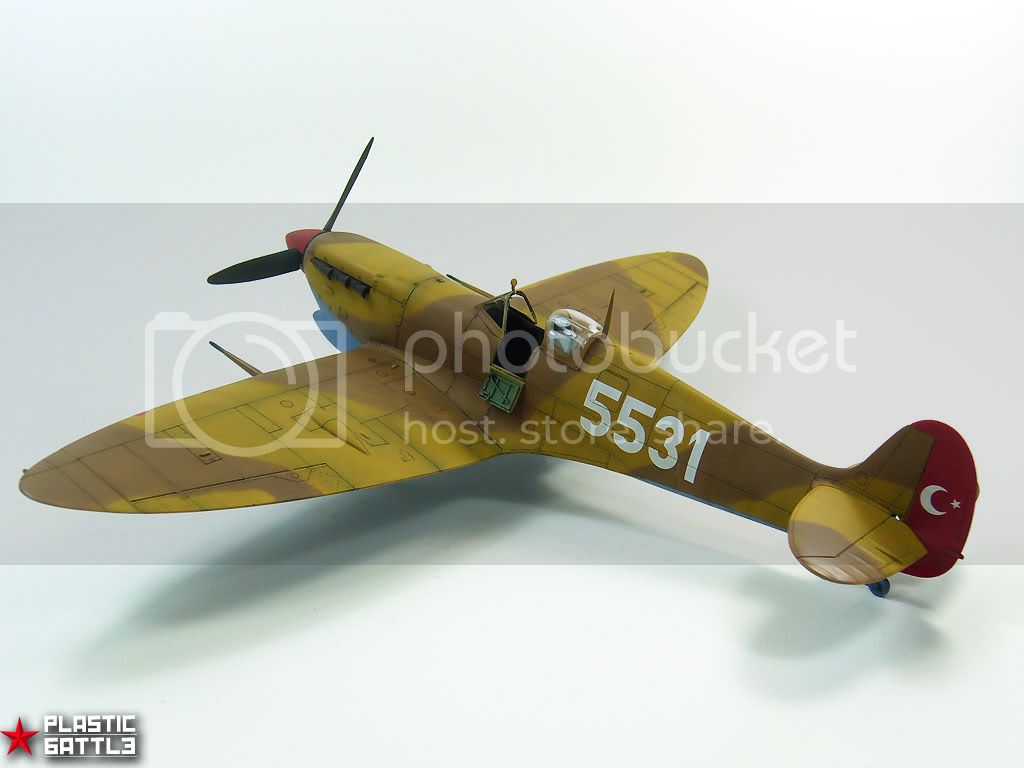
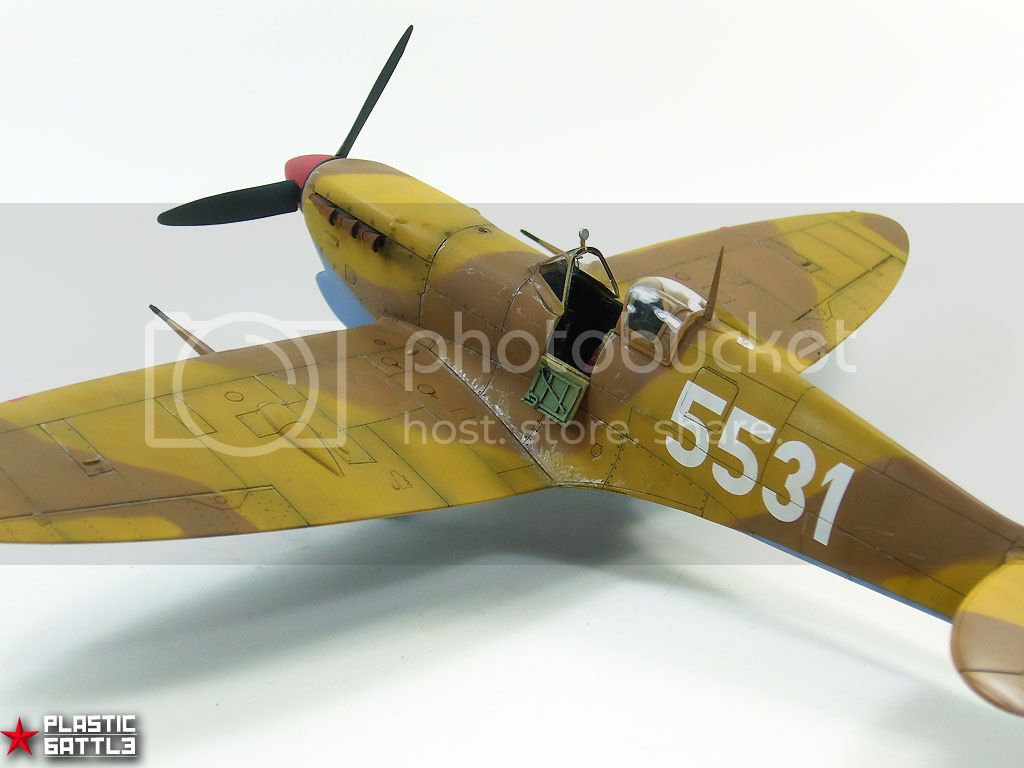
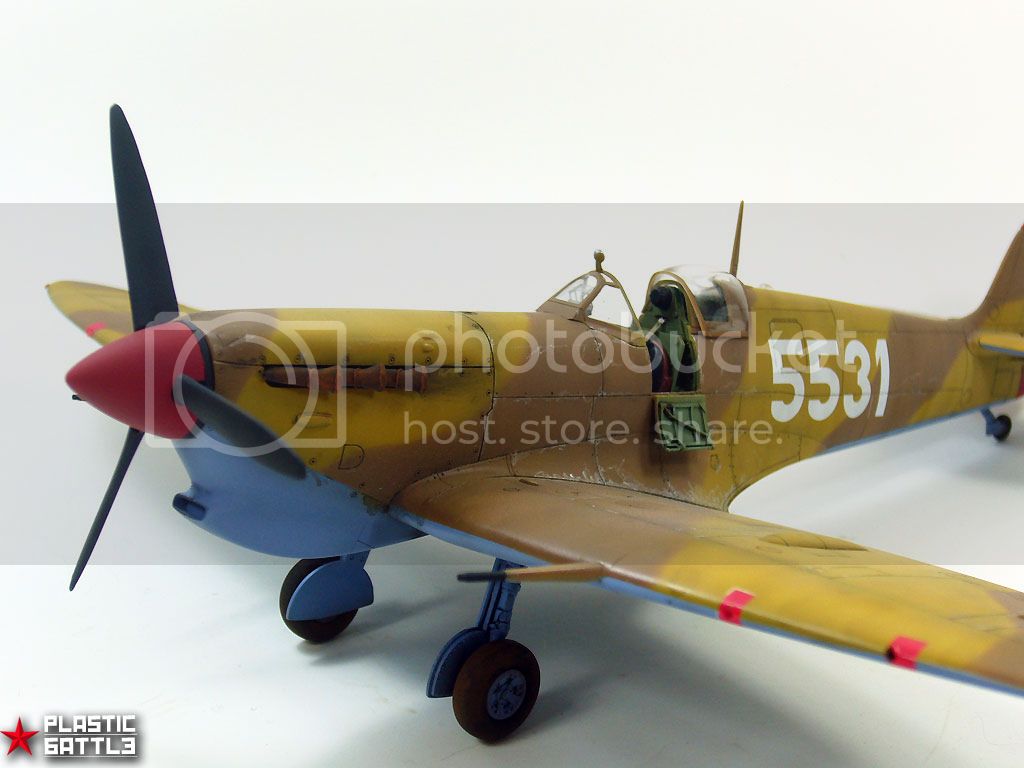
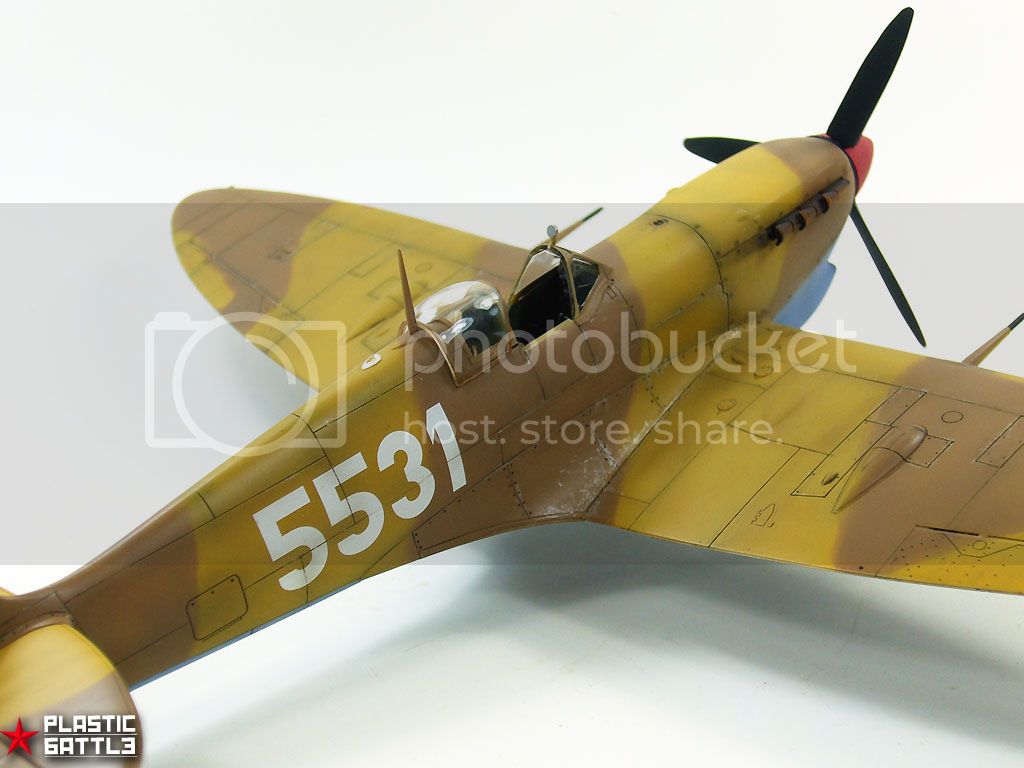
The lack of stiffeners on 5531's wings could be because the airframe dated from before the modification; the British government rather messed the Turkish government about, and kept them waiting, for months, for their deliveries, and the Vb(trop) aircraft came from Middle East stocks, held in the Mediterranean area. They were generally in poor condition, apparently, so could have been quite ancient.
I guess I should have done a bit of checking, first, instead of barreling in, playing the smart-Alec know-all; sorry.
Edgar
atoplu
_VISITCOMMUNITY
Ontario, Canada
Joined: August 17, 2003
KitMaker: 753 posts
AeroScale: 174 posts
Posted: Tuesday, January 24, 2012 - 12:44 PM UTC
Those are ready to primer.


atoplu
_VISITCOMMUNITY
Ontario, Canada
Joined: August 17, 2003
KitMaker: 753 posts
AeroScale: 174 posts
Posted: Sunday, January 29, 2012 - 09:14 PM UTC
Progress pictures.


atoplu
_VISITCOMMUNITY
Ontario, Canada
Joined: August 17, 2003
KitMaker: 753 posts
AeroScale: 174 posts
Posted: Tuesday, January 31, 2012 - 12:08 PM UTC
Almost done after the few touches.


atoplu
_VISITCOMMUNITY
Ontario, Canada
Joined: August 17, 2003
KitMaker: 753 posts
AeroScale: 174 posts
Posted: Thursday, February 02, 2012 - 12:15 AM UTC
Models are completed.


The_King
_VISITCOMMUNITY
Istanbul, Turkey / Türkçe
Joined: March 03, 2005
KitMaker: 723 posts
AeroScale: 2 posts
Posted: Thursday, February 02, 2012 - 01:34 AM UTC

Good work as usual. But the yellow one beats the other..


Ellerine sağlık..
 _GOTOTOP