


I wanted to start a build log of the kit I hope to become my greatest work to date, but with each kit we complete don't we all want that :thumbsup:
I am building Trumpeter's 1/32 Su-25 Frogfoot and decking it out as much as I can, so I will also be including the following parts:
- Aires Su-25 Cockpit
- Aires Su-25 Wheel Bay
- Aires Su-25 Electronics Bay
- Aires Su-25 Engines
- Quickboost Su-25 Compressor Fans
- Fisher Models Su-25 Weighted Wheels
- NEEDING Zacto Pylons
There may be more to the list but as of yet, thats all haha.
Let me first apologize for the bad pictures, they are taken with my I am a spammer, please report this post. 4S because I don't have a proper camera to take good shots, so this is as good as it will get.
I am "by nature" an armor builder so I enjoy building the big birds is right up my alley but I didn't expect the box to be this big so I knew that the Frogfoot would be ginormous. Upon looking at the sprues, I noticed that literally HALF the box is payload. Upon examining the instructions the build seemed pretty straight forwards but after reading numerous reviews and build logs of the kit I realized that this is sort of a Frankenstein kit and it does not let you build a correct Frogfoot out of the box, which based on Trumpeter's armor, this is only half surprising.
I am also positive that I will be building a Ukranian or Soviet bird that has been beat to hell. I will try to accomplish this by using techniques synomous to armor such as applying filters, pigments, and oil dot fading amongst other things by using AK Interactive, MiG Productions, and other products. Aside from painting with an airbrush, the majority of the painting will be completed using good ol' brushes and acrylics.
I will need help along the way concerning fit issues as aircraft present a different set of problems for me, but after being a silent member here for a few months I feel like I will be able to get all the help I need from all the forums (Aeroscale, ARC, LSP, etc). I hope to spark some great dialouge and discussion concerning how we can make this kit better. I can scratch build but only for armor, so we shall see how aircraft will go.
My goals for this kit is not to create a completely accurate Su-25, but to use all the AM parts to their full potential by using good painting and weathering techniques, but also showing others that by incorporating other modeling "diciplines", we can truely lift the level at which we all model. SO without any more dilly dallying, lets get to it.
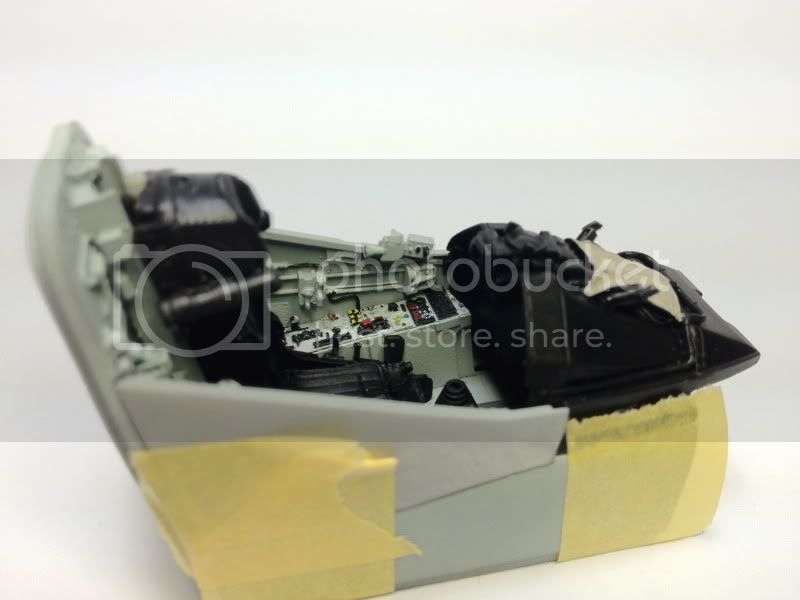
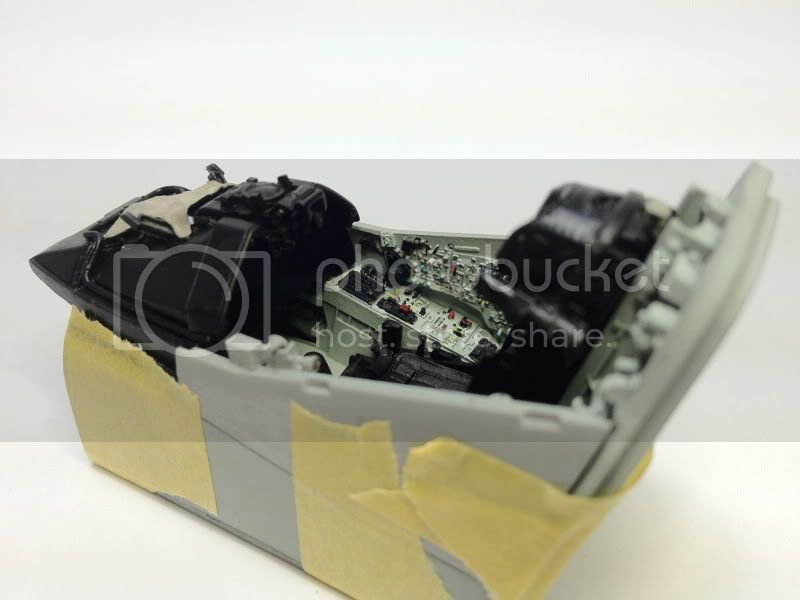
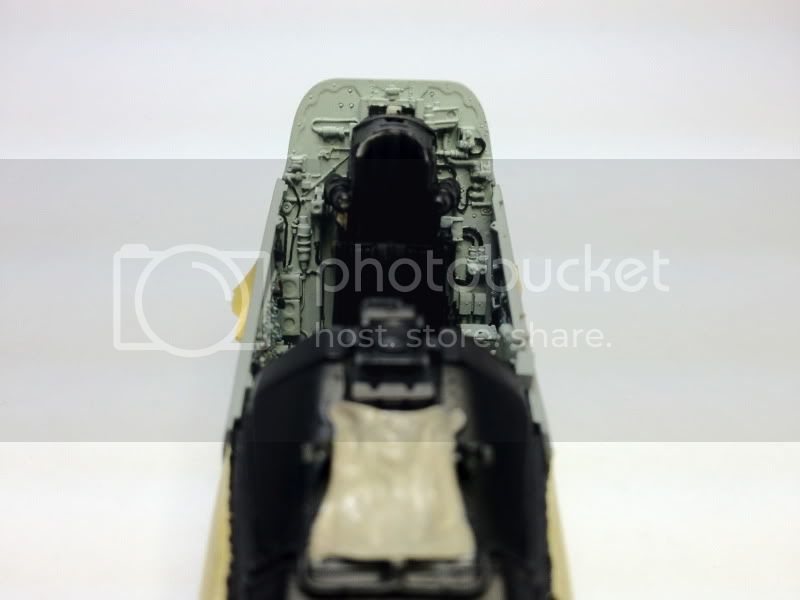
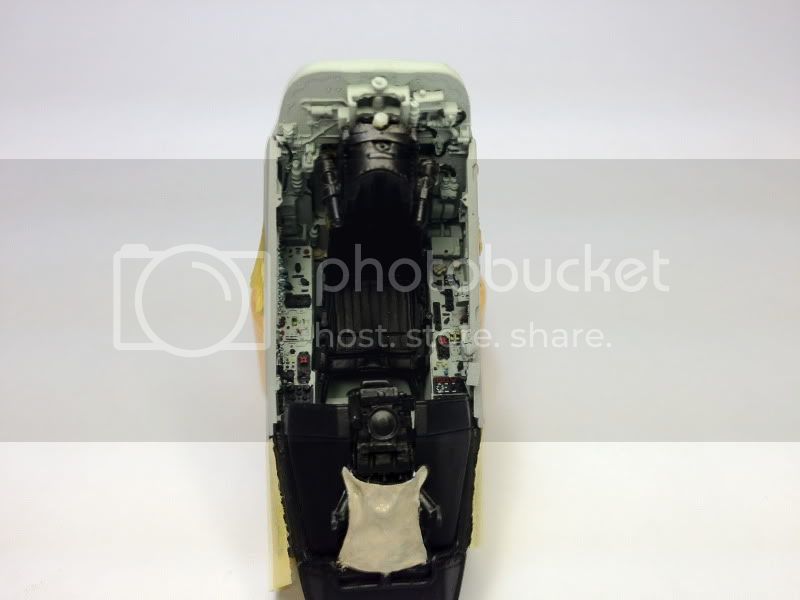
The instructions call for the cockpit to be assembled first, but upon examining Trumpeter's pit, simplistic is an understatement. I knew that looking at the Aires pit, it would be an amazing addition, but from my brief stint in aircraft building as a teenager, resin put never fit quite well, and that was the first thing I checked. Well checked after cleaning up the pour blocks, which always takes a while because one must be patient to ensure everything lines up accordingly.
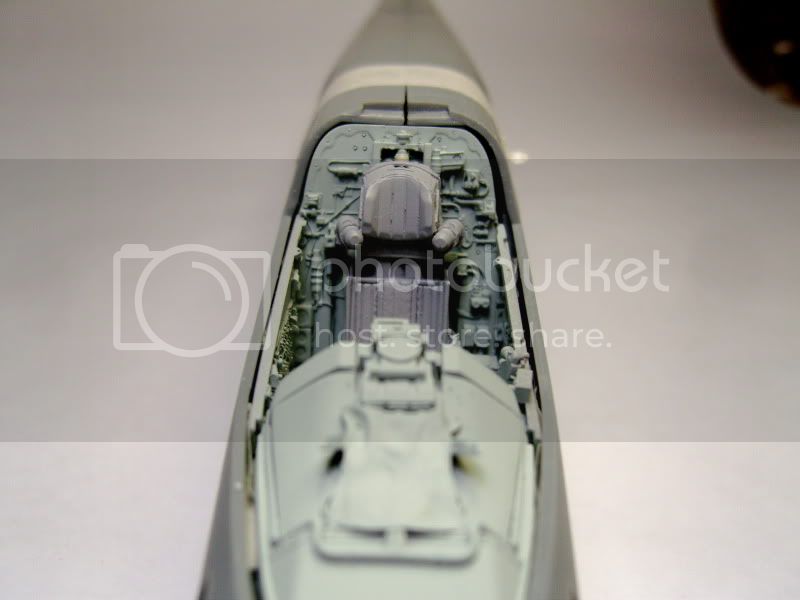
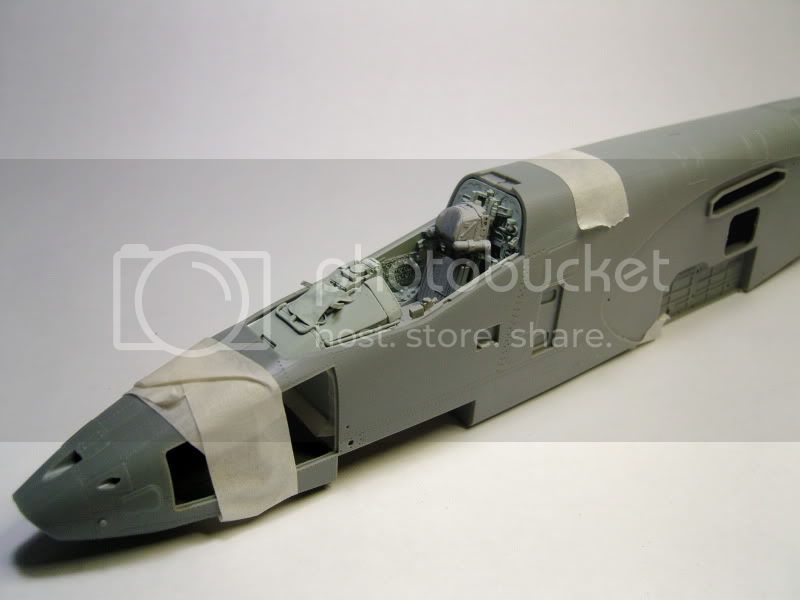
As you can see, the fit is a bit weird and leaves these nasty gaps everywhere, so as things progress I will attempt to solve this issue, and will be looking for help from everyone else too.
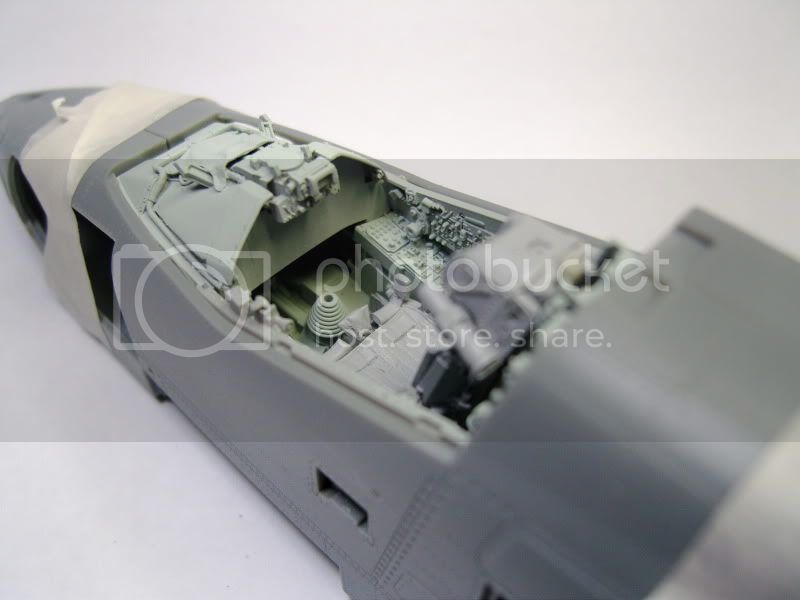
However, onto the pit....its amazing. I remember when I first opened it I smiled because it was that great looking and couldn't wait to paint it. When checking my references, I noticed the pit was very accurate too. There were a few things that were off, but that was to be expected, but overall still great. My first issue came when determining what color to use for Soviet/Russian interior blue. After reading a bunch of blogs and forum posts I decided to go with RLM 76, Light Blue, or Heilgrau. I choose lifecolor, which has great airbrushing characteristics in addition to brush painting. The plus side of things is that the only thing needed to thin the paint is water! I use distilled water in a 50/50 ratio for airbrushing and 60 wanter/40 paint for brush painting. I first soaked all the resin in near boiling water mixed with dishwashing liquid to break down the release agents and cure any instances of warping that may have occured before I moved onto priming. Next, I used Tamiya Fine Grey Primer out of the can to prime all the parts. After letting this sit under a halogen lamp for about an hour I sprayed Gunze Mr Clear Coat (Flat) out of the can over all the parts I primed. This gives the paint I was about to air brush a bit more bit and protects the primer coat incase I made a mistake airbrushing.
I then took my 50/50 ratio of RLM 76 to my airbrush and compressor. I have come to the conclusion that skill is the biggest determining factor in the quality of your models, however, tools are almost as significant. I mention this because I have two airbrushes for two completely different purposes. I use a Badger 155 Dual Action Anthem for large area coverage and an Itawa HP-C+ for detail work, which will come much later on during the finishing stages. Also, when I first got a compressor, I used a Pasche 1/2 HP compressor that would constantly pump air, and was louder than hell. I went to Harbor Freight (as known here in the states) and got a 3 Gallon automatic compressor, which once full, will allow you to spray in silence. The only tricky part is when it turns on to refil the tank after it drops below 80 PSI; this always seems to scare me half to death as I am focused painting. The good news is they usually have these compressors on sale at least once a month and you can score one for about $20 USD!!!
Anywho back on topic, I sprayed this about about 20PSI from a distance between 3 and 6 inches away with fast passes to gradually build up the layers. It is hard to see at first but the layers will come and the smoothness of the paint will show. After spraying this, I let it sit for a few days, mainly because I didn't have time to get into any detail painting.
So a few days later after the holidays and eating terribly, and finally getting back to the gym and training on the bike, I was able to relax and do some painting. Back to the tools issue, I compared the brushes I own to the ones I just purchased. I used run of the mill brushes that I got from the Dick Blick (local art store) that were made for acryllic paints, but these always made painting much more difficult. I took a cue from the figure painters and bought some quaility brushes. I ended up buying 2 Winsor & Newton Series 7 and 3 Winsor & Newton Series 7 Miniature brushes from size 000 to 0. I will post some photos pointing out the differences a bit later if anyone is interested.
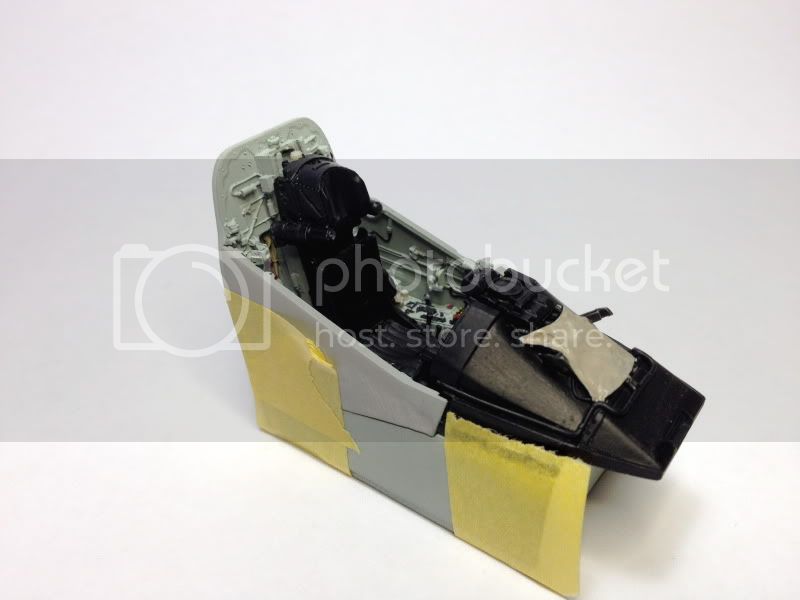
Using Vallejo acrylics, I began painting with flat black. For this, I diluted it 60% distlled water and 40% paint, which was easily measured thanks to an eyedropper for the water and the eye dropper style bottles the paint comes in. There is a trick that I picked up from Calvin Tan, the epic figure painter (http://zyclyon.blogspot.com/), and that was addding a drop of liquid paint retarder to the mixture in my paint dish. This allows the acrylics to function a bit like oils in which the drying tme will increase and will allow the paints to be more workable. This also has a plus and allows the paint to dry much more evenly and eliminate any brush strokes that we may encounter.
So using references I painted all black areas first, and if I made any mistakes by "coloring outside the lines" I could either wipe it away thanks to the drying time, or use the base color of RLM 76 to blend and create some subtle shadows Now I know that american jets do not typically have colorful cockpits and I am one of those that hates to see a pit as if it looks like a pilot threw up a bag of skittles during a flight, but you can get away with that on soviet birds like this Frogfoot. Using red, yellow, and a weird blend to create a blue that matched my photos, I was able to get the basics of the cockpit painting done. There was no dry brushing or washes used, just a W&N Miniature 000 and 00 brush. I did not "start" the K-36L seat yet, but just applied numerous layers of black as I set out to think about how I want to paint the seat so its not just a boring black. Here I will use color theory to achieve unconventional shadows and highlights using combinations of warm and cold colors such as blues and reds/yellows and if there is interest I can document it step by step once I get the base colors down and sealed up.

I am no where near done painting the pit, but I feel great about all the progess I was able to achieve today. I still have to add any silver elements to components and oil washes to clean up untidy lines that I couldn't quite reach or paint well, but there is always tomorrow!
So thats it for now and if anyone has any questions about the brushes I used, the paint mixes, or wants to see a demo on a 1/32 Wolfpack F-16I Sufa pit I am preparing to paint, then I will gladly post some progress shots to break it down for others.
Thanks for looking and until the next time!
Sean


