My first constructive post here! I made a copy from another forum, so you know
 . Hope you like it!
====
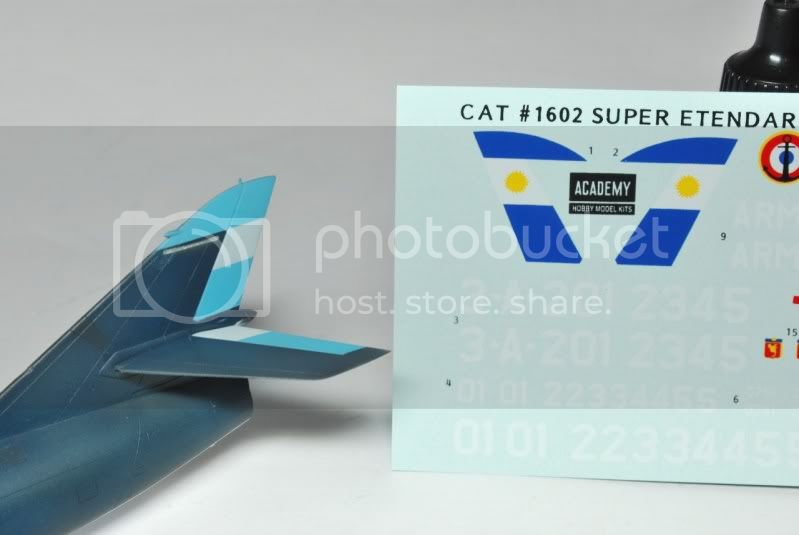
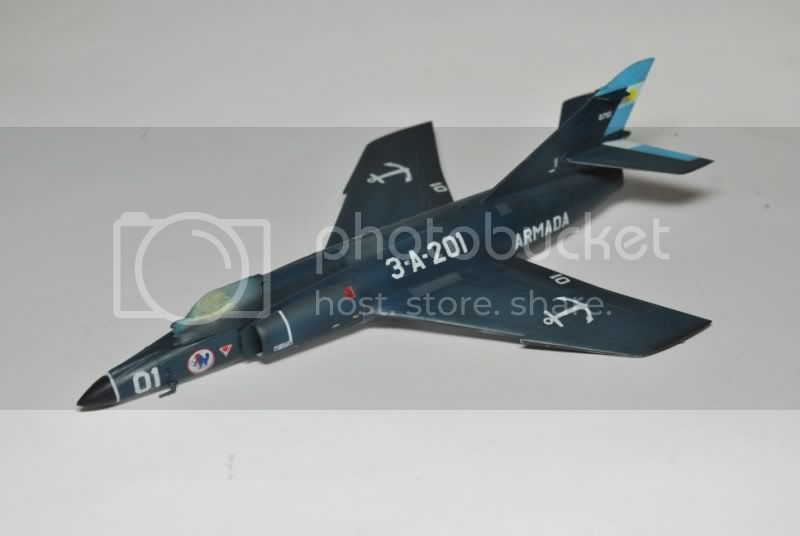
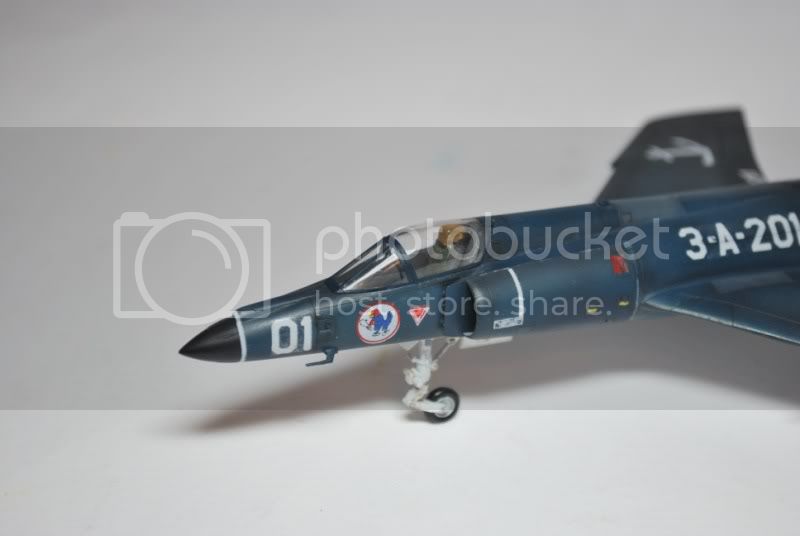
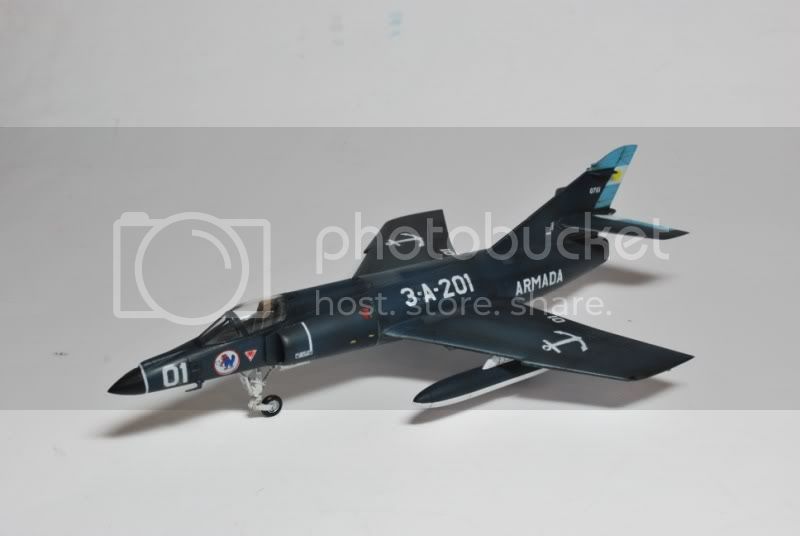
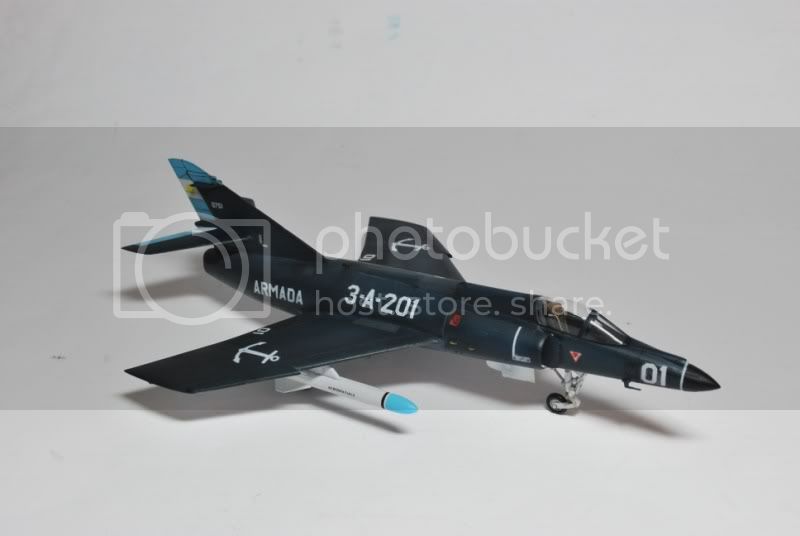
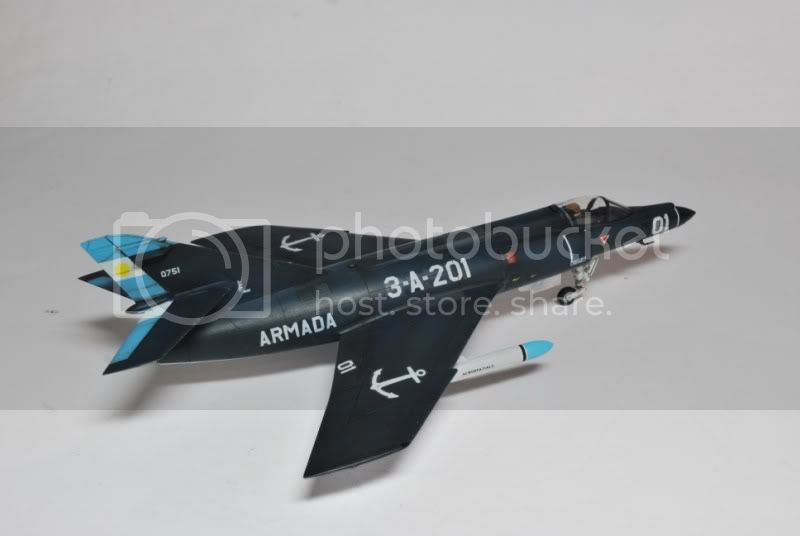
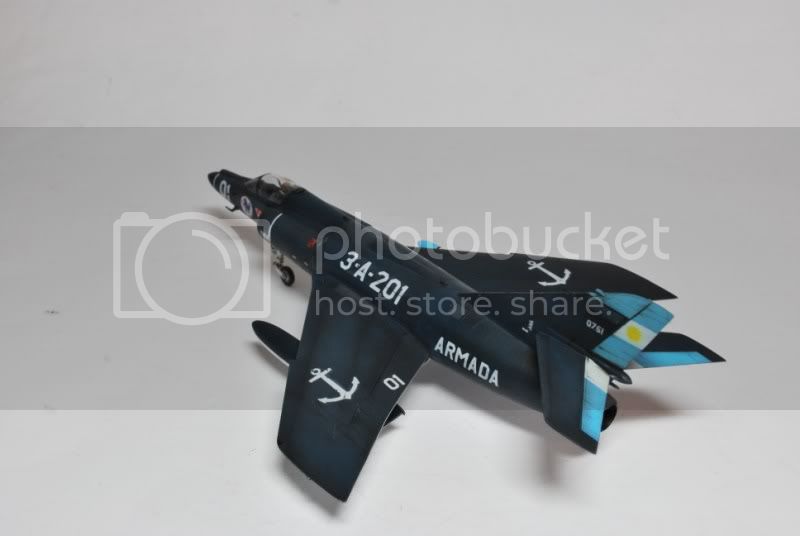
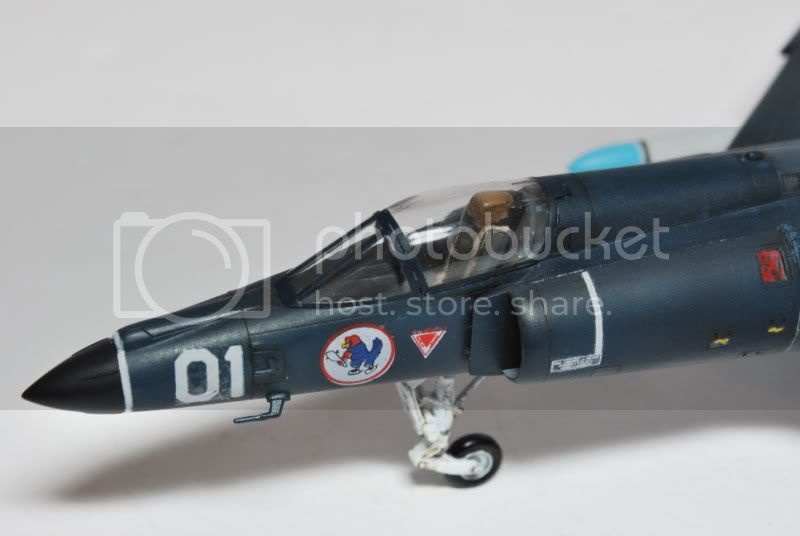
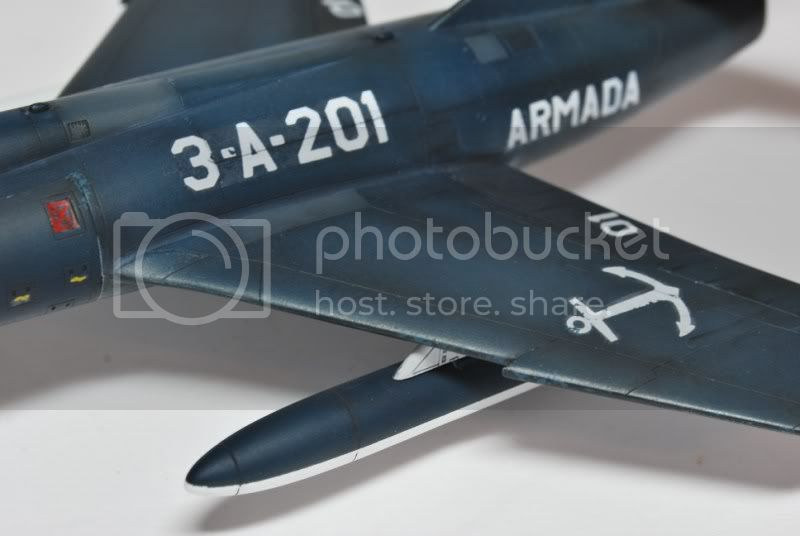
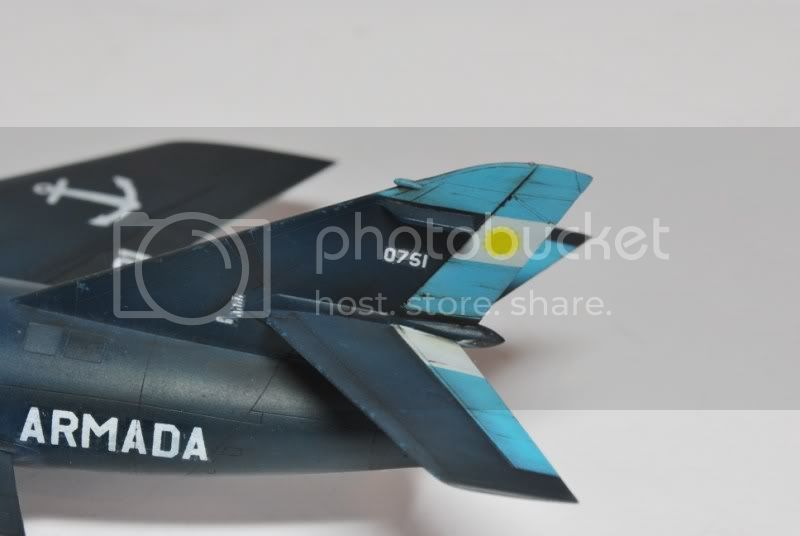
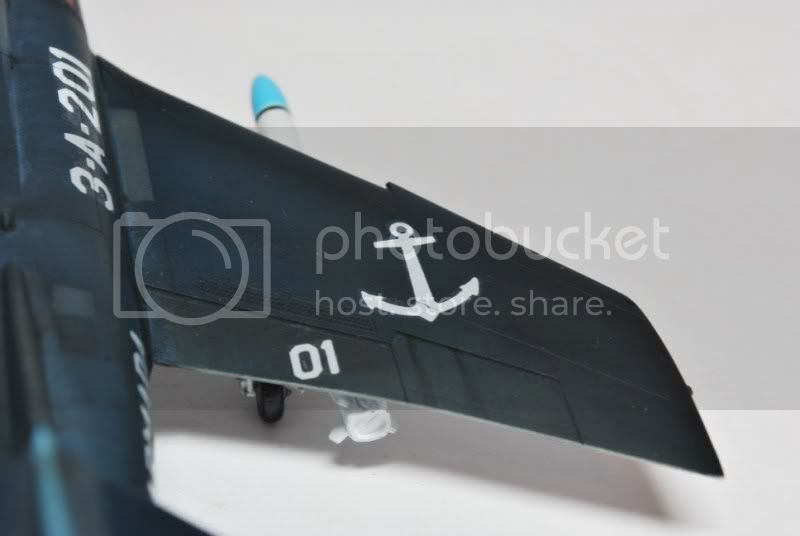
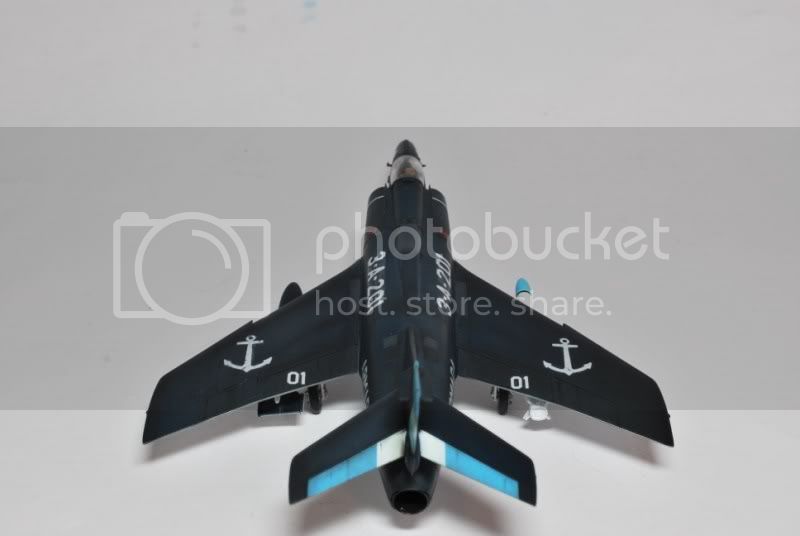
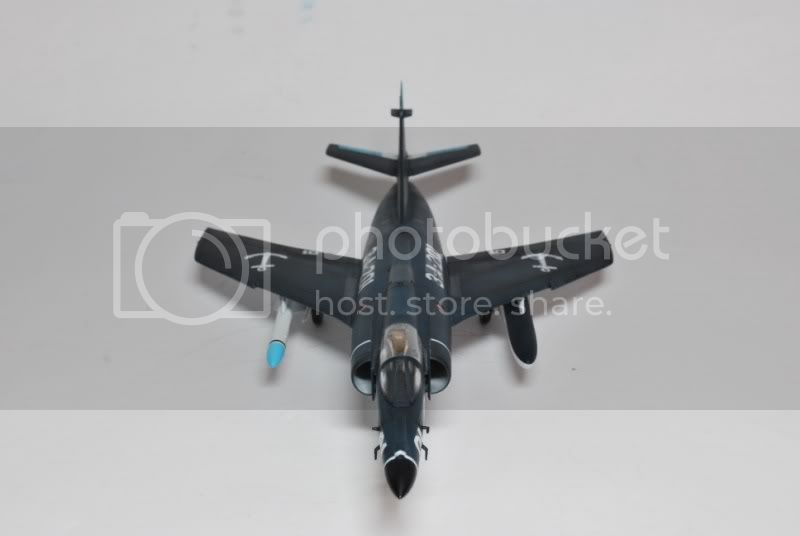
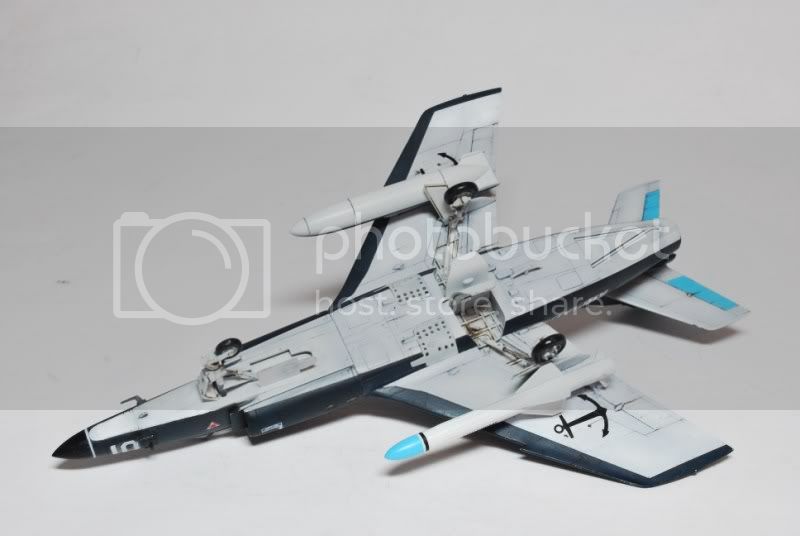
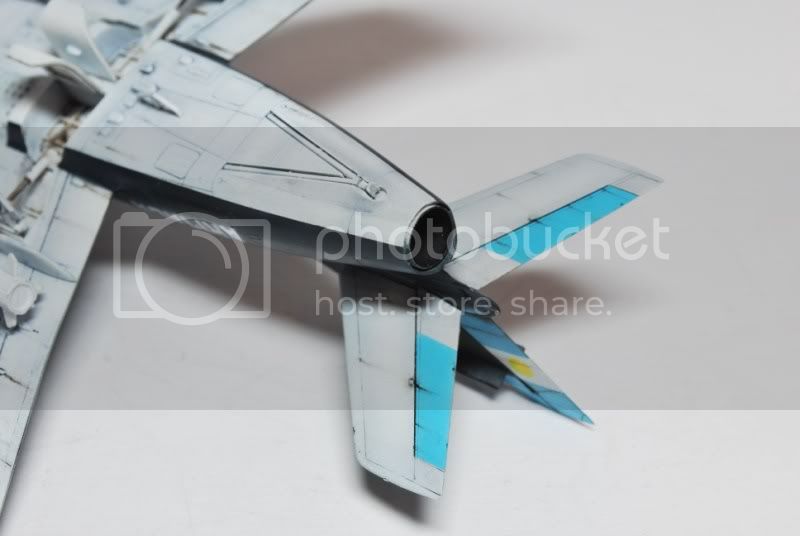
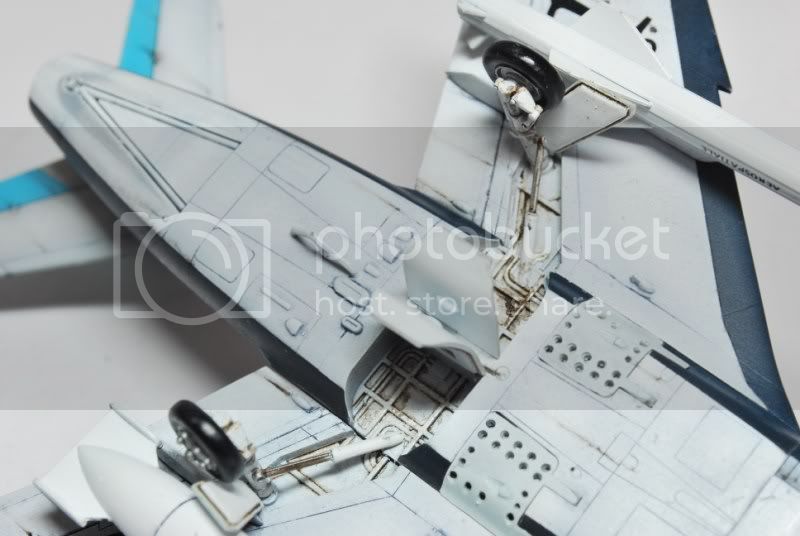
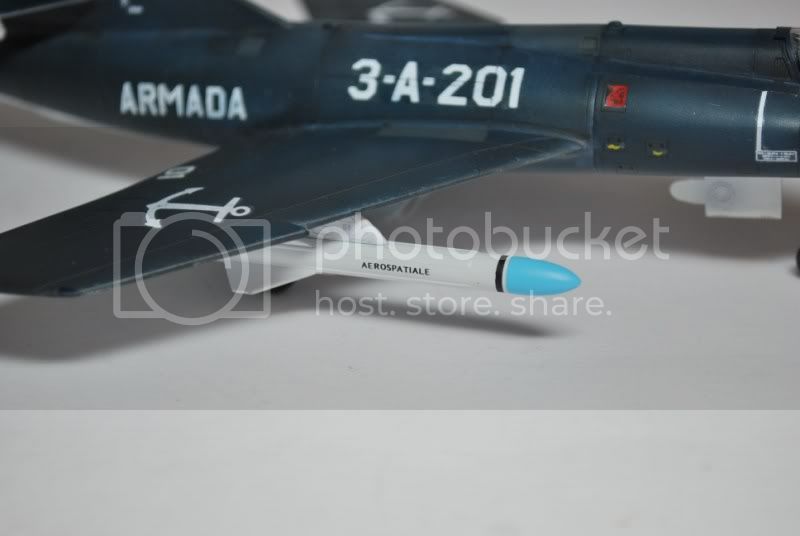
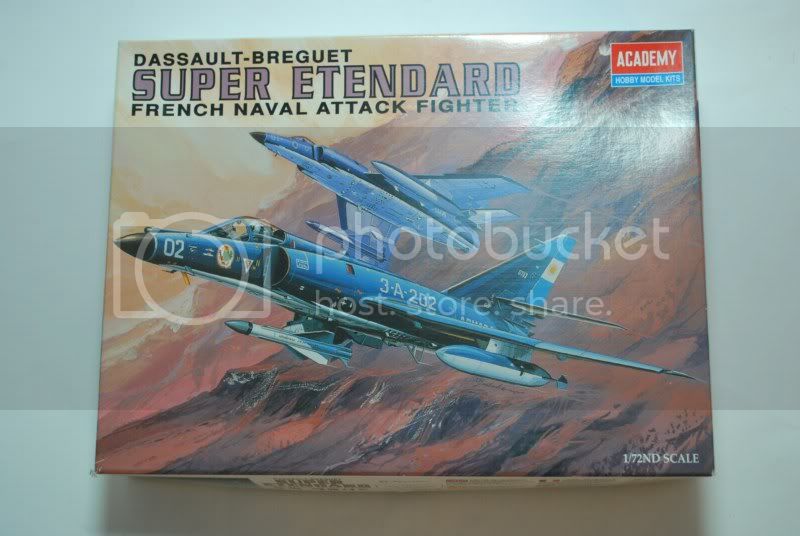
On Kitmaker Benelux there is a campaign on the Falklands War. I joined this campaign with an Academy 1/72 Super Etendard:

The Super Etendard was used during the Falklands war by Argentine. And with some success:
HMS Sheffield van de Royal Navy

More info:
Quoted Text
The Argentine Naval Aviation decided to buy 14 Super Étendards in 1980, after the United States put an arms embargo in place—due to the Dirty War—and refused to supply spare parts for their A-4Q Skyhawks. Assigned to 2nd Naval Air Fighter/Attack Squadron, Argentine pilots used French flight trainers between November 1980 and August 1981 in France, but at the time of the Falklands War, they had received only 45 hours of actual flight time in the aircraft.[6] Between August and November 1981, five Super Étendards and five Exocets were shipped to Argentina. All five of the missiles were used during the conflict, with one missile hitting the British destroyer HMS Sheffield and two the merchant aircraft transporter Atlantic Conveyor. Two missiles were used in each of those attacks.
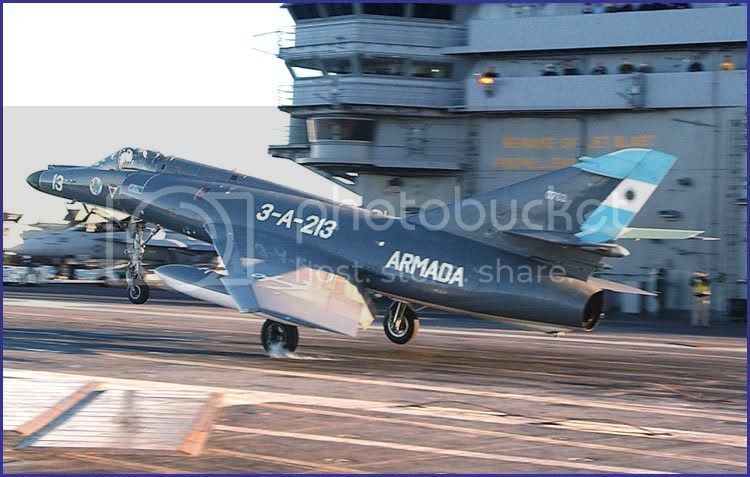
Touch and go on USS Ronald Reagan
The fifth missile was launched in an attack intended to strike against the British aircraft carrier HMS Invincible but the attacking aircraft failed to find their target.[7] Once the conflict was over, Super Etendards performed qualifications on aircraft carrier ARA 25 de Mayo until the ship's final retirement [8] From 2001, qualifications are made on Brazilian Navy carrier São Paulo [9] and/or touch-and-go on US Navy carriers during Gringo-Gaucho maneuvers when they are in transit within Argentine coastal waters.[10]
As of 2010, Argentine Super Étendards are still in service [11] and French cooperation to upgrade the aircraft was announced.[12][13
Bron: Wikipedia
Gr,
Jurrie
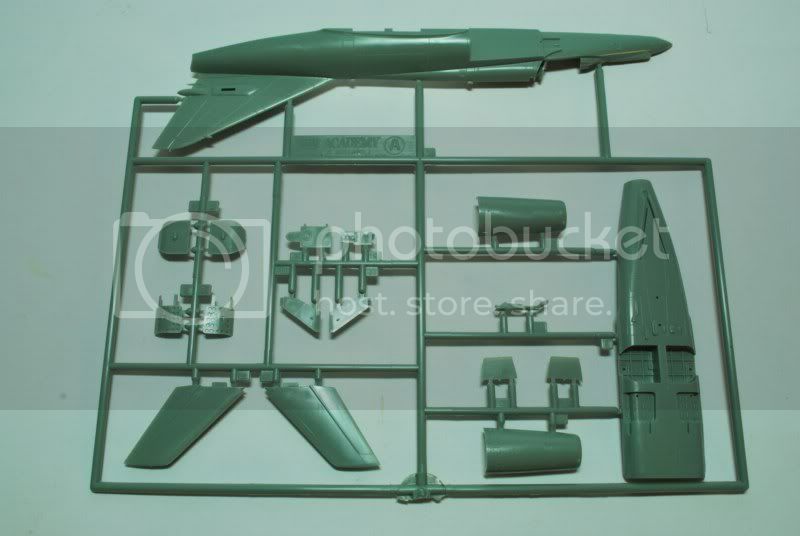
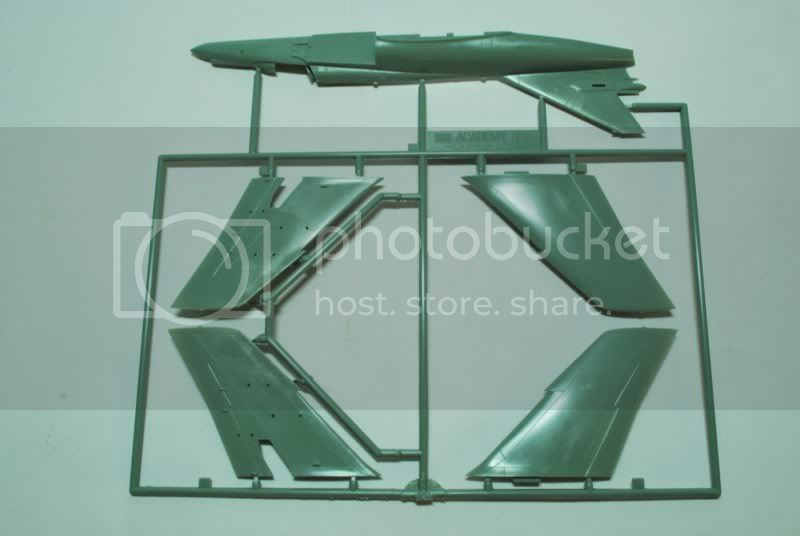
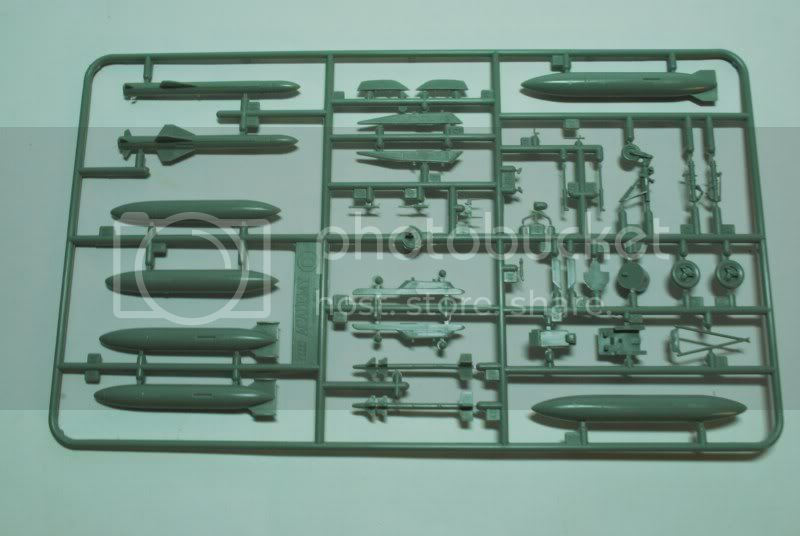
First update.
About the kit:
- Clear sprues are not that clear. I have to figure something out for this
- There is almost no cockpit detail
- There is some flash here and there
- The instruction only has 5 steps. But I think I will need some time.
Pics
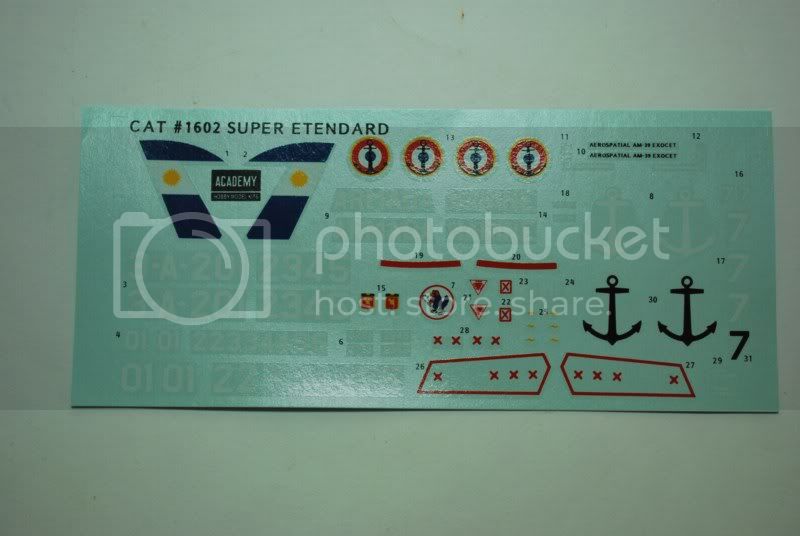
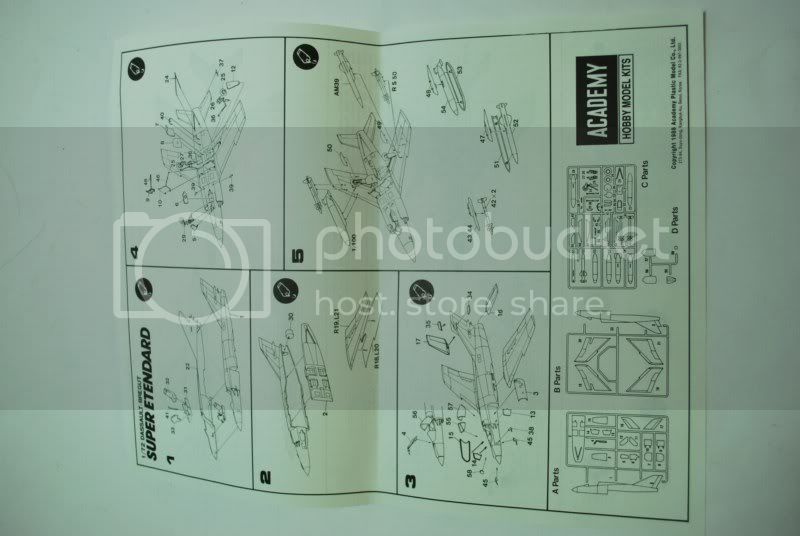
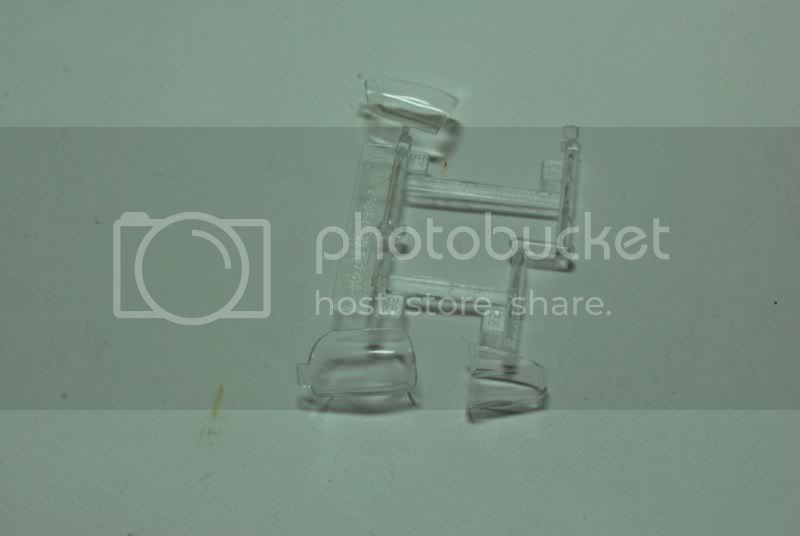
Gr,
Jurrie
Small update
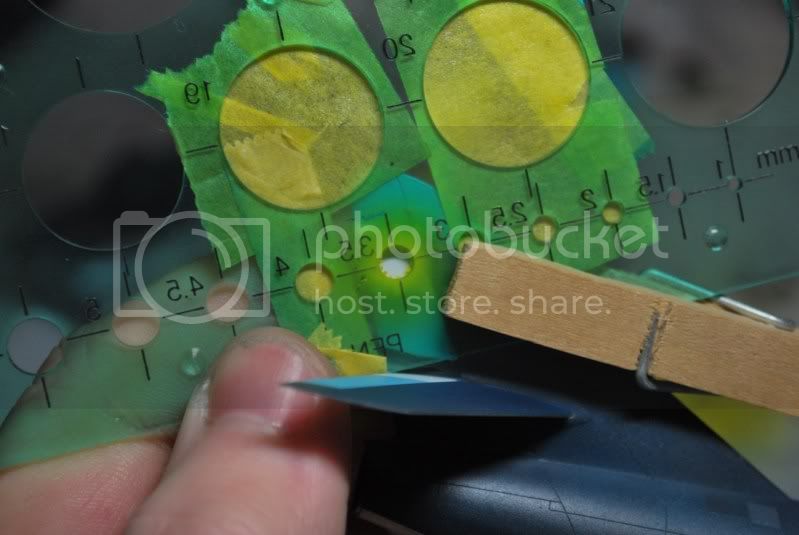
Updated the cockpit panel. Made holes with a punch n die. Put wood glue on the back to fill the holes. Then add some paint

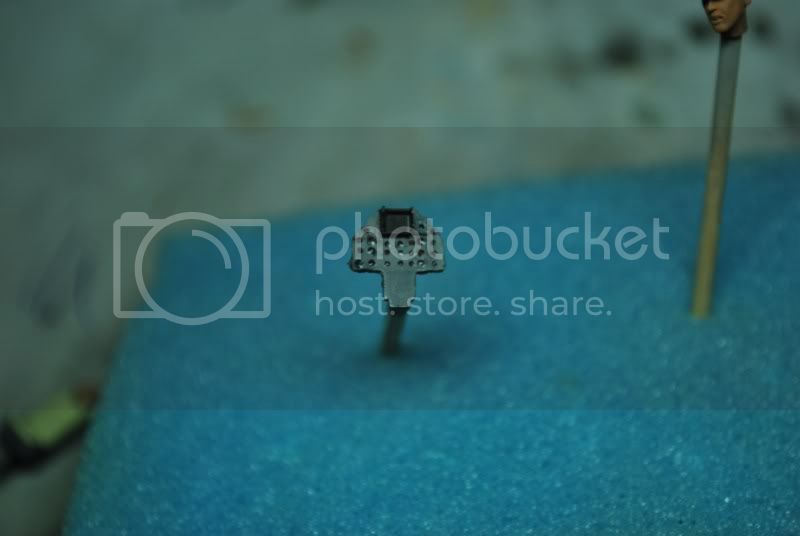
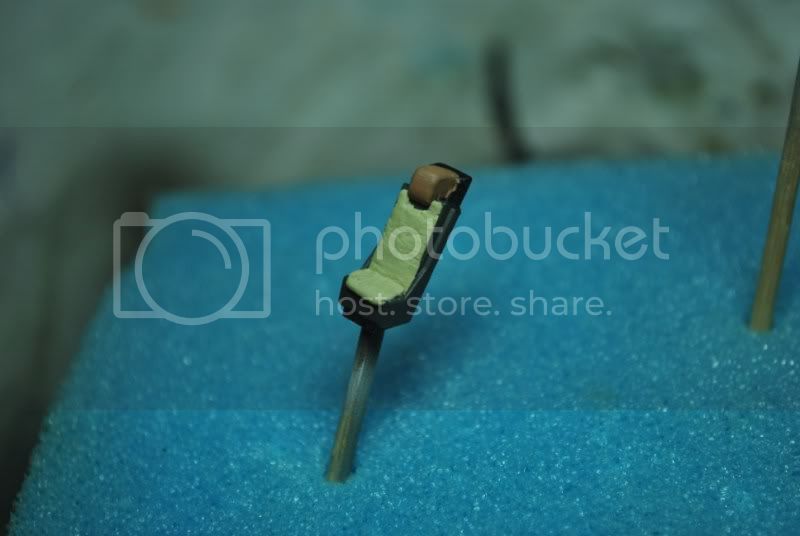
Progress shot of the cockpit seat. The seat was made of milliput
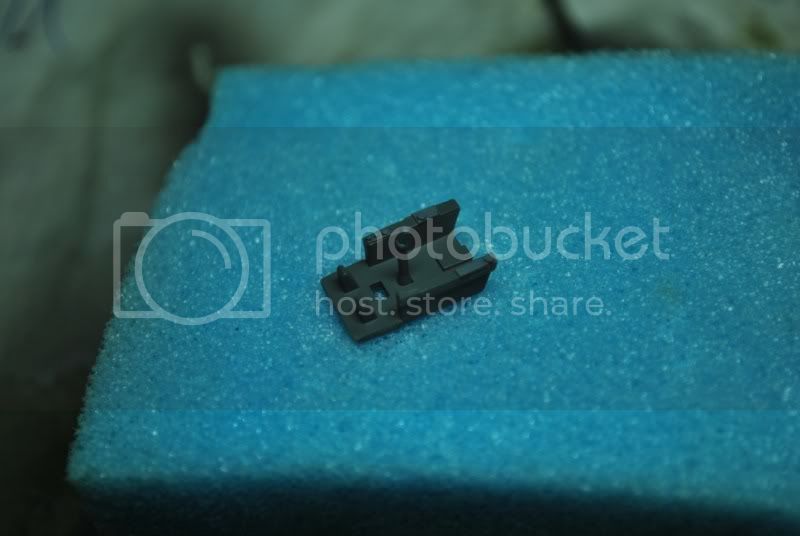
Cockpit. Added some details
Gr,
Jurrie
Update:
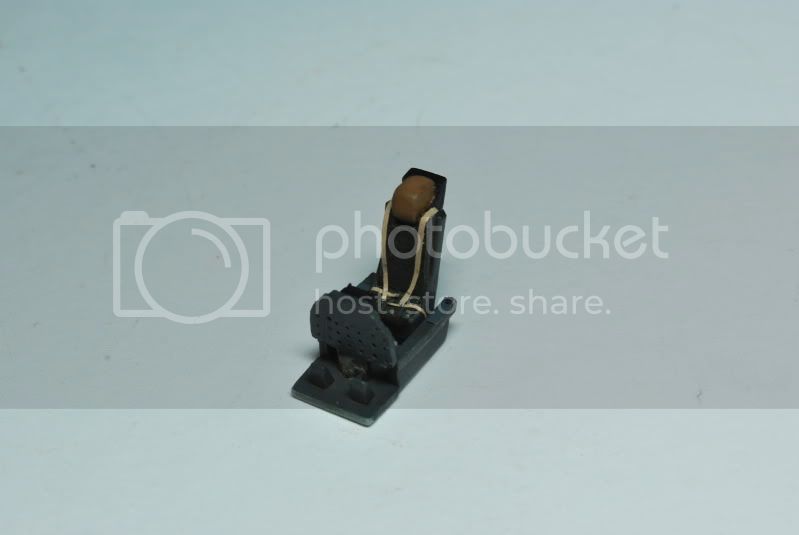
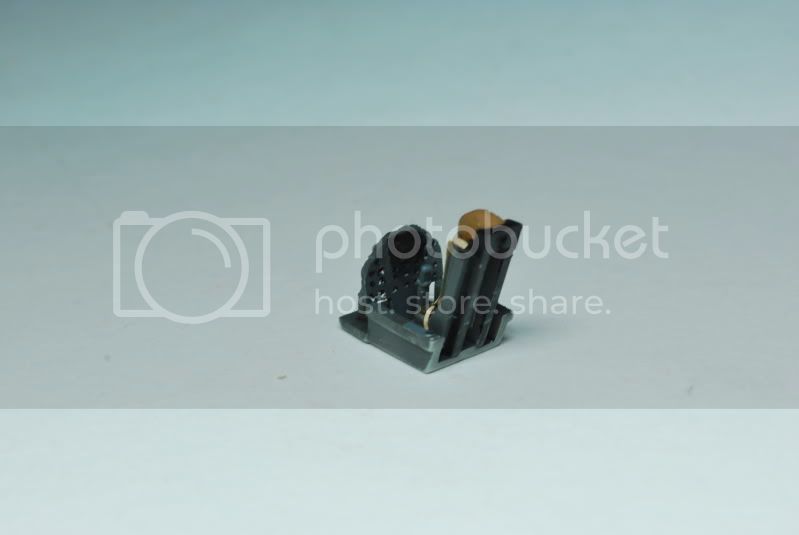
- Completed the cockpit. If you wish, you can add more detail, but I decided not to do.
- Cockpit seat painted. Including drybrush and wash.
- Added MIG pigment on the floor (not on the picture)
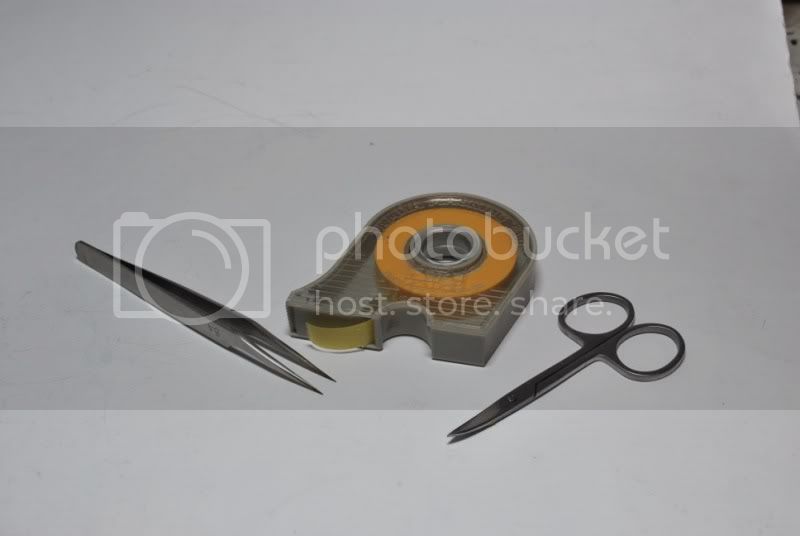
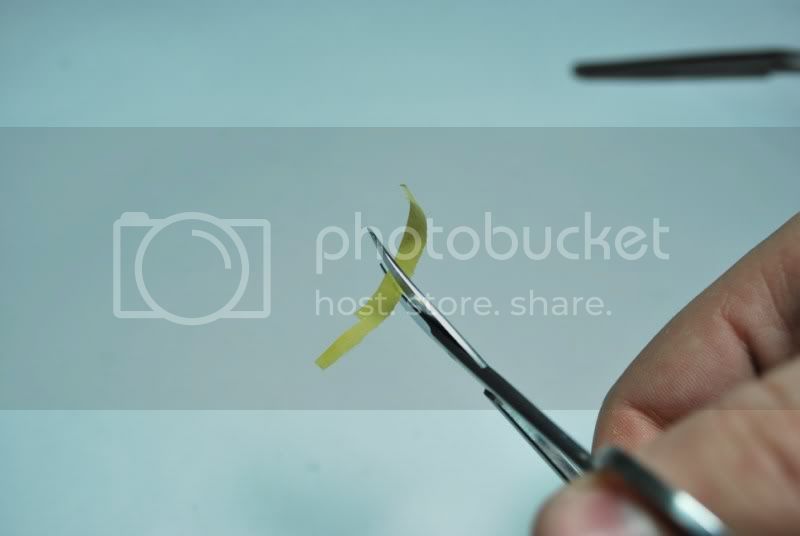
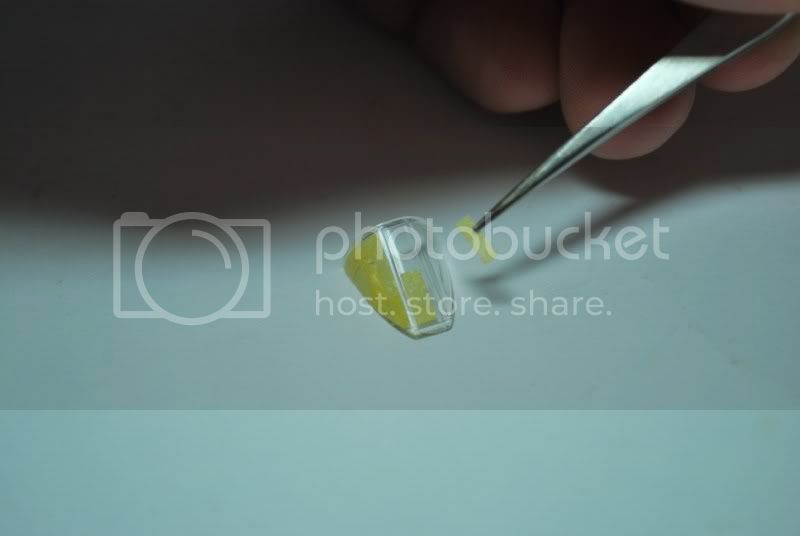
- Added seatbelts with Tamiya tape
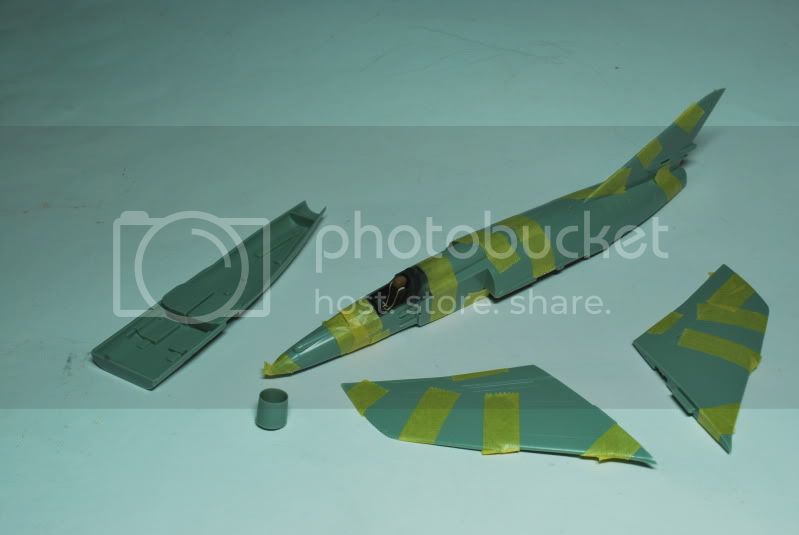
- Made a start with the fuselage
Pics:
Gr,
Jurrie
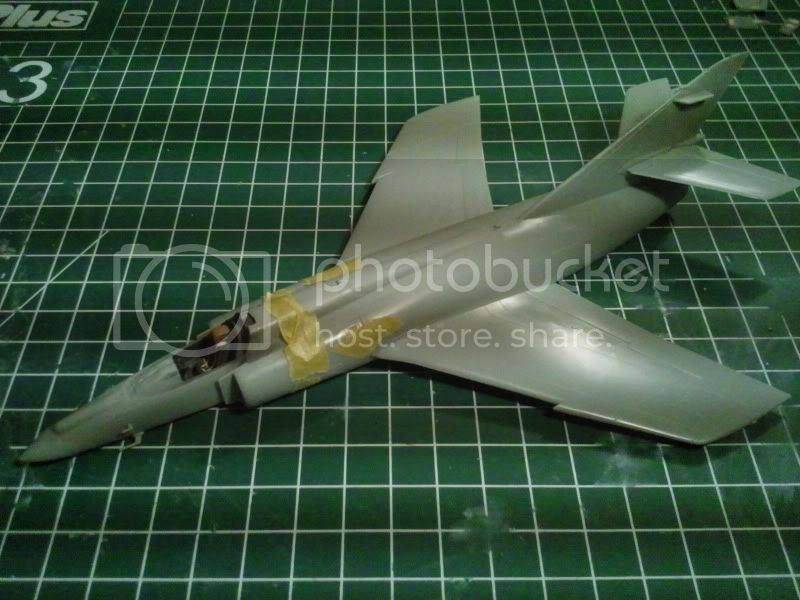
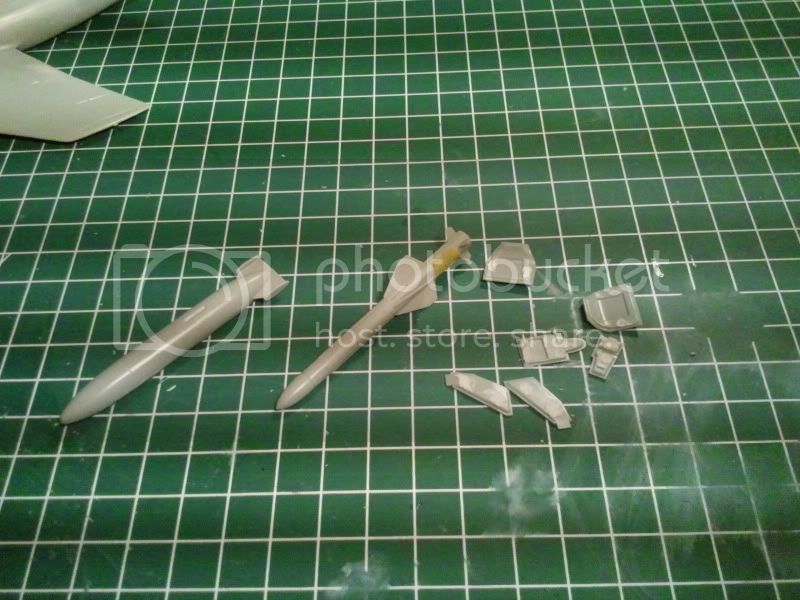
Progress:
Gr,
Jurrie
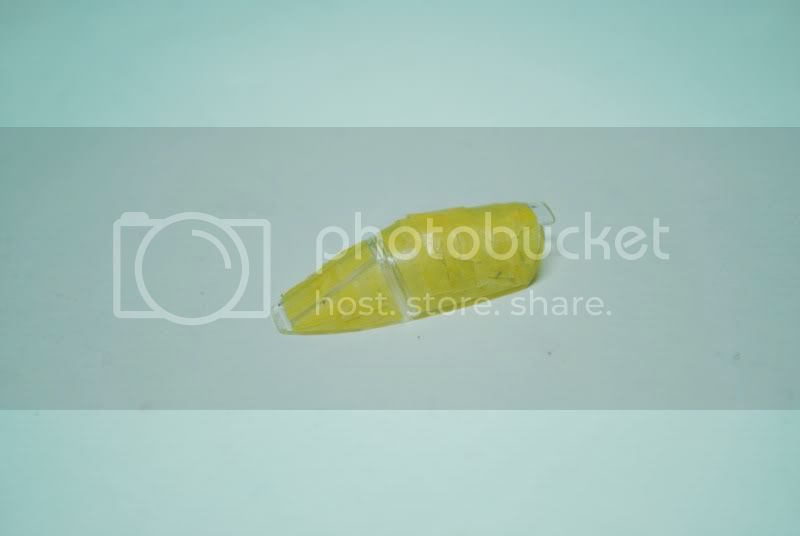
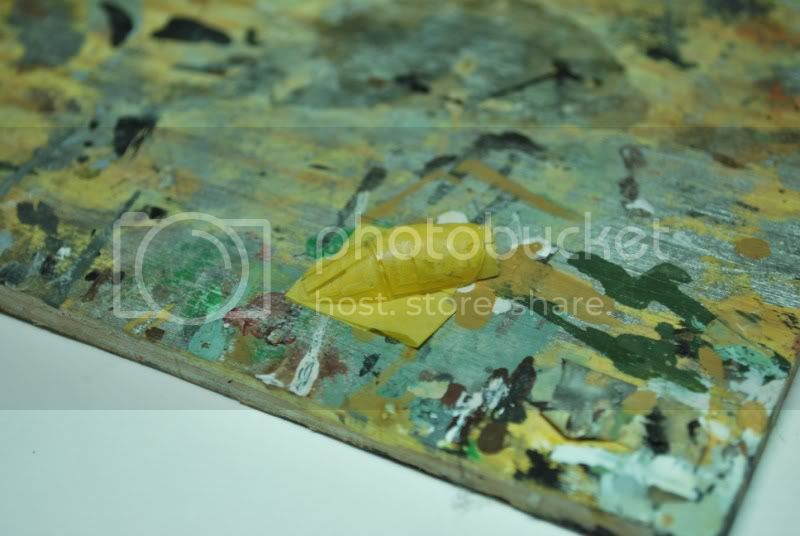
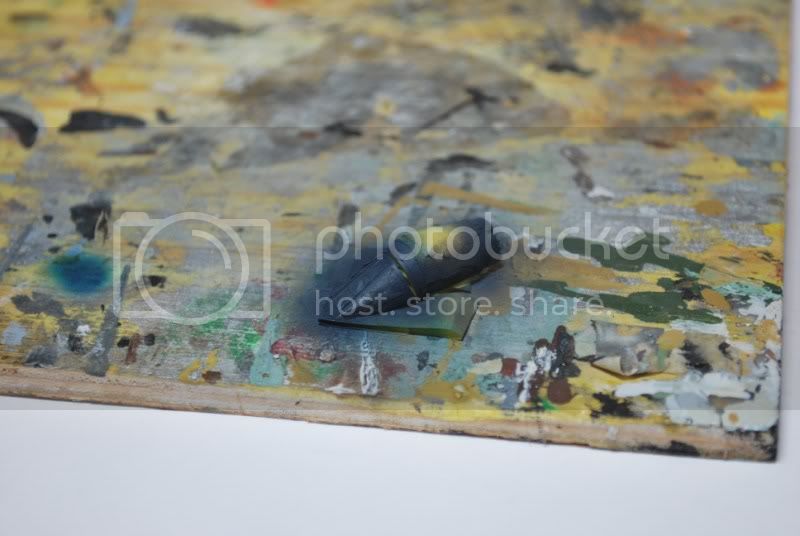
- The clear parts were a bit...unclear. I polished it a bit with some tooth paste. Then I dipped it in the Johnson's Clear (in Dutch: ParketPlus)
- One of the airbrakes (?) had some holes in it, but they were not drilled entirely through. I used a drill to create the complete holes. For a real life example see:
http://data3.primeportal.net/hangar/luc_colin3/super_etendard_modernisee/images/super_etendard_modernisee_41_of_77.jpg.
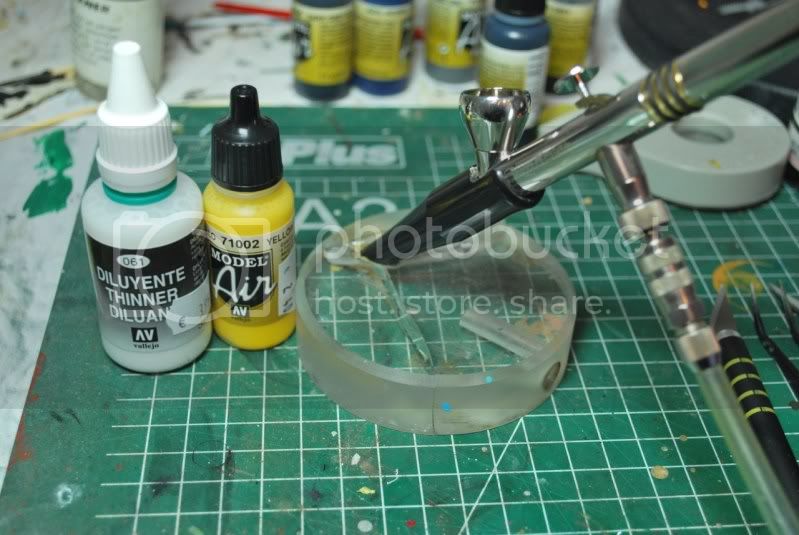
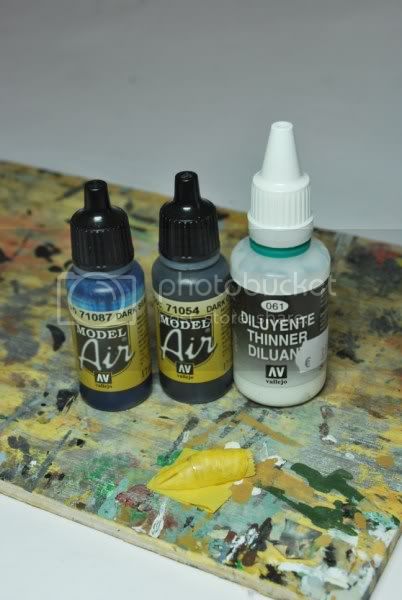
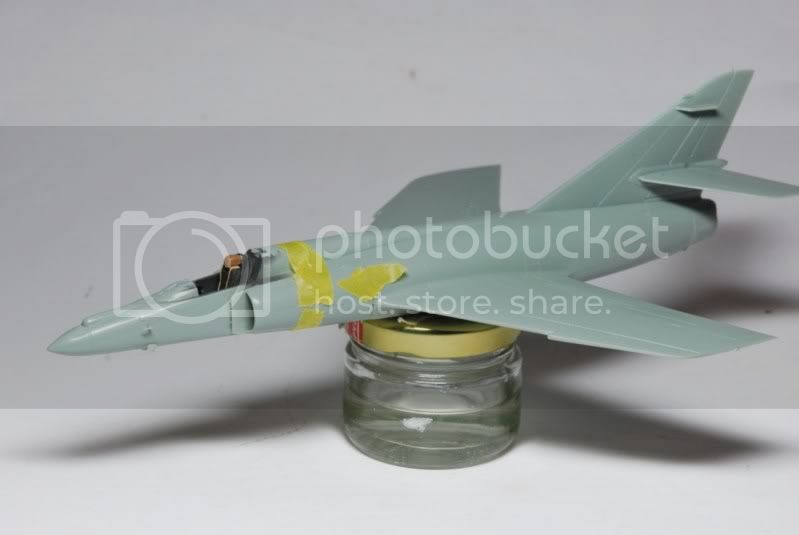
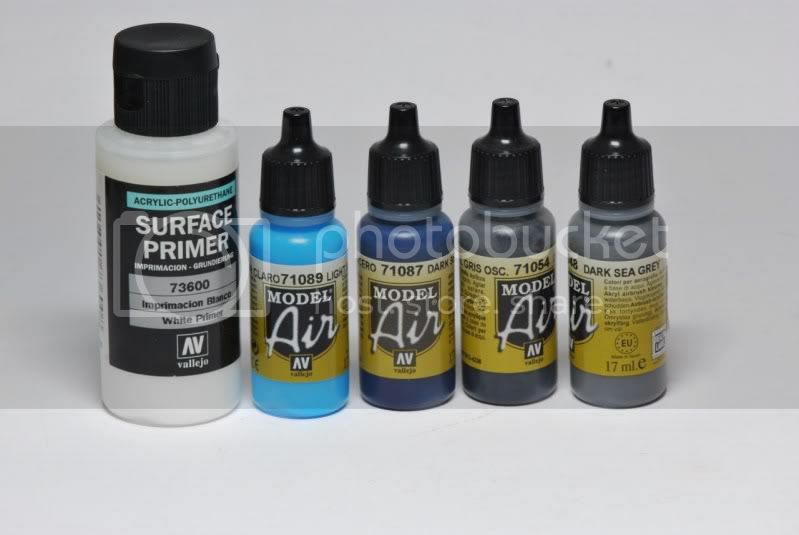
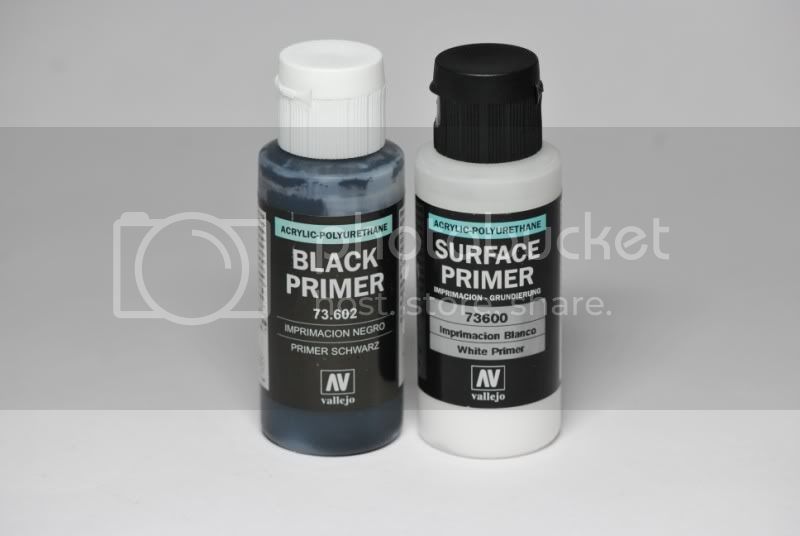
- Picture of the primer and paint I bought from Vallejo
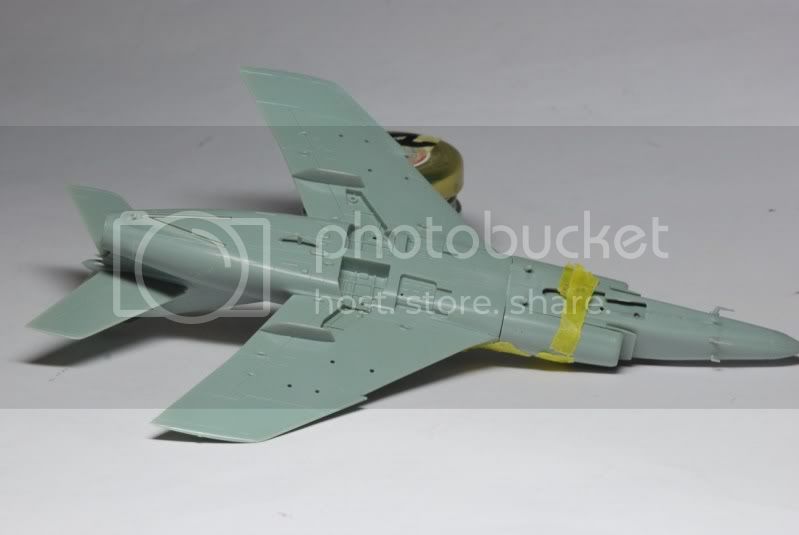
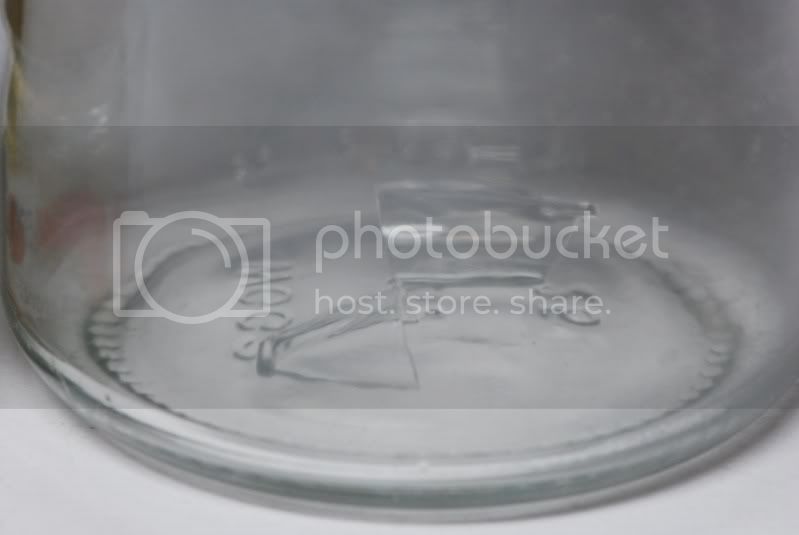
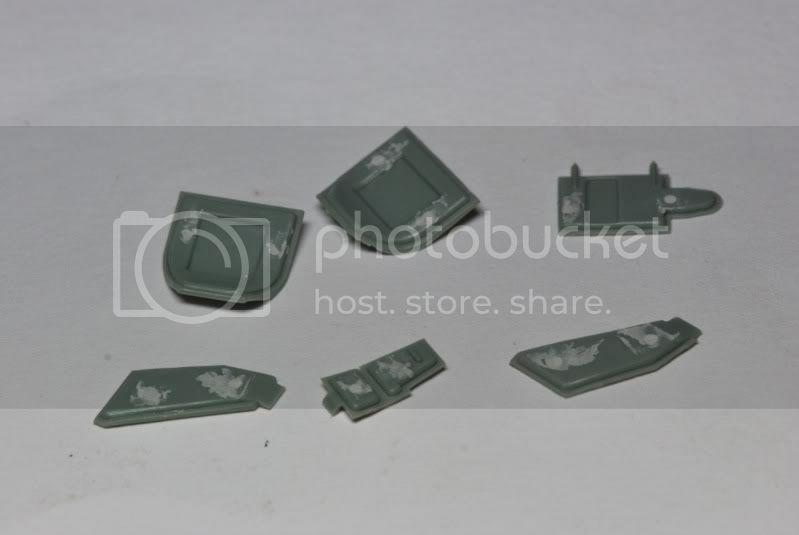
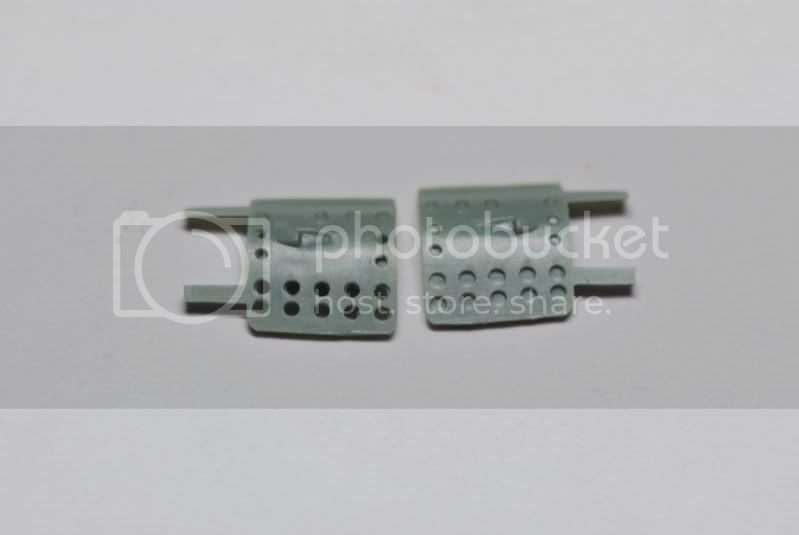
Gr,
Jurrie
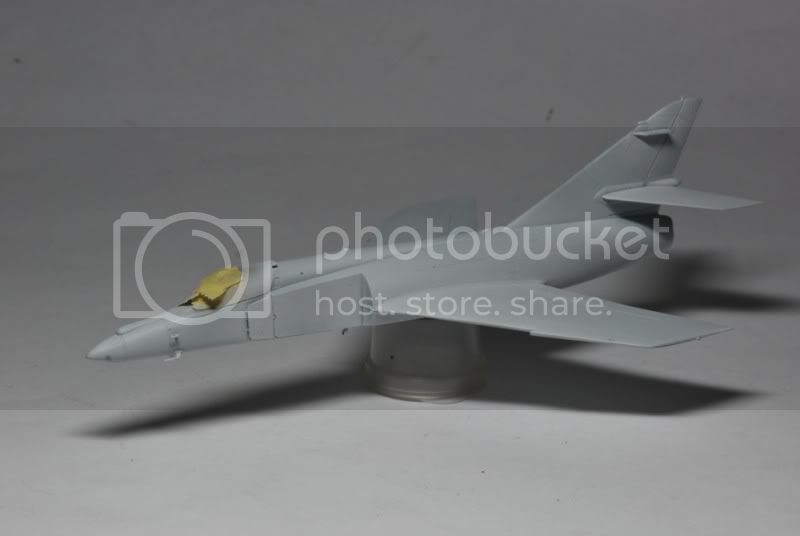
Primer is on
Gr,
Jurrie
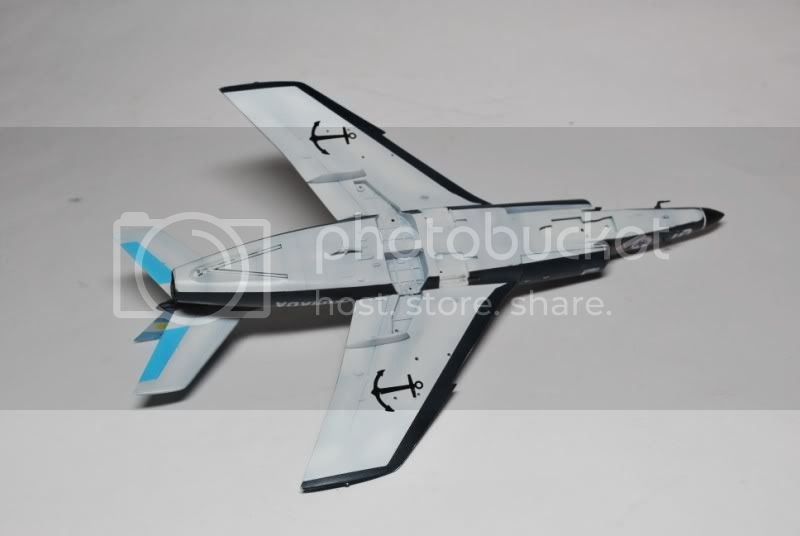
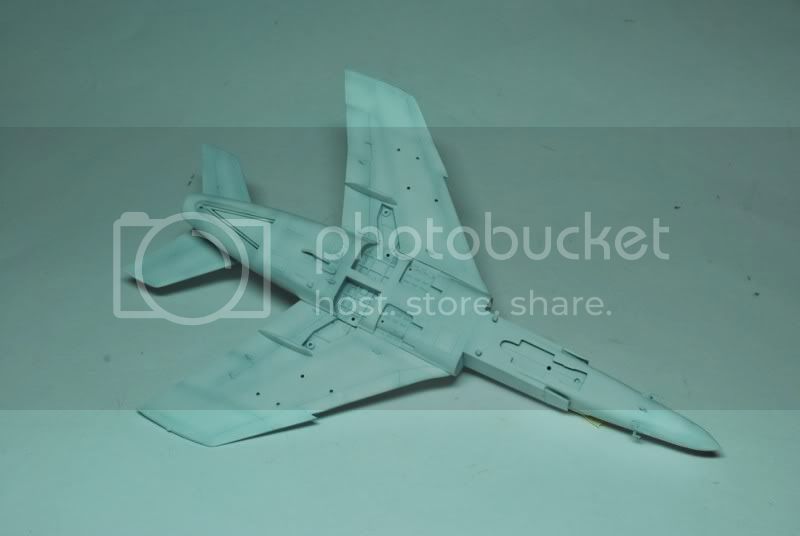
Underside
Continue...


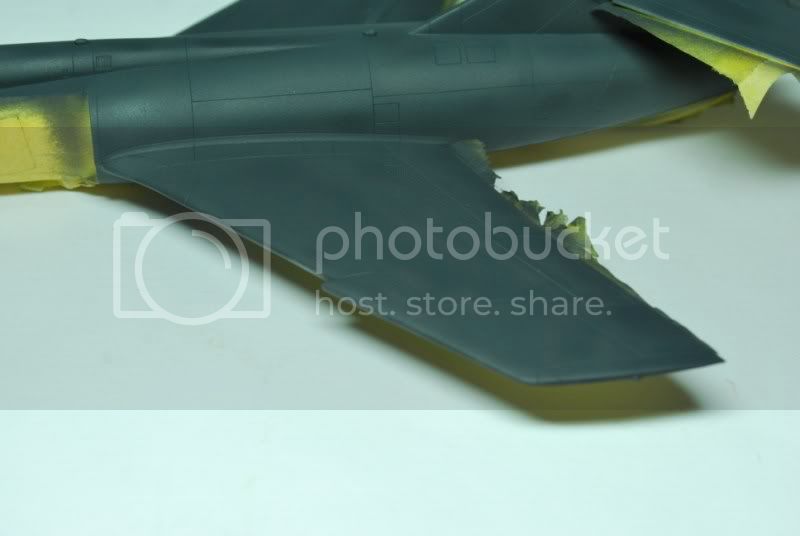


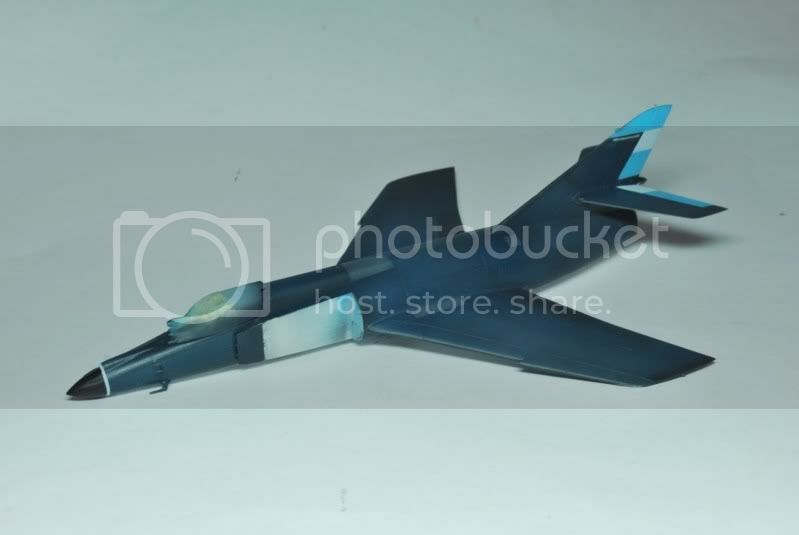
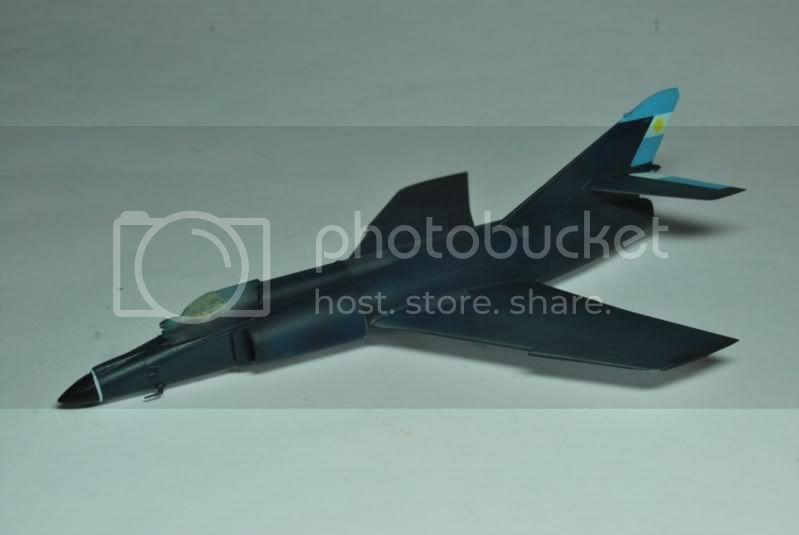
Then I had a small disaster. I stripped it again from paint and repainted it:
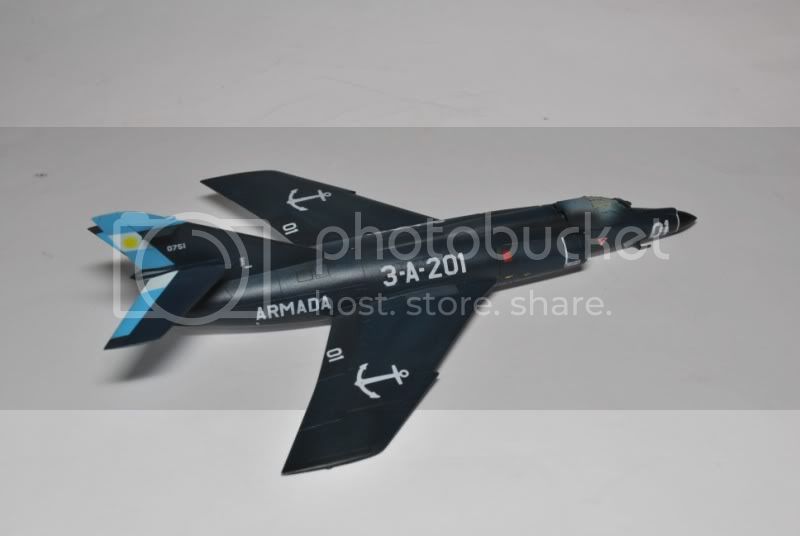
Status 21-01-2012
- Vallejo Primer
- Preshade Vallejo black
- Vallejo Dark Grey Blue
- Lighting the panels with Vallejo Dark Sea Grey (which is quite light, despite the name)
- Misting coat with Vallejo Dark Sea Blue
- Painted some panels Vallejo Dark Sea Grey and some with a mixture of Black Grey en Dark Grey Blue
- Johnson's Clear / ParketPlus
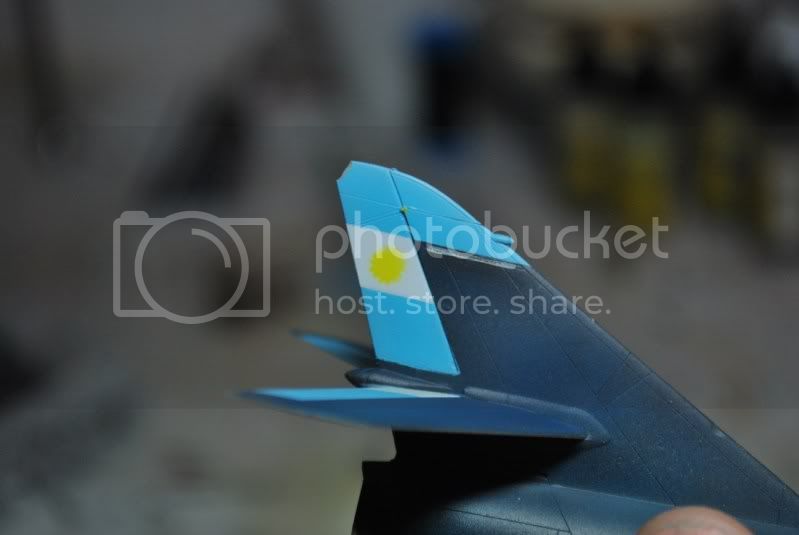
Pics
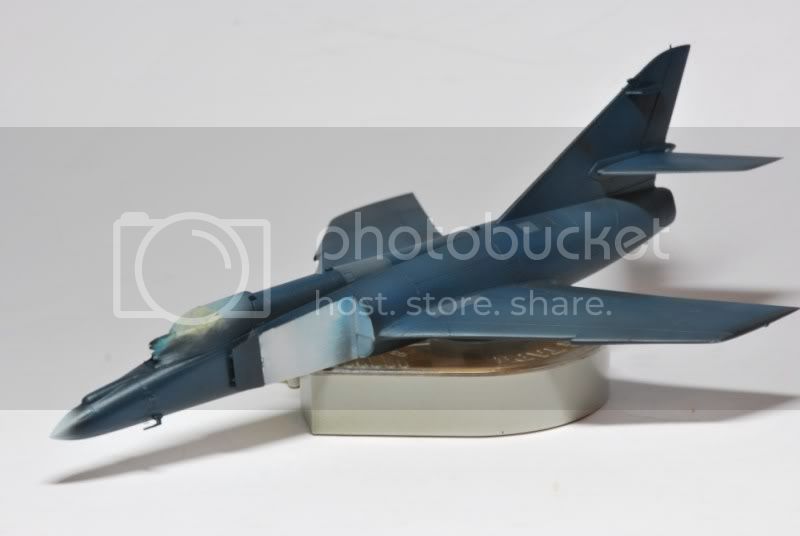
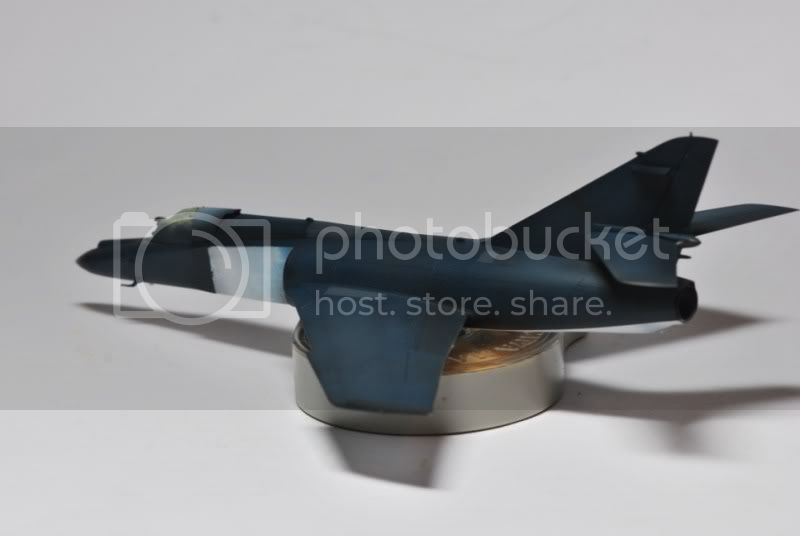

Please note that the air intake covers are left of, therefore some parts of the side are still white
Gr,
Jurrie


