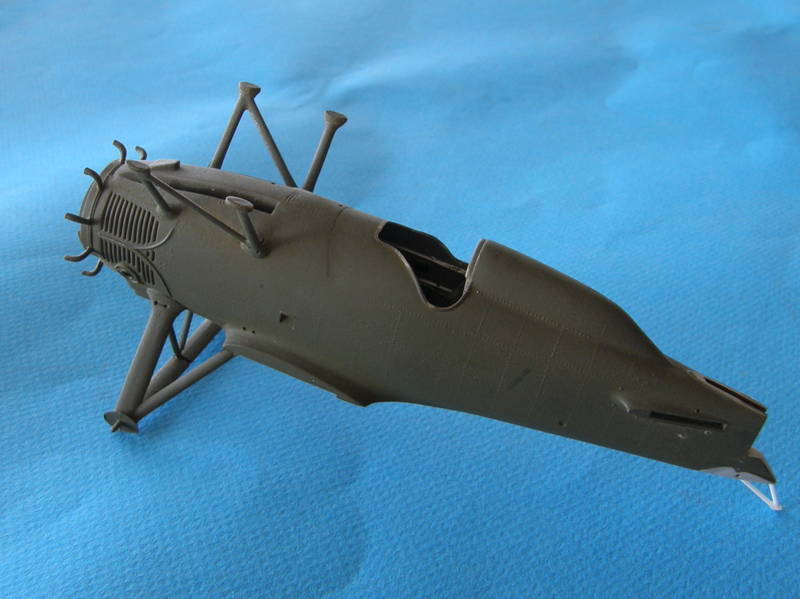
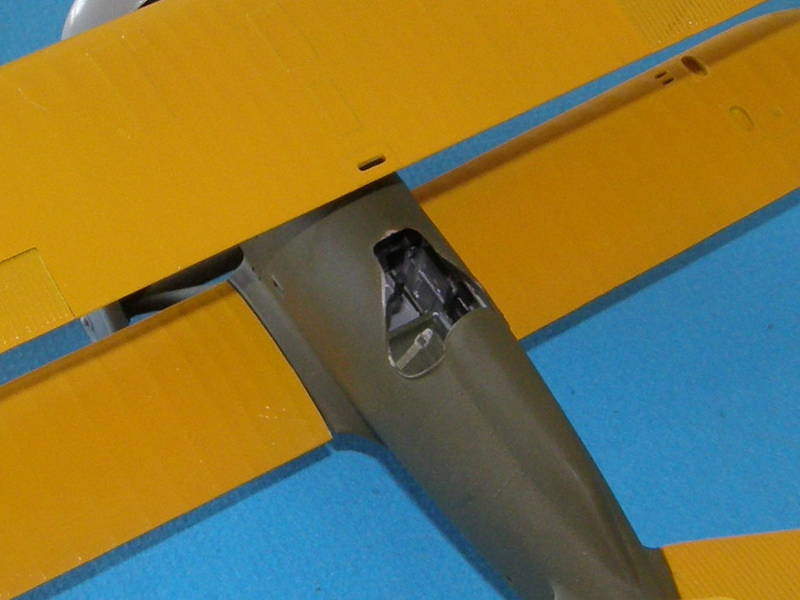
I did some work in the office, but not that much is visible anymore unless you have a dental mirror. I thinned the seat way down, added knobs to the throttle quadrant, cables to the elevator trim wheel, electrical boxes to the starboard fuselage side, a much too narrow seatbelt and a few copper electrical cables here and there to make things look busy.
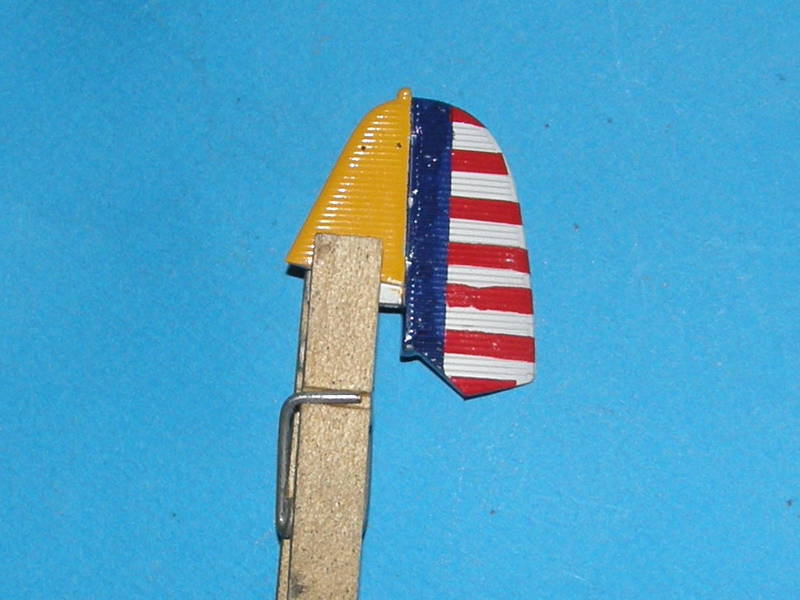
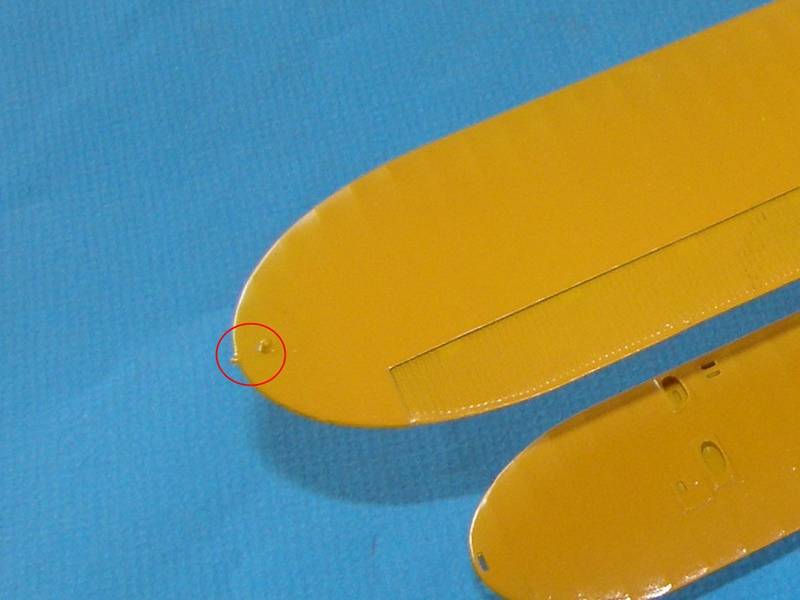
After I had the fuselage closed up and painted I discovered that Hasegawa in their infinite wisdom had re-used the F-4B's tailwheel despite the fact that the vast majority of P-12s used tail skids. Out came the files, sandpaper, micro drills and styrene rod. Oh well, that was just a preliminary coat anyway.
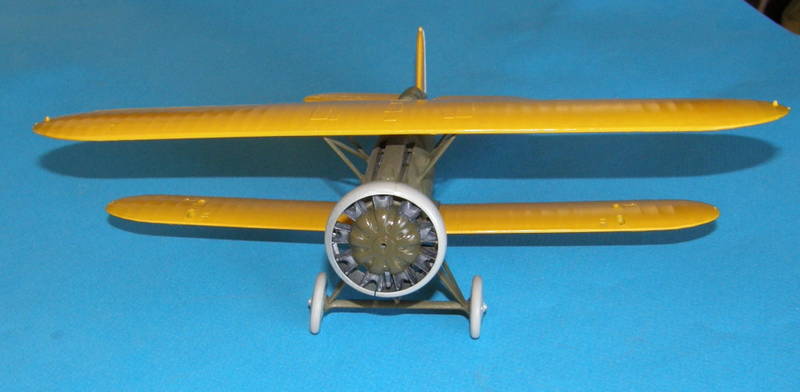
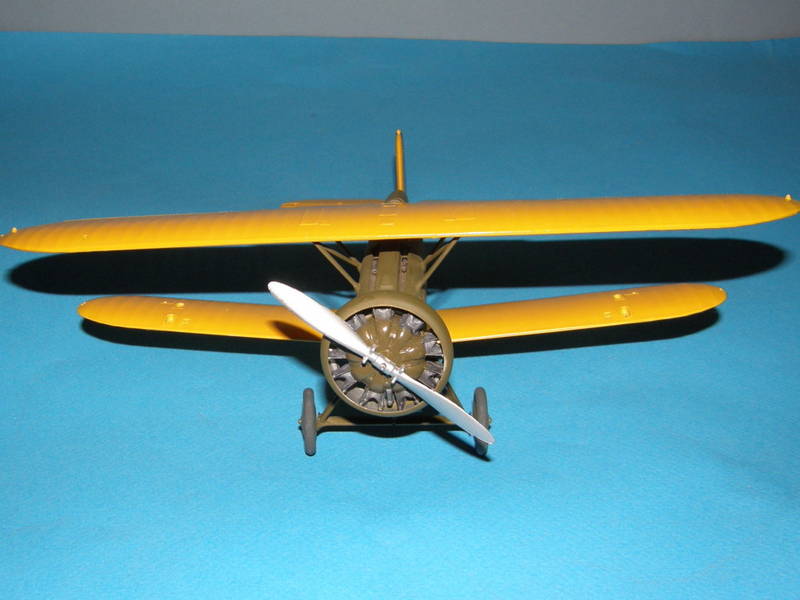
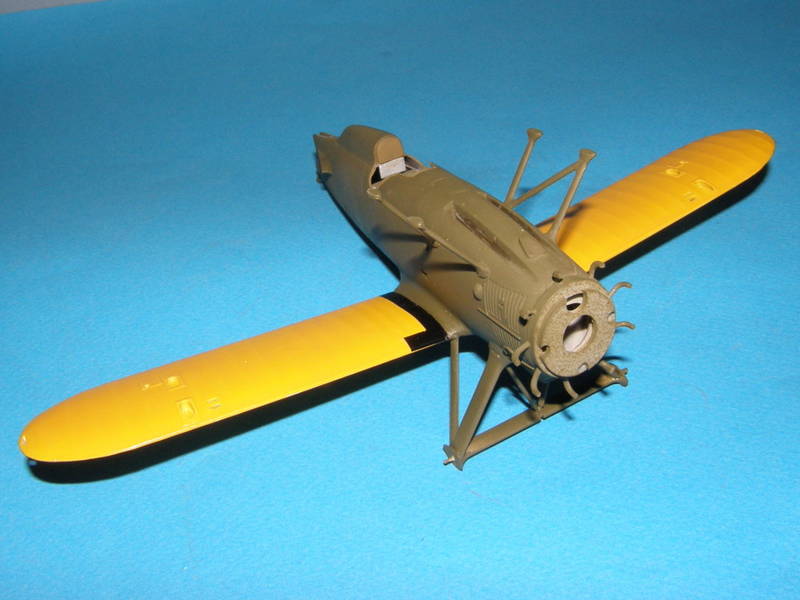
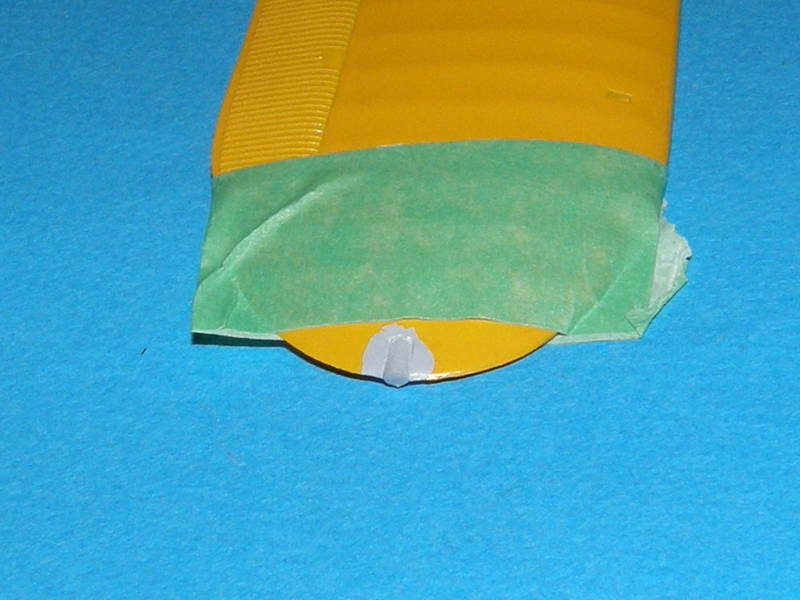
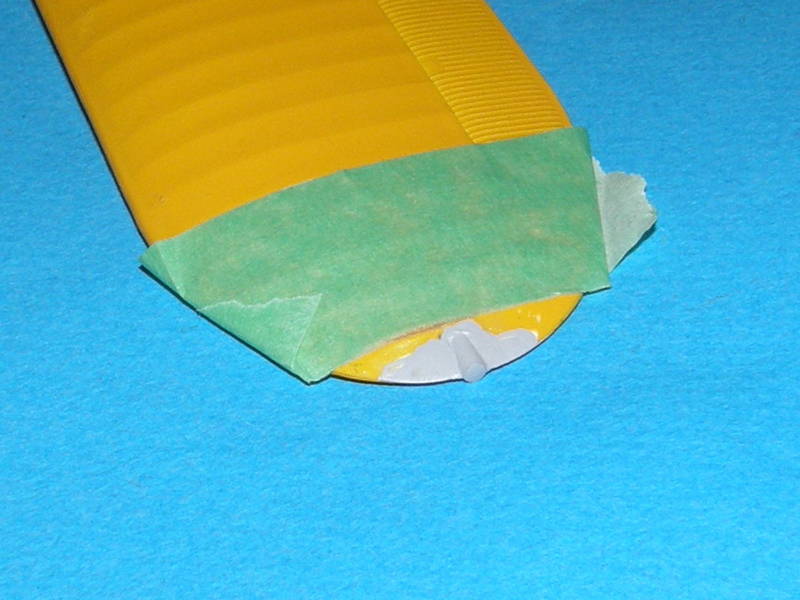
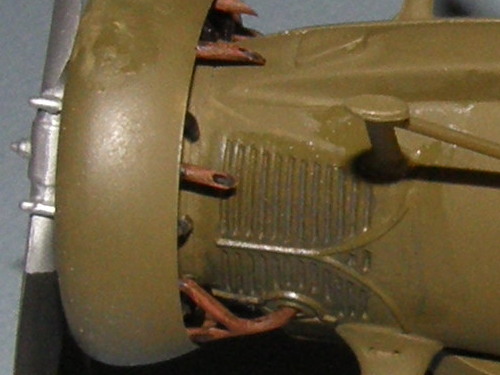
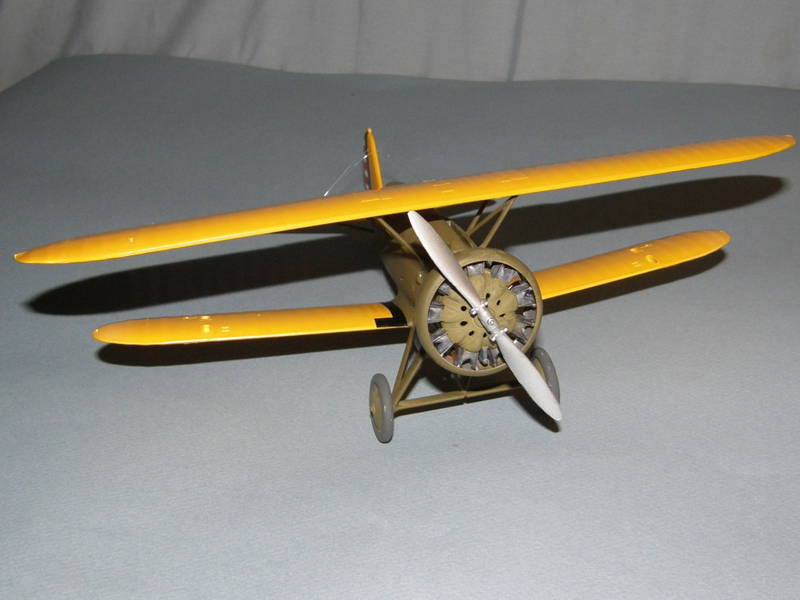
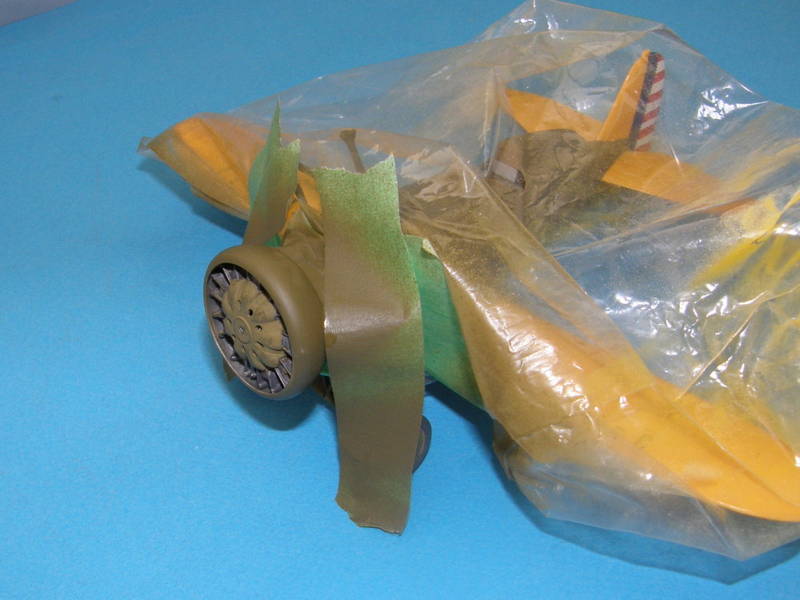
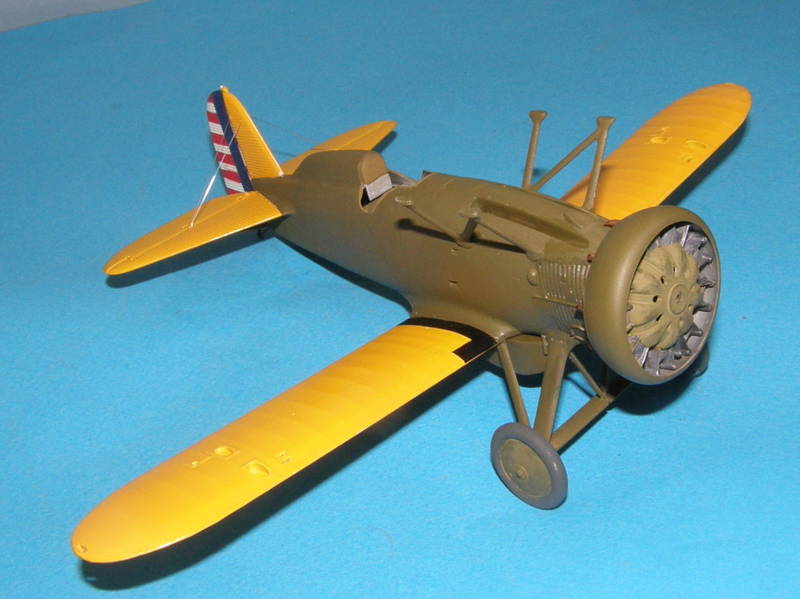
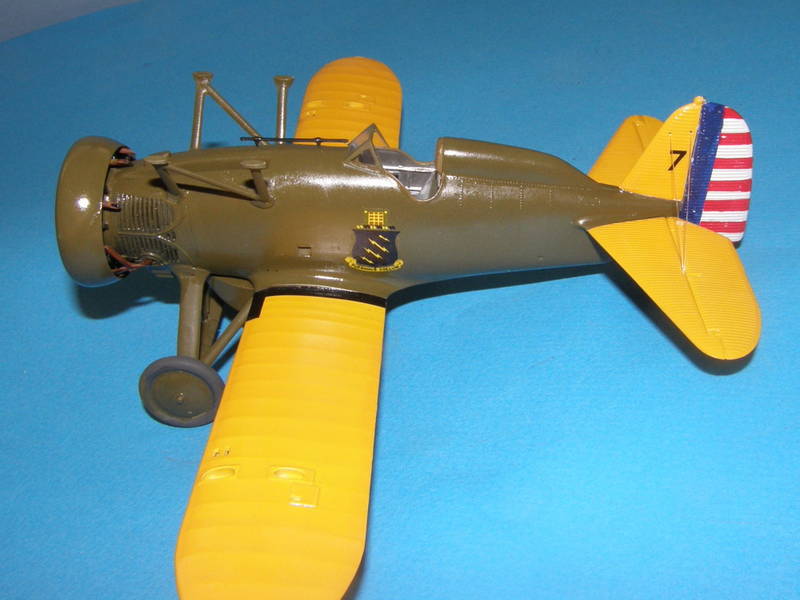
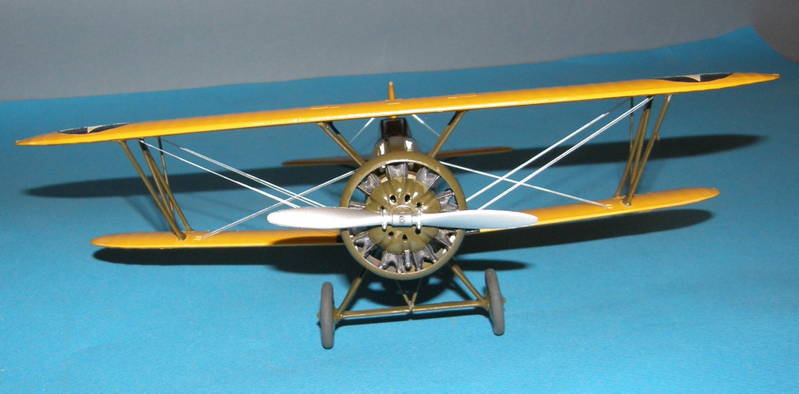
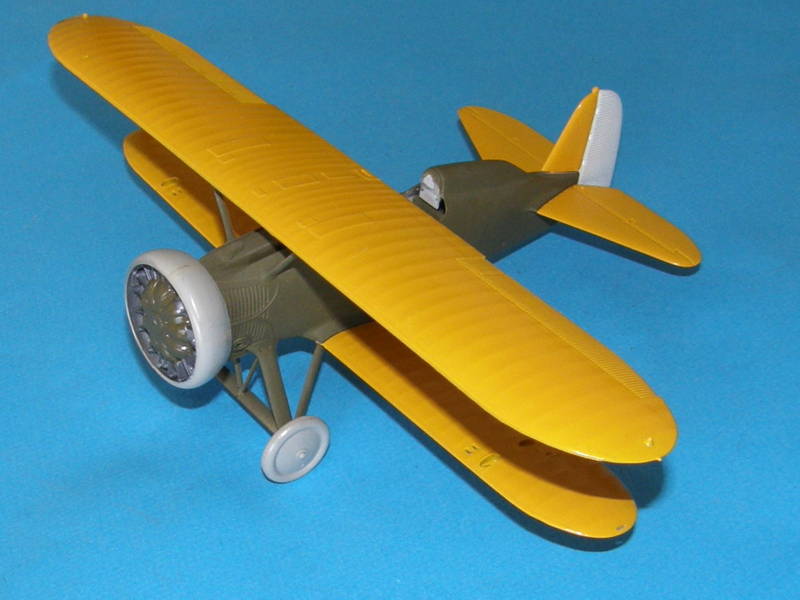
The biggest problem is the Townend speed ring. It fits closely over the cylinder heads, and there appears to be no way it can be glued before being fitted. If I glue it afterward, I'll have at least one messy joint to clean up, and then a tedious masking job. The next problem is how to cut and bend 9 little pieces of tubing for exhausts to relace the anemic little rods Hasegawa provides. I'm still pondering that one.
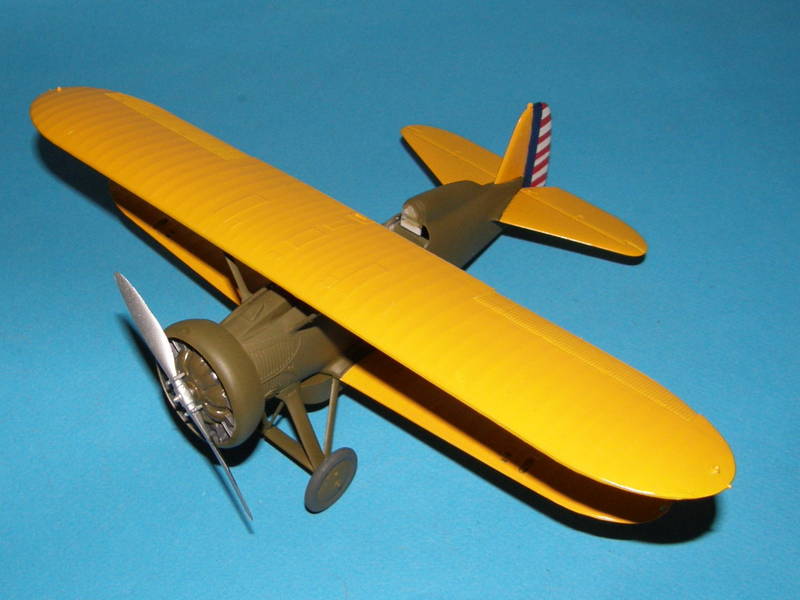
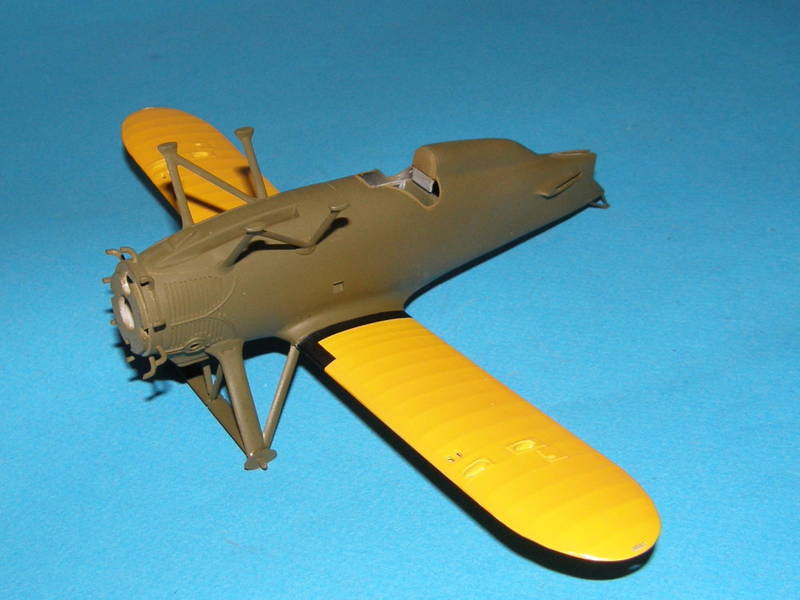
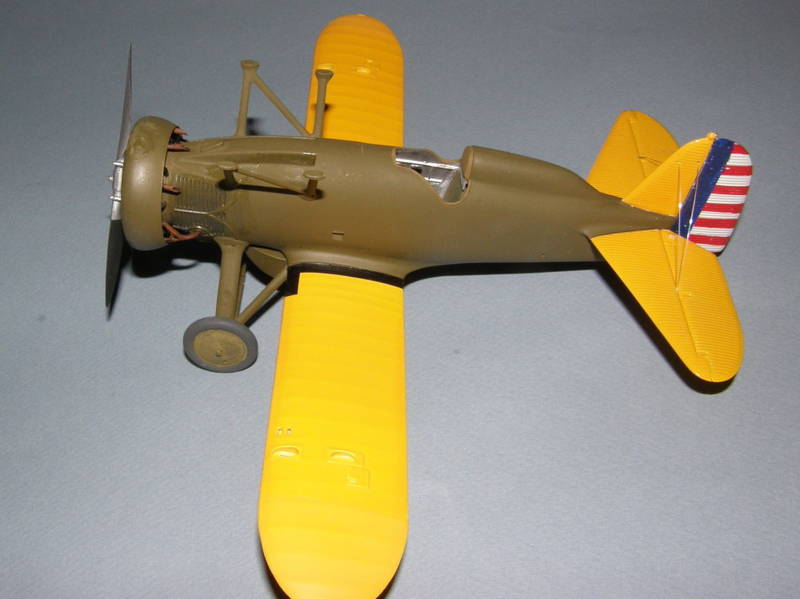
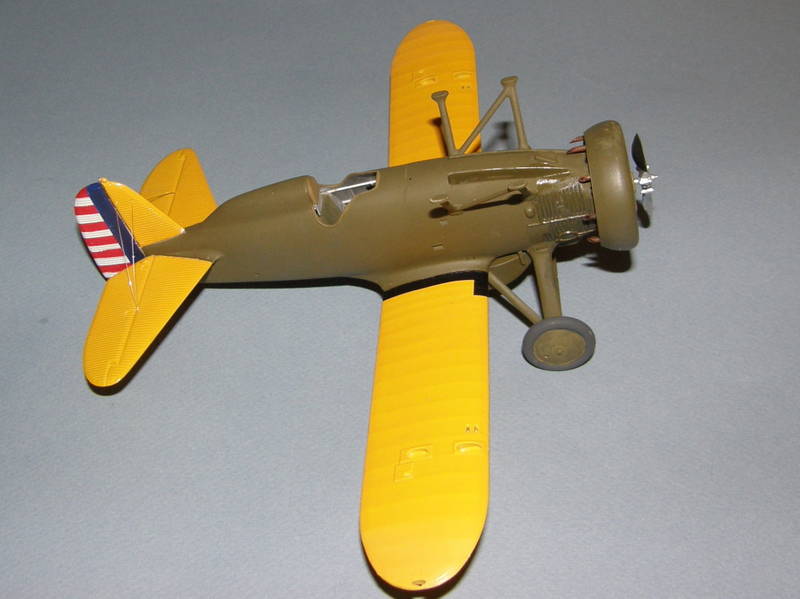
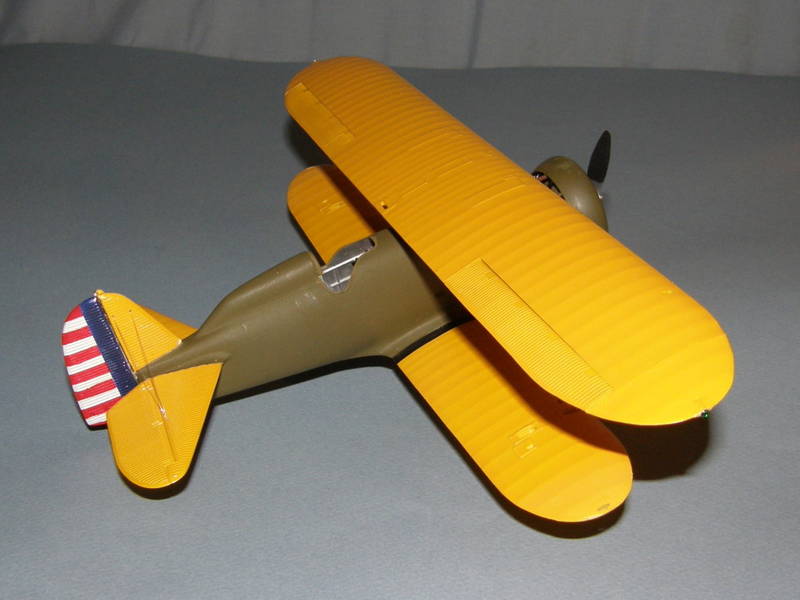
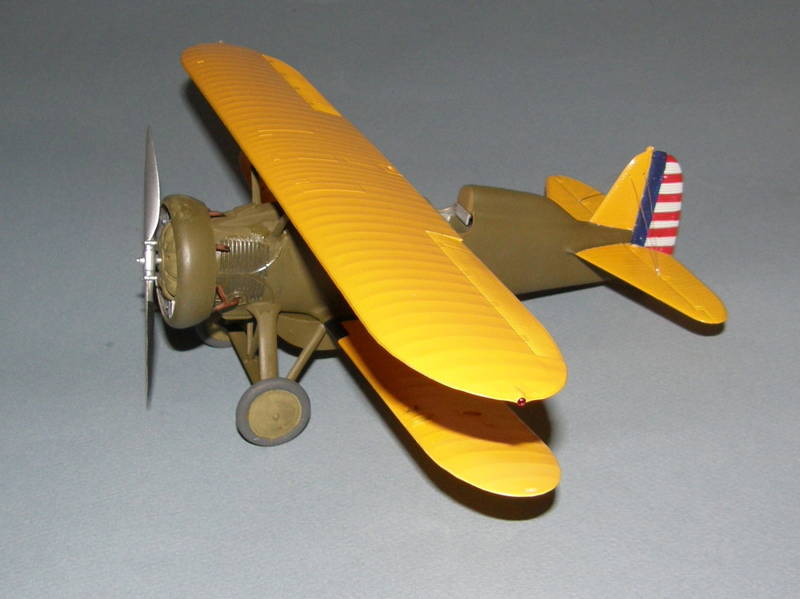
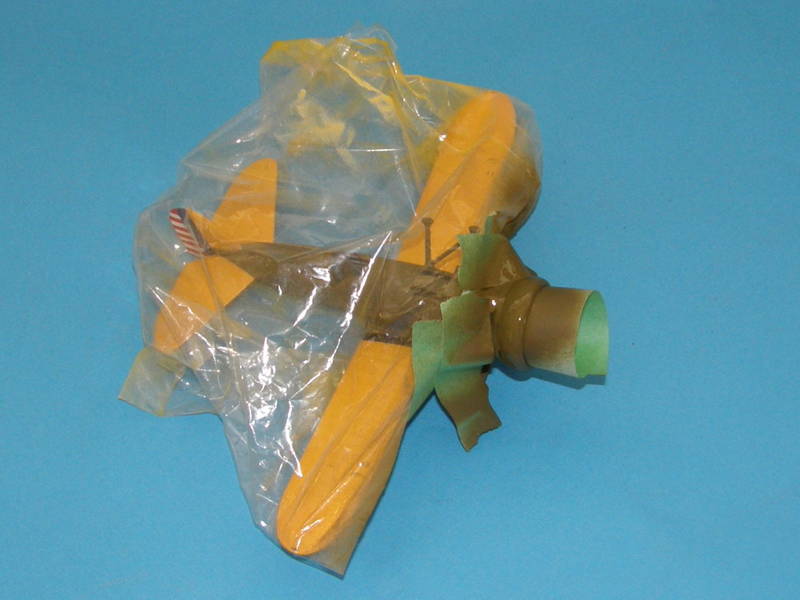
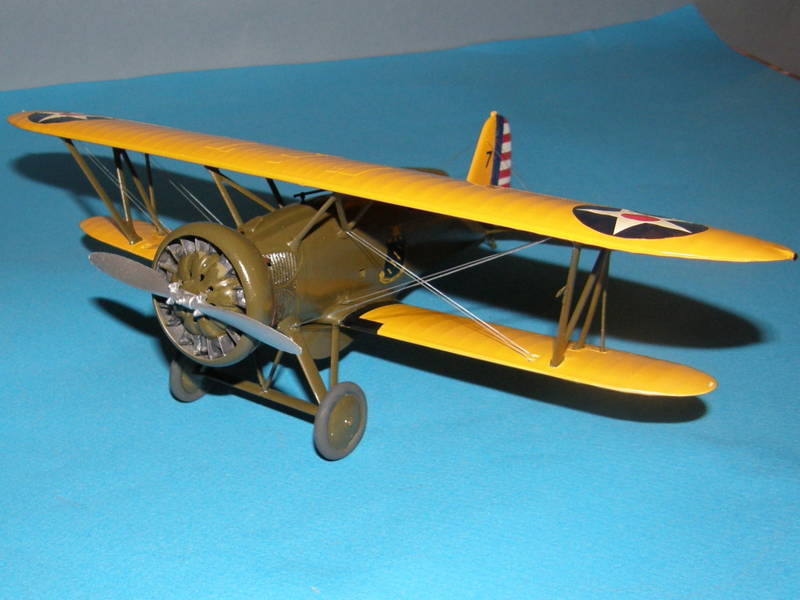
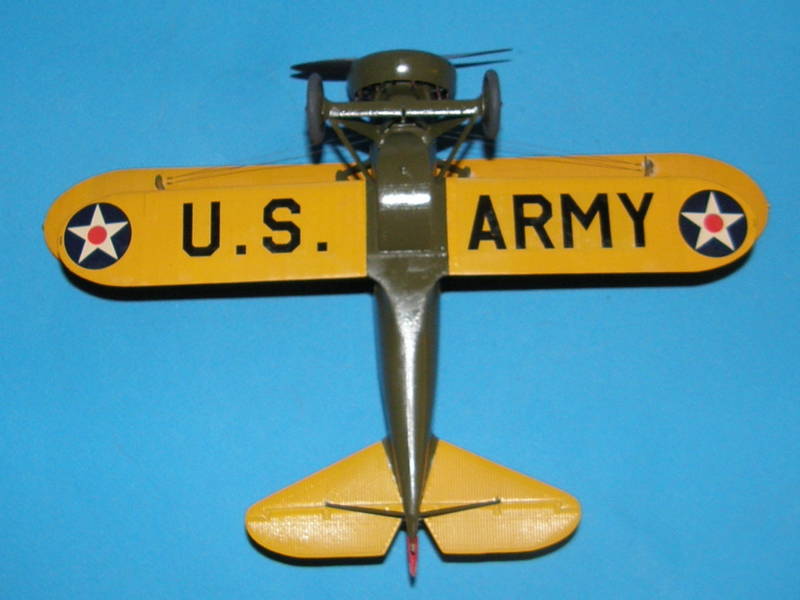
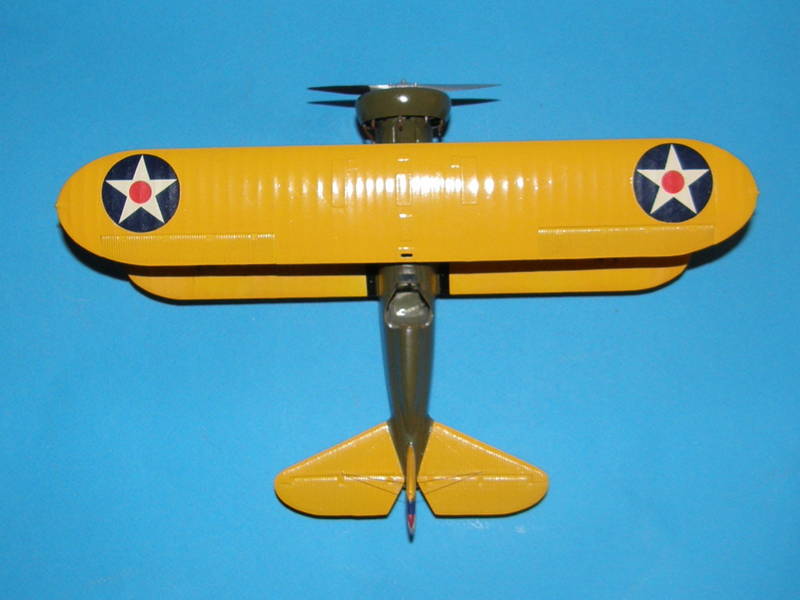
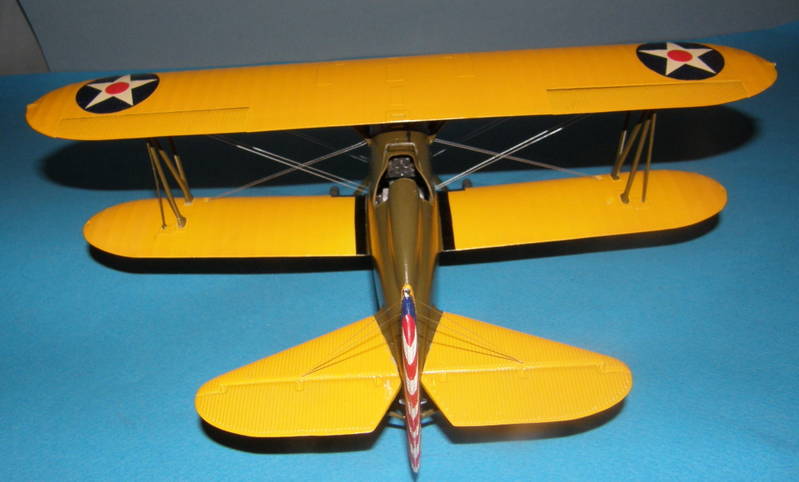
Anyway, here it is in all its WIP glory.
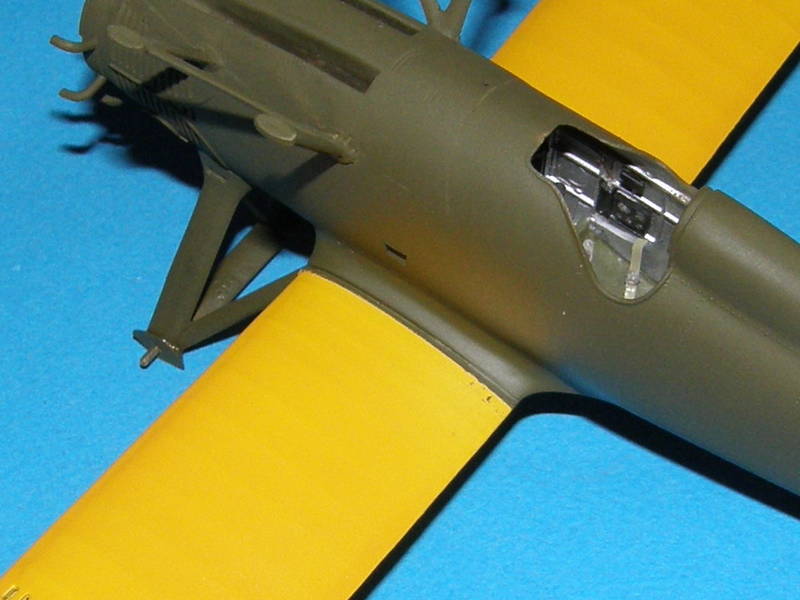
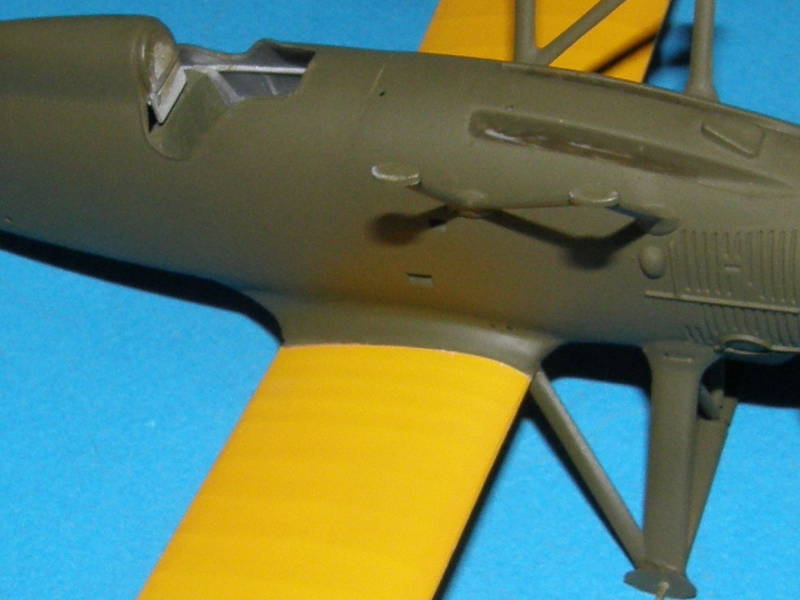
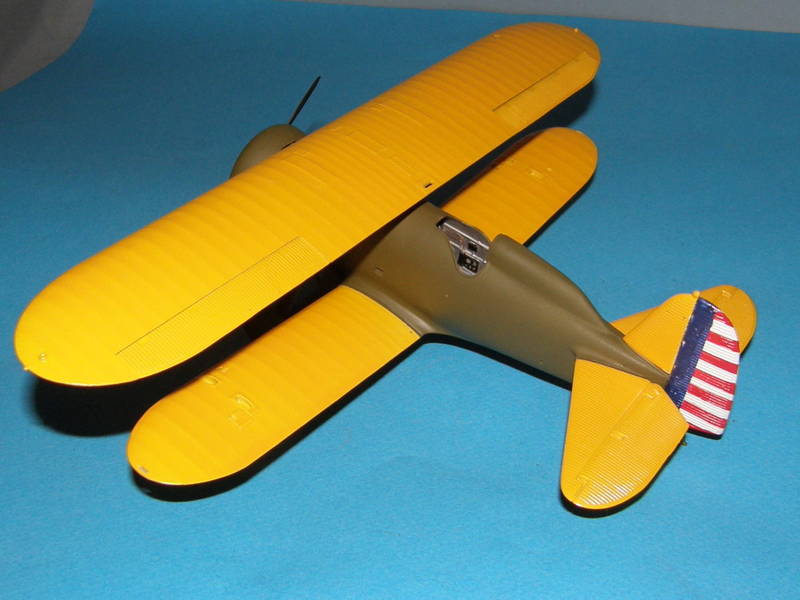
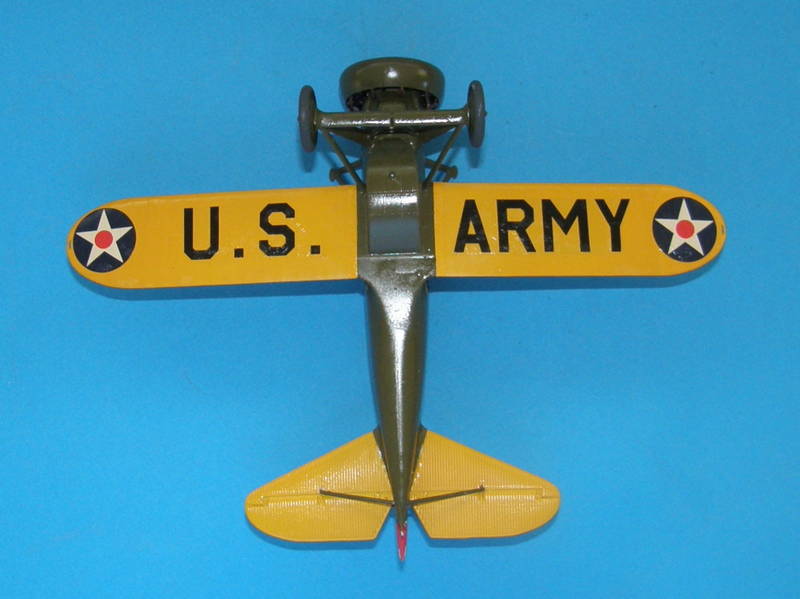
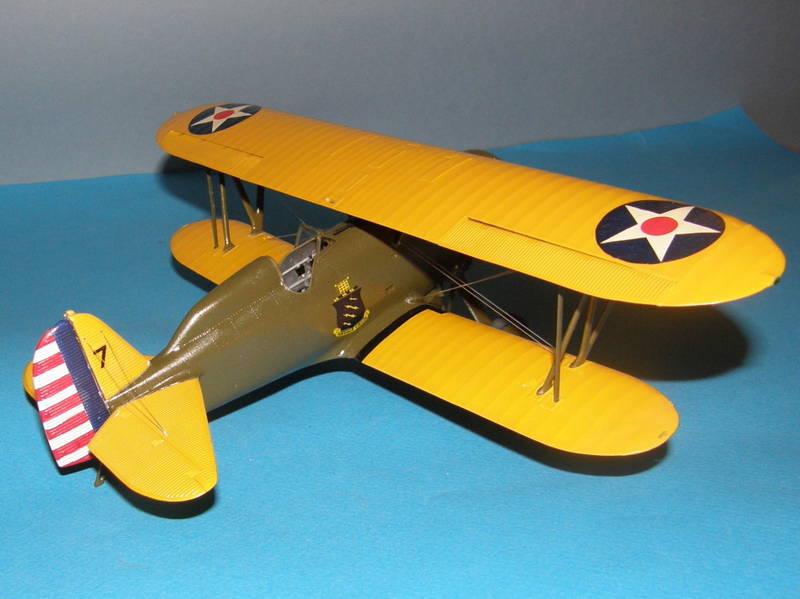
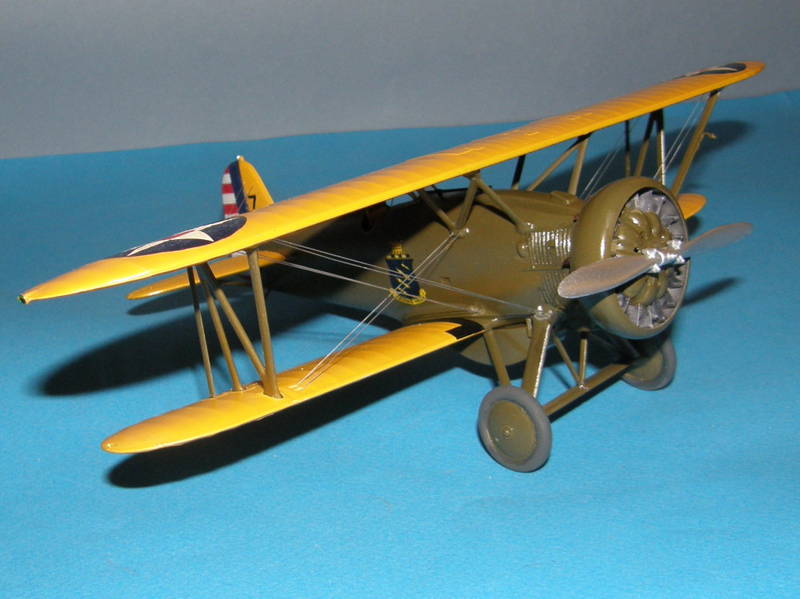
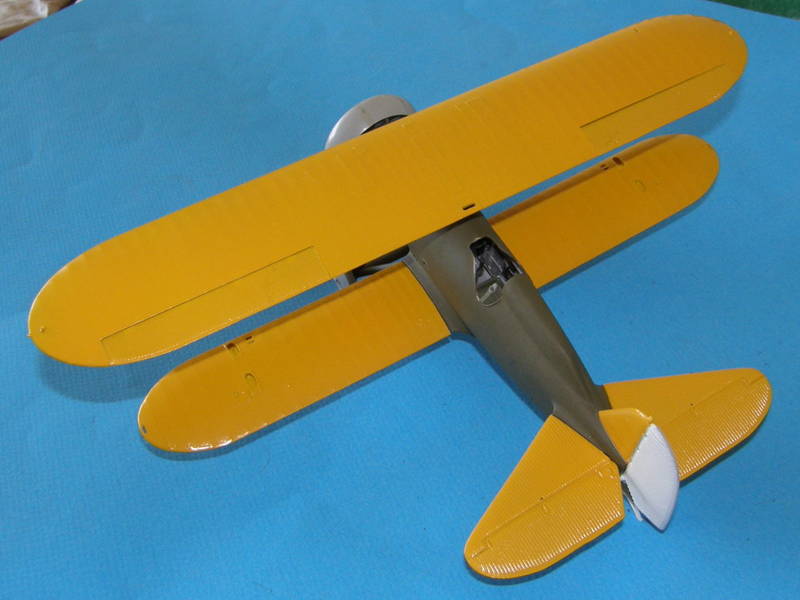
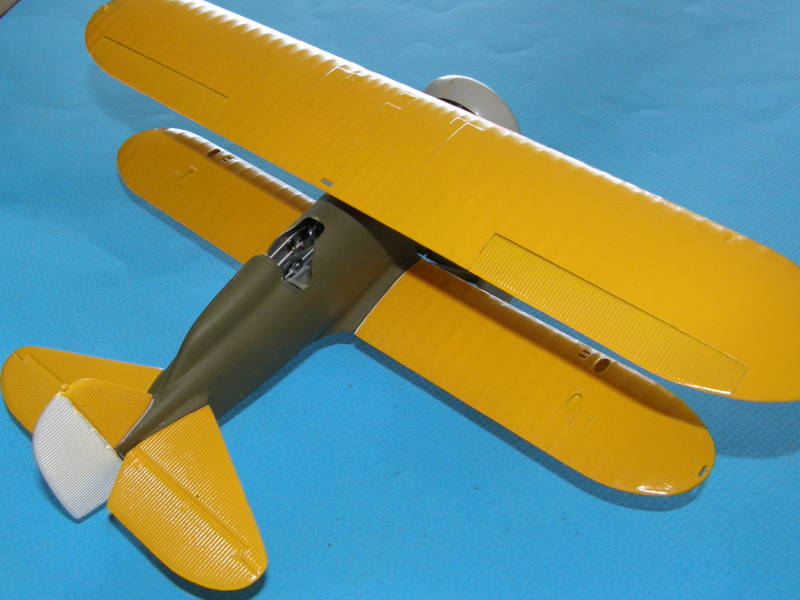
Fuselage shots as already shared in Doug's thread

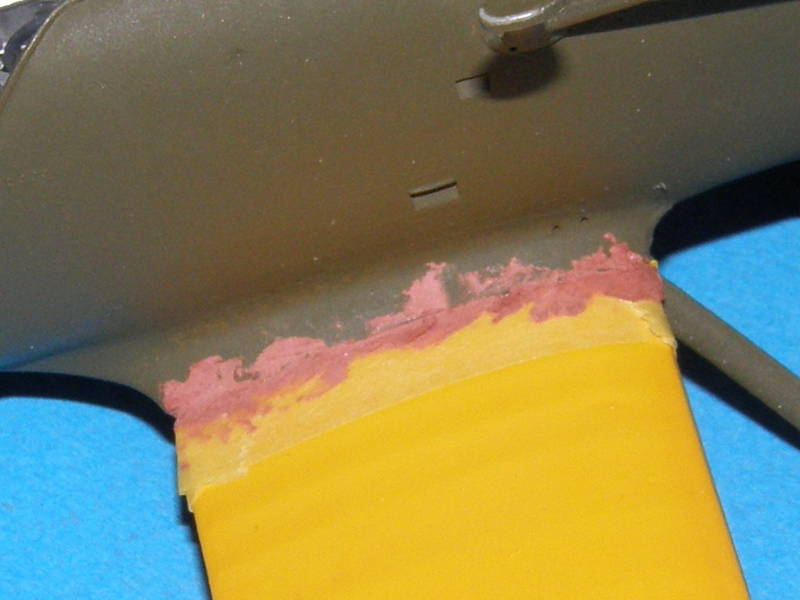
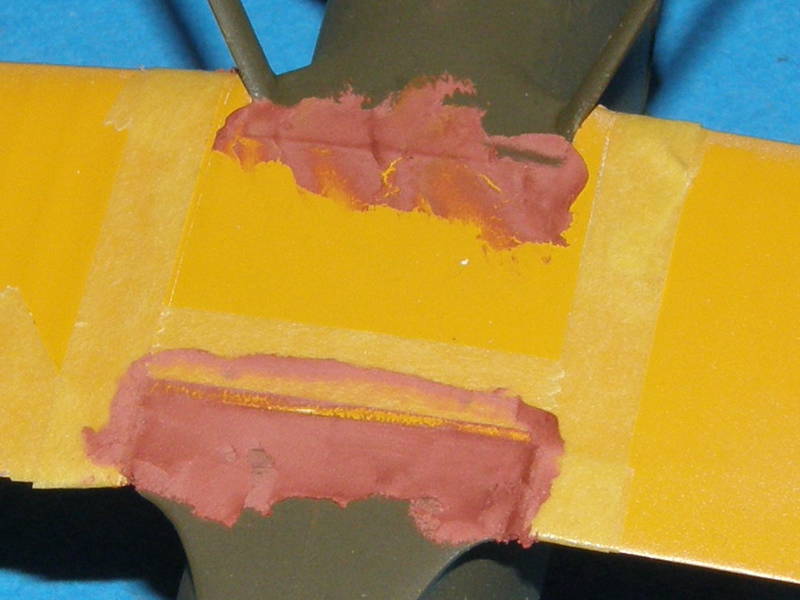
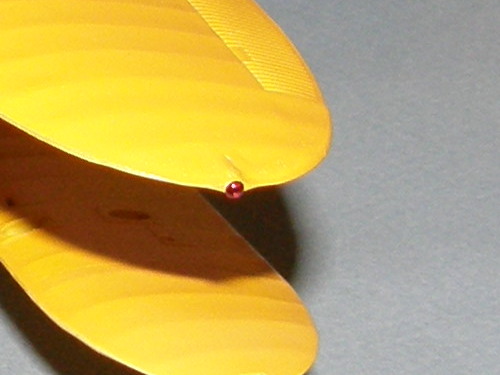
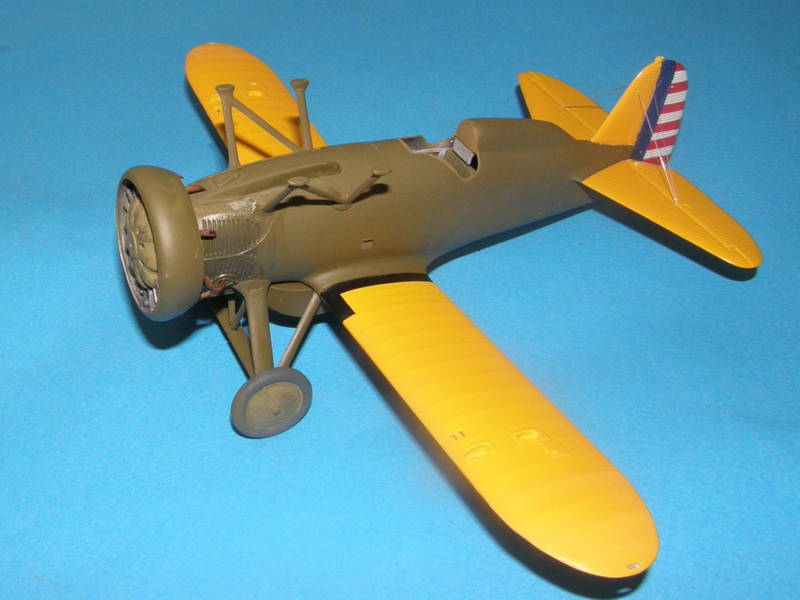
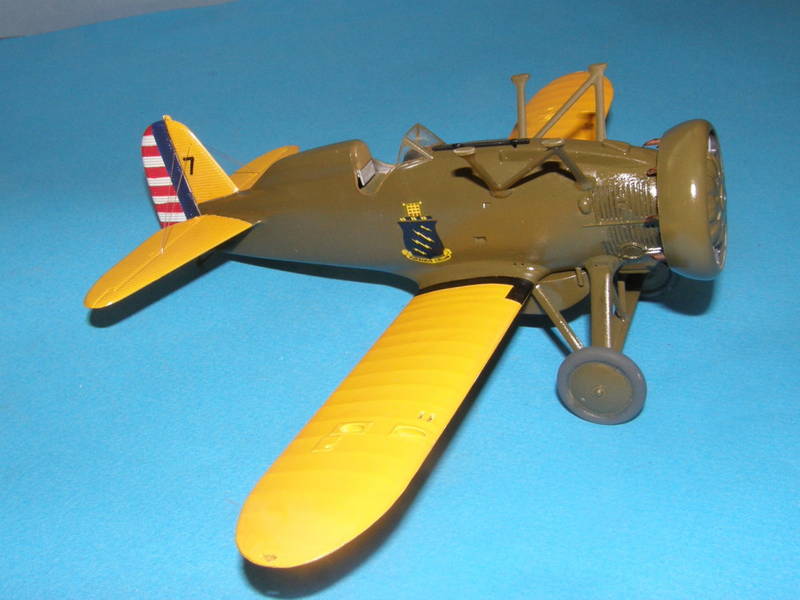
These show the model press fitted together. As Doug noted, the fit is very good. I won't need to do much if any filling, especially with that critical lower wing joint.
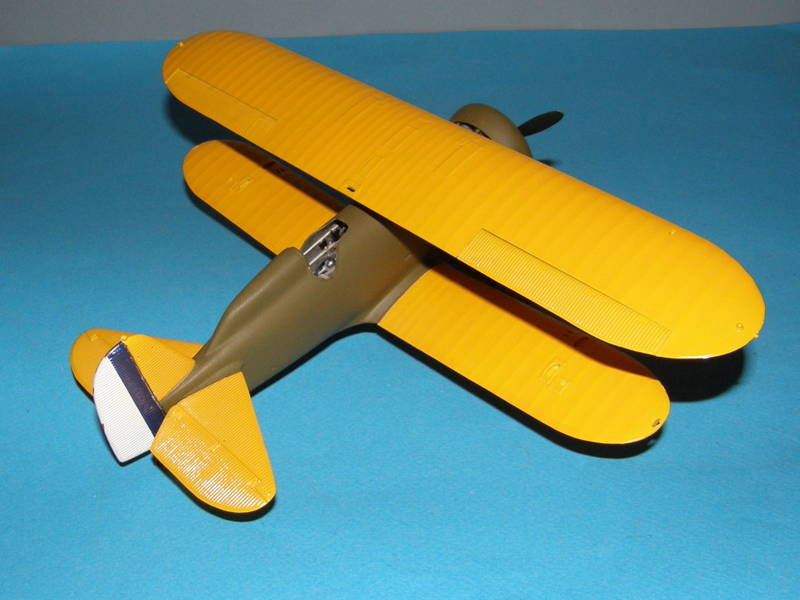
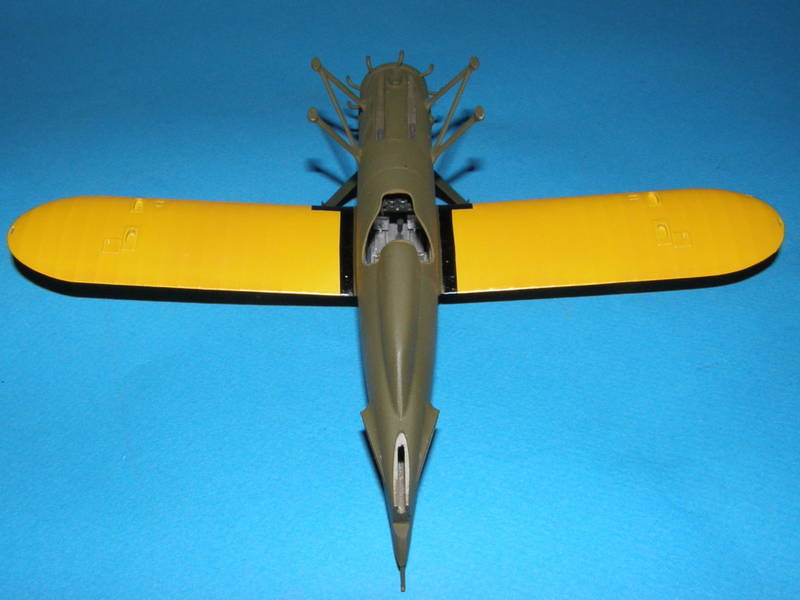
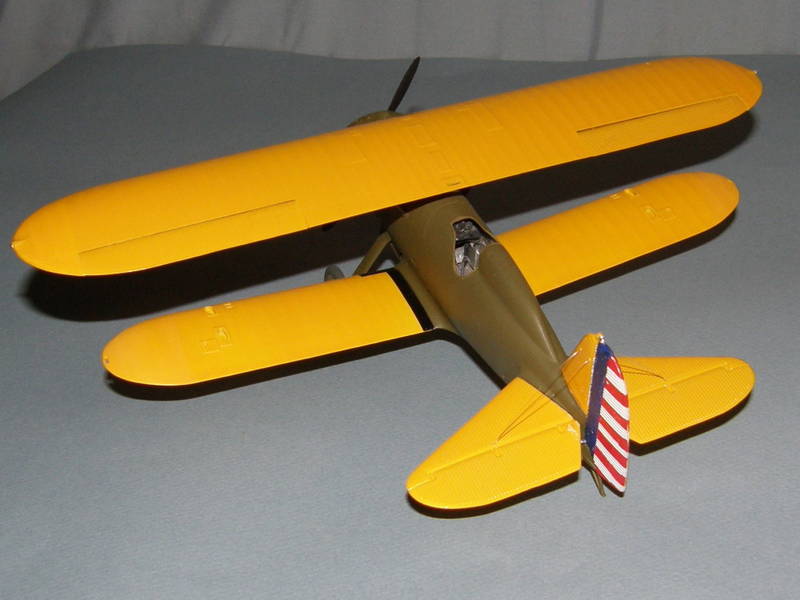
A peek into the cockpit
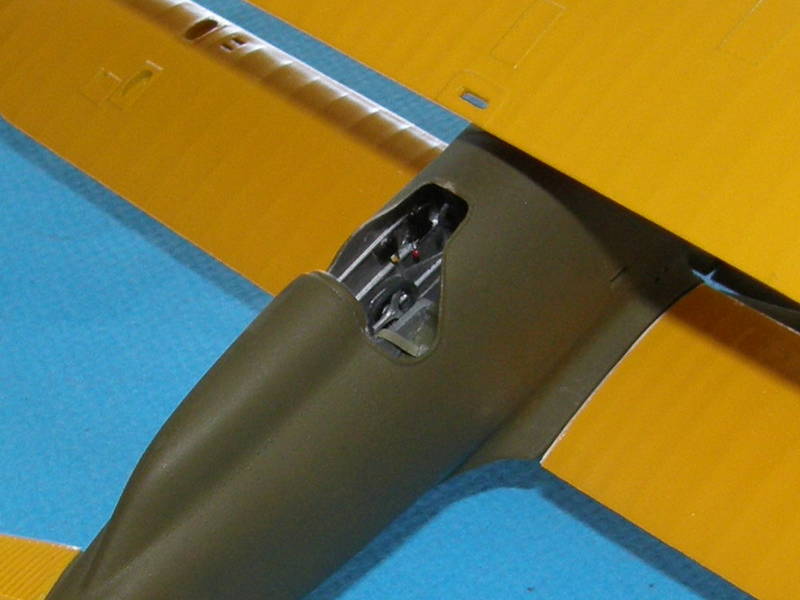
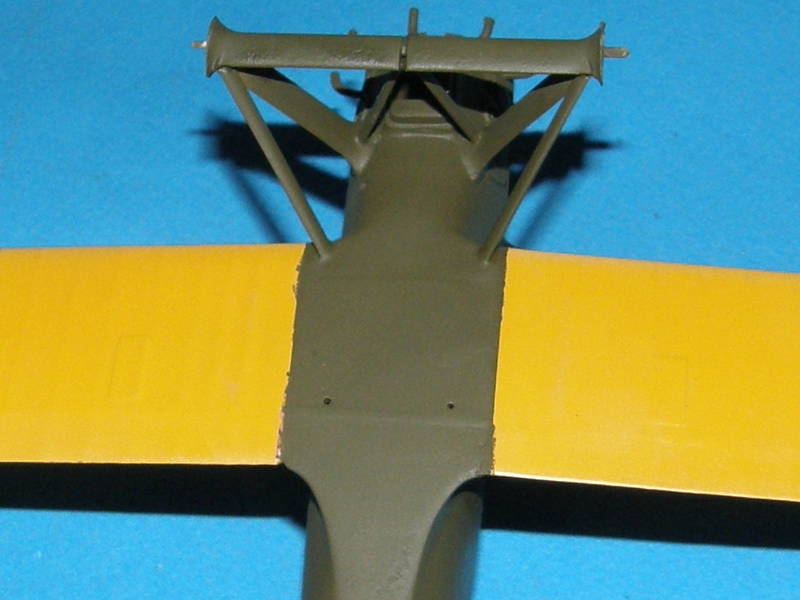
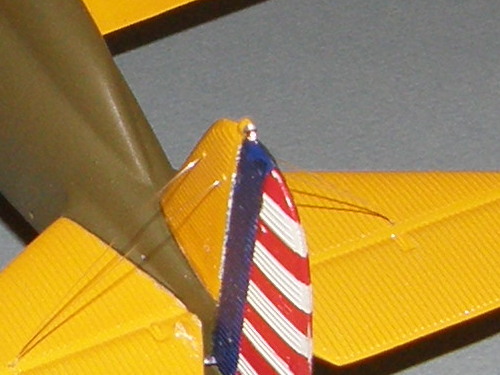
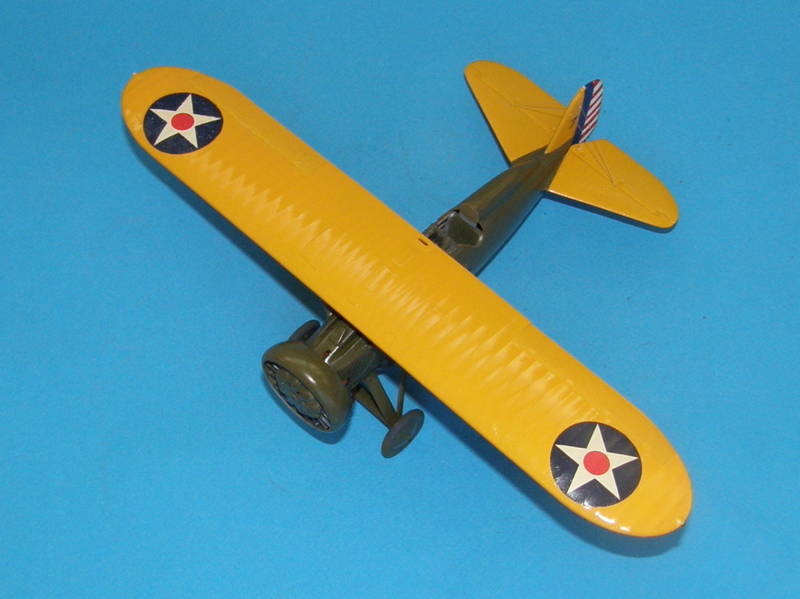
I think that once I get the struts on that misallignment will go away