

 Thanks for looking everyone.
 Thanks for looking everyone.


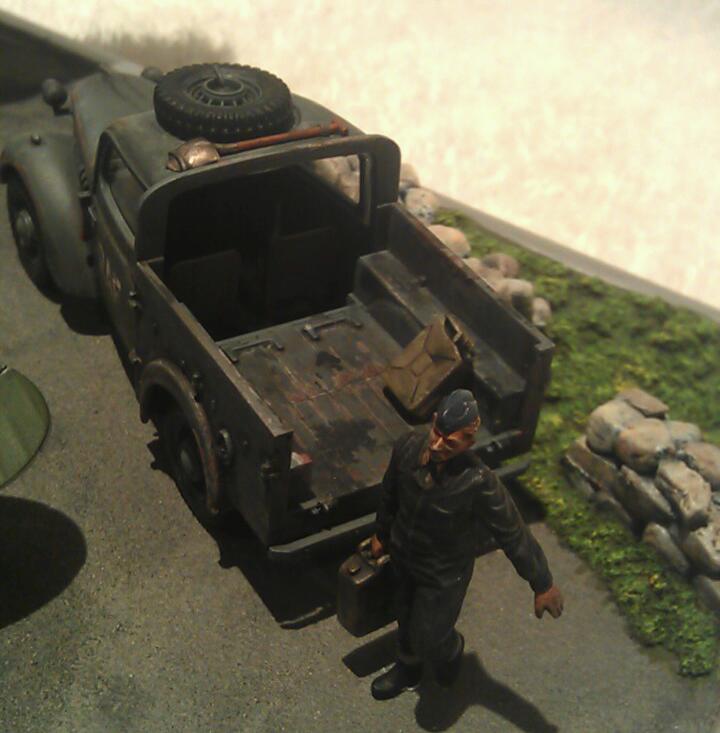
 ) beyond my 20+ builds! I just don't get how you newbies do it! Your construction, painting, base, weathering, and figure-work are all spot on. I've got nothing to add except I'd like to see some progress shots next time
  Maybe I'll learn a thing or two, who knows?


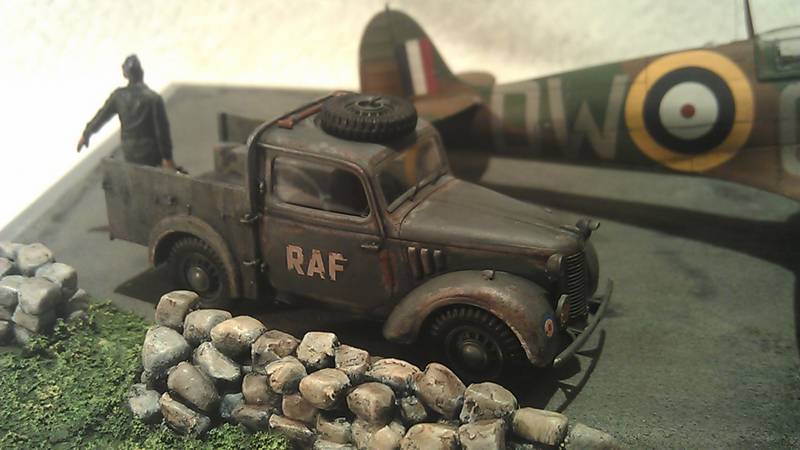
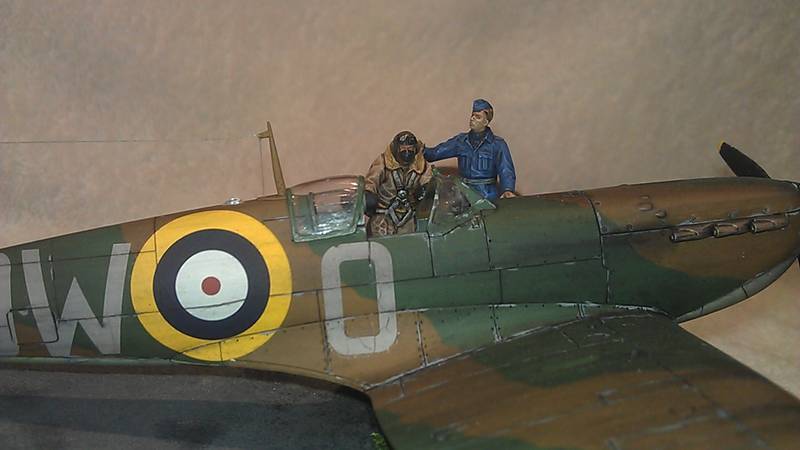
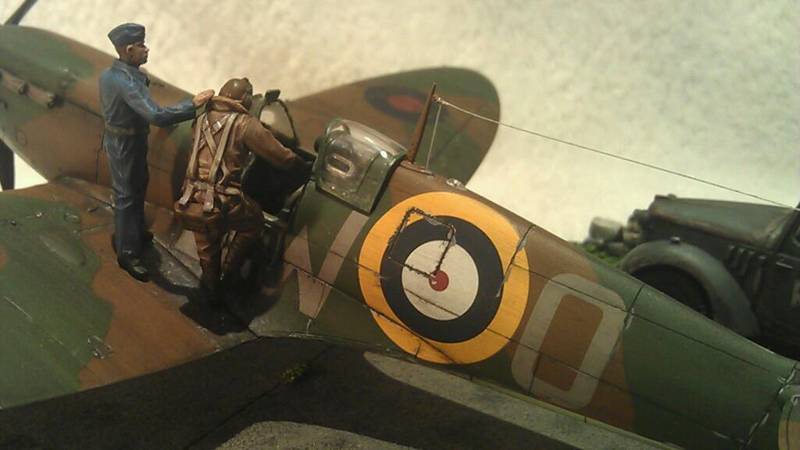
Excellent build, did you paint on the markings? If not, you are awesome at decals, and weathering. Looks awesome.


 |


