_GOTOBOTTOM
Pre-Flight Check
Constructive critique of your finished or in-progress photos.
ME-262B Hasegawa 1/72
pbaudru
_VISITCOMMUNITY
Belgium
Joined: April 12, 2012
KitMaker: 31 posts
AeroScale: 31 posts
Posted: Thursday, April 12, 2012 - 03:23 AM UTC
Hi all, I'm new here and I would like ro share with you some build pictures of my ME-262B.


Cheers Pierre.
pbaudru
_VISITCOMMUNITY
Belgium
Joined: April 12, 2012
KitMaker: 31 posts
AeroScale: 31 posts
Posted: Thursday, April 19, 2012 - 09:20 PM UTC
Hi all, more pics !

Another small cockpit part home made detailed.


RLM66 and RLM76 on the canopy, still need to paint the RLM75.


Cockpit almost ready.


General view of the model.


Cheers Pierre.
Siderius
_VISITCOMMUNITY
Tennessee, United States
Joined: September 20, 2005
KitMaker: 1,747 posts
AeroScale: 1,673 posts
Posted: Friday, April 20, 2012 - 09:11 PM UTC
Pierre, your model looks very good indeed. Thank you for sharing it with us. Russell
Naseby
_VISITCOMMUNITY
Slovakia
Joined: October 15, 2010
KitMaker: 825 posts
AeroScale: 476 posts
Posted: Monday, April 23, 2012 - 08:26 AM UTC
Great work Pierre, You must have firm hands and good eyes to do such fine work.
pbaudru
_VISITCOMMUNITY
Belgium
Joined: April 12, 2012
KitMaker: 31 posts
AeroScale: 31 posts
Posted: Tuesday, April 24, 2012 - 02:51 AM UTC
Thanks guys ! More pics....

The canopy without the protection masks.


I did this home made 'tissue' to represent a maintenance environment.


Main canopy parts glued in diferent positions. Antennas were glued too. Still need to paint the 'ring' antenna.


Close on the Canopy:


PE antenna glued on the underside:


I'm fixing some of the holes of the engine structure.


Cheers Pierre.
pbaudru
_VISITCOMMUNITY
Belgium
Joined: April 12, 2012
KitMaker: 31 posts
AeroScale: 31 posts
Posted: Wednesday, April 25, 2012 - 08:28 PM UTC
Hi guys more pics...

Canopy in place.


Another thing left by a mechanic.


Antennas glued.


F.O.D. glued and I painted also using humbrol H-28 the parts on the exit of the engine.


Cheers Pierre.
Dimitar
_VISITCOMMUNITY
Sofiya, Bulgaria
Joined: November 08, 2011
KitMaker: 414 posts
AeroScale: 126 posts
Posted: Wednesday, April 25, 2012 - 10:32 PM UTC
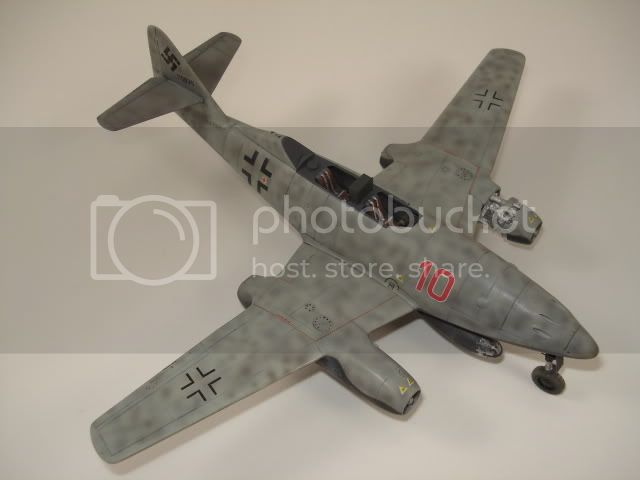
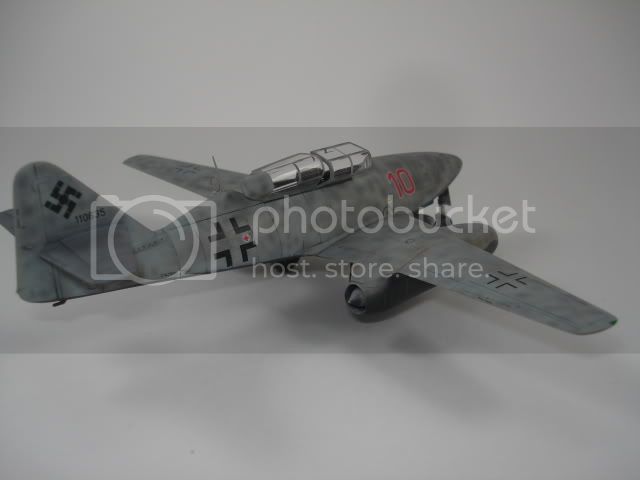
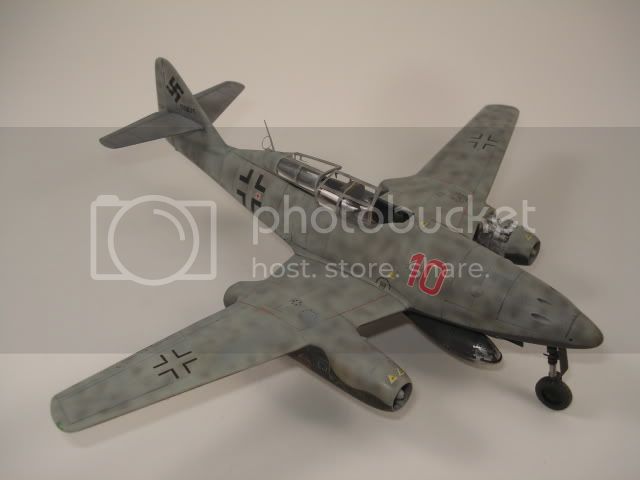
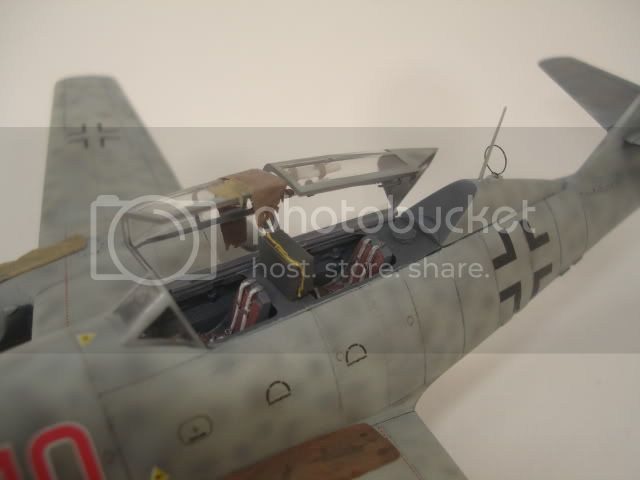
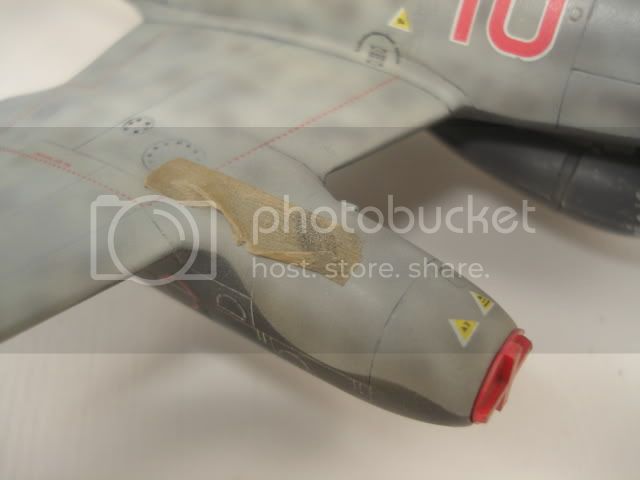
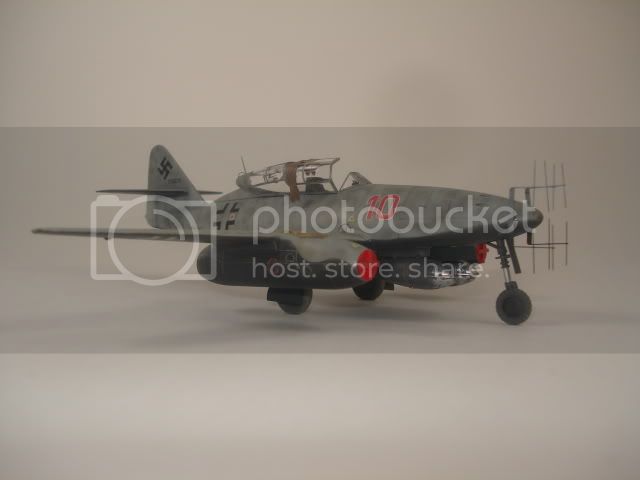
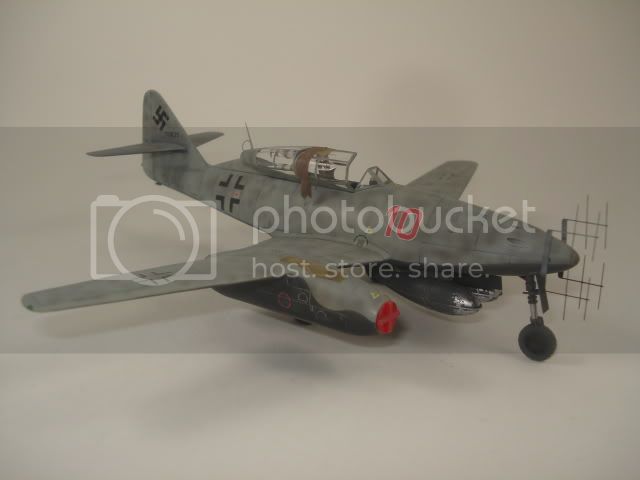
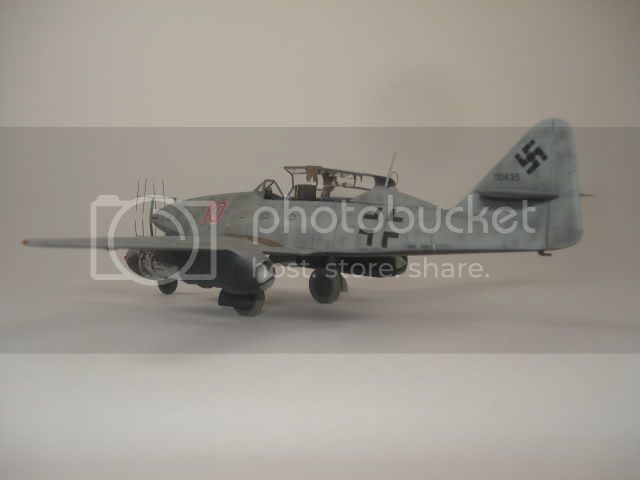
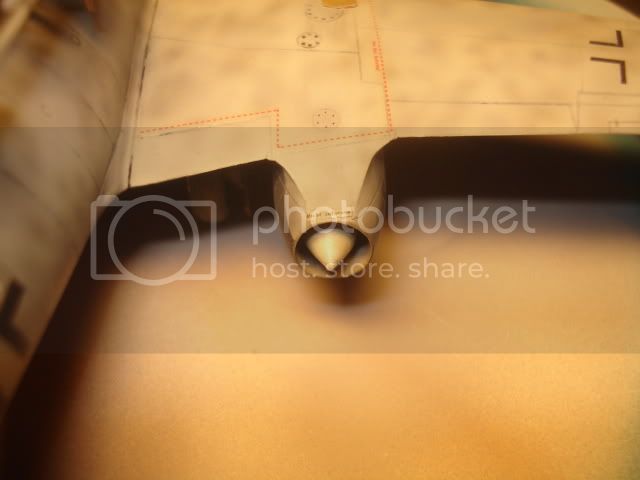
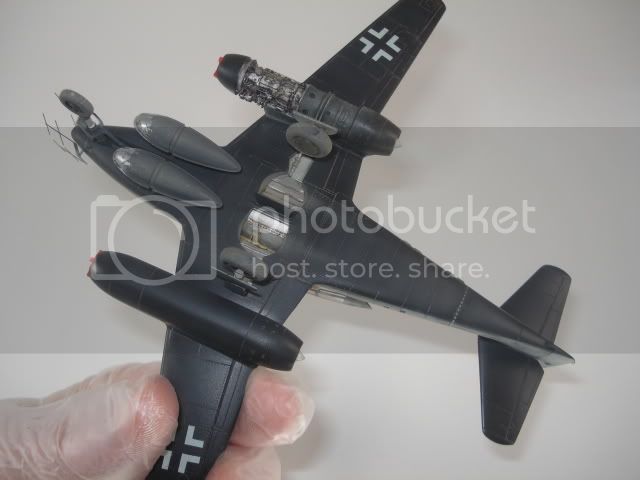
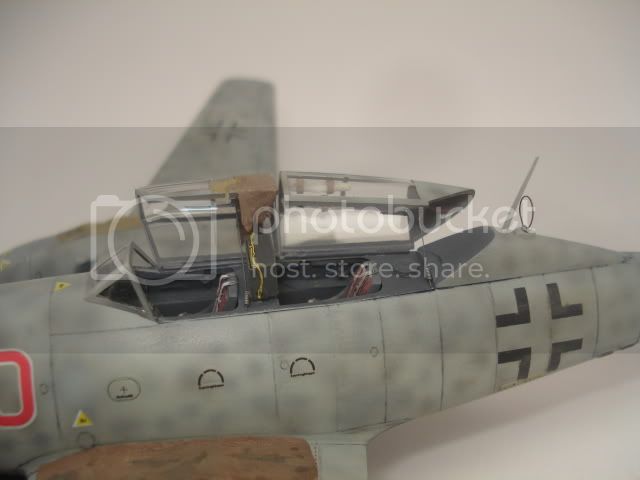
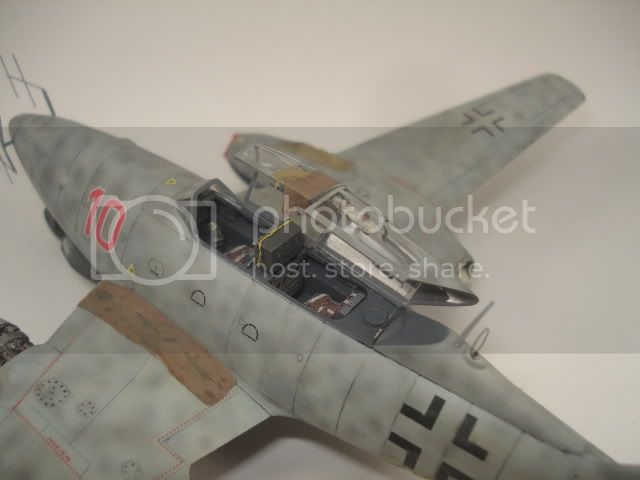
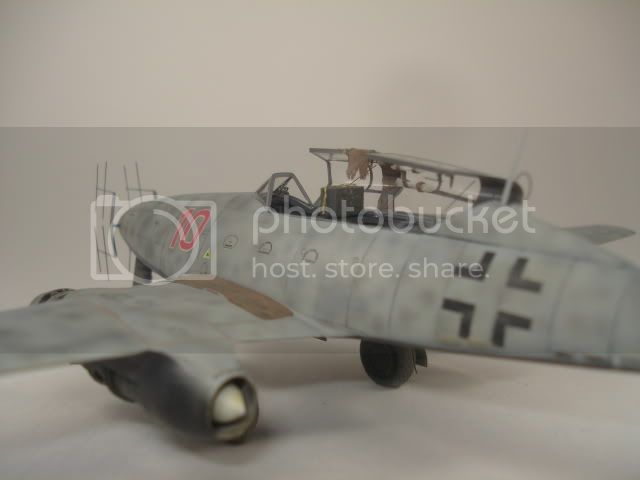
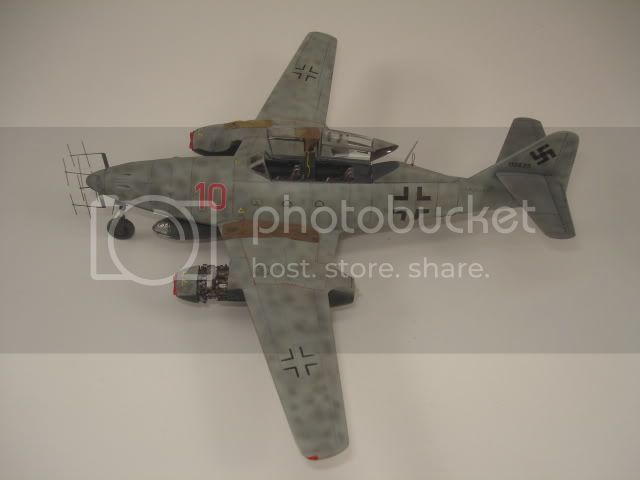
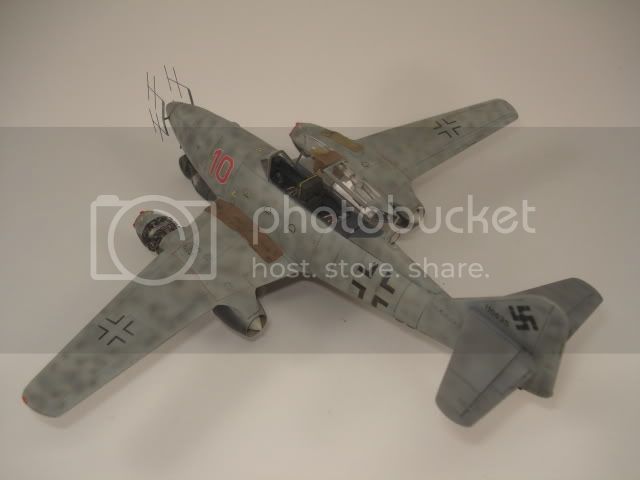
Hi, Pierre!
Very nice Me-262. Do you plan a diorama to go with it?
I really like the way you've weathered the aircraft and i would like to ask you for some photos of the underside as I've always found that the black is the most difficult color to work with.
Cheers,
Dimitar
pbaudru
_VISITCOMMUNITY
Belgium
Joined: April 12, 2012
KitMaker: 31 posts
AeroScale: 31 posts
Posted: Thursday, April 26, 2012 - 02:07 AM UTC
Hi Dimitar, thanks for your message !

Yes I will do a diorama, I still need to find some pics to decide what to do on this diorama....

I will post more pics of the underside, just need to be at home to do that. I can say about the underside I used the NATO BLACK from tamiya as a base, then I used a pure black on the panel lines. WASH was done using promodeller BROWN.

Cheers Pierre.
Dimitar
_VISITCOMMUNITY
Sofiya, Bulgaria
Joined: November 08, 2011
KitMaker: 414 posts
AeroScale: 126 posts
Posted: Thursday, April 26, 2012 - 03:10 AM UTC
Thanks for your reply!
I'll try it on my night Me-262 when I get to it, and I hope it'll be soon.
Waiting for the dio!
All the best,
Dimitar
pbaudru
_VISITCOMMUNITY
Belgium
Joined: April 12, 2012
KitMaker: 31 posts
AeroScale: 31 posts
Posted: Thursday, April 26, 2012 - 07:45 PM UTC
Hi all, the model is finished !

Pigments applied on the rear engine parts.


Details painted on the engine. WASH also done.


Dimitar, here a pic of the undersurfaces.


I added the cables that are connected with the canopy parts.


Final pics.


I hope you like guys, please let me know about your suggestions !

Cheers Pierre.
 _GOTOTOP