Ive started a few hours ago and these are the mods Ive done so far:
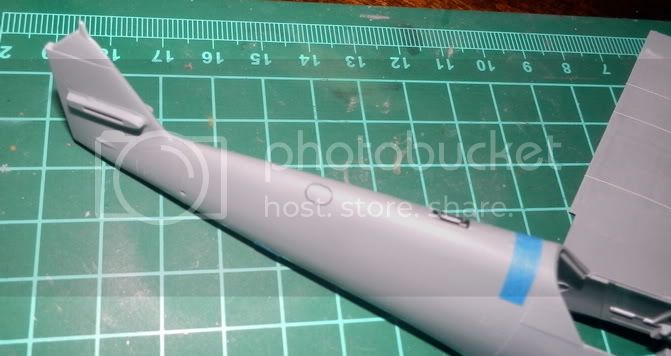
1)Removed the external reinforcing strips near the tail.
2)Scribed the oval inspection hatch aft of the rear wheel
3)Scribed the small hatch for the primers reservoir on the starboard side.Since I HEARTILY hate using scribing templates I scribed the hatch by glueing an Eduard PE hatch on the bare plastic,scribed around it,and then smoothed the scars on the scribed hatch with Gunze Mr. Dissolved Putty,which in my opinion is the best Putty ever!
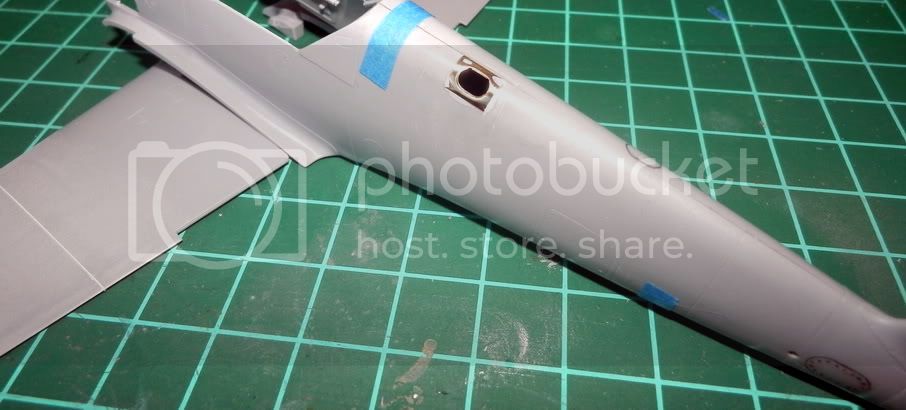
4)Fitted an Eduard PE access port to the Fuselage tank on the port side aft of the cockpit.To make a clean job Ive annealed the PE part,pressed it against the fuselage to give it the right curve,temporarily glued it to the plastic and with a PE thin saw I cut around it,then I superglued the PE part on the square opening and hey,presto a clean port that will be filled in with a scratchbuilt interior.
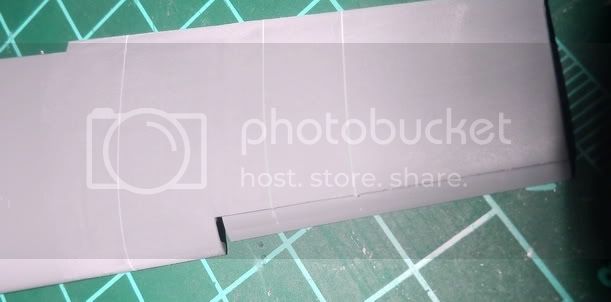
4)Scribed the panel lines on the upper wings as required.
At first I wanted to rivet the model but I dont think I will Ill add rivets in some selected areas with a #0 and a#1 grainers.
Ive already gathered a few parts from the Hasegawa kit(s) which Ill modify and cast in resin along with a few other AM resin and PE bits and bobs.I dont know if Ill fit a radio compartment yet,probably not because Id have to scratchbuild the fuselage interior and since Im the laziest modeler around I dont want to be carried away and turn the build into another never-ending odyssey,but I sure will detail the engine compartment.No need to look for resin mills here .the engines beautifully detailed OOB it will only require the obvuious changes between it and the latter DB605 fitted to the G-6 and,of course,MG131s will be needed!
Comments,suggestions,hints,tips and constructive critics are more than welcome!
Thank you for watching
Manu