_GOTOBOTTOM
World War II
Discuss WWII and the era directly before and after the war from 1935-1949.
Hosted by Rowan Baylis
1/24 Mosquito build by Andy
lordderfel
_VISITCOMMUNITY
England - West Midlands, United Kingdom
Joined: January 13, 2010
KitMaker: 37 posts
AeroScale: 31 posts
Posted: Sunday, April 22, 2012 - 07:24 AM UTC
Hi everyone.
I've never hosted a build log before but thought I'd give it a go. The model in question is the wonderful Airfix 1/24 Mosquito which I have been after since it came out but couldn't warrant over £100 for a plastic kit. However, last week I found this kit on sale in Birmingham for under £85 and it was literally 2 minutes from the school where I work so of course I snatched it up before they sold out.

So here goes my first build log which I hope goes well and I hope is of interest to others. Anyone following this will have to be patient because I don't get the time to work on m odels every day; I am a school teacher (I teach design technology so have access to well equiped workshops) but find evenings often taken up with planning and marking work, but I will do my best to model as often as I can and add to this blog as often as possible.

I begin with a plea and an explanation. Having read other blogs and reviews of this kit I want to do something a bit different and was looking at the alleycat conversions. Has anyone any experience with these and can a specific one be recommended? I was thinking of the Tsetsi version or the Sea Mosquito versions; I think the sea mosquito could be interesting because of the folding wings. What do you all think? Also, I understand the landing gear is very weak so was considering the SAC white metal kits as replacements. Anyone know where I can get them from in the UK? SAC tell me Plastic Fantastic in Oxon but my emails keep being returned as undeliverable so I asume they have ceased trading. I know the Alleycat Sea Mosquito landing gear are wire strengthened so perhaps this is not needed if I go down this route.

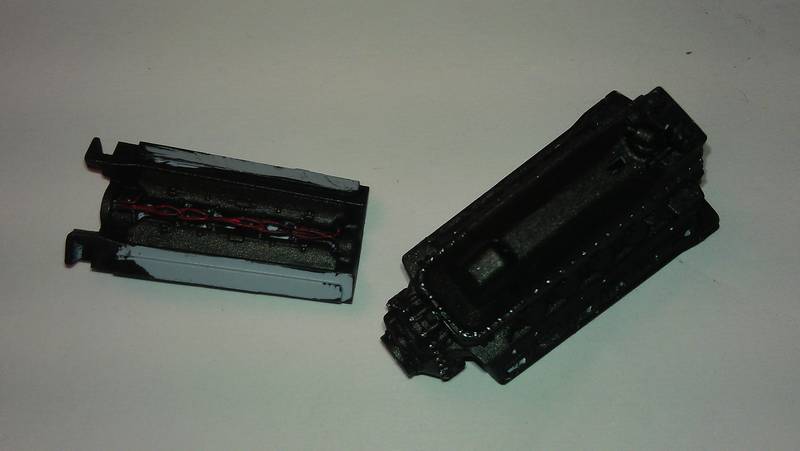
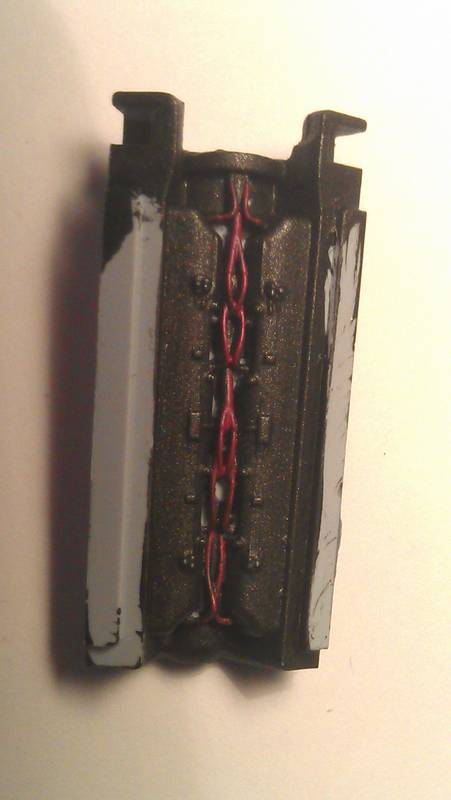
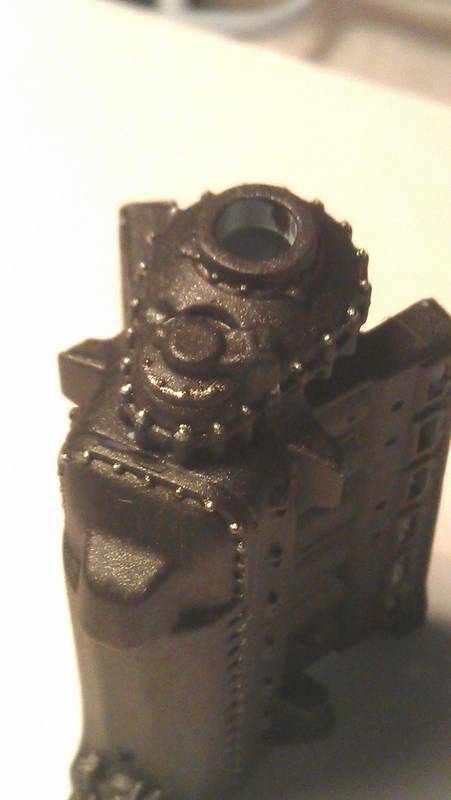
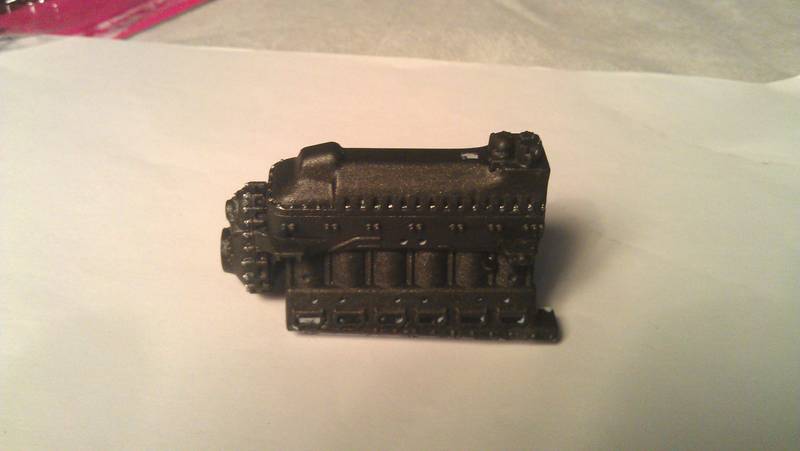
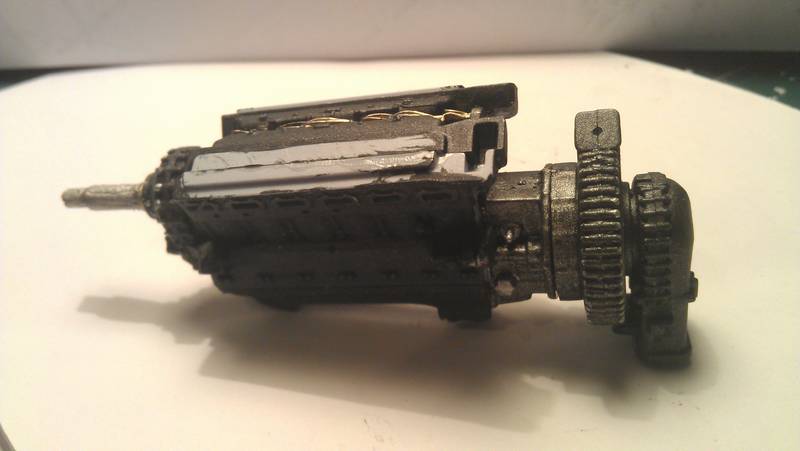
Anyway, I am going to fit only one engine into the kit and have this exposed while the other engine nacelle is permanently closed. This may sound odd but the engines are kits in their own right so I am going to start my build with one engine as a display item on its own. I am going to make a special wooden base to display this and make it as detailed and as accurate as possible. I have never used the Alclad metal paints but having seen the results achieved I will be getting these to make the copper and other unpainted parts really stand out and look as realistic as possible. I have made a start by painting the main engine block black. The plastic is very soft and cleans up very easily so removing parts from the sprues was very easy and cleaning them up was easier than I have found before. The work is not worth photographing at the moment but I will be adding photos at key stages so please bare with me and lets see where this goes.

Bye for now. Andy
bdanie6
_VISITCOMMUNITY
New Hampshire, United States
Joined: November 09, 2008
KitMaker: 615 posts
AeroScale: 459 posts
Posted: Sunday, April 22, 2012 - 08:32 AM UTC
Andy, being a Mossie fanatic myself, I really went crazy when I heard that Airfix was bringing out a 1/24 scale Mosquito. Unfortunately, life (as in loss of job) interfered and now it looks like I get to only watch and wish and drool

I've read a few reviews about Alleycat and have never heard a bad word about them. SAC landing gear would be a must for a model this large I should imagine. Under the circumstances, purchasing direct from SAC or Squadron might be your best bet, but I should imagine a giant like Hannets must carry them.

The idea of one engine out on a display stand sounds great. I can't wait to see how you do.

Oh, and any picture is better than no picture at all

Later
AussieReg
Staff MemberAssociate Editor
AUTOMODELER
#007
_VISITCOMMUNITY
Victoria, Australia
Joined: June 09, 2009
KitMaker: 8,156 posts
AeroScale: 3,756 posts
Posted: Sunday, April 22, 2012 - 09:15 PM UTC
Hi Andy, I'm looking forward to following your work here.
Another Andy (Torchy) built the big Mossie recently for my "Zerstorer" Campaign. You can see his work in detail in the thread HERE starting on page 5 about halfway down the page (April 7 was the first post).

Good luck with the build mate.

Cheers, D
lordderfel
_VISITCOMMUNITY
England - West Midlands, United Kingdom
Joined: January 13, 2010
KitMaker: 37 posts
AeroScale: 31 posts
Posted: Monday, April 23, 2012 - 05:14 AM UTC
Thanks for the wishes for this build. I am going to to a bit more tonight and post pictures ASAP.

I have painted the flat black on the main engine parts for the separate Merlin and will be adding some highlights to make some of the mouldings stand out. A bit of artistic licence will be needed otherwise it could end up lokking like a black blob. Also working on some of the copper pipes tonight so hopefully the photos will start to show something.

Can't locate the white metal undercarriage in the UK so have had to order direct from SAC in the US. I guess this could take a while to arrive.

Have been considering the after market conversions from Alleycat further and I am seriously thinking about the Sea Mosquito version as I have not seen anyone work through one of these so it could make an unusual model. It would also reduce the size of display area considerably as the wings would be in the folded position.

Thanks for the heads up on the other build D I will check this out and see if I can learn anything from this. I am also using some tips from several other builds so we can see how the different ideas work out.

Incidentally, if any of you can use 3D CAD, Revel are looking for model designers in a major investment and enlargement of their company. Details from/applications to [email protected]

Will post pictures later tonight or tomorrow night at latest.

Andy
lordderfel
_VISITCOMMUNITY
England - West Midlands, United Kingdom
Joined: January 13, 2010
KitMaker: 37 posts
AeroScale: 31 posts
Posted: Monday, April 23, 2012 - 08:27 AM UTC
OK here are the first photos as promised. Nothing spectacular yet but they do show some of my techniques.

As stated earlier I have started on a Merlin engine as I will only be fiting one into the actual Mosquito. So far I have painted and glued together the main engine block and started a couple of other pieces.

Having cleaned up the sprue scars I test fitted them together and found the best fit I have ever discoverd in a plastic model. Standard humbrol polystyrene cement was used; I applied this using the tip of a craft knife as I find this gets a very thin spread. Once set I painted a flat black matt acrylic (humbrol 33) and left this to dry. Highlights were added to all rear facing parts with a very watered down white and again left to dry. Next I mixed humbrol 33 black with Tamiya X11 Chrome Silver in equal amounts and added about the same amount of water. Spray mount spray glue was applied to the engine block and immediately my mix was applied with a fine brush. This when dry gives a slight texture that looks like cast iron and the mix of black and silver gives a sheen that while not entirely accurate looks better than flat black. A short drying time was allowed and pure Chrome Silver was applied witha very fine brush to all nuts and bolts as these were always left shiny and unpainted.

This took longer than I anticipated so I havent got any of the pipes I wanted to do tonight so for now, here are the photos and I wish you a good night. Comments, suggestions and criticism welcomed. Andy

Can't figure out how to put the photos in here directly so heres a link to my Kitmaker album. Will try to solve this when I have more time.

http://gallery.kitmaker.net/showgallery.php/cat/27504
Merlin
Staff MemberSenior Editor
AEROSCALE
#017
_VISITCOMMUNITY
United Kingdom
Joined: June 11, 2003
KitMaker: 17,582 posts
AeroScale: 12,795 posts
Posted: Monday, April 23, 2012 - 09:01 AM UTC
Hi Andrew

Posting pics to the Forum is like riding a bicycle - once you've mastered it, you'll wonder how you ever fell off...
Drop me a line if you continue to have trouble, but you should find a lot of pointers HERE - it looks like Darren has kept his help-thread right up to date.

And getting back to the Mossie - I'm really looking forward to seeing how this progresses! I've only ever seen the kit in the "flesh" once - at Hannants when it was first released... and the sheer size of it stunned everyone present!

All the best

Rowan
lordderfel
_VISITCOMMUNITY
England - West Midlands, United Kingdom
Joined: January 13, 2010
KitMaker: 37 posts
AeroScale: 31 posts
Posted: Monday, April 23, 2012 - 09:13 AM UTC
Thanks Rowan, trying to follow the instructions now.

lordderfel
_VISITCOMMUNITY
England - West Midlands, United Kingdom
Joined: January 13, 2010
KitMaker: 37 posts
AeroScale: 31 posts
Posted: Monday, April 23, 2012 - 09:26 AM UTC
Thanks to Rowan I think I have it so here goes with some photos.


As ever, comments criticism, ideas etc are welcomed. These are nowhere near finished yet. More detail needed in the paint as well as lots more parts to prepare and fit.
Andy
Merlin
Staff MemberSenior Editor
AEROSCALE
#017
_VISITCOMMUNITY
United Kingdom
Joined: June 11, 2003
KitMaker: 17,582 posts
AeroScale: 12,795 posts
Posted: Monday, April 23, 2012 - 09:38 AM UTC
Hi Andy

Great job! You've cracked it!

Any credit must surely go to Darren for his help thread.

All the best

Rowan
lordderfel
_VISITCOMMUNITY
England - West Midlands, United Kingdom
Joined: January 13, 2010
KitMaker: 37 posts
AeroScale: 31 posts
Posted: Tuesday, April 24, 2012 - 07:28 AM UTC
Been exceedingly busy at work with the second day of a practical exam to administer so I am exceedingly tired. However, I have added to the Merlin engine by making the main drive shaft from scratch.

This is made from a piece of sprue from the main body moulding of the Mosquito and the outer diameter fits into the engine perfectly. All I had to do was carefully measure the different ;engths needed and then file down to the required diameters. This took almost 90 minutes and is not perfect but gives a decent impression. The grooves along the length were scratched in with a dental tool. Not sure if I like the final results so I might make another one at work tomorrow using the lathe but to be honest the material is so flexible it might not work. May result to a metal one if the flexing is too much.
Anyway, the paint is a strange one as all photographic references I have from one on display at RAF Cosford shows it to be a strange mix of silver grey metal with some gold/brown hints. I tried several mixes before deciding to use a mix of Tamiya paints in roughly 60/40 parts of Silver Chrome and Gold leaf.
I have also added the same colour mix to the cables on top of the engine.
Added the rear parts onto the engine and it is now beginning to look like a Merlin.
Still lots of parts to prepare and add but too tired tonight to do more.
Just one phototoday for anyone interested to follow, it doesn't show it brilliantly as the focus is difficult due to having to use the camera on my mobile phone because my main camera is at work following the exam!
As usual, comments, criticism, suggestions etc are welcome.
Andy
lordderfel
_VISITCOMMUNITY
England - West Midlands, United Kingdom
Joined: January 13, 2010
KitMaker: 37 posts
AeroScale: 31 posts
Posted: Monday, August 20, 2012 - 10:02 PM UTC
August 2012.
Sorry not added to this but have been unable to do anything for quite a while.
Anyway, I have been able to do some work on the mossie yesterday and thought I'd update what has been done.
The engine has been left for a while as I am making the base for it using a wood workers lathe and I need to decide how to attach it to this and what extra details I will add. So I have made a start on the cockpit.
I have lots of photgraphic research and decided to simulate the wear and tear see in operational mossies. Starting with the floor, I found lots of evidence for paint wearing off the plywwod floor under the navigators feet and decided to paint the plywood first. For this I used a base coat of light brown enamel mixed with yellow to get the main birch faced ply colour. When dry, darker browns and tans were painted to represent the main grain using enamels again and finally grain details were accentuated with watercolour pencils.

The pilots feet were on plywood covered with a dark reddish brown bakelite layer so I painted thie on using White Ensign (WE) RAF/FAA matt red. When all of this was dry I overpainted with WE interior grey green making sure I left some areas exposed.

The leather covering around the base of the control column, although nicely detailed I felt needed a bit more shape and after much thought painted a series of layers of very thick black enamel that really needed a lot of thinners adding. This built up the folds in the leather which when dry were overpainted first with a dark brown and finally dry brushed with light tan. I am quite pleased with the overall result.

The pilots seat I found was dark green leather and was easily scuffed and cracked. For this I decided to paint a base coat of the dark brown matt enamel I used on the floor leather. When almost set I overpainted with dark green acrylic which while covering the brown was partly repelled and so th weathering started. After leaving to dry, I scratched some parts with a sewing needle and dry brushed with light tan. The result was a little too much so a very fine brush was used to dry brush some of the geen with a touch of yellow to reduce the tan slightly. Again I am very pleased with the results.
For some reason the photos are not showing up on all computers so images can be found on my flicker page at: http://www.flickr.com/photos/85446294@N07/
 _GOTOTOP