_GOTOBOTTOM
World War II: Germany
Aircraft of Germany in WWII.
Hosted by Rowan Baylis
1/32 Fw190A6 for Fw190 Campaign
DougN1
_VISITCOMMUNITY
Georgia, United States
Joined: August 08, 2011
KitMaker: 410 posts
AeroScale: 409 posts
Posted: Friday, May 04, 2012 - 06:38 AM UTC
As posted over in the campaign thread, here is my entry, Hasegawa's 1/32 Fw190A6 "Galland" kit. Since this is the first of many of these kits I plan to build, I am going to try to stay as close to out of the box as possible. However, additions planned are for some Master barrels and Quickboost exhausts. I'll also add some seat belts once I decide how I want to do that. Markings will be for Galland's plane, using kit decals.


Starting out, got the cockpit parts cleaned up and assembled as far as possible for paint. I started with a coat of flat black, and will cover that with a light coat of RLM66:


I drilled out the gunsight to accept a MV lens, which really enhances the look of this very prominent part:


MV lens (not attached until after painting)


One error in this kit is that the gunsight is in the wrong position, as it should be forward and the padding not interupted. So I've enlarged the slot for it:


Still need to decide how I am going to deal with the padding, maybe in the next update!

Thanks for looking, comments/questions welcome as always!

Doug
wespe66
_VISITCOMMUNITY
Frederiksborg, Denmark
Joined: June 27, 2011
KitMaker: 122 posts
AeroScale: 121 posts
Posted: Friday, May 04, 2012 - 07:46 PM UTC
Very good start. Doug.
Do your kit have sink marks all over the place like mine did?

Kenneth
DougN1
_VISITCOMMUNITY
Georgia, United States
Joined: August 08, 2011
KitMaker: 410 posts
AeroScale: 409 posts
Posted: Tuesday, May 08, 2012 - 08:15 AM UTC

Quoted Text

Very good start. Doug.
Do your kit have sink marks all over the place like mine did?

Kenneth


Thanks Kenneth, yes I seem to have them in the same places as you do - but they don't look too bad, I'll see how they look under some Mr Surfacer primer before I decide to put effort into removing them

Doug
DougN1
_VISITCOMMUNITY
Georgia, United States
Joined: August 08, 2011
KitMaker: 410 posts
AeroScale: 409 posts
Posted: Friday, May 18, 2012 - 05:59 AM UTC
Ok, made some progress on this build, got most of the hard stuff done, hopefully the rest will be easy

Since I am trying to do as little as possible to this get this buld finished, I used the kit decals for the instrument panel (don't mind the dust stringies):


I put a few drops of Future/Kleer on each instrument after the panel was flatcoated to simulate glass, and am happy with the results.

I also used the kit decals of the cockpit side panels, which also turned out well. I added a scratchbuilt throttle (there is none in the kit). Additionally, I used some Tamiya tape painted a leather brown to simulate the rudder pedal foot straps:


As the kit does not provide seatbelts, I decided to try the pre-painted Eduard German seatbelts for this build. After about an hour of trouble-free assembly, I had them installed. I had to add the attachment brackets to the rear of the cockpit to attach the shoulder belts as well. Overall I am again pleased with the result:


The shoulder belts will be positioned outside the cockpit, as was commonly seen on 190's, so the will reside in the cockpit for now until all the painting, etc. is done:

Since I am correcting the cockpit instrument panel coaming, I needed somewhere to attach the gunsight, so I drilled a hole, added some brass rod, and drilled a corresponding hole in the instrument panel (and fuselage bit behind that) to accept the rod when I am ready to add the sight (which put it in the position of how it is actually attached):


After that, it was time to glue the fuselage together. Fortunately the tailwheel can be added after the fact (in spite of the instructions):


Thanks for looking! Comments/questions always welcome!

Doug
wespe66
_VISITCOMMUNITY
Frederiksborg, Denmark
Joined: June 27, 2011
KitMaker: 122 posts
AeroScale: 121 posts
Posted: Tuesday, May 22, 2012 - 05:28 AM UTC
It looks great so far!
Beware that the tail wheel leg is probably too long. It's a small operation to make it sit correctly though.

Regards
Merlin
Staff MemberSenior Editor
AEROSCALE
#017
_VISITCOMMUNITY
United Kingdom
Joined: June 11, 2003
KitMaker: 17,582 posts
AeroScale: 12,795 posts
Posted: Saturday, May 26, 2012 - 08:49 AM UTC
Hi Doug

Lovely work as usual! I have to say I'm really impressed by how good the kit's instrument decals look when applied well - a good lesson for all of us whose first reaction is to reach for aftermarket alternatives.

Have you also used decals for some of the switches and indicators? That's something I'd not have tried, but the result is very neat.

Looking forward to more installments.

All the best

Rowan
DougN1
_VISITCOMMUNITY
Georgia, United States
Joined: August 08, 2011
KitMaker: 410 posts
AeroScale: 409 posts
Posted: Tuesday, June 12, 2012 - 04:28 AM UTC
Thanks guys!

Kenneth, I am checking your build for tips as I do mine

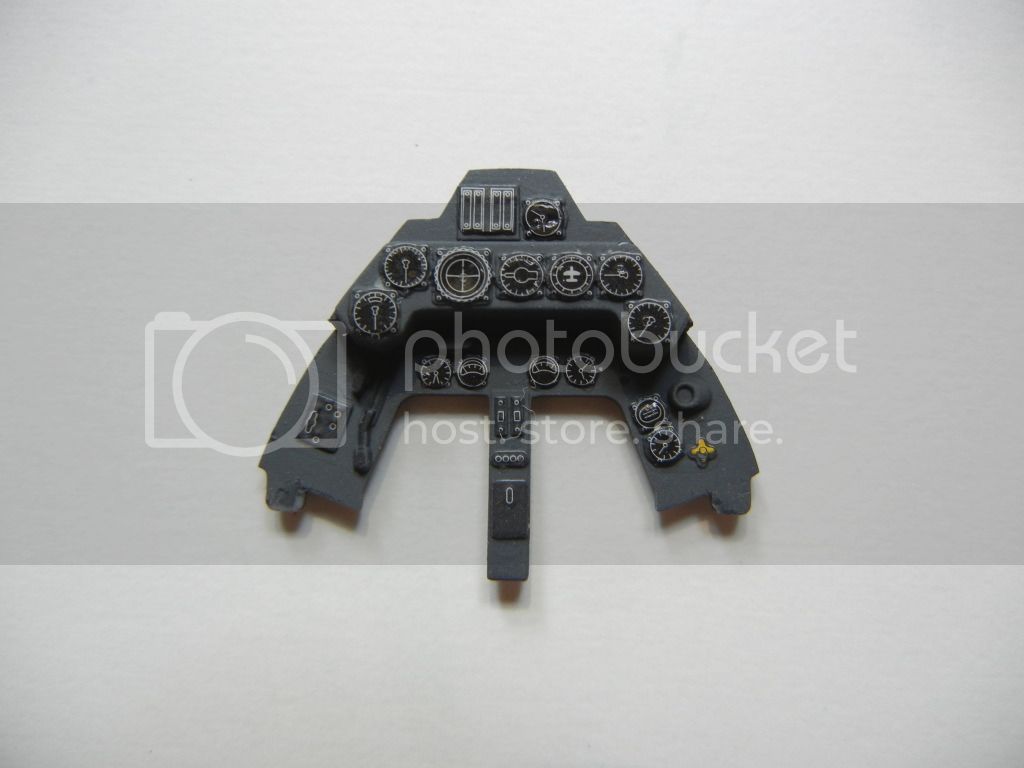
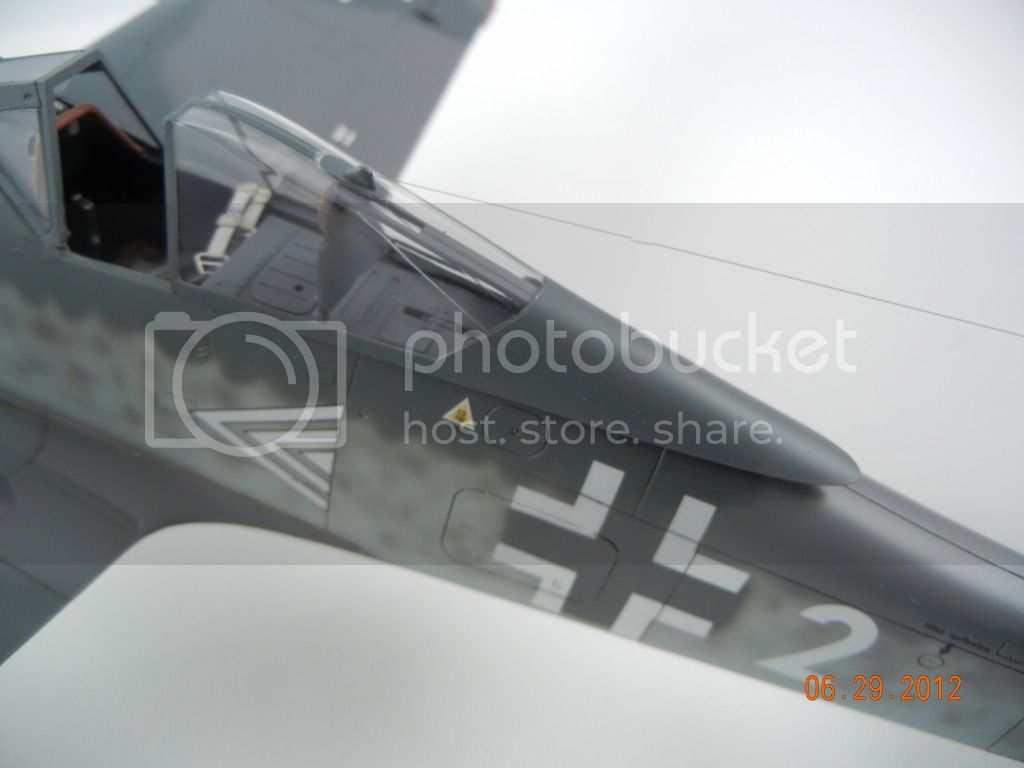
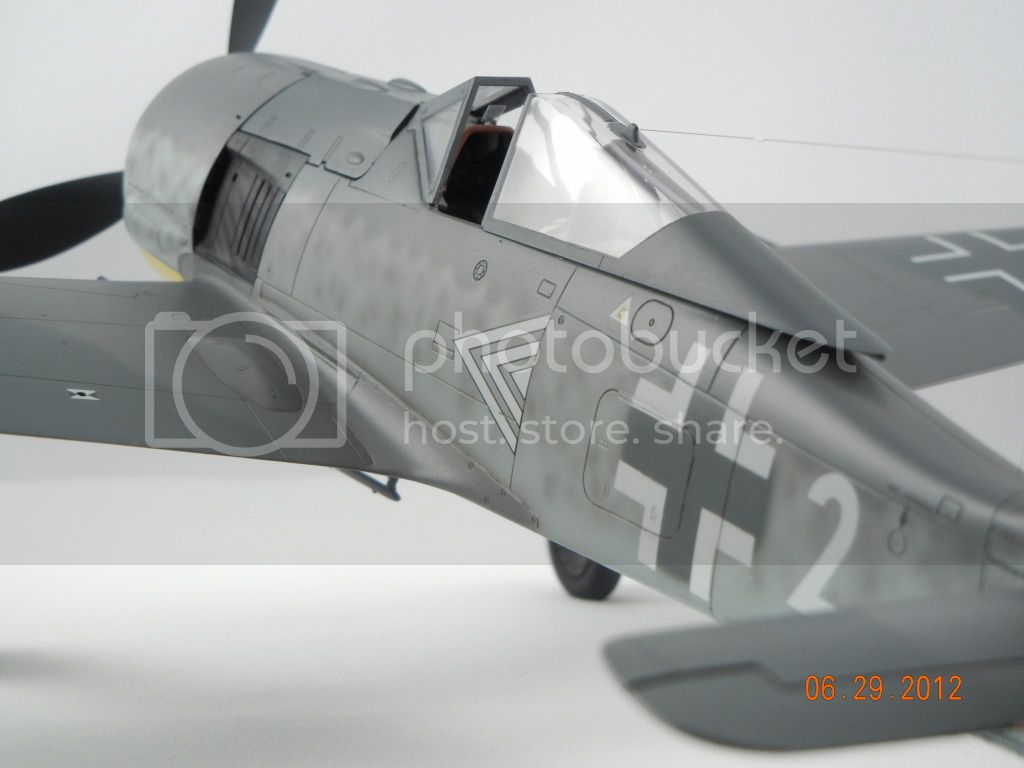
Rowan, yes, they turned out quite well I think. The sidepanels are indeed the kit decals as well, I just trimmed off some bits where there was a large protrusion and the settled down great using Mr. Mark Softner!

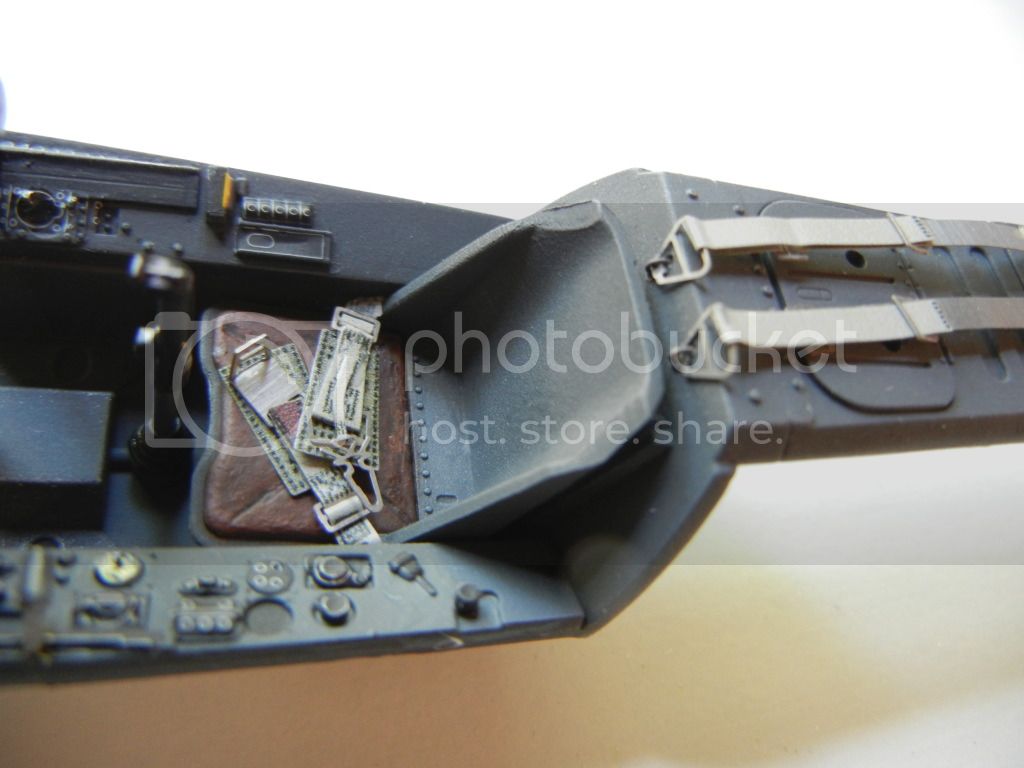
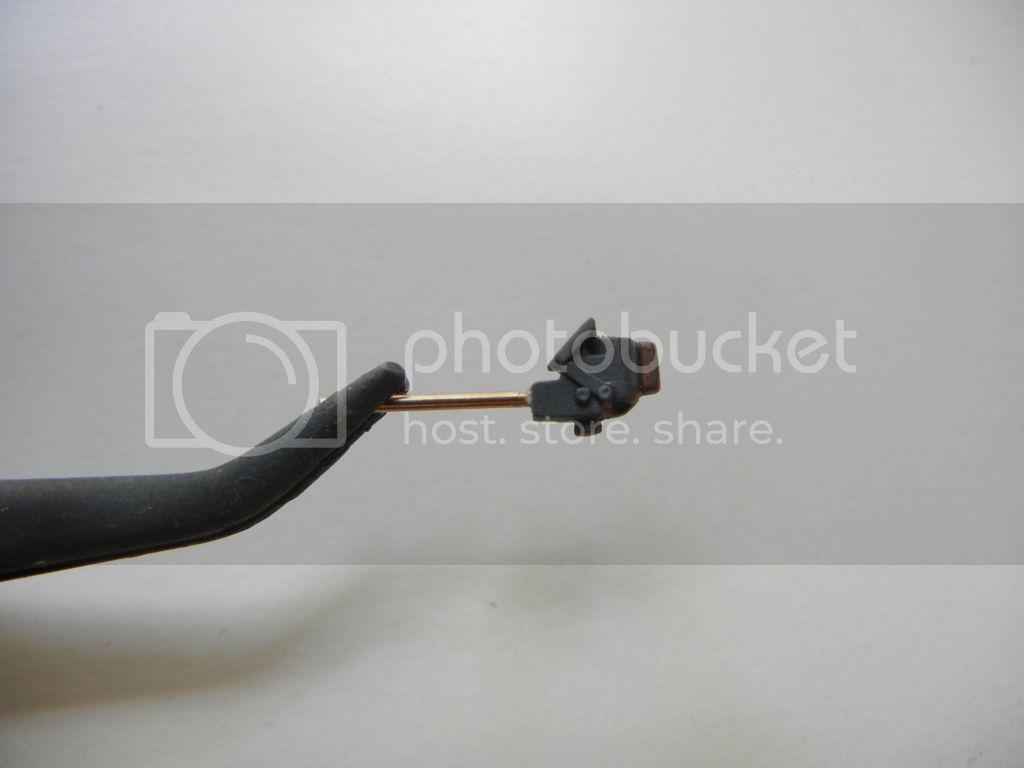
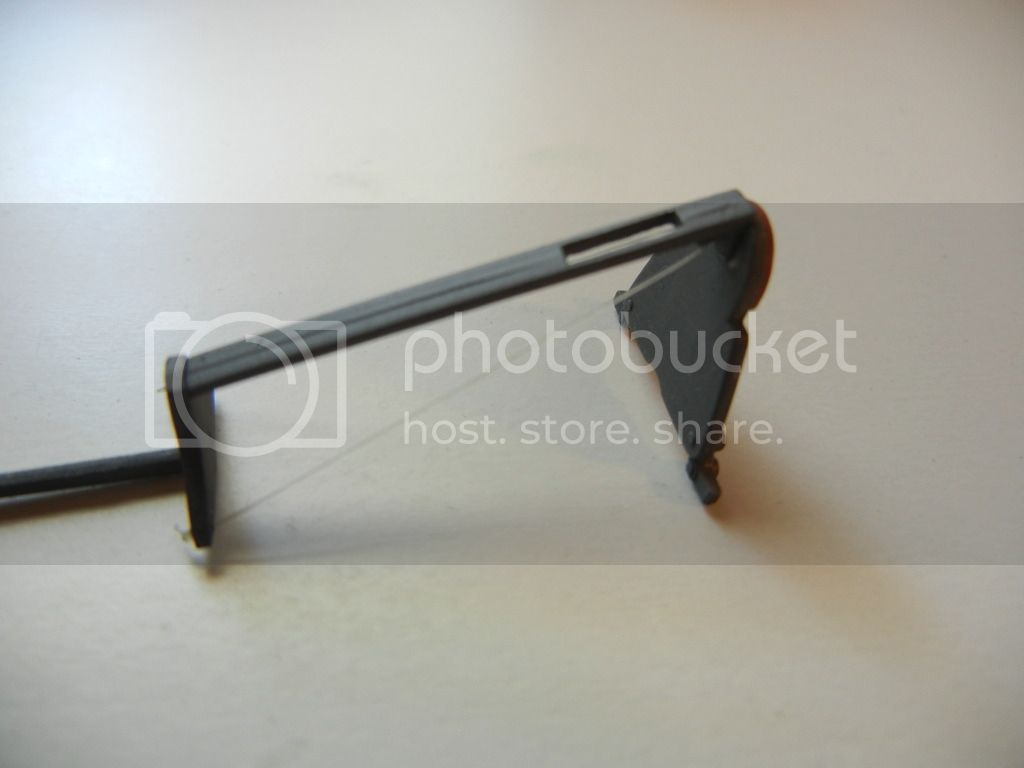
I prefer to use kit parts whenever possible, as I don't like to add even more work trying to get some aftermarket stuff to fit. I try to reserve my enhancement time to areas that are easily seen on the finished model - aerials, gunsights, seatbelts, etc.)

Finally made some more progress on this bird, figured I better get cracking since the deadline is fast approaching!

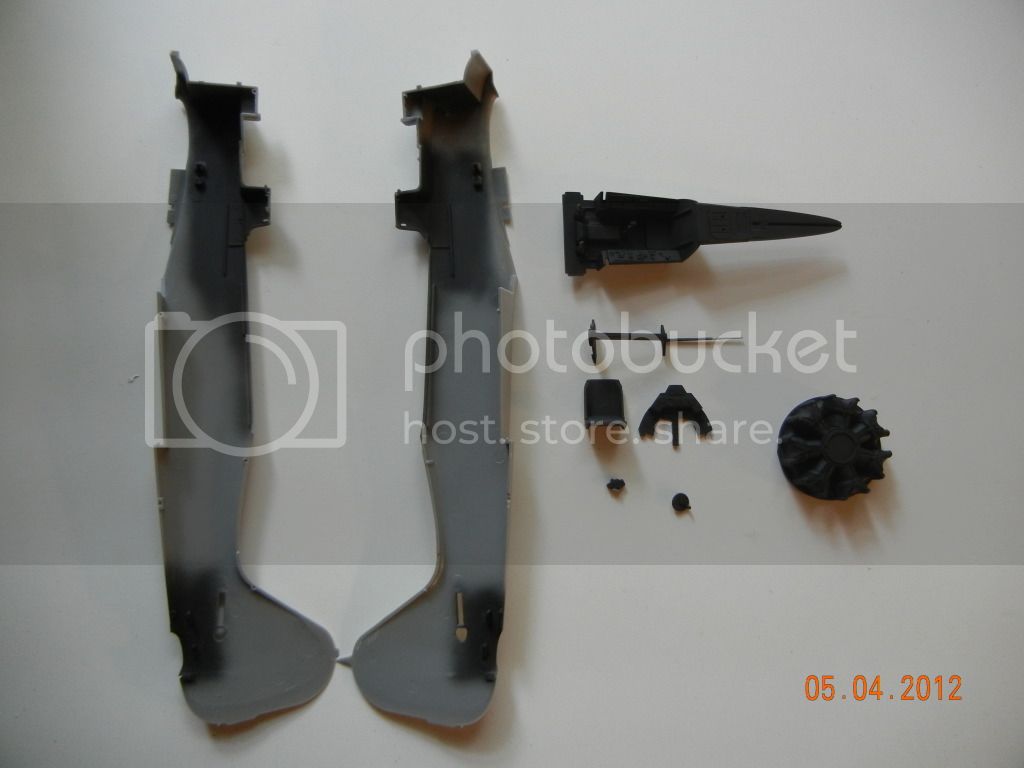
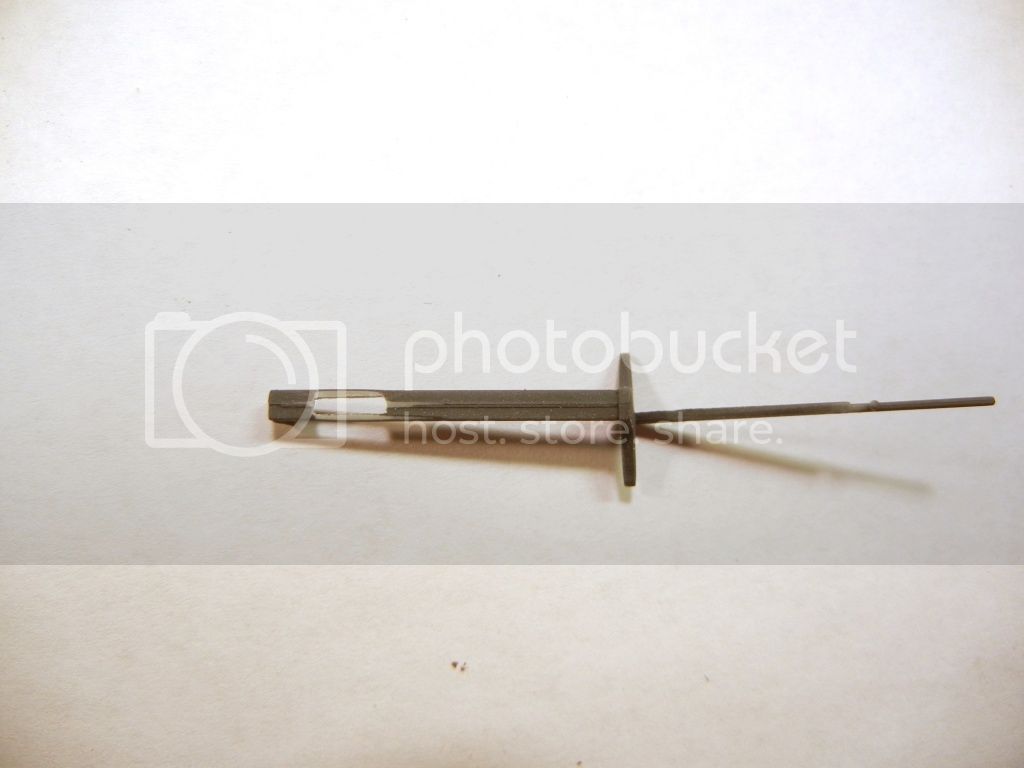
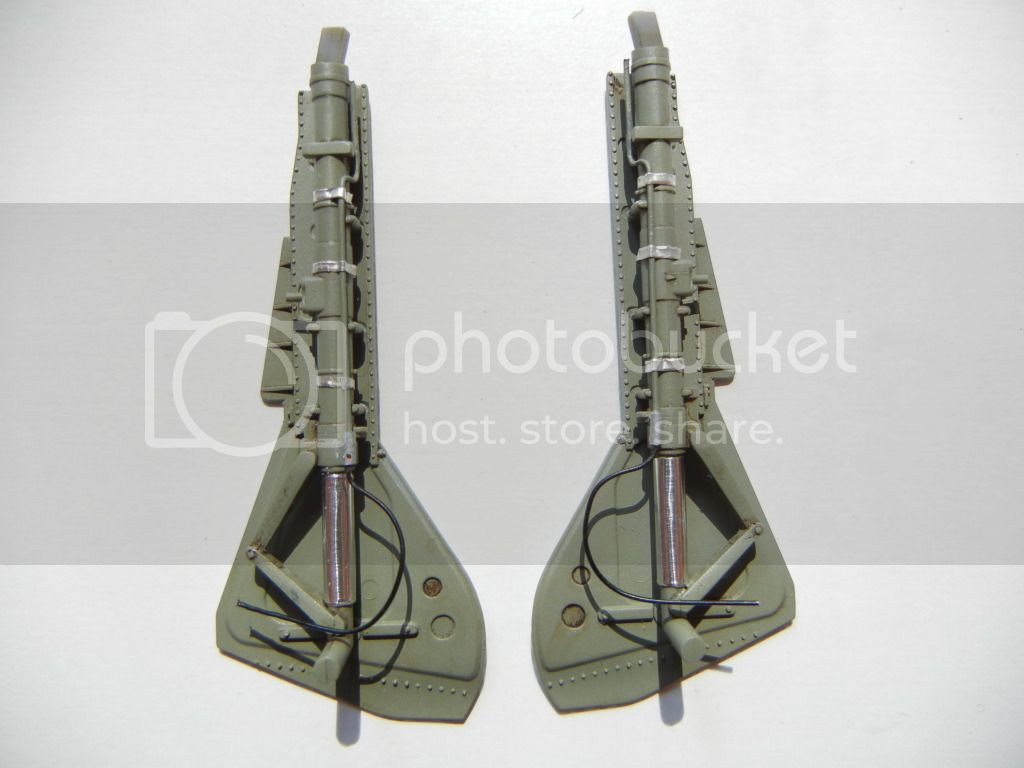
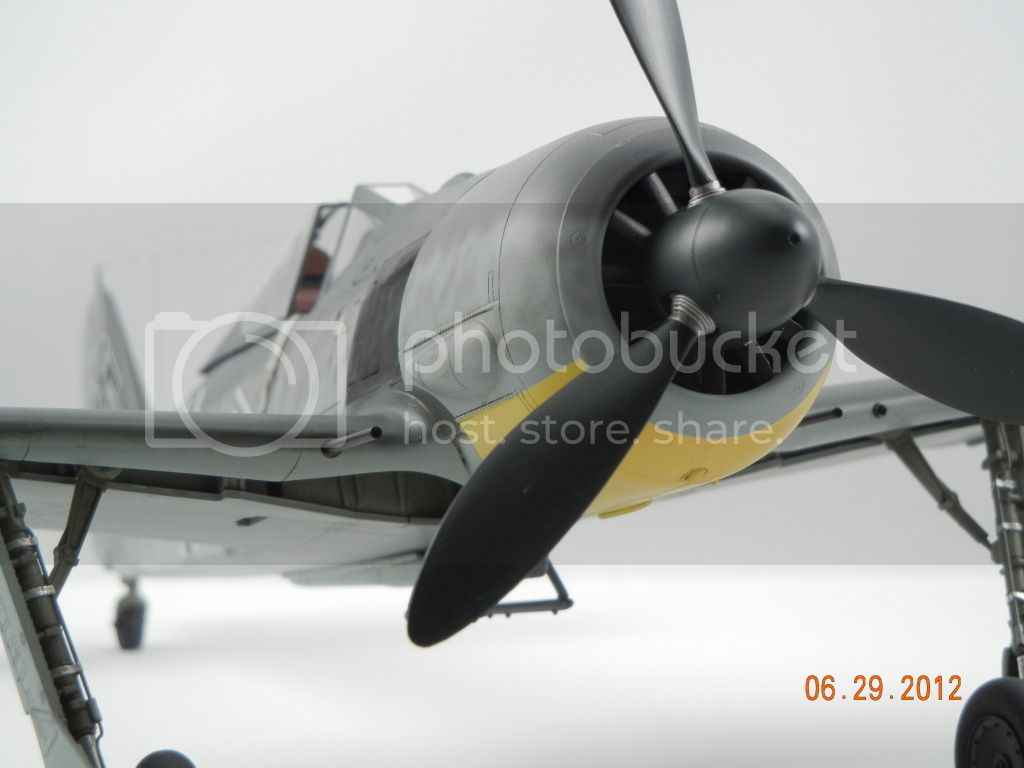
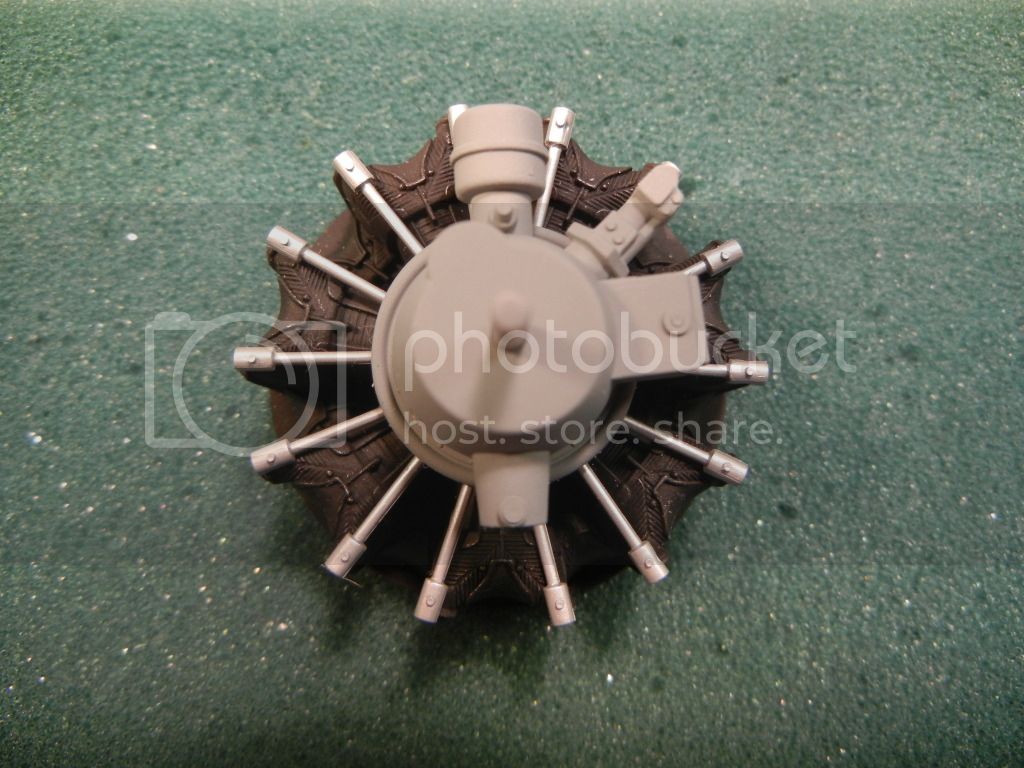
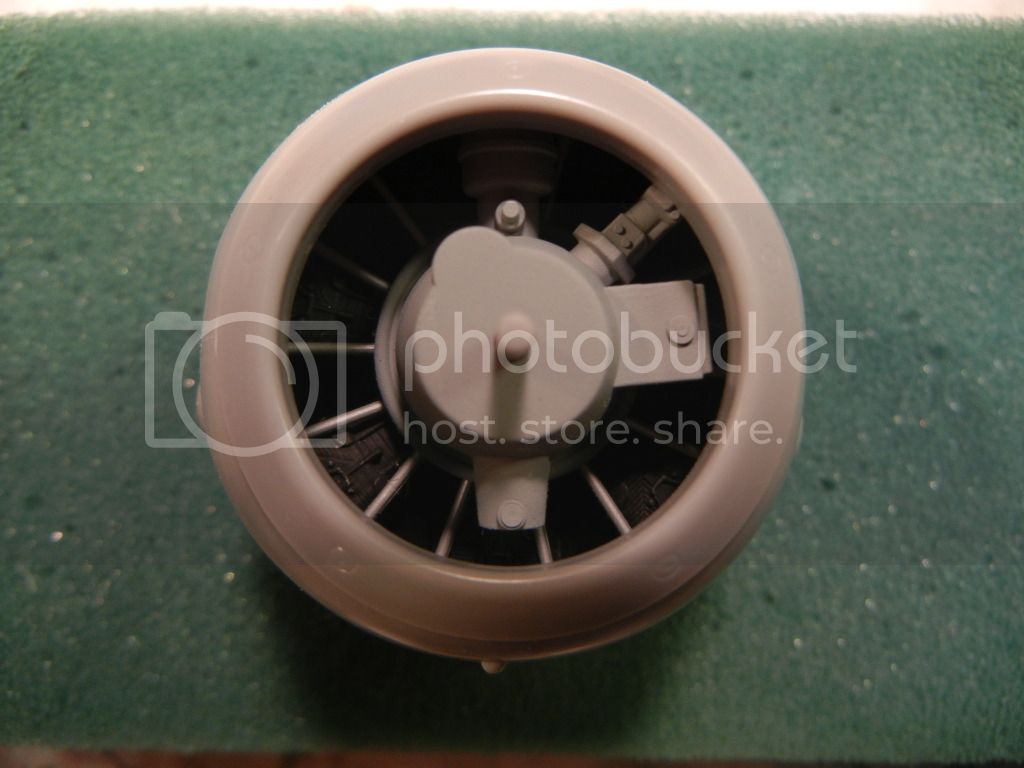
Here is the engine (all kit parts):


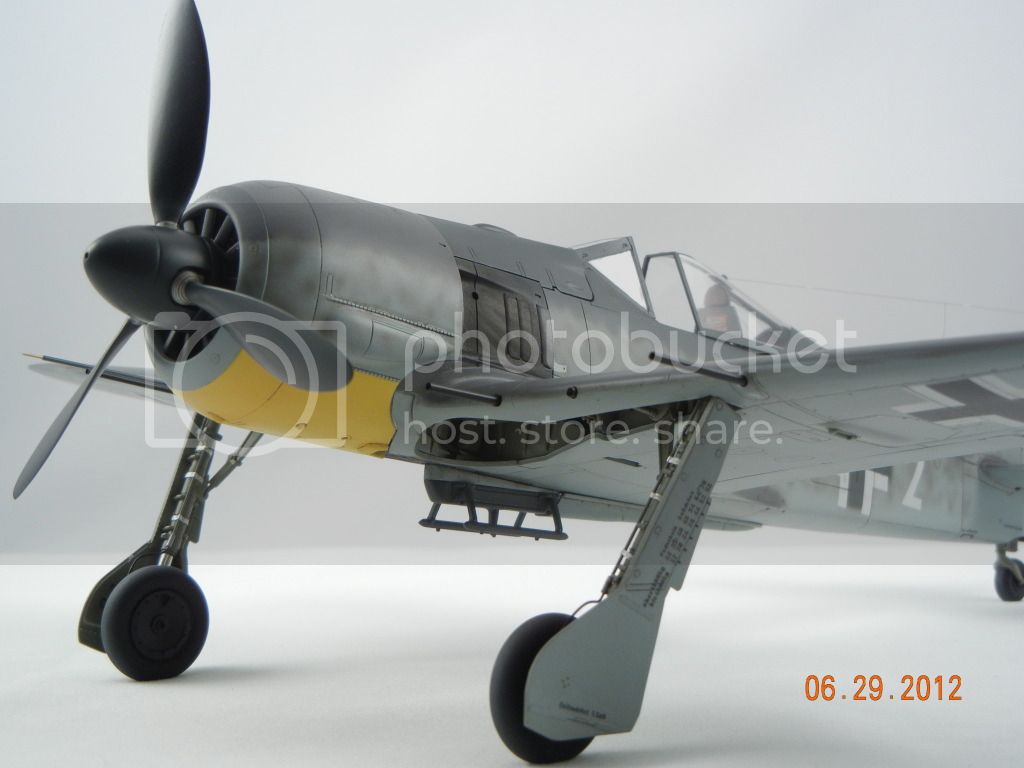
With the cowl glued in place, you can see some of it:


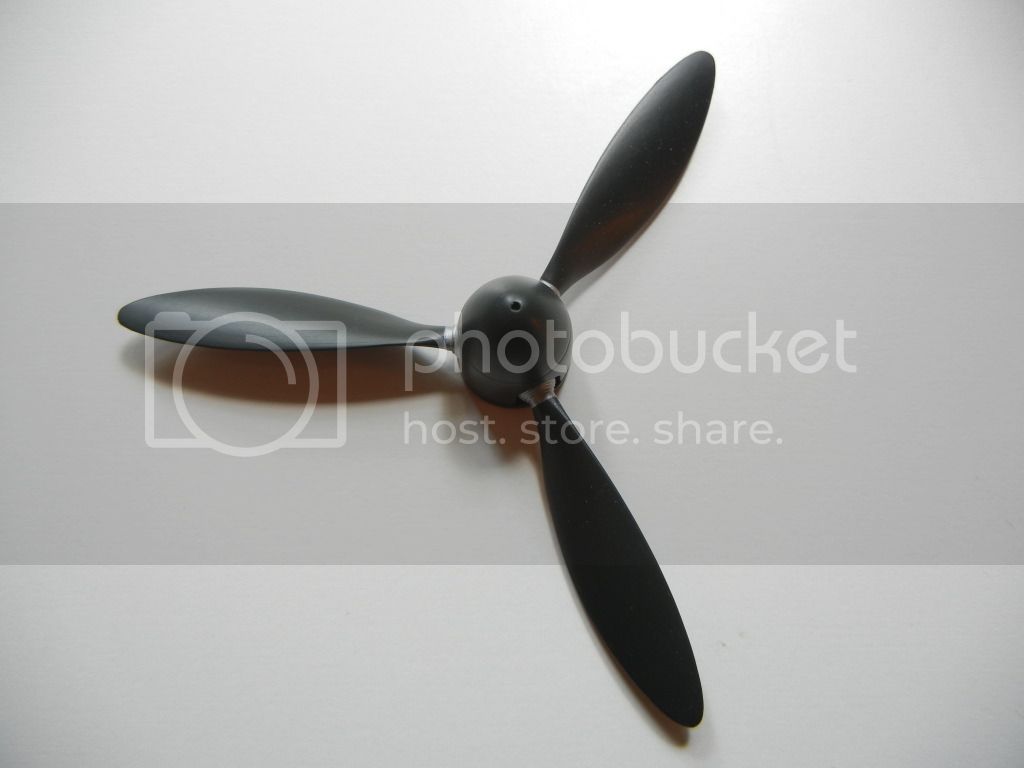
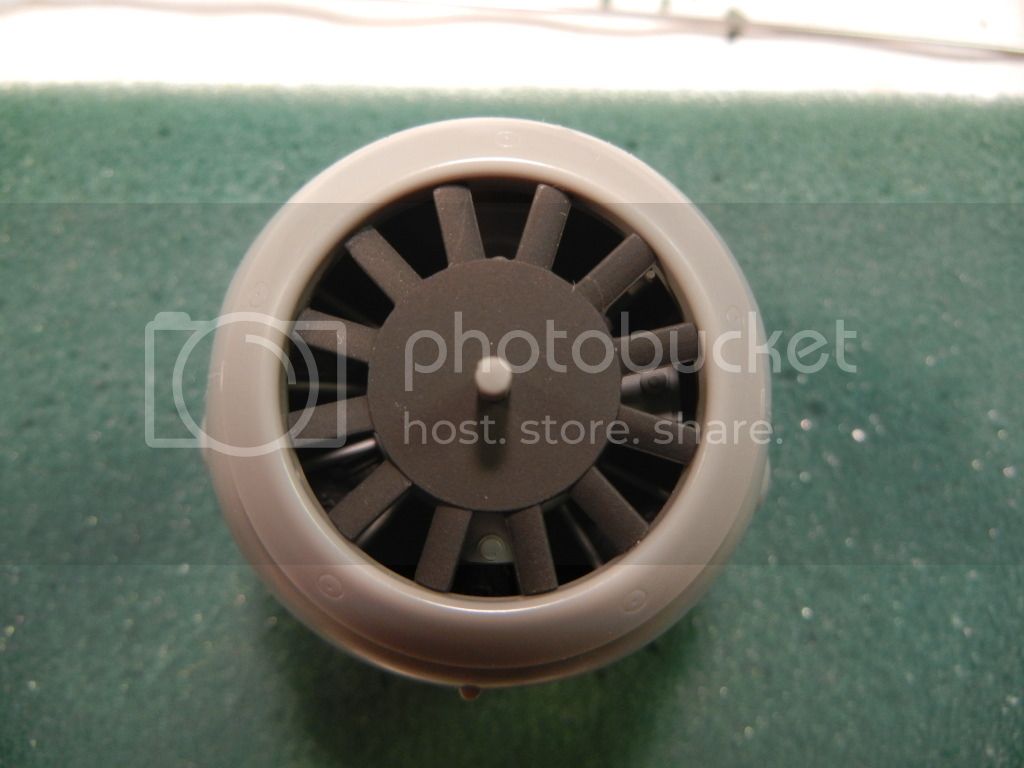
With the fan in place, you can just barely see some of the engine if you look for it:
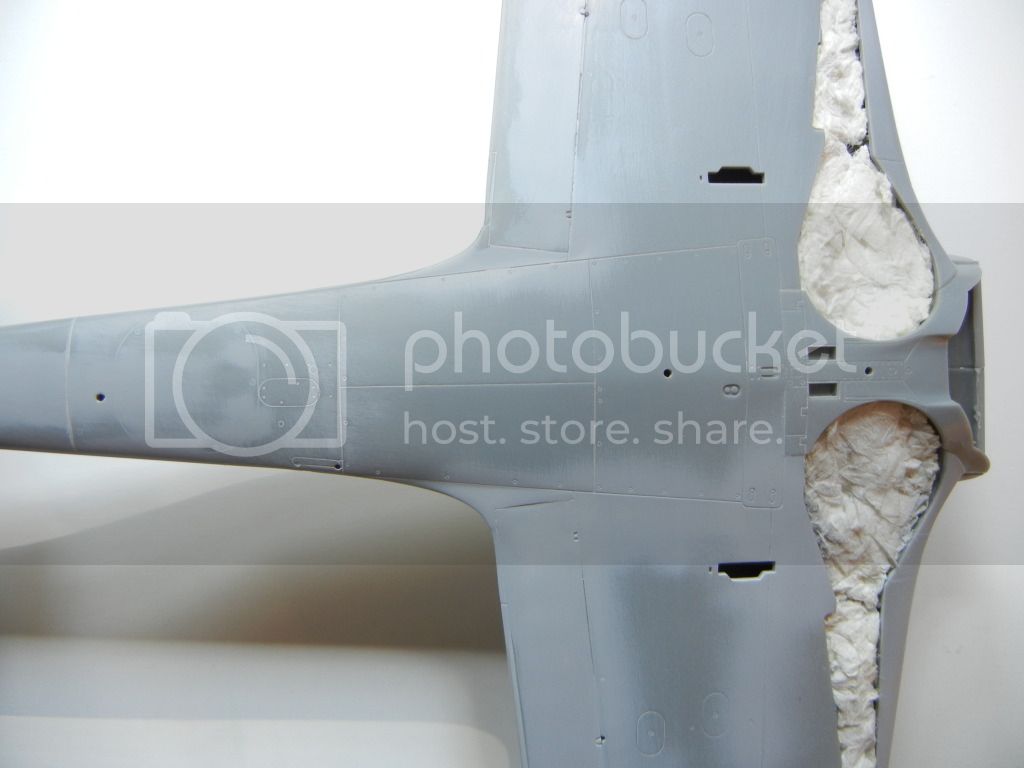
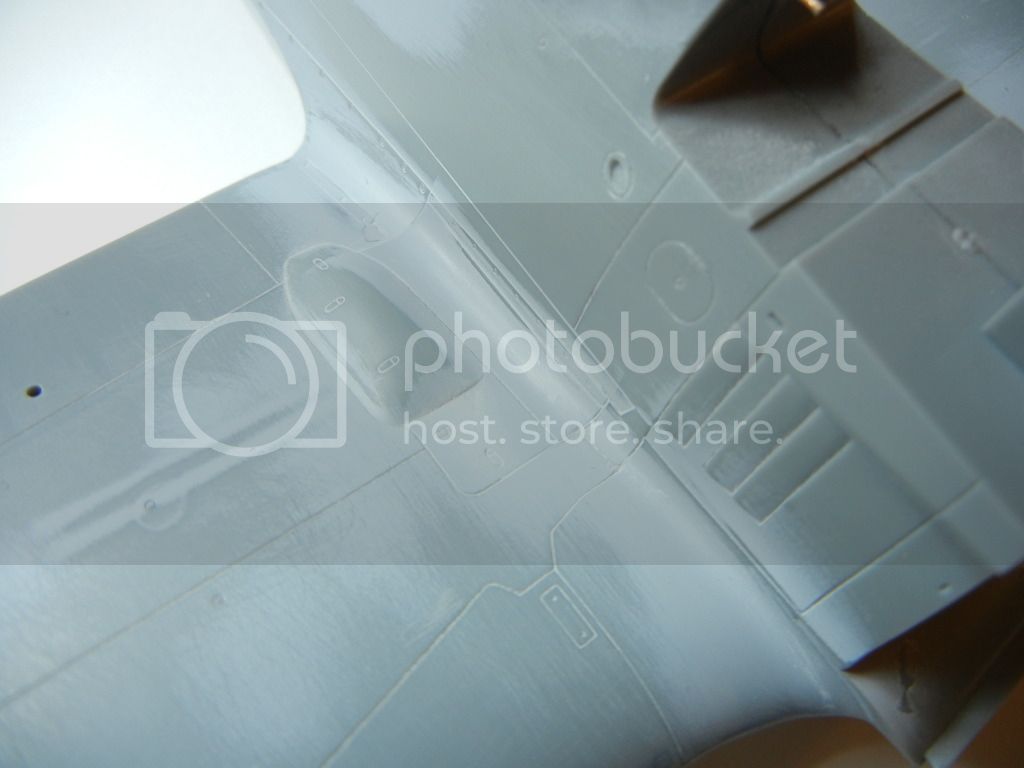
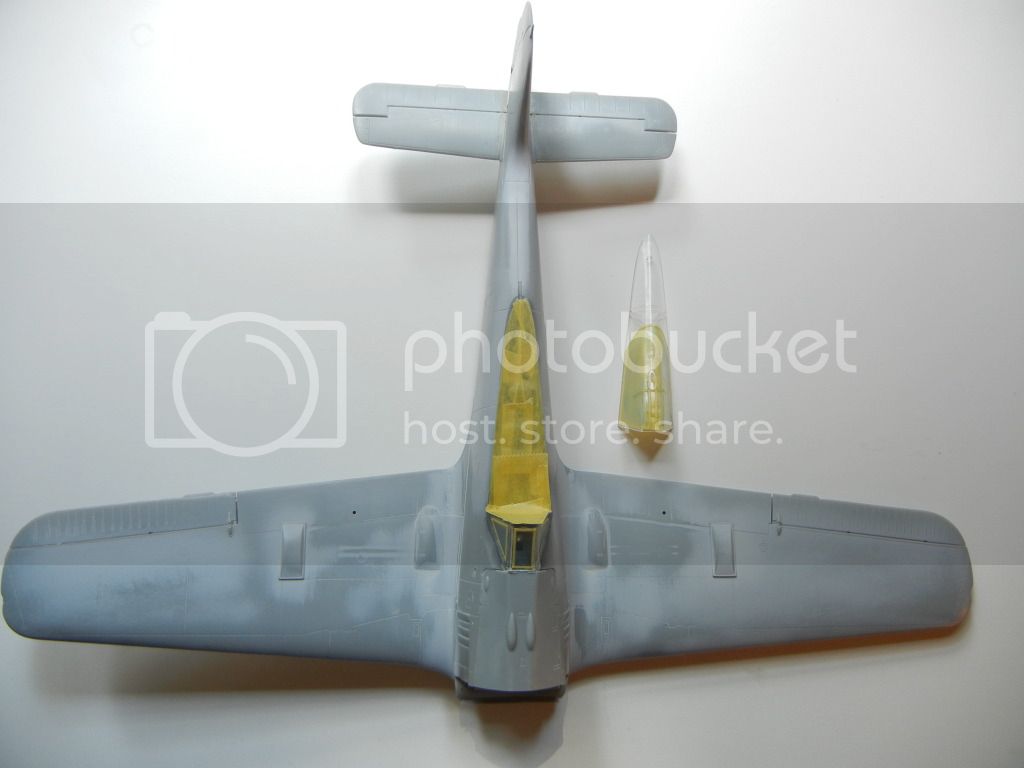
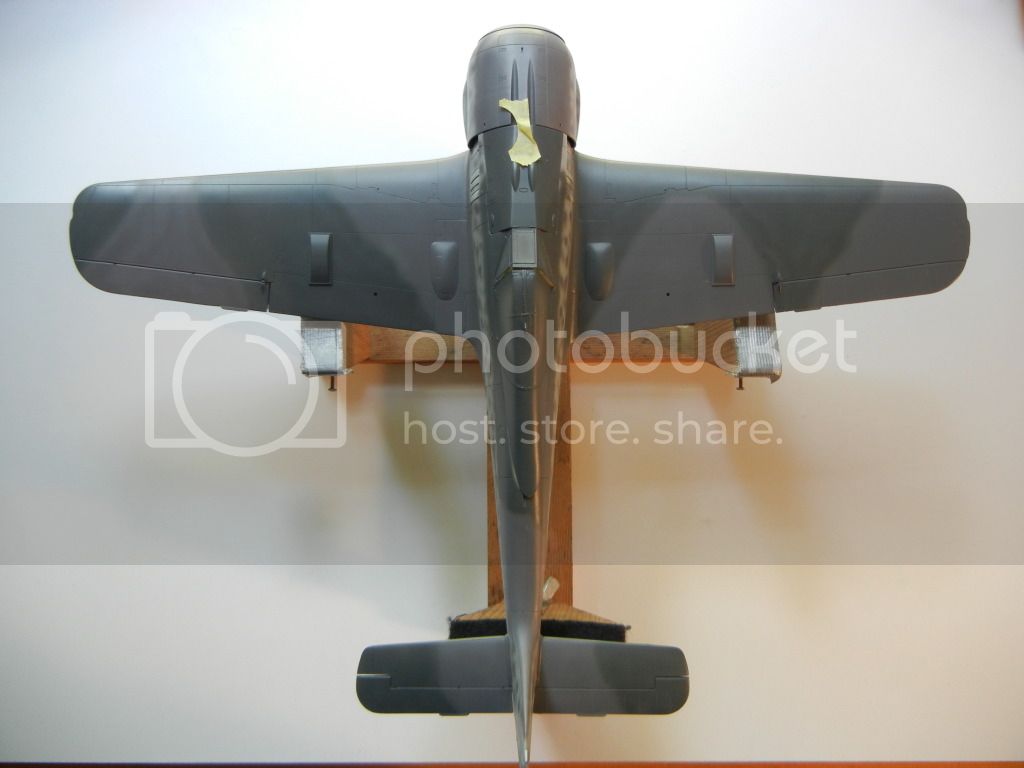
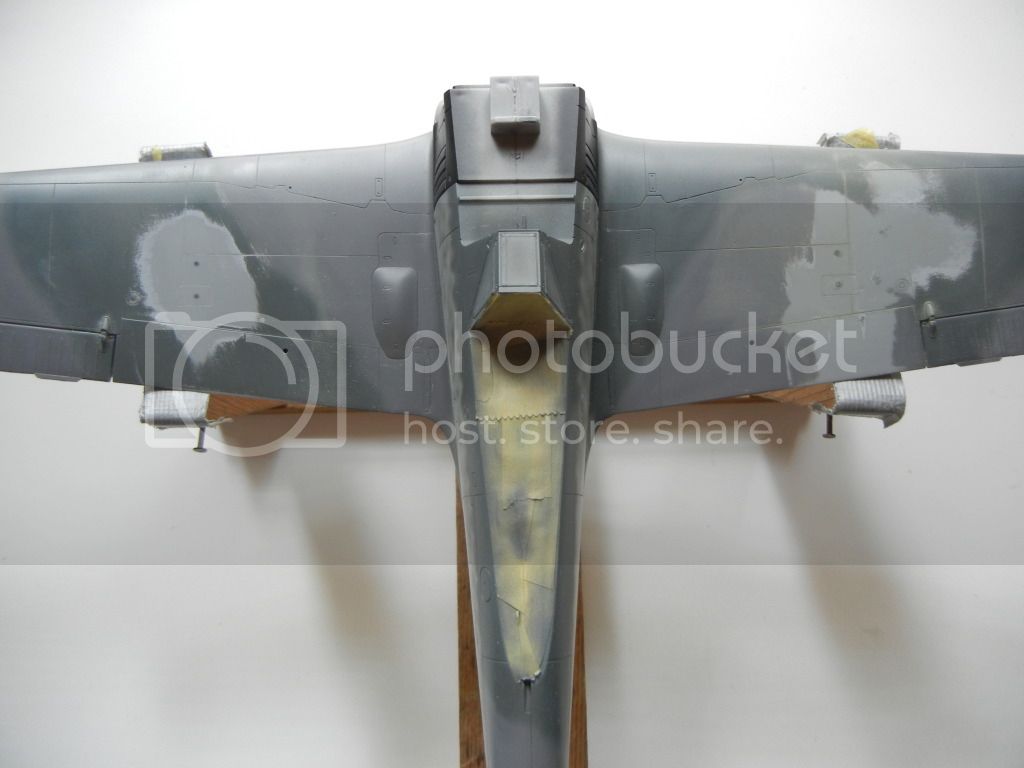
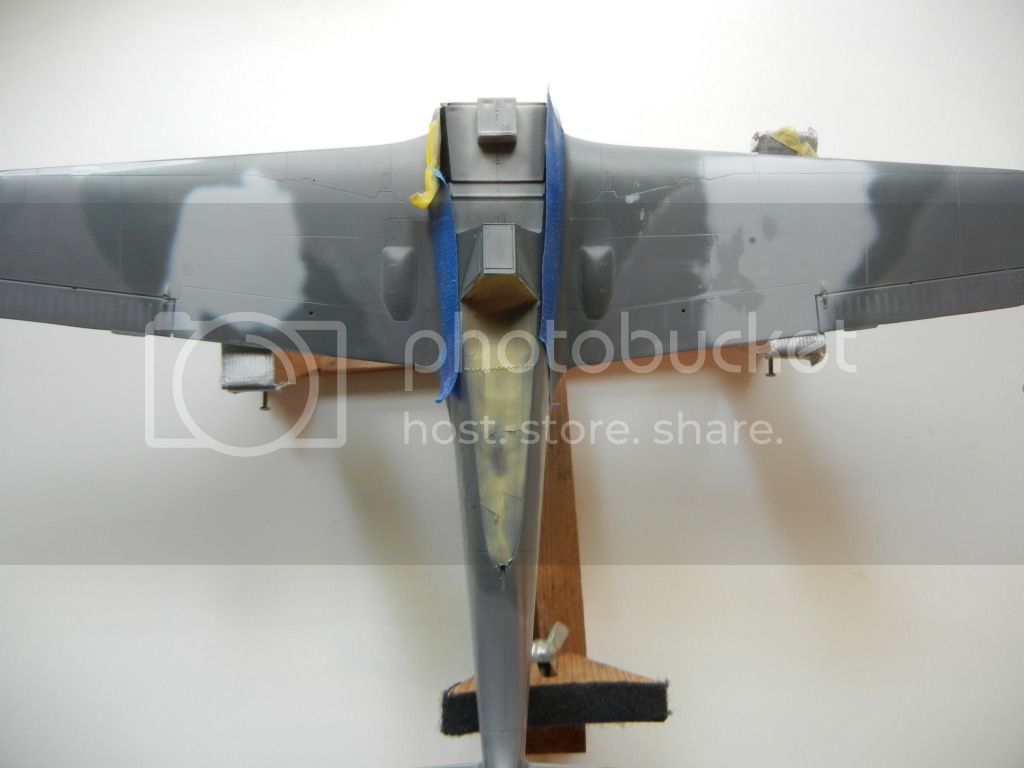
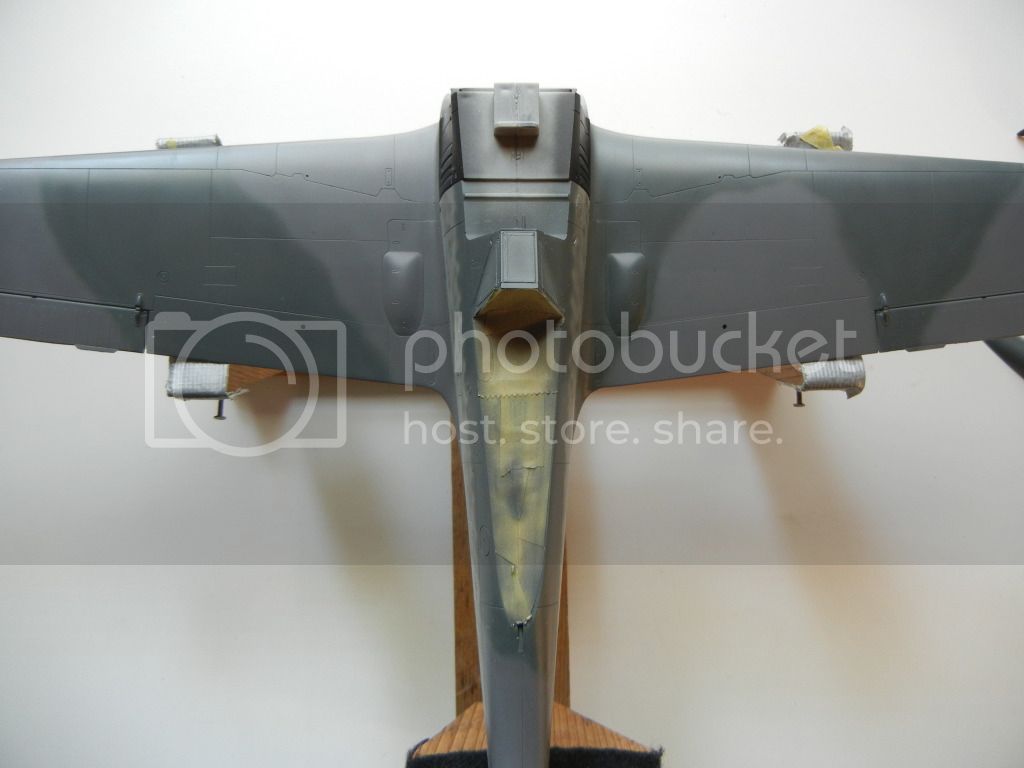
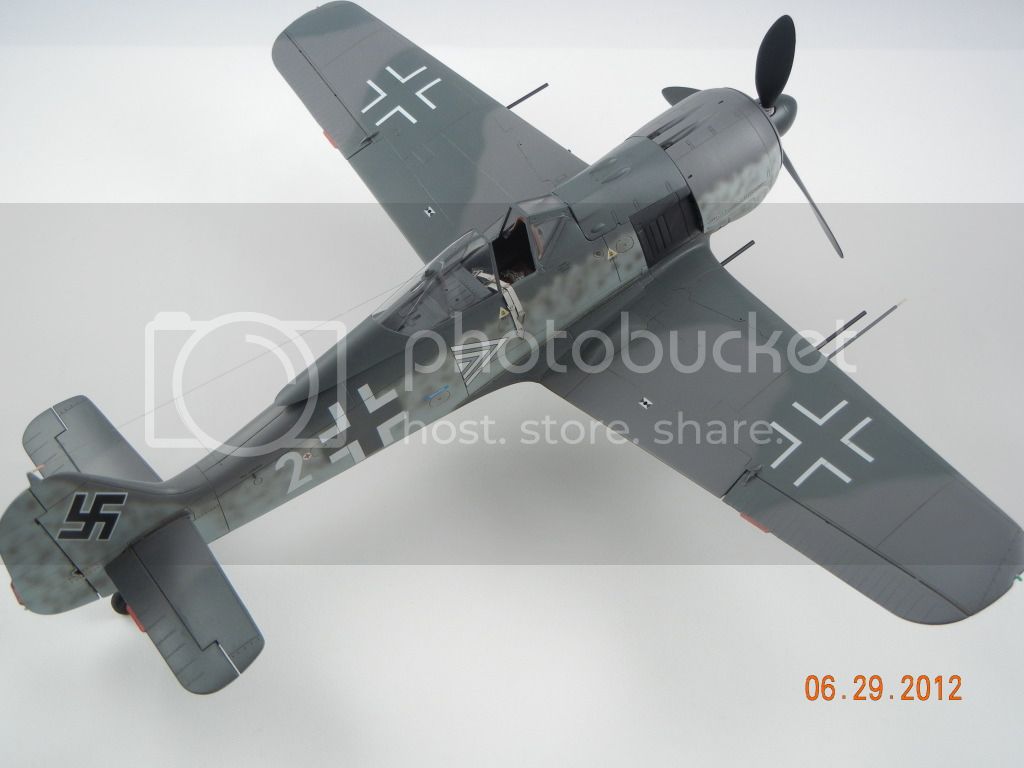


Wing together:


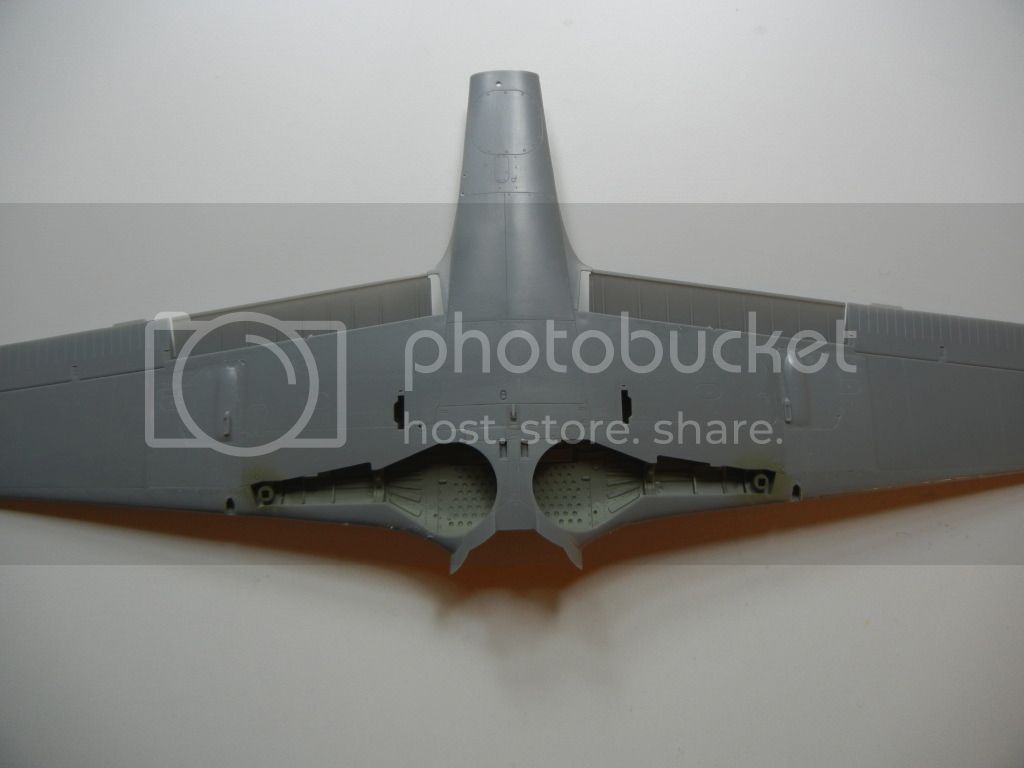
I am not crazy about the inserts in the bottom for the proper ejection ports, as one ended up a smidge high, the other a smidge low, so sanding was in order. Another couple nit-picks are that the flaps are molded for the open position only, so one needs to modify them a bit (cut off tabs, sand down lip) to get them to fit closed. One also needs to cut out an area on the bottom for the outer MG's (A6 only) - sadly the cutout is not the correct shape, but I made it work in the end

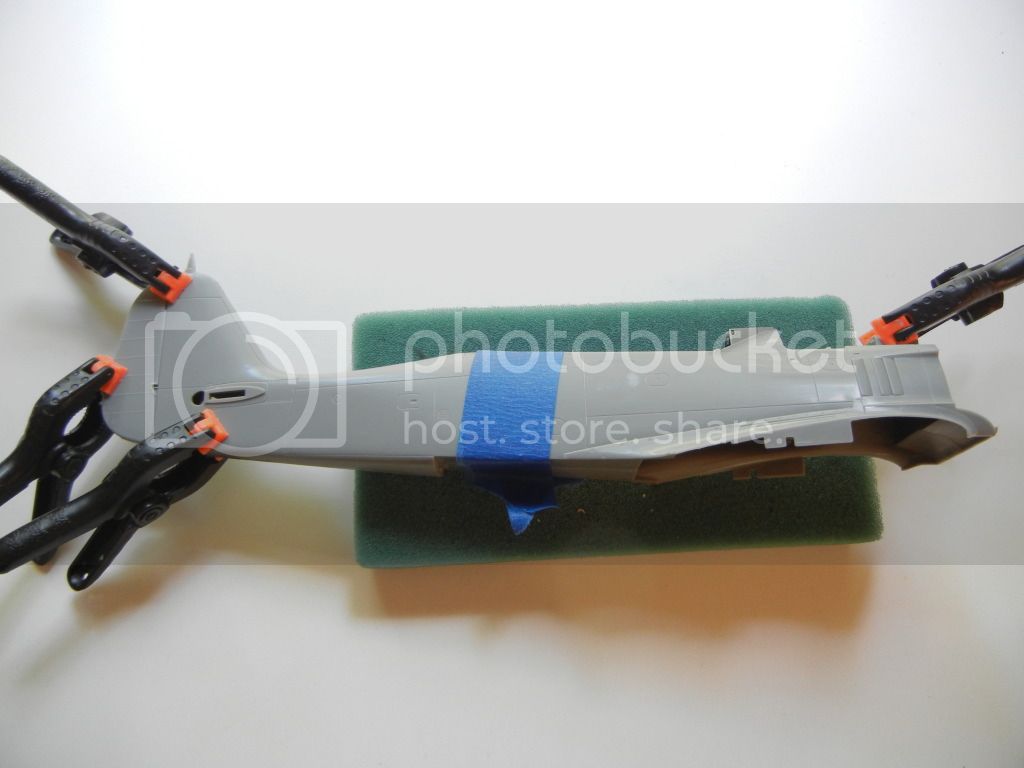
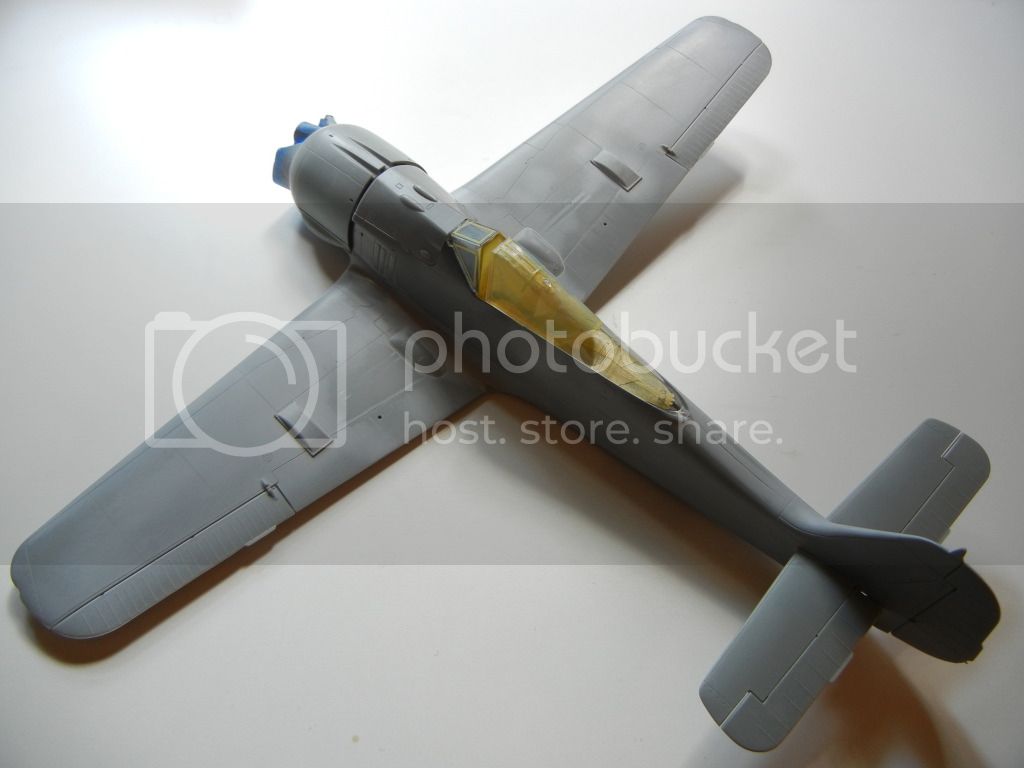
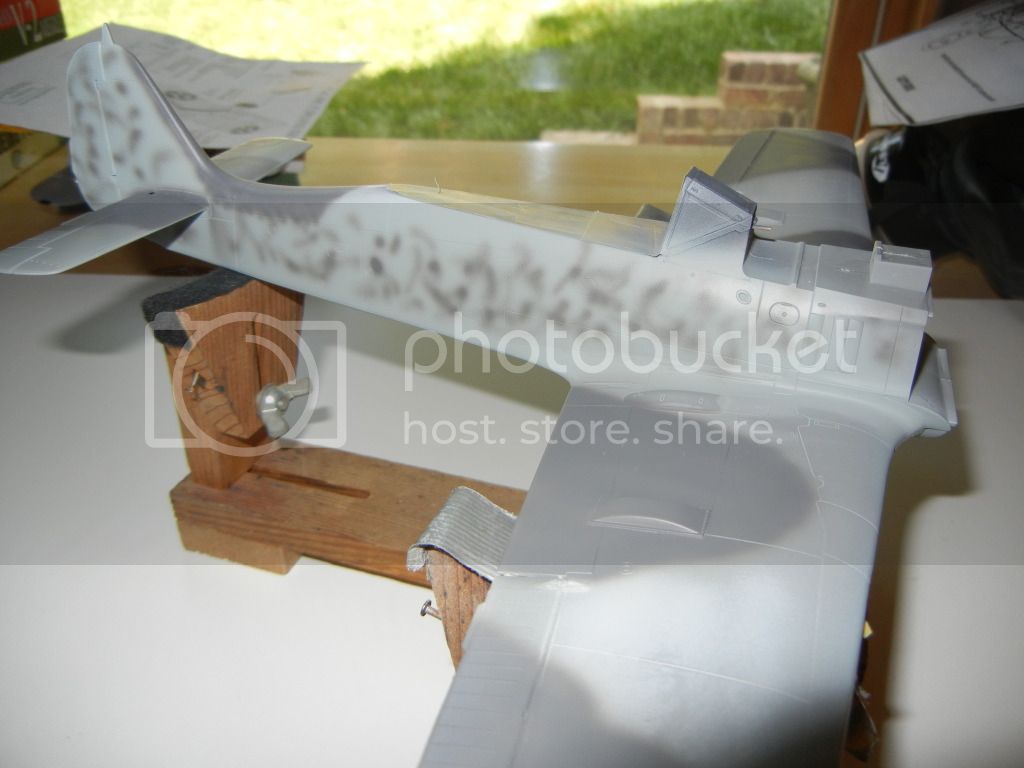
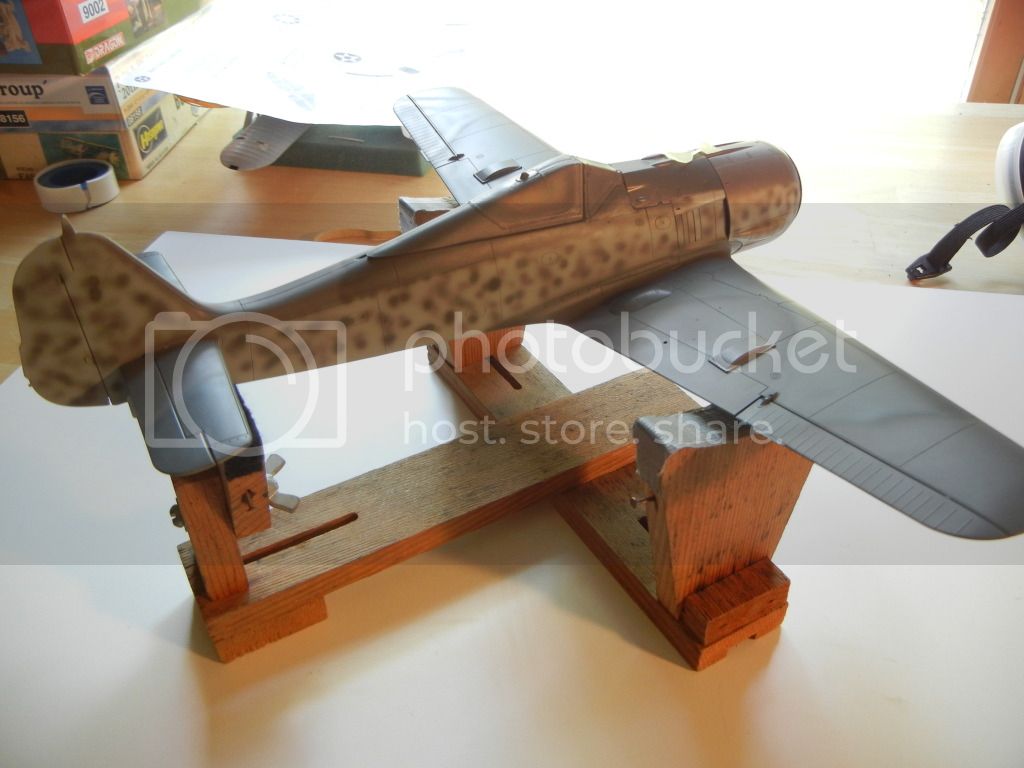
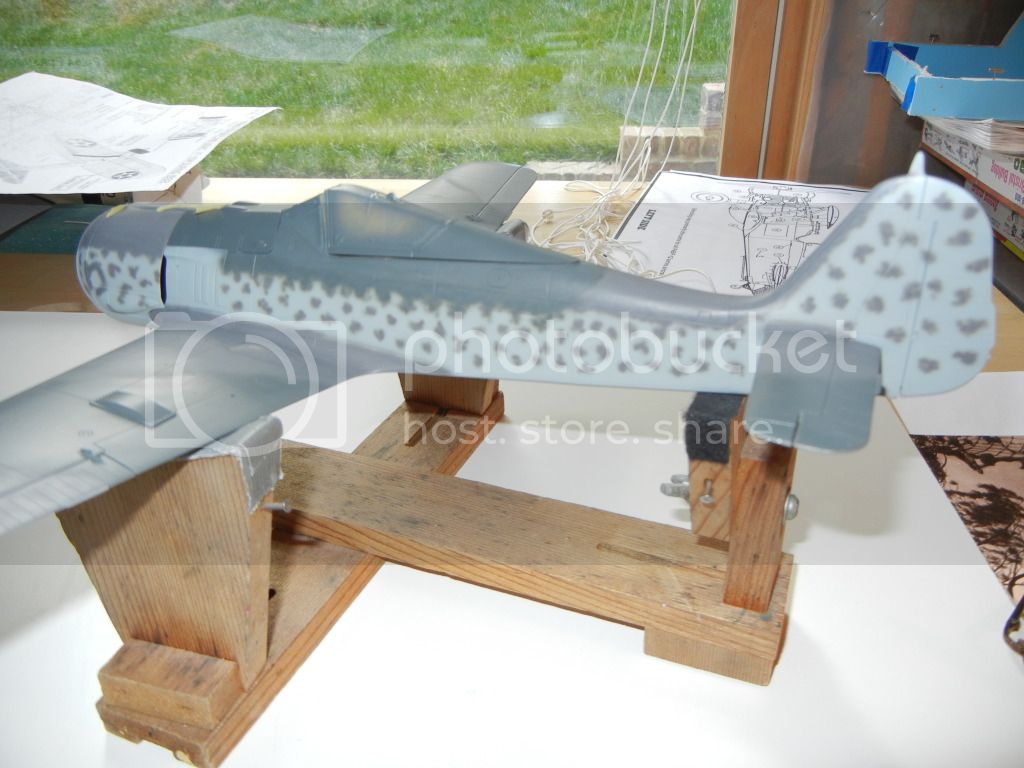
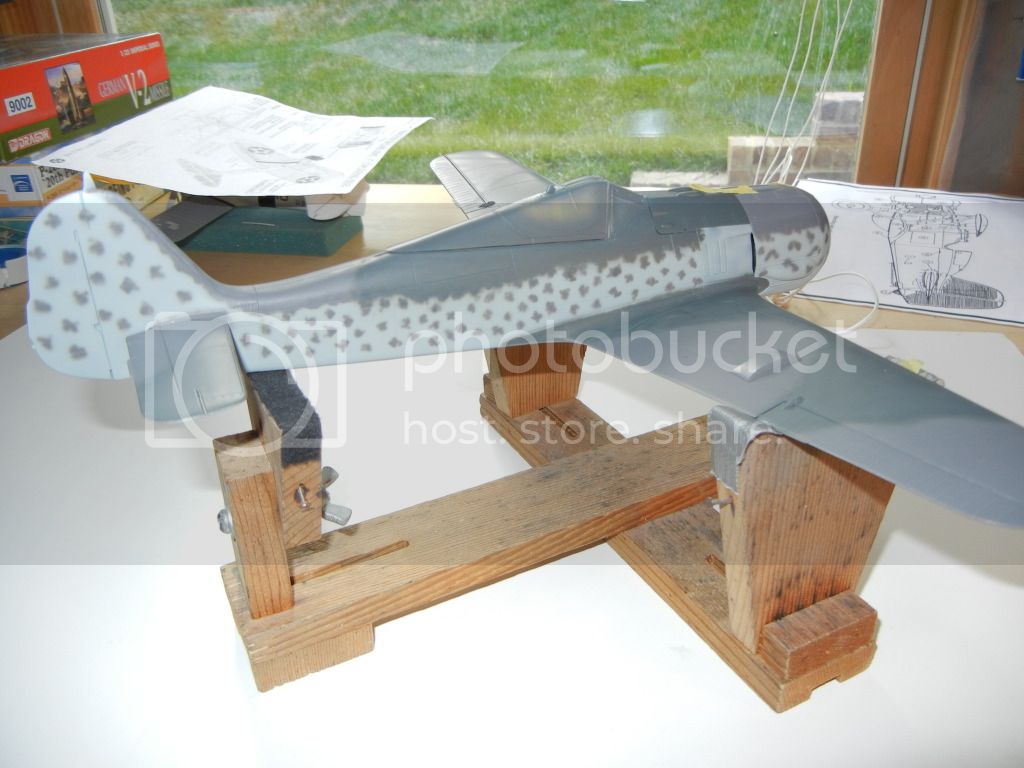
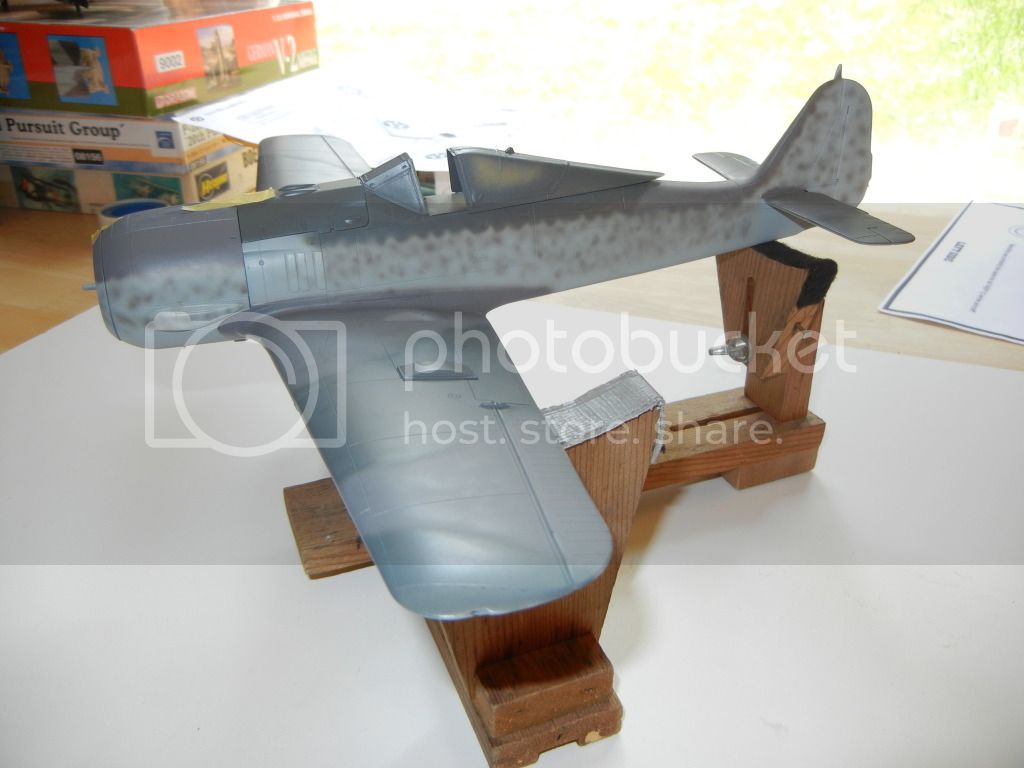
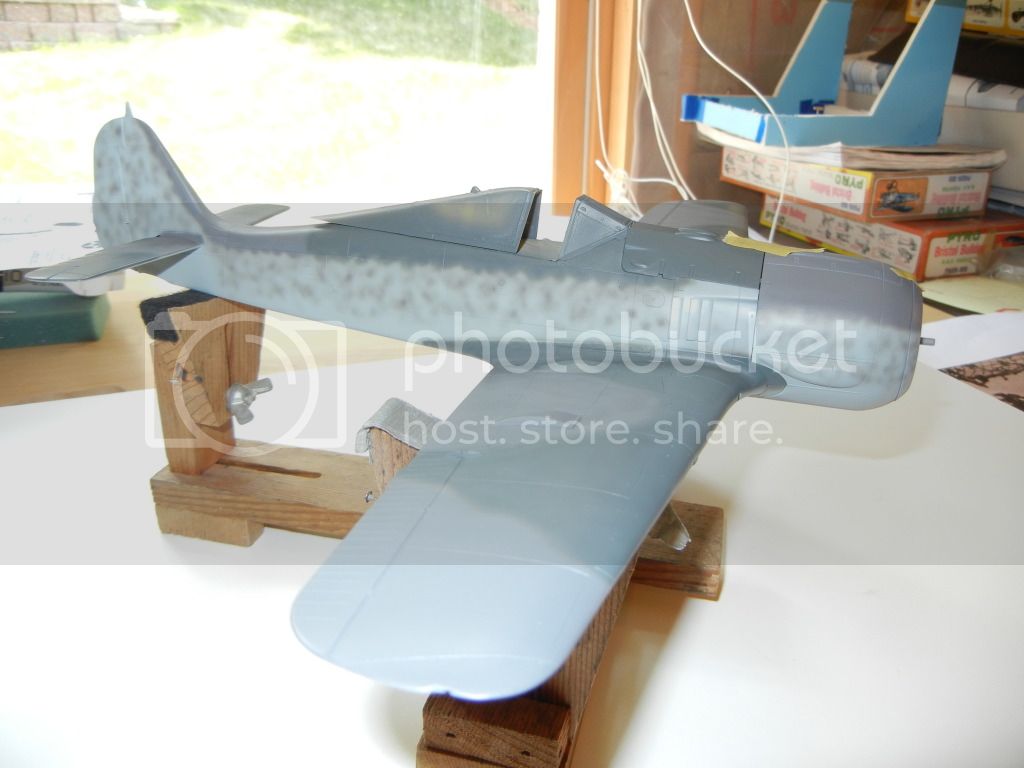
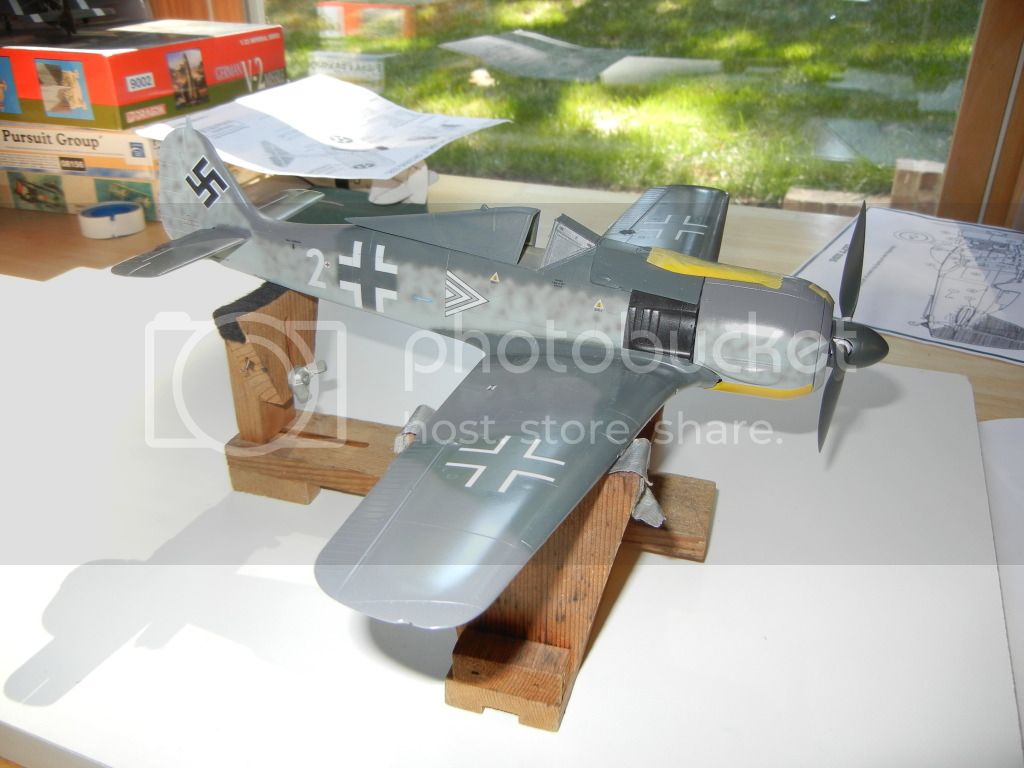
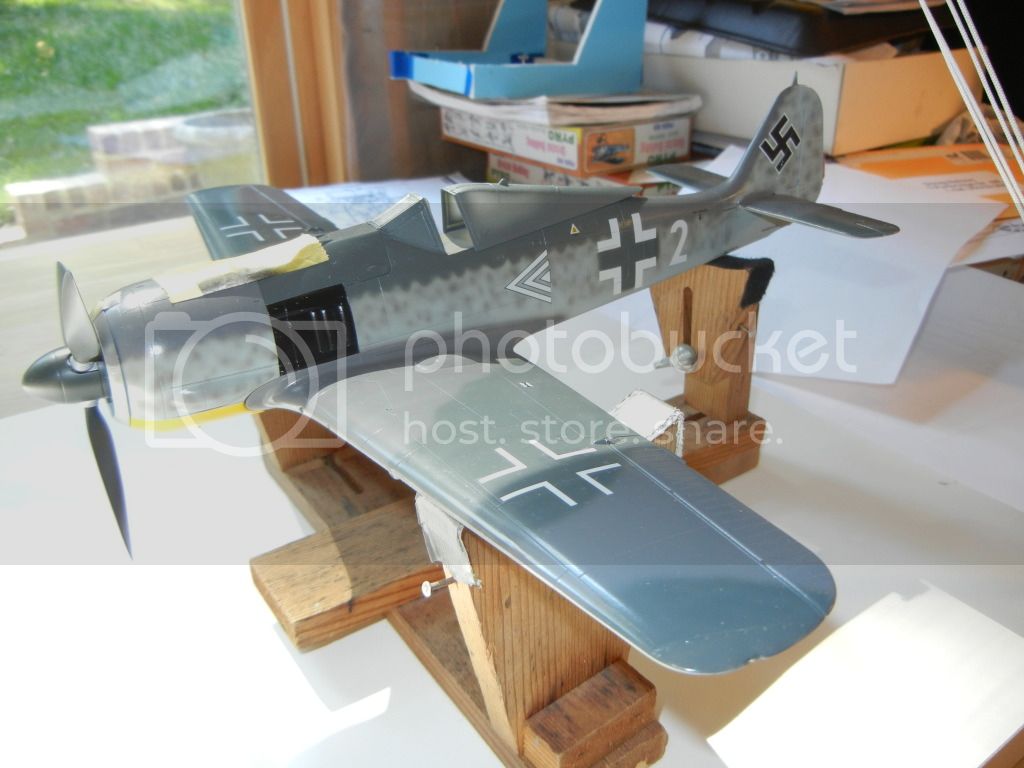
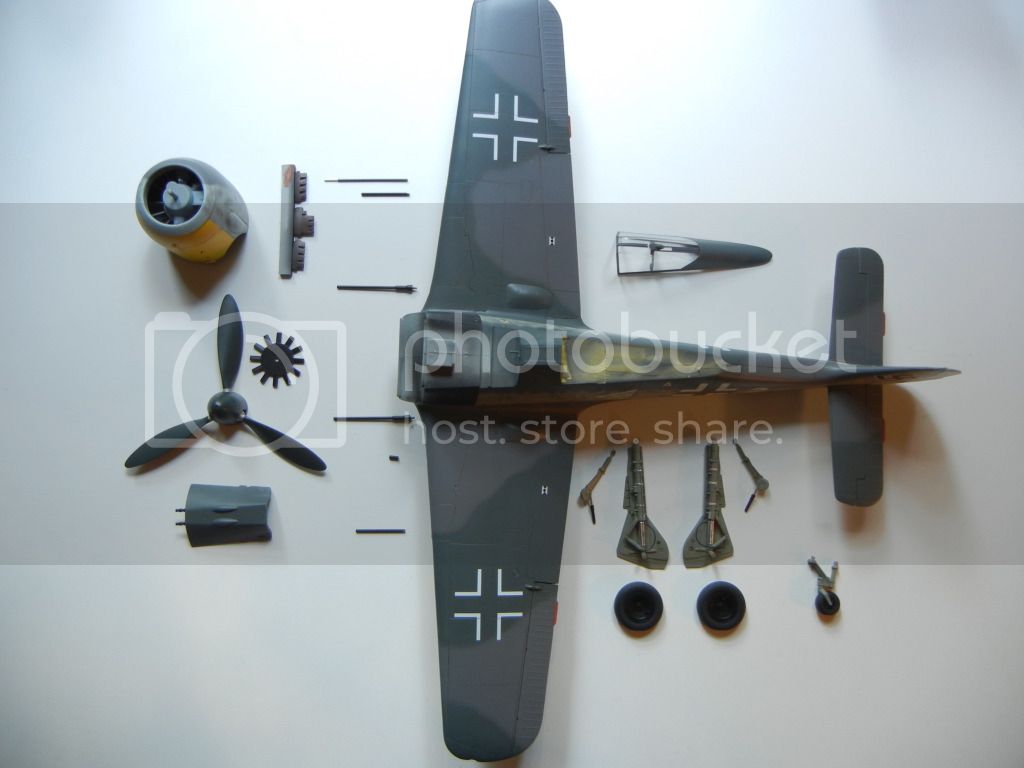
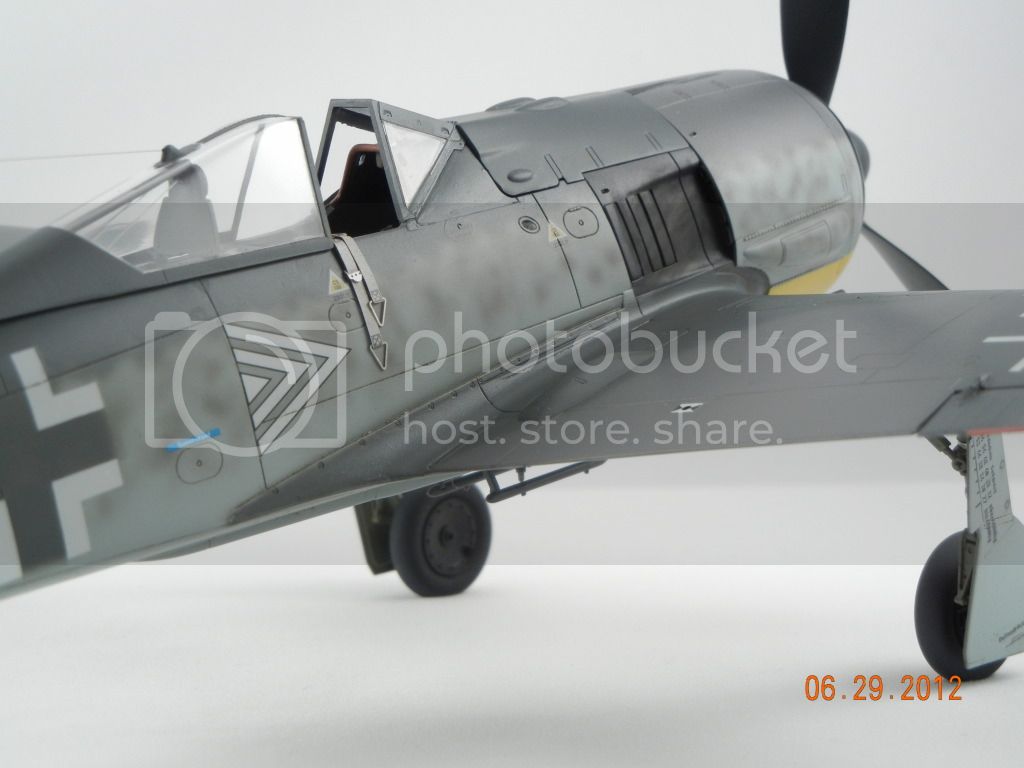
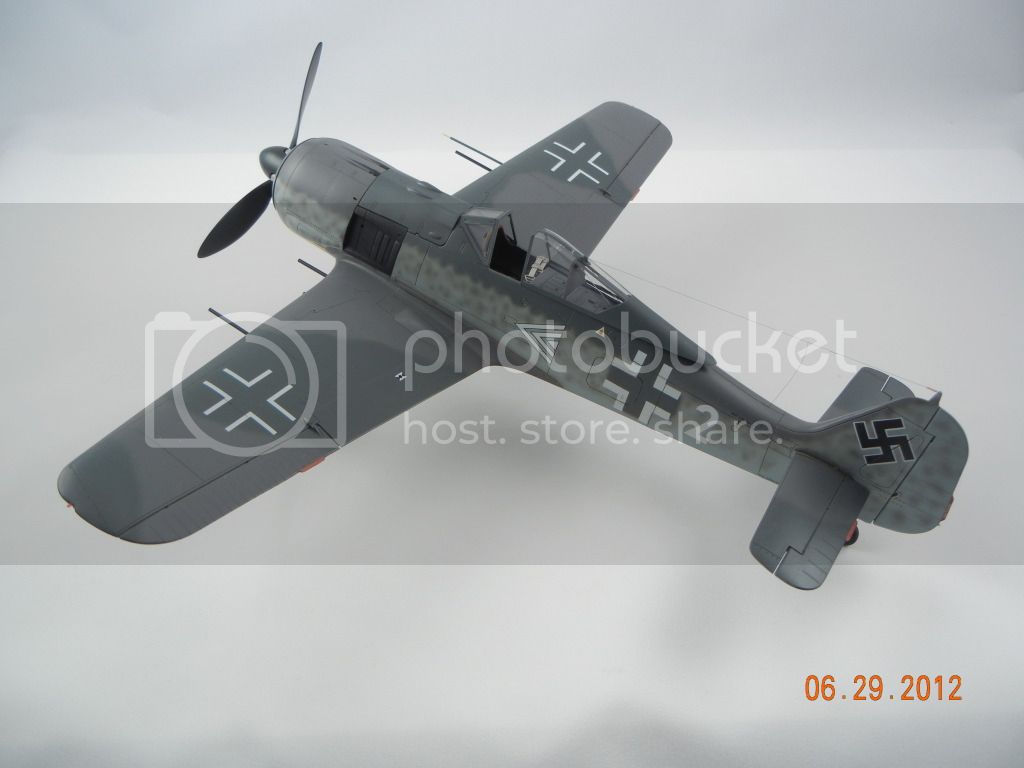
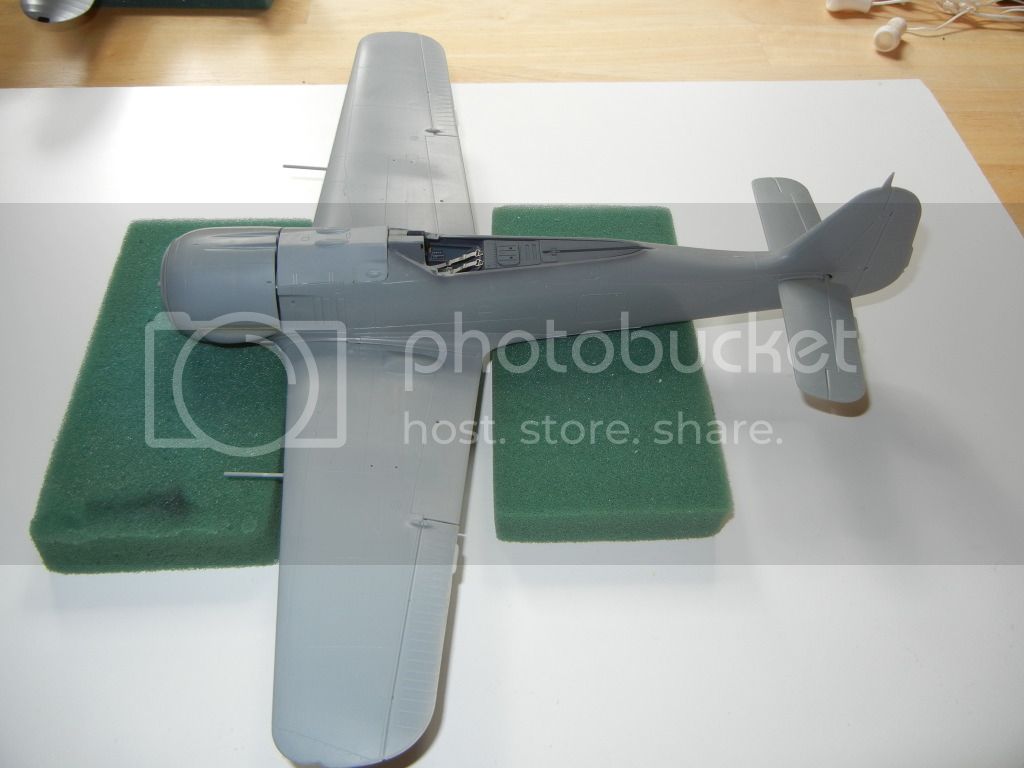
Well, here she is stuck together for a photo op, none of the major bits is glued together at this point:


Thanks for looking, comments/questions appreciated!

Doug

DougN1
_VISITCOMMUNITY
Georgia, United States
Joined: August 08, 2011
KitMaker: 410 posts
AeroScale: 409 posts
Posted: Wednesday, June 20, 2012 - 09:42 AM UTC
Ok, just 10 days left, can I finish this model in time??

Well, I think so, been busy banging away at it, got lots of those tedious tasks done over the past few days. Got the airframe together (sans engine and MG access cover) and prepped for paint!


Made the cockpit coming padding out of some styrene rod, and glued in place:


Filled in all the incorrect panel lines (which unfortunately Hasegawa do not tell you about) on the lower fuselage and wing (the MW50 tank access hatch, the morane antennae hole and circle):


Also tackled the wing root. Not sure why Hasegawa could not have made the join at the top of the fillet (I've seen some 1/72 kits like this) since you must fill in most of the join seem with it molded the traditional way (and many modelers leave the line, not knowing it is not supposed to be there):


Ready for action (painting action that is):


Also got the prop finished:


And chained-drilled and cleaned up a slot in the headrest brace for the aerial wire to pass through. Also drilled the appropriate holes in the canopy, and on the backplate of the brace so I can add the support and aerial wires as required:


Got to check everything one last time, and hope to have the RLM 76 on tomorrow! Plan is to have all the main colors on by the weekend

Thanks for looking! Comments/questions welcome!

DougN1
_VISITCOMMUNITY
Georgia, United States
Joined: August 08, 2011
KitMaker: 410 posts
AeroScale: 409 posts
Posted: Thursday, June 21, 2012 - 04:43 AM UTC
Managed to get the main colors on today! Using Mr. Color paint, which is great because as soon as you finish one color, you can spray some thinner through your airbrush to clean it and then start with the next color because the previous color is already dry enough to touch

Started with the mottling on the sides, this side looks ok with the 75 mottle applied:


This side not so good:


It's been a few years since I did any mottling, so I expected to have to redo it. Fortunately, it's easy to fix - spray 76 over the fuselage side again, then reapply the mottling

Mottling completed, main colors complete and missing bits stuck on for the photo op:


I may go over the solid areas with a mottling of a lightened version of the color to break it up some. I still need to mask and spray the black panel on the fuselage behind the exhaust outlets and the yellow under the cowl.

Then it's clear coat and decals!

Thanks for looking! Comments/questions welcome

Doug
DougN1
_VISITCOMMUNITY
Georgia, United States
Joined: August 08, 2011
KitMaker: 410 posts
AeroScale: 409 posts
Posted: Friday, June 22, 2012 - 06:52 AM UTC
Well, I was not happy with the mottling, as the first attempt looked ok, but looking at the few existing photos of the actual aircraft, I could see that the mottling on that specific airframe was not as dense nor as large. So, I resprayed the fuselage sides RLM 76 and had another go, this time with my H&S Infinity instead of my Paasche H. Here is the result:


Size looked better but something was still not right. Then I realized the mottling was too opaque, and that it should be much softer. So, I resprayed the RLM 76 on the fuselage sides again, and this time, I thinned my paint again to about 75% thinner. I then reprayed the mottling with just RLM 75, using a random pattern, and then went back over it to darken up some of the spots. I also corrected the upper color demarcation lines as they were squiggly on this airframe.

Here are the results:


I like this much better and can now keep moving on the build!

Thanks for looking! Comments/questions always welcomed!

Doug
DougN1
_VISITCOMMUNITY
Georgia, United States
Joined: August 08, 2011
KitMaker: 410 posts
AeroScale: 409 posts
Posted: Sunday, June 24, 2012 - 06:48 AM UTC
Had a slight setback - Hasegawa has you drill out the holes in the upper wing, and place the breech covers there. After some great discussion on Tom's Eduard 190 thread, it turns out, these are not present on the A6. That will teach me to trust Hasegawa.

So, pried them off, filled the holes with superglue and sanded everything smooth again:


Applied some Mr. Surfacer, sanded smooth and rescribed the panel lines as required:


Repainted, back on track:


Assembled the ETC rack (which did not want to fit well, so I chamfered the middle areas to get a better fit) and attached to the model. Applied Floquil Crystal Cote to the fuselage and underside of the wing, and set aside to dry. I'll go back later today and spray the upper wings. Tomorrow (Monday) should be decals if all goes well!

Thanks for looking, comments/questions welcome!

Doug
Emeritus
_VISITCOMMUNITY
Uusimaa, Finland
Joined: March 30, 2004
KitMaker: 2,845 posts
AeroScale: 1,564 posts
Posted: Sunday, June 24, 2012 - 11:16 PM UTC
Looks great! Glad to see you got it sorted out.
DougN1
_VISITCOMMUNITY
Georgia, United States
Joined: August 08, 2011
KitMaker: 410 posts
AeroScale: 409 posts
Posted: Wednesday, June 27, 2012 - 12:14 AM UTC
Thanks Eetu!

Still pressing on, I applied the decals, then, since they are a little thick, I sprayed a thicker coat of Floquil Crystal Cote over and around them. After drying for several hours, I used some 0000 steel wool to buff them, which has the effect of blending them and hiding the edges of the decals.

Then I had to mask off the fuselage crosses and paint the insides RLM74 - which was easier than trying to paint the insides before the decals were in place:


Applied another final coat of crystal cote over the crosses, and will be applying a panel line wash in a few minutes Weathering will be minimal since this was the aircraft of a LtGen, and would be pretty well maintained.

Thanks for looking, comments/questions always appreciated!

Doug
doubtingthomas
_VISITCOMMUNITY
Wisconsin, United States
Joined: March 17, 2009
KitMaker: 156 posts
AeroScale: 153 posts
Posted: Wednesday, June 27, 2012 - 05:26 AM UTC
Looks good, Doug!
Nice job with the gun cover correction...would've taken me DAYS to sort out. You can't tell that anything was ever amiss.

Tom
DougN1
_VISITCOMMUNITY
Georgia, United States
Joined: August 08, 2011
KitMaker: 410 posts
AeroScale: 409 posts
Posted: Thursday, June 28, 2012 - 09:14 AM UTC
Thanks Tom, I know what you mean, I used to think about how to tackle an issue like that for days on end. Now I just go ahead and do it right away - it's not like I have not had plenty of screw ups to fix over the past XX modeling years that gave me plenty of practice

On to the update! Got the final finish on the main components, I wanted a sheen to the aircraft, as you can see it has a slight gloss to it in photographs, and in 1/32 dead flat does not look good anyway.

I also worked on the "fiddly bits", and added the bracing wires to the canopy using some fishing line (you can also see the slot I added for the aerial wire):


Worked on the main gear, I used some aluminium furnace tape for the oleos. To add the brake line, I cut 3 strips of the same tape for each side, and used them to make the clamps that hold the line in place. I then used some floral wire to make the main brake like, and bent it as required, and added the connector at the bottom from the wire insulation. I then taped it in place using the 3 "clamps" I made for each side, and superglued it at the ends. I made the flexible part at the bottom from some .015 solder wire, and painted it black (I can see from these larger than life shots I need to touch up a couple spots):


Here is everything ready for final assembly:


The black items in front of the wing are the canon barrels (Master and steel tube); the gun camera (brass tube), and the pitot tube (actually RML74/76 - not black)(brass tubes). I used the kit parts for the cowl MG's since you don't see much of it anyway.

If all goes to plan, should be doing assembly tomorrow!

Thanks for looking, comments/questions always welcome!

Doug

DougN1
_VISITCOMMUNITY
Georgia, United States
Joined: August 08, 2011
KitMaker: 410 posts
AeroScale: 409 posts
Posted: Friday, June 29, 2012 - 09:02 AM UTC
Spent today doing final assembly of the model. The engine/cowl needed a little convincing to go into place, and I found the locator nubs for the main gear were a little too large, so I had to thin them down a bit so they would fit in the holes provided.

Added my usual aerial wire with spring and two insulators made from stretched white Q-Tip shafts:


Put the finishing touches on and took the obligatory final shots for the campaign:


Overall, I would say this was a pleasant build, but a couple of dumb mistakes by the fine folks at Hasegawa made it harder than it should have been Perhaps I'll try the 1/32 Dora kit in the near future!

Now to go clear up the bench for the next project!:


As always, thanks for looking! Comments/questions welcomed!

Doug
Emeritus
_VISITCOMMUNITY
Uusimaa, Finland
Joined: March 30, 2004
KitMaker: 2,845 posts
AeroScale: 1,564 posts
Posted: Friday, June 29, 2012 - 09:36 AM UTC
Oh, you're finished already! Your 190 turned out really nice! Draping those seatbelts out of the cockpit is a nice touch. Makes the model more animated with a minimal change.
I'm still lagging a bit behind with my entry; at the moment I got the decals applied haven't started with the small bits yet. And I didn't get any bench time yesterday (Friday), spent the day rocking it out at the Tuska open air metal festival. ../
Good thing we got that week extension for the campaign. I shouldn't have any trouble getting mine ready in time.

I agree on the varnishing. Having a slight sheen to the final surface makes the colors appear more vibrant and somehow "deeper."
Btw, how did you get the inner wing cannon barrels in place? Or are the two sections just placed inside each other in the pic? I glued the inner sections in place while assembling the wing with my A-8. Guess adding them later would work out just as fine.

DougN1
_VISITCOMMUNITY
Georgia, United States
Joined: August 08, 2011
KitMaker: 410 posts
AeroScale: 409 posts
Posted: Sunday, July 01, 2012 - 07:18 AM UTC

Quoted Text

Btw, how did you get the inner wing cannon barrels in place? Or are the two sections just placed inside each other in the pic? I glued the inner sections in place while assembling the wing with my A-8. Guess adding them later would work out just as fine.


Thansk Eetu, I used to drape the seatbelts outside the cockpit on my 1/48 190's, so I decided to do the same here when I saw how nice the Eduard PE belts came out.

For the inner wing cannons, I used the Master barrel cannons, which are one-piece full length items. Since the hole/tube in the wing is supposed to be a little larger than the actual gun barrel, I had enough room to stick the barrel through the wheel well (using a slight angle) and then glue it in at the rear of the wheel well. If I had not used the Master barrel, I would have probably put the tubes inside the wheel well, and then just added the outside part of the barrel at the end (like it sounds like you're doing).

Thanks!

Doug
doubtingthomas
_VISITCOMMUNITY
Wisconsin, United States
Joined: March 17, 2009
KitMaker: 156 posts
AeroScale: 153 posts
Posted: Sunday, July 01, 2012 - 08:40 AM UTC
Great job, Doug. The decals look painted on. The finish is fantastic. I like the added landing gear details - that's the sort of little thing that adds a lot to a model.

I agree with you and Eetu - the semi-gloss is the way to go in this scale.

Congrats!

Tom
Emeritus
_VISITCOMMUNITY
Uusimaa, Finland
Joined: March 30, 2004
KitMaker: 2,845 posts
AeroScale: 1,564 posts
Posted: Sunday, July 01, 2012 - 09:03 AM UTC

Quoted Text


For the inner wing cannons, I used the Master barrel cannons, which are one-piece full length items. Since the hole/tube in the wing is supposed to be a little larger than the actual gun barrel, I had enough room to stick the barrel through the wheel well (using a slight angle) and then glue it in at the rear of the wheel well. If I had not used the Master barrel, I would have probably put the tubes inside the wheel well, and then just added the outside part of the barrel at the end (like it sounds like you're doing).

Thanks!

Doug


Oh, yes indeed. I didn't know Master's 1:32 MG 151 barrels are one-piece items. I'm using their 1:48 barrels for my A-8 and I presumed they would have done them the same way in 1:32 as well, as that two-part approach works really well. You can assemble the wing with the inner barrel sections in place, paint and finish the model and then slip in the outer sections at the very end.
DougN1
_VISITCOMMUNITY
Georgia, United States
Joined: August 08, 2011
KitMaker: 410 posts
AeroScale: 409 posts
Posted: Monday, July 02, 2012 - 07:22 AM UTC

Quoted Text

Oh, yes indeed. I didn't know Master's 1:32 MG 151 barrels are one-piece items. I'm using their 1:48 barrels for my A-8 and I presumed they would have done them the same way in 1:32 as well, as that two-part approach works really well. You can assemble the wing with the inner barrel sections in place, paint and finish the model and then slip in the outer sections at the very end.


That set looks great, I'll have to ask Master why they don't do a set like that in 1/32! They only do generic barrels for the MG151 in 1/32 right now.

Doug
 _GOTOTOP