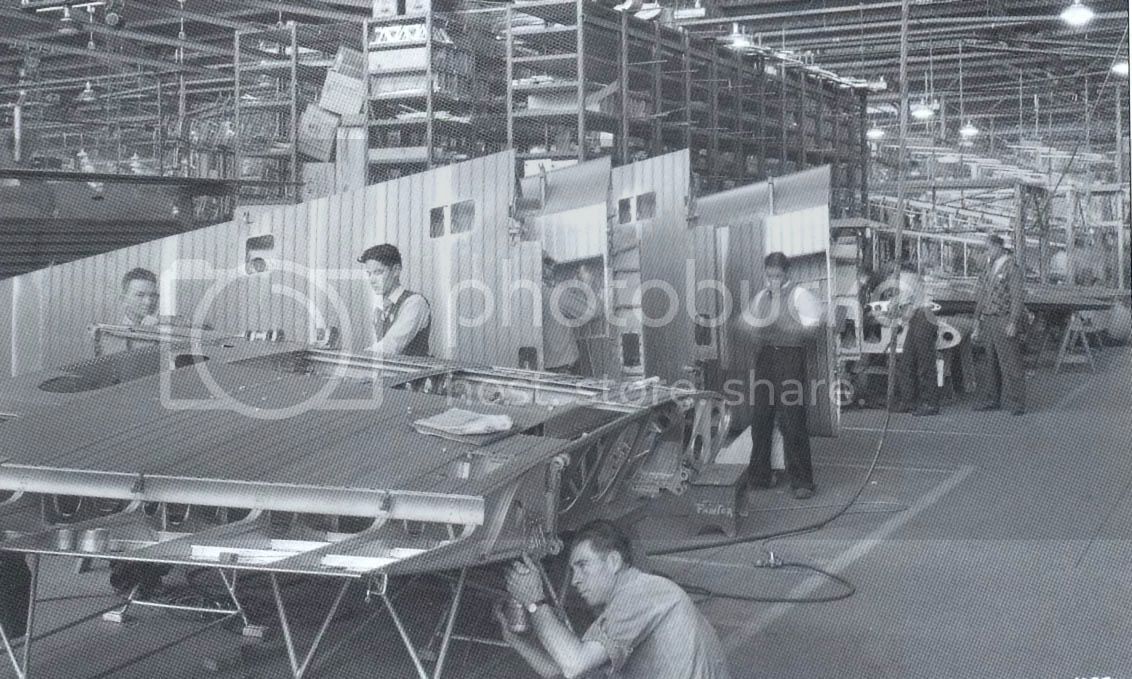
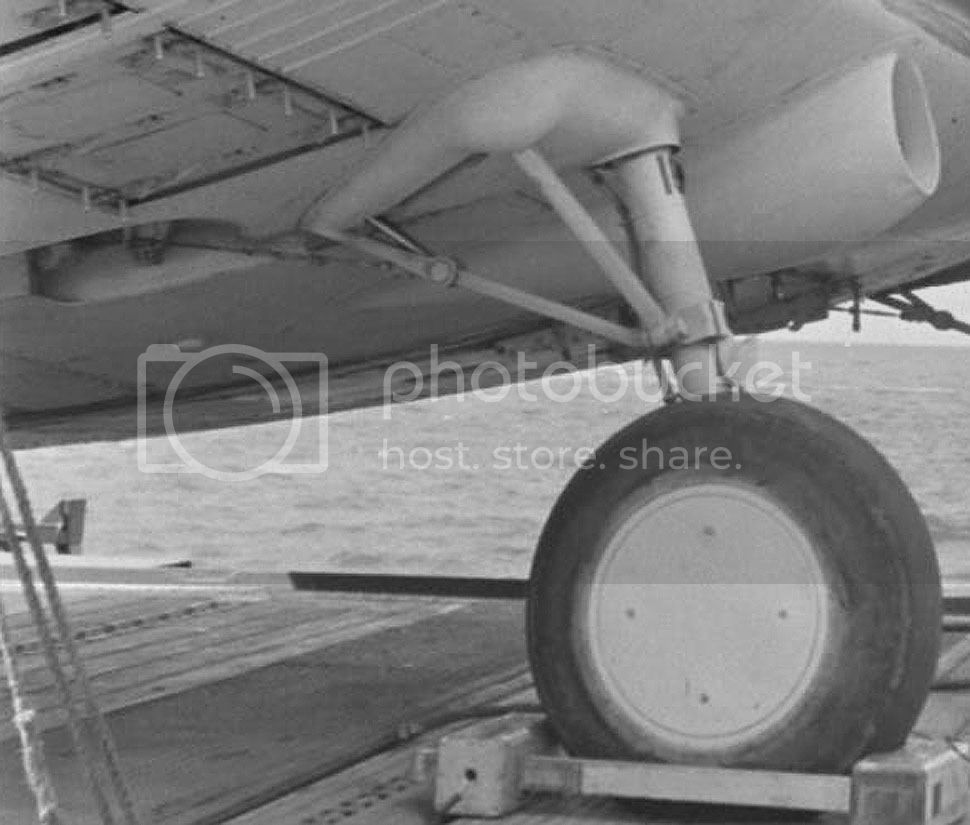
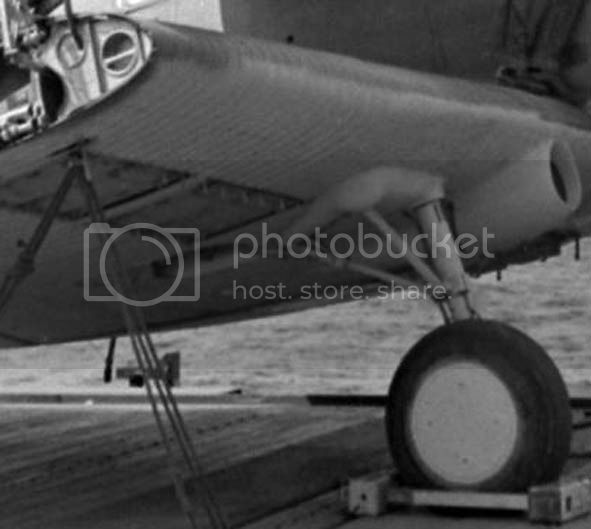
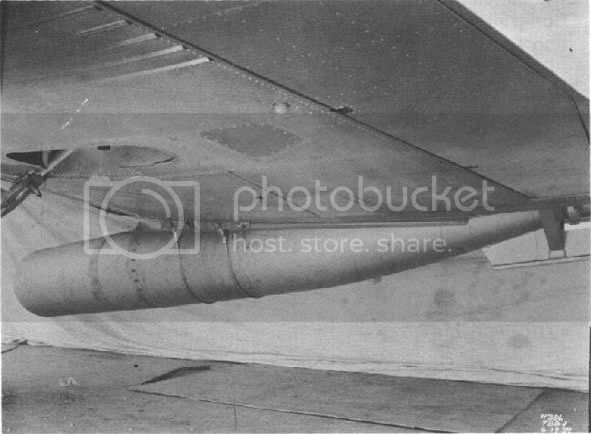
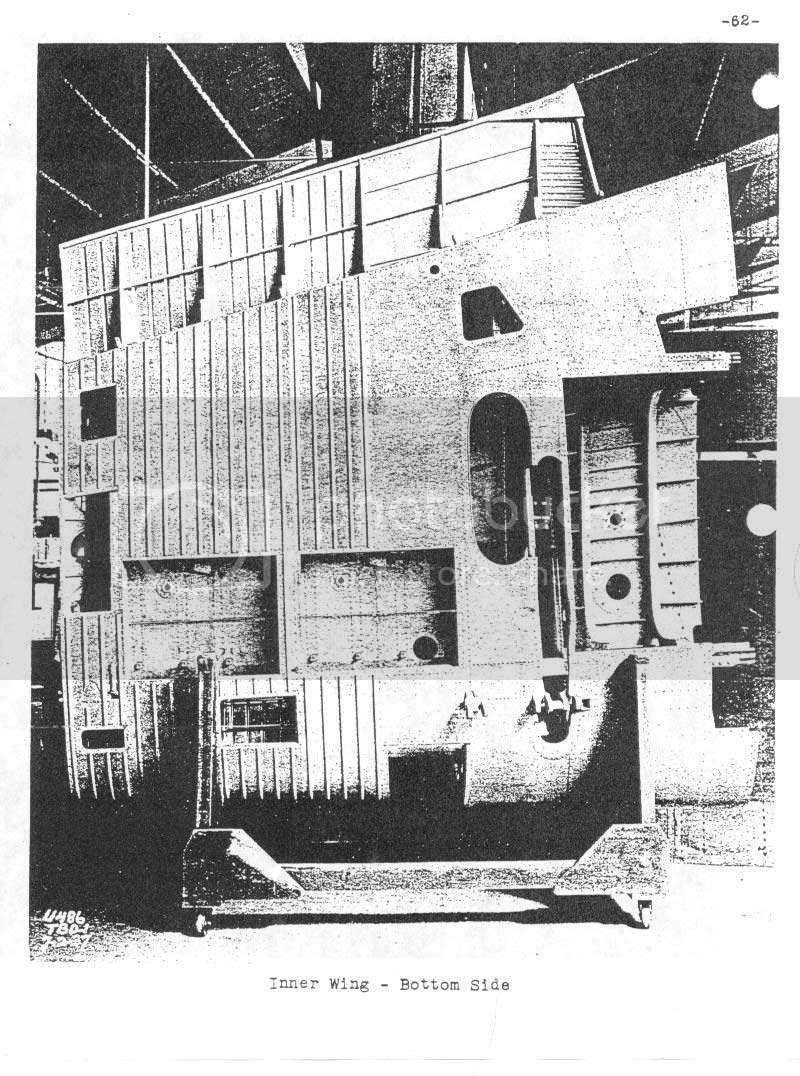
This weekend's project was detailing the wheel wells. The kit provides almost literally zero detail here, but then again there is almost no photographic evidence as to what it should look like anyway. The one picture I found only confirmed that it was essentially just the space between two wing ribs, so I made up something to go along with that, using the ribs visible at the wing folds and a fuzzy picture of the weapons bay as inspiration.
What the kit does supply is one cross beam where the strut folds back, but it is in the wrong place so I chopped it off. The beam that is visible in this area is the main wing spar, and that is a bit further forward (the panel lines helped with placement of the spar)

I fashioned the bordering wing ribs to either side basically by trial and error, fist getting the shape, then devising a pattern for lightening holes.

Placement of the wing ribs along with the main wing spar.

and the rest of the details, mostly made up, using some bits from the scrap parts box and plastic strips and rod. The strips on the tops of the wings are actually C channel, but look solid in the photo unfortunately. I'll be adding some representation of the fuel tanks just inboard of the inner spars after I get the basic paint on.

That is my work for the weekend. I just finished spraying all that in silver lacquer. While i am not definitely positive about that being the proper color, I do know Douglas Aircraft Company had previously finished the cockpits of the TBDs in silver until the USN requested otherwise and also the very early SBD Dauntless aircraft, also from Douglas, had silver lacquer sprayed throughout the interior. Since I doubt whoever repainted these aircraft bothered to get way up into the wing ribs and spars thru the small gear opening with paint, my best guess is silver lacquer is the color for this area (which has nicely highlighted all my mistakes).


