England - East Anglia, United Kingdom
Joined: June 11, 2010
KitMaker: 103 posts
AeroScale: 46 posts
Posted: Saturday, June 02, 2012 - 09:47 PM UTC
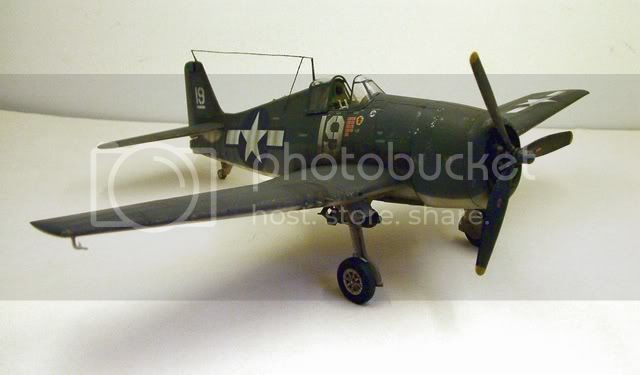
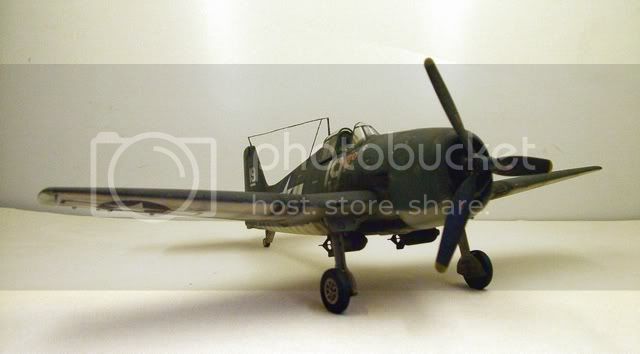
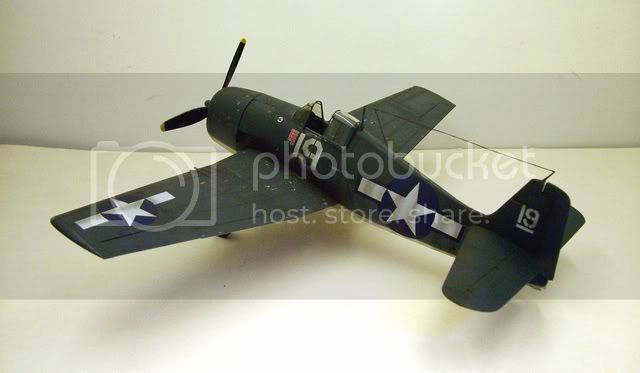
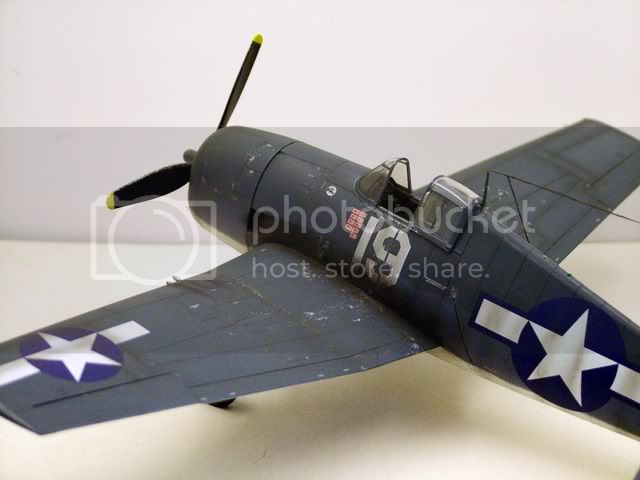
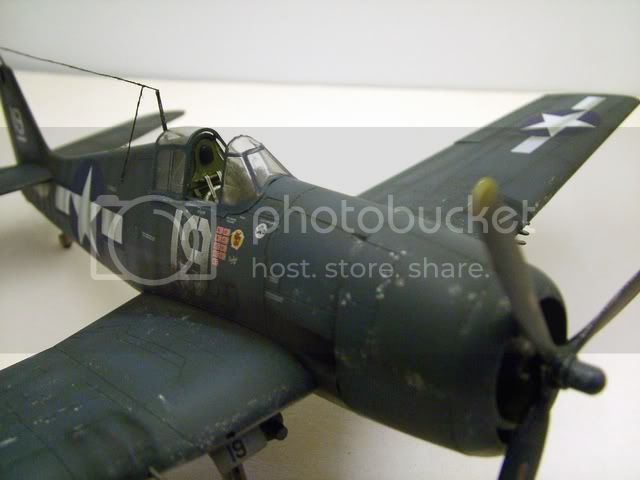
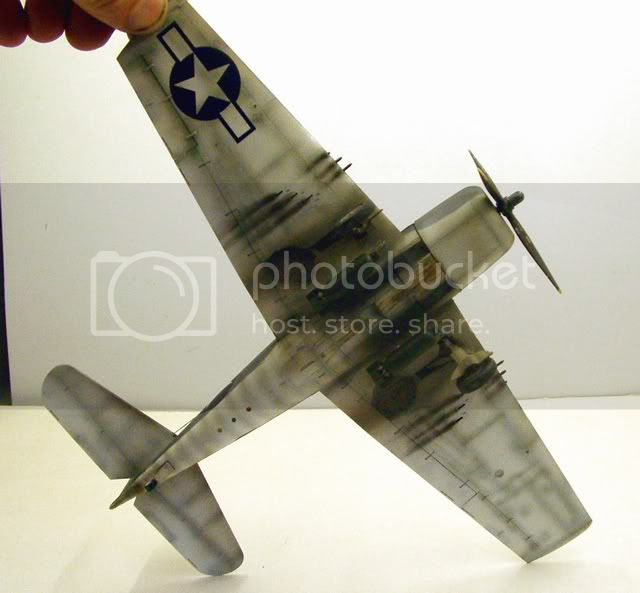
Well, after a year, I have finally got around to finishing this project. And the wait has been worth it for me.
The kit is Eduard's in 1/48th scale that comes with the etch and paint masks. It is built straight out of the box with some weathering done to finish the model off. I took some quick photos of her, but I will get some good quality ones done for my website when I set up for a photo session in the workshop. There's a few models that i need to take photos of for the website.
Please enjoy.
Mick
Current Projects:
53 Chevrolet BelAir Custom, 1935 Mercedes Benz G4
& Achilles Tank Destroyer.
Follow me on Twitter, @the_modeller.
My modelling blog is http://themechanicsmodellingworld.blogspot.co.uk/
Queensland, Australia
Joined: January 23, 2010
KitMaker: 156 posts
AeroScale: 139 posts
Posted: Sunday, June 10, 2012 - 10:47 PM UTC
Some serious weathering there Mick. Looks very realistic. How did you do it?
Simon

Currently building:
F4F-4
B-17
England - East Anglia, United Kingdom
Joined: June 11, 2010
KitMaker: 103 posts
AeroScale: 46 posts
Posted: Monday, June 11, 2012 - 06:45 AM UTC
Quoted Text
Some serious weathering there Mick. Looks very realistic. How did you do it?
Simon 
Hi Simon
On this model I used a combination of pre-shading then after the decals were done, re-done these areas with some oil paint thinned to a wash through the airbrush. The chipped paints was done with a small piece of sponge dipped in Aluminium paint and the soot is Carrs weathering powders and AK Interactive washes for the oil, fuel and engine grime.
Mind you, my techniques change from one model to another where I keep trying out new ideas for weathering.
I hope this helps.
Mick
Current Projects:
53 Chevrolet BelAir Custom, 1935 Mercedes Benz G4
& Achilles Tank Destroyer.
Follow me on Twitter, @the_modeller.
My modelling blog is http://themechanicsmodellingworld.blogspot.co.uk/
European Union
Joined: September 28, 2004
KitMaker: 2,186 posts
AeroScale: 1,587 posts
Posted: Tuesday, June 12, 2012 - 03:31 AM UTC
Quoted Text
re-done these areas with some oil paint thinned to a wash through the airbrush. Mick
A wash trhough the airbrush. did you do the whole plane or only selected area's. I never used an airbrush for washes
The mission: Beat the stash.
Almost conquered: MIG-29, Blackhawk, Skyray, Skyraider, fouga
Main battle:Demon, Skyhawk, F-14, CH-53
Stash reserve:Blackhawk, CH-46, 47 en 53; SU-7, Eurofighter, mohawk, hellcat, F-16D, 6x Fouga Magister, Voodoo
England - East Anglia, United Kingdom
Joined: June 11, 2010
KitMaker: 103 posts
AeroScale: 46 posts
Posted: Tuesday, June 12, 2012 - 07:09 AM UTC
Quoted Text
Quoted Text
re-done these areas with some oil paint thinned to a wash through the airbrush. Mick
A wash trhough the airbrush. did you do the whole plane or only selected area's. I never used an airbrush for washes
I just went over the panel lines with the oil paint wash, basically to redefine the pre-shaded areas that faded away from painting the darker colours. I call them washes because they are very thin mixes and can be used by hand brush and airbrush.
Current Projects:
53 Chevrolet BelAir Custom, 1935 Mercedes Benz G4
& Achilles Tank Destroyer.
Follow me on Twitter, @the_modeller.
My modelling blog is http://themechanicsmodellingworld.blogspot.co.uk/


