_GOTOBOTTOM
Rotary Wing
Discuss helicopters and other rotary wing aircraft from any era.
Sea King HC4 Flightpath/Hasegawa 1/48th
Rebilda
#057
_VISITCOMMUNITY
Bayern, Germany
Joined: May 11, 2010
KitMaker: 248 posts
AeroScale: 123 posts
Posted: Monday, July 16, 2012 - 11:43 PM UTC
Hi All.

Due time I clogged this forum a little again.

This is where I started yesterday:


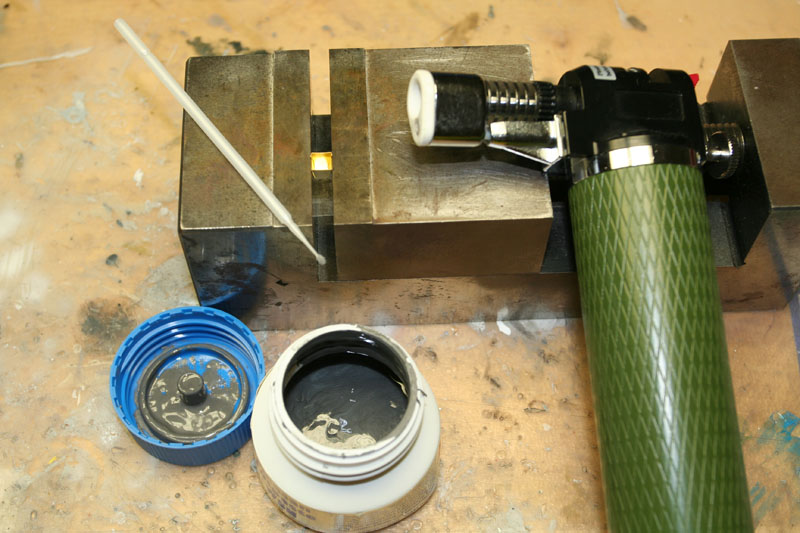
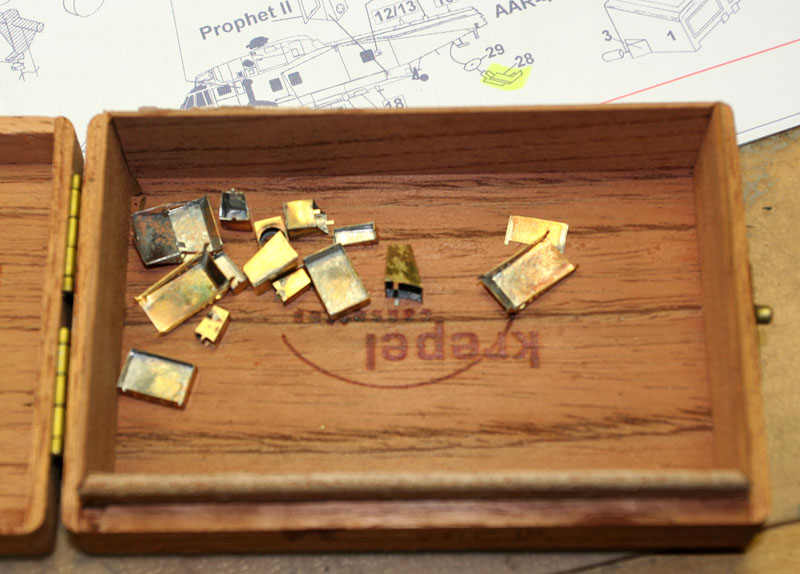
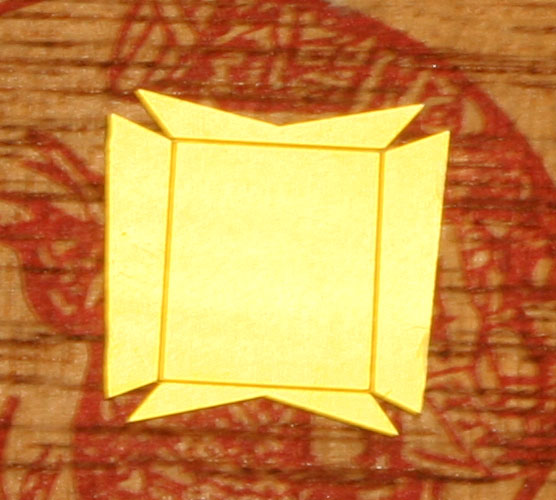
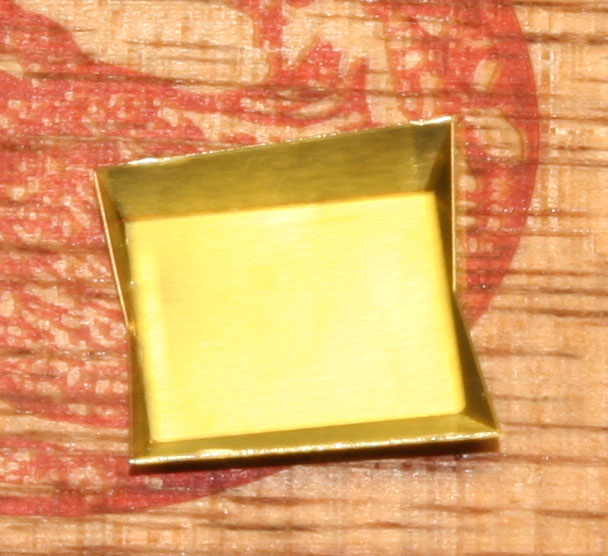
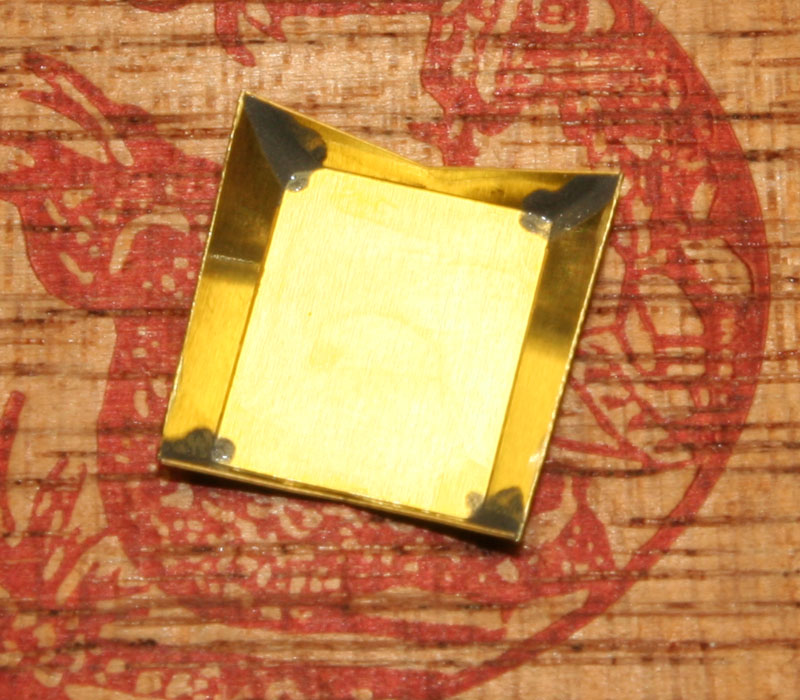
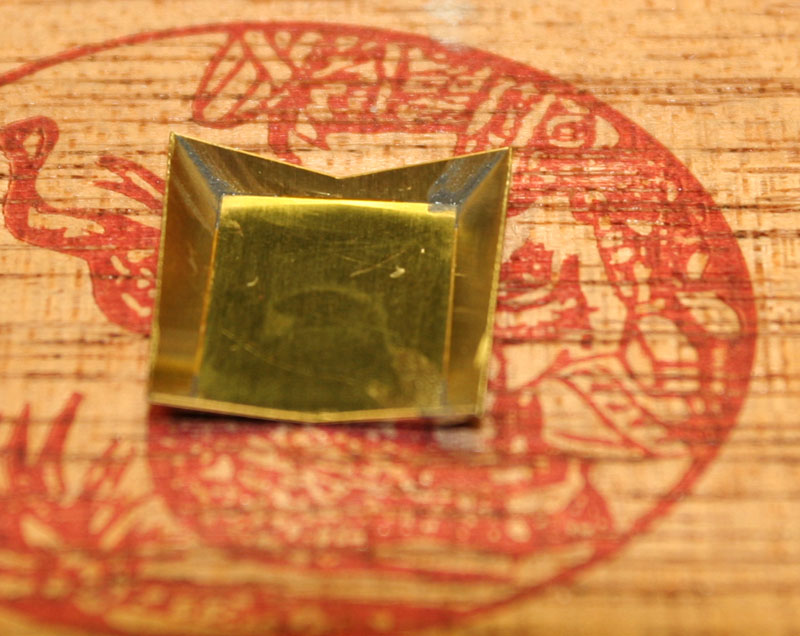
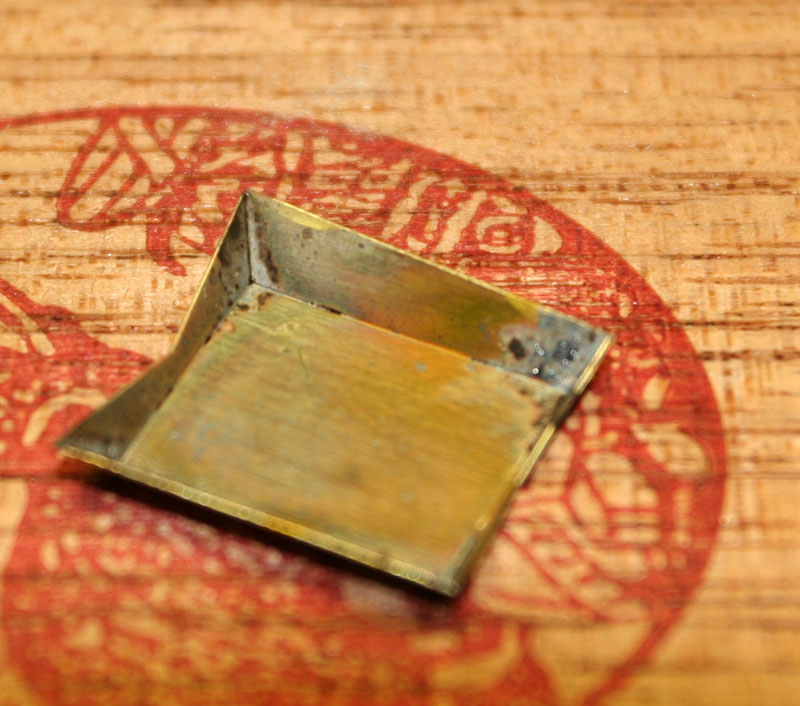
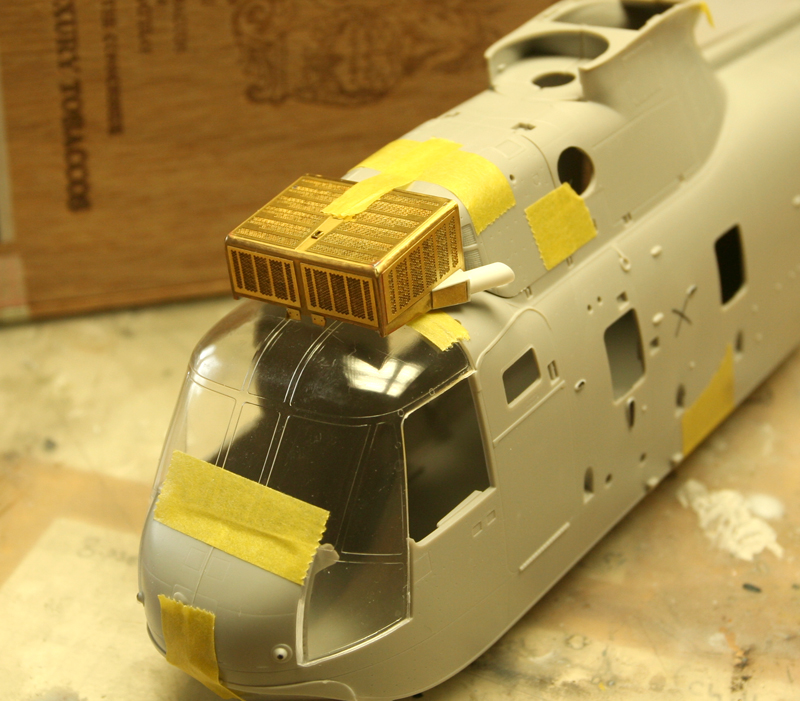
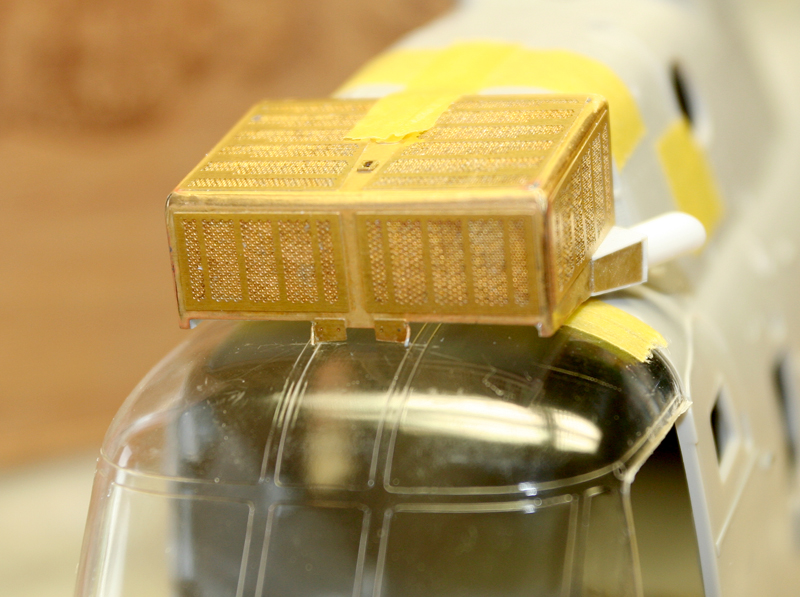
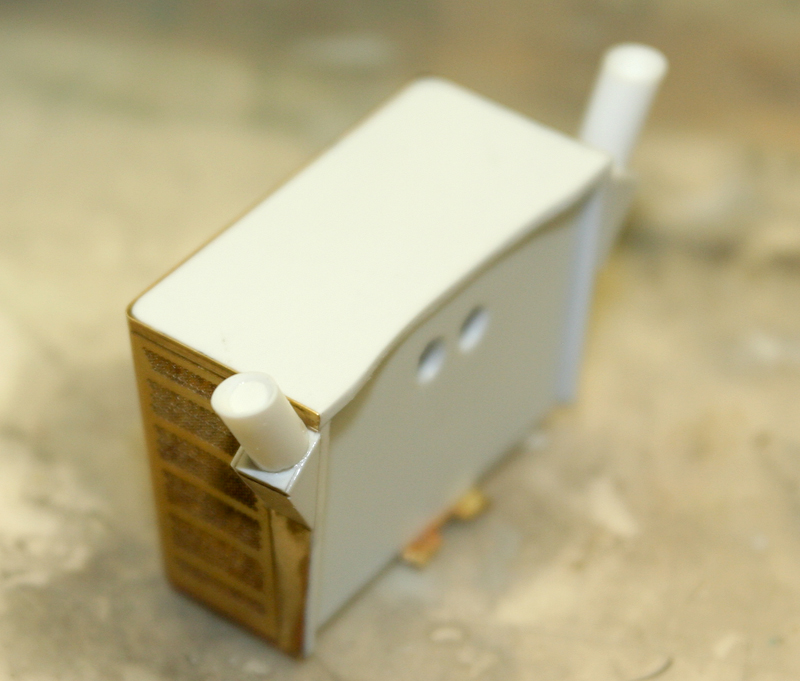
I decided to start with the components I was most scared of, so sand filterbox first.

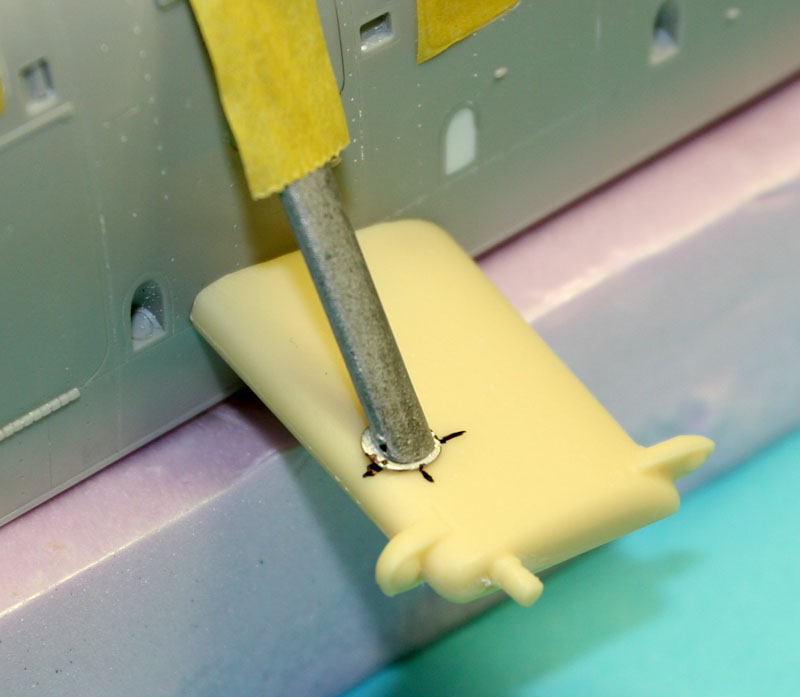
Lots of photoetch in the flightpath set as probably everybody knows. Soldered the box and beefed it up with styrene. Scratched some pieces as the white metal ones would have been more work:


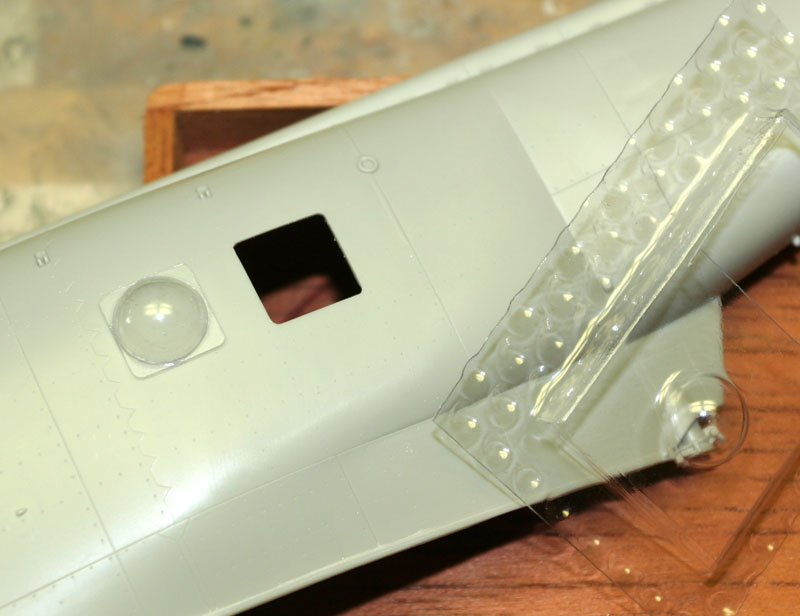
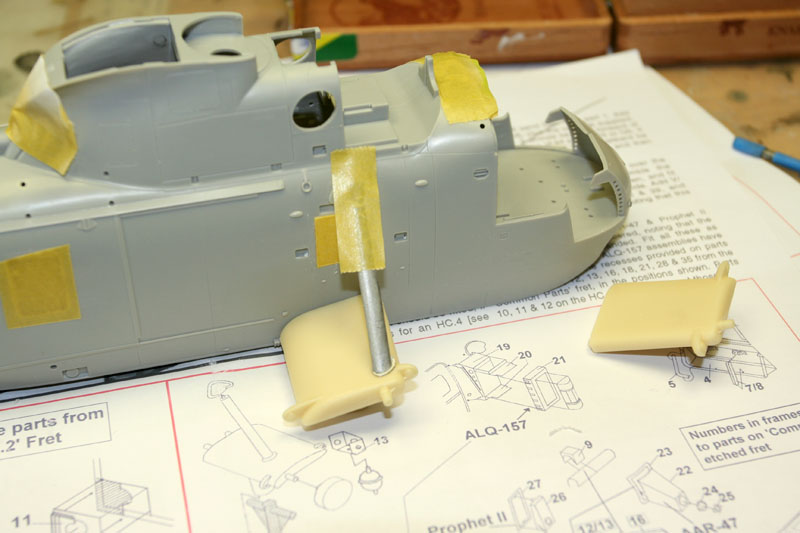
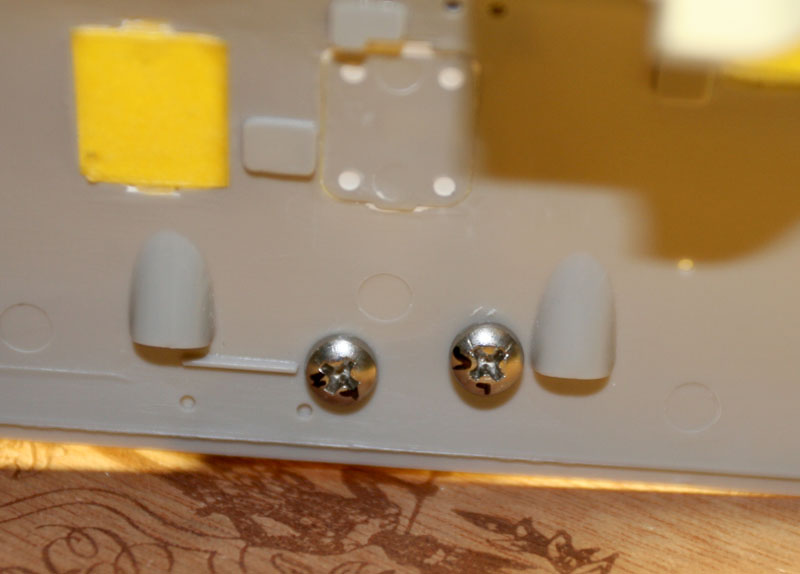
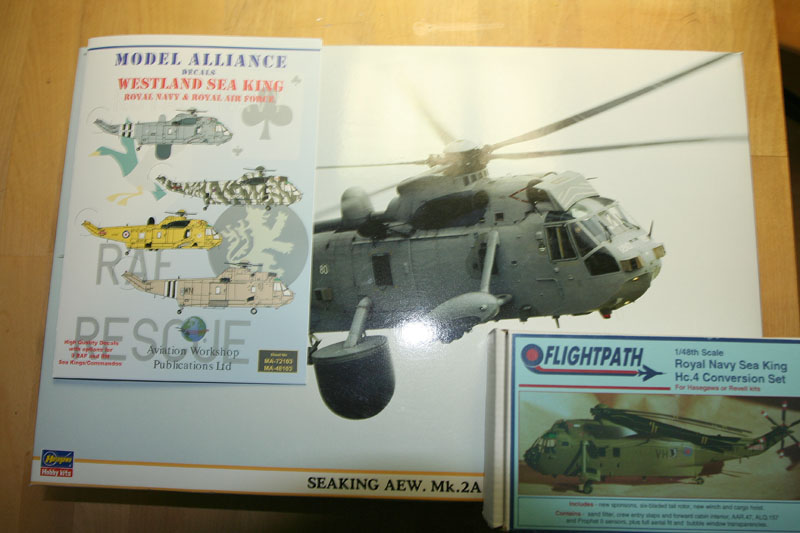
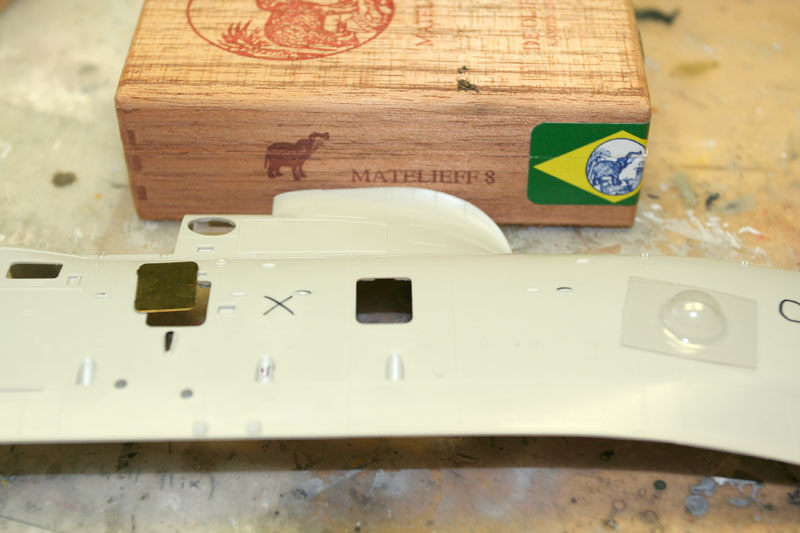
Next up is the bubble window and all the trimmings on the hull. One window has to be closed. FP give you an etched insert but as I have the Royal Navy boxing I have a kit supplied one (and an injected sixblade tail rotor for that matter).


Will try to keep posting...

Greetings

Leo

Rebilda
#057
_VISITCOMMUNITY
Bayern, Germany
Joined: May 11, 2010
KitMaker: 248 posts
AeroScale: 123 posts
Posted: Thursday, July 19, 2012 - 09:27 PM UTC
Lots of hours and heartstopping moments later I got the bubble window ready to install.
As the FP one wasn't really a half sphere on a flat pane (more like a football growing out of a distorted pannel) I merged a carefully drilled out clear styrene square with the perfectly round top half of the FP window:


I glued the two parts together with CA and dipped the thing in future. Not as perfect as I'd liked and a bit of a cheat but oh well...

Next I glued in all the windows and inserts and cleaned up the hulf halves. After that some polishing:


Then off to a fun session of soldering all the avionix and ECM boxes. That's my gear for the occasion:


Phewww, done:


Now I'm gonna rack my mind how to fit those:


Greetings
Middle_Franconian
_VISITCOMMUNITY
Bayern, Germany
Joined: January 02, 2011
KitMaker: 279 posts
AeroScale: 239 posts
Posted: Friday, July 20, 2012 - 05:38 AM UTC


Hmmm... Sea King + Flight Path... ==>Rebilda!

Thanks for sharing your experience with this kit!

The grey gooey substance left of your blow torch, is that solder paste? What kind of manufacturer?

Regards,

Sebastian
Starbear
_VISITCOMMUNITY
England - South East, United Kingdom
Joined: December 26, 2006
KitMaker: 15 posts
AeroScale: 1 posts
Posted: Sunday, July 22, 2012 - 10:58 AM UTC
Looking good sir!
GhostHawk
_VISITCOMMUNITY
Cordoba, Argentina
Joined: January 27, 2011
KitMaker: 268 posts
AeroScale: 264 posts
Posted: Monday, July 23, 2012 - 01:05 PM UTC
Hello,

Please, can you show us how do you do to soldering the PE...?

Thanks You Very Much...!!!!
Rebilda
#057
_VISITCOMMUNITY
Bayern, Germany
Joined: May 11, 2010
KitMaker: 248 posts
AeroScale: 123 posts
Posted: Wednesday, July 25, 2012 - 08:07 AM UTC
Observe:


fold:

(the edges have to touch with a really narrow seam)

apply paste (amasan lötpaste, Middle-F, my man!)


clean up slop with cotton bud:


heat up with burner 'till solder gets silver:


Done.

Whatever you do do NOT forget to wash parts after soldering because of acid residue!

More tomorrow.

Have fun...
Middle_Franconian
_VISITCOMMUNITY
Bayern, Germany
Joined: January 02, 2011
KitMaker: 279 posts
AeroScale: 239 posts
Posted: Monday, July 30, 2012 - 04:53 AM UTC


Wow! That´s awesome! I must try this with the solder paste I use in work...

Is this solder paste for dental use?

Regards,

Sebastian
Middle_Franconian
_VISITCOMMUNITY
Bayern, Germany
Joined: January 02, 2011
KitMaker: 279 posts
AeroScale: 239 posts
Posted: Tuesday, August 07, 2012 - 07:40 AM UTC
... no update so far???
Rebilda
#057
_VISITCOMMUNITY
Bayern, Germany
Joined: May 11, 2010
KitMaker: 248 posts
AeroScale: 123 posts
Posted: Sunday, August 26, 2012 - 07:56 AM UTC
Sorry, guys. Been a long time.

I'm opening my own practice these days so this build MIGHT take a while...

So I figured out how to attach the sponsons. The tricky thing was to maintain the correct angles in three attitudes all the while having an adjustable but solid bond ( the classic modelling problem...).
I used a technique I picked up from a Belgian master modeller over at Z5 ( thanks Remy!) :


The sponsons where screwed/pinned to the fuselage halves from the insides with just enough give for final adjustments.


Sounds easy (but wasn't), worked well (but slowly):


Now on to more fun.
heloman847
_VISITCOMMUNITY
United States
Joined: July 04, 2012
KitMaker: 16 posts
AeroScale: 14 posts
Posted: Wednesday, December 26, 2012 - 05:55 PM UTC
Lookin' good there Leo, I like the idea of the screws to attach the stubwings, it should certainly be solid enough. I've got the kit and convesrion in my stash but can't bring myself to start it!!!!

Colin
 _GOTOTOP