Roden 1:32 Sopwith Triplane N5463
Zaporizhzhya, Ukraine / Україна
Joined: July 12, 2012
KitMaker: 40 posts
AeroScale: 39 posts
Posted: Monday, July 23, 2012 - 08:35 PM UTC
Hi everyone.
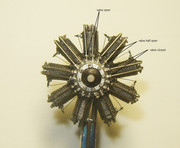
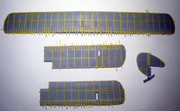
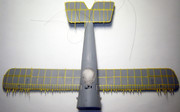
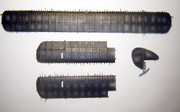
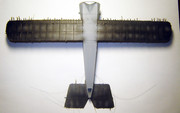
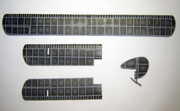
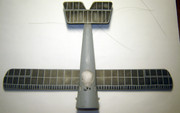
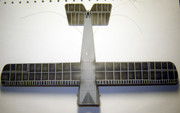
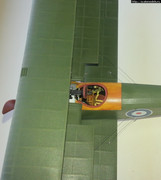
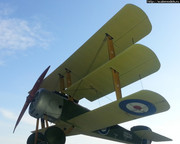
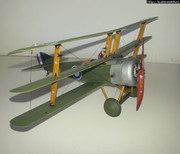
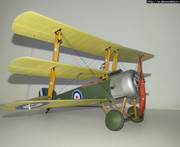
I'm going to build 1/32 Sopwith Triplane pilot FSLt Albert Edward Cuzner and aircraft tail number is N5463.
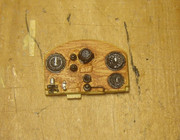
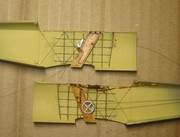
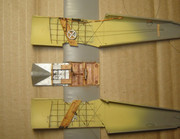
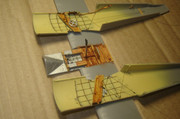
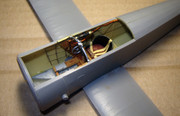
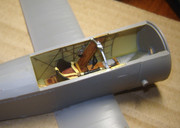
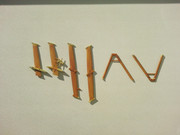
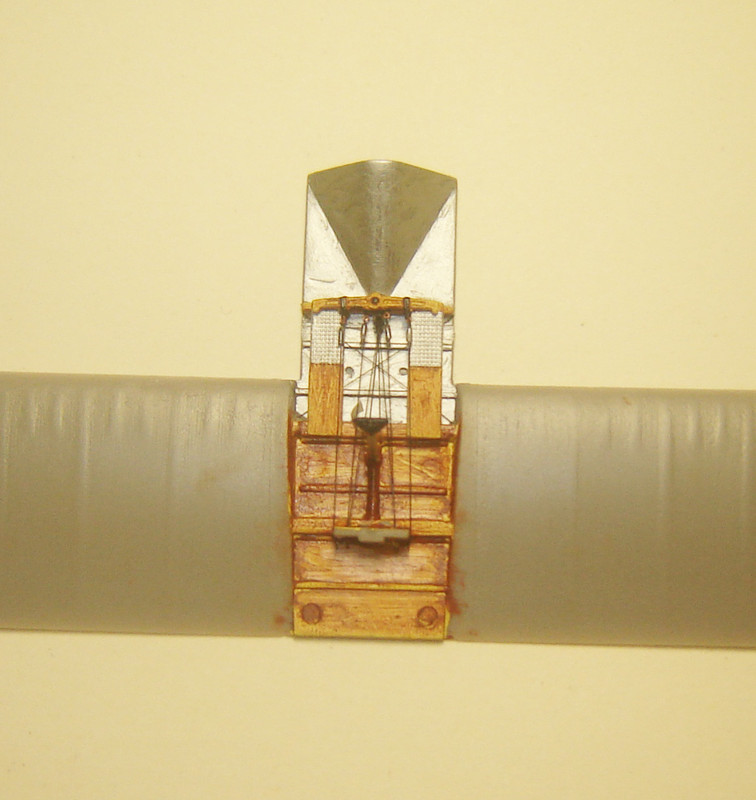
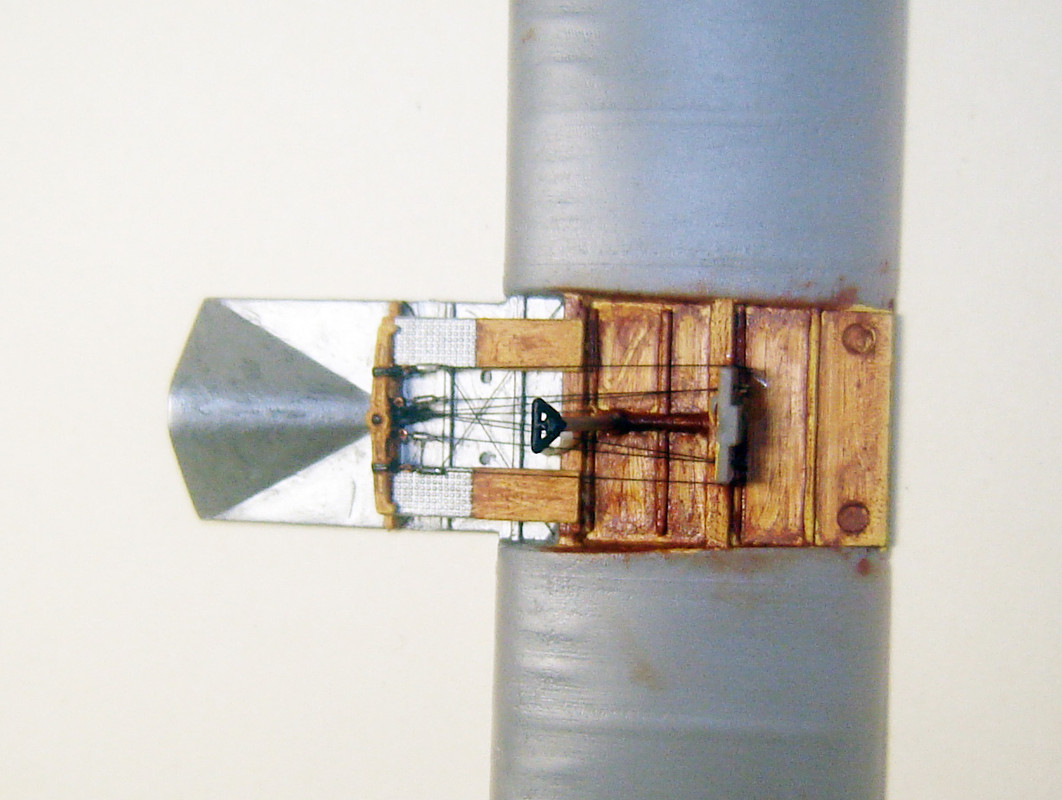
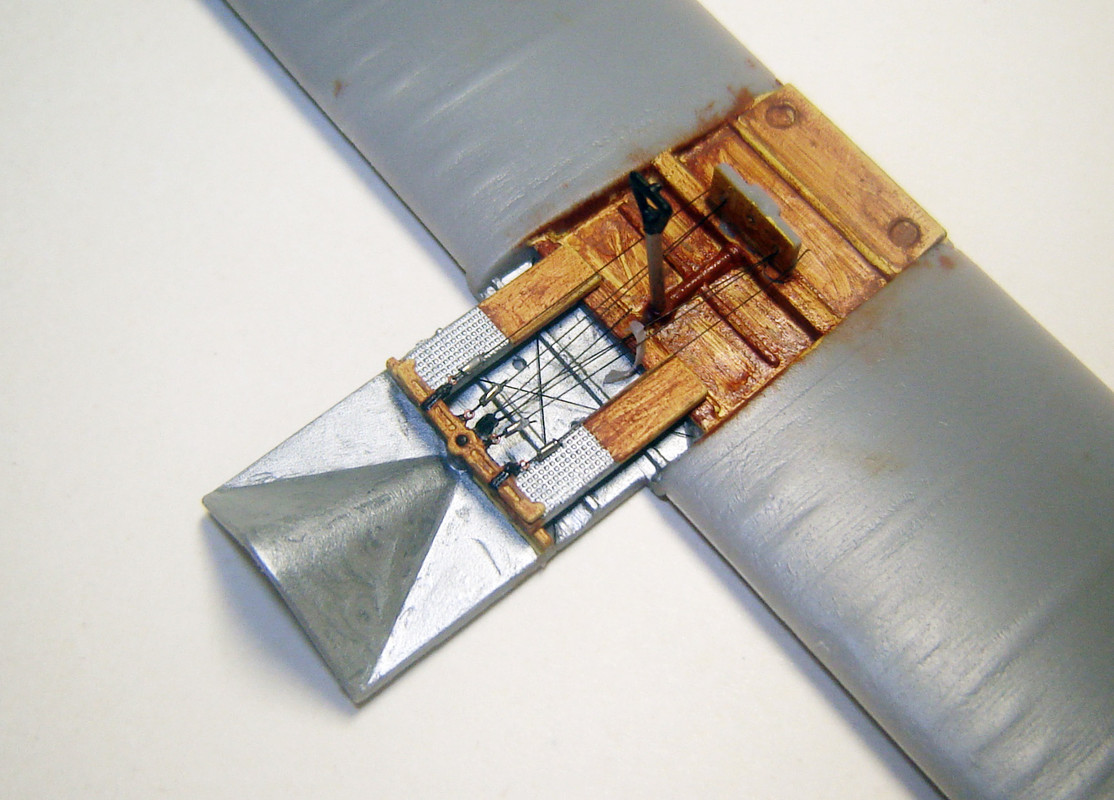
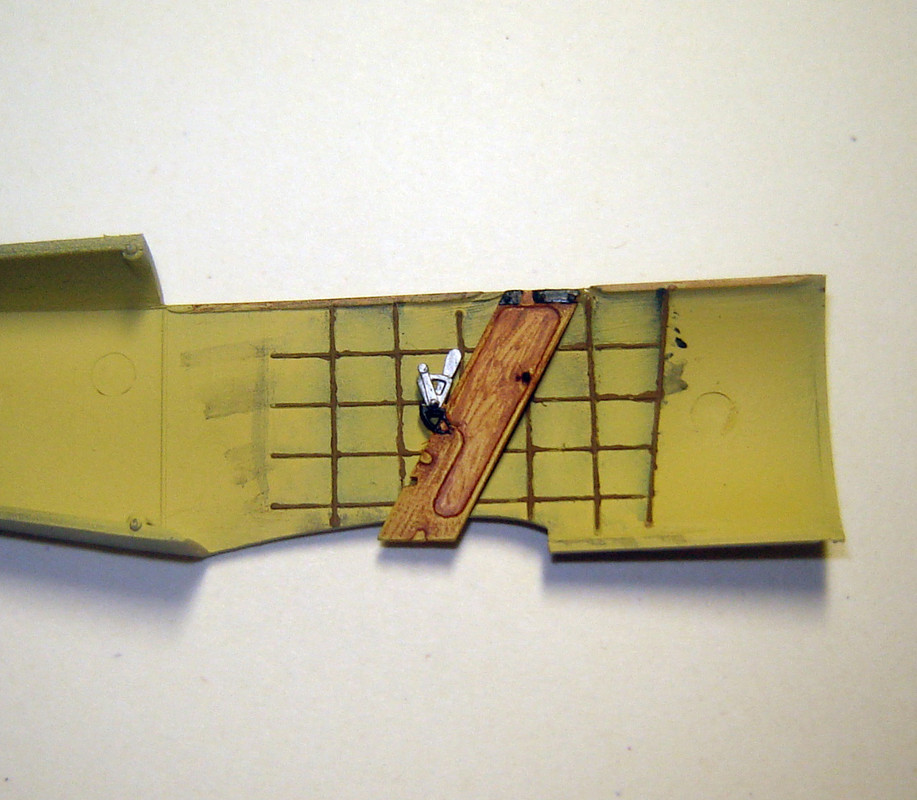
I started building from the cockpit. The elevator control cables run from the base of the control column forward, around a pulley then back to the elevators, I made a pulley from beer tin and fixed it.
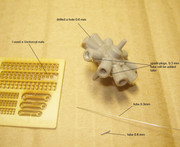
These are the small turnbuckles I used for the control cable rigging. Unfortunately I forgot to make eleron cables, but i think they won't be noticeable


Colorado, United States
Joined: January 25, 2004
KitMaker: 11,669 posts
AeroScale: 11,011 posts
Posted: Wednesday, July 25, 2012 - 04:45 AM UTC
Nice wood work on the upright & flooring. The British floor level rigging can always a bit of a chore. But always well worth the effort.
". . .The most important thing is to know why you build and then get the most that you can out of building." via D.D.
Zaporizhzhya, Ukraine / Україна
Joined: July 12, 2012
KitMaker: 40 posts
AeroScale: 39 posts
Posted: Wednesday, July 25, 2012 - 07:10 PM UTC
Stephen, thanks, to say the truth it's not too hard to paint a wood, but in that situation I had some problems with the little stairs. It only was not very comfortable to paint.
Arizona, United States
Joined: December 12, 2008
KitMaker: 1,423 posts
AeroScale: 1,319 posts
Posted: Tuesday, July 31, 2012 - 02:18 AM UTC
Great Job on the interior so far. Wood grain is convincing and your cables are nice and neat. Looking forward to more.
Best
Mark
We few, we happy few........
Zaporizhzhya, Ukraine / Україна
Joined: July 12, 2012
KitMaker: 40 posts
AeroScale: 39 posts
Posted: Tuesday, July 31, 2012 - 07:32 PM UTC
Zaporizhzhya, Ukraine / Україна
Joined: July 12, 2012
KitMaker: 40 posts
AeroScale: 39 posts
Posted: Sunday, August 12, 2012 - 10:28 PM UTC
Arizona, United States
Joined: December 12, 2008
KitMaker: 1,423 posts
AeroScale: 1,319 posts
Posted: Wednesday, August 15, 2012 - 12:46 AM UTC
Nice work so far. Very neat and clean and well executed. I am looking forward to seeing more of your work.
Best
Mark
We few, we happy few........
Zaporizhzhya, Ukraine / Україна
Joined: July 12, 2012
KitMaker: 40 posts
AeroScale: 39 posts
Posted: Sunday, August 19, 2012 - 08:28 PM UTC
Zaporizhzhya, Ukraine / Україна
Joined: July 12, 2012
KitMaker: 40 posts
AeroScale: 39 posts
Posted: Monday, September 03, 2012 - 11:27 PM UTC
Zaporizhzhya, Ukraine / Україна
Joined: July 12, 2012
KitMaker: 40 posts
AeroScale: 39 posts
Posted: Tuesday, September 11, 2012 - 09:17 PM UTC
Zaporizhzhya, Ukraine / Україна
Joined: July 12, 2012
KitMaker: 40 posts
AeroScale: 39 posts
Posted: Tuesday, October 30, 2012 - 06:57 PM UTC
Colorado, United States
Joined: January 25, 2004
KitMaker: 11,669 posts
AeroScale: 11,011 posts
Posted: Tuesday, October 30, 2012 - 08:00 PM UTC
Decent build! Any trouble spots in the build?
". . .The most important thing is to know why you build and then get the most that you can out of building." via D.D.
Zaporizhzhya, Ukraine / Україна
Joined: July 12, 2012
KitMaker: 40 posts
AeroScale: 39 posts
Posted: Tuesday, October 30, 2012 - 09:07 PM UTC
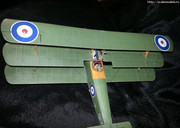
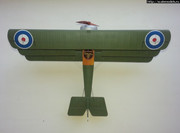
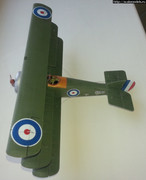
Thanks, Stephen, to say the truth, and as you can see from the pictures, I didn't have any big troubles with this kit. However, I see some little mistakes in my build - for example, landing gears were painted in wooden color, but they should be PC10.
Indiana, United States
Joined: May 14, 2007
KitMaker: 3,117 posts
AeroScale: 2,270 posts
Posted: Wednesday, October 31, 2012 - 03:14 AM UTC
"Treat 'em Rough", Current Builds--Wingnut Rumpler
I am frequently seen with blood shot eyes from staying up past my nap time to get the right colour scheme on my latest WWI model?
Ontario, Canada
Joined: February 04, 2008
KitMaker: 2,507 posts
AeroScale: 1,814 posts
Posted: Wednesday, October 31, 2012 - 09:02 AM UTC
Very nice.
Well done!

" The Die Hards"
43rd MIDDLESEX REGIMENT
MACHINE GUN CORPS
XXX CORP
The most effective way to do it, is to do it.
- Amelia Earhart
Alberta, Canada
Joined: January 19, 2008
KitMaker: 6,743 posts
AeroScale: 6,151 posts
Posted: Wednesday, October 31, 2012 - 12:54 PM UTC
Not to shabby at all , she turned out really well !
Terri
Zaporizhzhya, Ukraine / Україна
Joined: July 12, 2012
KitMaker: 40 posts
AeroScale: 39 posts
Posted: Wednesday, October 31, 2012 - 07:37 PM UTC
England - East Midlands, United Kingdom
Joined: November 06, 2005
KitMaker: 753 posts
AeroScale: 311 posts
Posted: Thursday, November 01, 2012 - 12:13 AM UTC
Great build Oleg of a fabulous WW1 subject - well done mate!
Gary
Arizona, United States
Joined: December 12, 2008
KitMaker: 1,423 posts
AeroScale: 1,319 posts
Posted: Thursday, November 01, 2012 - 05:28 AM UTC
Hello Oleg:
Very nicely done. You did a great job with this kit.
Best
Mark
We few, we happy few........
British Columbia, Canada
Joined: September 03, 2009
KitMaker: 6,965 posts
AeroScale: 6,247 posts
Posted: Thursday, November 01, 2012 - 08:09 AM UTC
That's lovely, Oleg. Are you willing to submit it as a feature? I think that it should have its chance to grace the front page.
When once you have tasted flight you will walk the Earth with your eyes turned skyward.
For there you have been, and there you will always long to return.
-Leonardo Da Vinci
New York, United States
Joined: December 15, 2006
KitMaker: 365 posts
AeroScale: 344 posts
Posted: Saturday, November 03, 2012 - 05:44 PM UTC
Oleg,
Well done indeed!
Dwayne


