KotS GB 2012 Albatros D.II alpha_tango
Germany
Joined: September 07, 2005
KitMaker: 5,609 posts
AeroScale: 5,231 posts
Posted: Saturday, July 28, 2012 - 07:20 AM UTC
DULCE ET DECORUM EST PRO HOBBY MORI
British Columbia, Canada
Joined: September 03, 2009
KitMaker: 6,965 posts
AeroScale: 6,247 posts
Posted: Saturday, July 28, 2012 - 09:42 AM UTC
That's a wonderful start. I'm looking forward to seeing how this one turns out

When once you have tasted flight you will walk the Earth with your eyes turned skyward.
For there you have been, and there you will always long to return.
-Leonardo Da Vinci
Germany
Joined: September 07, 2005
KitMaker: 5,609 posts
AeroScale: 5,231 posts
Posted: Thursday, August 09, 2012 - 06:16 AM UTC
Thanks a bunch Jessica!
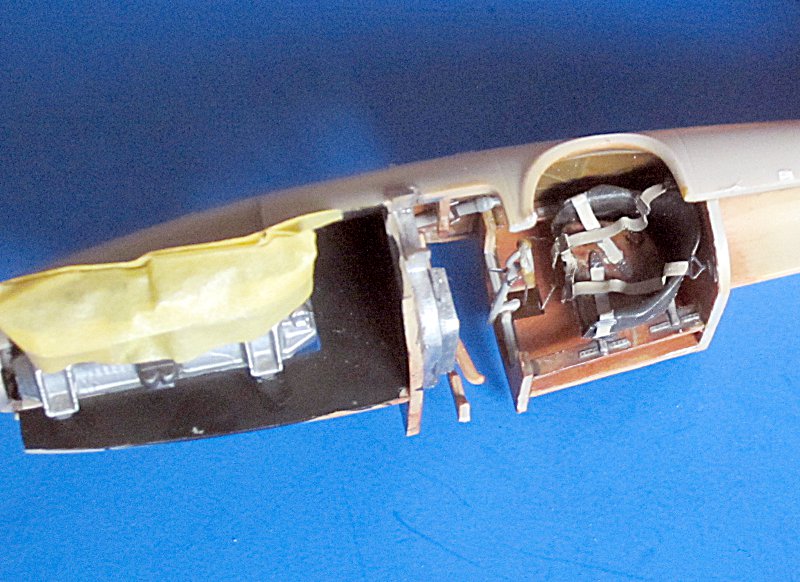
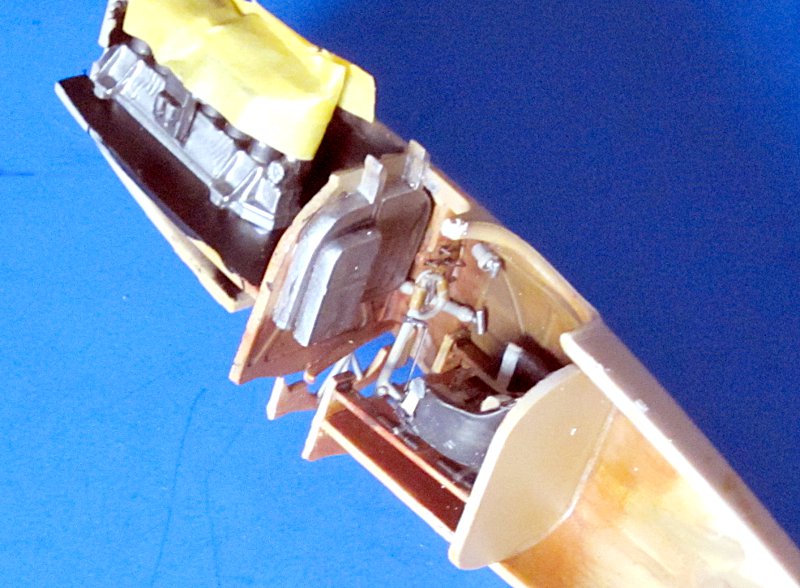
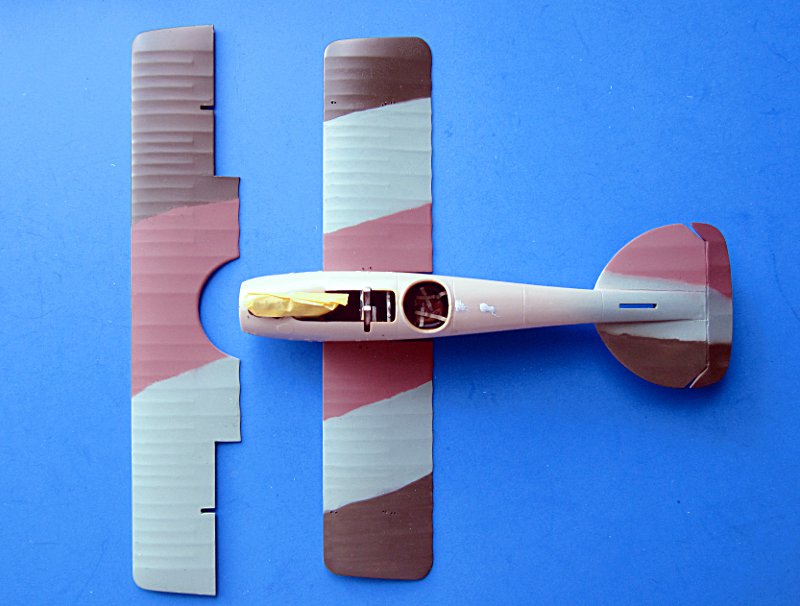
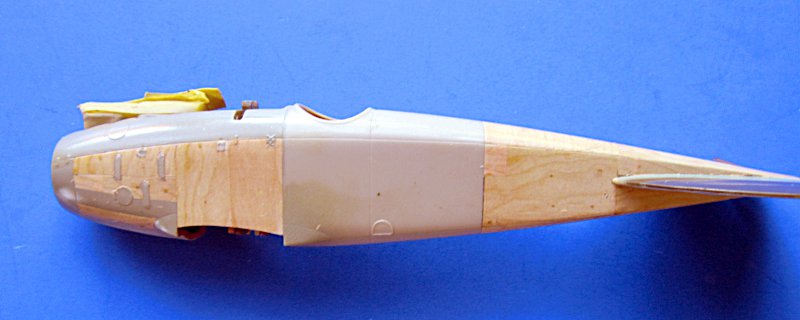
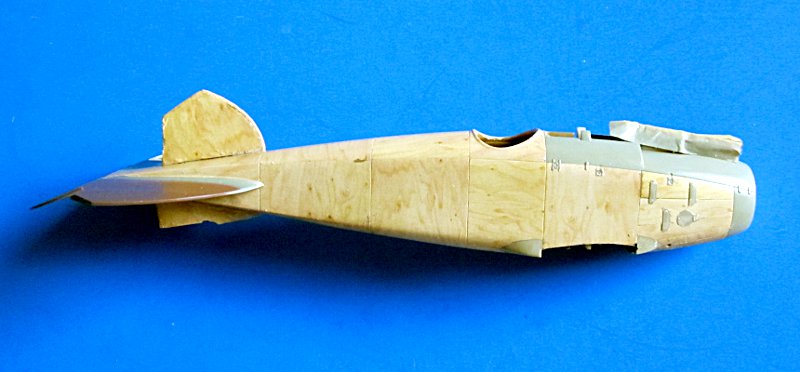
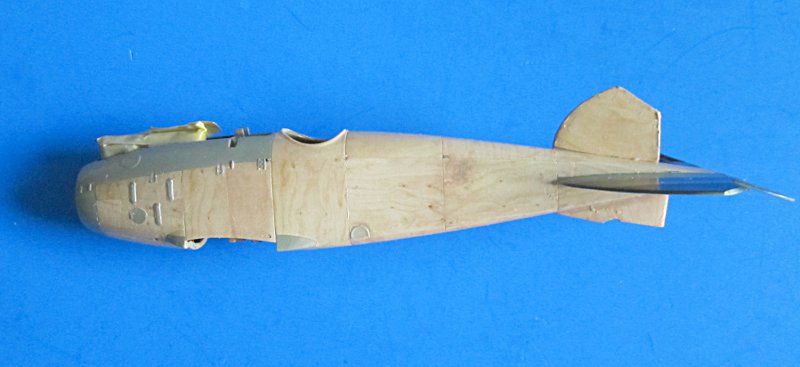
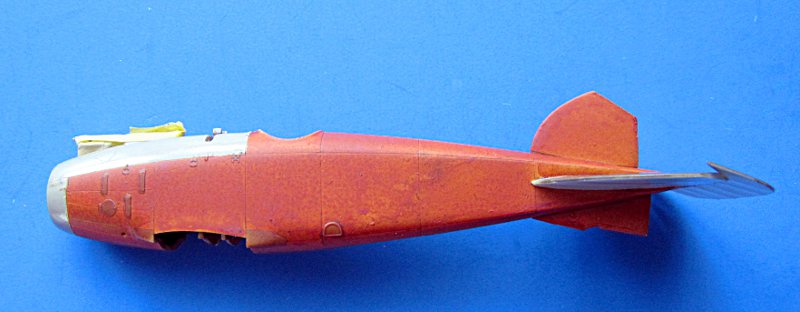
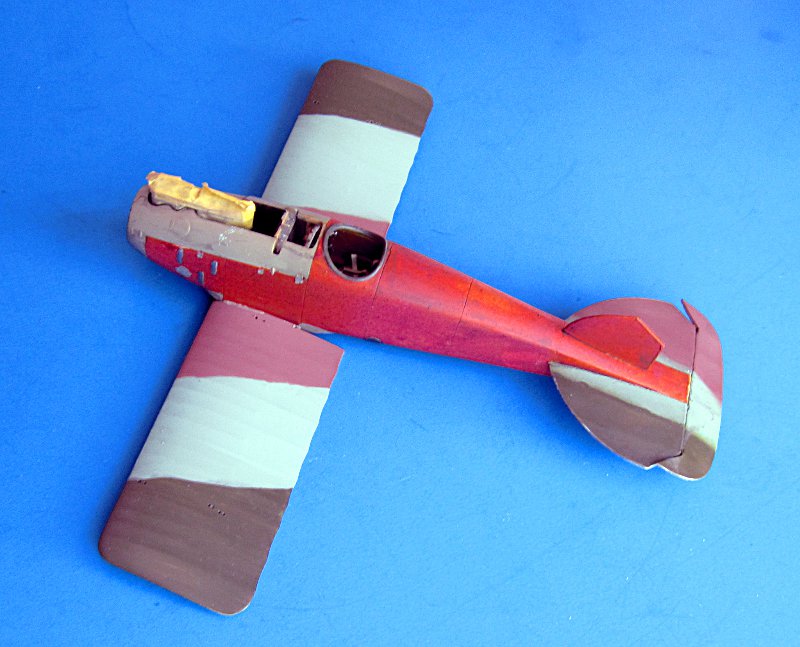
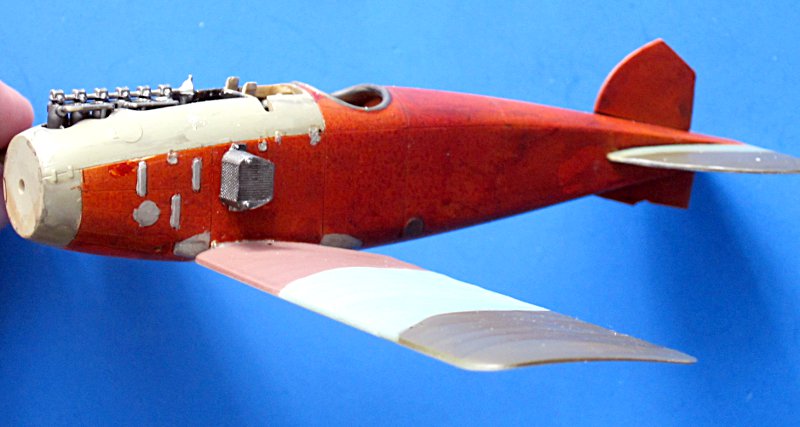
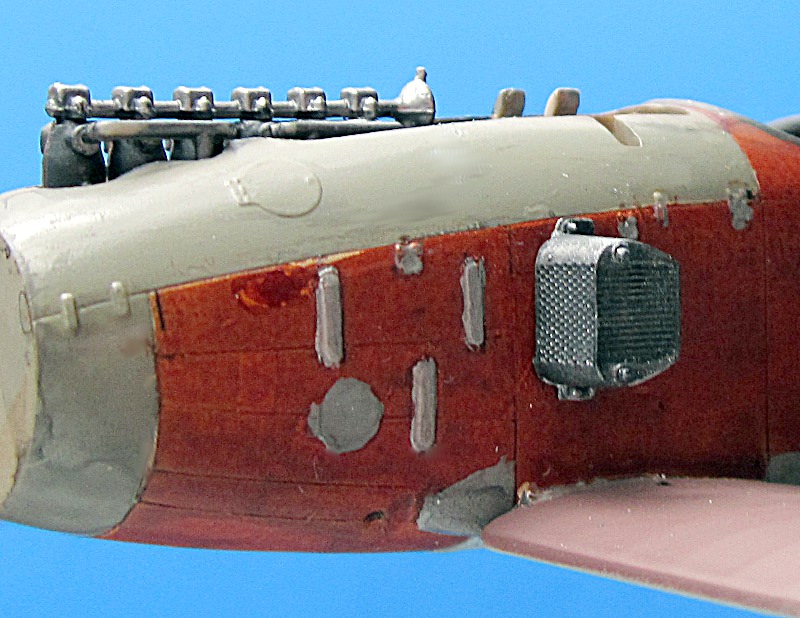
I had a lot of fiddly work around the nose that took me quite a while, but now I am pretty happy with the result. Sure it is basic compared to what most modelers do here in the ww1 section of Aeroscale, but it is as good as I can do it.
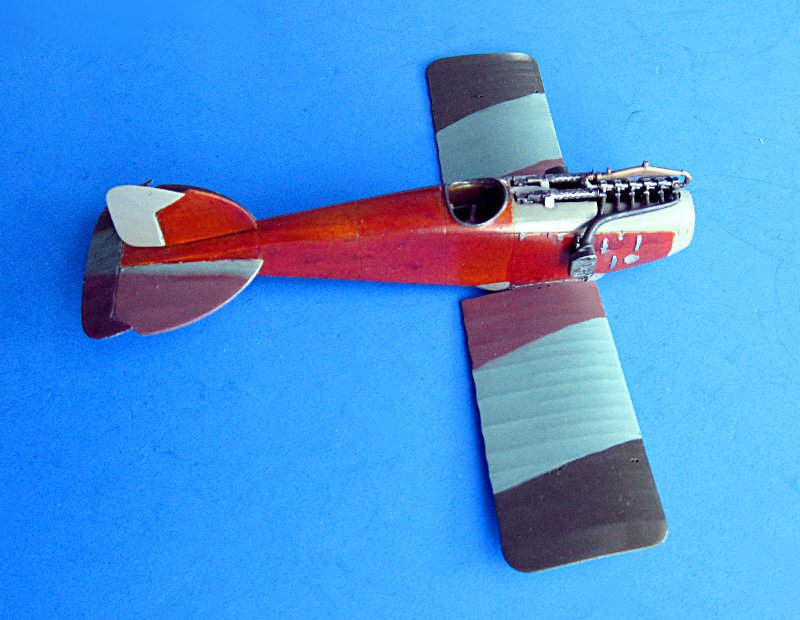
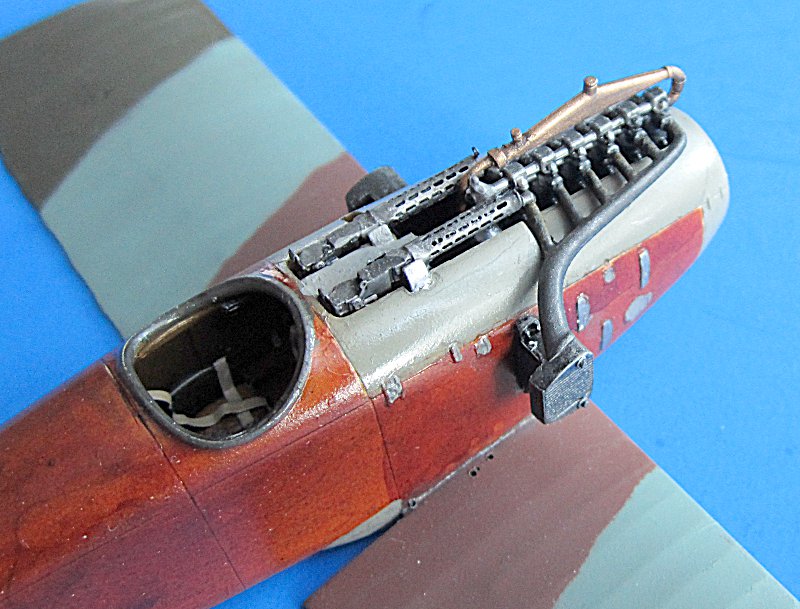
I hope to apply some decals over the weekend to get closer to adding the upper wing .. and then rigging


cheers
Steffen
DULCE ET DECORUM EST PRO HOBBY MORI
Germany
Joined: September 07, 2005
KitMaker: 5,609 posts
AeroScale: 5,231 posts
Posted: Wednesday, August 15, 2012 - 07:09 AM UTC
it is coming together
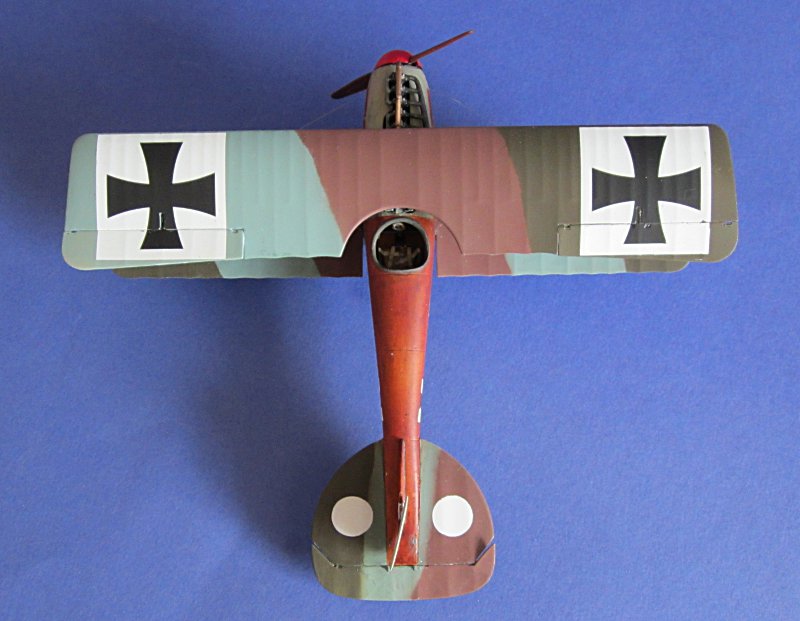
I applied the decals from the Kagero booklet, but it's lacking some black bordered white circles for the elevator. I will try the 72 scale dots, but I think these are too small --- there is still masking and my airbrush. The serial is not a perfect match to the known photo, but it is o.k. I screwed the top wing crosses but I will stick with it (the right one is 2mm farther outboard than the other side).
Then started rigging by attaching polyamid thread to the upper wing. Then attaching the wing to the struts .. tricky but it went well.
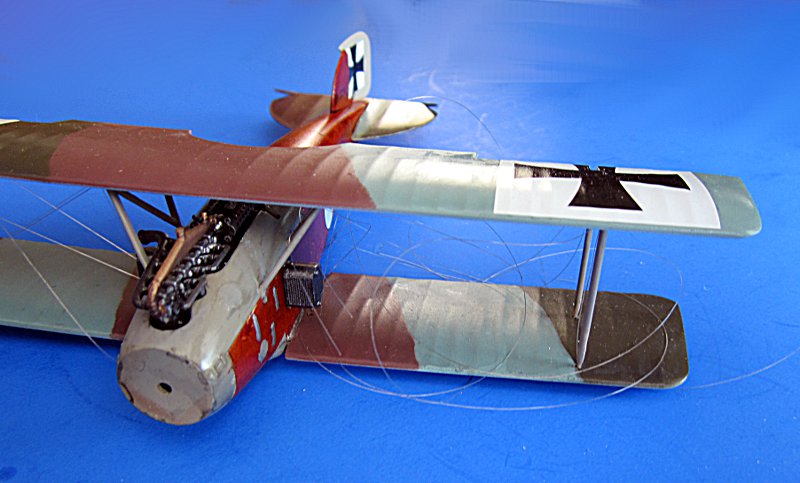
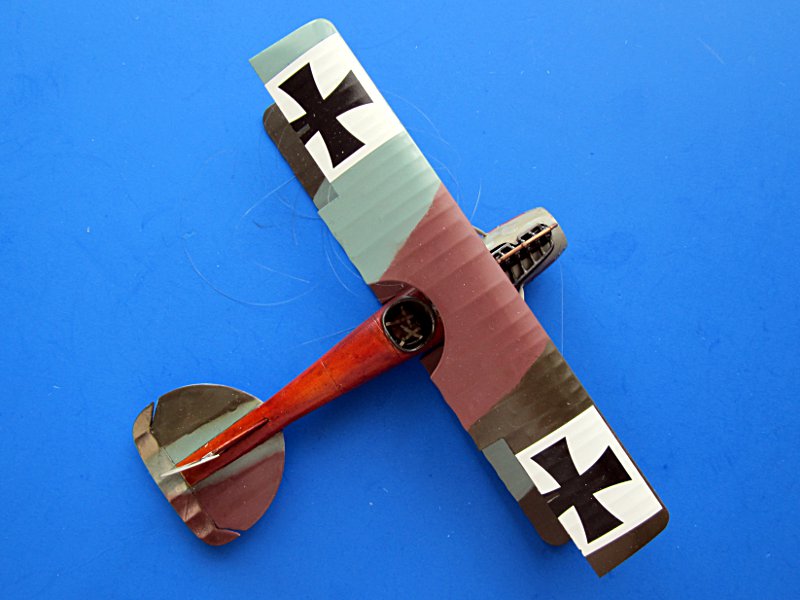
all the best
Steffen
DULCE ET DECORUM EST PRO HOBBY MORI
Germany
Joined: September 07, 2005
KitMaker: 5,609 posts
AeroScale: 5,231 posts
Posted: Saturday, August 18, 2012 - 03:09 AM UTC
Hi All,
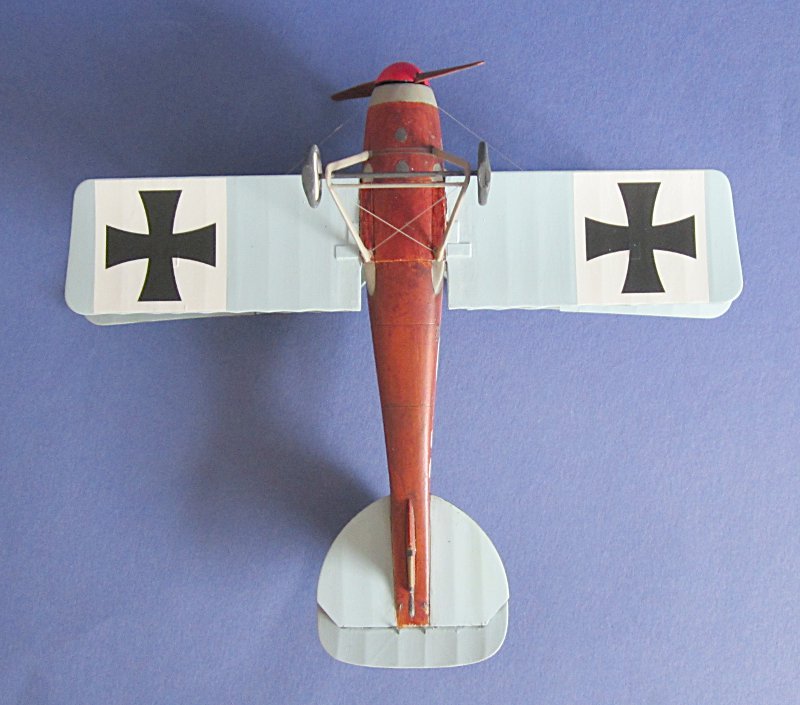
I finished rigging and also attached the ailerons. Then I applied some more decals. Today I smoothed the holes for the rigging on the lower wing and painted them blue and "schellacked" wood. Still need to apply the crosses.
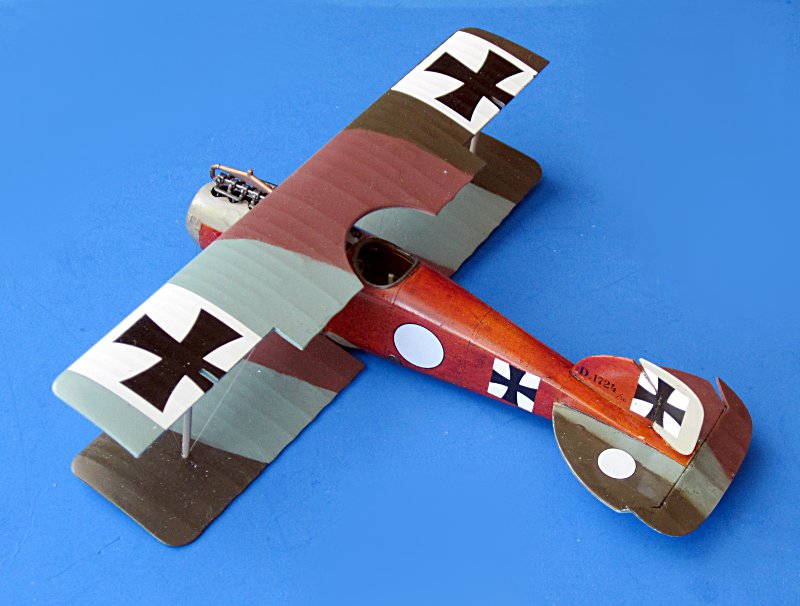
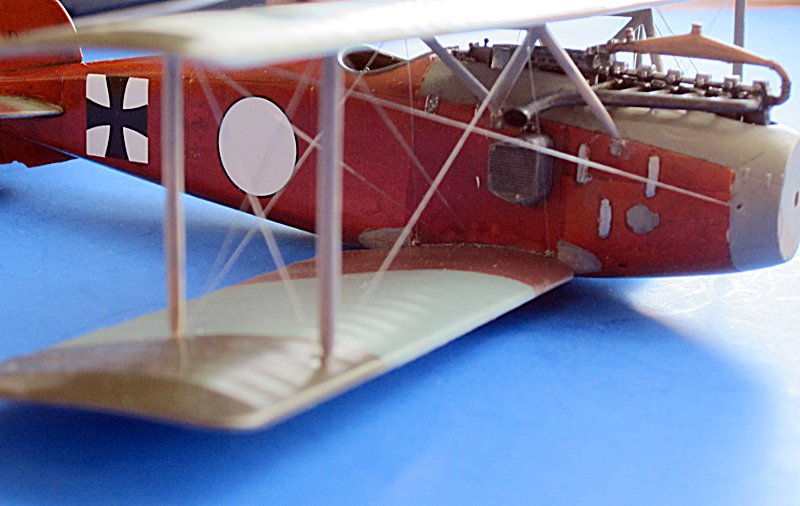
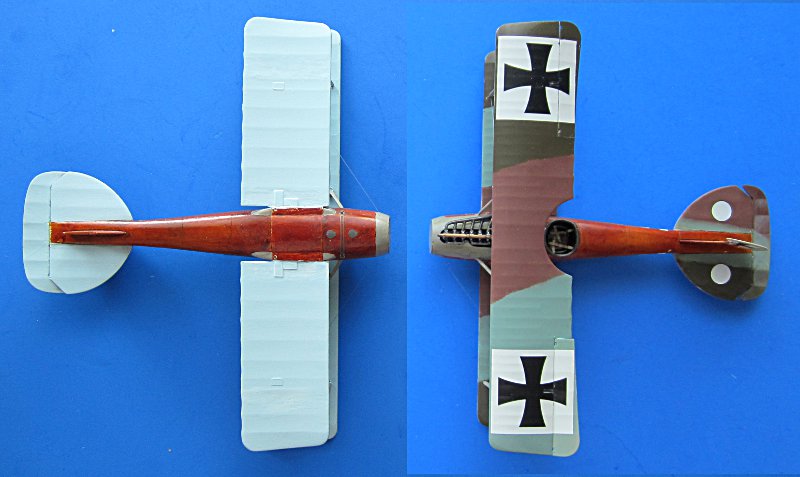
all the best
Steffen
DULCE ET DECORUM EST PRO HOBBY MORI
Germany
Joined: September 07, 2005
KitMaker: 5,609 posts
AeroScale: 5,231 posts
Posted: Monday, August 20, 2012 - 07:10 AM UTC
Slowly getting there
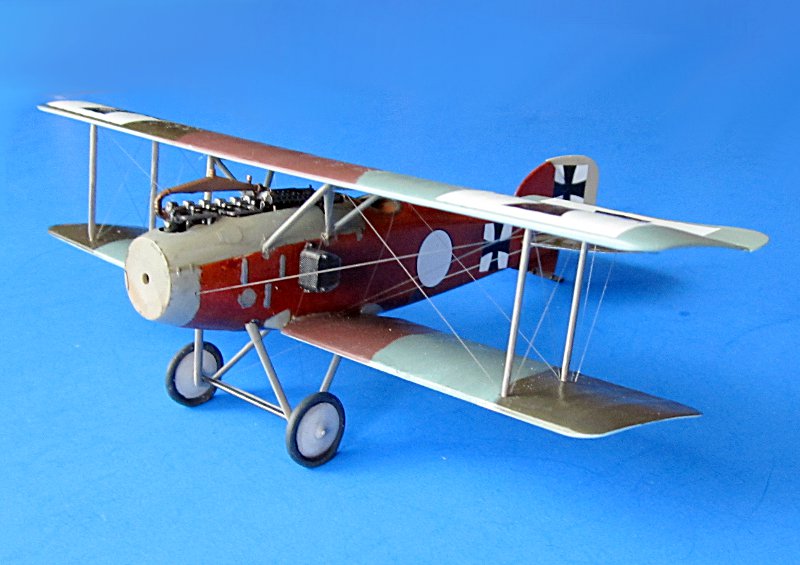
cheers
Steffen
DULCE ET DECORUM EST PRO HOBBY MORI
Germany
Joined: September 07, 2005
KitMaker: 5,609 posts
AeroScale: 5,231 posts
Posted: Wednesday, August 22, 2012 - 11:52 PM UTC
Still a bunch to do but it already looks the part
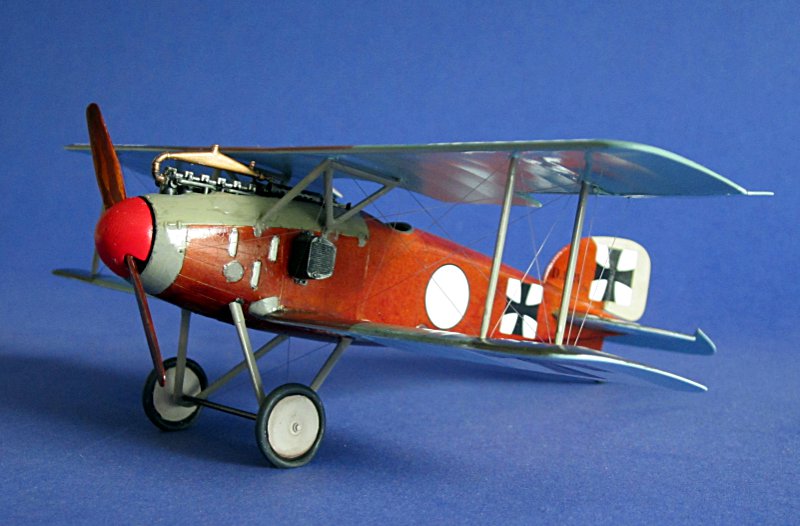
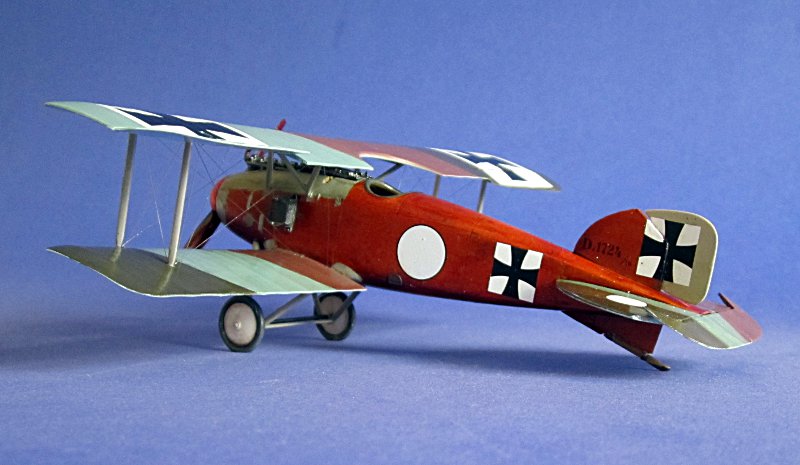
waiting for my olfa circle cutter to mask larger dots for the elevators. then adding the steering wires
all the best
Steffen
DULCE ET DECORUM EST PRO HOBBY MORI
Germany
Joined: September 07, 2005
KitMaker: 5,609 posts
AeroScale: 5,231 posts
Posted: Friday, August 24, 2012 - 06:02 PM UTC
Hi All
I enlisted to the KotS 2012 campaign yesterday and I am proud to be part of it !
Still there is one rule that I have problems with: providing original photographs. I do not own any pix of this aircraft, though I have a Sanke card of Schäfer.
OTOH I know of 3 published pictures. Group picture of Kasta 2 aircraft (published in Windsock Datafile 100 page 13 picture 43; center aircraft), a picture with Schäfer of the nose area (where you can see that the spinner has a different colour than the other metal areas of the nose - same publication pg.15/No.47) and finally an 8 o'clock side view in Osprey AoA 32 pg. 7. BUT I do not like to webpublish copyrighted material.
all the best
Steffen
DULCE ET DECORUM EST PRO HOBBY MORI
Germany
Joined: September 07, 2005
KitMaker: 5,609 posts
AeroScale: 5,231 posts
Posted: Tuesday, August 28, 2012 - 05:10 AM UTC
DULCE ET DECORUM EST PRO HOBBY MORI
British Columbia, Canada
Joined: September 03, 2009
KitMaker: 6,965 posts
AeroScale: 6,247 posts
Posted: Tuesday, August 28, 2012 - 05:17 AM UTC
That really looks nice. It makes me want to dig my kit out and get to work.
When once you have tasted flight you will walk the Earth with your eyes turned skyward.
For there you have been, and there you will always long to return.
-Leonardo Da Vinci
Germany
Joined: September 07, 2005
KitMaker: 5,609 posts
AeroScale: 5,231 posts
Posted: Wednesday, August 29, 2012 - 04:05 AM UTC
Many thanks Jessica!!!
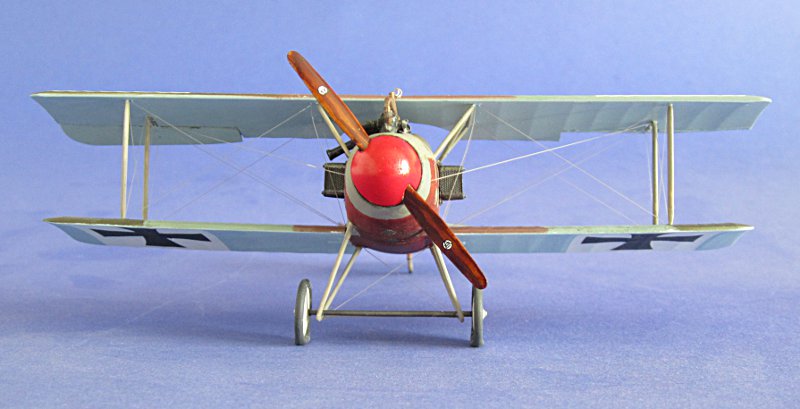
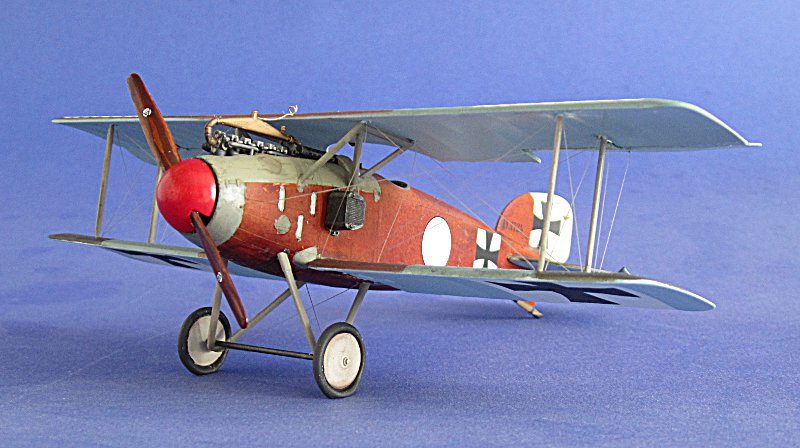
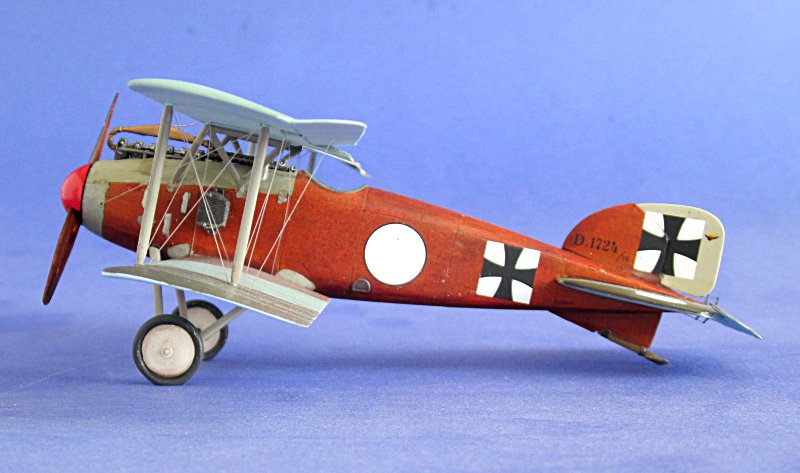
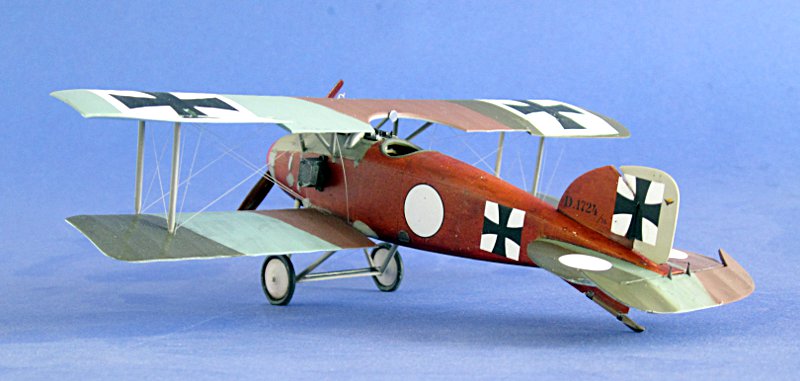
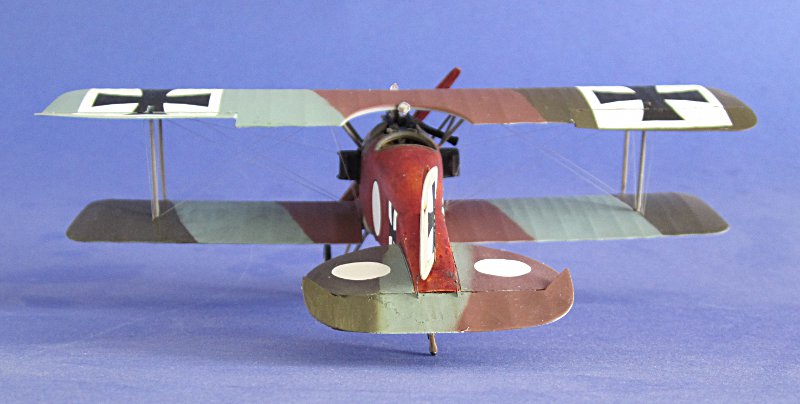
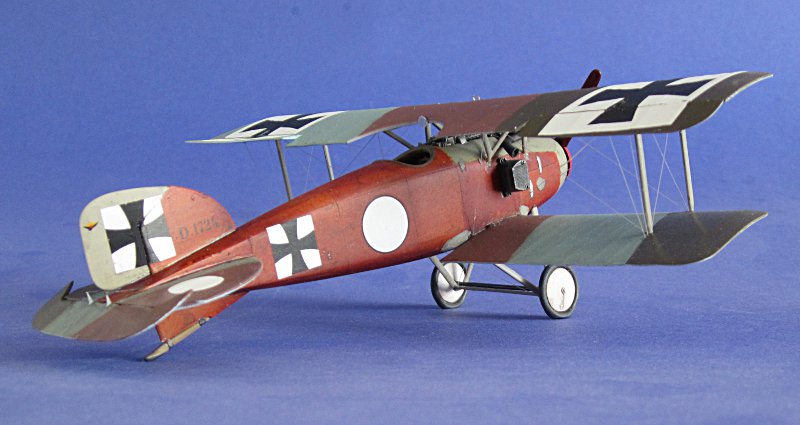
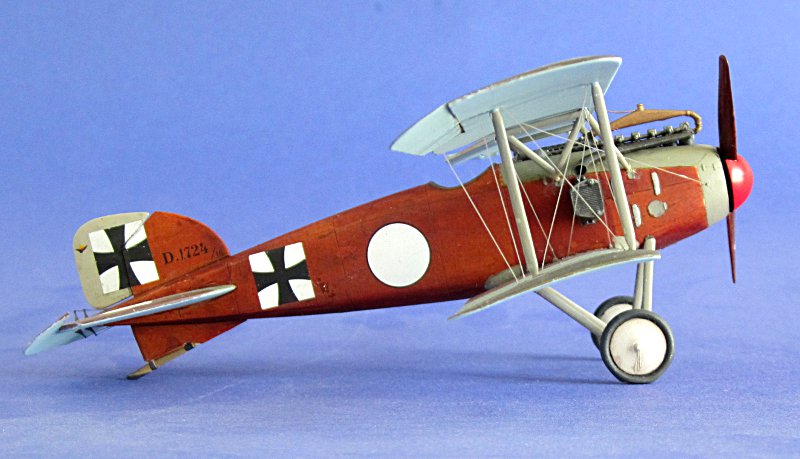
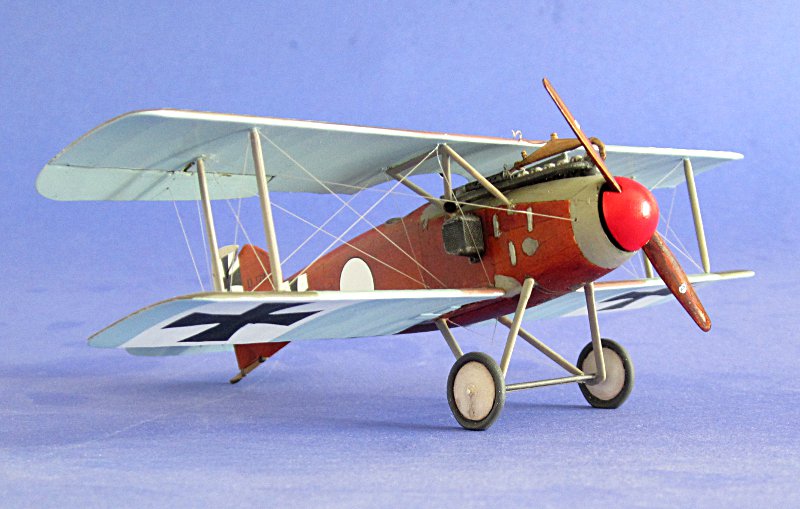
I replaced the pictures. They now show the model with mirror and pipe.

cheers
Steffen
DULCE ET DECORUM EST PRO HOBBY MORI
Wisconsin, United States
Joined: March 17, 2009
KitMaker: 156 posts
AeroScale: 153 posts
Posted: Wednesday, August 29, 2012 - 03:18 PM UTC
Nice job, Steffen!
How were the HGW wood grain decals to work with? Did you use one of the pre-cut sets, or did you have to trim out the sections yourself? If pre-cut, were they sized well (i.e., did you have to trim much)?
Regards-
Tom
Wisconsin USA
On the workbench:
WNW 1/32 Fokker E.II for Canvas Falcons III
Trumpeter 1/32 MiG-21F-13 for 2nd Gen Jets Campaign
Germany
Joined: September 07, 2005
KitMaker: 5,609 posts
AeroScale: 5,231 posts
Posted: Thursday, August 30, 2012 - 05:03 AM UTC
Hi Tom,
I used a set which has wood squares on it. It was quite easy to work with though the decals are not very flexible. I used Future/Klear as a decal medium, which worked very well. Still I had to by very careful pressing it over the cooling louvres and other prominent details and cutting them out. (I also used Daco red wich did not help much).
I also have a few sets especially for D.V and D.III Both state that the panels are slightly larger than the model panels and have to be trimmed .. but that is easy with a new blade. (btw I do not think these are precut but just printed the appropriate size)
All the best
Steffen
DULCE ET DECORUM EST PRO HOBBY MORI
Merlin
 Senior Editor
#017
United Kingdom
Joined: June 11, 2003
KitMaker: 17,582 posts
AeroScale: 12,795 posts
Posted: Friday, August 31, 2012 - 09:08 AM UTC
Hi Steffen
Nice work!

Sorry - I missed your progress on this one. Great to see you building again - and you've put me to shame as usual!

(I haven't forgotten the "therapy-build you got me into - I simply haven't even had access to me work-room for the last few months! Hopefully, I'll get a couple of projects underway again in the next few weeks...).
All the best
Rowan

BEWARE OF THE FEW...
As I grow older, I regret to say that a detestable habit of thinking seems to be getting a hold of me. - H. Rider Haggard
Germany
Joined: September 07, 2005
KitMaker: 5,609 posts
AeroScale: 5,231 posts
Posted: Friday, August 31, 2012 - 07:29 PM UTC
Hi Rowan,
many thanks, mate!
At the moment I am not doing much modelling, but I can do so regularily and thus I do progress. I will send some model pix soon to Jessica of anther project that I finally got movin .. no, not the Kondor. I just picked up one of my Zvezda 109s ... what a great model kit! but I digress.
As for your therapy model .. it was so long ago that I even forgot what it was

... or it's Altzheimer. (some Tamiya I guess

)
cheers
Steffen
DULCE ET DECORUM EST PRO HOBBY MORI
Merlin
 Senior Editor
#017
United Kingdom
Joined: June 11, 2003
KitMaker: 17,582 posts
AeroScale: 12,795 posts
Posted: Saturday, September 01, 2012 - 07:29 AM UTC
Hi Steffen
Well, tomorrow I've promised myself a bit of modelling time at long last! It won't be your therapy build, but it will be 1:48, so I hope you'll approve.

All the best
Rowan

BEWARE OF THE FEW...
As I grow older, I regret to say that a detestable habit of thinking seems to be getting a hold of me. - H. Rider Haggard
Germany
Joined: September 07, 2005
KitMaker: 5,609 posts
AeroScale: 5,231 posts
Posted: Saturday, September 01, 2012 - 08:36 AM UTC
Hi Rowan,
gopod luck and most of all have fun!
BTW Yesterday I replaced the pix again .. now with Albatros and Axial logos .. finally completely done.
DULCE ET DECORUM EST PRO HOBBY MORI
Ontario, Canada
Joined: February 04, 2008
KitMaker: 2,507 posts
AeroScale: 1,814 posts
Posted: Saturday, September 01, 2012 - 10:20 AM UTC
Hi Steffen
Nice work!

" The Die Hards"
43rd MIDDLESEX REGIMENT
MACHINE GUN CORPS
XXX CORP
The most effective way to do it, is to do it.
- Amelia Earhart
Alberta, Canada
Joined: January 19, 2008
KitMaker: 6,743 posts
AeroScale: 6,151 posts
Posted: Sunday, September 02, 2012 - 03:03 AM UTC
Not to shabby at all , she looks good Steffen .
Terri
Germany
Joined: September 07, 2005
KitMaker: 5,609 posts
AeroScale: 5,231 posts
Posted: Sunday, September 02, 2012 - 06:20 PM UTC
Thank you Richard and Terri,
it is not too bad to have finished a model after a while.
all the best
Steffen
DULCE ET DECORUM EST PRO HOBBY MORI
