Hello everyone, time I started posting on here methinks! This is the first model aircraft I've built in a very long time, and so far it's been fun.
I am using the Eduard PE set for this kit, and will be using an extra decal set from Owl when it eventually arrives.
As this kit was one of the first attempts at the Typhoon by any manufacturer there is quite a lot of detail missing, so photo etched parts and a bit of scratchbuilding is essential. Even the most basic of research (Google Images) shows a lot of inspiration for extra detailing on the model, especially around the cockpit
http://gallery3.kitmaker.net/data/500/thumbs/C315.JPG
http://gallery3.kitmaker.net/data/500/thumbs/C215.JPG
http://gallery3.kitmaker.net/data/500/thumbs/C174.JPG
Pre-Flight Check
Constructive critique of your finished or in-progress photos.
Constructive critique of your finished or in-progress photos.
Hosted by Jim Starkweather
Italeri 1/48 EF-2000 Typhoon
ljames0874

Joined: August 15, 2012
KitMaker: 408 posts
AeroScale: 365 posts

Posted: Monday, August 27, 2012 - 02:42 AM UTC

Jessie_C


Joined: September 03, 2009
KitMaker: 6,965 posts
AeroScale: 6,247 posts

Posted: Monday, August 27, 2012 - 03:34 AM UTC
Your picture links had an extra 'http://' in them. You also don't need that '/image.file' at the end. I've trimmed that out and now they'll display.


ljames0874

Joined: August 15, 2012
KitMaker: 408 posts
AeroScale: 365 posts

Posted: Monday, August 27, 2012 - 02:14 PM UTC
Thanks for the help! 

ljames0874

Joined: August 15, 2012
KitMaker: 408 posts
AeroScale: 365 posts

Posted: Monday, September 10, 2012 - 10:41 PM UTC
Here we are again! The main job this week is to scratchbuild the interior of the airbrake bay. The main reason for this is the airbrake supplied with the kit is a bit too big and just looks wrong when closed, it doesn't quite fit. Luckily there are some good pictures in the Mark 1 Dozen Set book on the Typhoon. 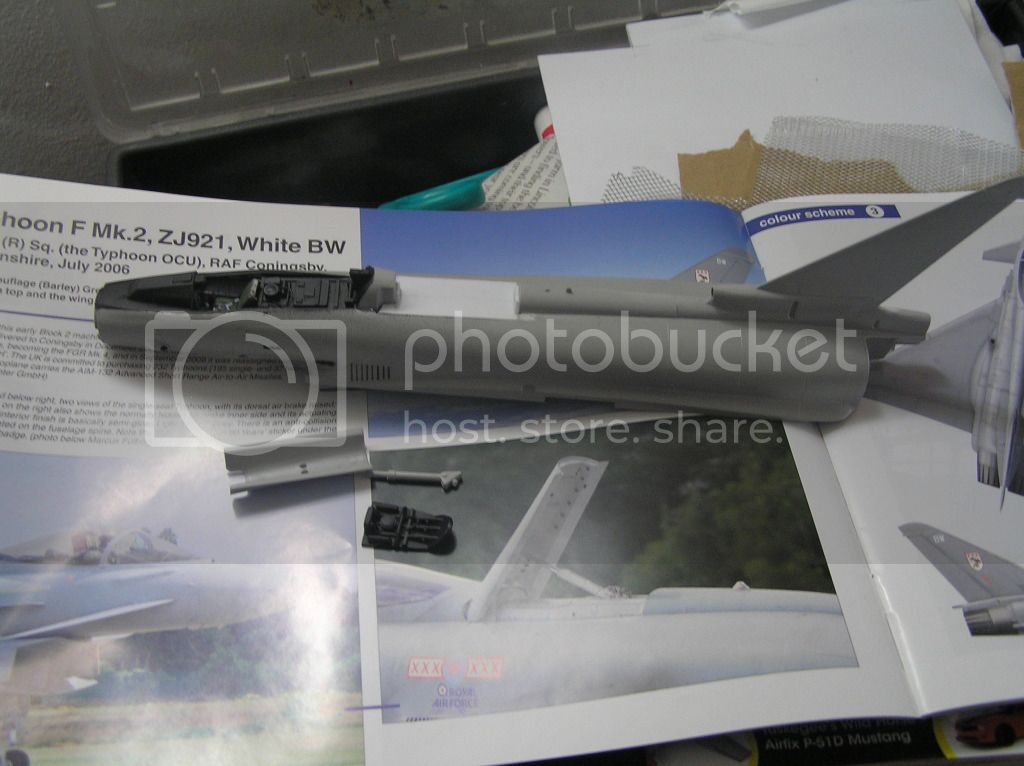

Posted: Saturday, September 15, 2012 - 04:02 PM UTC
Looking good, Lee.
Keep it coming
Keep it coming

ljames0874

Joined: August 15, 2012
KitMaker: 408 posts
AeroScale: 365 posts

Posted: Tuesday, September 18, 2012 - 03:43 AM UTC
Thanks Jesper!
Okay, the airbrake bay is now detailed:
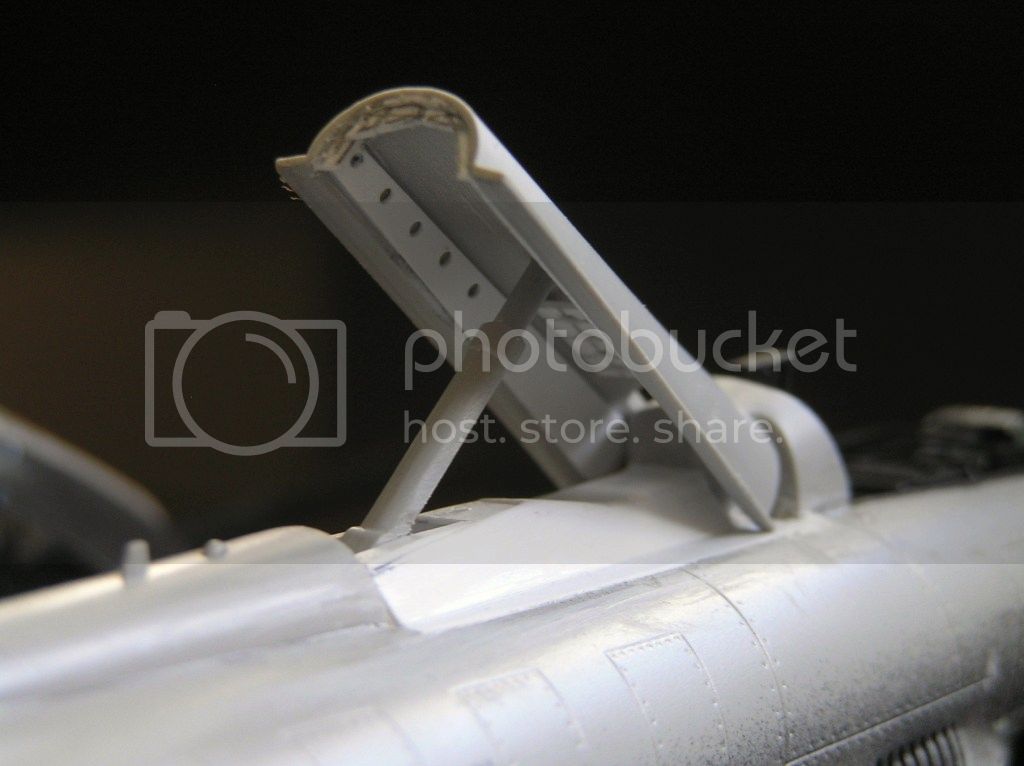
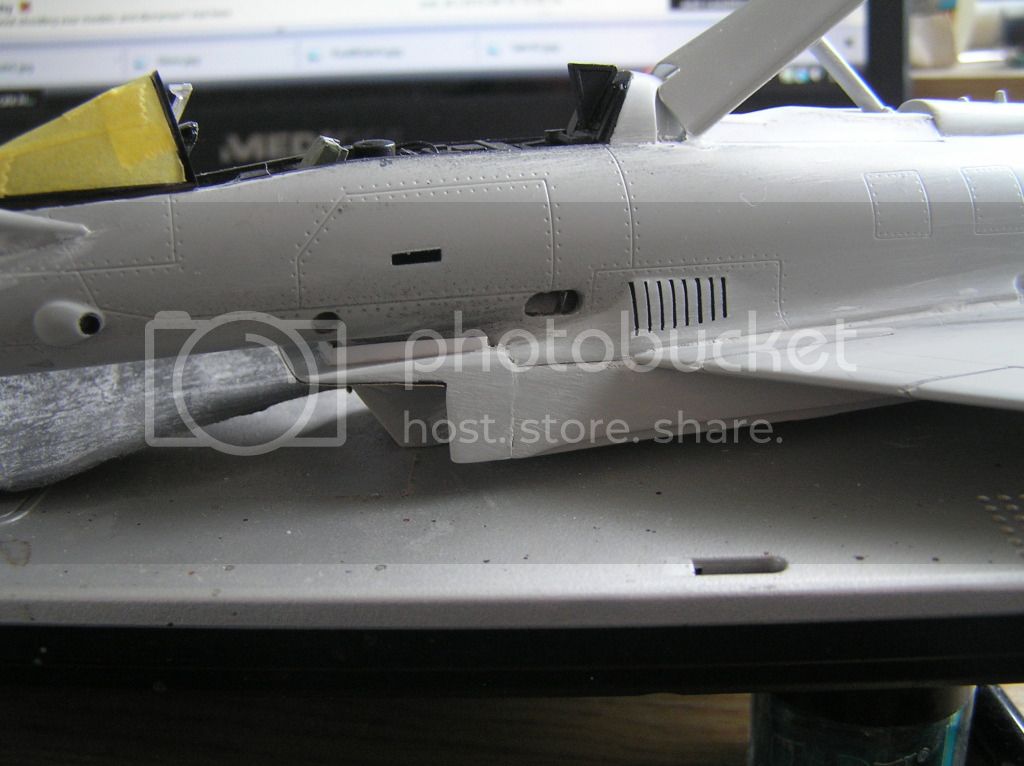
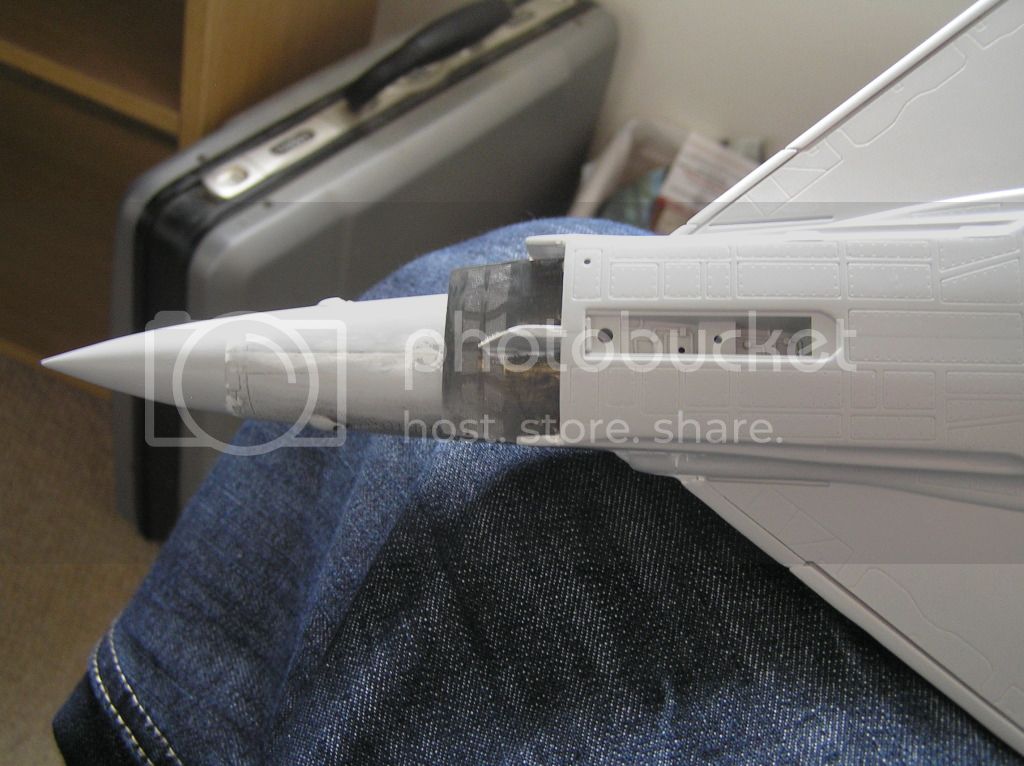
Now I'm onto the most challenging part of this kit, which is the air intakes. I had read a few reviews of this kit, and knew there were a few problems with the fit of the various parts - they weren't wrong. I have a degree in model building and I struggled with it, so clearly this is not a kit for beginners. The gap between the intakes and the underside of the fuselage is just hideous as you can see:
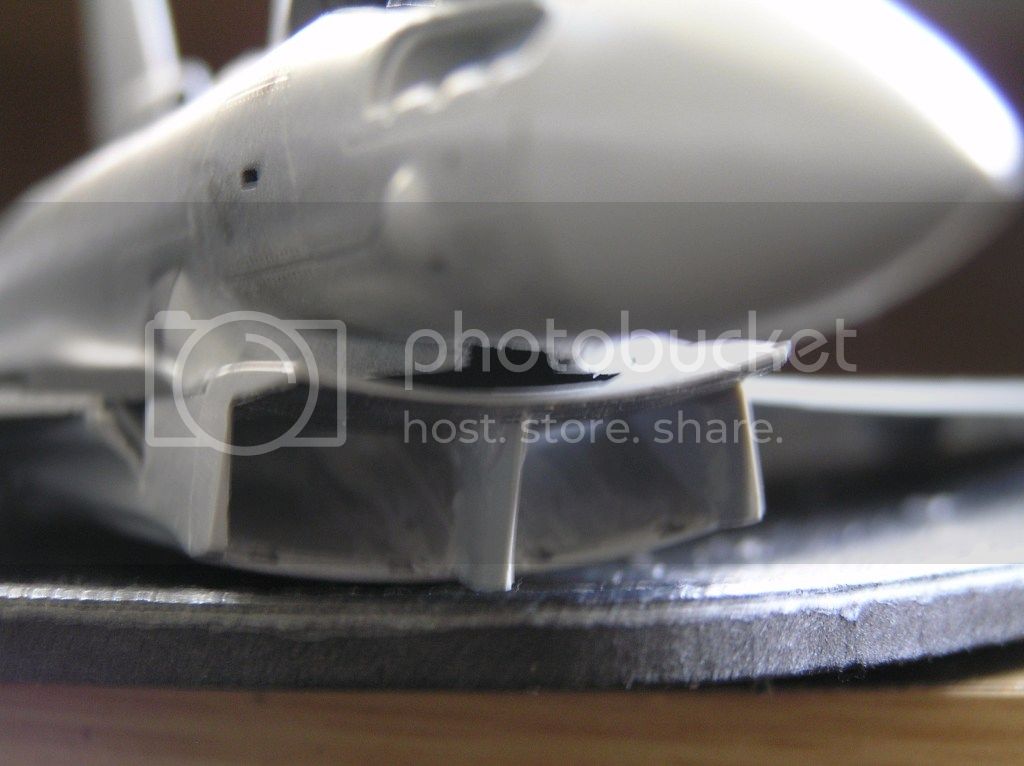
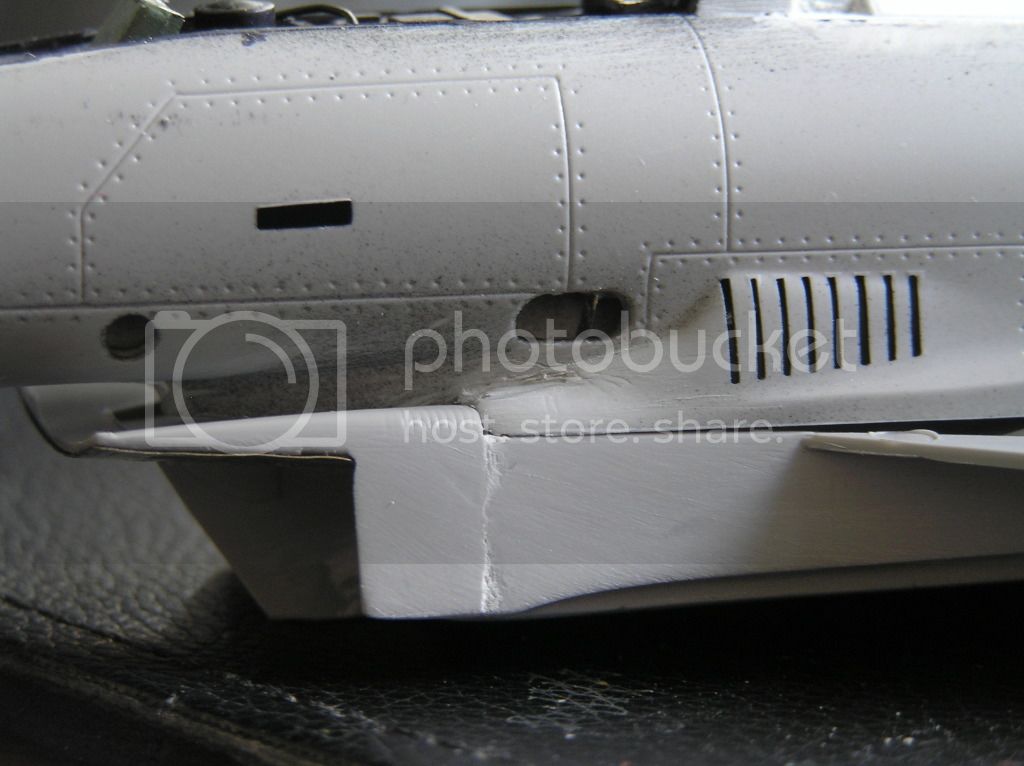
All I will add is, if you want to build a 1/48 scale Typhoon, get Revell's kit and not the Italeri!
Okay, the airbrake bay is now detailed:

Now I'm onto the most challenging part of this kit, which is the air intakes. I had read a few reviews of this kit, and knew there were a few problems with the fit of the various parts - they weren't wrong. I have a degree in model building and I struggled with it, so clearly this is not a kit for beginners. The gap between the intakes and the underside of the fuselage is just hideous as you can see:


All I will add is, if you want to build a 1/48 scale Typhoon, get Revell's kit and not the Italeri!

GhostHawk

Joined: January 27, 2011
KitMaker: 268 posts
AeroScale: 264 posts

Posted: Wednesday, September 19, 2012 - 08:12 AM UTC
Hi,
Thanks for the Advice, But i'm afriad yu are late...
Any way I will follow your building proces close...
Your model looks very good so far...
Thanks Again...
Diego
Thanks for the Advice, But i'm afriad yu are late...

Any way I will follow your building proces close...

Your model looks very good so far...

Thanks Again...
Diego

ljames0874

Joined: August 15, 2012
KitMaker: 408 posts
AeroScale: 365 posts

Posted: Tuesday, September 25, 2012 - 11:16 PM UTC
Thanks Diego!
Well, after a lot of clamping, filling, sanding, gnashing of teeth and enough cursing to make a sailor blush, I have got the lower half of the fuselage, the intakes and the wings attached.
The windshield is masked and attached, I removed the rudder and flaps, filled the gaps, and I am about to reattach them in new positions.


ljames0874

Joined: August 15, 2012
KitMaker: 408 posts
AeroScale: 365 posts

Posted: Tuesday, October 09, 2012 - 08:47 PM UTC
Oh well another day, another fault discovered! For reasons best known to themselves, Italeri decided to only supply one undercarriage lighting unit. Luckily, it is a simple part so a press mould and some green stuff solved that problem. Now I discover that this kit doesn't even have port/starboard lights on the wingtips! Where did I put that green stuff?!!!
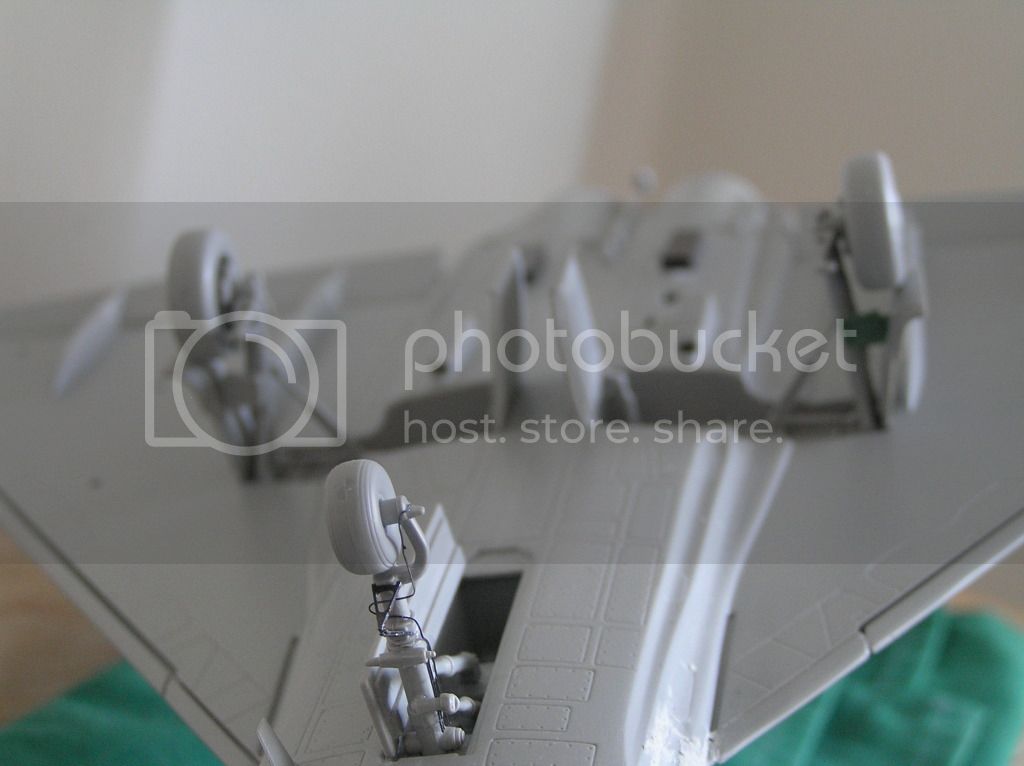
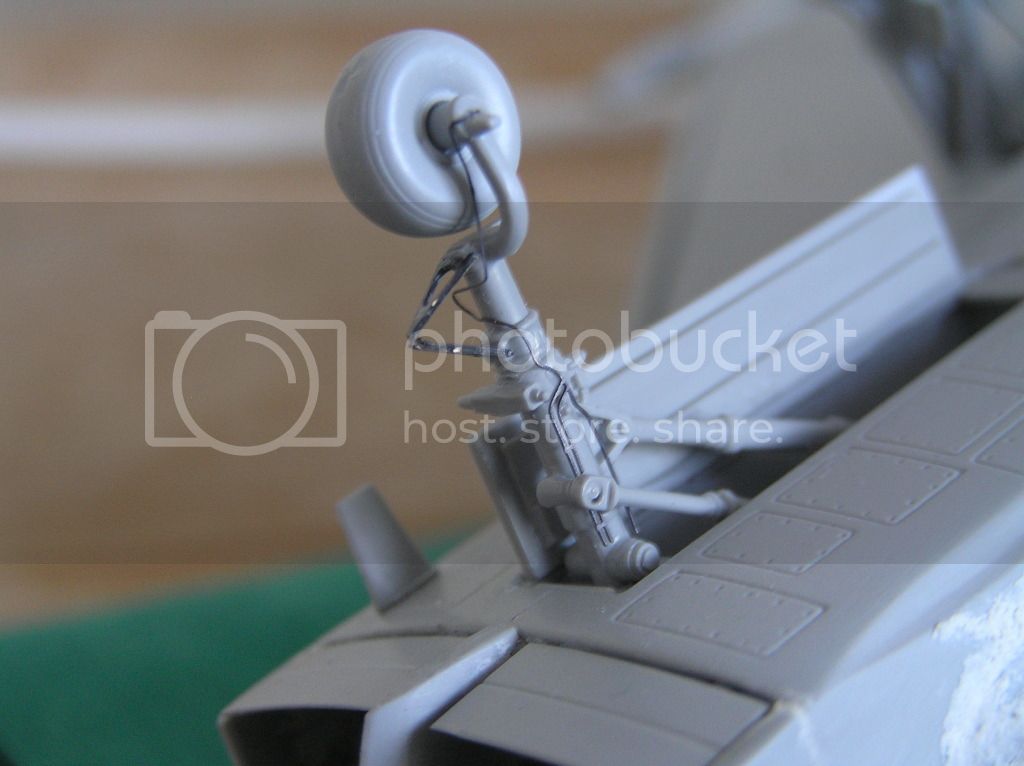
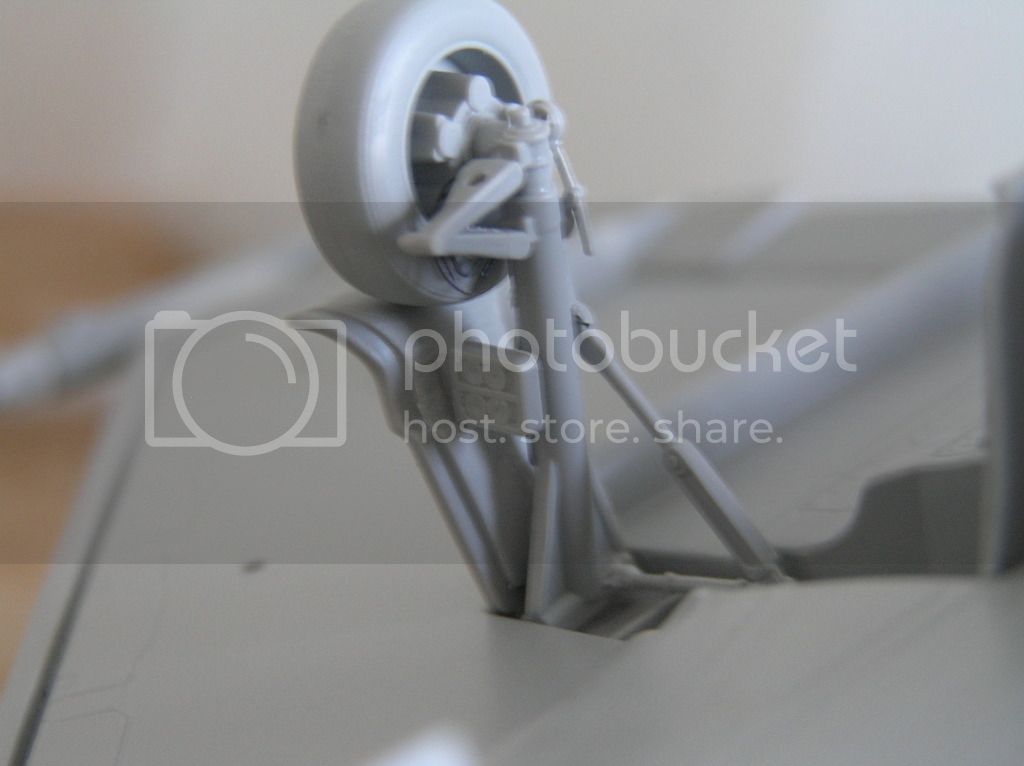
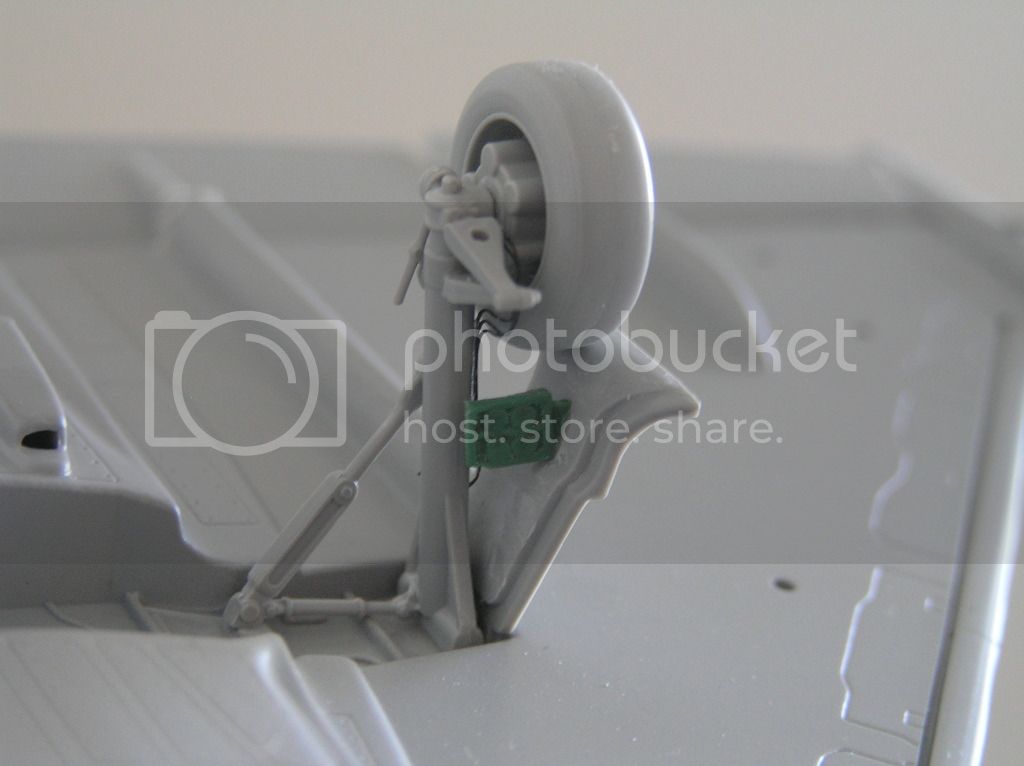
Here you can see the PE work on the undercarriage, as well as the offending lights.


Here you can see the PE work on the undercarriage, as well as the offending lights.
ljames0874

Joined: August 15, 2012
KitMaker: 408 posts
AeroScale: 365 posts

Posted: Sunday, October 21, 2012 - 12:31 AM UTC
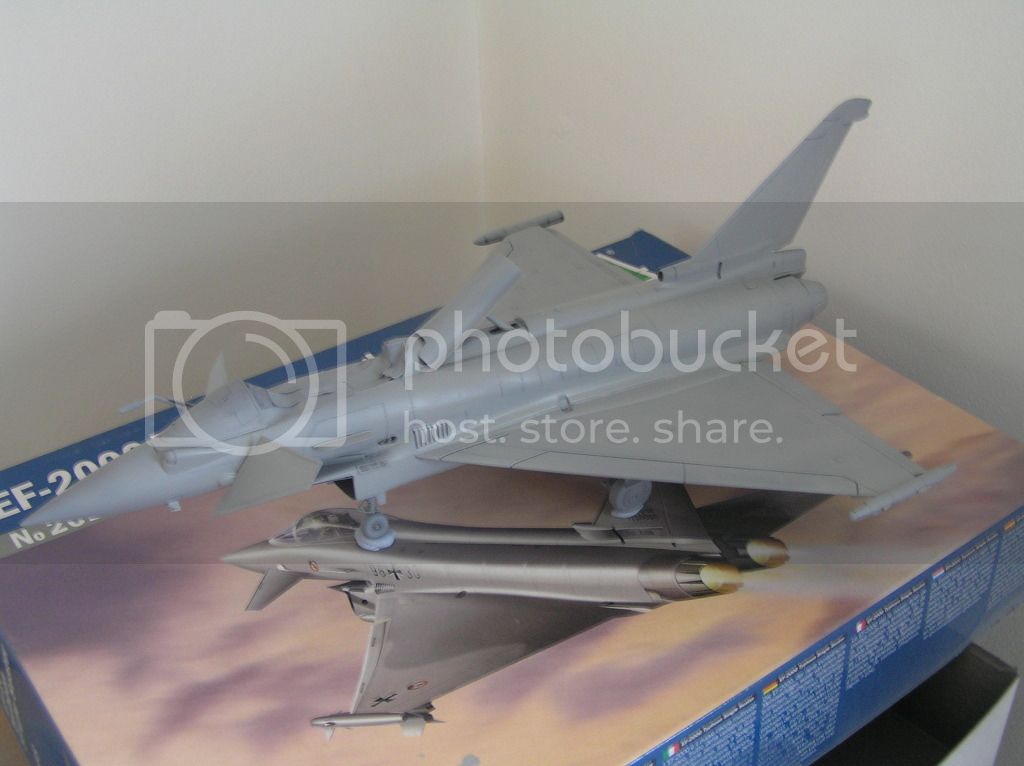
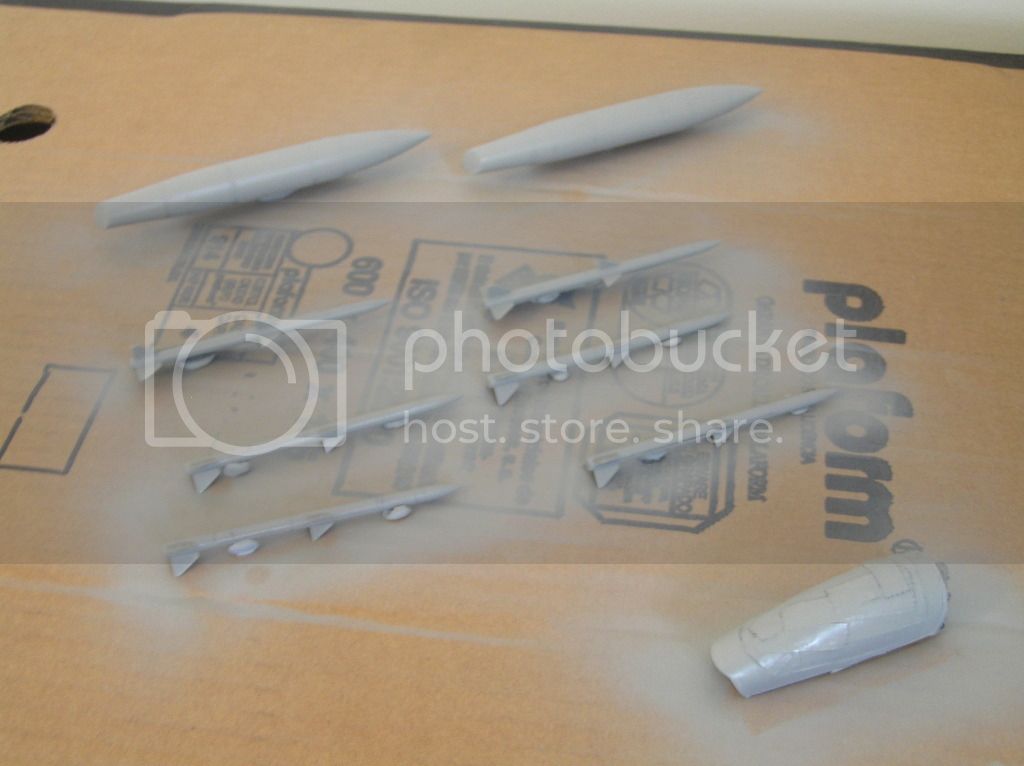
I've finished the build, now onto the painting! Primed, preshaded - now testing out my new airbrush:


ljames0874

Joined: August 15, 2012
KitMaker: 408 posts
AeroScale: 365 posts

Posted: Thursday, December 13, 2012 - 11:01 PM UTC
I think we're overdue for an update folks, as the painting is cracking on apace!
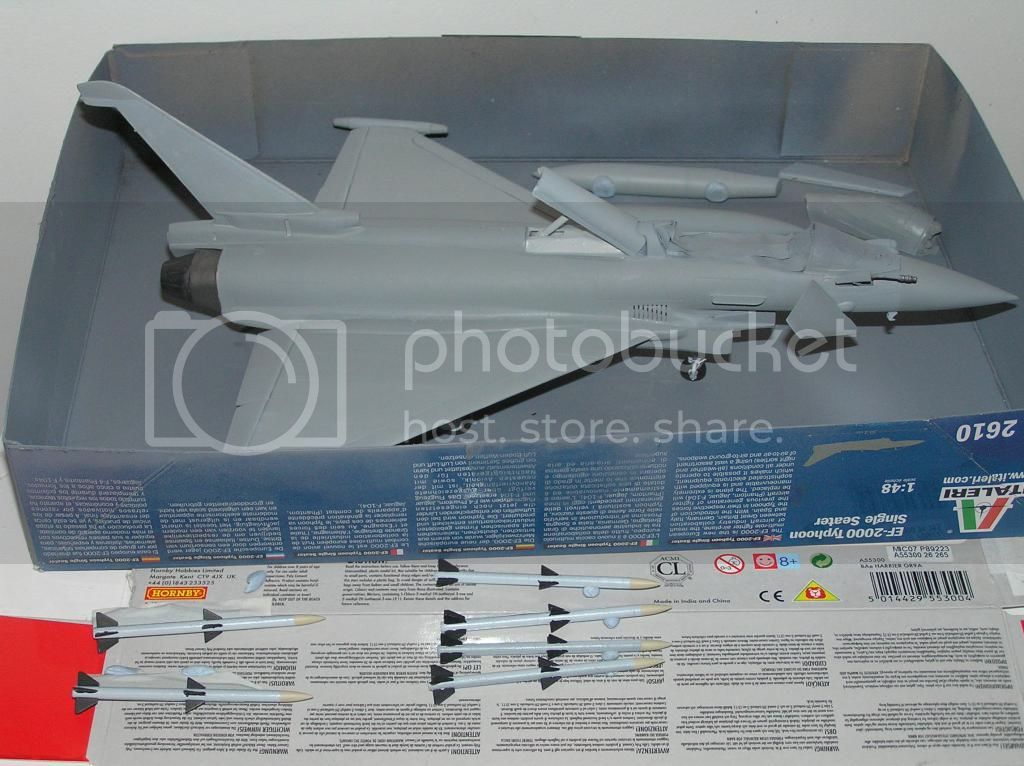
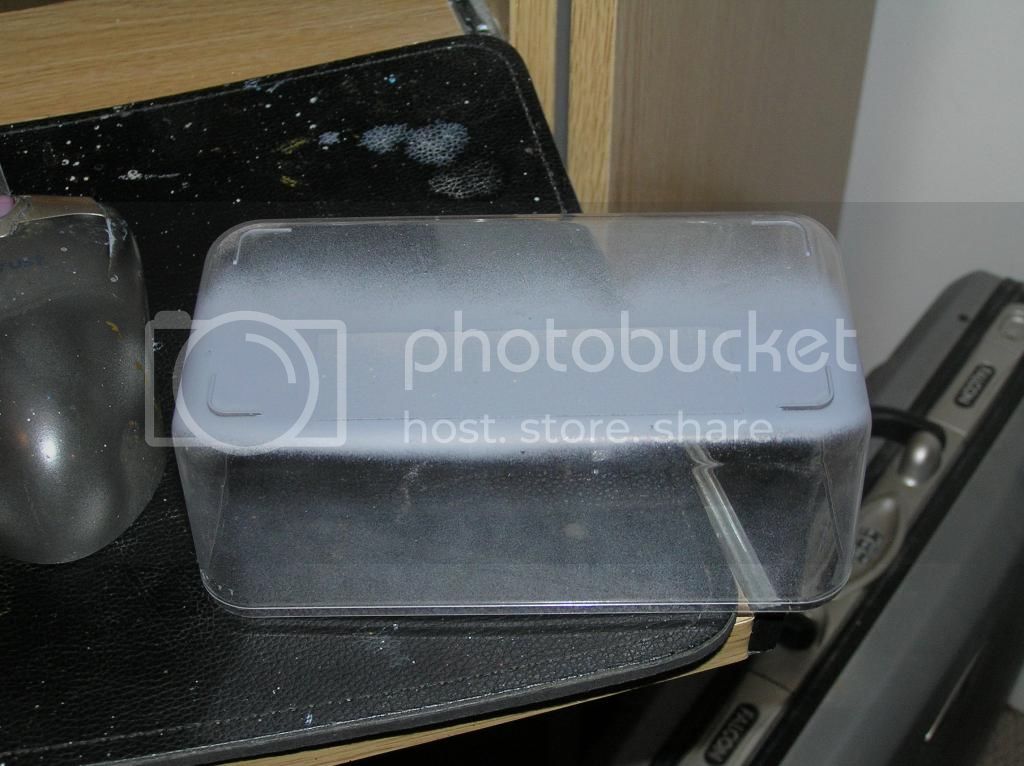
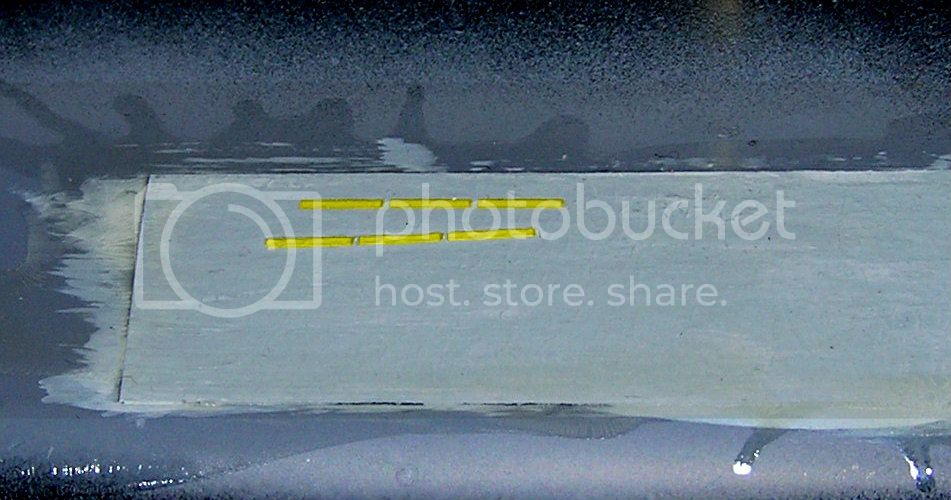
In the second picture, you can see the beginnings of a new technique (new to me anyway!)for doing formation lights. I noticed that the formation lights either side of the cockpit are not completely flat to the skin of the aircraft (whereas the tail and wingtip ones are flat), so I'm trying this method I saw on another modelling site. You stick a piece of masking tape onto a smooth surface, spray with primer, spray with the aircraft colour, seal with future then apply the formation light decal and then seal with another coat of future. When this has completely set, carefully cut around the decal, and then peel the tape, decal and all away from the smooth base and then apply to the side of the cockpit.
Edit: Decals applied to the tape, just need a coat of Future to seal, and then I'll be ready to cut out the formation lights and stick them on:

ljames0874

Joined: August 15, 2012
KitMaker: 408 posts
AeroScale: 365 posts

Posted: Saturday, December 22, 2012 - 01:18 AM UTC
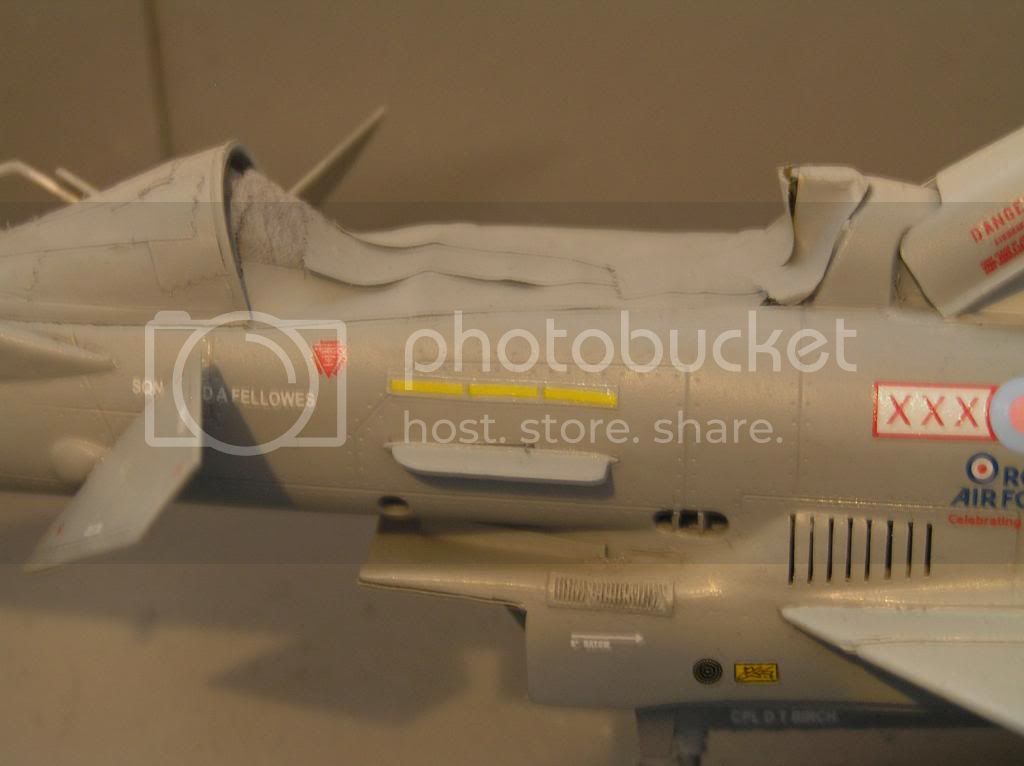
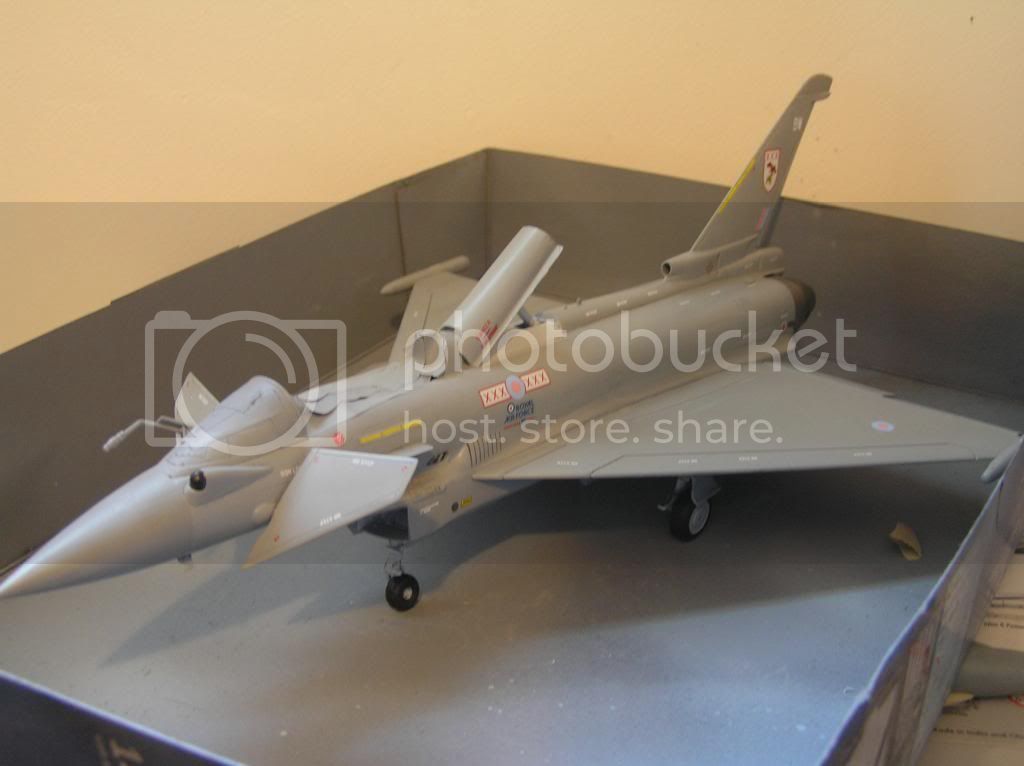
Just a quick update, here is what the formation lights look like finished plus a sneak preview of the decalling (btw I know the stencils are too bright, I bought an aftermarket set from Dozen Set but they only have the squadron markings on the sheet so I was forced to use the set supplied with the kit, which are designed for use with the prototype. That said, there are so many inaccuracies with this kit, I'm sure one more won't matter!)


ljames0874

Joined: August 15, 2012
KitMaker: 408 posts
AeroScale: 365 posts

Posted: Thursday, January 03, 2013 - 11:07 PM UTC
Ok folks, I'm calling this one done, and I'm putting it to bed. I'm sure that anyone who has a mind to, could find all sorts of faults with this kit, believe me, I'm well aware of them all. The lesson to learn from this log is, if you want to build an accurate 1/48 Typhoon, don't pick up this kit, go for the Revell one every time!
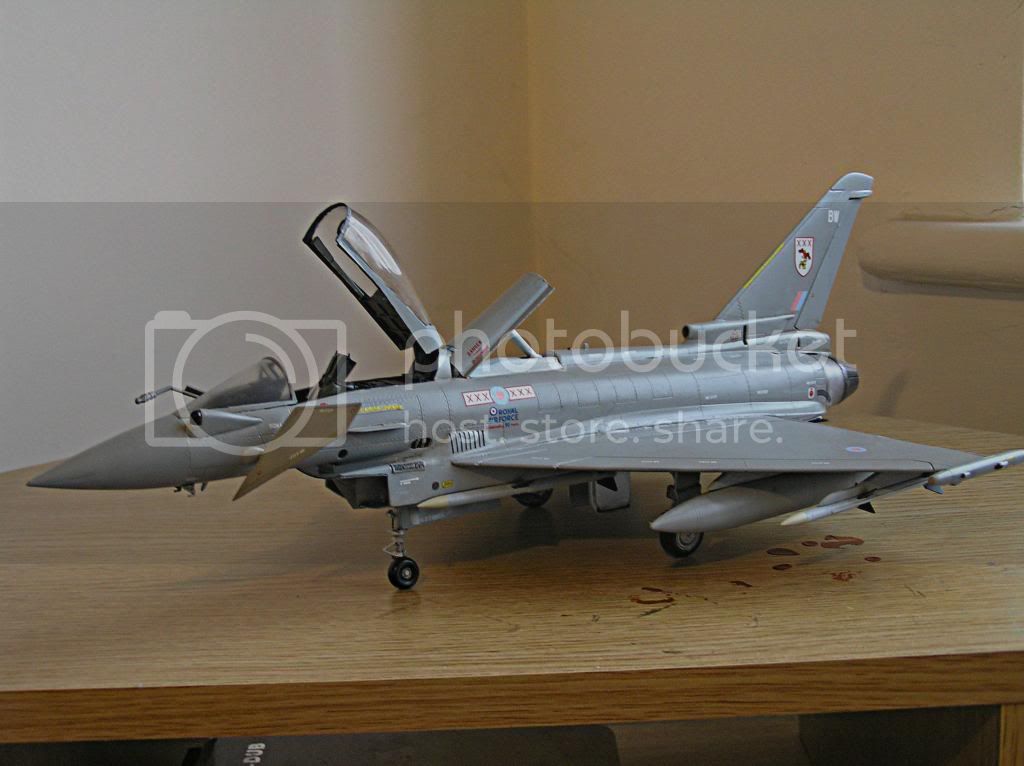
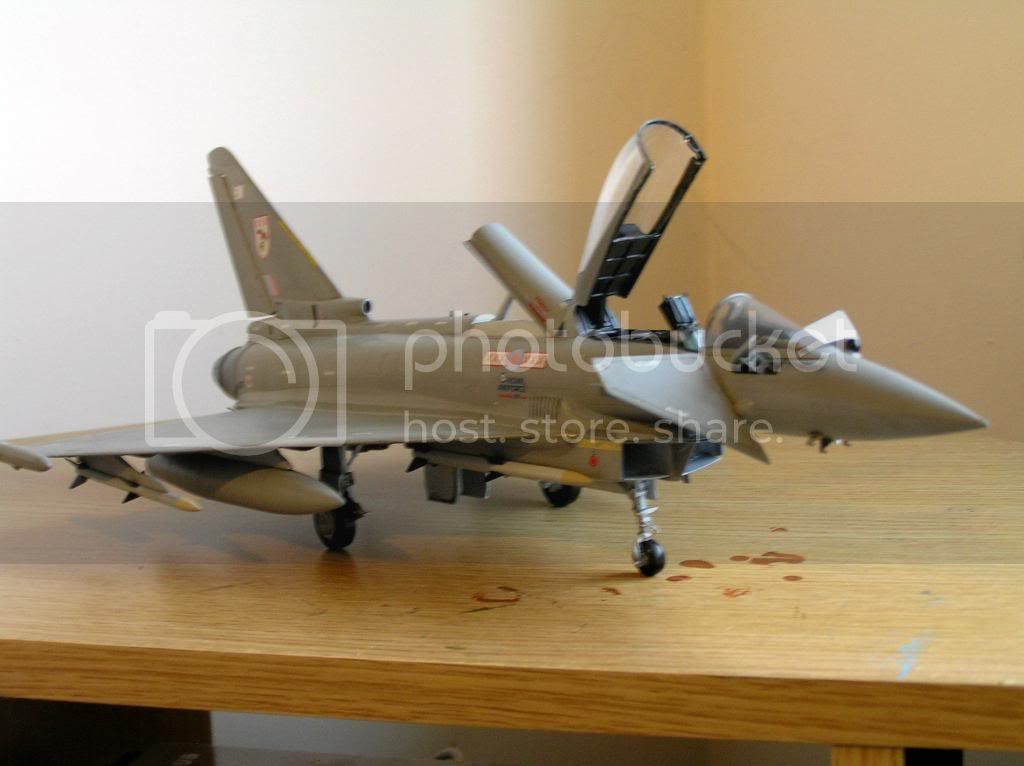
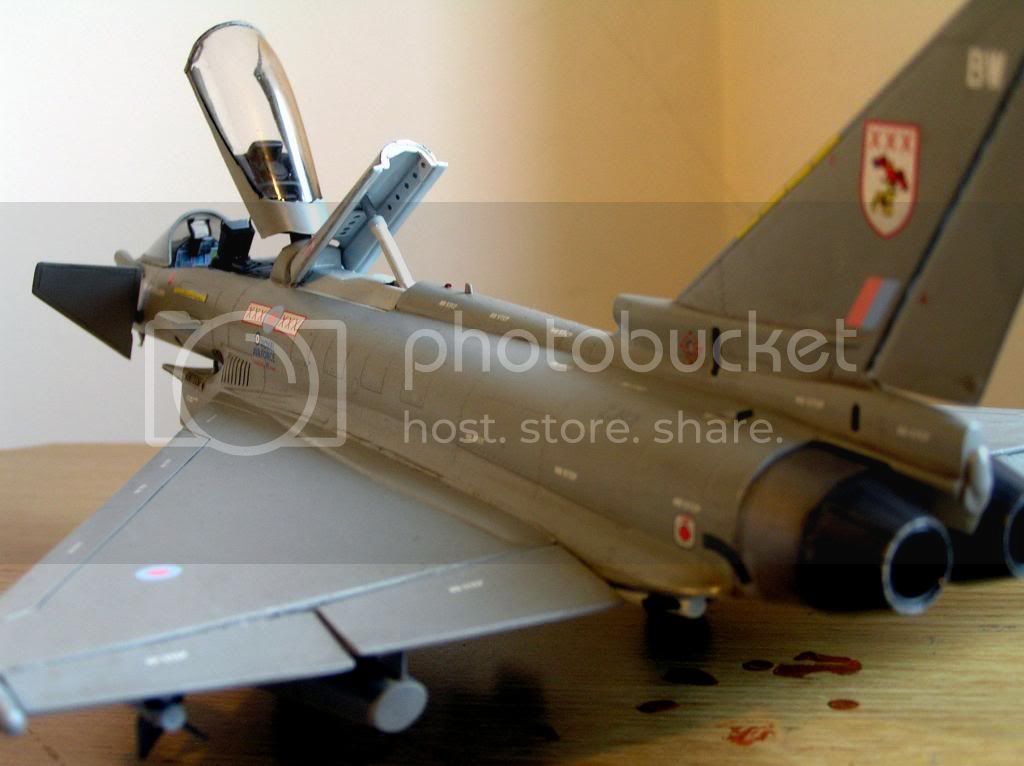
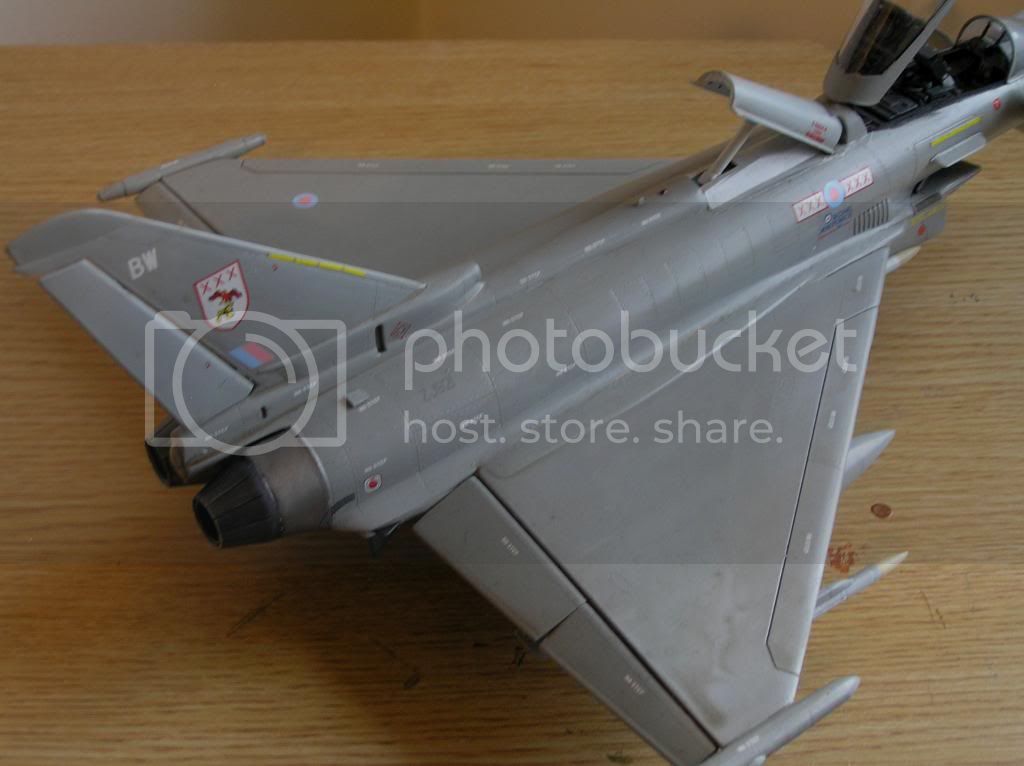
Finished at last!
Happy New Year everyone!


Finished at last!

Happy New Year everyone!
 |


