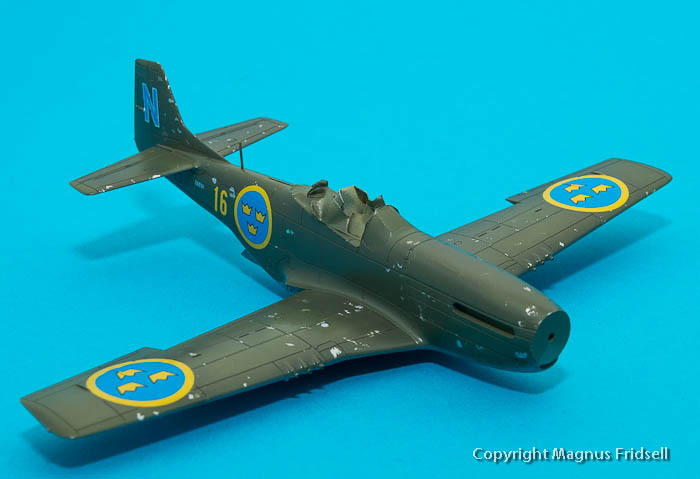
I know, I should finish my Focke-Wulfs but this doesn't seem to happen and it is better that I build a Mustang than nothing, isn't it? I picked up the new Airfix 1/72 Mustang last Friday and I intend to build it as a Swedish J 26. "Blue N" was one of a pair of D-Mustangs that were painted in traditional Swedish green and grey as an experiment, the rest of them (150+) remained in natural metal.
According to legend, "Blue N" was among the fastest Mustangs in the Air Force. The experimental paint scheme weathered badly and the aircraft soon got a quite beat-up appearance. Its regular pilot carefully kept it that way so that higher rank pilots should keep their hands off it!
Boxart: one marking alternative from "Tuskegee Airmen".
Plastic is very nice without being exceptional. This is not Hasegawa or Tamiya but it is still good and I am quite content with that!
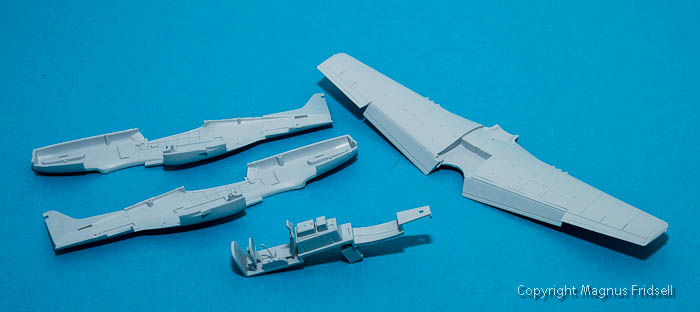
A bit of glueing and fitting: parts fit well! There are two sets of flaps, one up and one down - and both of them fit very well! Something Hasegawa never has managed...
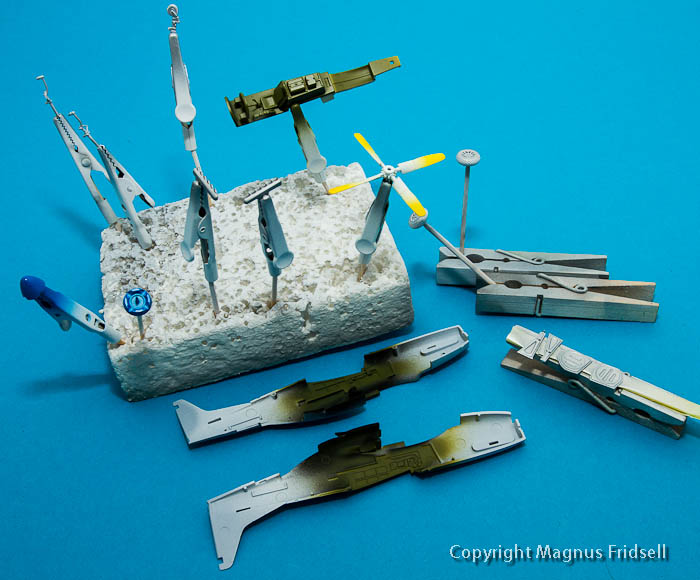
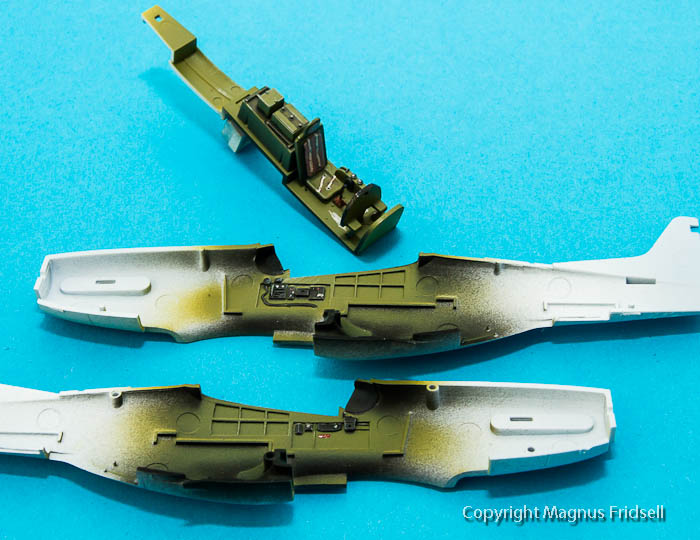
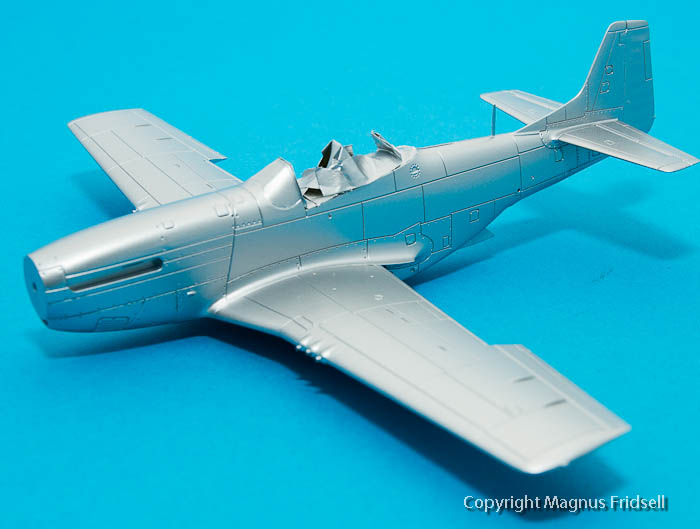
After a bit of painting...
Magnus
Hosted by Rowan Baylis
Airfix 1/72 J 26 Mustang
magnusf
Stockholm, Sweden
Joined: May 02, 2006
KitMaker: 1,953 posts
AeroScale: 1,902 posts
Joined: May 02, 2006
KitMaker: 1,953 posts
AeroScale: 1,902 posts
Posted: Friday, September 07, 2012 - 08:42 AM UTC
FalkeEins
England - South East, United Kingdom
Joined: March 07, 2005
KitMaker: 868 posts
AeroScale: 690 posts
Joined: March 07, 2005
KitMaker: 868 posts
AeroScale: 690 posts
Posted: Friday, September 07, 2012 - 08:04 PM UTC
Hi Magnus,
nice little kit, I've built it twice now but still haven't worked out the best way to get the wings and fuselage together - fit is very tight and a little awkward. Be interested to see how you get on, do let us know..
magnusf
Stockholm, Sweden
Joined: May 02, 2006
KitMaker: 1,953 posts
AeroScale: 1,902 posts
Joined: May 02, 2006
KitMaker: 1,953 posts
AeroScale: 1,902 posts
Posted: Monday, September 10, 2012 - 07:24 AM UTC
Neil! Thanks for the heads-up, I'll take care when fitting the wings!
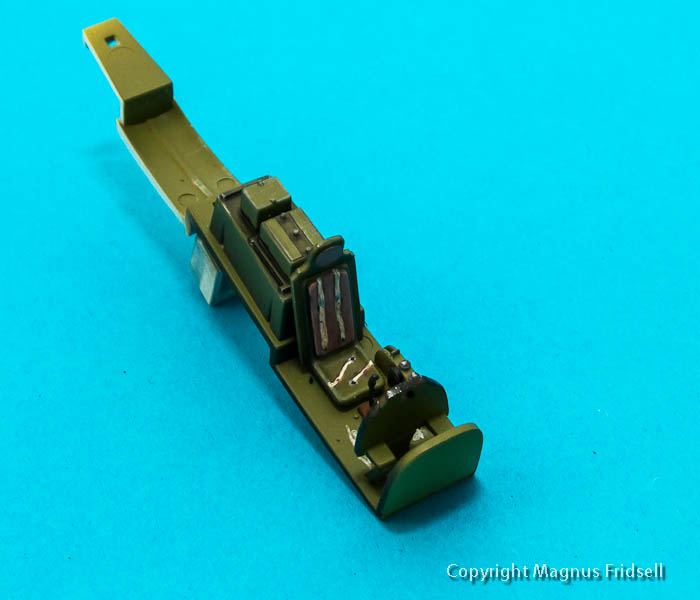
A bit more painting done...
Painted-on seat belts. Good enough I think!
Magnus
A bit more painting done...
Painted-on seat belts. Good enough I think!
Magnus
magnusf
Stockholm, Sweden
Joined: May 02, 2006
KitMaker: 1,953 posts
AeroScale: 1,902 posts
Joined: May 02, 2006
KitMaker: 1,953 posts
AeroScale: 1,902 posts
Posted: Saturday, September 15, 2012 - 06:25 PM UTC
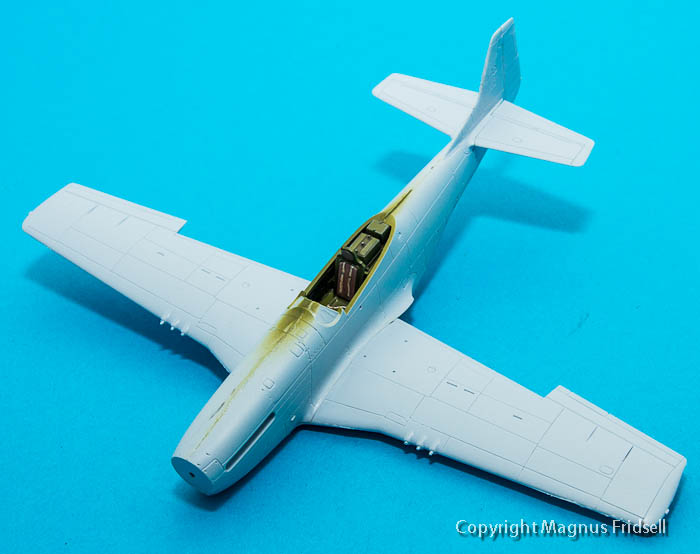
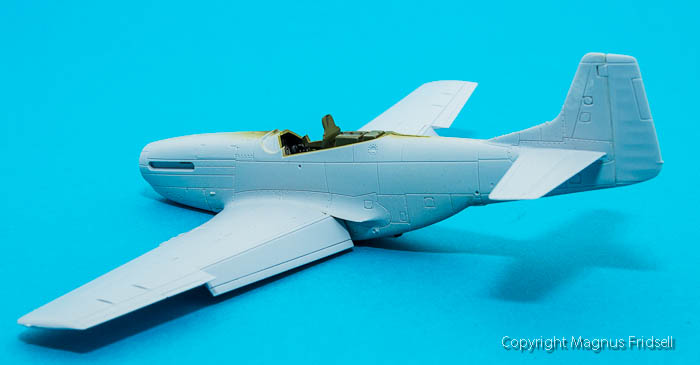
Wings snapped into place with a beautiful clicking sound! I would however advise potential builders to wait with the flaps until the wing is glued to the fuselage: it did need a bit of force to snap in place and I doubt I would have been able to remove it again if I had needed to adjust the fit...
Magnus
Magnus
Mecenas
Joined: December 23, 2007
KitMaker: 1,596 posts
AeroScale: 1,275 posts
KitMaker: 1,596 posts
AeroScale: 1,275 posts
Posted: Saturday, September 15, 2012 - 08:26 PM UTC
Hi Magnus,
it's very good to see you back in business after some hiatus, few months I guess. It looks like nice and enjoyable build. I sit and watch your progress. It should turn out really interesting and definitely uncommon in green with blue-yellow Swedish "roundels".
magnusf
Stockholm, Sweden
Joined: May 02, 2006
KitMaker: 1,953 posts
AeroScale: 1,902 posts
Joined: May 02, 2006
KitMaker: 1,953 posts
AeroScale: 1,902 posts
Posted: Thursday, September 20, 2012 - 07:54 AM UTC
Michal! Feels good to be back, I've done very little modelling over the summer.
If I hadn't been so tired tonight this one would have gotten a coat of primer. I opted for the prop decals instead! The cannon stubs have been removed and holes have been drilled to prepare for brass inserts instead.
Magnus
If I hadn't been so tired tonight this one would have gotten a coat of primer. I opted for the prop decals instead! The cannon stubs have been removed and holes have been drilled to prepare for brass inserts instead.
Magnus
magnusf
Stockholm, Sweden
Joined: May 02, 2006
KitMaker: 1,953 posts
AeroScale: 1,902 posts
Joined: May 02, 2006
KitMaker: 1,953 posts
AeroScale: 1,902 posts
Posted: Tuesday, September 25, 2012 - 10:35 PM UTC
I am pretty fast when I finally get around to building...
After a coat of Tamiya Fine White the other day it got a coat of rattle-can Silver Leaf today...
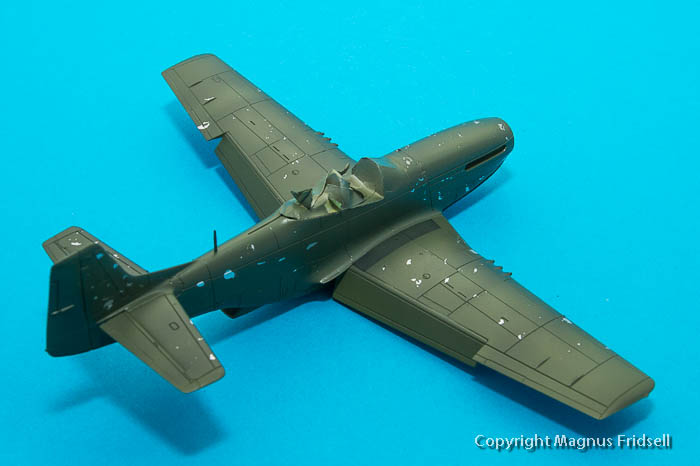
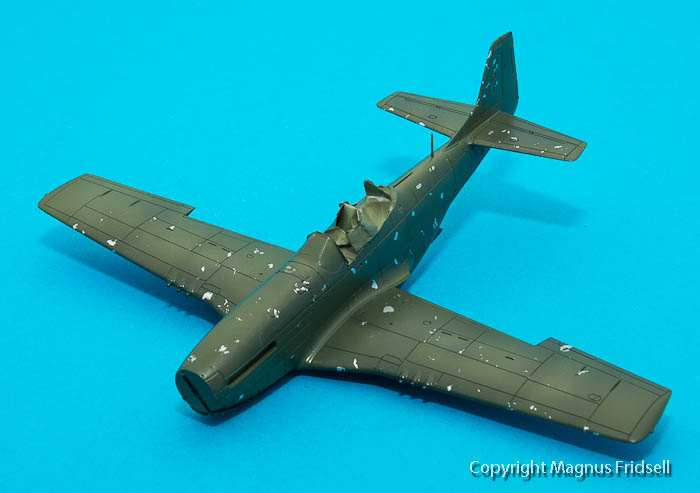
...followed by a mix of Gunze clear and H309 green...
...with some zinc chromate (H58?) added to give a bit of a variation! Before the green coat I had added dots of Maskol to give the impression of flaking paint. A bit over the top in some areas, this will be corrected tonight - as will the walkway painted on the wrong wing root...
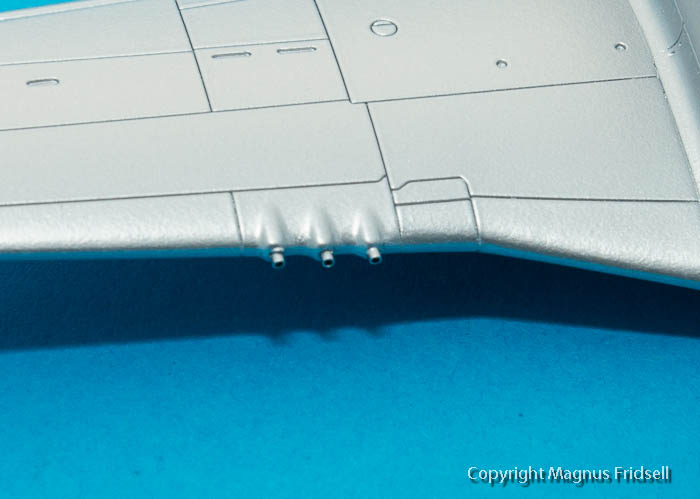
New blast tubes from Albion Alloys brass tubing.
Magnus
Mecenas
Joined: December 23, 2007
KitMaker: 1,596 posts
AeroScale: 1,275 posts
KitMaker: 1,596 posts
AeroScale: 1,275 posts
Posted: Wednesday, September 26, 2012 - 09:04 PM UTC
Nice progress here. Shading of green looks ok to and your got nice colours. You can also try to use a bit darker shade of base colour and spray it along the panel lines. Chipping is a it overdone (too large dots for me) in some places as you already pointed out but if you're going to rework it soon I'll wait for final effect.
magnusf
Stockholm, Sweden
Joined: May 02, 2006
KitMaker: 1,953 posts
AeroScale: 1,902 posts
Joined: May 02, 2006
KitMaker: 1,953 posts
AeroScale: 1,902 posts
Posted: Sunday, September 30, 2012 - 07:04 PM UTC
Michal! I'm not sure that the rework changed much of the appearance :-) ! I'll try to do a bit more while weathering later...
I am using decals from small Swedish manufacturer RBD decals. They are simply great to work with!
Lower surfaces are Gunze H306 with a drop of blue in. Maybe a bit dark... Not that you actually can see anything of it, wrong angle with the camera :-)
Magnus
I am using decals from small Swedish manufacturer RBD decals. They are simply great to work with!
Lower surfaces are Gunze H306 with a drop of blue in. Maybe a bit dark... Not that you actually can see anything of it, wrong angle with the camera :-)
Magnus
magnusf
Stockholm, Sweden
Joined: May 02, 2006
KitMaker: 1,953 posts
AeroScale: 1,902 posts
Joined: May 02, 2006
KitMaker: 1,953 posts
AeroScale: 1,902 posts
Posted: Tuesday, October 09, 2012 - 07:43 AM UTC
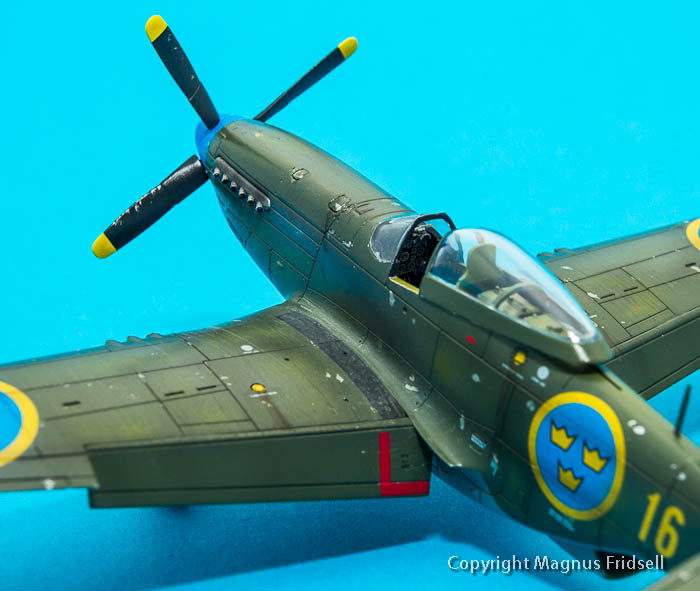
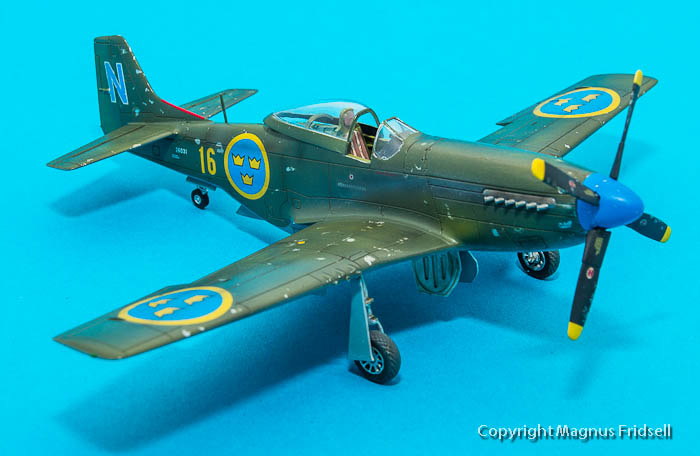
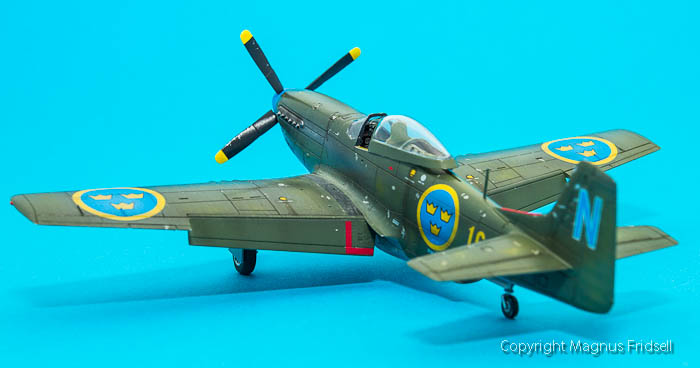
Finished! Looks a bit different from my usual style, I am not sure what I think about it myself...
The Airfix kit is an easy build and it fits well. I think however that I rather pay a bit of extra money and go for a Tamiya Mustang next time, the main reason for that would be the sharper detail of the Tamiya kit. But still: an enjoyable build and I am very glad that Airfix aim for the skies!
I have always been rather generous to my pilots when it comes to equipment: a K-14 "Ace Maker" sight from Quickboost was installed instead of the Airfix original...
The way the windscreen is installed makes it very hard to get a nice seam. I would be a liar if I told you that it looks better in real life...
The main canopy isn't done in the most clever of ways either: a separate lower frame (I HATE IT!). It was however possible to get a quite good joint using thinned white glue (thanks for the idea goes to Saxofon-Uffe, shipbuilder (and sax player!) par excellence!). If it had a pressure cabin I would be a bit worried though...
What I can say looks different in real life is the chipping: it looks a lot more restrained than in the photos!
Model has been added to the collection and now off I go towards new adventures! Stay tuned!
Magnus