_GOTOBOTTOM
Pre-Flight Check
Constructive critique of your finished or in-progress photos.
Hasegawa P-39 Airacobra (1/48)
wespe66
_VISITCOMMUNITY
Frederiksborg, Denmark
Joined: June 27, 2011
KitMaker: 122 posts
AeroScale: 121 posts
Posted: Saturday, October 06, 2012 - 06:37 PM UTC
Hi,

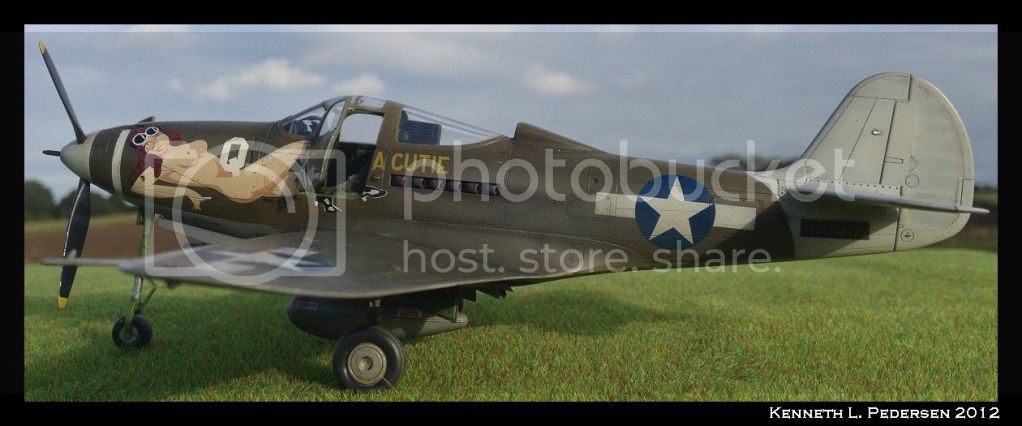
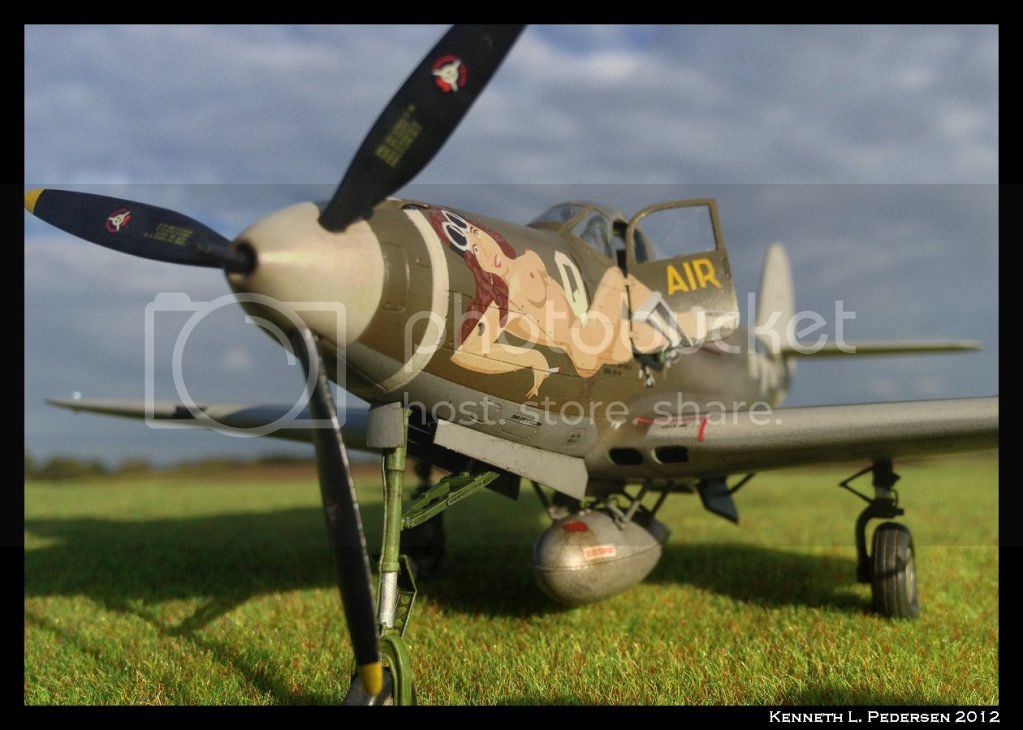
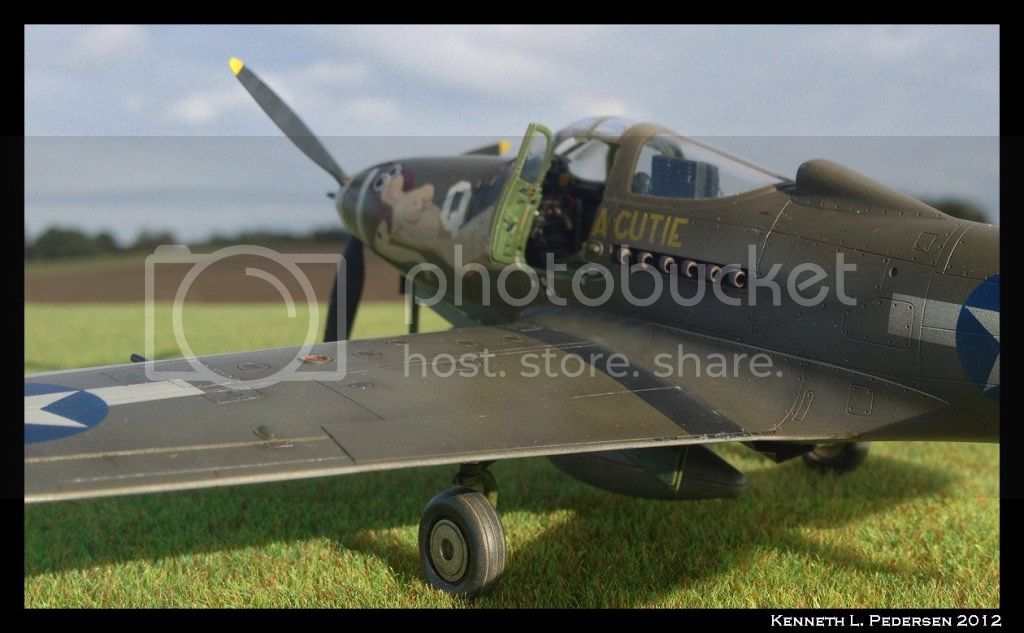
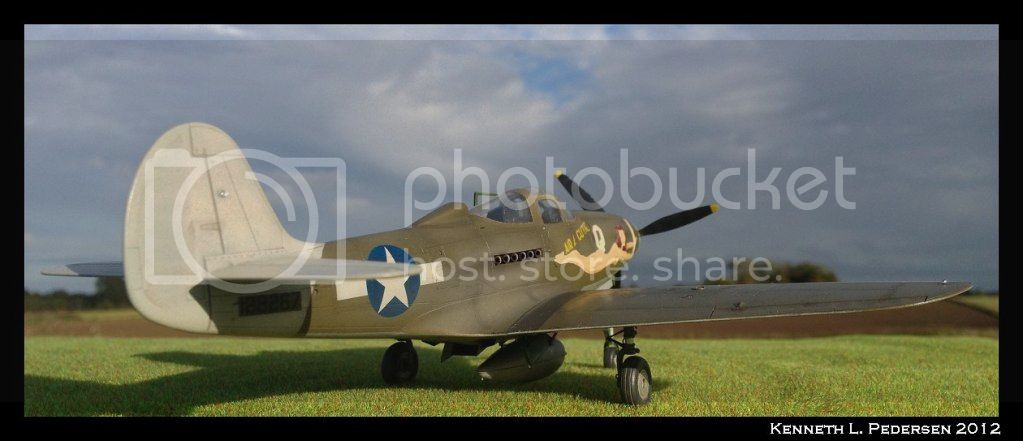
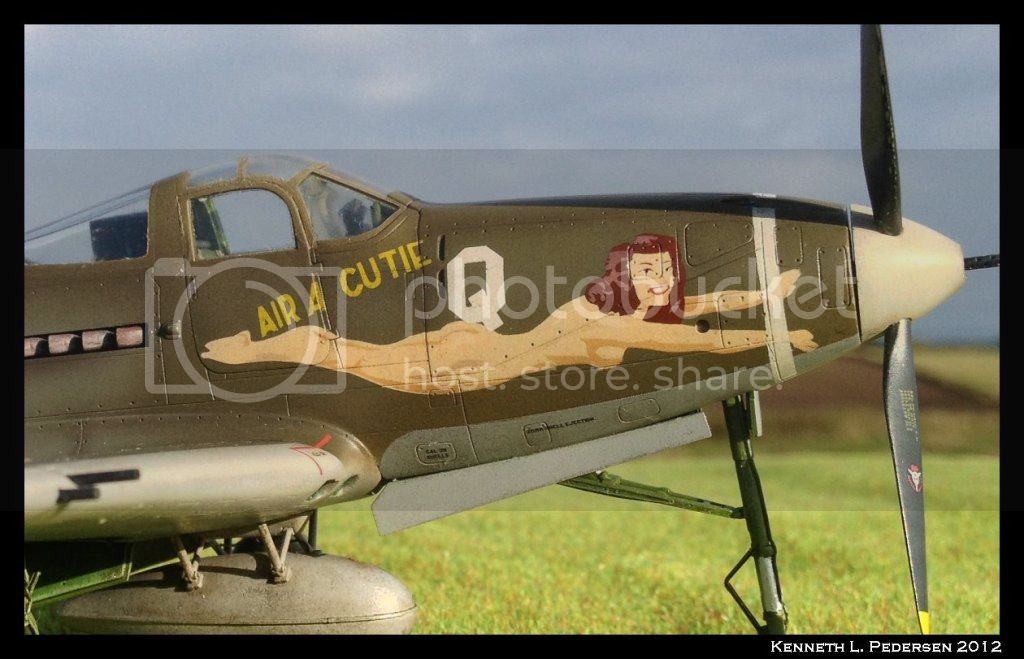
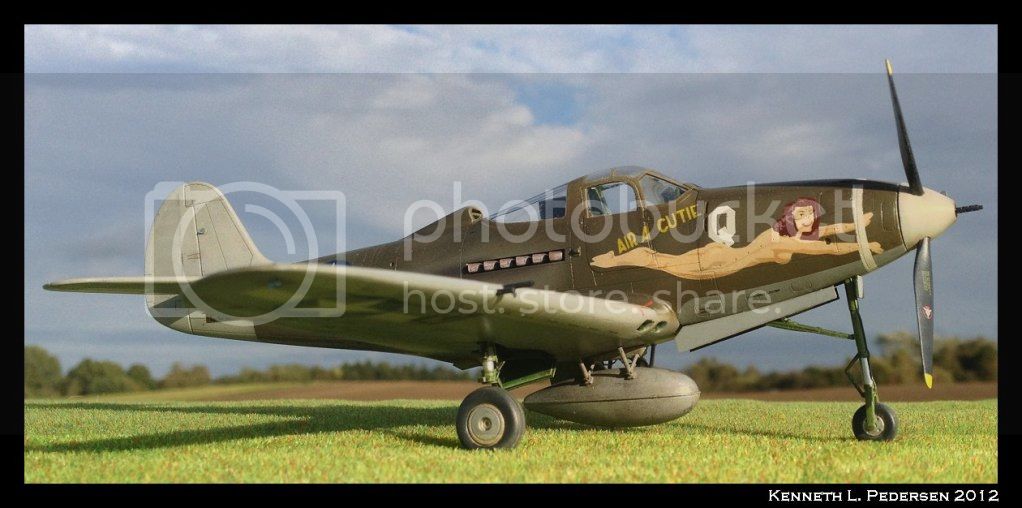
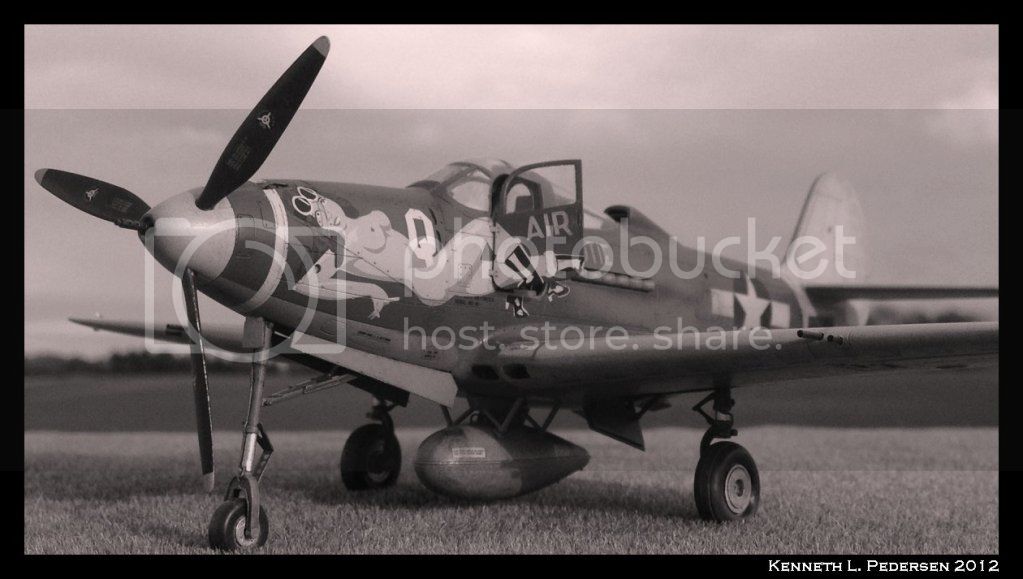
This is my newly finished Bell P-39 Airacobra.
I know the Air-a-cutie may easily be the most modelled P-39 ever, but hey - I want her on my shelf too!

I had a major disaster with thin superglue running from the nose weight down into the wing air-intakes. I had to cut it open to remove the glue and replace the mesh. This is were I nearly scrapped it. But I think the end result is OK.

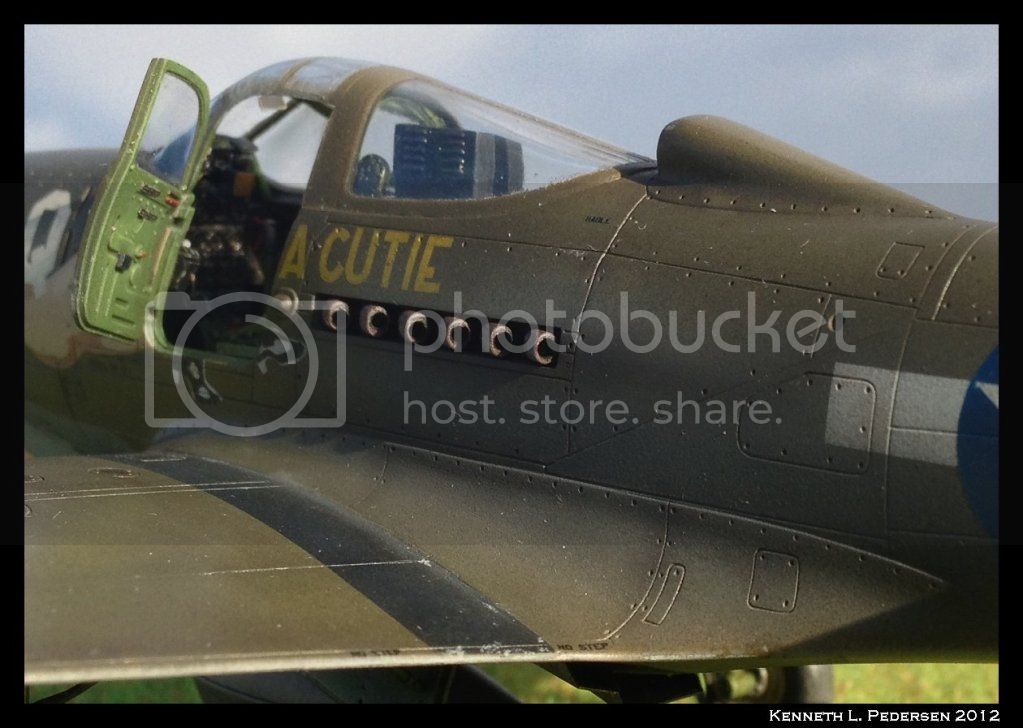
I used an Eduard Big-Ed set (interior and exterior) and also resin wheels and gun barrels, except that the resin front wheel was too wide to fit in the fork! The wing gun barrels broke off more than once by my clumsy sausage fingers, so they ended up being replaced with plastic rod (the barrels, not the fingers). The exhausts are the kit parts that have been hollowed out. I might replace them with resin some time.

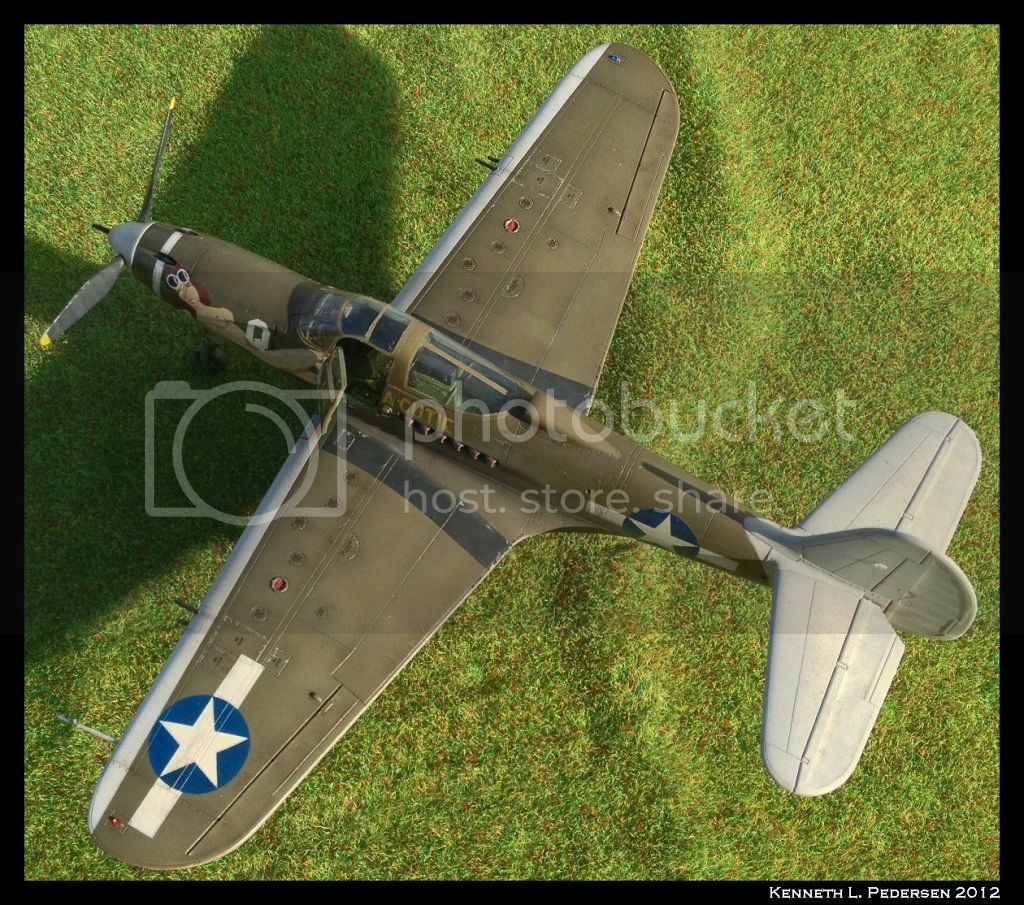
I did not care to mount an antenna wire, since my reference photos seem to show that Airacutie did not have one. They also show that this aircraft had its undercarriage doors removed.

The front wheel leg should propably not have a brake line, but I found out too late (d*mn you Eduard!).

The kit droptank is the wrong type compared to my period photos. I used one from the sparebox instead.

Paint is xtracrylix Olive Drab and Neutral Grey.
Weathering was done with Flory Models Dark Wash, oil paint for streaks and alcohol tinted with Tamiya paint for general dirt and grime.
Finally, only stencils are decals. All markings and art-work are painted - I used Miracle Masks for this.

And yes, I know I have to do something about that lousy groundwork...

Cheers!


Tojo72
_VISITCOMMUNITY
North Carolina, United States
Joined: June 06, 2006
KitMaker: 4,691 posts
AeroScale: 238 posts
Posted: Saturday, October 06, 2012 - 07:38 PM UTC
Wow,fantastic work and great photography.They look like pics of the real thing
JPTRR
Staff MemberManaging Editor
RAILROAD MODELING
#051
_VISITCOMMUNITY
Tennessee, United States
Joined: December 21, 2002
KitMaker: 7,772 posts
AeroScale: 3,175 posts
Posted: Monday, October 08, 2012 - 04:17 PM UTC
Hi Kenneth,

Well done.
wespe66
_VISITCOMMUNITY
Frederiksborg, Denmark
Joined: June 27, 2011
KitMaker: 122 posts
AeroScale: 121 posts
Posted: Sunday, October 14, 2012 - 09:10 PM UTC
Anthony and Frederick:

Thank you very much - I appreciate you comments.

Cheers
The-Mechanic
_VISITCOMMUNITY
England - East Anglia, United Kingdom
Joined: June 11, 2010
KitMaker: 103 posts
AeroScale: 46 posts
Posted: Saturday, December 22, 2012 - 05:48 AM UTC
Very nice build. Got a couple of Eduard's Aircobra's myself to build sometime. They're great looking aircraft.
jugjunkie
_VISITCOMMUNITY
South Africa
Joined: January 20, 2009
KitMaker: 140 posts
AeroScale: 84 posts
Posted: Tuesday, January 01, 2013 - 03:02 AM UTC
Hi Kenneth, damn fine model mate - I like your subtle yet present weathering.If I can add one wee bit of critique, the exhausts pipes could maybe have been thinned out a bit more, they look a bit thick but still it does not detract from a great model.
wespe66
_VISITCOMMUNITY
Frederiksborg, Denmark
Joined: June 27, 2011
KitMaker: 122 posts
AeroScale: 121 posts
Posted: Wednesday, January 02, 2013 - 08:30 AM UTC
Mick, Geoff: Thank you very much.

Geoff, I totally agree with you. I have bought a set of Quickboost resin exhausts and they will soon be painted and mounted instead of the kit parts!

Cheers
Kenneth
Joel_W
Staff MemberAssociate Editor
AUTOMODELER
_VISITCOMMUNITY
New York, United States
Joined: December 04, 2010
KitMaker: 11,666 posts
AeroScale: 7,410 posts
Posted: Wednesday, July 10, 2013 - 01:44 AM UTC
Kenneth, A very impressive build. Paint, including the insignias, and weathering are just outstanding. Your build certainly has that "used but not abused" look, that adds so much to the realism factor.
Joel
Holdfast
Staff MemberPresident
IPMS-UK KITMAKER BRANCH
#056
_VISITCOMMUNITY
England - South West, United Kingdom
Joined: September 30, 2002
KitMaker: 8,581 posts
AeroScale: 4,913 posts
Posted: Wednesday, July 10, 2013 - 07:23 PM UTC
Hi Kenneth,
I'm intrigued to know how easy, or not the masks, for "Cutie", were to use? I must say that you have done a fantastic job and I intend to, eventually, do these markings on a 1/32 Airocobra
Can I post these pics on my Facebook page please?
wespe66
_VISITCOMMUNITY
Frederiksborg, Denmark
Joined: June 27, 2011
KitMaker: 122 posts
AeroScale: 121 posts
Posted: Friday, January 03, 2014 - 05:24 AM UTC

Quoted Text

Kenneth, A very impressive build. Paint, including the insignias, and weathering are just outstanding. Your build certainly has that "used but not abused" look, that adds so much to the realism factor.
Joel


Thanks Joel, much appreciated!


Quoted Text

Hi Kenneth,
I'm intrigued to know how easy, or not the masks, for "Cutie", were to use? I must say that you have done a fantastic job and I intend to, eventually, do these markings on a 1/32 Airocobra
Can I post these pics on my Facebook page please?


Hi Mal,

Sorry for the long answering time, I have been out of business for some time, not even checking forum posts! Don't know if my answer is relevant anymore, but the masks where quite easy to use. The biggest problem was that the paint below lifted a few times, so I had to re-mask and re-paint. This was of couse my fault, not the masks!
Feel free to use the pictures as you like.

Best regards
Kenneth


 _GOTOTOP