Lisboa, Portugal
Joined: March 04, 2008
KitMaker: 5,386 posts
AeroScale: 635 posts
Posted: Monday, December 03, 2012 - 05:44 AM UTC
Hi everyone !
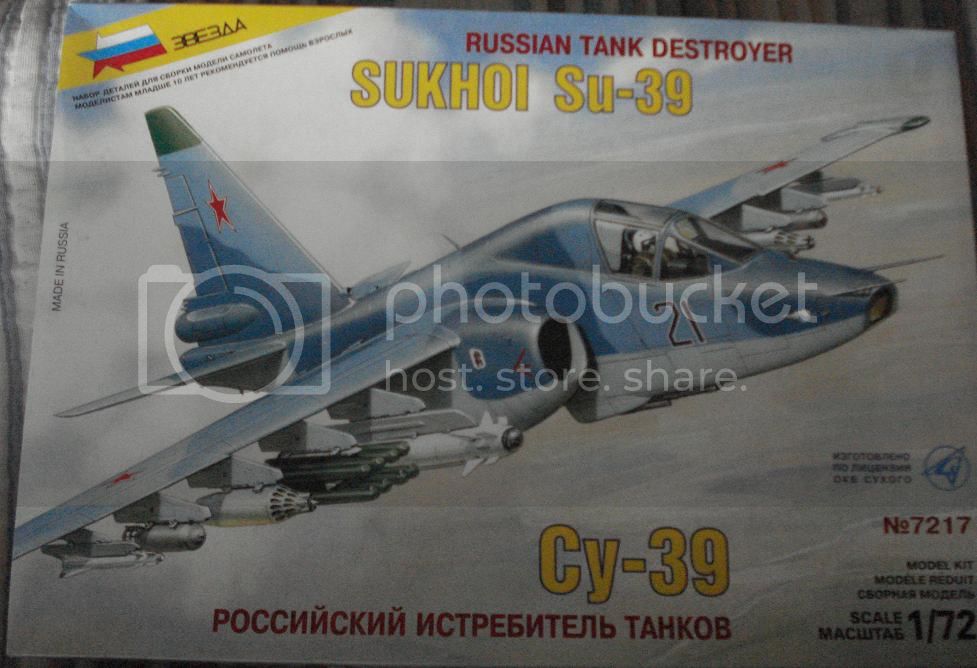
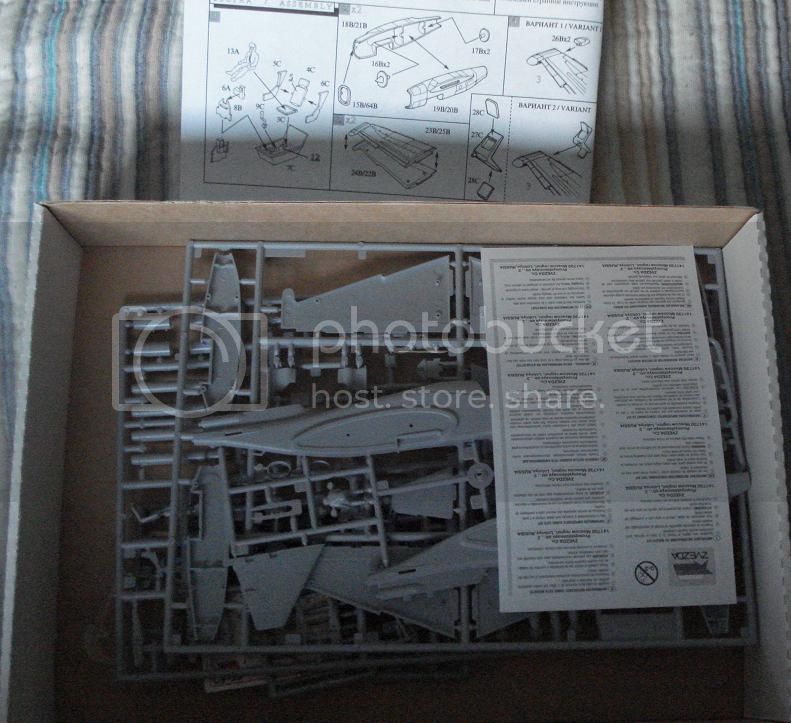
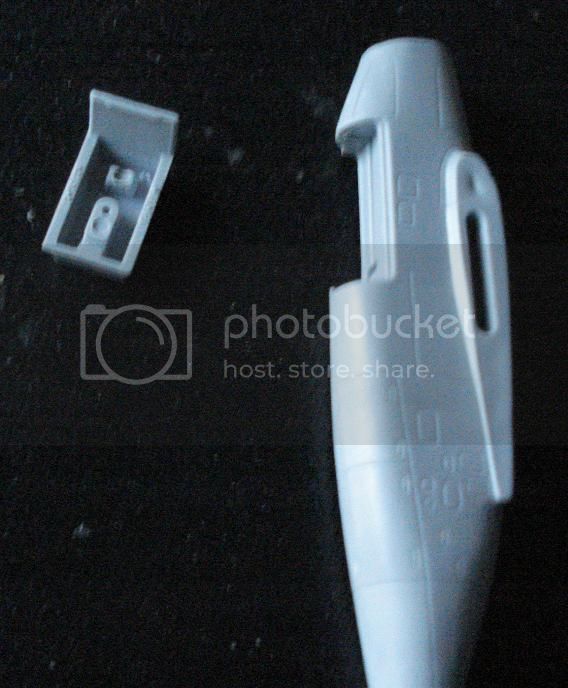
After years away from aircraft build, I'm joining in the Super Sukhoi's Campaign with a S37 Berkut.
I feel I need some more experience and there's nothing like jumping into a pile of plastic... so I started another one.
I will post my progress, questions & mistakes on this BuildLog
Stay tuned
Active Builds: 0
Active Campaigns: 0
Lisboa, Portugal
Joined: March 04, 2008
KitMaker: 5,386 posts
AeroScale: 635 posts
Posted: Saturday, December 29, 2012 - 02:29 AM UTC
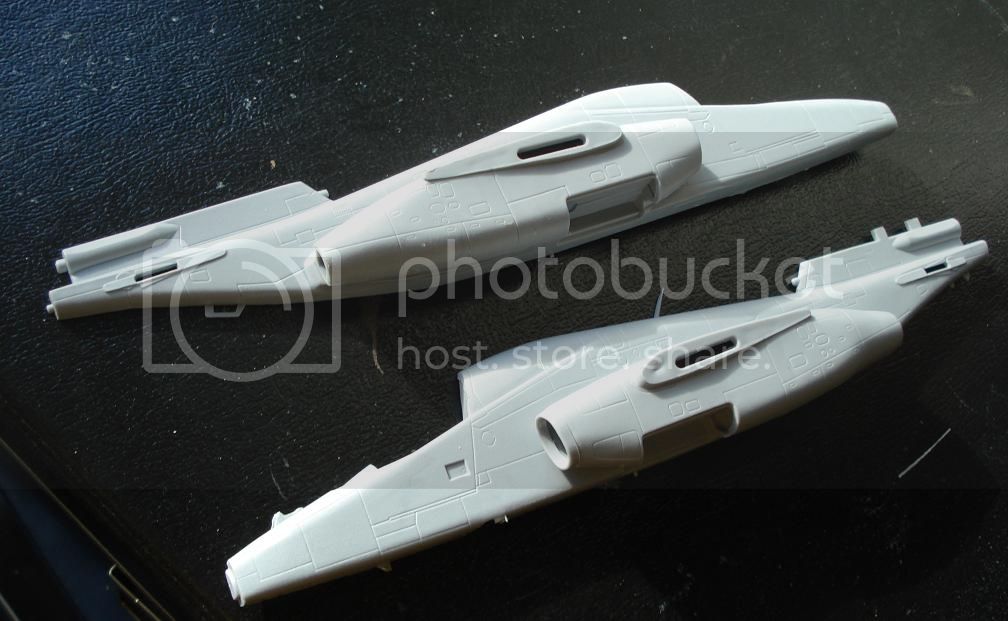
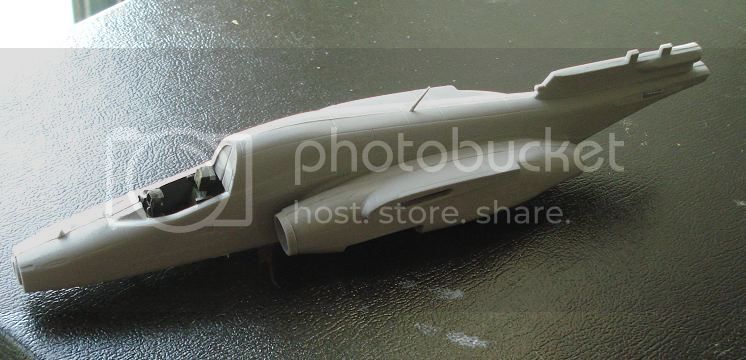
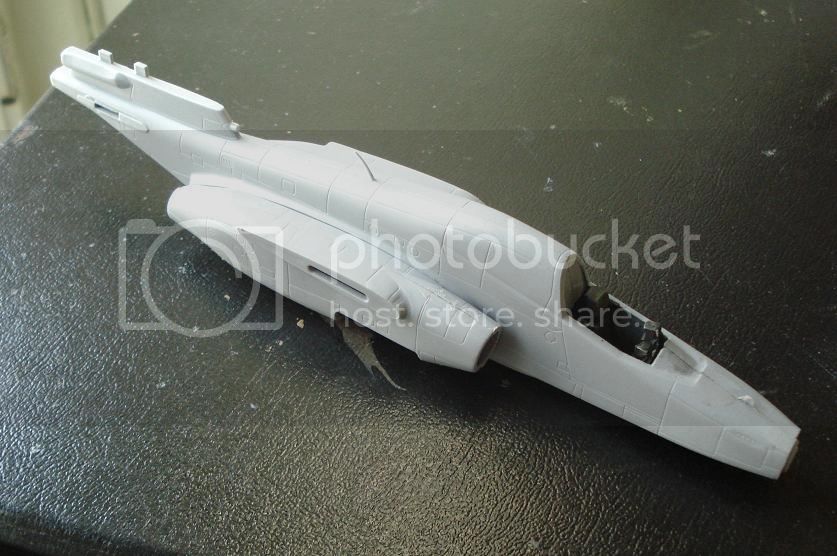
I did the engines and cleaned up the 2 big halves of the aircraft. Also waiting on putting the cockpit/seat in place.
Active Builds: 0
Active Campaigns: 0
Lisboa, Portugal
Joined: March 04, 2008
KitMaker: 5,386 posts
AeroScale: 635 posts
Posted: Tuesday, January 01, 2013 - 04:09 AM UTC
Some progress, still some clean up to be done.
Active Builds: 0
Active Campaigns: 0
Buenos Aires, Argentina
Joined: May 21, 2012
KitMaker: 765 posts
AeroScale: 316 posts
Posted: Tuesday, January 01, 2013 - 03:42 PM UTC
Good work in it John!!!!
I love the russian aircraft


Those Radial Fighters Campaign: 1/72 FW 190 A5
Delta 2 Campaign: 1/48 Hobby Boss Mirage IIIC
Navy Boys on those Postage Stamps 1/72 Airfix Sea Harrier FA2
Working: Trumpeter A-5 Vigilante
Waiting: Phantom 60 Campaign
Lisboa, Portugal
Joined: March 04, 2008
KitMaker: 5,386 posts
AeroScale: 635 posts
Posted: Tuesday, January 01, 2013 - 11:39 PM UTC
Quoted Text
Good work in it John!!!!
I love the russian aircraft 

Thanks for your kind words Jose !!
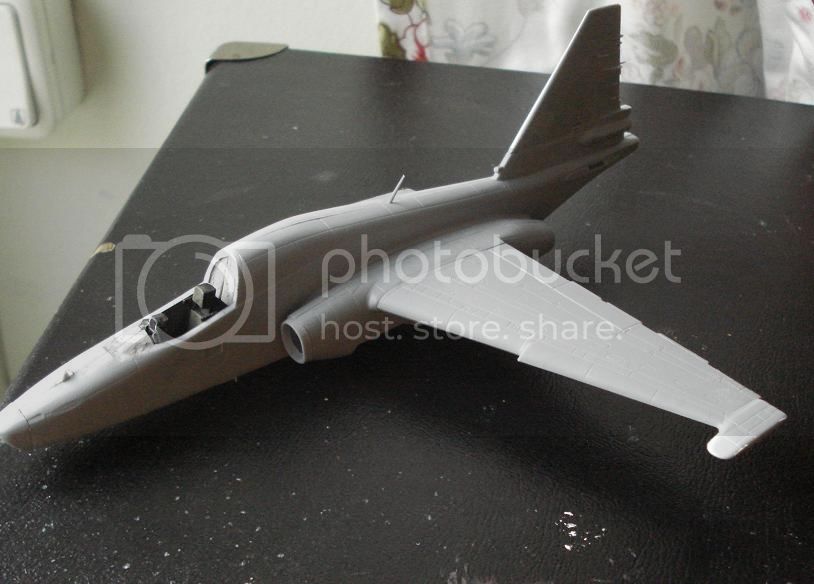
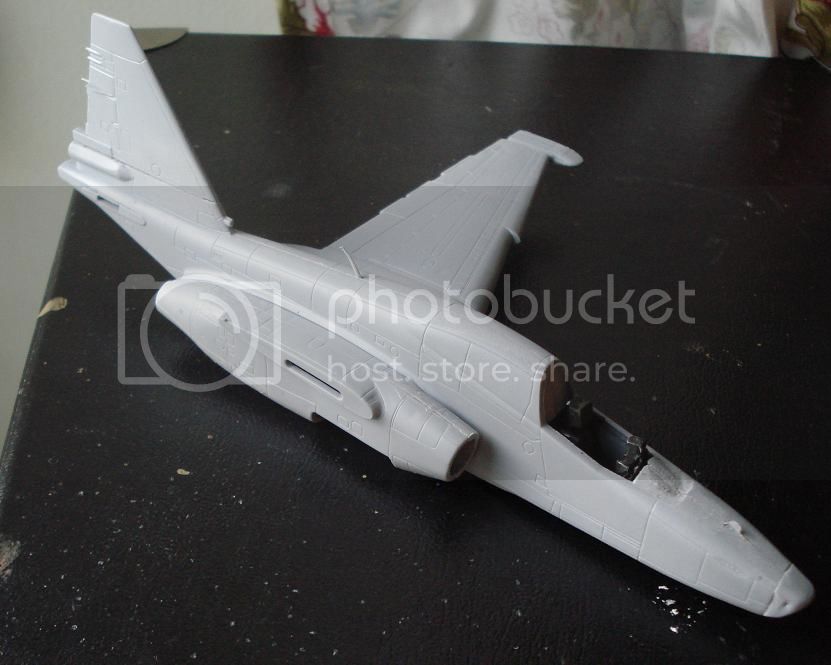
I will add the tail & wings soon..
Active Builds: 0
Active Campaigns: 0
Lisboa, Portugal
Joined: March 04, 2008
KitMaker: 5,386 posts
AeroScale: 635 posts
Posted: Wednesday, January 02, 2013 - 05:24 AM UTC
Small progress..
Active Builds: 0
Active Campaigns: 0
Lisboa, Portugal
Joined: March 04, 2008
KitMaker: 5,386 posts
AeroScale: 635 posts
Posted: Saturday, January 05, 2013 - 04:45 AM UTC
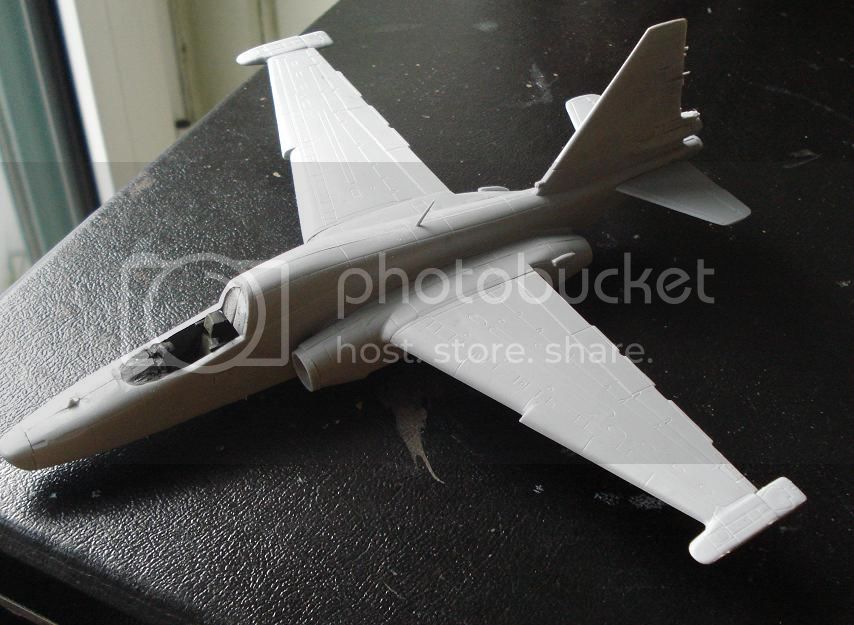
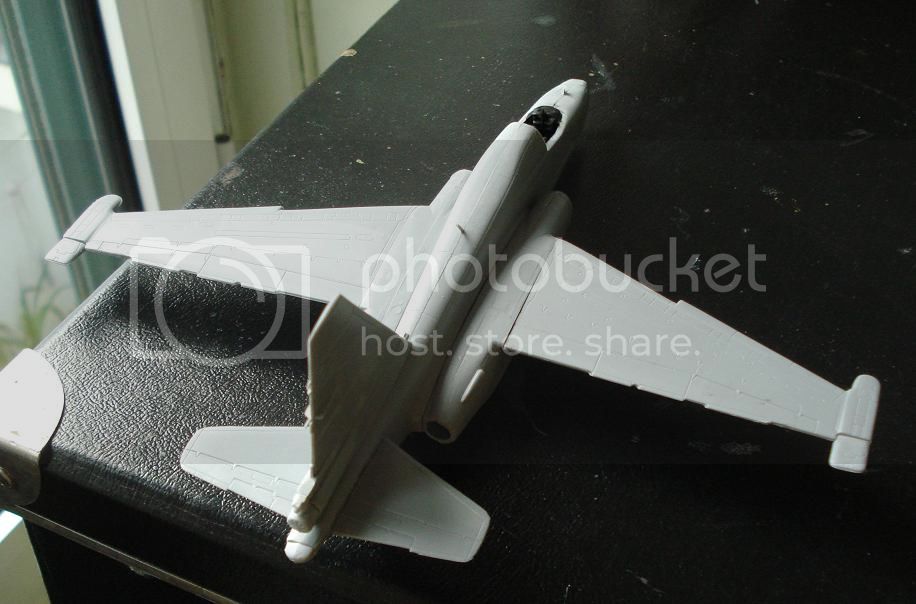
Another update:
Active Builds: 0
Active Campaigns: 0
Buenos Aires, Argentina
Joined: May 21, 2012
KitMaker: 765 posts
AeroScale: 316 posts
Posted: Saturday, January 05, 2013 - 05:59 AM UTC
John
You need to use some putty in the air intakes and the wing wich you add.......
Those Radial Fighters Campaign: 1/72 FW 190 A5
Delta 2 Campaign: 1/48 Hobby Boss Mirage IIIC
Navy Boys on those Postage Stamps 1/72 Airfix Sea Harrier FA2
Working: Trumpeter A-5 Vigilante
Waiting: Phantom 60 Campaign
Lisboa, Portugal
Joined: March 04, 2008
KitMaker: 5,386 posts
AeroScale: 635 posts
Posted: Saturday, January 05, 2013 - 09:11 AM UTC
Quoted Text
John
You need to use some putty in the air intakes and the wing wich you add.......
Jose, thanks for the advice, I noticed on the photos, I used some Mr.Surfacer and Tamyia Masking tape, I hope it will look better.
It might need some more cleaning, filling and sanding again..
Stay tuned !

Active Builds: 0
Active Campaigns: 0
Lisboa, Portugal
Joined: March 04, 2008
KitMaker: 5,386 posts
AeroScale: 635 posts
Posted: Saturday, January 26, 2013 - 05:06 AM UTC
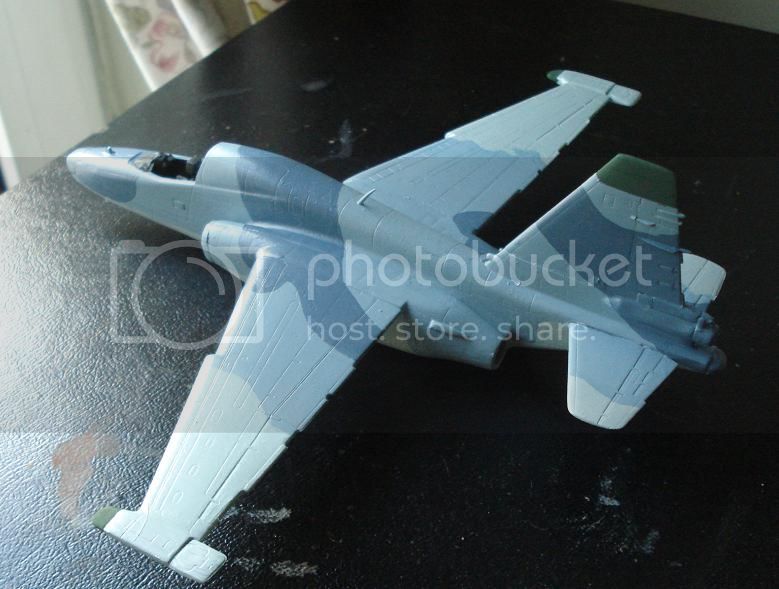
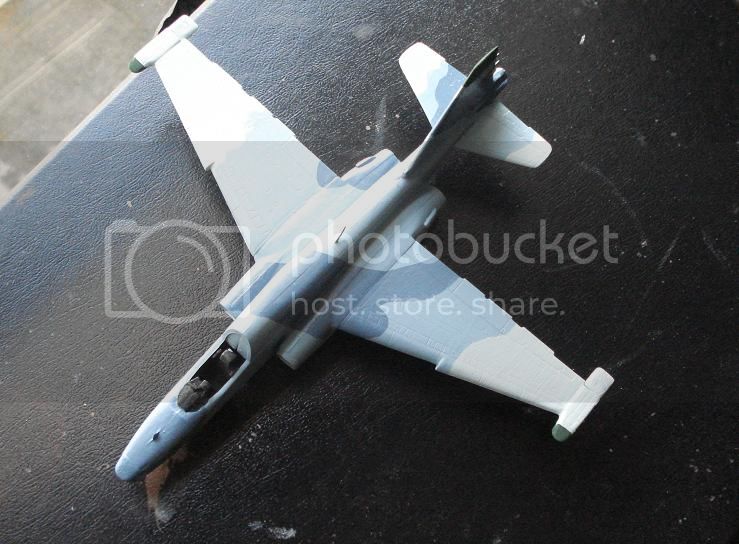
It's been awhile... well after some more filling & sanding I started painting it and working on the weapons.
The instruction sheet doesn't have a painting guide for the weapons ...

... anyway the photos
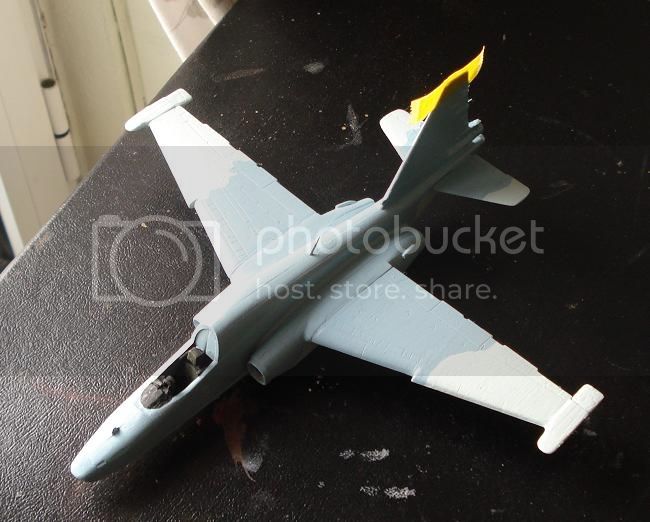
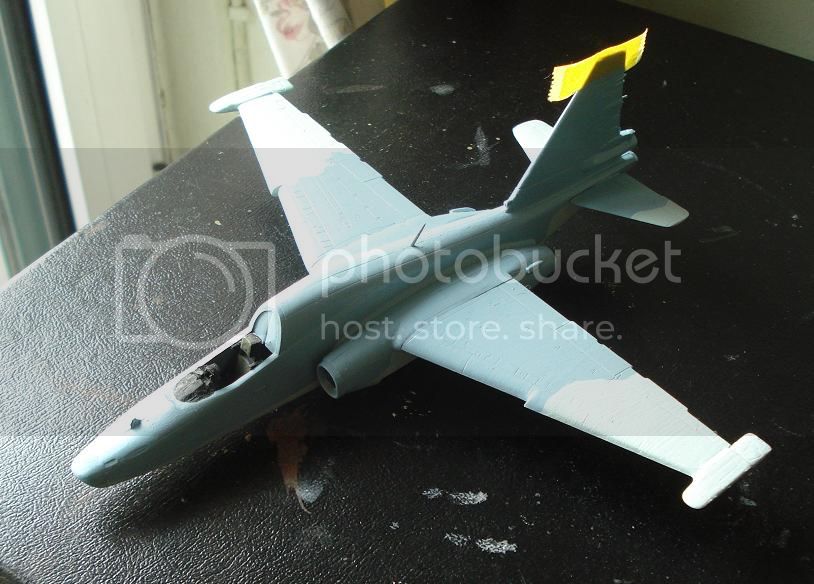
I have no airbrush so it's old school brush-job

Active Builds: 0
Active Campaigns: 0
Lisboa, Portugal
Joined: March 04, 2008
KitMaker: 5,386 posts
AeroScale: 635 posts
Posted: Tuesday, January 29, 2013 - 05:51 AM UTC
Another update
Active Builds: 0
Active Campaigns: 0
Buenos Aires, Argentina
Joined: May 21, 2012
KitMaker: 765 posts
AeroScale: 316 posts
Posted: Wednesday, January 30, 2013 - 04:38 PM UTC
John,
its look much better than the first!!!
Congratulations!!!!
Those Radial Fighters Campaign: 1/72 FW 190 A5
Delta 2 Campaign: 1/48 Hobby Boss Mirage IIIC
Navy Boys on those Postage Stamps 1/72 Airfix Sea Harrier FA2
Working: Trumpeter A-5 Vigilante
Waiting: Phantom 60 Campaign
Lisboa, Portugal
Joined: March 04, 2008
KitMaker: 5,386 posts
AeroScale: 635 posts
Posted: Thursday, January 31, 2013 - 01:26 PM UTC
Quoted Text
John,
its look much better than the first!!!
Congratulations!!!!
Thanks Jose !
I've been working on the wheels & weapons lately, hope to post some pics soon.
Still a lot of work to be done, but I'm enjoying the challenge.
Any ideas on how to weather it ? I mean I'm used to weather Tanks & APC's, I'm guessing here it's somehoe different

Any tips ?
Active Builds: 0
Active Campaigns: 0
British Columbia, Canada
Joined: September 03, 2009
KitMaker: 6,965 posts
AeroScale: 6,247 posts
Posted: Thursday, January 31, 2013 - 01:57 PM UTC
Tanks get filthy, airplanes merely get dirty. You'll get some staining behind the exhausts and some of the vents and the like around the engines, and some streaking from flying through dirty air. The best thing to do is to study pictures and try to duplicate what you see.
Here's a bunch. The most visible thing I can see on these aircraft is the
worn paint on the rivets. The thing about weathering airplanes is to keep it subtle.
When once you have tasted flight you will walk the Earth with your eyes turned skyward.
For there you have been, and there you will always long to return.
-Leonardo Da Vinci
Lisboa, Portugal
Joined: March 04, 2008
KitMaker: 5,386 posts
AeroScale: 635 posts
Posted: Thursday, January 31, 2013 - 03:49 PM UTC
Quoted Text
Tanks get filthy, airplanes merely get dirty. You'll get some staining behind the exhausts and some of the vents and the like around the engines, and some streaking from flying through dirty air. The best thing to do is to study pictures and try to duplicate what you see. Here's a bunch. The most visible thing I can see on these aircraft is the worn paint on the rivets. The thing about weathering airplanes is to keep it subtle.
Jessica, thanks for those links !!

I was looking for some photos of some details since the painting guide sheet wasn't very helpful.
Thanks for the weathering tips too !!! I'll try to be gentle on the weathering, in the photos it's a very clean aircraft.
Maybe outlining the panels and give a very light wash will be enough.. well I'll keep posting my progress and asking questions

Thanks for the help !! Stay tuned !

Active Builds: 0
Active Campaigns: 0
British Columbia, Canada
Joined: September 03, 2009
KitMaker: 6,965 posts
AeroScale: 6,247 posts
Posted: Thursday, January 31, 2013 - 04:03 PM UTC
It helps to remember that those were on display at airshows. Quite likely a bunch of Рядовóйи on defaulters were assigned to give them a good washing before the spectators got there

When once you have tasted flight you will walk the Earth with your eyes turned skyward.
For there you have been, and there you will always long to return.
-Leonardo Da Vinci
Lisboa, Portugal
Joined: March 04, 2008
KitMaker: 5,386 posts
AeroScale: 635 posts
Posted: Friday, February 01, 2013 - 06:20 AM UTC
Quoted Text
It helps to remember that those were on display at airshows. Quite likely a bunch of Рядовóйи on defaulters were assigned to give them a good washing before the spectators got there 
I guess you're right Jessica, my car has more dirt on than those Su-39's on display...
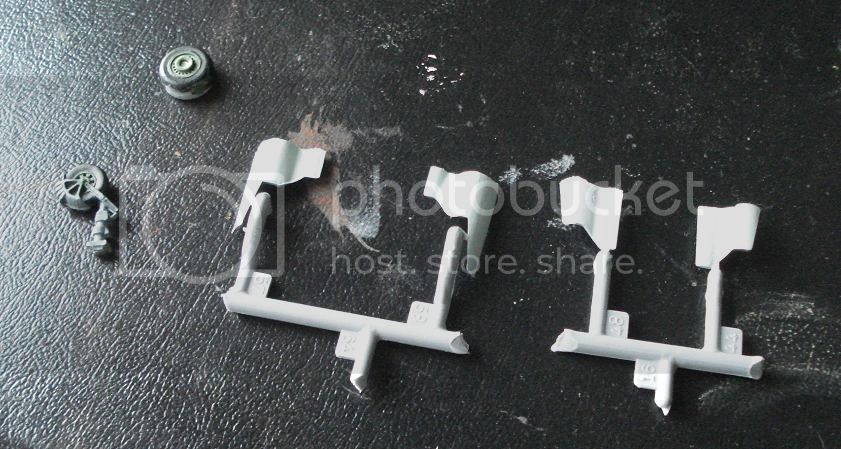
Working on the wheels & weapons.
Active Builds: 0
Active Campaigns: 0
Buenos Aires, Argentina
Joined: May 21, 2012
KitMaker: 765 posts
AeroScale: 316 posts
Posted: Friday, February 01, 2013 - 06:42 AM UTC
John,
I agree with Jessica. In all the airshows or expositions wich I have the opportunity to see all the aircraft are "brand new"
Those Radial Fighters Campaign: 1/72 FW 190 A5
Delta 2 Campaign: 1/48 Hobby Boss Mirage IIIC
Navy Boys on those Postage Stamps 1/72 Airfix Sea Harrier FA2
Working: Trumpeter A-5 Vigilante
Waiting: Phantom 60 Campaign
British Columbia, Canada
Joined: September 03, 2009
KitMaker: 6,965 posts
AeroScale: 6,247 posts
Posted: Friday, February 01, 2013 - 07:15 AM UTC
Of course you can make this work for you. Just print up some display signs, arrange the weapons in a pleasing array in front of the model and leave it pristine. Voila! One accurate airshow aircraft display

When once you have tasted flight you will walk the Earth with your eyes turned skyward.
For there you have been, and there you will always long to return.
-Leonardo Da Vinci
Lisboa, Portugal
Joined: March 04, 2008
KitMaker: 5,386 posts
AeroScale: 635 posts
Posted: Friday, February 01, 2013 - 10:16 AM UTC
Quoted Text
Of course you can make this work for you. Just print up some display signs, arrange the weapons in a pleasing array in front of the model and leave it pristine. Voila! One accurate airshow aircraft display 
That's not a bad idea

I'll try the gentle weathering first, if it doesn't workout I'll go for the airshow display !

Active Builds: 0
Active Campaigns: 0
Lisboa, Portugal
Joined: March 04, 2008
KitMaker: 5,386 posts
AeroScale: 635 posts
Posted: Saturday, February 09, 2013 - 06:16 AM UTC
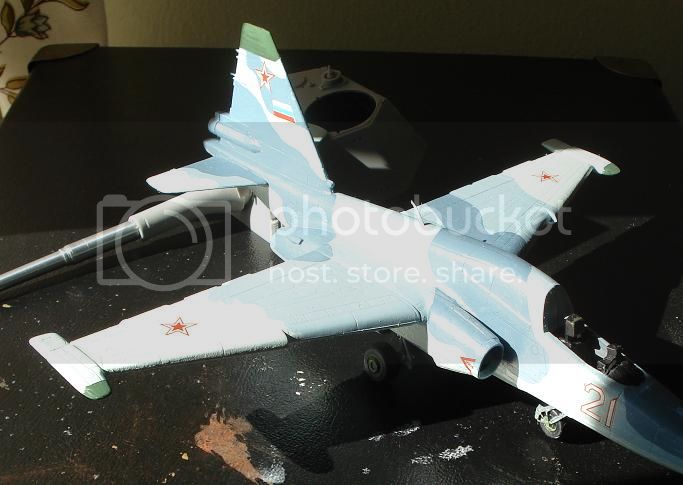
Decals & landing gear done !
Still to come the weapons & canopy , it took me a week to mask & paint the canopy...when it was done I noticed I used the wrong colour... back to the bench...

Active Builds: 0
Active Campaigns: 0
Lisboa, Portugal
Joined: March 04, 2008
KitMaker: 5,386 posts
AeroScale: 635 posts
Posted: Friday, February 15, 2013 - 01:17 PM UTC
Finished the canopy, wheel bay, working on the weapons & 2 front antennas.
Hope to post some photos this weekend. Stay tuned !
Active Builds: 0
Active Campaigns: 0
Lisboa, Portugal
Joined: March 04, 2008
KitMaker: 5,386 posts
AeroScale: 635 posts
Posted: Sunday, February 17, 2013 - 06:20 AM UTC
Weapons & antennas on !
Just a light wash needed. Also will try to work a tarmac base for this little tank buster.
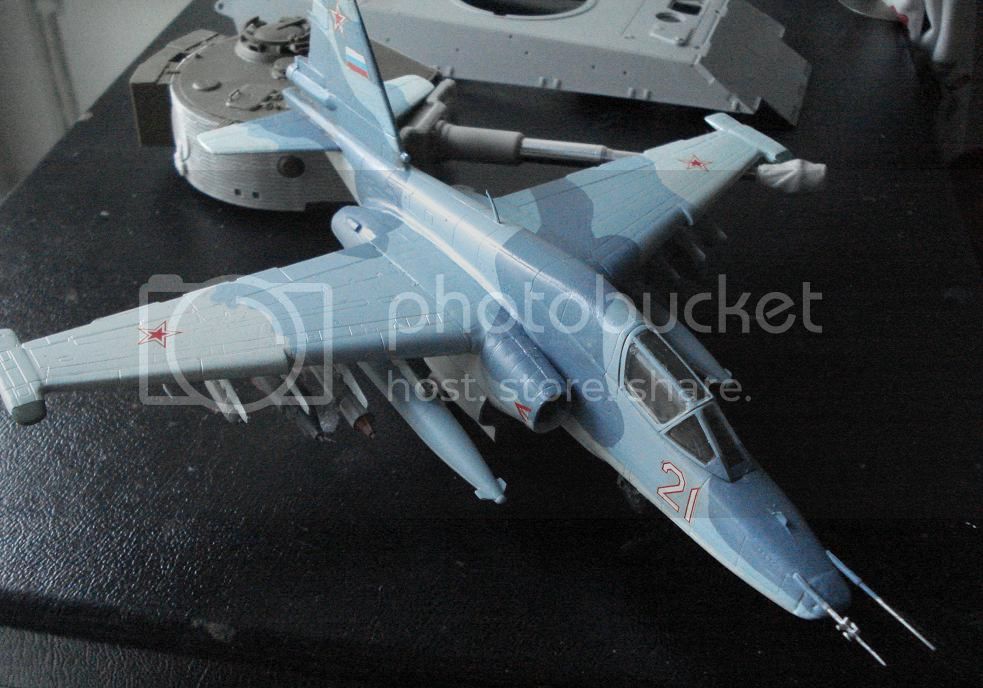
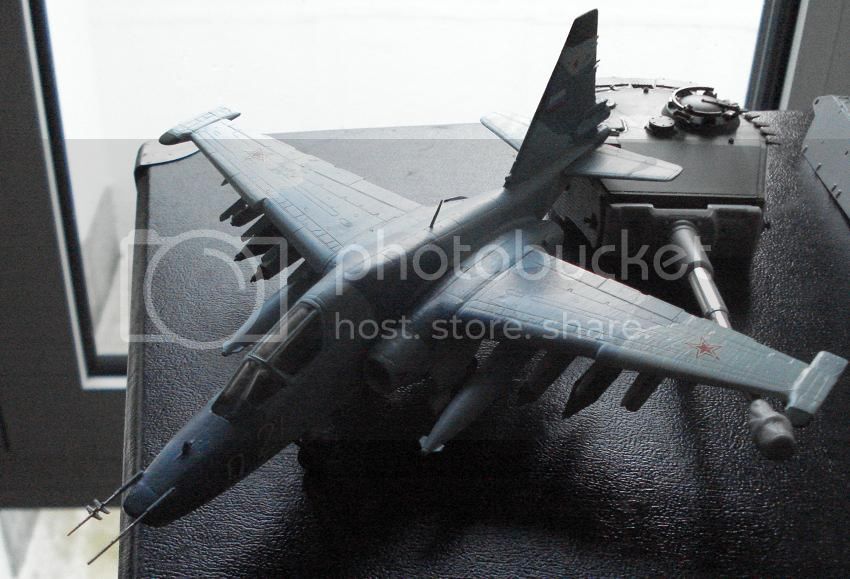
Sorry about the bad lighting, hope to get a better photo next time !
Active Builds: 0
Active Campaigns: 0
Buenos Aires, Argentina
Joined: May 21, 2012
KitMaker: 765 posts
AeroScale: 316 posts
Posted: Tuesday, March 19, 2013 - 04:20 PM UTC
Well done John...
COngratulations
Those Radial Fighters Campaign: 1/72 FW 190 A5
Delta 2 Campaign: 1/48 Hobby Boss Mirage IIIC
Navy Boys on those Postage Stamps 1/72 Airfix Sea Harrier FA2
Working: Trumpeter A-5 Vigilante
Waiting: Phantom 60 Campaign


