Hi all,
As I am waiting for the masks for the roundels of my Canberra PR9, I started with building one of the extras for the base. I wanted to add some interest to the base, so I found that Flightpath produces some nice RAF ground equipment, among which is the Houchin Electrical starter trolley (or GPU). This small kit consists of a resin body, metal parts for the undercarriage and some (tiny) PE which makes all the details.
Construction is straightforward:
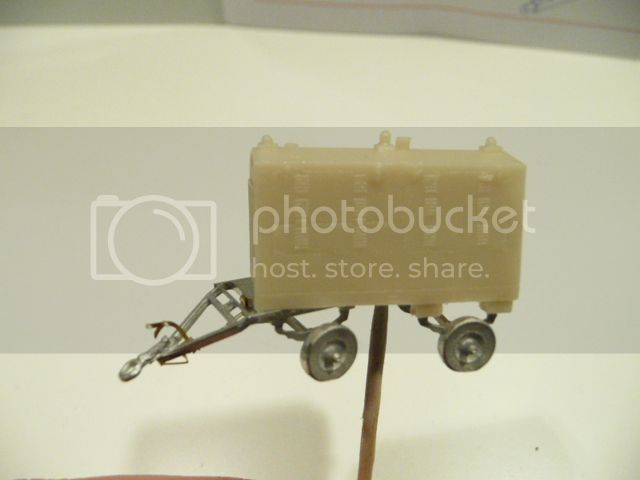
A number of tiny parts of PE gives a some very nice detailing:
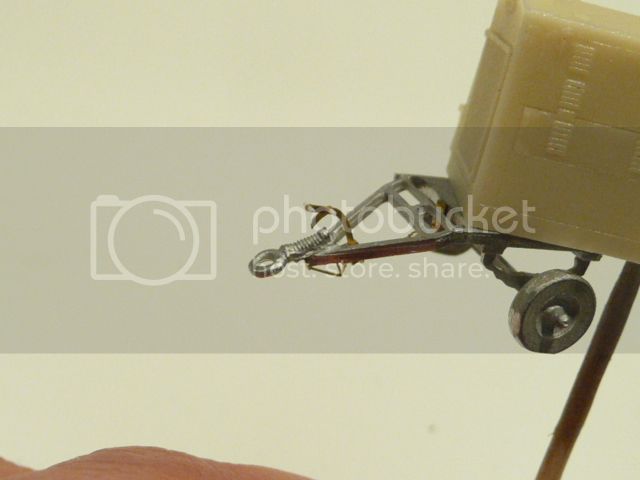
The rear of the trolley, where the instrument panel will fit:
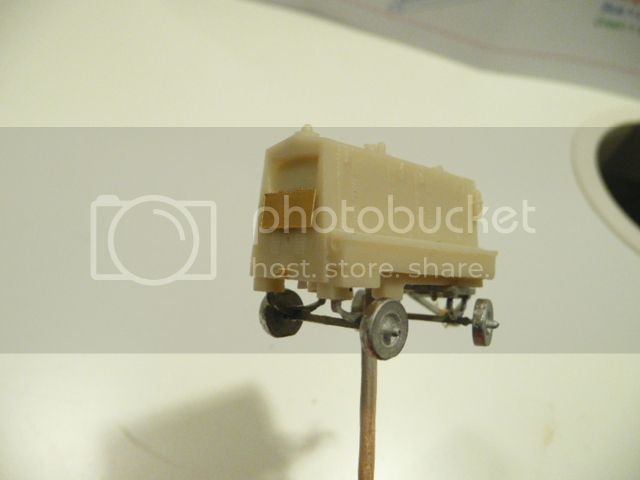
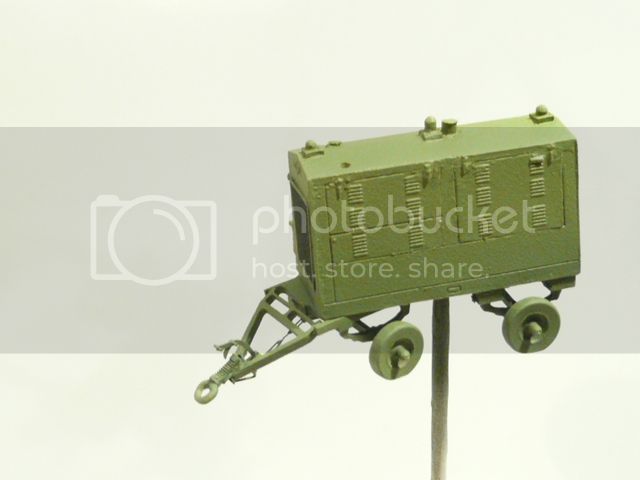
I created some sag in the tires to give the trolley some weight and I sprayed the whole thing with Tamiya fine surface primer from the can. After proper drying, I sprayed the grill and bottom black. The latter was done to create an undercoat for the hard to reach parts. When spraying with the final color green, it is better to have the uncovered parts black instead of primer grey. You can see some yellow color as well, but that was just a failure for creating yellow stripes that will be on the trolley later on (I would have masked yellow bars and then sprayed the base color, but afterwards I decided to use yellow decals).
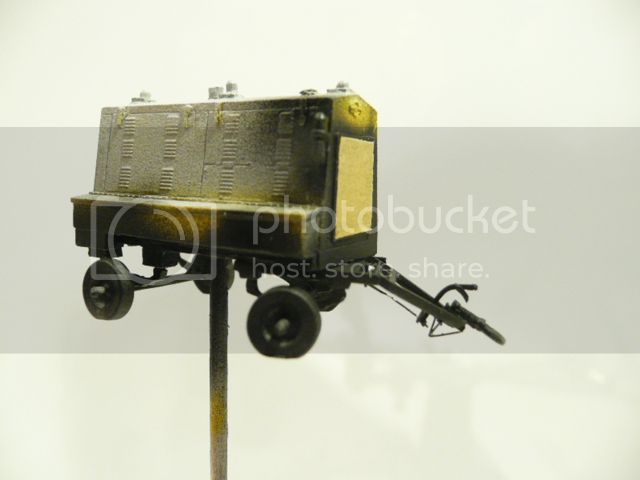
Before applying the final green color, I masked the grill.
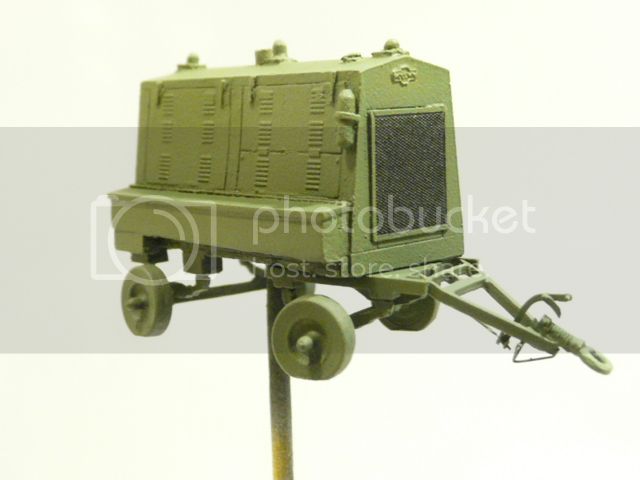
I sprayed the green with light coats and this way I managed to add some tonality on the green color. However, when looking at pictures of the real thing, non of such is really present, it is just one color of green, but is was nice to try and see how it turned out....
Next updates soon to follow!
Jelger
Pre-Flight Check
Constructive critique of your finished or in-progress photos.
Hosted by Jim Starkweather
Houchin MK5 Electrical Starter trolley
spaarndammer
Noord-Holland, Netherlands
Joined: January 28, 2007
KitMaker: 1,945 posts
AeroScale: 388 posts
Joined: January 28, 2007
KitMaker: 1,945 posts
AeroScale: 388 posts
Posted: Tuesday, February 26, 2013 - 09:19 AM UTC
spaarndammer
Noord-Holland, Netherlands
Joined: January 28, 2007
KitMaker: 1,945 posts
AeroScale: 388 posts
Joined: January 28, 2007
KitMaker: 1,945 posts
AeroScale: 388 posts
Posted: Tuesday, February 26, 2013 - 08:46 PM UTC
This is a picture of the real trolley:
I think it is now more clear what I am building .
Jelger
I think it is now more clear what I am building .
Jelger
spaarndammer
Noord-Holland, Netherlands
Joined: January 28, 2007
KitMaker: 1,945 posts
AeroScale: 388 posts
Joined: January 28, 2007
KitMaker: 1,945 posts
AeroScale: 388 posts
Posted: Sunday, March 10, 2013 - 07:03 AM UTC
Hi all,
Some progress on my Houchin GPU.
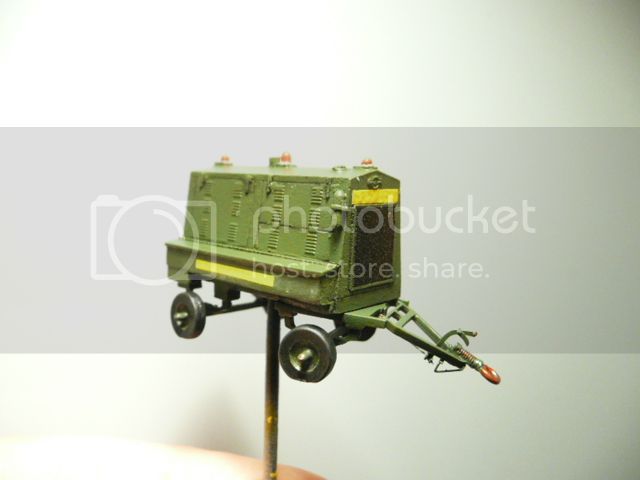
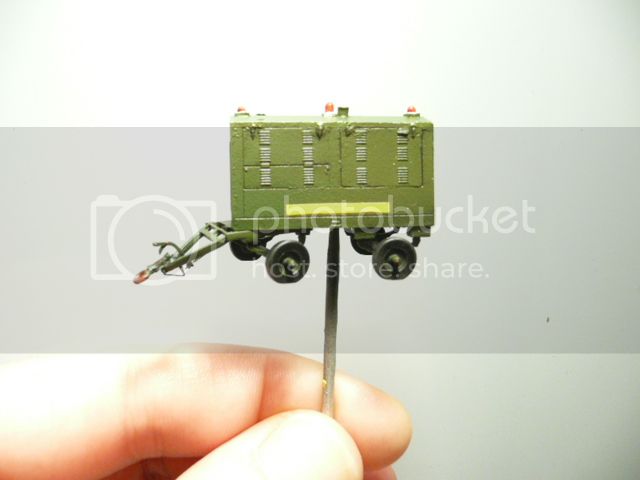
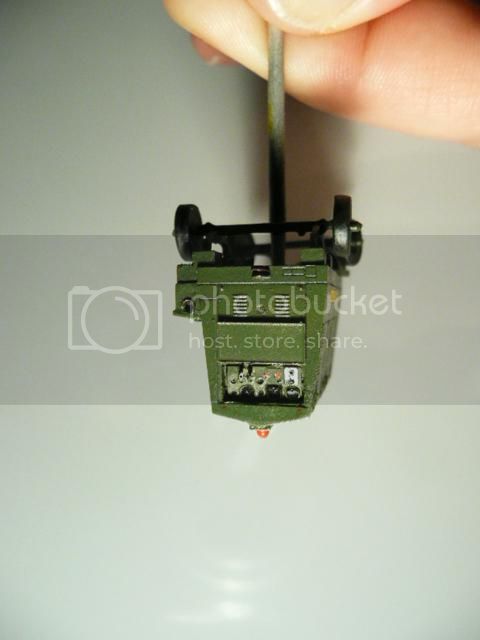
To give the GPU a shining appearance, I sprayed the whole thing with Humbrol Satin varnish (for acrylic paint). I subsequently painted the details with Vallejo colours that I have available on my bench. For example, the lights on top of the GPU were painted with Vallejo Vermillion (70909) and the wheels were painted black. To avoid painting streaks, I always dip a bit of excess of paint (more or less a drop) on the surface to be painted that will merge with the drops of paint just applied before.
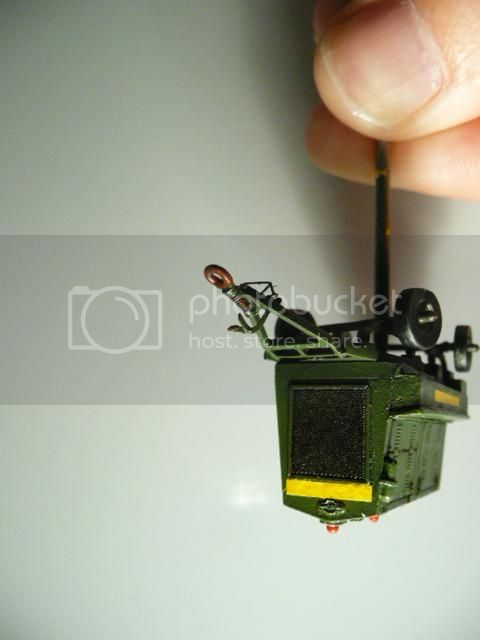
Especially the towing eye shows a lot of use, with paint being chipped showing primer and even bare metal. The primer was simulated with Vallejo Air Fire Red (71084) and the bare metal was simulated with a regular pencil. VA Fire red was also used to drybrush the mesh to simulate a bit of rusted look.
From an old decal sheet I cut three yellow bars which were applied on the sides and front. Panel lines and hinges were addressed with a black wash and the black wheels were made less shining by application of black pigment.
Well, too much text, so pictures please...
This one is almost done except for a small things. Progress soon.
Jelger
Mcleod
Alberta, Canada
Joined: April 07, 2010
KitMaker: 1,028 posts
AeroScale: 939 posts
Joined: April 07, 2010
KitMaker: 1,028 posts
AeroScale: 939 posts
Posted: Monday, March 11, 2013 - 12:35 AM UTC
Jelger, that tiny starter panel really looks the part. Well done! I suspect you'll be doing a tractor to pull it with as well?