Quoted Text
Thanks, I'm still looking for good references from above so I can replicate the different tones of NMF.
Cheers. 
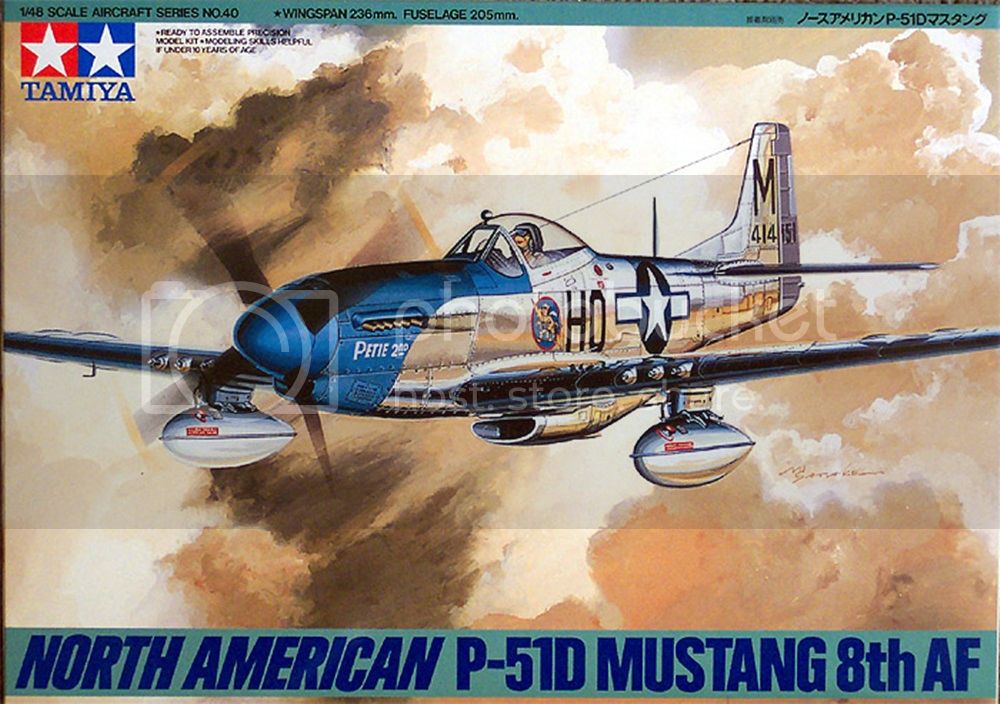
so some things to note about mustangs in NMF.
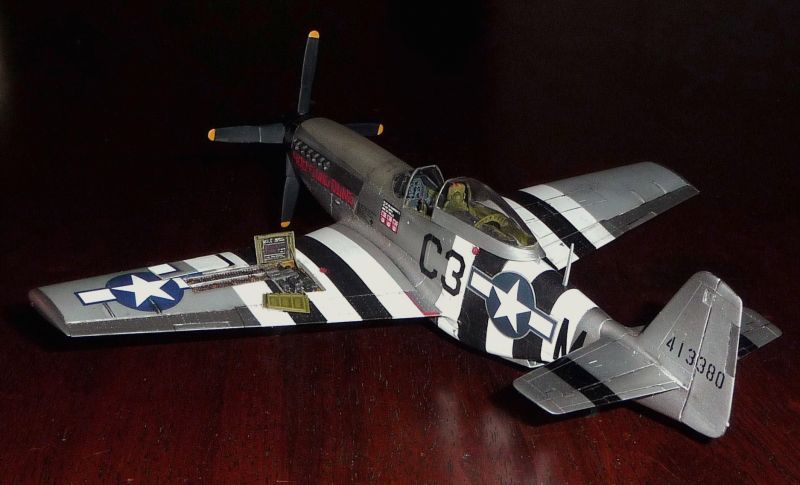
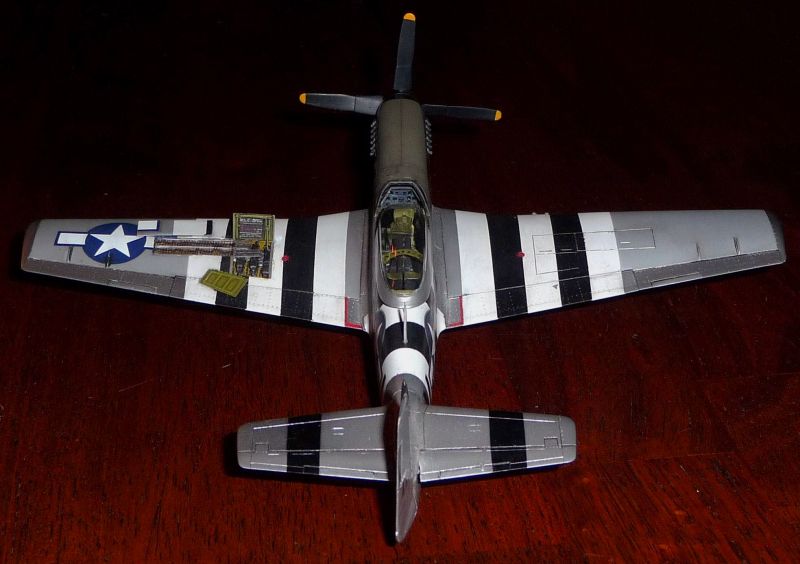
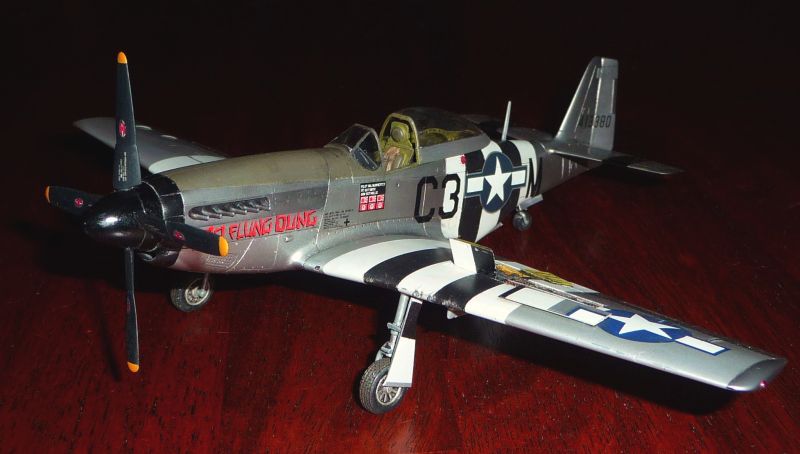
mustangs had a laminar flow wing - which had all the joints puttied and the whole wing sprayed with sealing primer and then silver lacquer paint - so the wings are not actually NMF (nor should they have panels lines except for the gun/ammo panels) except for the wingtips, flaps, ailerons, and fuselage fairings (ammo panels were painted silver lacquer most the time, but obviously their edges were not puttied)
However, while that statement is true for any new or well maintained mustangs, mustangs that have been stripped of paint probably lost the silver and primer coats too, and probably the putty in the joints too.
A mustang from an indirect, used source that was hard used may or may not have a NMF on the wings with panels lines showing. Look closely at any references. If the entire wing appears to be the same shade except for the ammo panels and wingtips, then it is probably silver overall silver lacquer.
and of course the fabric control surfaces will always be in silver lacquer on a NMF bird (probably only concerns the rudder in your case)
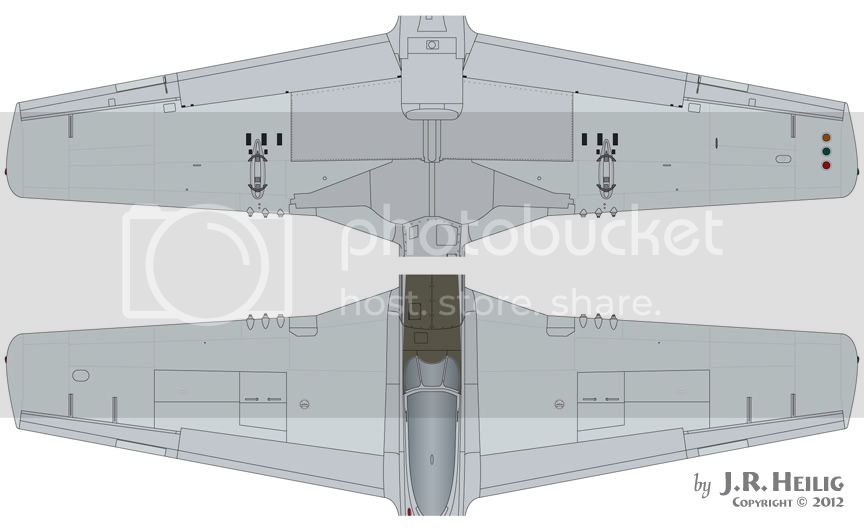
example of the wing done in silver lacquer with the rest in NMF from a mustang I completed a couple years ago (i did a fair amount of research on panel shades too if you want to copy my pattern, though that aspect doesn't show so well in the pics for whatever reason):