Quoted Text
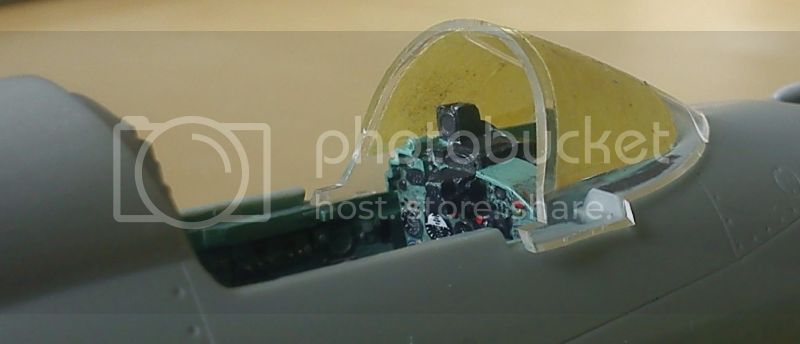
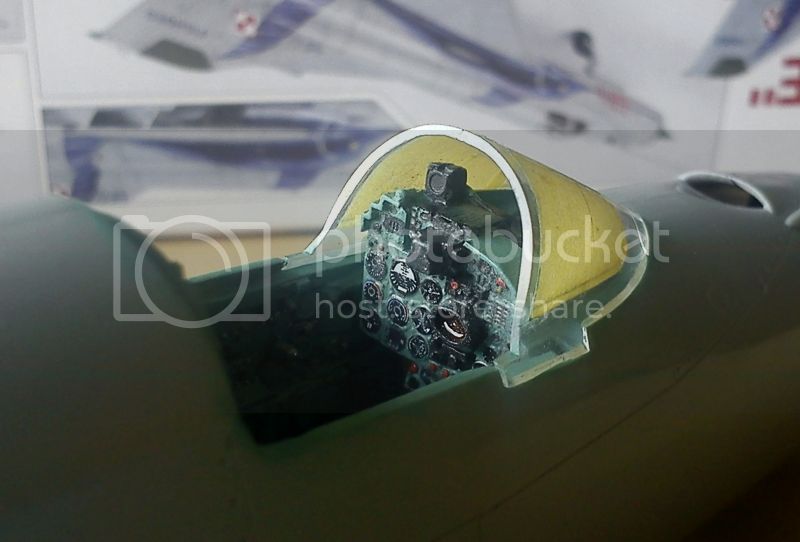
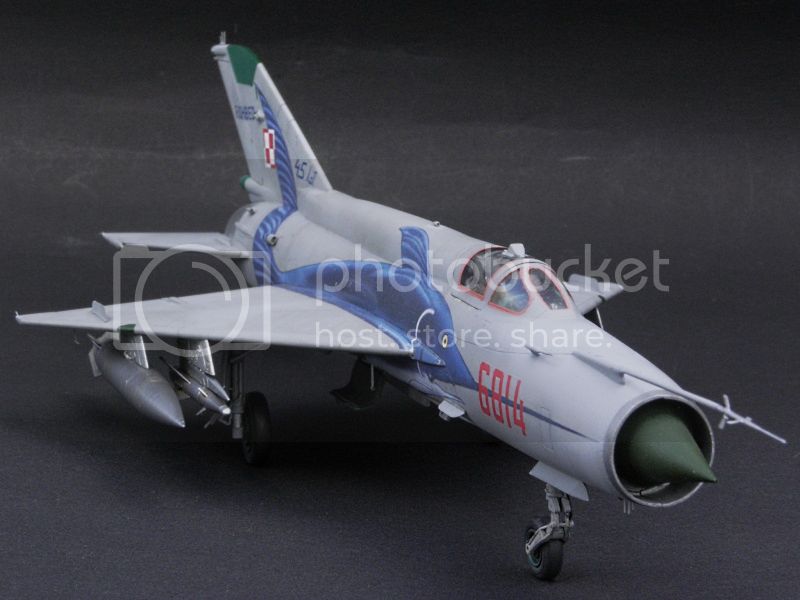
wow that canopy just fits like butter I wish they all were like that.
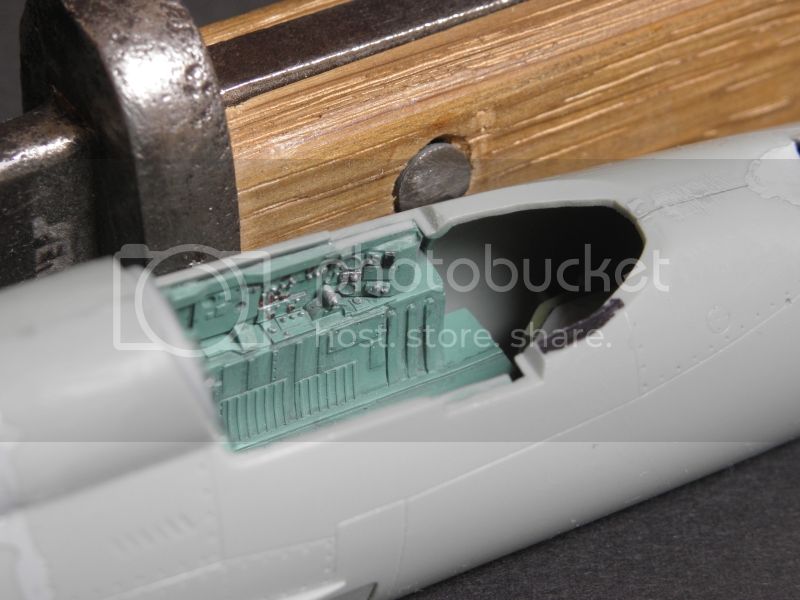
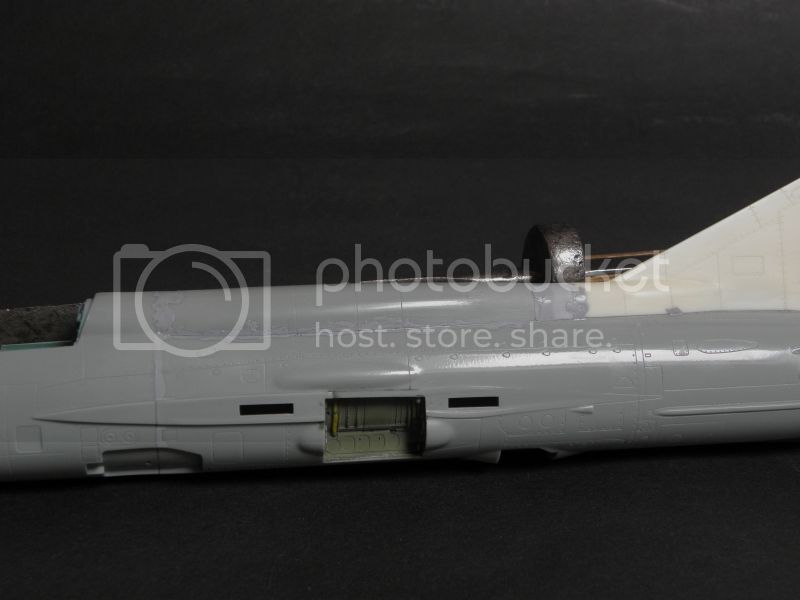
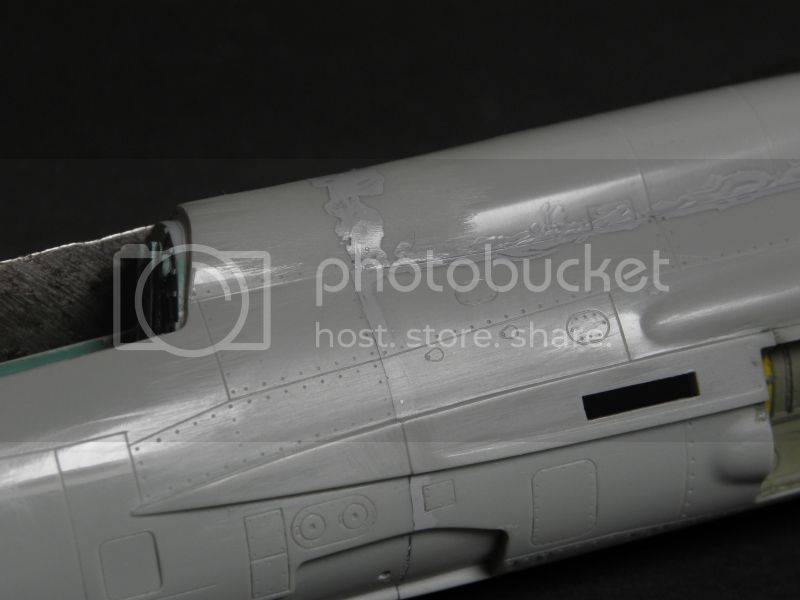
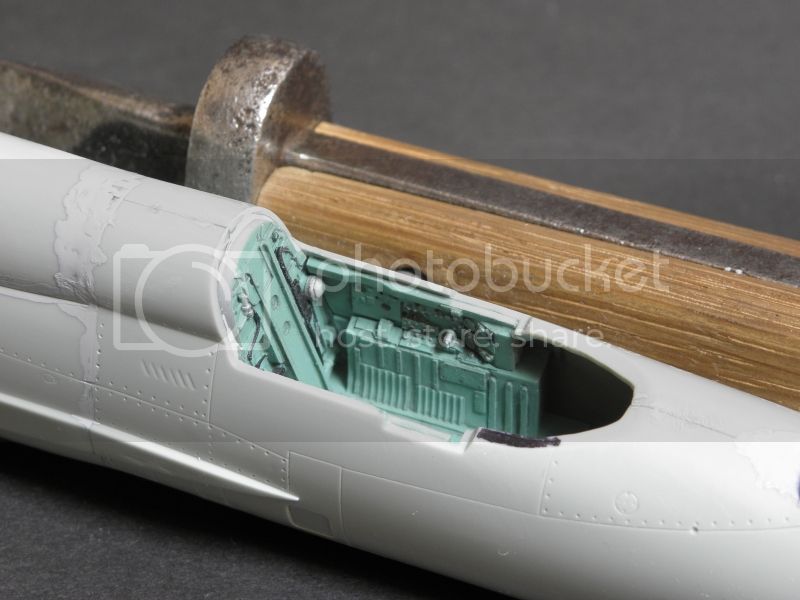
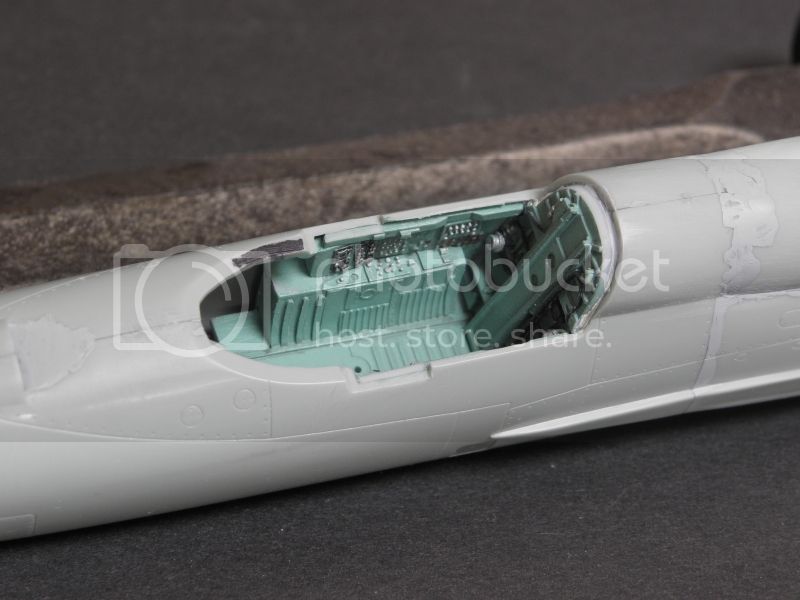
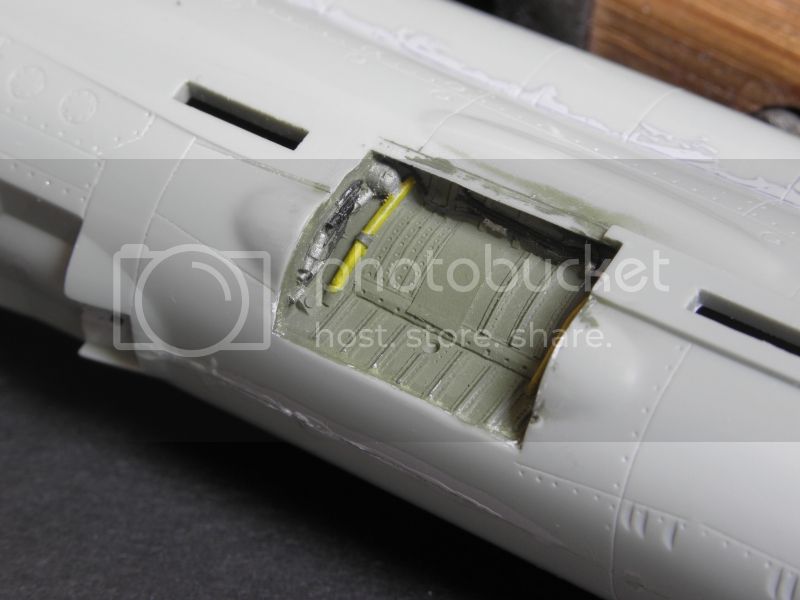
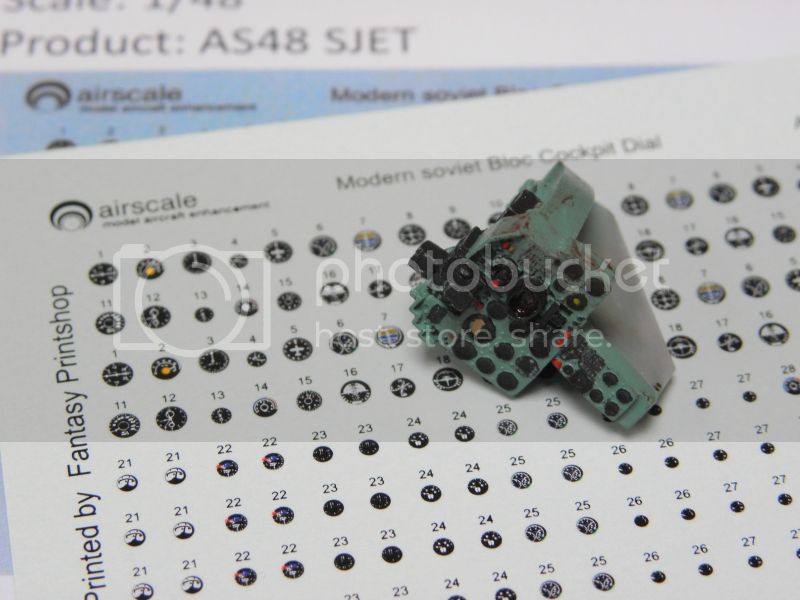
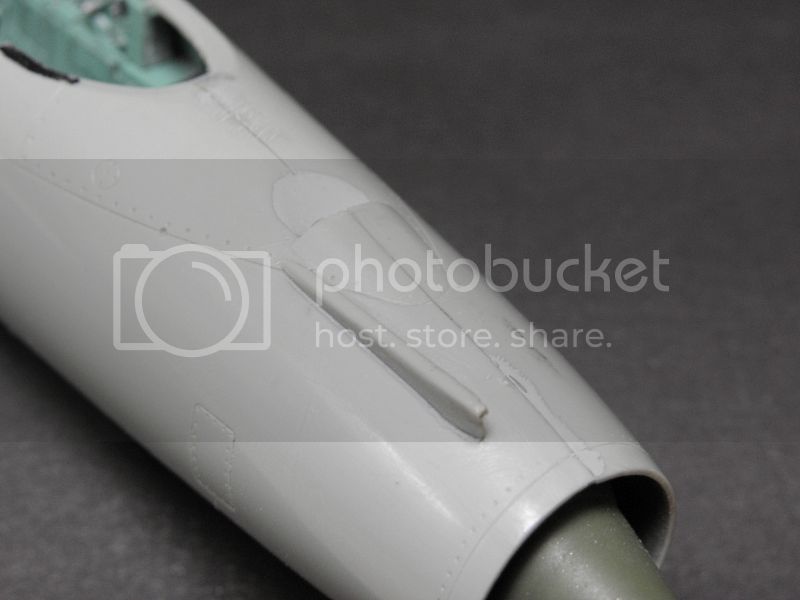
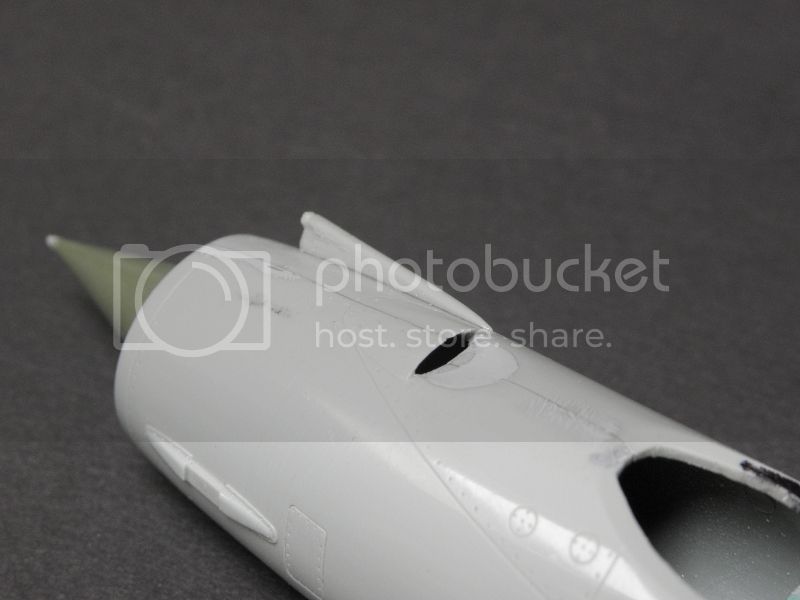
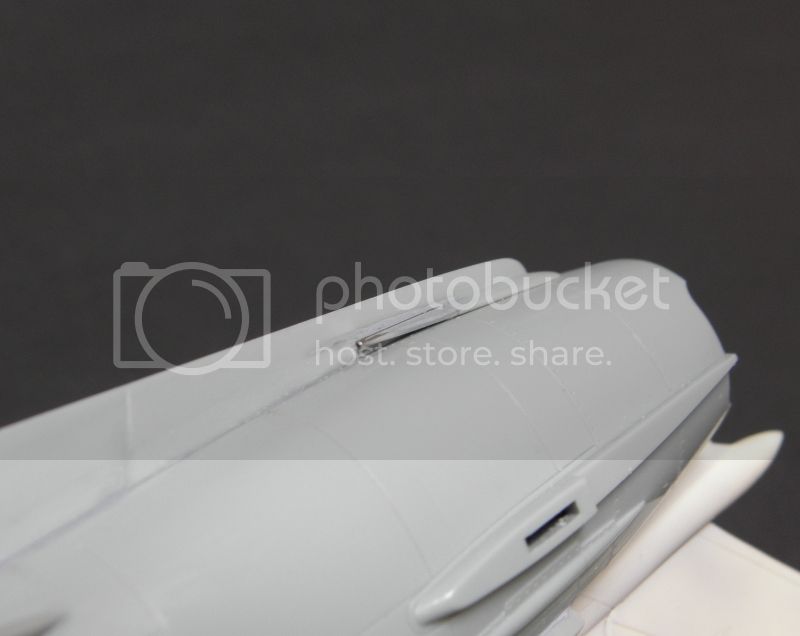
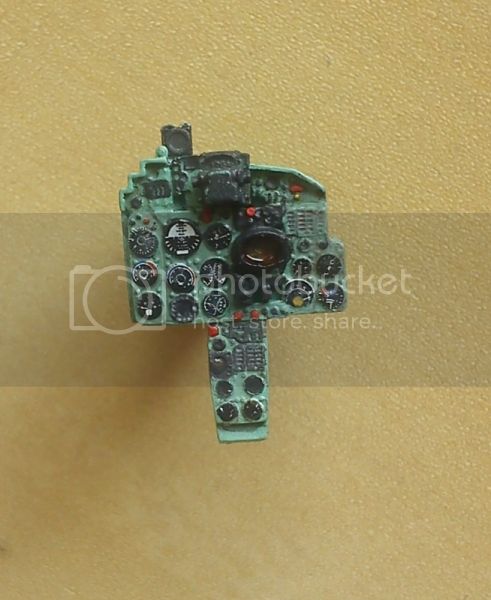
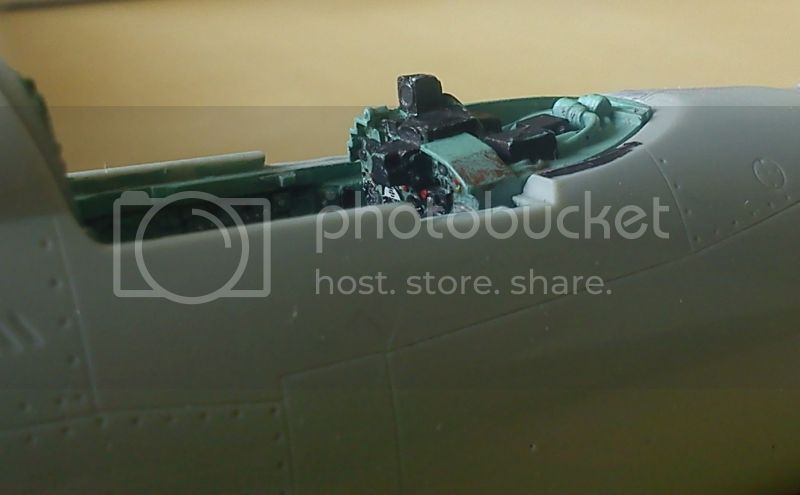
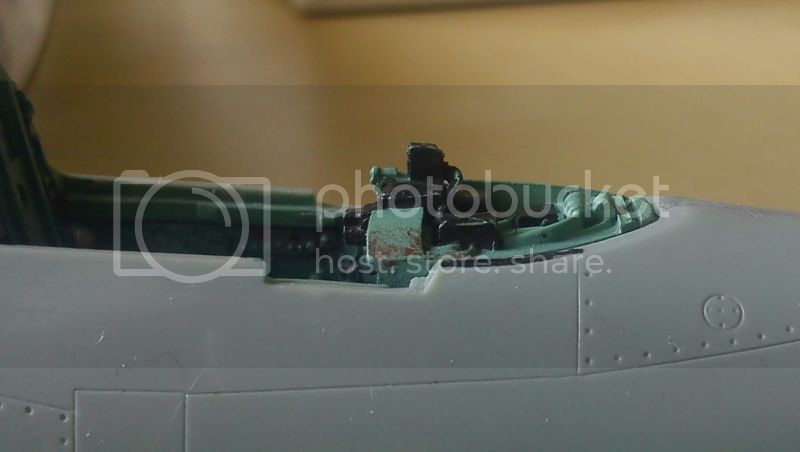
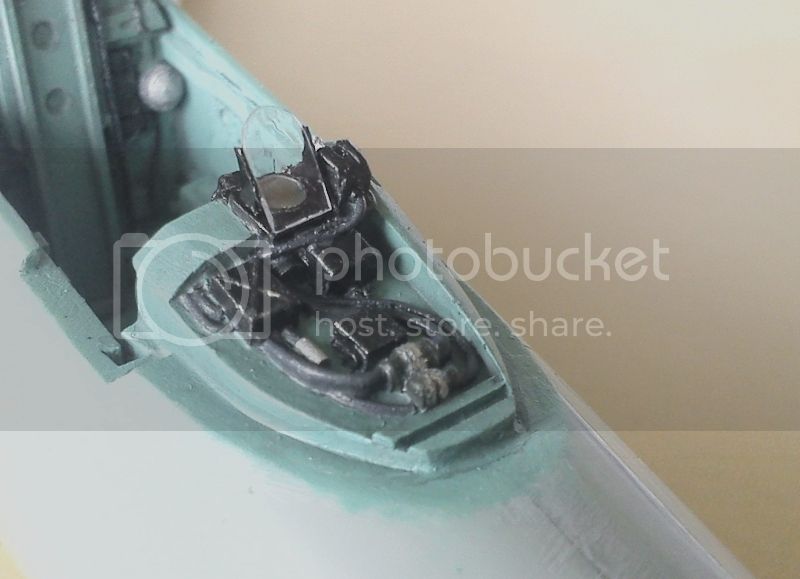
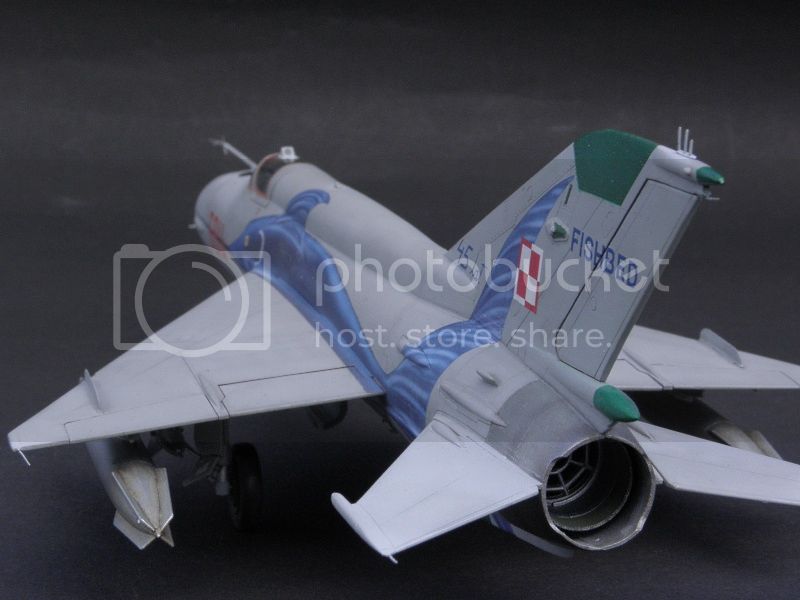
No, it doesn't. What about that giant step on the back? It shouldn't be there by any mean. The same with instrument - you wouldn't be able to make a real-looking dashboard as the gauges have too small diameter. All good fit is thanks to a lot of trials, reshaping and filling holes with putty or thick CA glue. It wasn't peace of cake at any step. The Wolfpack spine was a complete crap, waste of money and time for reshpaing and filling. I just used the back end of it, about 1cm long.
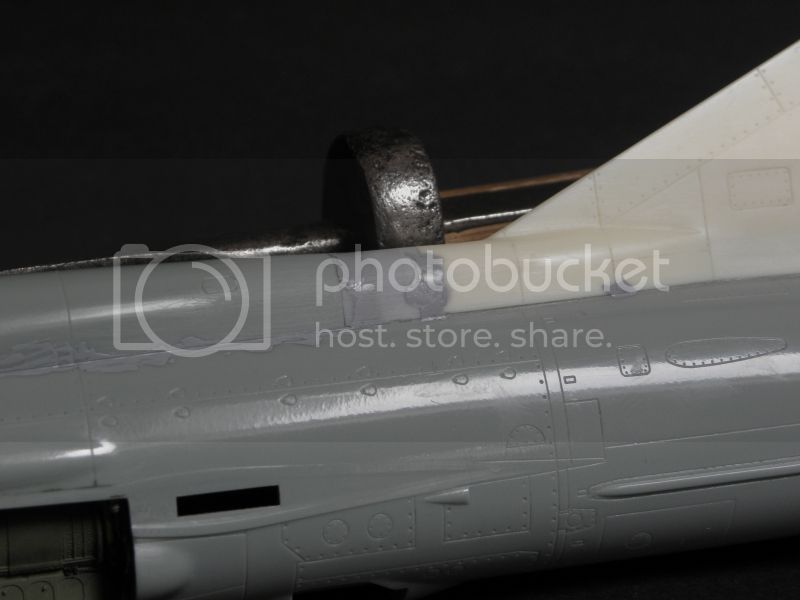
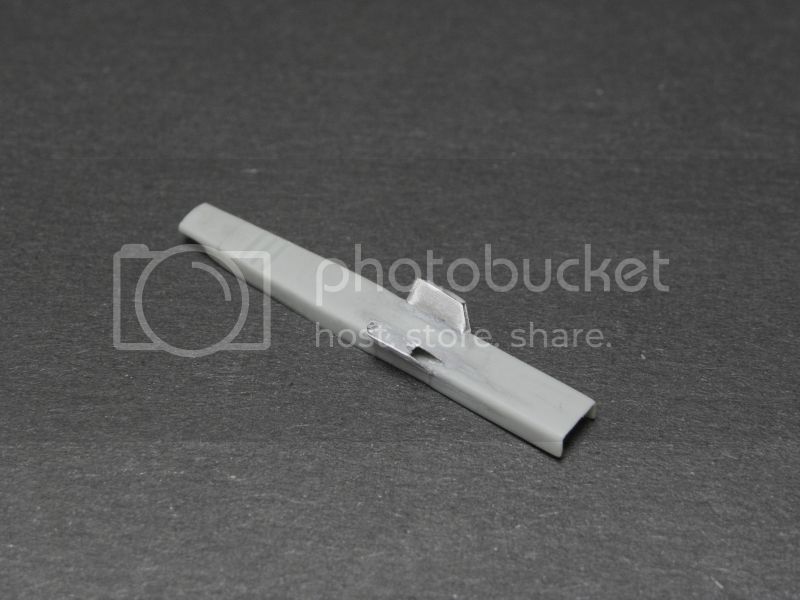
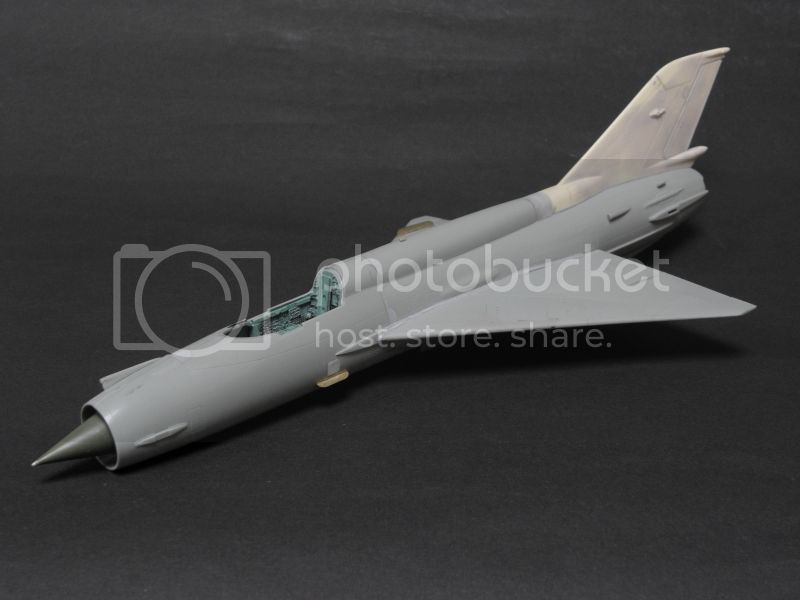
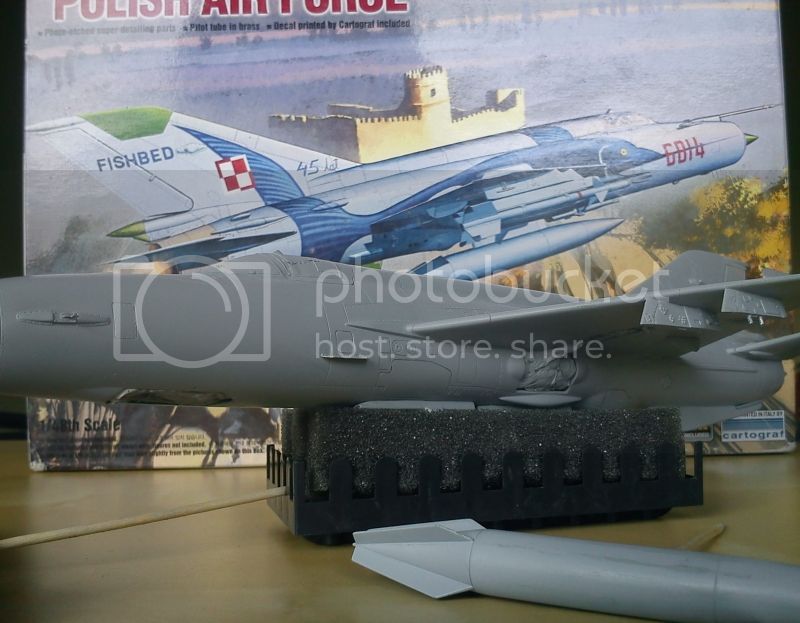
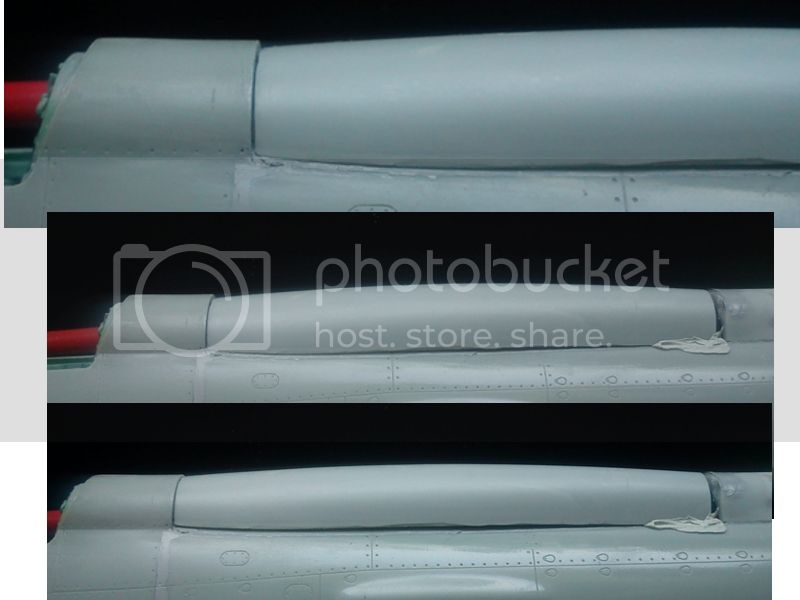
I have not published this picture before but here's fit of Wolfpack spine. No matter how you would fix it, it would still look bad. The upper curve looks to me like an SMT spine (sic!)
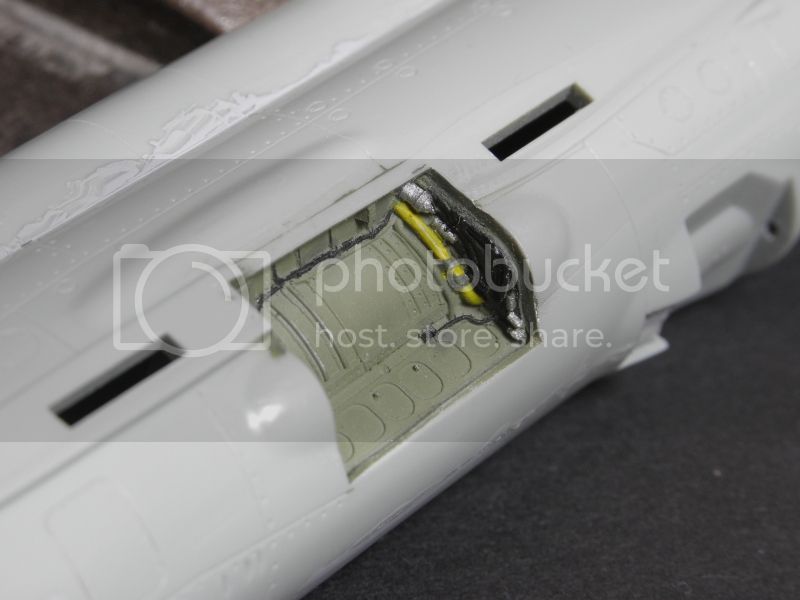
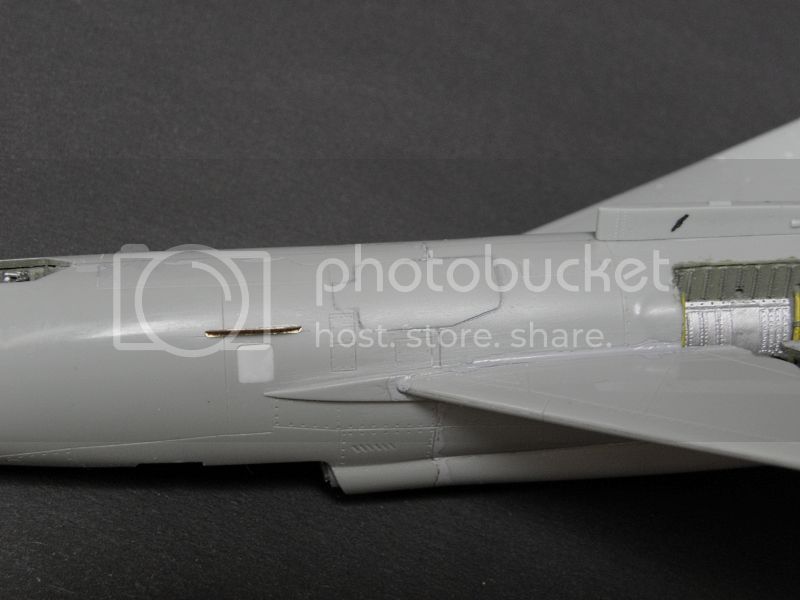
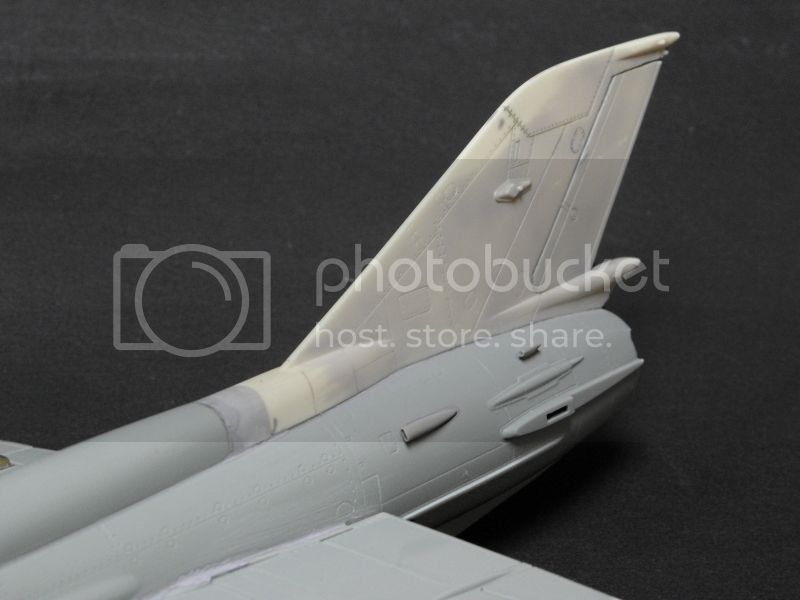
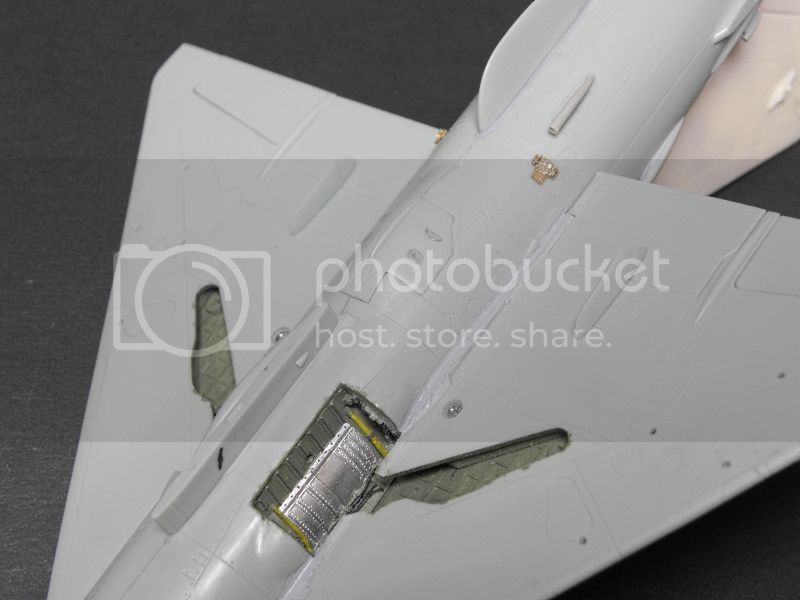
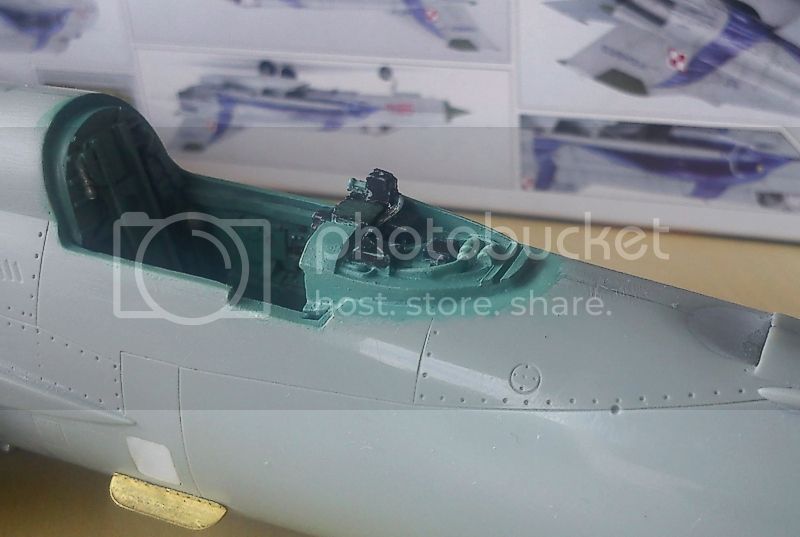
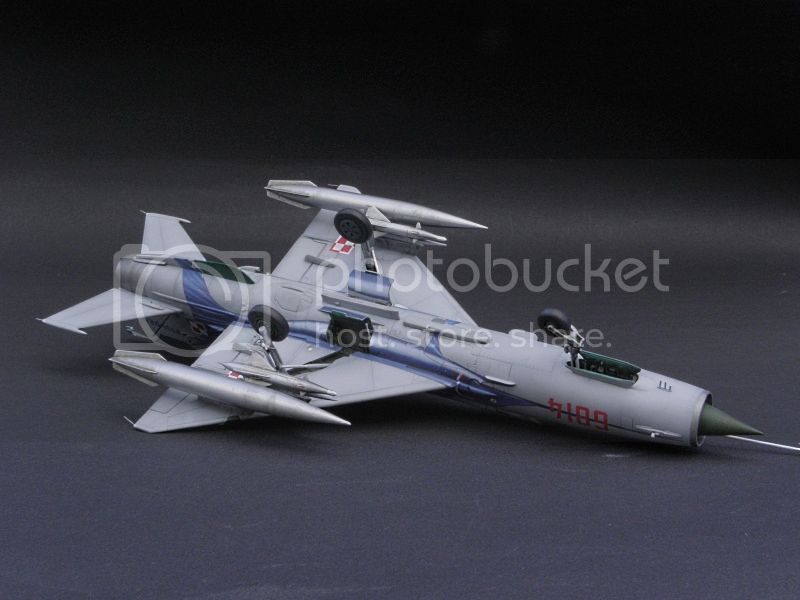
Andy, after all there's not so much of scratch. Just few details easy to be build with basic tools and materials like sheet of plastic, files, CA glue, injection needle, sanding paper.
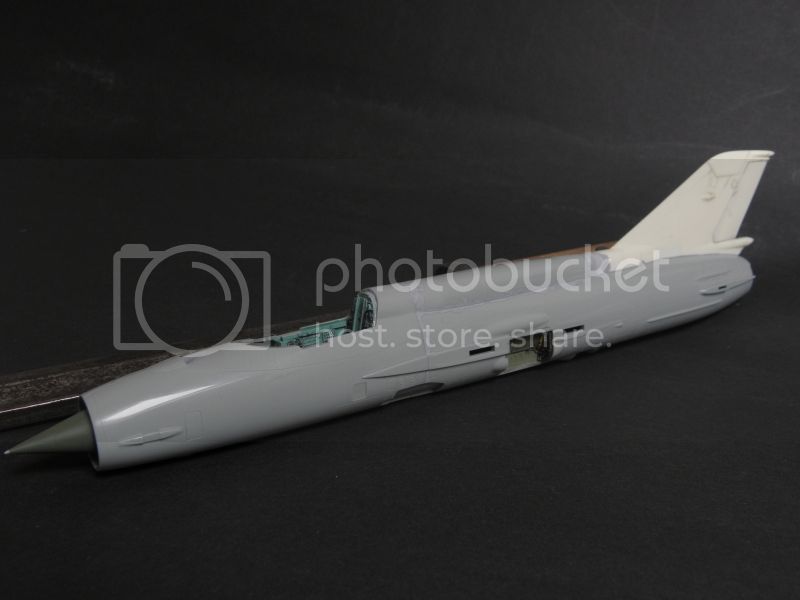
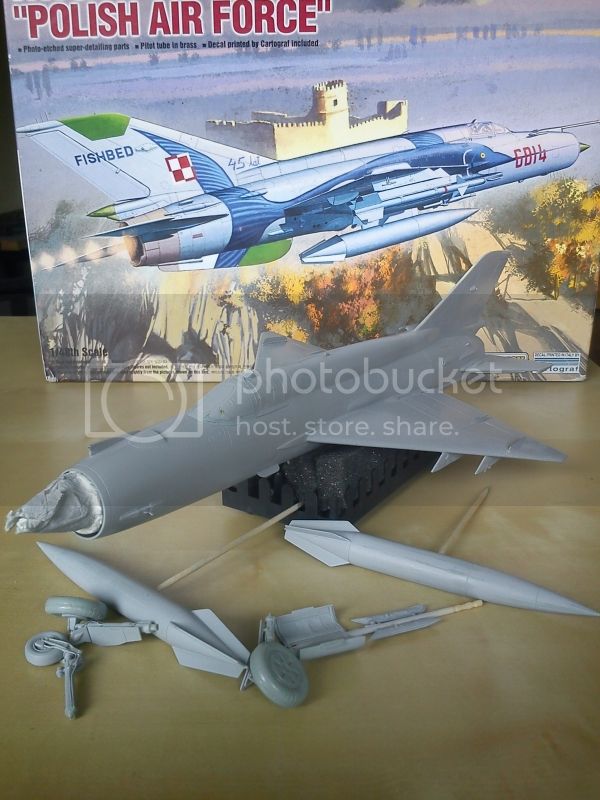
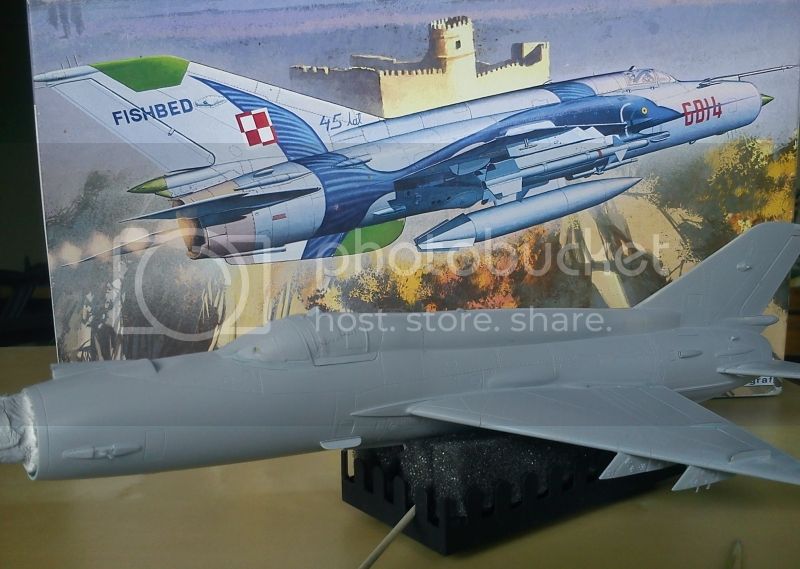
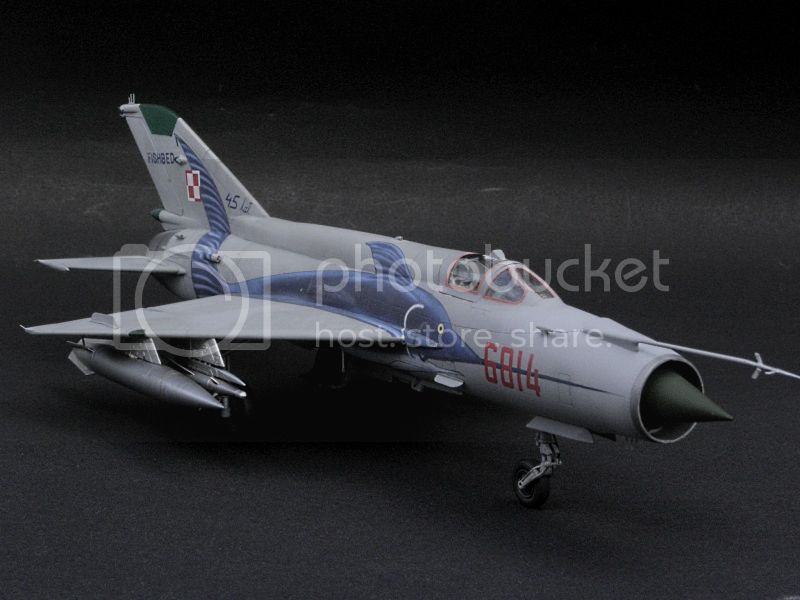
I have no idea about the comparison with Eduard's 21 as I have never had any in my hands. I suppose it won't withstand the competition due to its age and too many simplifications. Beside Academy MF better fits for the Bis than MF. The fit is rather good, I have build much worse kits, although I spent a lot of time on sanding and polishing the joint lines (and it payed off after priming). I wanted this kit because of the fish artwork of the fuselage. I said it loud three months too early - before Eduard released their MiG. My girlfriend heard that and bought me an Academy "Mig with fish", as she said to the seller, for the birthday or Christmass, just before Eduard release.