New South Wales, Australia
Joined: August 01, 2005
KitMaker: 113 posts
AeroScale: 37 posts
Posted: Saturday, April 27, 2013 - 11:34 PM UTC
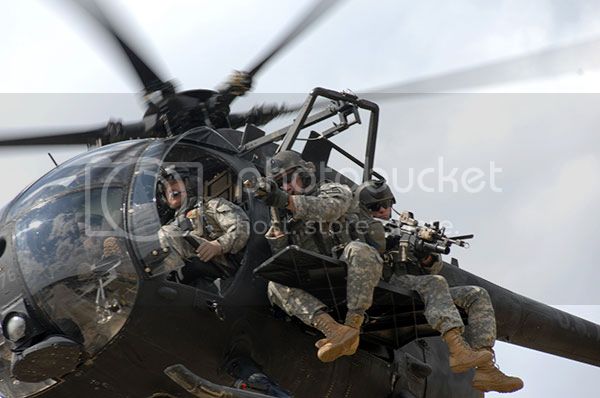
Our latest project, a conversion for the 1/35 Dragon AH-6J kit into an MH-6M.
Key updates will include:
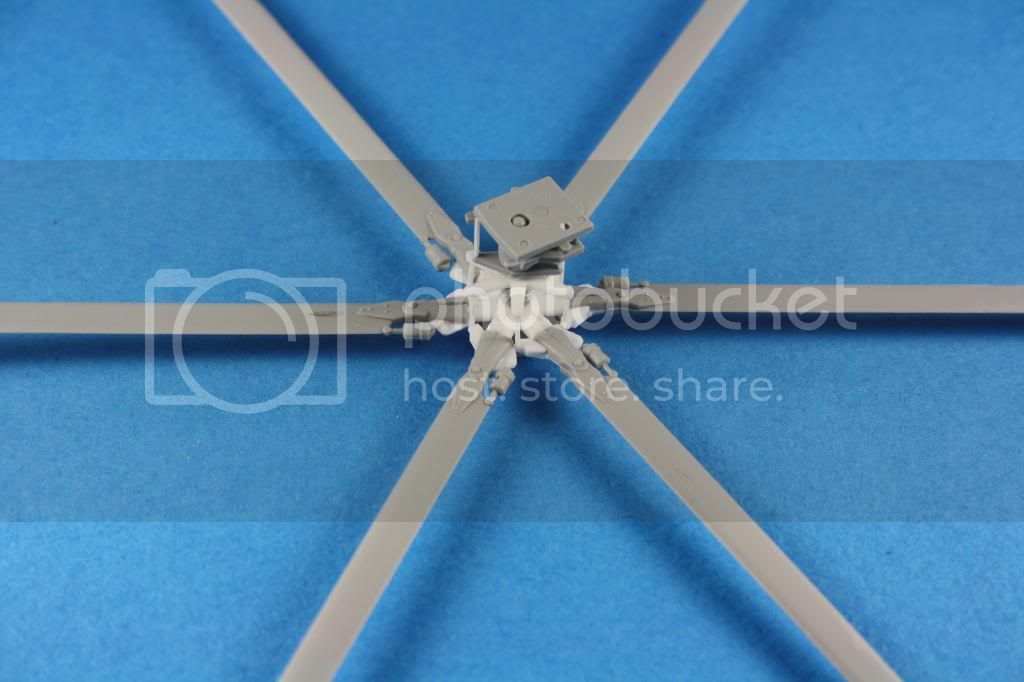
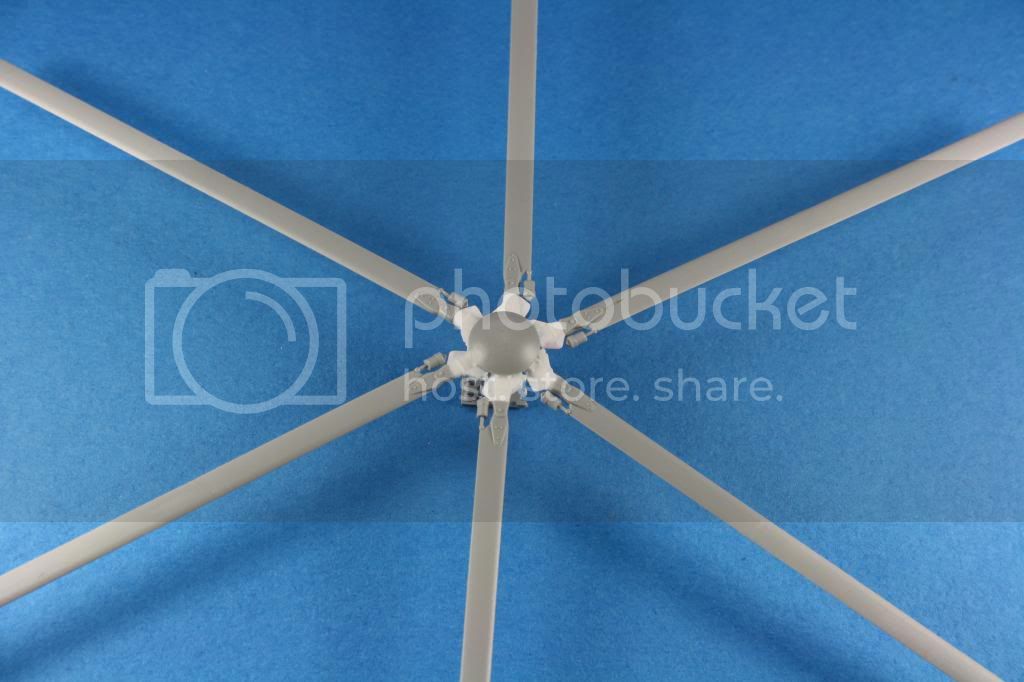
6 blade main rotor
4 blade tail rotor
Updated horizontal and tail surfaces
New aerials and bumps
Operator bench seats
Chin FLIR mount
Fast rope brackets and glass cockpit.
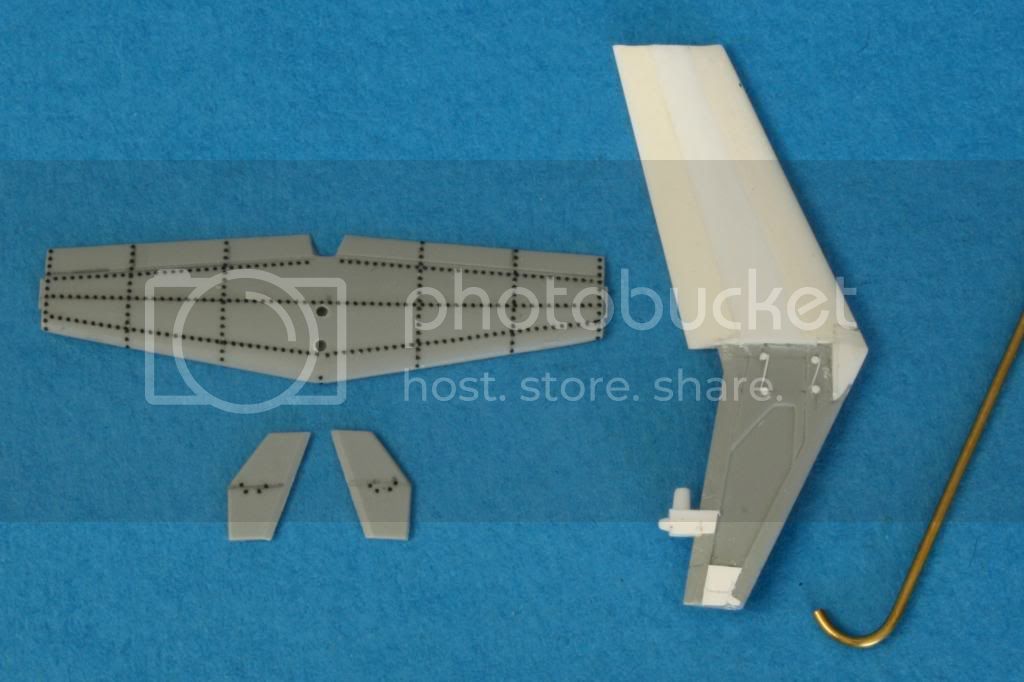
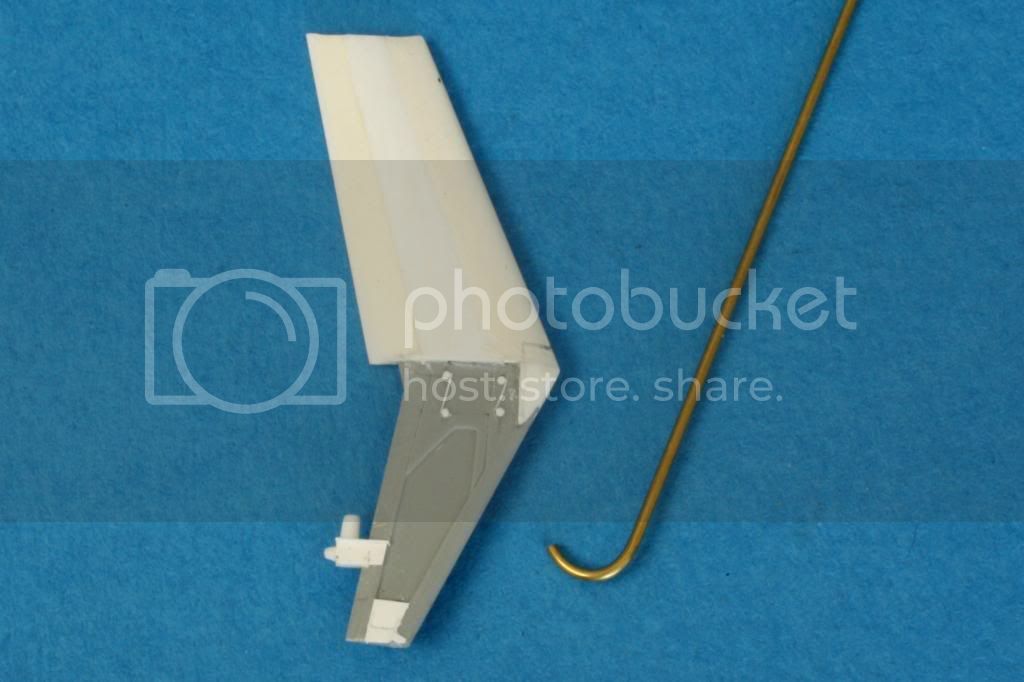
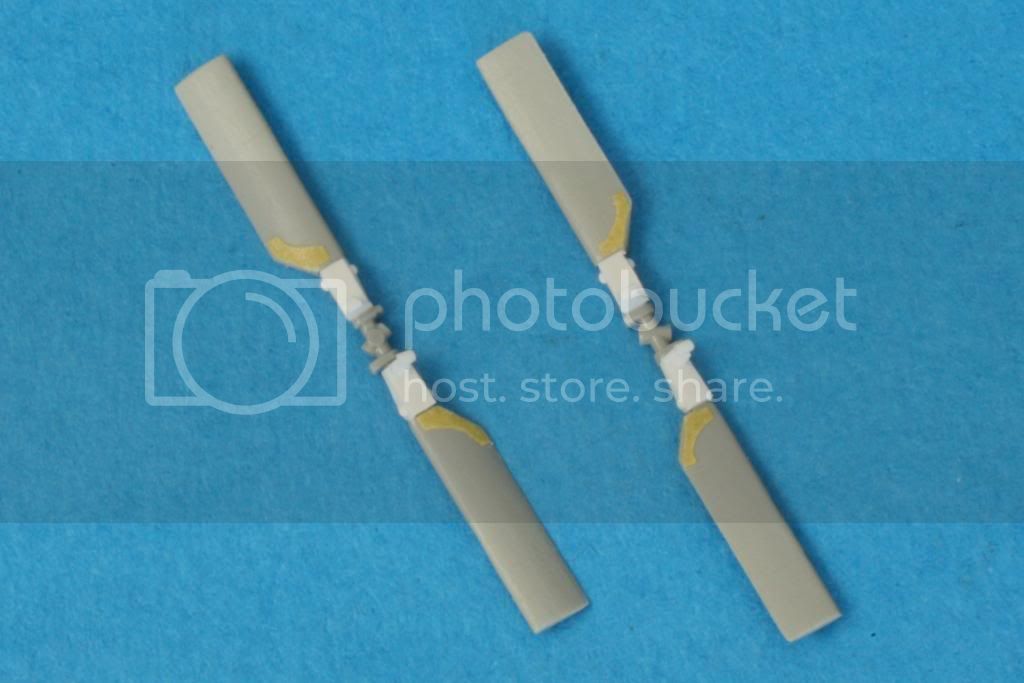
Miniature Creations
http://miniaturecreationsbymatt72.blogspot.com.au/


">
Florida, United States
Joined: May 16, 2002
KitMaker: 17,694 posts
AeroScale: 1,728 posts
Posted: Sunday, April 28, 2013 - 02:41 AM UTC
Very nice. I will keep an eye on your process. It looks good so far.
Field Artillery --- The KING of BATTLE!!!
"People sleep peaceably in their beds at night only because rough men stand ready to do violence on their behalf." -- George Orwell
Showcase
California, United States
Joined: December 24, 2002
KitMaker: 4,105 posts
AeroScale: 27 posts
Posted: Sunday, April 28, 2013 - 06:33 AM UTC
Nice. Did the MH-6M get the new instrument panel? Graphics could be found online if one does a search and the new MFD digital instrument panel is drastically different in appearances than the existing 1/35 DML "analog" one.
New South Wales, Australia
Joined: August 01, 2005
KitMaker: 113 posts
AeroScale: 37 posts
Posted: Friday, May 03, 2013 - 07:54 PM UTC
More progress, here the tail section, gearbox and 4 blade tail rotor and SATCOM Antenna complete.
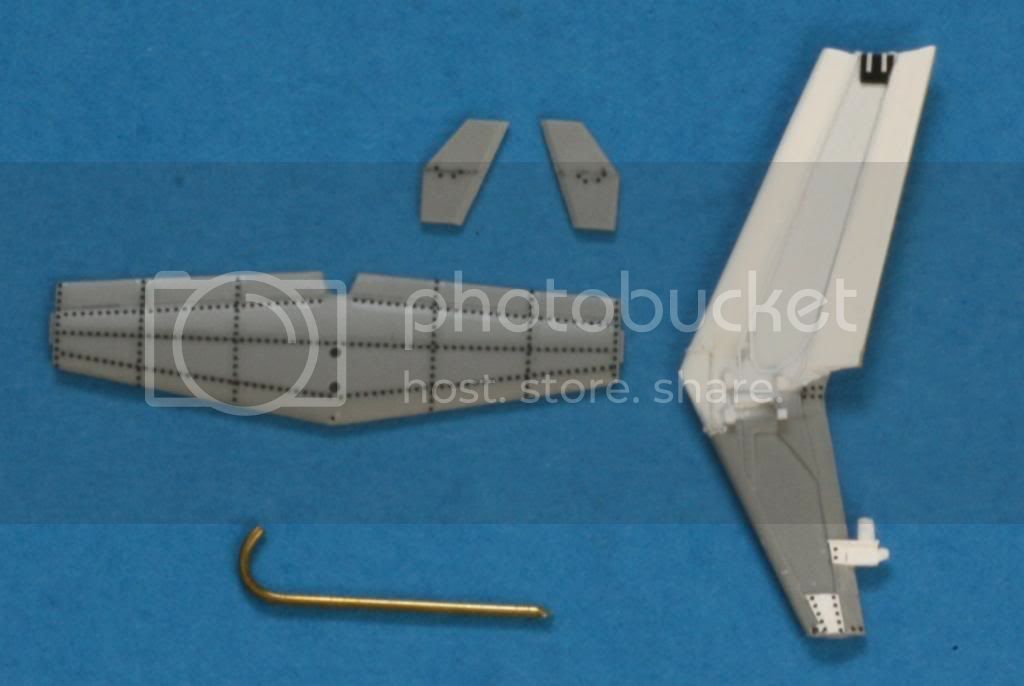
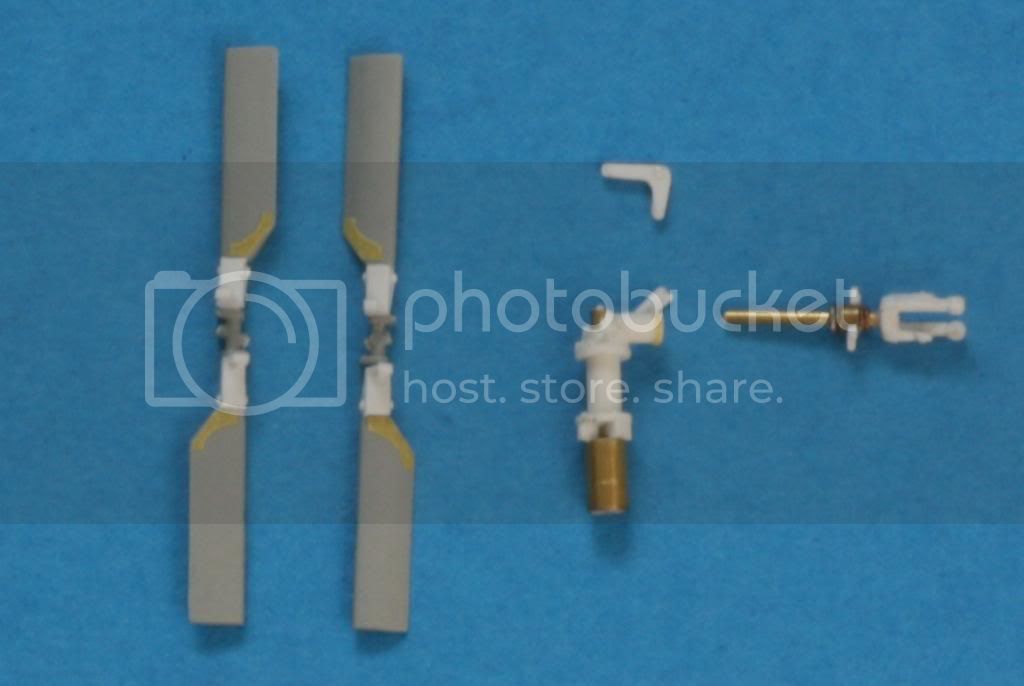

More info on my blog
Miniature Creations
http://miniaturecreationsbymatt72.blogspot.com.au/


">
New South Wales, Australia
Joined: August 01, 2005
KitMaker: 113 posts
AeroScale: 37 posts
Posted: Sunday, May 05, 2013 - 09:28 PM UTC
6 Blade Main Rotor hub under construction.
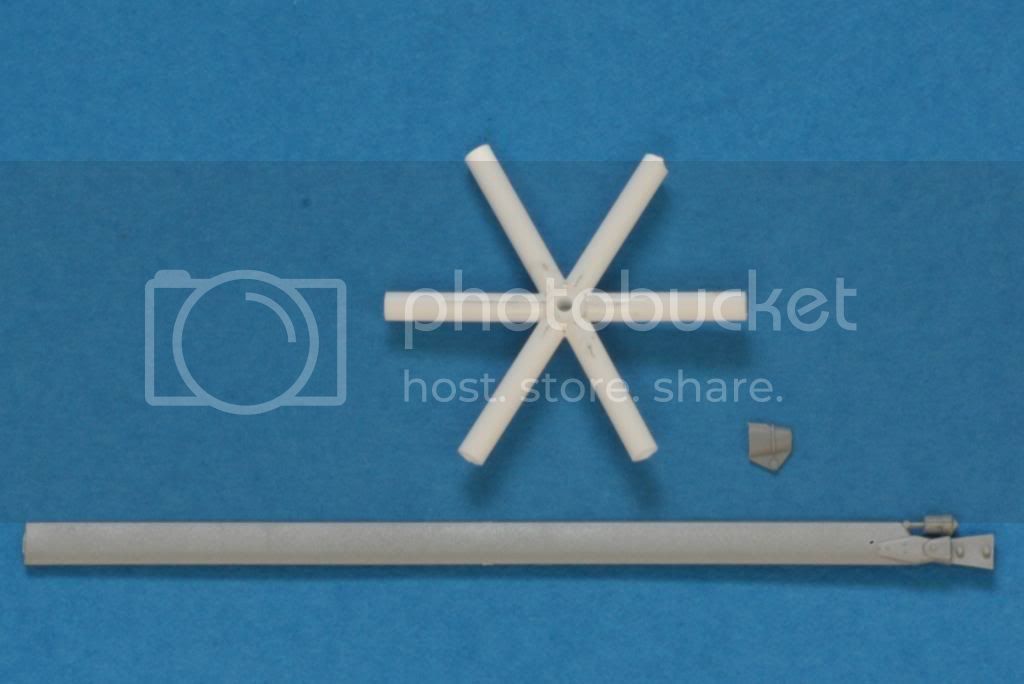
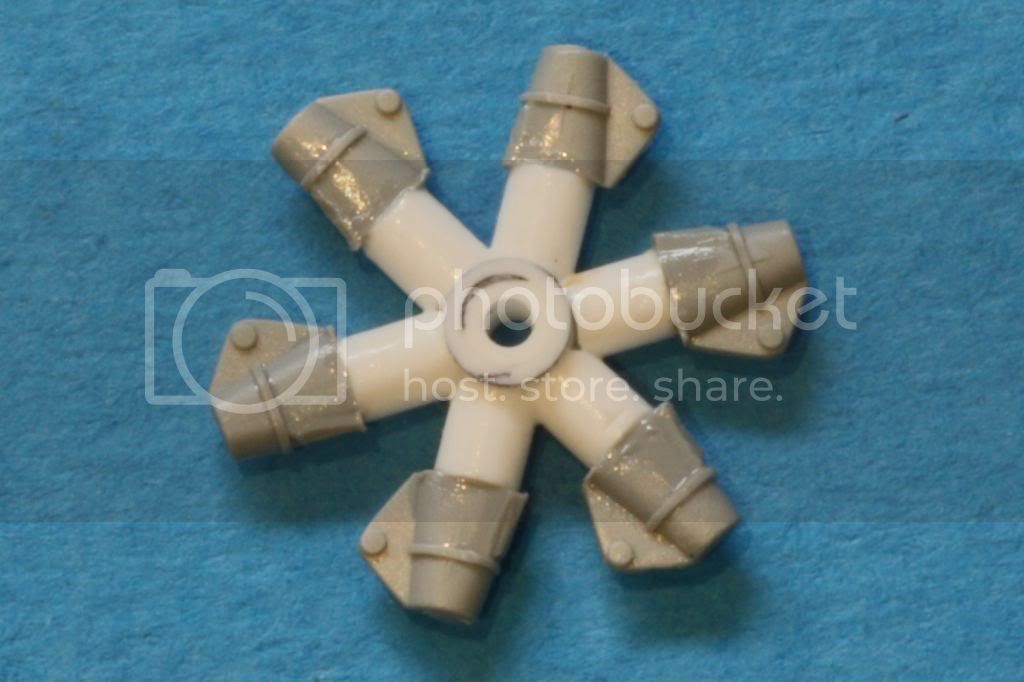
Miniature Creations
http://miniaturecreationsbymatt72.blogspot.com.au/


">
New South Wales, Australia
Joined: August 01, 2005
KitMaker: 113 posts
AeroScale: 37 posts
Posted: Tuesday, May 07, 2013 - 12:25 PM UTC
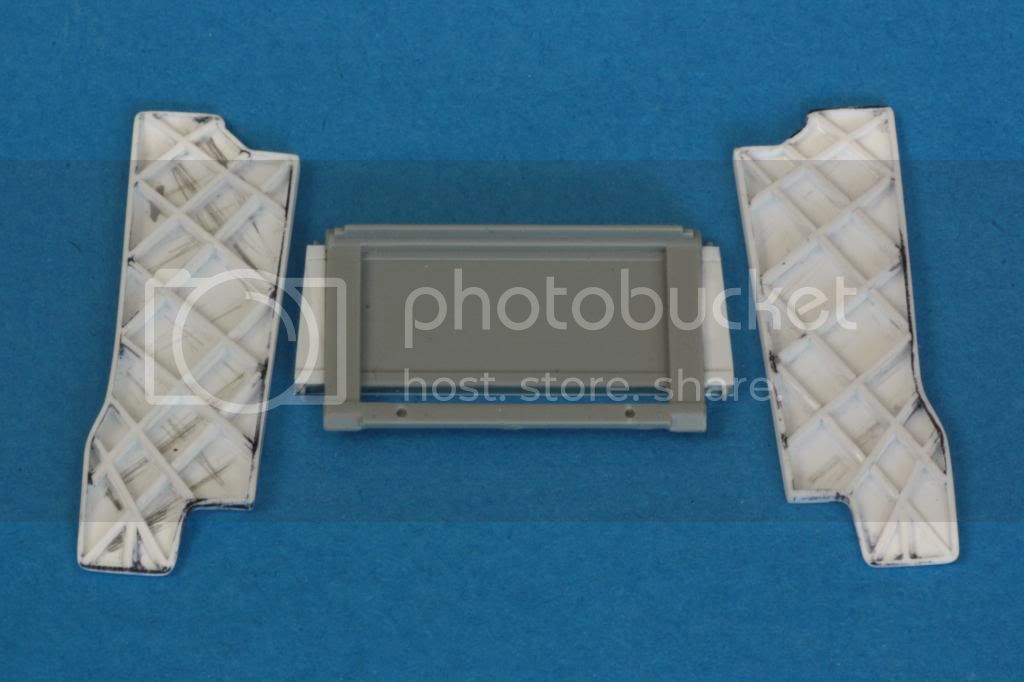
A little more progress, here is the part of the bench seats that runs through the airframe. I'm modelling this on the images posted by Justin McCracken on Aeroscale.


Miniature Creations
http://miniaturecreationsbymatt72.blogspot.com.au/


">
New South Wales, Australia
Joined: August 01, 2005
KitMaker: 113 posts
AeroScale: 37 posts
Posted: Wednesday, May 08, 2013 - 12:22 PM UTC
Miniature Creations
http://miniaturecreationsbymatt72.blogspot.com.au/


">
Ontario, Canada
Joined: March 29, 2010
KitMaker: 1,151 posts
AeroScale: 985 posts
Posted: Wednesday, May 08, 2013 - 12:45 PM UTC
Say whaaaat?? That baby's looking bad to the bone man.
And check out the pilot in the original photo. That looks like the pilot you want to have.
New South Wales, Australia
Joined: August 01, 2005
KitMaker: 113 posts
AeroScale: 37 posts
Posted: Thursday, May 09, 2013 - 08:50 PM UTC
Operator bench seats complete, ready for casting.
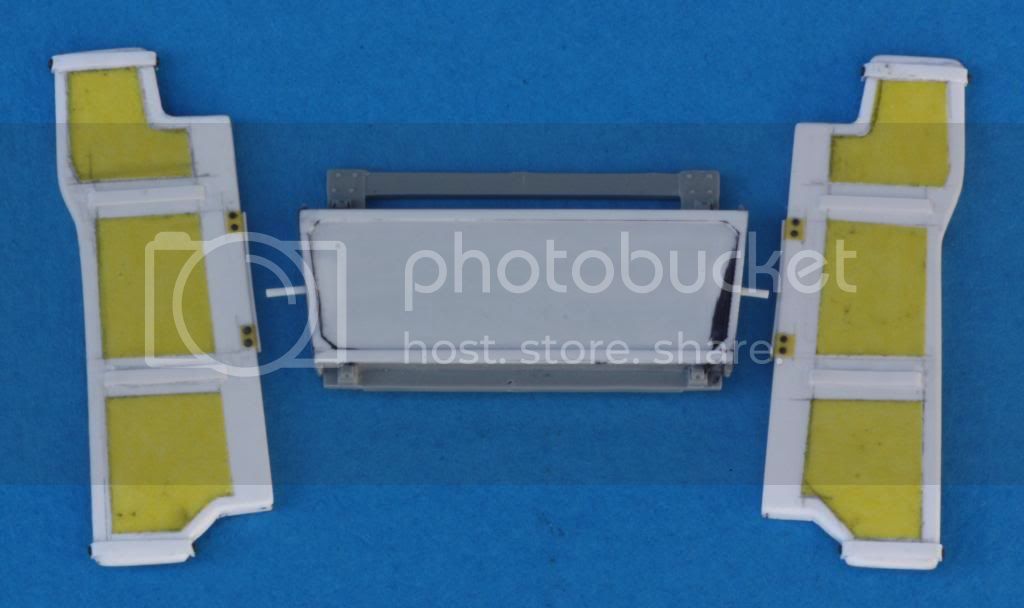
Miniature Creations
http://miniaturecreationsbymatt72.blogspot.com.au/


">
New South Wales, Australia
Joined: August 01, 2005
KitMaker: 113 posts
AeroScale: 37 posts
Posted: Tuesday, May 14, 2013 - 11:26 PM UTC
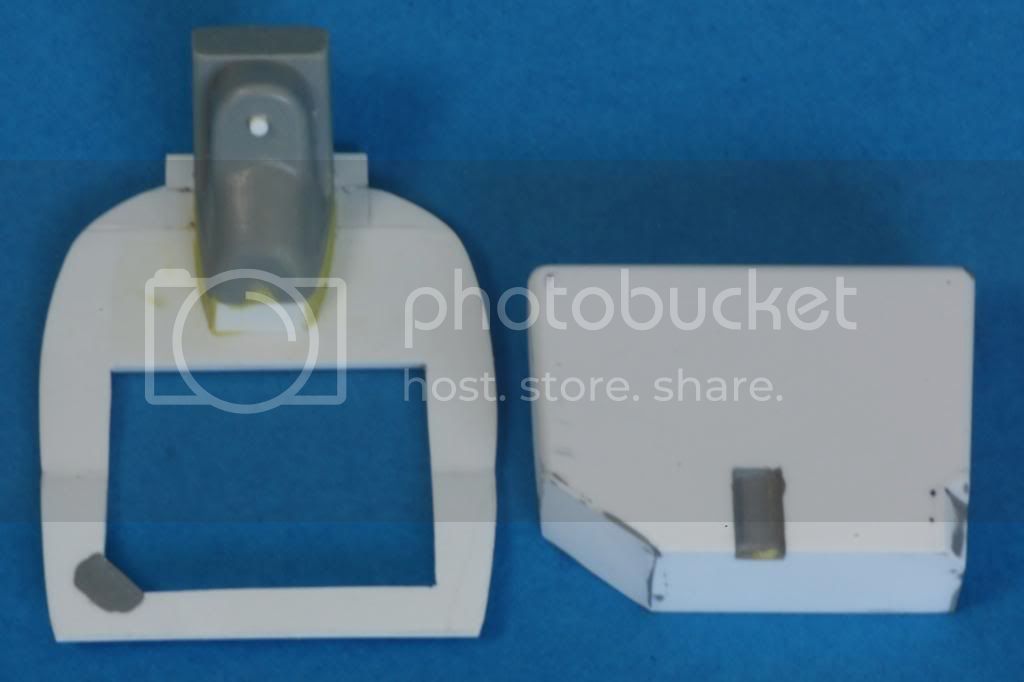
Rear bulkhead was remade to have a much better fit especially now the fuselage openings are opened up and the poor fitting kit part is very obvious. The fuel tank and other fittings will be incorporated into a single casting.
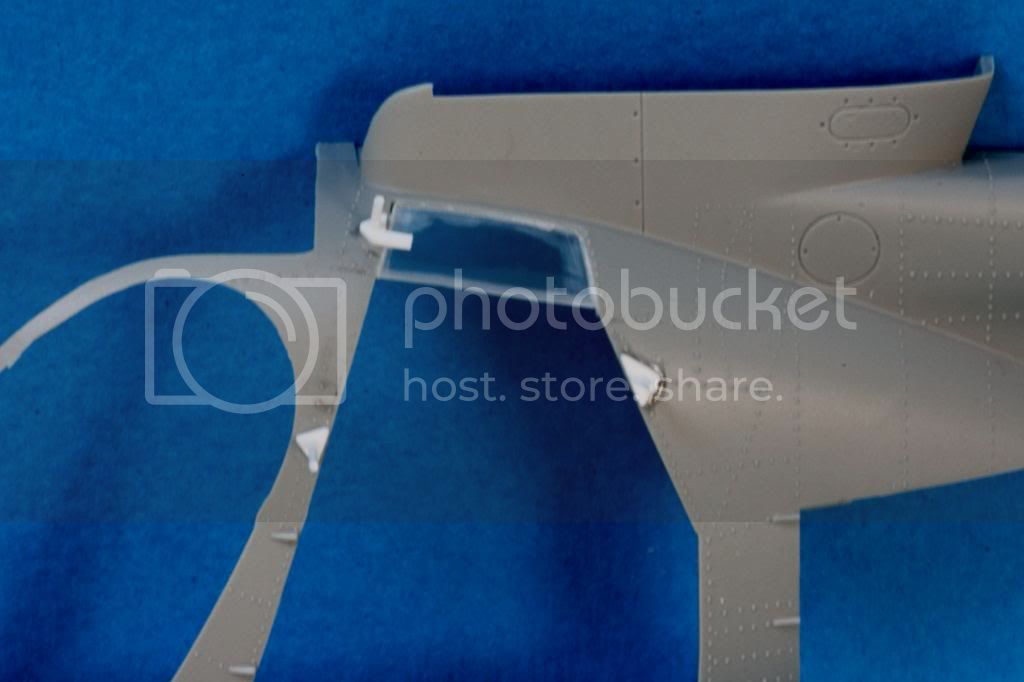
Fast rope frame mounting brackets added to both sides of the fuselage. They are held in position with PVA glue so they can be removed later.
Miniature Creations
http://miniaturecreationsbymatt72.blogspot.com.au/


">
New York, United States
Joined: January 29, 2004
KitMaker: 3,836 posts
AeroScale: 1,036 posts
Posted: Thursday, May 16, 2013 - 05:16 AM UTC
This is a great looking project Matt, awesome scratch work and detail. Please keep posting, can't wait for the painting.
Happy Modeling,
Joe
It feels like bible camp…Only I’m not crying pretending I’m somewhere else.
Happy Modeling
Joe
New South Wales, Australia
Joined: August 01, 2005
KitMaker: 113 posts
AeroScale: 37 posts
Posted: Thursday, May 16, 2013 - 06:24 PM UTC
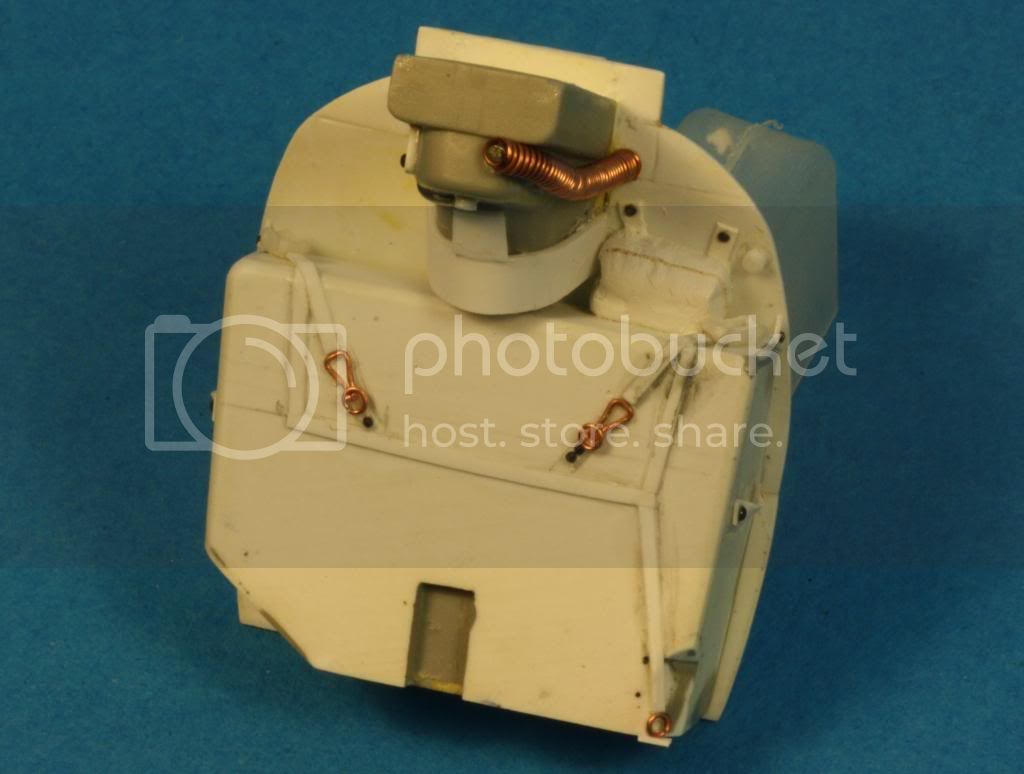
Rear bulkhead and fuel tank detail almost complete.
Miniature Creations
http://miniaturecreationsbymatt72.blogspot.com.au/


">
New South Wales, Australia
Joined: August 01, 2005
KitMaker: 113 posts
AeroScale: 37 posts
Posted: Tuesday, May 21, 2013 - 02:55 PM UTC
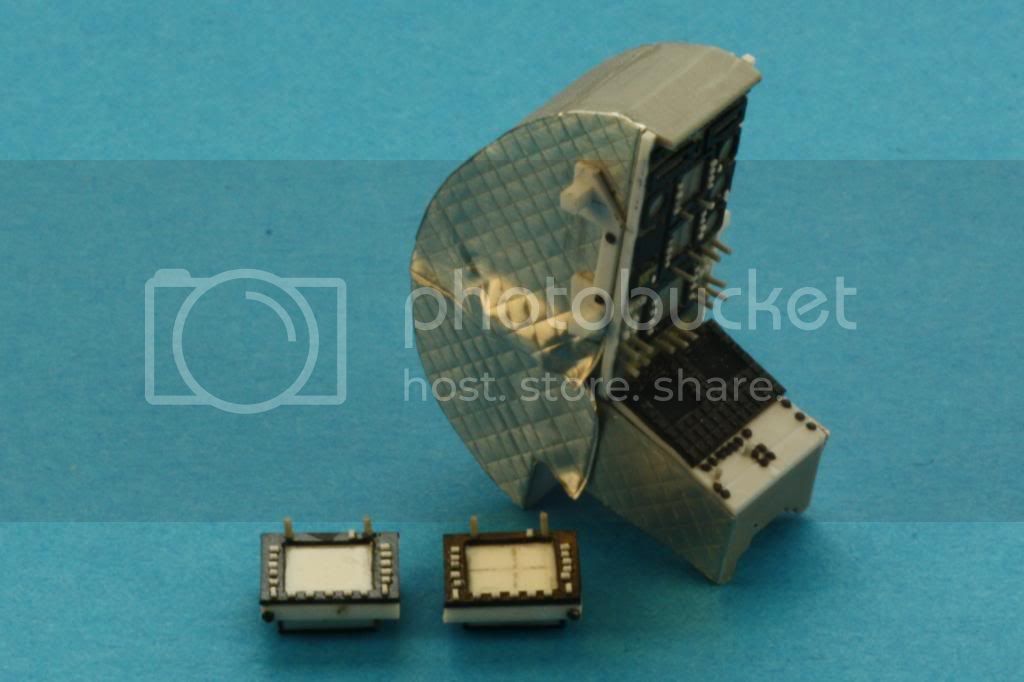
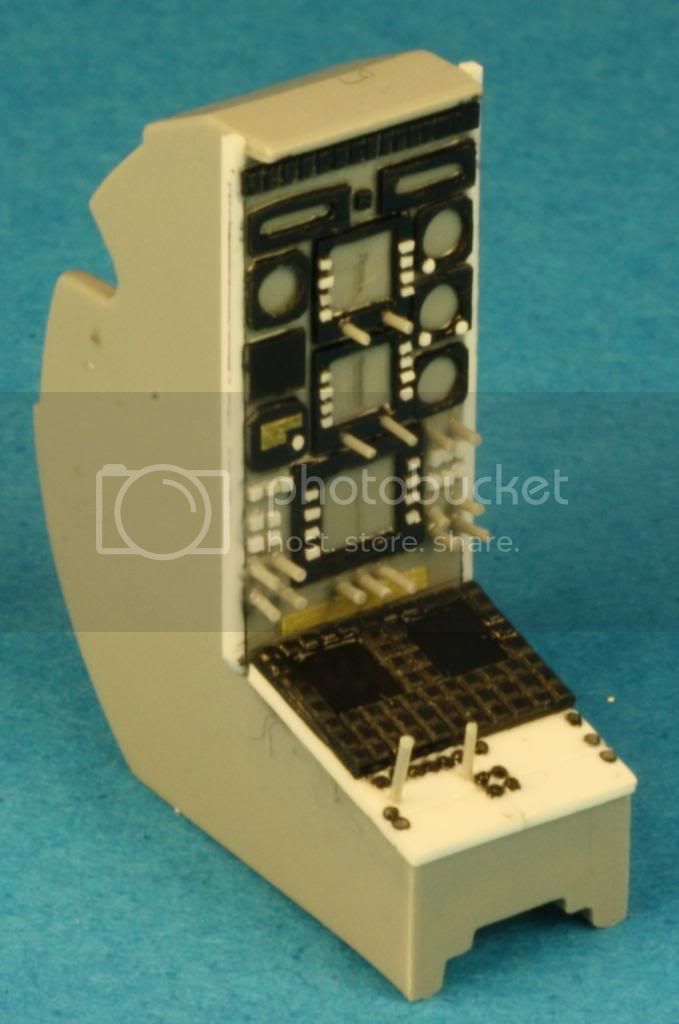
Instrument console detailed to better match the later model M version.
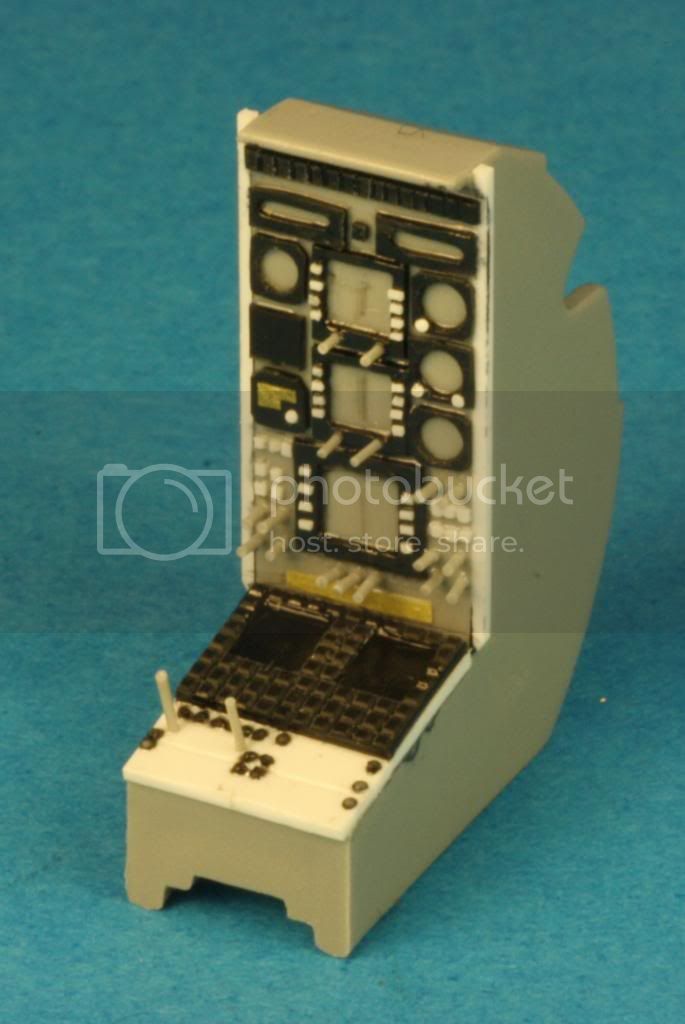
Miniature Creations
http://miniaturecreationsbymatt72.blogspot.com.au/


">
California, United States
Joined: December 24, 2002
KitMaker: 4,105 posts
AeroScale: 27 posts
Posted: Tuesday, May 21, 2013 - 03:21 PM UTC
Great detail work on the instrument panel! Fine job!
New South Wales, Australia
Joined: August 01, 2005
KitMaker: 113 posts
AeroScale: 37 posts
Posted: Wednesday, May 29, 2013 - 01:26 PM UTC
Miniature Creations
http://miniaturecreationsbymatt72.blogspot.com.au/


">
New South Wales, Australia
Joined: August 01, 2005
KitMaker: 113 posts
AeroScale: 37 posts
Posted: Wednesday, June 05, 2013 - 10:05 PM UTC
More components fabricated.
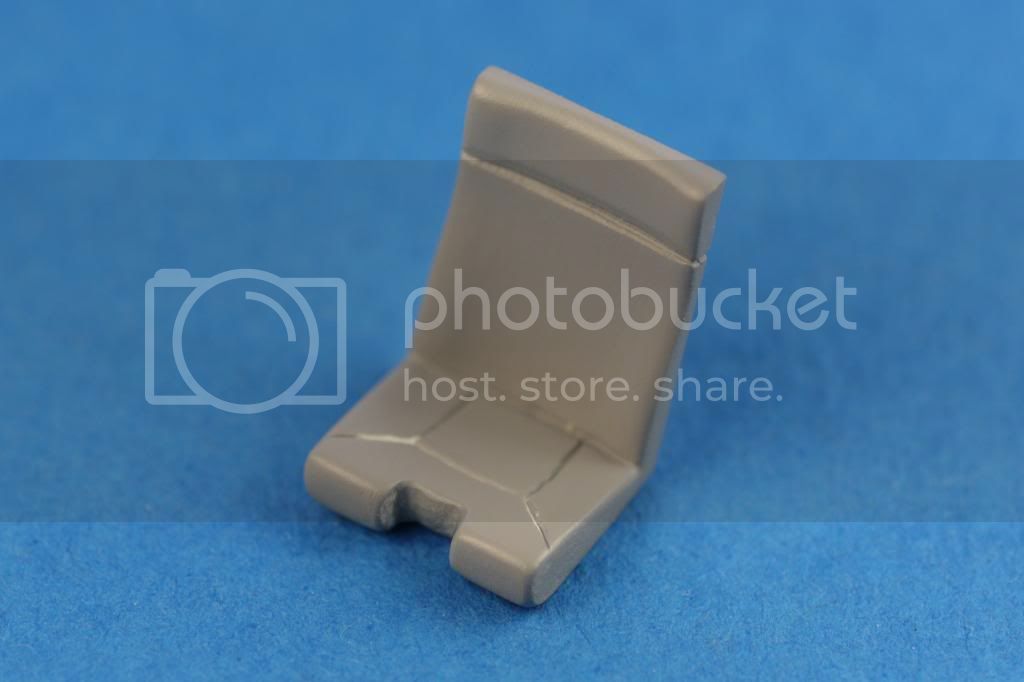
Seats reshaped.
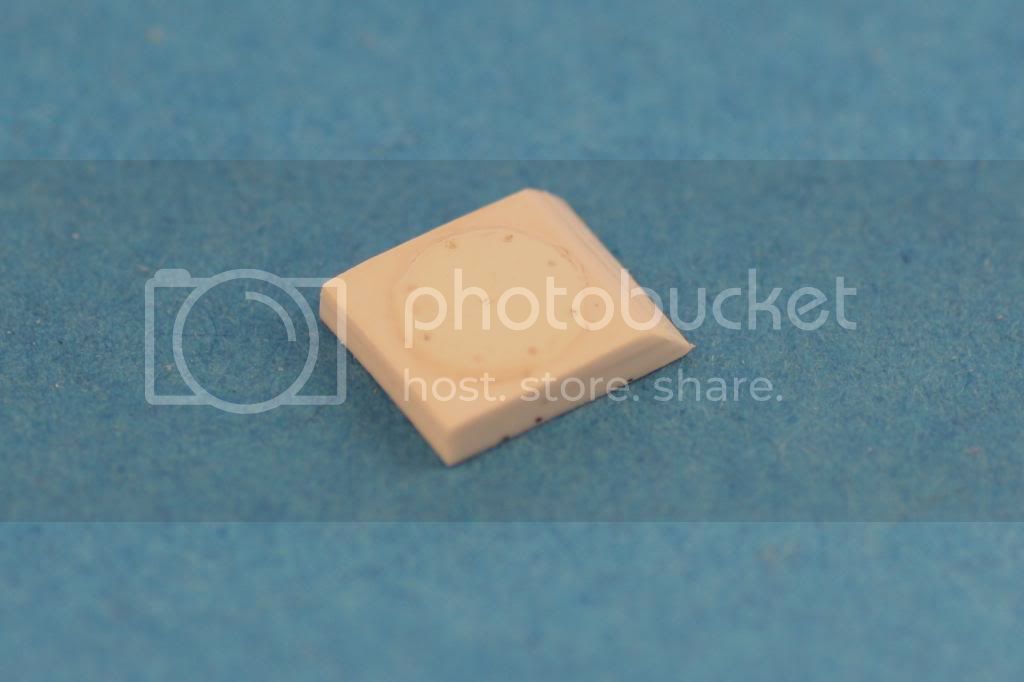

Underbelly details. If anyone knows what is in these boxes I'd love to know.
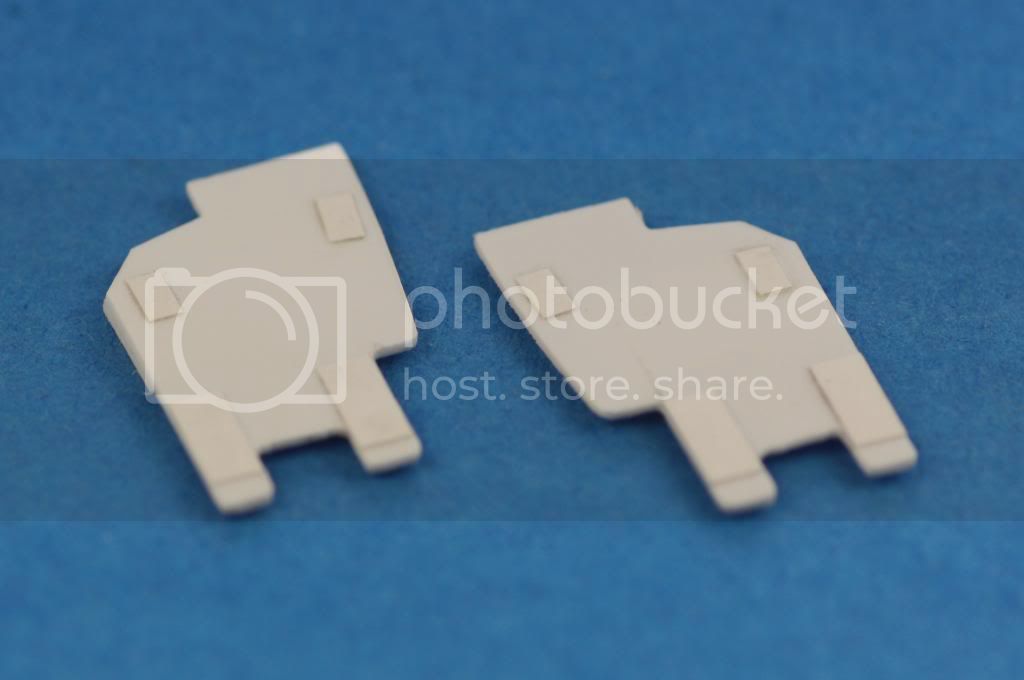
Cockpit floor armour plate
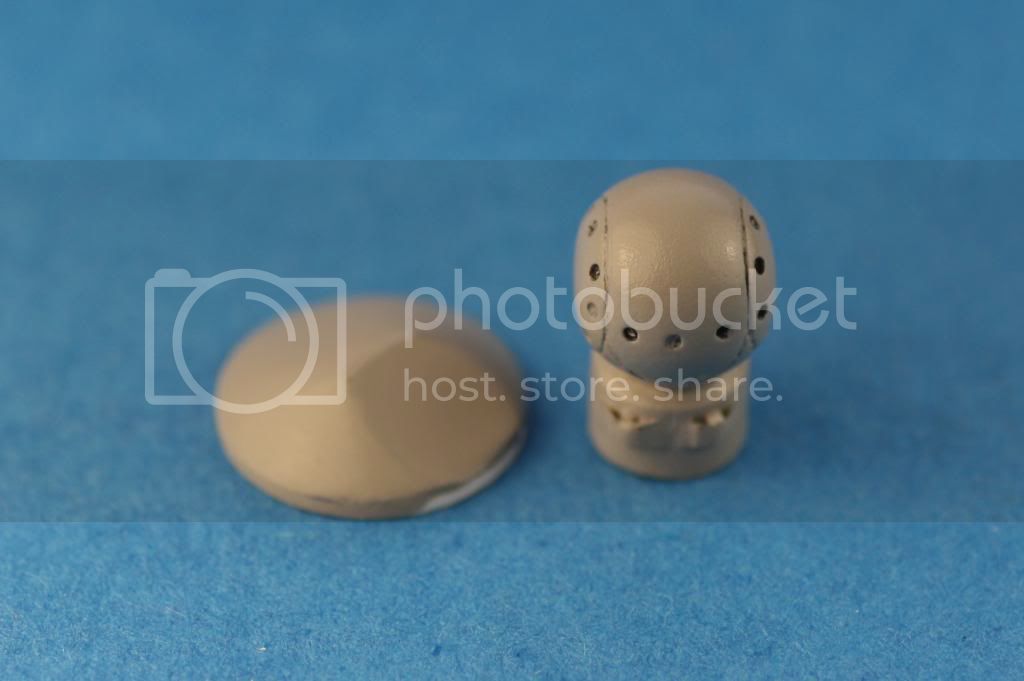
FLIR Turret.

Fast rope components.
Miniature Creations
http://miniaturecreationsbymatt72.blogspot.com.au/


">
New South Wales, Australia
Joined: August 01, 2005
KitMaker: 113 posts
AeroScale: 37 posts
Posted: Sunday, June 23, 2013 - 12:04 AM UTC
6 Blade Main Rotor assembled, white parts are the new resin pieces, grey the kit parts.
Miniature Creations
http://miniaturecreationsbymatt72.blogspot.com.au/


">
Florida, United States
Joined: May 16, 2002
KitMaker: 17,694 posts
AeroScale: 1,728 posts
Posted: Sunday, June 23, 2013 - 01:59 AM UTC
Very nice. It looks like this conversion set is almost there. Great job so far.
Field Artillery --- The KING of BATTLE!!!
"People sleep peaceably in their beds at night only because rough men stand ready to do violence on their behalf." -- George Orwell
Showcase
Australia
Joined: August 02, 2008
KitMaker: 231 posts
AeroScale: 14 posts
Posted: Monday, June 24, 2013 - 11:16 AM UTC
Very nice indeed Matt, are you looking at casting all of this conversion mate if so might be interested in a set for the two I have
New South Wales, Australia
Joined: August 01, 2005
KitMaker: 113 posts
AeroScale: 37 posts
Posted: Monday, June 24, 2013 - 09:52 PM UTC
Yes we will be casting the parts selling them as a kit. Unfortunately I've just started a new job so things have slowed down but it should be ready soon.
Matt
Miniature Creations
http://miniaturecreationsbymatt72.blogspot.com.au/


">
Australia
Joined: August 02, 2008
KitMaker: 231 posts
AeroScale: 14 posts
Posted: Tuesday, June 25, 2013 - 01:36 AM UTC
Oh real nice how much are you looking at selling them for mate and I would love two of them sorry for jumping in early
Florida, United States
Joined: January 14, 2009
KitMaker: 2,798 posts
AeroScale: 2,443 posts
Posted: Thursday, June 27, 2013 - 03:13 PM UTC
Sold here lol been waiting a long time for a conversion or kit only reason why I havnt done the bird yet
"From time to time, the tree of liberty must be watered with the blood of
tyrants and patriots."
- Thomas Jefferson
IPMS#47611
New South Wales, Australia
Joined: August 01, 2005
KitMaker: 113 posts
AeroScale: 37 posts
Posted: Saturday, August 10, 2013 - 12:24 PM UTC
Hi all slow progress due to outside factors but getting back into the conversion. Here is the latest update.
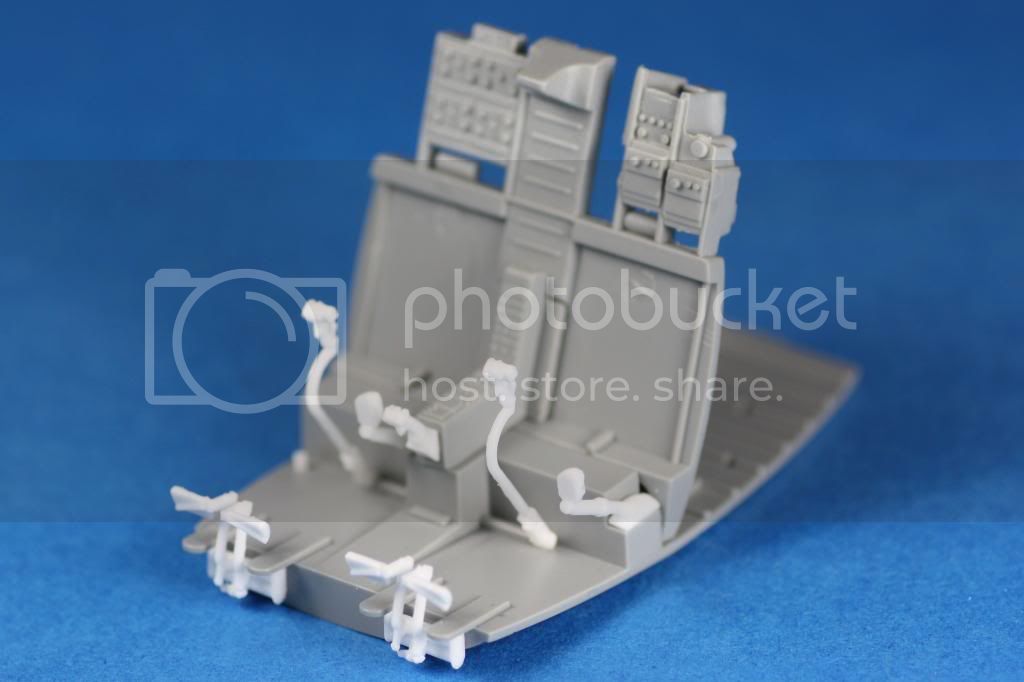
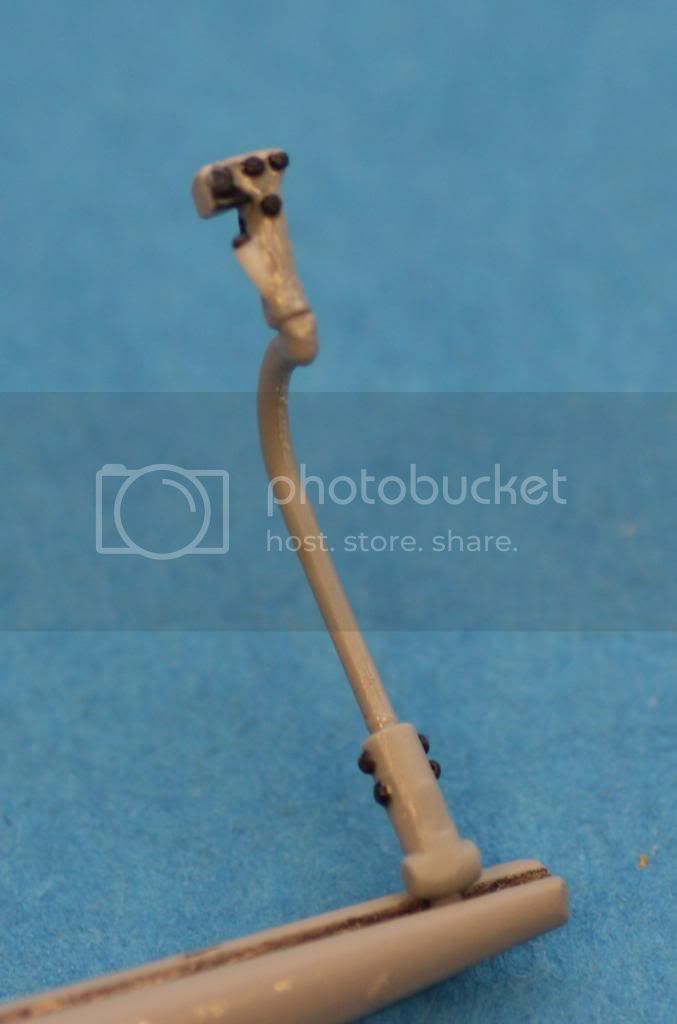
Rudder pedals, cyclics and collectives.

Instrument console, FLIR display screens, armoured floor panels and passenger seat mounting bracket.
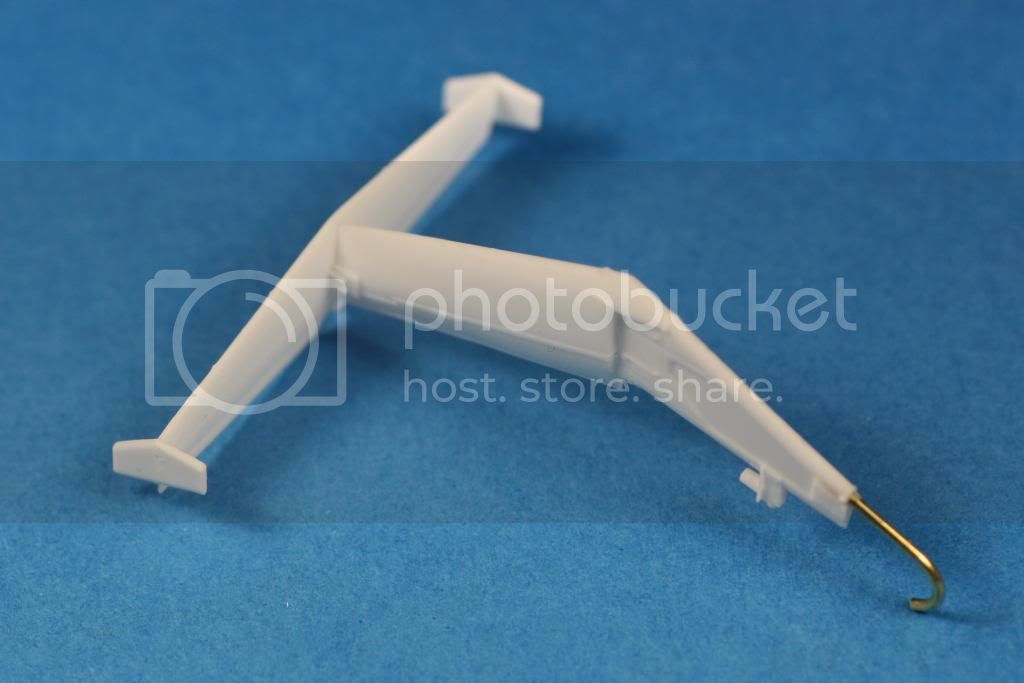
Tail section with brass tailskid.
Miniature Creations
http://miniaturecreationsbymatt72.blogspot.com.au/


">
Florida, United States
Joined: May 16, 2002
KitMaker: 17,694 posts
AeroScale: 1,728 posts
Posted: Saturday, August 10, 2013 - 12:52 PM UTC
Coming along nicely. Keep up the good work.
Field Artillery --- The KING of BATTLE!!!
"People sleep peaceably in their beds at night only because rough men stand ready to do violence on their behalf." -- George Orwell
Showcase
New South Wales, Australia
Joined: August 01, 2005
KitMaker: 113 posts
AeroScale: 37 posts
Posted: Tuesday, August 13, 2013 - 09:30 PM UTC
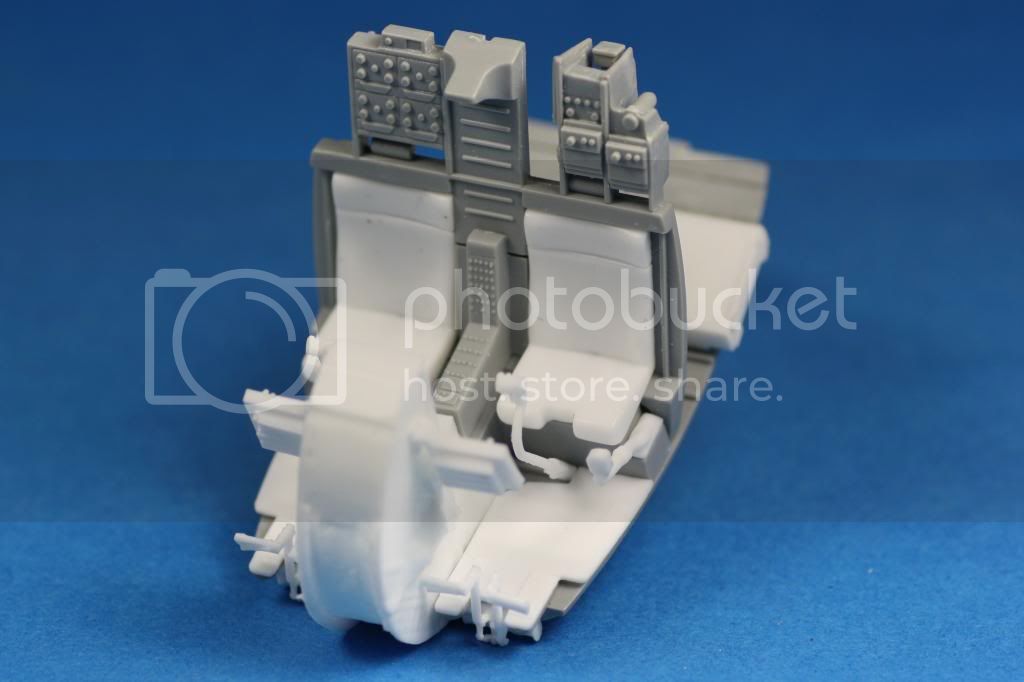
Latest update, here is the cockpit complete including modified seats.

Rear bulkhead including fuel tank and gearbox detail.
Miniature Creations
http://miniaturecreationsbymatt72.blogspot.com.au/


">


