Paints: Vallejo Model Air & Model Color, Golden Fluid Acrylics
Weathering: Salt, Com.Art/Iwata acrylic paints
Techmod (Zestaw Kalkomanii) Decals
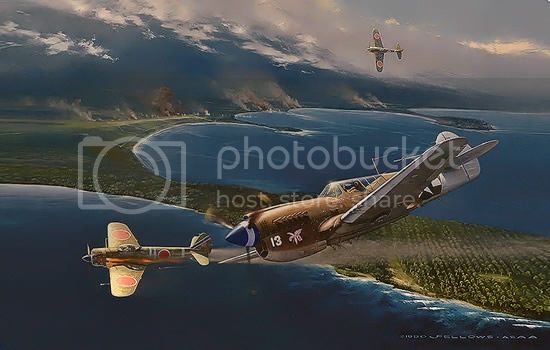
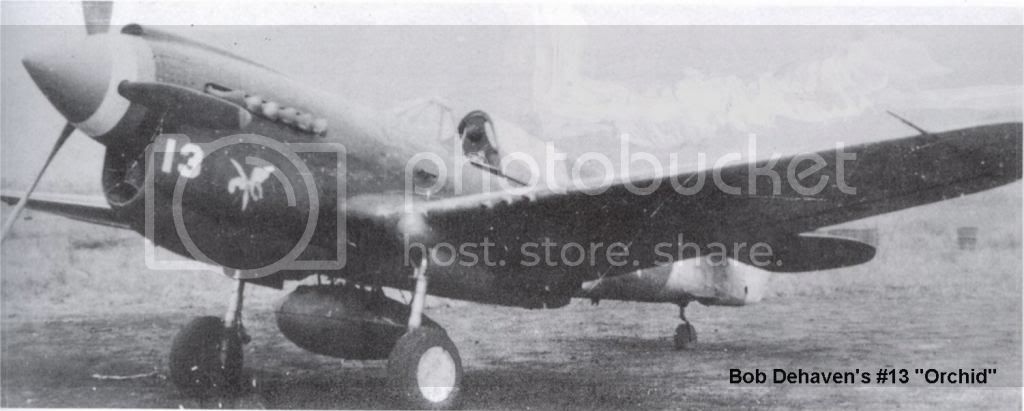
The reproduced print above “Escape from Cape Moem” by noted aviation artist Jack Fellows serves as the cover art of the paperback version of “Fire in the Sky”, a book I wrote about twelve years ago. It's a good print of its genre and I have one hanging over my modeling desk in California. The subject is dramatic enough – a top Japanese Army Air Force ace and group leader Shigeo Nango was shot down by Robert DeHaven the top ace of the 7th Squadron of the famous 49th Fighter Group over Wewak New Guinea in June 1944. The choice wasn't random because Robert DeHaven spent several hours of his time helping me reconstruct elements of the air war in the South and Southwest Pacific. He was extremely thoughtful, well spoken and very well informed having served as head of US Fighter Aces for several years in addition to his two years of Pacific War combat. It was a genuine pleasure to have known him.
The Kit:
The AMT P-40N I believe comes from the mid-90s. The part count is around 70. Although the cockpit rode a little high when deployed open, I have little to complain about. It a good 90's kit – finely recessed panel lines and a plastic that is soft enough to mold but not fragile. The kit strikes me as very well shaped. Fit was very good across the board and there were no problems not handled by Perfect Plastic Putty a Brit product that is very like acrylic modeling paste. This could easily have been what I call a “Zen Build” when you assemble, paint and listen to music. Italieri presents the same kit today and if you want a P-40N I strongly recommend it. (I've got one to put in Australian garb.) The AMT instructions were adequate and the Italeri's better.
Paint:
US Aircraft until September 1943 (when they adopted natural metal finish) were a variation of olive drab and gray. Some planes were given a scalloped medium green over olive drab but this instruction (rarely observed apparently) was dropped by 1943 when the P-40N was arriving in theater. According to Robert Archer ($50 – Schiffer) almost all US aircraft were painted with the 1940 (ANA) olive drab with gray beneath. I tested every paint I had against the glossy samples given in Archer and came up with an olive drab colors that worked well. I found that both Vallejo Model Air and Model Color Olive Drab were both pretty close to Archer if given just a bit of Model Color Khaki Gray. (BTW: this would probably be the wrong recipe for armor, although it would probably work pretty well if lightened a little with maybe yellow. Model Air is the lighter of the two which is what you'd want for AFVs. ) I find other brands, Tamiya is a good example, having too much green. OD was made by combining black with ocher – unfortunately unless we know how the black and ocher were made (either could be a combination of several pigments) we're a little in the dark. Anyway, I've looked at a lot of WWII photos and films and think Archer is right in picturing OD as a kind of brownish yellow with “fugitive” green. Vallejo Model Color Neutral Gray matched Archer's sample very well and is a little darker than you often see.
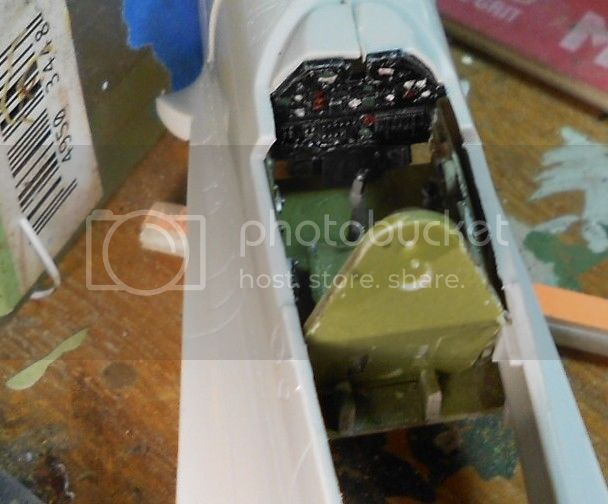
The insignia white was a little tougher. I really did want the fabric control surfaces – which are large on a P-40 – to appear lighter than adjoining metal surfaces. Easy enough to do with the ailerons by preshading the entire panels with Golden Titanium White which is the most opaque white I've ever used. For the tail I used Vallejo Model Color Off-White on the control surfaces and the same color tinted with a bit of buff on the metal. I have a home made brew for interior green that I like a lot.

Weathering:
7th Fighter Squadron in Dehaven's tour was based in New Guinea. (In October 44 they flew out of the famous Tacloban air base on Leyte where Dehaven got five of his 14 kills in a P-38.) Nobody planned to fight a war in arguably the most primitive place on the planet, but there you go. It was an odd place and shaped an odd air force. Because there was no meaningful contact with indigenous peoples, the men were thrown back on their own resources for everything. Despite prodigious efforts by General Kenney to gain “good press” in the US and thus help procure more resources, pretty much everything was in short supply. In California I have dozens of shots of New Guinea “flight lines” and as several vets told me 5th AF aircraft received maintenance at very crude forward bases that intended for better equipped rear areas in Australia. So these were pretty well worn planes. (Two of the 5th AF bomber groups staged a kind of “sit down” strike to point out that the planes they were flying weren't safe and Kenney was smart enough to take action.) Living on the edge had its advantages as events showed because the ground crew wizards of 5th AF, inspired by the eccentric mechanical genius “Pappy Gun” (a gent who Kenney wrote a biography of after the war) created the fearsome B-25 “strafer” attack planes that attacked at tree top level with eight forward firing .50 caliber mgs and a bomb bay full of deadly “parafrags.” The model was so successful that North American made a proper version in the US. And, although I can't really explain it, the 5th AF combat squadrons had a kind of swagger. Perhaps it was simply being successful. In 1943-44 5th AF destroyed the Japanese Army Air Force in New Guinea and helped kill its remnants in the Philippines. The Navy Hellcat pilots probably downed more Japanese planes because they were many and often operated in a very “target rich” environment. But it was 5th AF that became noted for its aces: Bong and McGuire led the pack in World War II while gents like Gerald Johnson, tactical guru Charles MacDonald all had over 20 kills. DeHaven's 14 included nine in a P-40 which I think made him the highest ranking USAF P-40 ace surpassed only by some Aussies in Desert Air Force.
But the gorilla in the room for air warfare in New Guinea was the climate. Extreme heat and humidity were accompanied by daily rain storms. (This was a good place for micro organisms and it's safe to say that most US pilots and aircrew had malaria, “jungle rot” or some other tropical delight until a massive sanitation effort was imposed in late 1943.) There was no real air base in New Guinea so even major bases like Dobodura were laid out on clay soil and Marsden matting. At best the aircraft had revetments but no hangars. (Ironically the best base in the Southwest Pacific was Japan's facility at Rabaul.) So the aircraft sat in brutal sun every day and took off and landed on either mud or dust on every flight. (The heat was so extreme that the mud could turn to dust in a very short time.) Unless an aircraft was new in theater (not common in 5th AF) it would have been faded and dirty. And because so much maintenance was done in the open they were probably pretty scratched up too.
There are several ways to fade and show dirt on a machine and I used a lot of them. Not only did I preshade panel lines, I also preshaded entire panels, particularly underneath. The olive drab portion of the aircraft got three doses of salt fading with progressively lighter shades, combined with a light blast of black down the side right over the wing. As you can see, I was liberal with sodium chloride:

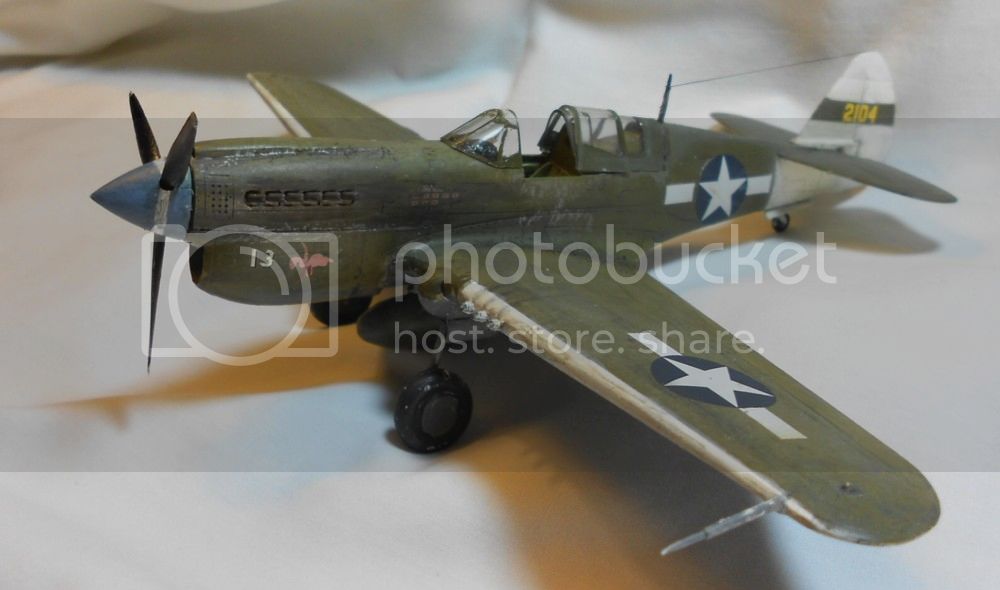
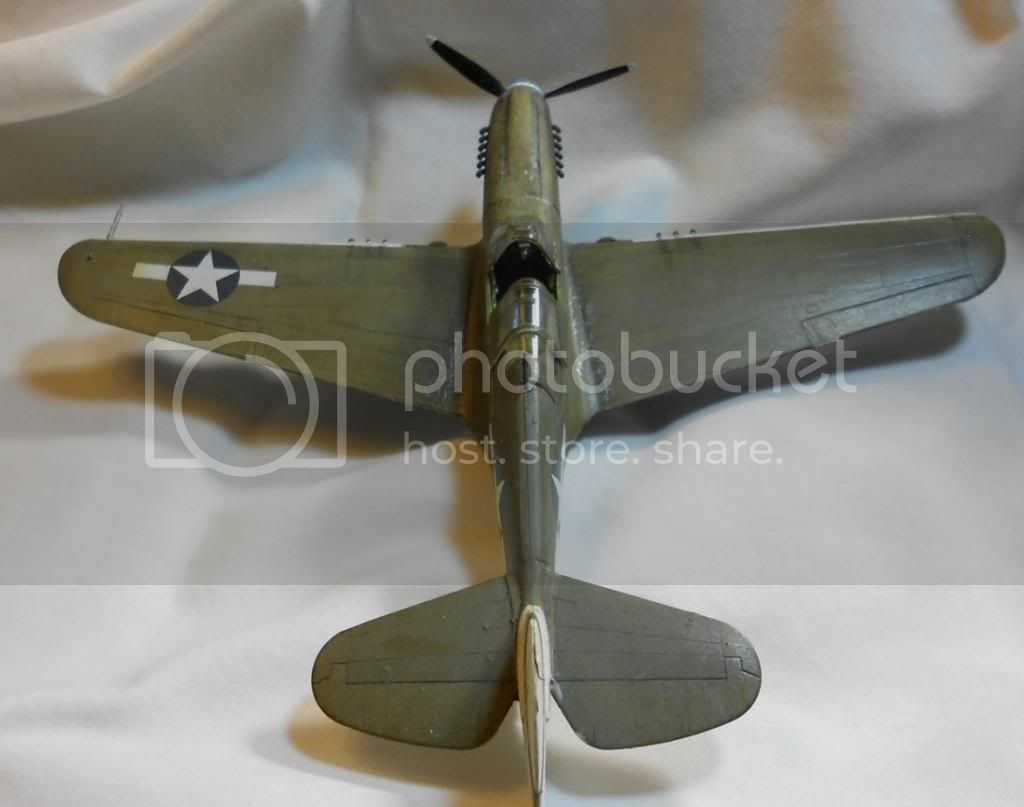
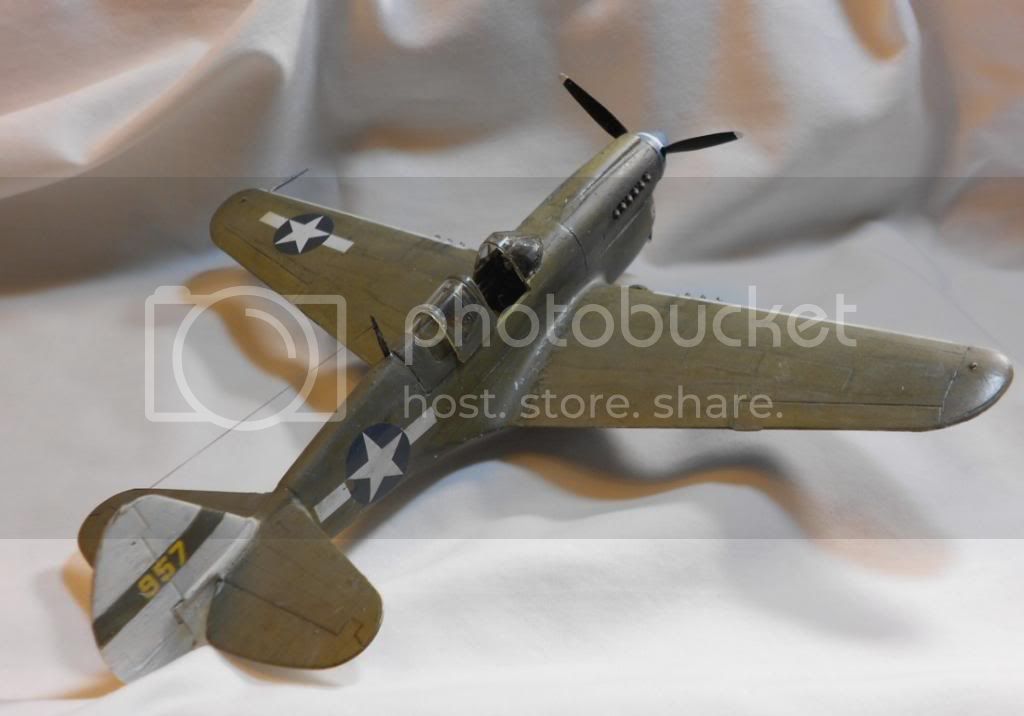
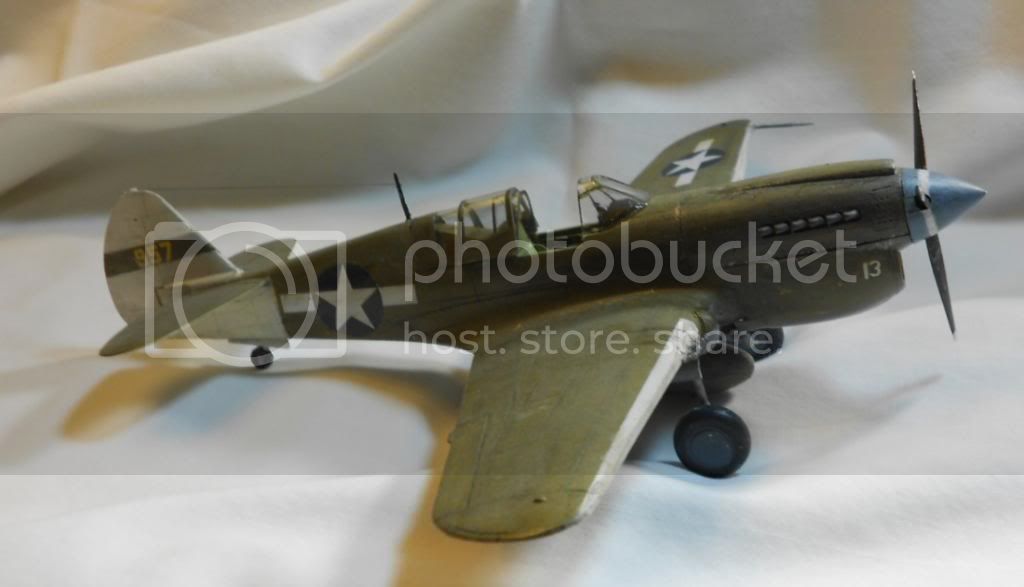
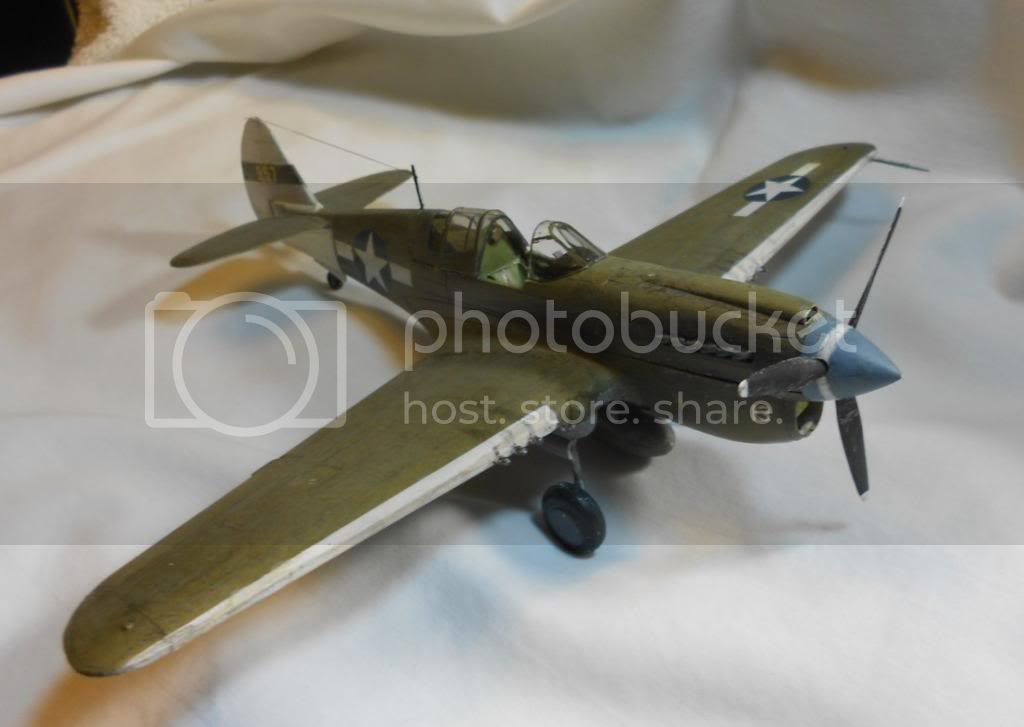
After the salt fading and a coat of Pleadge, I used Iwata Com.Art paints which I have grown to really like for weathering. (I first stumbled on these things on a model railroad page. Iwata sells a set for railroad weathering and I bought it.) These paints are really designed for painting on canvas or cardboard and don't take well to plastic. Most of the colors I used are “transparent” - which simply means they have very low opacity. The fact that that Com.Art adheres poorly to plastic is a huge advantage. If you want to get it off,you can. I've found removing other forms of weathering paints (enamel/oil washes or oil dot fading) to be a “sort of” endeavor and at minimum leaves open the possibility of residue from solvents. Com.Art is totally water soluble and comes off nice. Indeed, you can wet it after its bone dry (or even the next day) and get it off. I like the stuff for panel lines. I'm sure others with disagree with me, but I'm not sure that the extremely crisp panel lines left by a good enamel or oil wash look like a real airplane. It's all rather abstract – what does a plane look like 48 feet away? Anyway, I've spent the last couple of years really looking at aircraft, ships and construction machinery. As far as aircraft go, major panel lines are very prominent but I find most minor panel lines (the vast majority) to be indistinct. They're there, but not in sharp relief. At least that's what my eyes tell me. So for panel lines I used Com.Art Transparent Smoke which is just a black with very low opacity. You put the stuff in like any wash and let it sit for a couple of minutes and then dab it off – the problem is usually getting too much off. If so, do it again. As noted, the stuff is very easy to remove if there's too much. Actually I don't a little residue here because it's so subtle. I would grind some in and it emulates not fluids but dirt and dust. I also usually tried to dirty the surface randomly – with some very obvious examples I don't think airflow shows so clearly on real aircraft as it appears on some models. Then I mixed a brew that emulated olive drab (their top fading color “light dirt” with some sienna and transparent black) neutral gray (blue-gray smoke and light dirt) and used some straight light dirt on the tail. The effect is somewhat related to pigments but is more subtle. Above all what I tried to do was to break up the coloration on the entire aircraft – make the viewer's eye work for a living. (A while back I as trying to mix a paint for early war Zeros to use on a Val. I got some color plates of what I was looking for and put them into Corel Paint. Passing the cursor over a color photo of a real aircraft is an interesting experiment – the RGB readings vary dramatically even on very small surface areas. As I understand it, experts in optics still argue about the concept of “primary colors.” Over my pay grade.) Here's what it looks like:

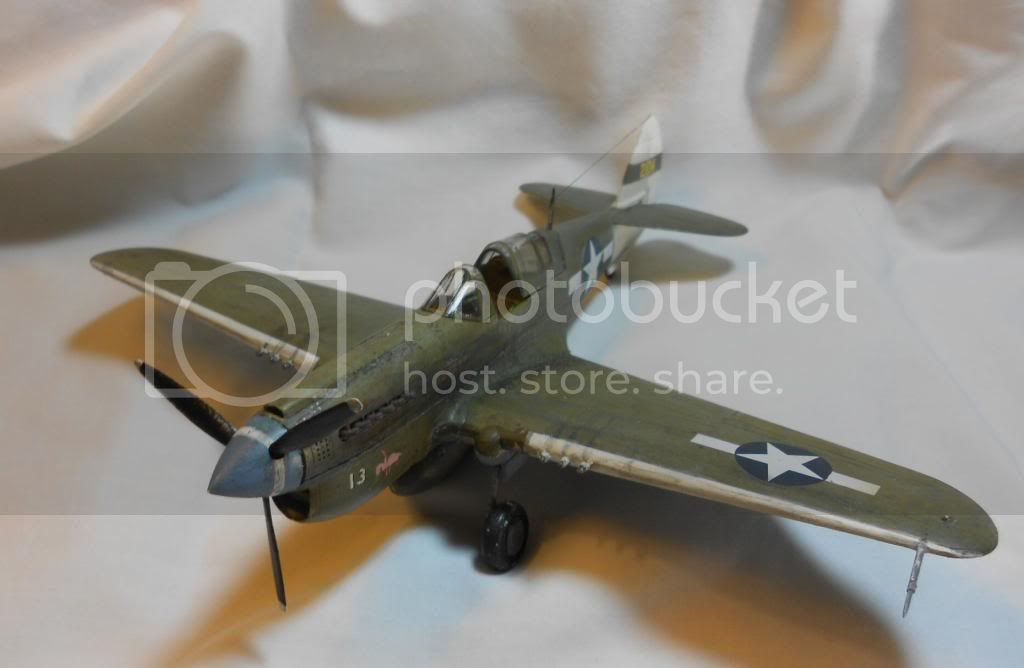
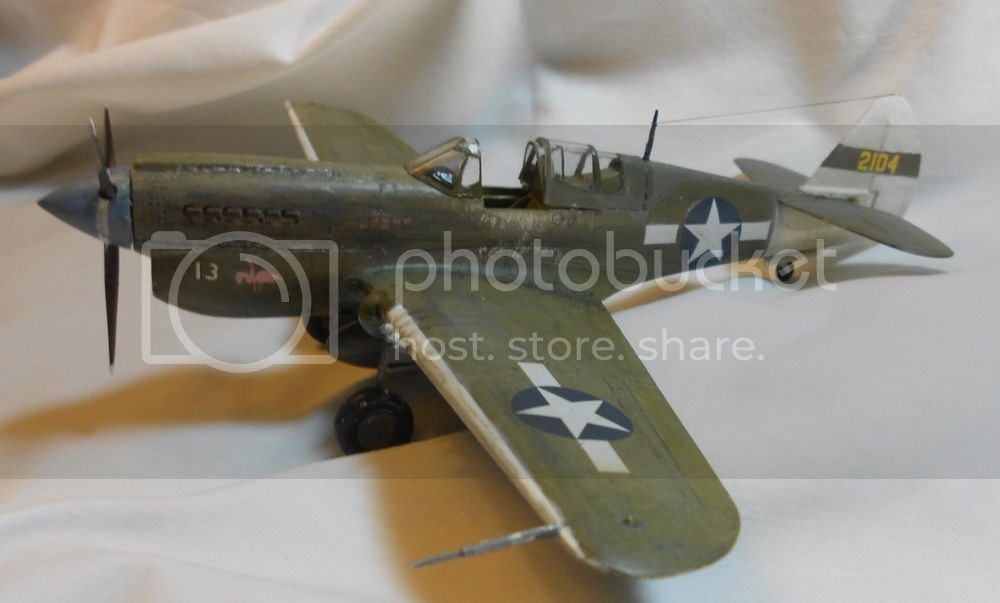
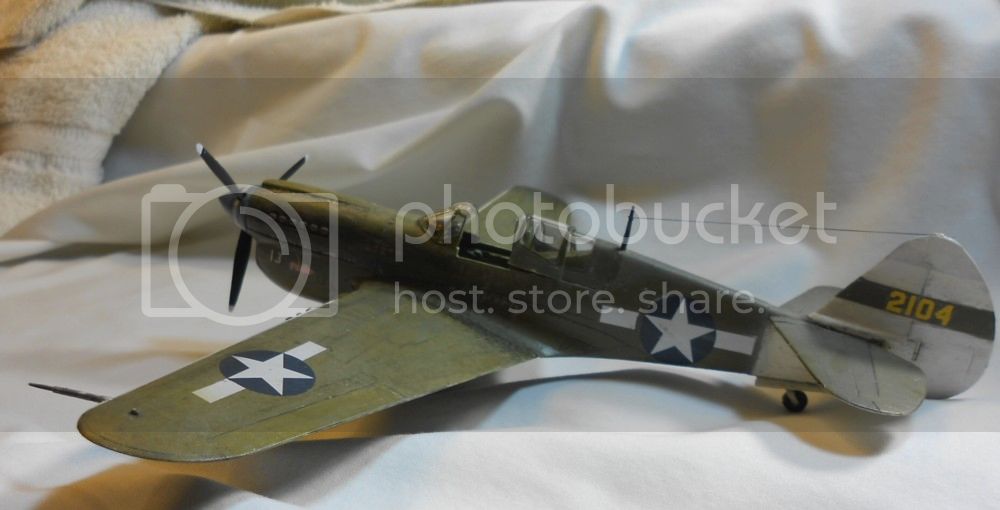
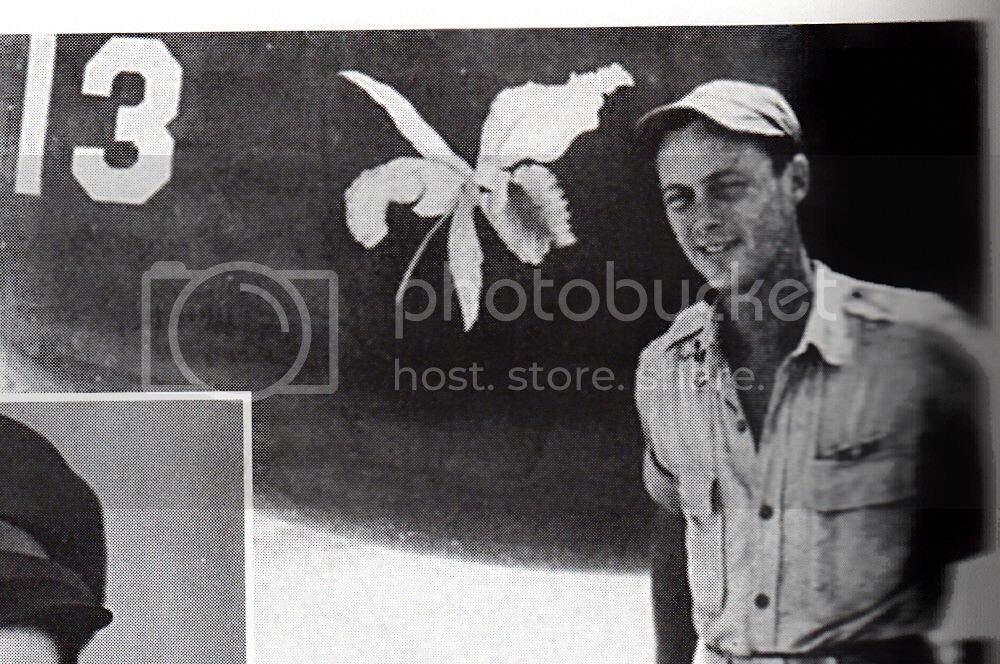
The story above is actually simplified. I've had very good luck with after-market decals and was delighted to find that a Polish company called Techmod had done DeHaven's aircraft with it's very distinctive orchid nose art along with the number 13 he used on two tours. (DeHaven refused to tell me what the orchid stood for.) Perhaps I got a bad batch, but these were the worst decals I've ever used. I was very lucky to get the national insignias down (three of them broke apart and are reassembled – another two disintegrated.) They were also extremely fragile. The result was that that I ended up repainting the tail and half the fuselage, doubling the weathering duties. So the orchid is not quite the right angle. The numbers are not complete. And the name “Rita” is absent. (DeHaven told me that his crew chief had nose art on the right hand side of the plane – I'm not sure if that was it.) And as luck would have the national insignias were without borders so I was lacking in spares. (I have a lot of spares – in California.) Anyway, the kit does look more or less like a 7th Squadron P-40N from late 1943 and if you can see the orchid means anything, you'd know it was DeHaven's. More pics below:
Eric
