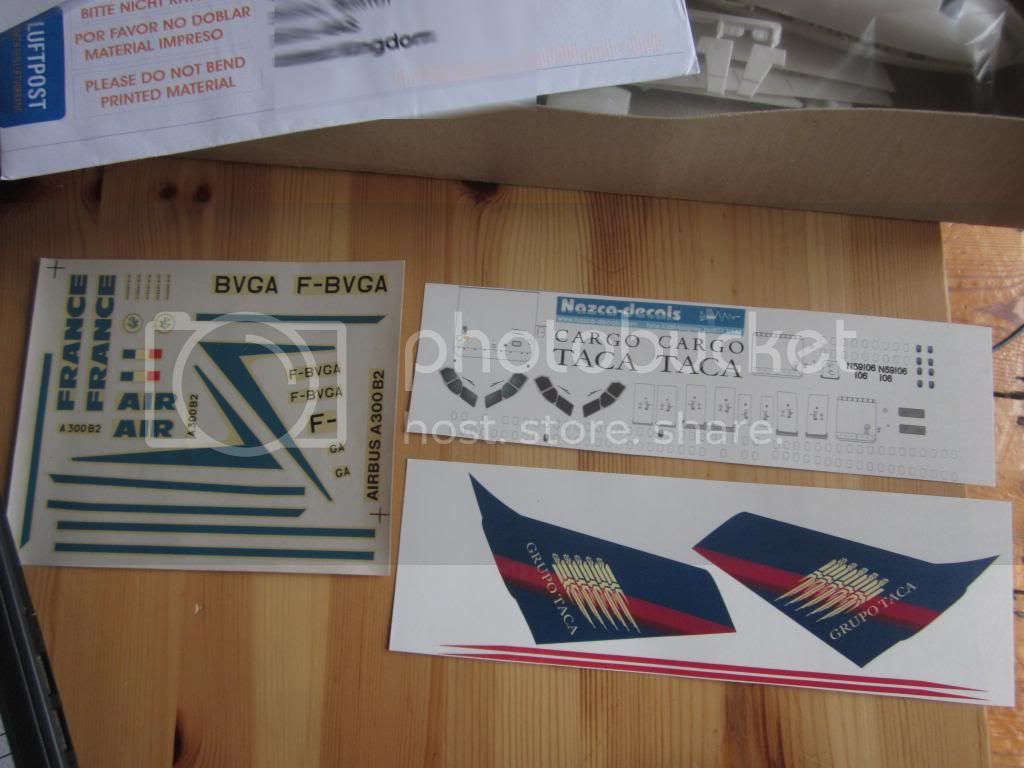
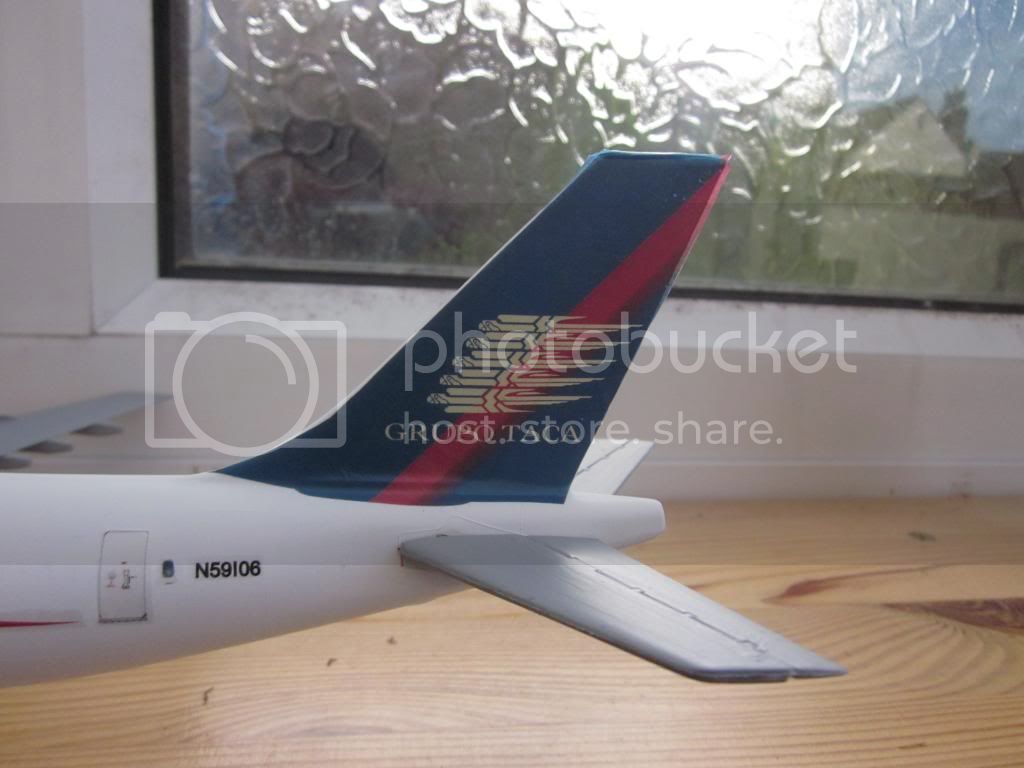
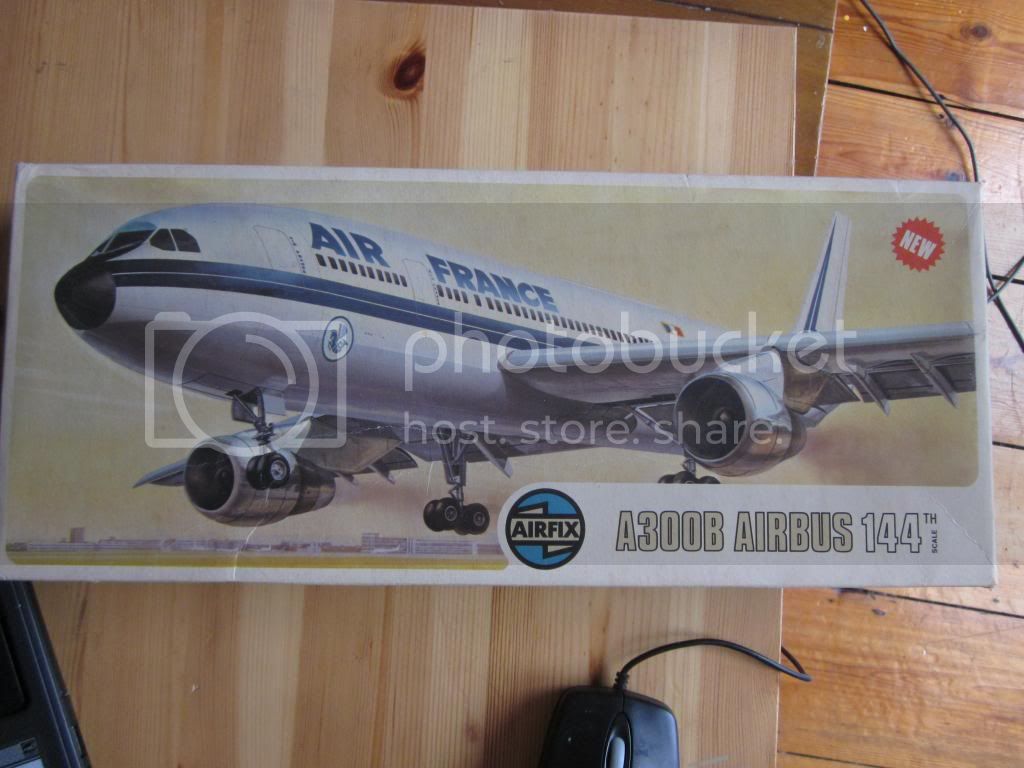
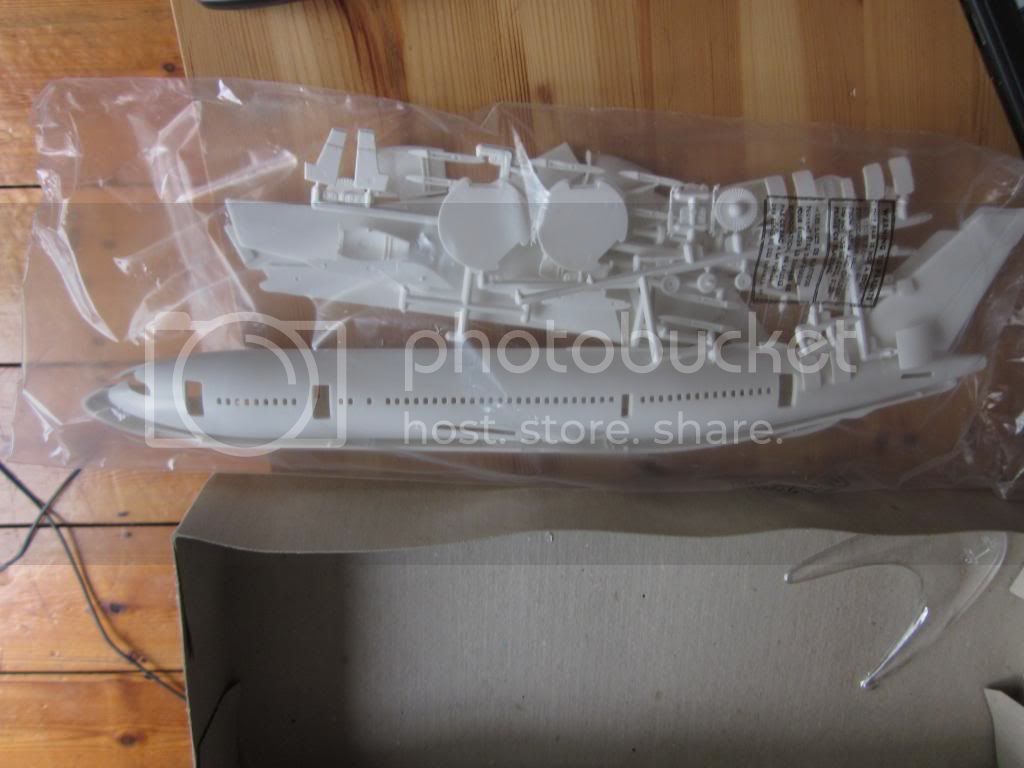
So after my recent bout of Airbus, in the form of my A319 thread, I have decided to move onto the old Airfix A300. Once again I shall be following Jessie's review tips while building the kit. As the kit was a first edition, it even has 'new' written on the box, the decals are in a yellowed (but surprisingly usable state). Yes the kit is mint, yes I will be building it ( and before you panic; its not worth much, I got it for £7). Aftermarket decals were purchased from Nazca Decals and are for the A300 Cargo variant in TACA colours. Not the most exciting plane I have ever built, but it should look good when it is done and i intend to attempt weathering this time. Here are some pre-amble shots:
Modern (1975-today)
Discuss the modern aircraft age from 1975 thru today.
Hosted by Jim Starkweather
Building the A300 Cargo
Csouthwood
England - South West, United Kingdom
Joined: September 01, 2012
KitMaker: 123 posts
AeroScale: 47 posts
Joined: September 01, 2012
KitMaker: 123 posts
AeroScale: 47 posts
Posted: Wednesday, June 12, 2013 - 04:37 AM UTC
Posted: Wednesday, June 12, 2013 - 04:43 AM UTC
Look forward to seeing it started Chris. Sorry I cant help with pictures for this one lol
Pete
Pete
Jessie_C
British Columbia, Canada
Joined: September 03, 2009
KitMaker: 6,965 posts
AeroScale: 6,247 posts
Joined: September 03, 2009
KitMaker: 6,965 posts
AeroScale: 6,247 posts
Posted: Wednesday, June 12, 2013 - 05:30 AM UTC
Airfix missed the air conditioning packs on the lower fuselage. Look for them just below the wing leading edge. You can make copies from the ones in the Revell Beluga, or you can laminate some plastic card together. Whichever way you do it, it's a fairly easy fix.
Another easy fix is the leading edge fence. Simply cut the leading edge with your razor saw to the depth of the slat line on the upper surface and glue in a small rectangle of plastic card. Once it's dry, trim and sand the fence to its proper shape. The fence may be seen here just outboard of the second flap track fairing. Also note the shape and position of the air conditioning packs. Here's the fence from the side showing that it does not extend past the trailing edge of the slat. This image shows the fence and some typical weathering of the upper wing surface.
Csouthwood
England - South West, United Kingdom
Joined: September 01, 2012
KitMaker: 123 posts
AeroScale: 47 posts
Joined: September 01, 2012
KitMaker: 123 posts
AeroScale: 47 posts
Posted: Wednesday, June 12, 2013 - 08:44 AM UTC
Thank you Noddy, haha I am not sure how many of these float around in the atmosphere nowadays specially around your neck of the woods! Although, would you happen to know where I could pick up a die and punch set in the UK? One suitable for punching small circular bits out of items, I have seen a 'how to' on the Airliner Cafe where they show you how to make navigation lights and beacons by punching circles out of sequins. Which would be far more effective than painting them on.
Jessie, awesome! You seem to really know your stuff, and thanks for the technical help. I will be sure to get these units and fences on correctly. At some point (in the future...) I also hope to make some slats and flaps. That would be interesting!
Jessie_C
British Columbia, Canada
Joined: September 03, 2009
KitMaker: 6,965 posts
AeroScale: 6,247 posts
Joined: September 03, 2009
KitMaker: 6,965 posts
AeroScale: 6,247 posts
Posted: Wednesday, June 12, 2013 - 09:22 AM UTC
Csouthwood
England - South West, United Kingdom
Joined: September 01, 2012
KitMaker: 123 posts
AeroScale: 47 posts
Joined: September 01, 2012
KitMaker: 123 posts
AeroScale: 47 posts
Posted: Wednesday, June 19, 2013 - 01:27 PM UTC
Thanks for your help there Jessie, I didn't know how expensive they were haha I will stick with painting the nav lights on for now!
No pics at this time, but I might get some snaps on later today. What can I say? It is old, it is Airfix... and therefore there is plenty of sanding to keep me occupied!
Jessie_C
British Columbia, Canada
Joined: September 03, 2009
KitMaker: 6,965 posts
AeroScale: 6,247 posts
Joined: September 03, 2009
KitMaker: 6,965 posts
AeroScale: 6,247 posts
Posted: Wednesday, June 19, 2013 - 03:32 PM UTC
Yes punches are expensive, but one set will last your lifetime. Spread the cost over several years of modelling and it becomes reasonable.
Csouthwood
England - South West, United Kingdom
Joined: September 01, 2012
KitMaker: 123 posts
AeroScale: 47 posts
Joined: September 01, 2012
KitMaker: 123 posts
AeroScale: 47 posts
Posted: Wednesday, June 19, 2013 - 04:17 PM UTC
Ah I see. They also have many uses apparently
Csouthwood
England - South West, United Kingdom
Joined: September 01, 2012
KitMaker: 123 posts
AeroScale: 47 posts
Joined: September 01, 2012
KitMaker: 123 posts
AeroScale: 47 posts
Posted: Thursday, June 20, 2013 - 03:50 AM UTC
As promised here are some progress updates. Here is the fuselage after a round of sanding The windshield is missing a section, hence the attention at the front.
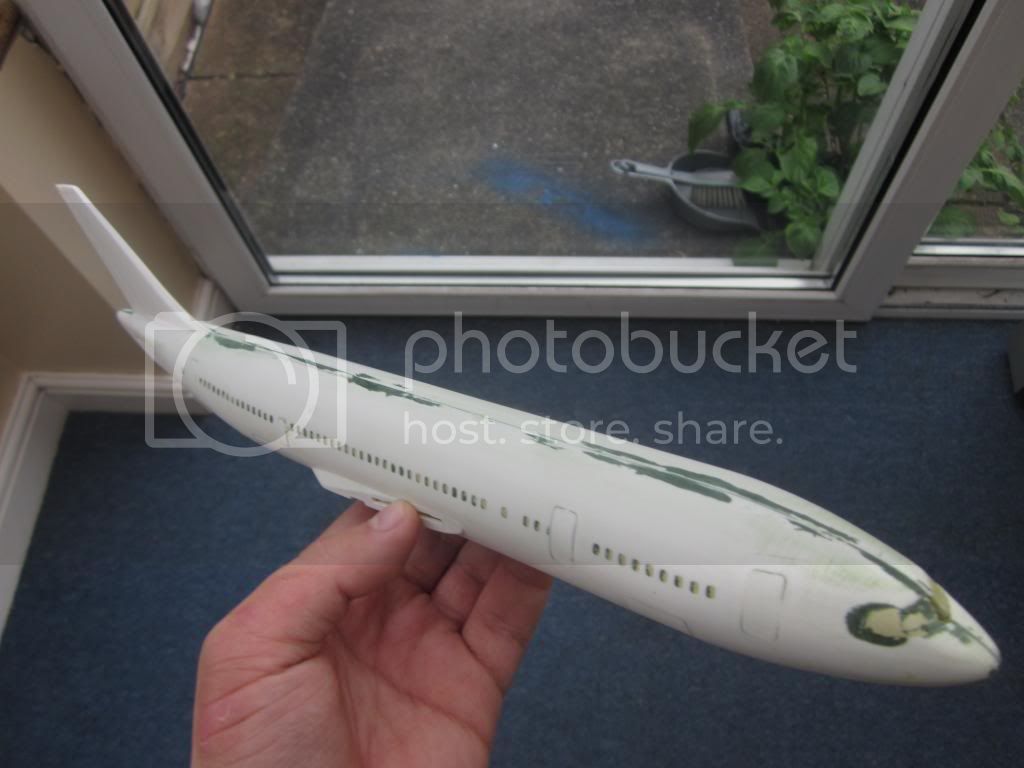
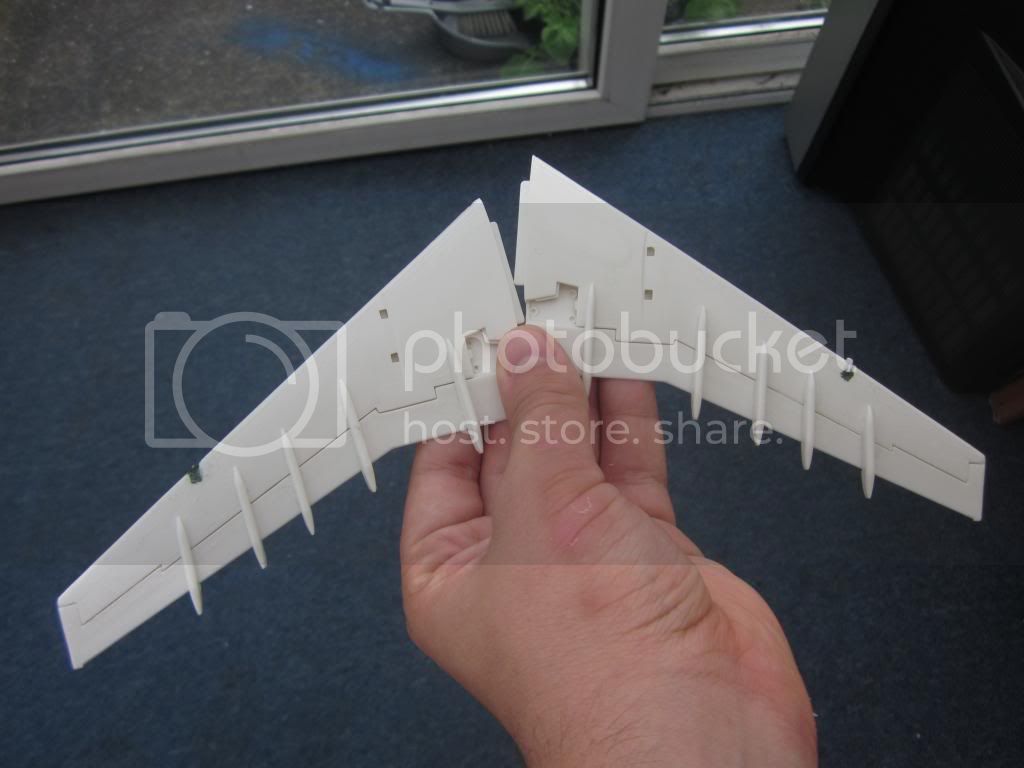
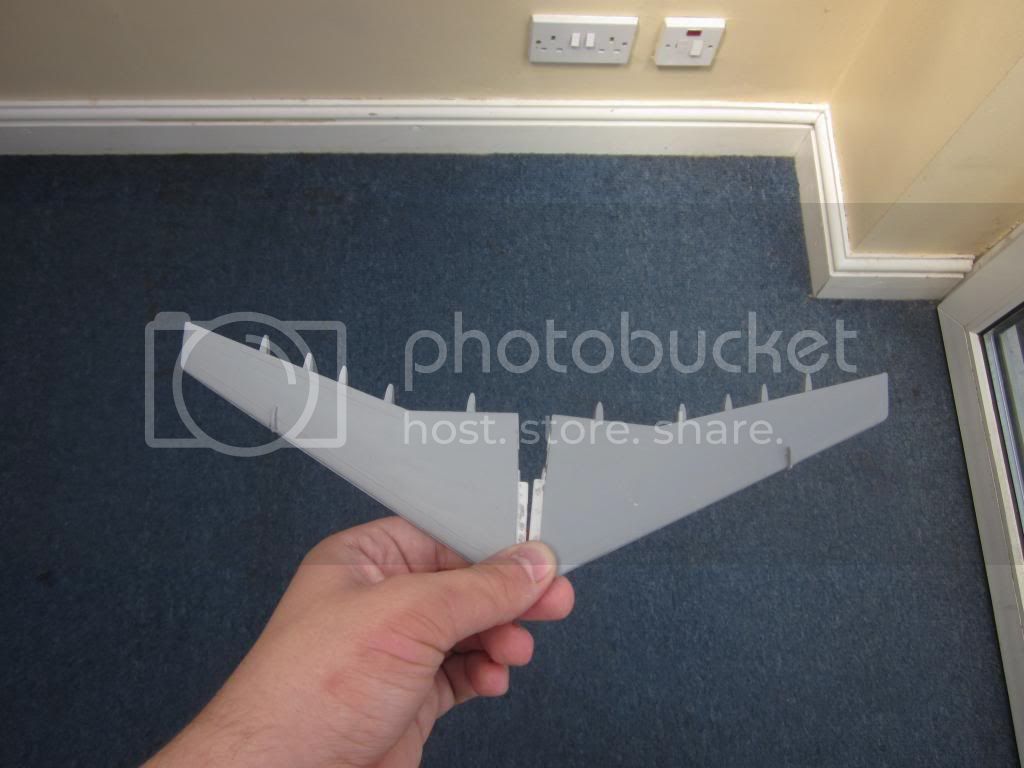
There are the wings with the fences attached:
And the additional fences along the leading edge, hard to show in these pics I am afraid.
There are the wings with the fences attached:
And the additional fences along the leading edge, hard to show in these pics I am afraid.
Csouthwood
England - South West, United Kingdom
Joined: September 01, 2012
KitMaker: 123 posts
AeroScale: 47 posts
Joined: September 01, 2012
KitMaker: 123 posts
AeroScale: 47 posts
Posted: Friday, June 28, 2013 - 02:44 AM UTC
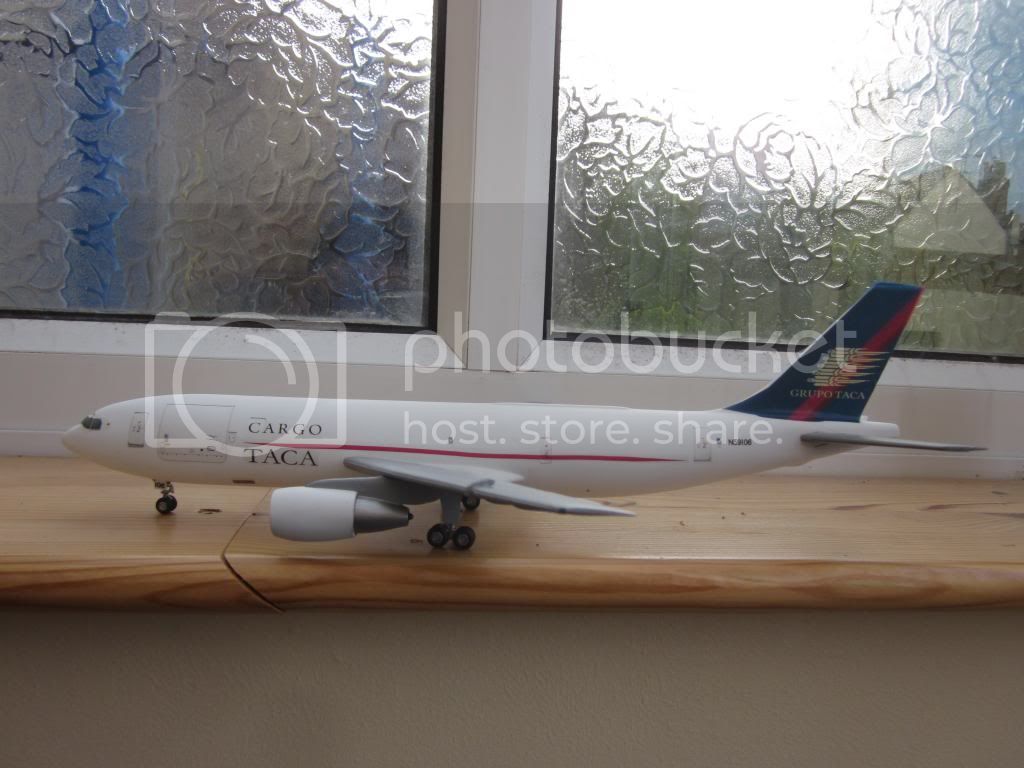
Hey guys, sorry for the slow progress but its rather hectic around here lately. anyway. The wings are finished! Tomorrow come the decals.
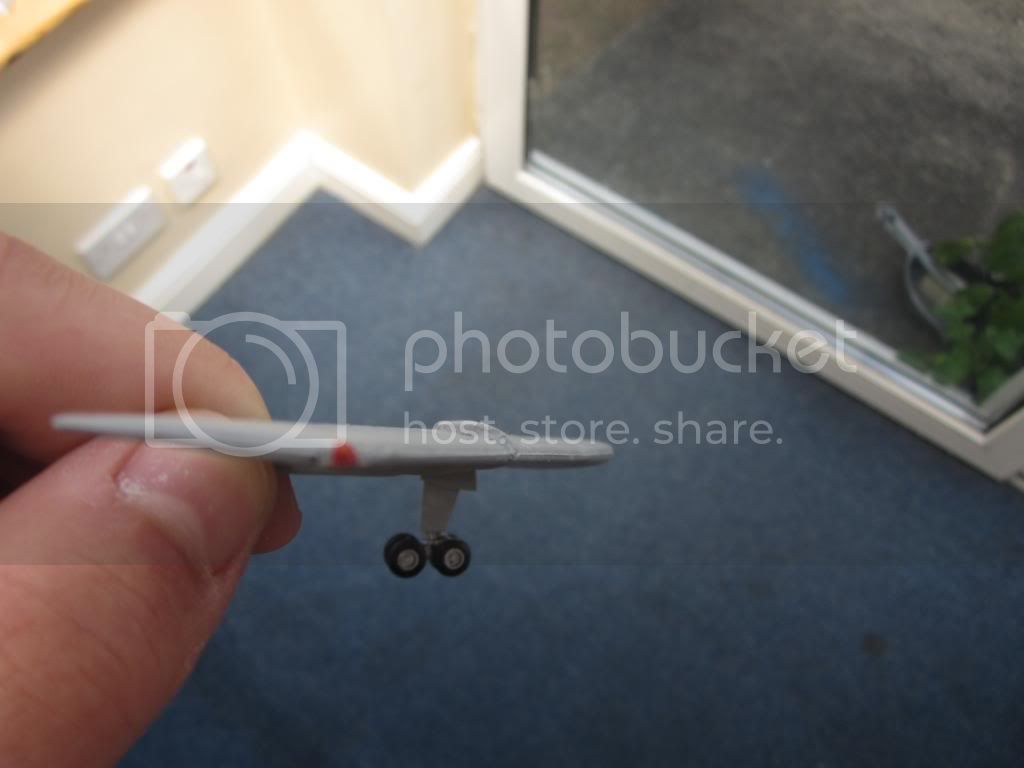
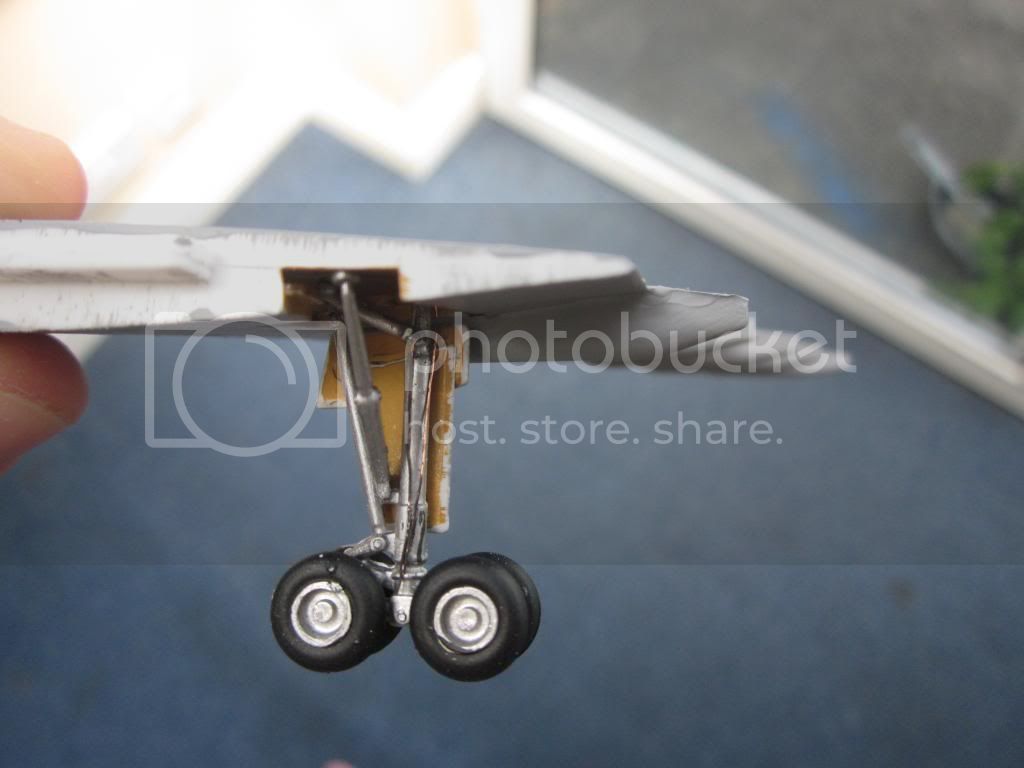
BRAKE CABLES! finally managed to get a good picture of them! They will also have another layer of paint
Posted: Saturday, June 29, 2013 - 05:08 AM UTC
Nice work Chris, I know why you have not been working on this baby.................a certain Afgan vehicle SHHHHH.n lol
Pete
Pete
Csouthwood
England - South West, United Kingdom
Joined: September 01, 2012
KitMaker: 123 posts
AeroScale: 47 posts
Joined: September 01, 2012
KitMaker: 123 posts
AeroScale: 47 posts
Posted: Tuesday, July 02, 2013 - 03:07 AM UTC
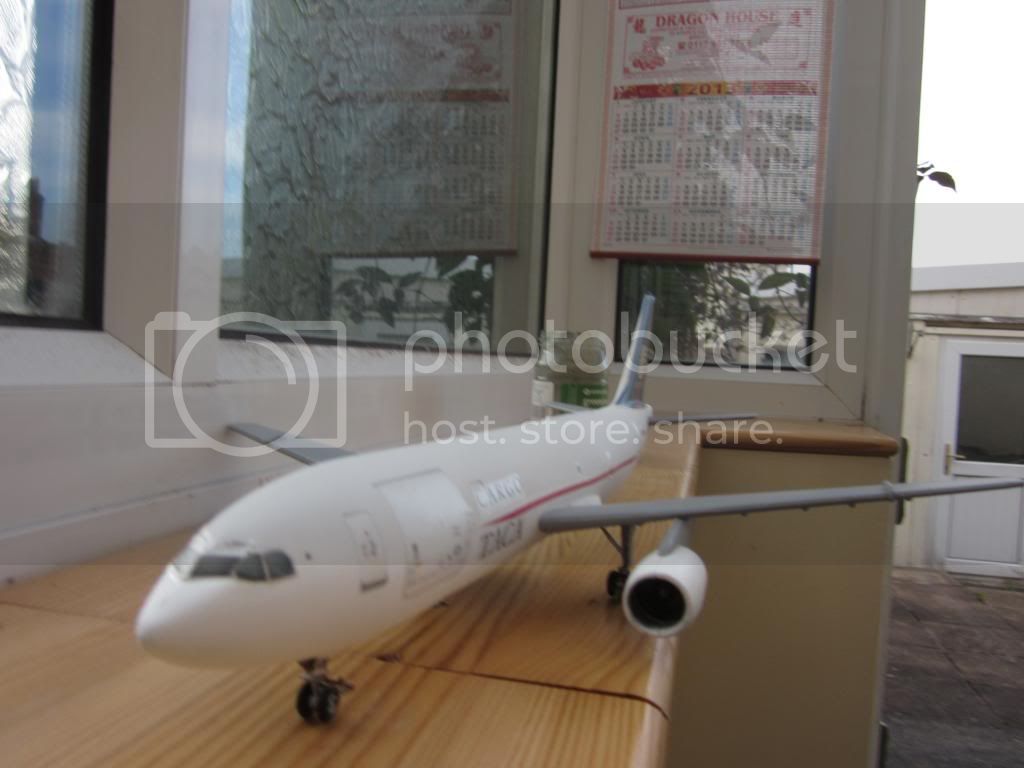
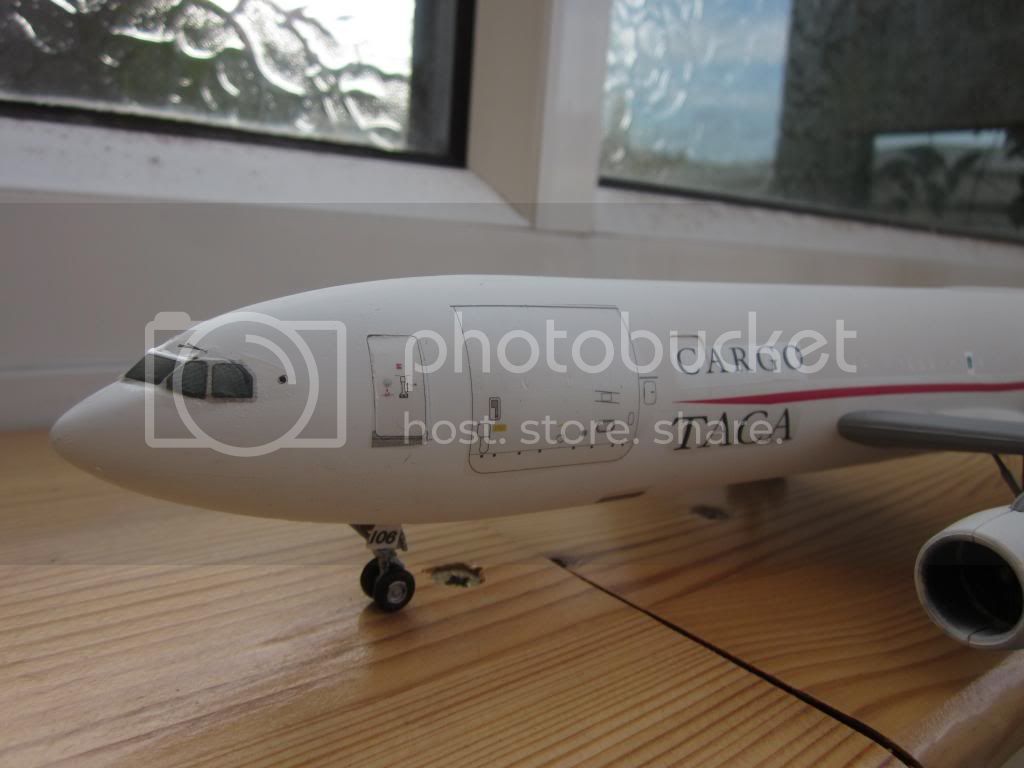
Hi guys, here we go:
No stencils for the wings, engins or anything, I could try and use the A319 ones, but I am not sure if they would be right!
Joel_W
Associate Editor
New York, United States
Joined: December 04, 2010
KitMaker: 11,666 posts
AeroScale: 7,410 posts
Joined: December 04, 2010
KitMaker: 11,666 posts
AeroScale: 7,410 posts
Posted: Monday, July 08, 2013 - 03:45 AM UTC
Chris, while I'm not a civil type builder, your A300 Cargo build turned out rather well.
Joel
Joel
Csouthwood
England - South West, United Kingdom
Joined: September 01, 2012
KitMaker: 123 posts
AeroScale: 47 posts
Joined: September 01, 2012
KitMaker: 123 posts
AeroScale: 47 posts
Posted: Monday, July 08, 2013 - 03:56 AM UTC
Thanks Joel I stick to more military stuff, but diving into different arenas can be fun and a bit of a release!