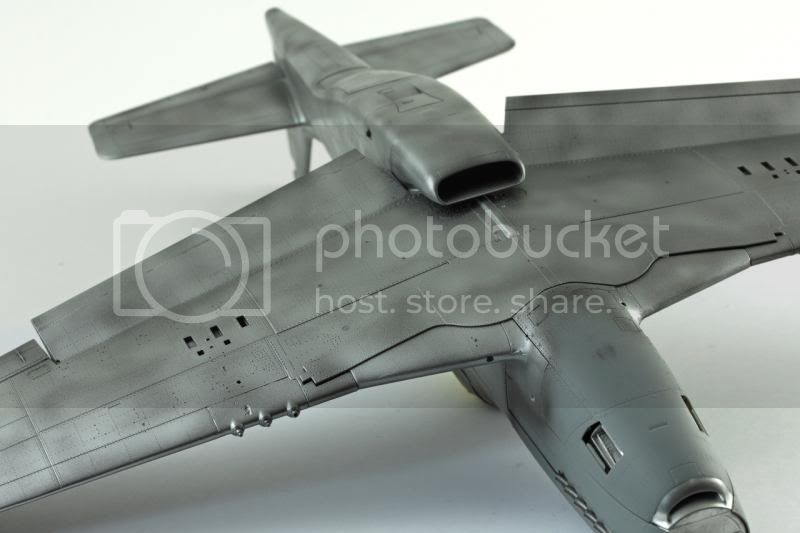
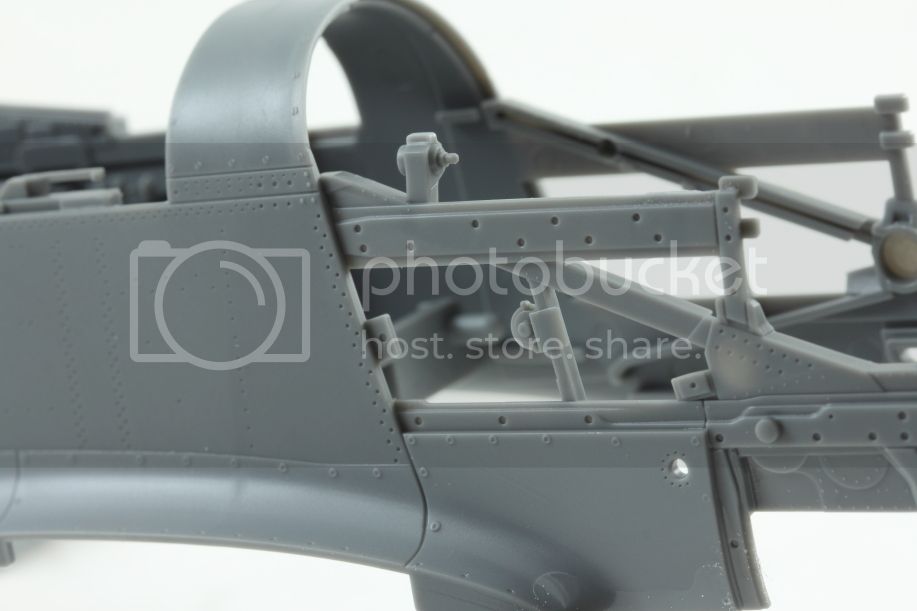
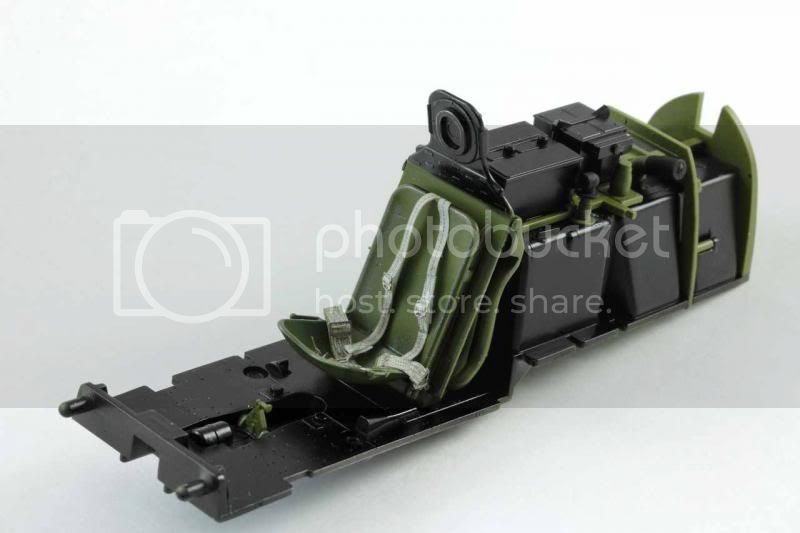
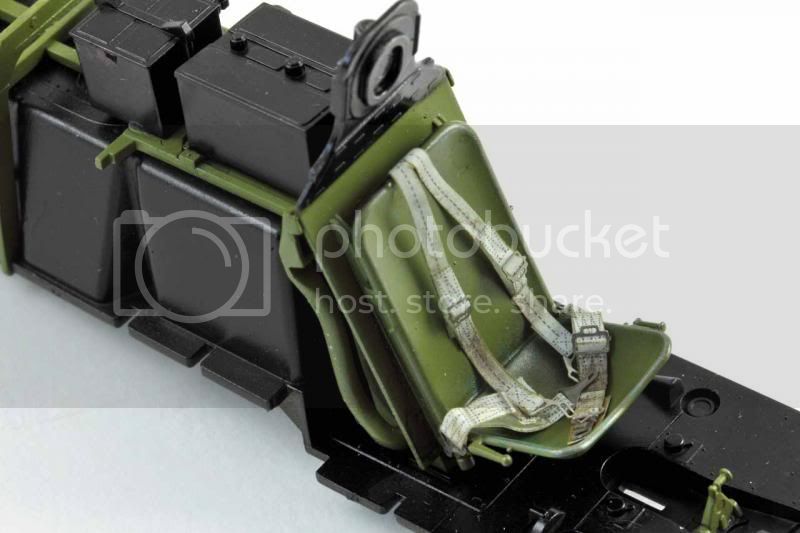
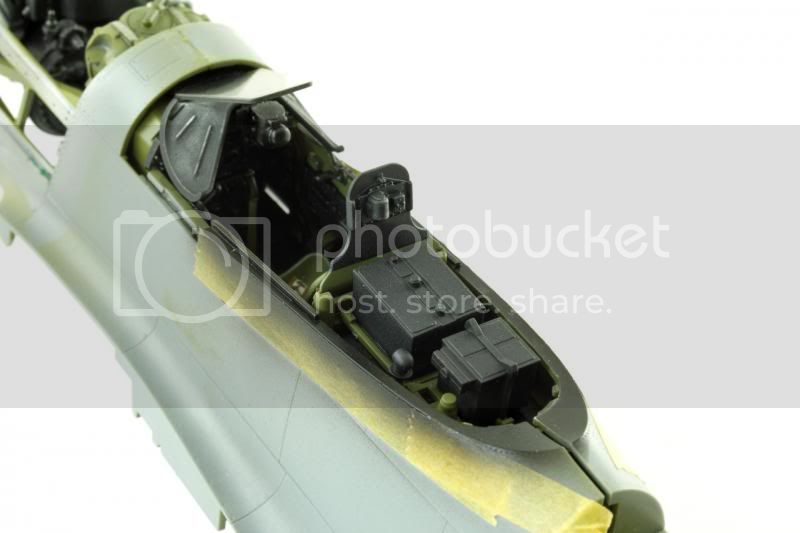
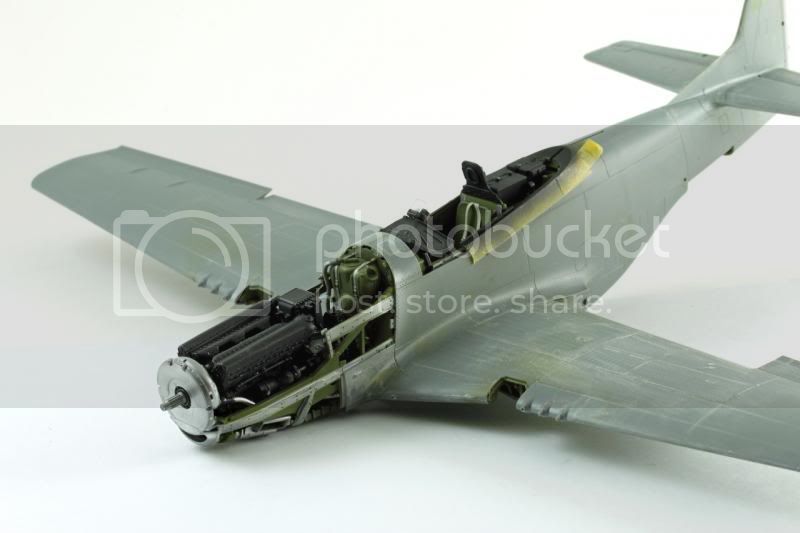
I started building this fantastic Tamiya kit a while ago - well the parts fit is so precise and the model has some "fun" features.
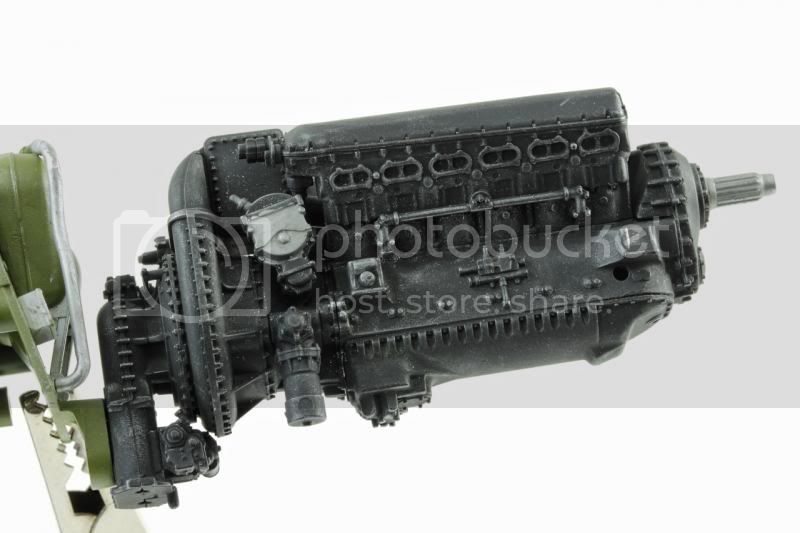
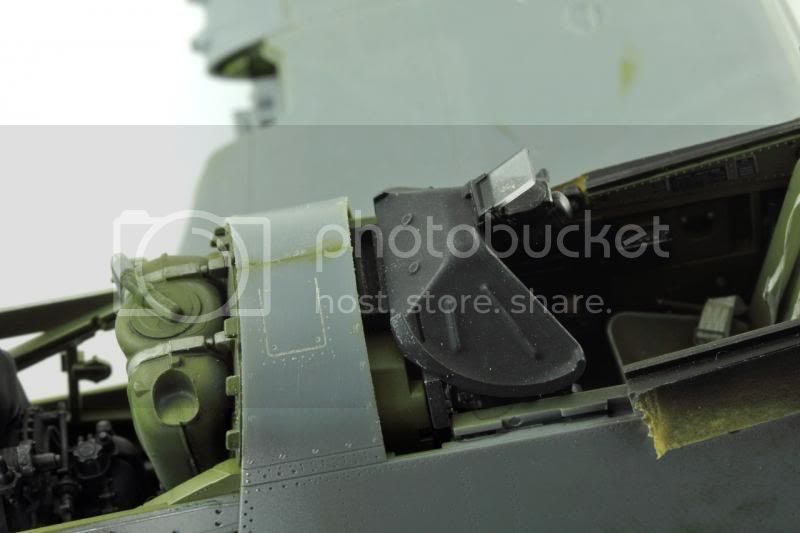
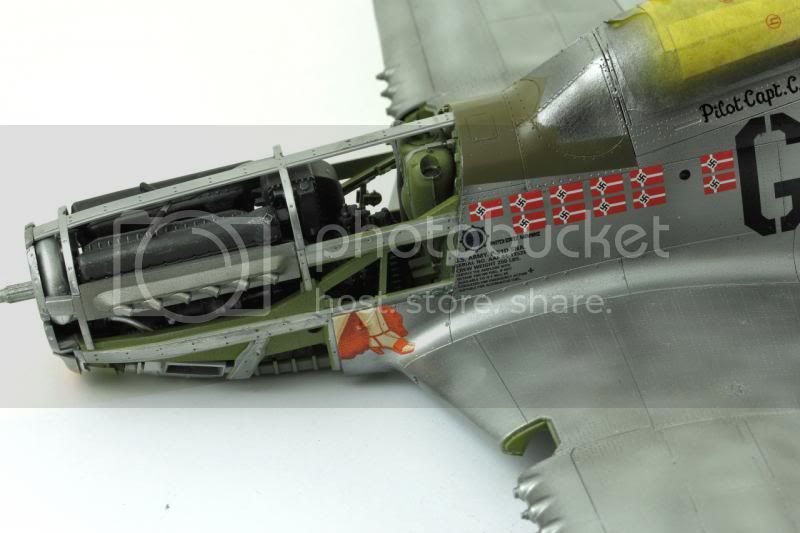
detail of merlin/ packard engine
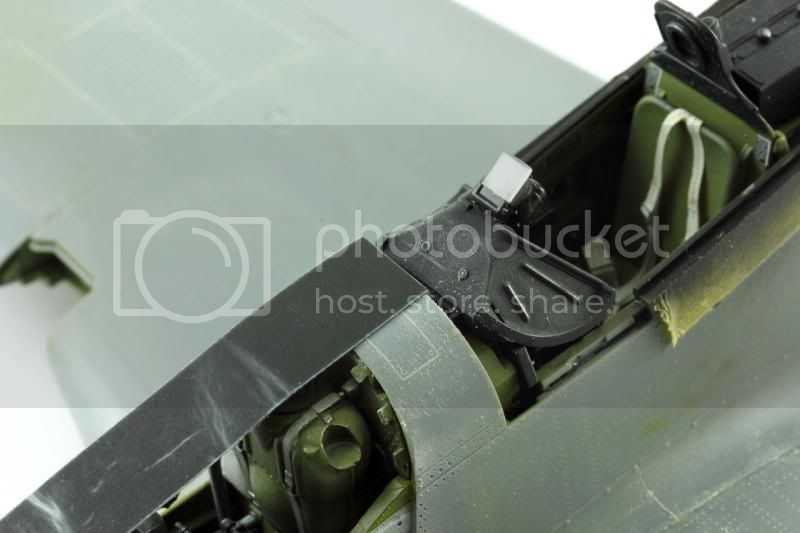
fine detailing on the fuselage
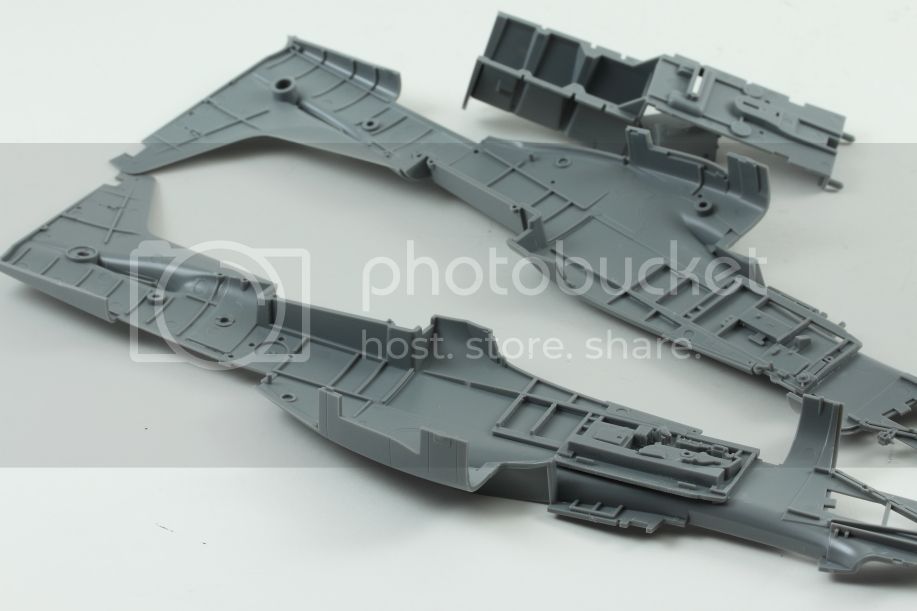
this is a "dry fit" yes the parts fit so good
ok those photos are months old ! So im busy again - painting and building more in a while
World War II
Discuss WWII and the era directly before and after the war from 1935-1949.
Hosted by Rowan Baylis
32 scale Tamiya Mustang - noseart
markchis
Kuwait / لعربية
Joined: February 09, 2009
KitMaker: 467 posts
AeroScale: 60 posts
Joined: February 09, 2009
KitMaker: 467 posts
AeroScale: 60 posts
Posted: Sunday, July 14, 2013 - 05:41 AM UTC
Posted: Sunday, July 14, 2013 - 07:03 PM UTC
Hi Mark,
I'm looking forward to this I recently had to tape together the wings and fuselage of Tamiya's Sptfire Mk VIII, to sort out the shape of the camo mask and I was very impressed with the fit, it was flawless I'm now looking to get the thing built
markchis
Kuwait / لعربية
Joined: February 09, 2009
KitMaker: 467 posts
AeroScale: 60 posts
Joined: February 09, 2009
KitMaker: 467 posts
AeroScale: 60 posts
Posted: Sunday, July 14, 2013 - 07:16 PM UTC
Hey Mal !! How are you doing - and thanks. Im sending you an email - in a minute.
best
Mark
best
Mark
Joel_W
Associate Editor
New York, United States
Joined: December 04, 2010
KitMaker: 11,666 posts
AeroScale: 7,410 posts
Joined: December 04, 2010
KitMaker: 11,666 posts
AeroScale: 7,410 posts
Posted: Tuesday, July 16, 2013 - 02:54 AM UTC
Mark, you're in for a real treat with this build. While I don't build 1/32 scale, my brother Peter does, and his Big Beautiful Doll (posted here) build was a joy to follow. His only complaint was that he wasn't thrilled with the working flying surfaces, and instead fixed them in position.
Will be subscribing to your build thread and following along.
Joel
Will be subscribing to your build thread and following along.
Joel
markchis
Kuwait / لعربية
Joined: February 09, 2009
KitMaker: 467 posts
AeroScale: 60 posts
Joined: February 09, 2009
KitMaker: 467 posts
AeroScale: 60 posts
Posted: Tuesday, July 16, 2013 - 03:16 AM UTC
Hi big thanks Joel - im also more a 48th scale fan. This is my 3rd 32 scale aircraft the Tamiya Zero and Trumpeter Avenger the other builds.
I really wanted this one just because it is one of the finest you can buy at the moment. I agree with your brother Peter that the control surfaces and some of the other "toy" elements are a compromise. But still fun to try them out.
I will get soem updates tonight.
best
Mark
I really wanted this one just because it is one of the finest you can buy at the moment. I agree with your brother Peter that the control surfaces and some of the other "toy" elements are a compromise. But still fun to try them out.
I will get soem updates tonight.
best
Mark
markchis
Kuwait / لعربية
Joined: February 09, 2009
KitMaker: 467 posts
AeroScale: 60 posts
Joined: February 09, 2009
KitMaker: 467 posts
AeroScale: 60 posts
Posted: Friday, July 26, 2013 - 05:06 AM UTC
need to catch up with this blog - its also on the GB "anything goes" but I want to try and explain a bit more here
fuselage parts - all sprayed individually and then I use CA to join them.
some AM parts the harness for pilot its actually very thin fabric. just some pigments to add weathering
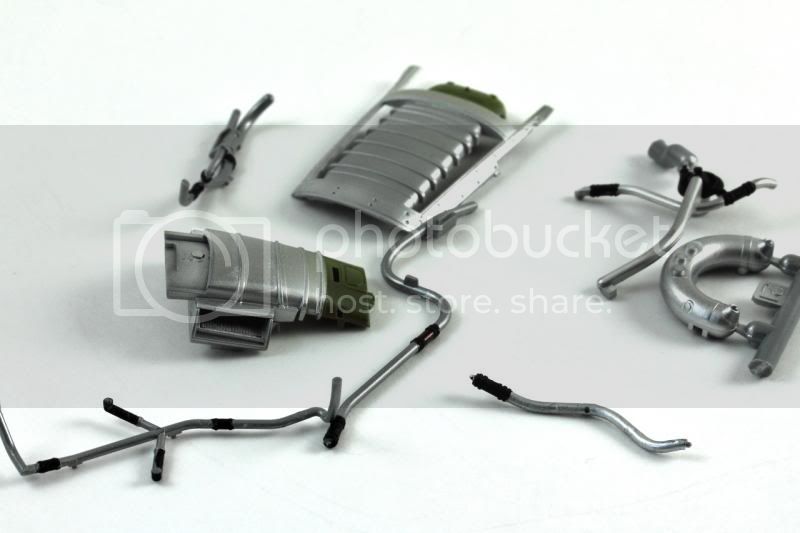
some of the other details coated with Alclad - all the pipes have rubber vibration mountings I just need to paint in the clips - may use a silver pencil if that works
canopy gets first interior colour sprayed over masks
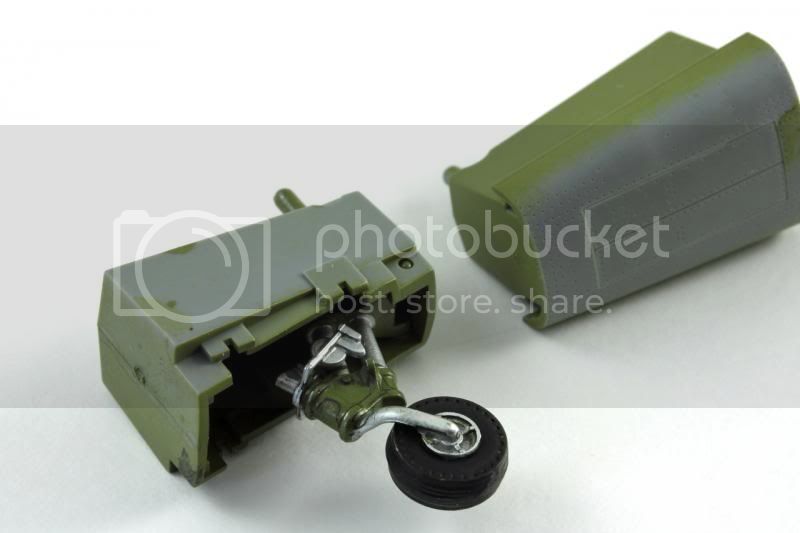
here are some interchangeable parts - tail landing gear retracted and down. You can swap them out as they are held in with tiny magnets. maybe a "toy" feature but i like it
instruments
the engine again
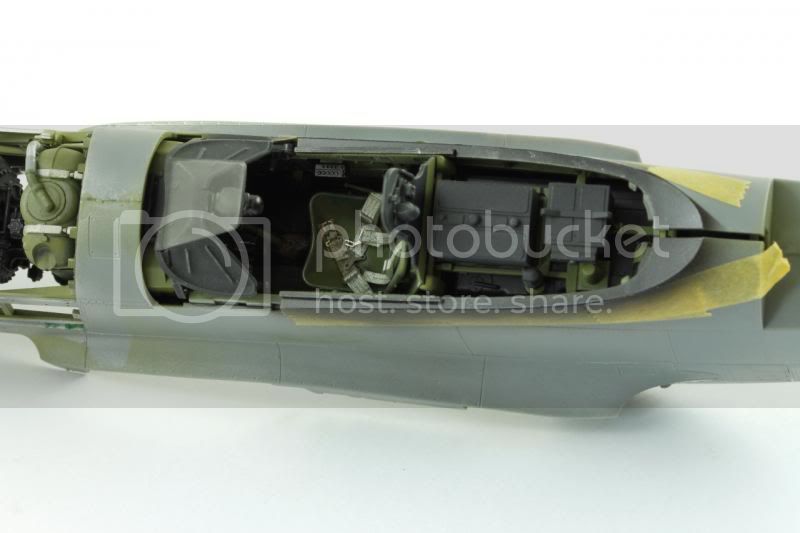
some more cockpit details
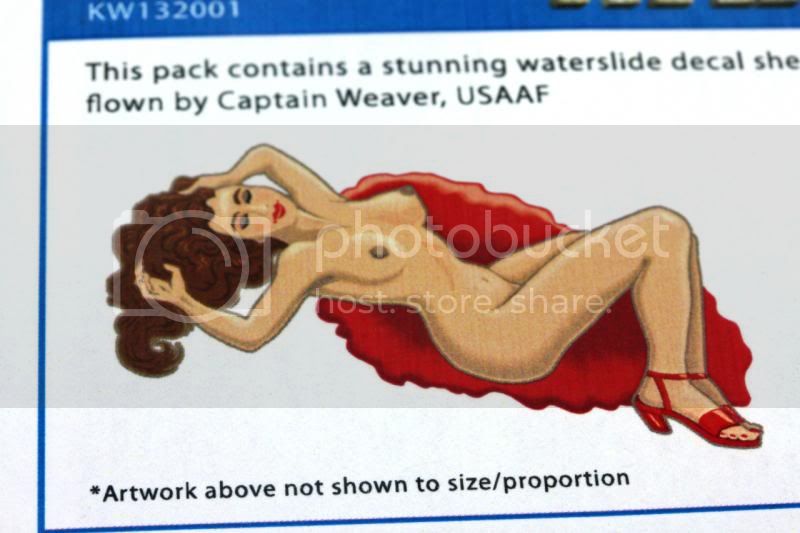
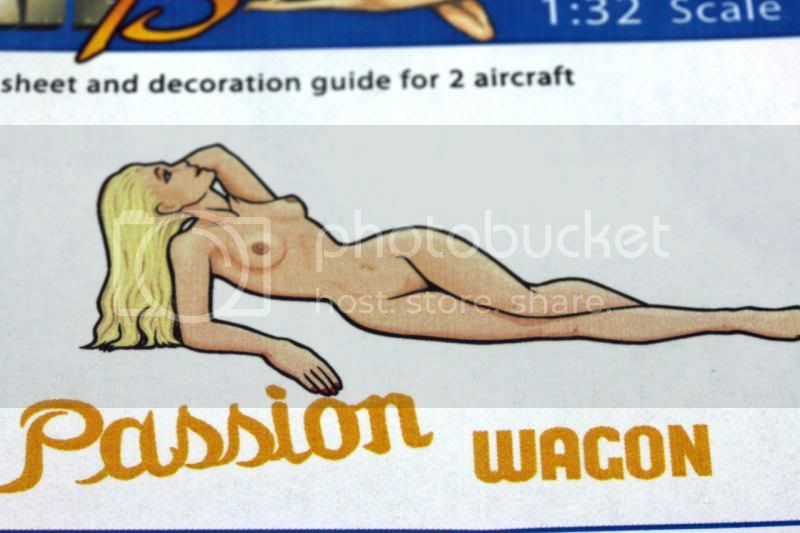
and of course this are the noseart choices --
markchis
Kuwait / لعربية
Joined: February 09, 2009
KitMaker: 467 posts
AeroScale: 60 posts
Joined: February 09, 2009
KitMaker: 467 posts
AeroScale: 60 posts
Posted: Friday, July 26, 2013 - 05:07 AM UTC
I started to paint some of the mettalics on parts individually. Im using Alclad paints just to bare plastic. It sticks but is not durable.
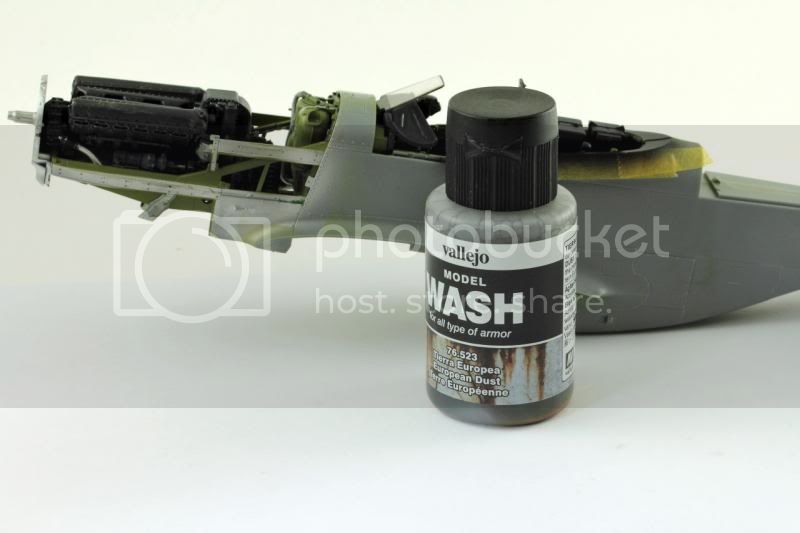
Because im using Mr Hobby and Tamiya paints with are bascially laquer type, if i wanted to apply an oil or enamel based wash, I would need to first apply a protective coat of kleer or similar acrlylic varnish. But in the case of the cockpit and engine I just want to move on. So I decided to use these acrylic washes from Vallejo
The other stuff that im doing is drybrush of the parts with mettalics i really like these Mr Color paints for this and I use bronze and iron for most of the highlighting.
the fuselage was joined together
you cant really see much of the instruments and thats why I did not do a full scale weathering job in areas you cant see.
best
Mark
Posted: Friday, July 26, 2013 - 06:24 PM UTC
Hi Mark,
Looking great, ya just gotta love a naked lady nose art
Can I ask if you ever sent the email that you mentioned earlier? I have a feeling that some emails are just not getting through, not even to the junk mail folder!
Looking great, ya just gotta love a naked lady nose art
Can I ask if you ever sent the email that you mentioned earlier? I have a feeling that some emails are just not getting through, not even to the junk mail folder!
markchis
Kuwait / لعربية
Joined: February 09, 2009
KitMaker: 467 posts
AeroScale: 60 posts
Joined: February 09, 2009
KitMaker: 467 posts
AeroScale: 60 posts
Posted: Friday, July 26, 2013 - 09:53 PM UTC
Hi Mal - many thanks. Im glad you reminded me - I just sent you the e-mail not - I think you will like it.
Also --- wish I had thought ahead and bought masks for this one !! But im up against the clock with only a few days left to finish it.
best
Mark
Also --- wish I had thought ahead and bought masks for this one !! But im up against the clock with only a few days left to finish it.
best
Mark
plastickjunkie
Florida, United States
Joined: December 31, 2009
KitMaker: 399 posts
AeroScale: 132 posts
Joined: December 31, 2009
KitMaker: 399 posts
AeroScale: 132 posts
Posted: Friday, July 26, 2013 - 11:39 PM UTC
Mark
The pony is looking fantastic so far. Looks like no filler is needed when joining the fuselage? Regarding the washes, I have found that after a lacquer based paint such as Alclad is cured, (I let it dry for a couple of days) a light turpentine wash will not affect it at all.
markchis
Kuwait / لعربية
Joined: February 09, 2009
KitMaker: 467 posts
AeroScale: 60 posts
Joined: February 09, 2009
KitMaker: 467 posts
AeroScale: 60 posts
Posted: Friday, July 26, 2013 - 11:55 PM UTC
Ernie - many thanks this blog needs catching up. Yeah the fit is really good and because of the way Tamiya designed it - not so many seams to deal with.
I absolutely agree with you regarding the Alclads. In terms of mineral spirit washes and generally they are very durable. BUT I have found that when using decal setting solution that stuff can in some cases start to dissolve the paint. So my approach is to future/kleer/aquagloss the airframe just because I have some big decals that are going to have to follow some difficult contours. For some of the smaller subs - landing gear and so on Im going to use oils in turps directly as you say.
best
Mark
markchis
Kuwait / لعربية
Joined: February 09, 2009
KitMaker: 467 posts
AeroScale: 60 posts
Joined: February 09, 2009
KitMaker: 467 posts
AeroScale: 60 posts
Posted: Friday, July 26, 2013 - 11:57 PM UTC
So this next bit is maybe best and worst part of aircraft building. Getting invisible seam lines on the fuselage joins and wings. Best part because if you get it right -- its perfect, worst part because its tedious boring and takes absolutely ages!
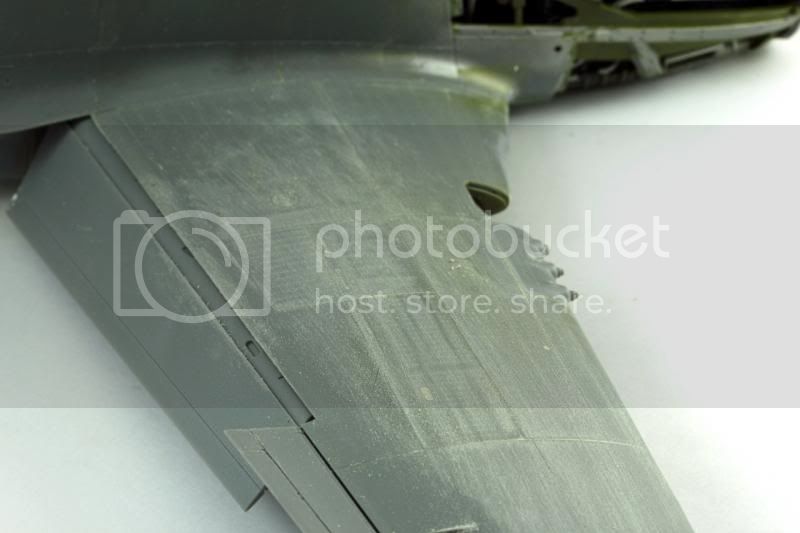
This is the problem -
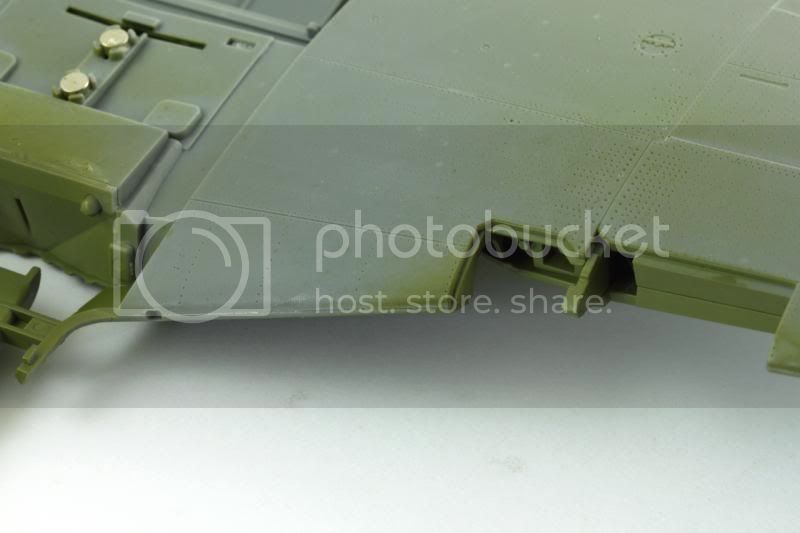
you can see the seam line on the wings in fact it is filled with white dust
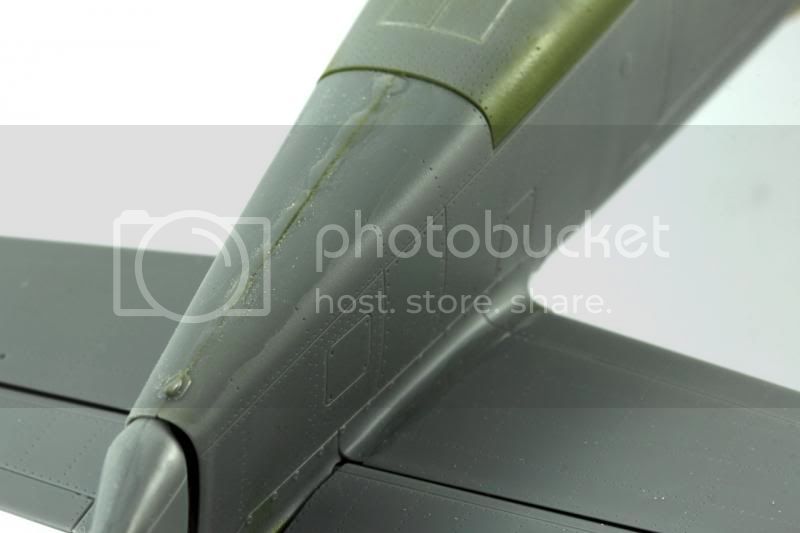
and this is typical fuse join seam line -- on this kit not many because of the way they engineered it.
I just use three things to deal with them -- super glue, sanding sticks and a special putty.
I blob on the superglue using a toothpick and usually use an accelerator. I use superglue because it has capillary action to fill the seam, it wont shrink, and its very hard substance it can also be polished to glass smooth.
start sanding - course grit to fine as normal
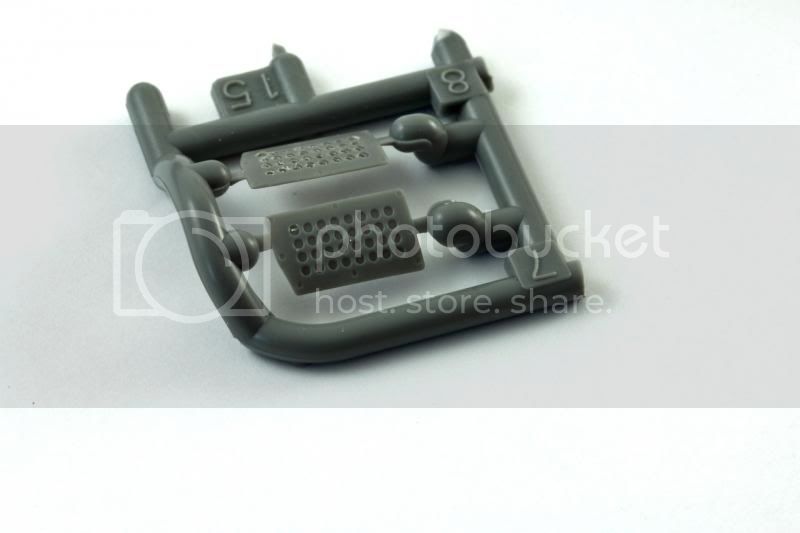
I also did some "real" modelling - the supplied parts should have perforated holes in this grill. So drill em out - saved buying a PE set.
before
after
I will post more tonight once i upload photos - build has really moved since....
best
Mark
Mcleod
Alberta, Canada
Joined: April 07, 2010
KitMaker: 1,028 posts
AeroScale: 939 posts
Joined: April 07, 2010
KitMaker: 1,028 posts
AeroScale: 939 posts
Posted: Saturday, July 27, 2013 - 01:02 AM UTC
This is certainly an interesting thread, well worth following. You're doing a wonderful job, Mark.
I'm wondering, what is the 'special putty' you speak of?
Great work, and I will be following.
Quoted Text
super glue, sanding sticks and a special putty.
I'm wondering, what is the 'special putty' you speak of?
Great work, and I will be following.
Joel_W
Associate Editor
New York, United States
Joined: December 04, 2010
KitMaker: 11,666 posts
AeroScale: 7,410 posts
Joined: December 04, 2010
KitMaker: 11,666 posts
AeroScale: 7,410 posts
Posted: Saturday, July 27, 2013 - 01:38 AM UTC
Mark, really enjoying your build. You're making great progress. A separate build blog outside of a campaign is perfect for those of us that aren't enlisted in that campaign, but have an interest in a particular build.
Why did you elect to apply Allcad to bare plastic rather then a black or dark gray primer? I would imagine it rubs off very easily.
Super glue as a filler of small holes and seams is a go to for me. On the Sprue Cutters site, there is a technique video on using the stuff, they sprinkle on baking soda which makes it dry like the accelerator.
Really like your seatbelts and Harness. Looks very realistic.
Allcads are lacquer based, so anything washes or paints that you apply that are lacquer based will always react with it. I always make sure that my washes & filters are a different base then the surface I'm applying it to. Even Acrylics heavily diluted work as washes.
Joel
markchis
Kuwait / لعربية
Joined: February 09, 2009
KitMaker: 467 posts
AeroScale: 60 posts
Joined: February 09, 2009
KitMaker: 467 posts
AeroScale: 60 posts
Posted: Saturday, July 27, 2013 - 02:16 AM UTC
Ben and Joel - many thanks for the interest,and even more for the questions. I really like it when people ask me why I have used a certain approach - even better when they give me tips that I can use.
Ben - to answer question - I use this Mr Hobby dissolved putty. Im going into some detail on that aspect later on.
Joel - that is the exact rule of thumb I prescribe to also. I think these NMF paintjobs are so prone to deterioration also. Its my 3rd NMF aircraft and I tend to use Alclad on all builds because it seems to provide such a fine paint coating. im going into detail on how and why I used varying bases on the alclads. But basically these appearance of these metal finishes is really a product of the light reflecting back on the basecoat. So I use that to provide some effects. Also in terms of applying to bare plastic - no problem it sticks down perfectly well and will not scratch off.
best
Mark
Joel_W
Associate Editor
New York, United States
Joined: December 04, 2010
KitMaker: 11,666 posts
AeroScale: 7,410 posts
Joined: December 04, 2010
KitMaker: 11,666 posts
AeroScale: 7,410 posts
Posted: Saturday, July 27, 2013 - 02:42 AM UTC
Mark, I haven't done a NMF yet, but I'm getting close. So the black primer is really there to cover putty, swirl marks, and discoloration in the plastic, so that the base is a consistent color.
My brother Pete, had done a few NMF's and varies the black base from matt to gloss to change the brightness/wear look of the Alcad finish.
Joel
My brother Pete, had done a few NMF's and varies the black base from matt to gloss to change the brightness/wear look of the Alcad finish.
Joel
markchis
Kuwait / لعربية
Joined: February 09, 2009
KitMaker: 467 posts
AeroScale: 60 posts
Joined: February 09, 2009
KitMaker: 467 posts
AeroScale: 60 posts
Posted: Saturday, July 27, 2013 - 02:58 AM UTC
The black undercoat dramatically changes the apperance of silver paints that are applied on top. I am spraying on bare plastic and a mixture of black undercoat - you get a really varied appearance,
your brother is using a technique similar to mine Joel. With a black undercoat light is being absorbed and the NMF finish is opaque and bright. When you apply to matt surface that light just does not reflect as brightly so you get differing tones. This is why I really like these alclad paints.
I will advance the blog tonight and show you with pictures the differing effects.
best
Mark
Joel_W
Associate Editor
New York, United States
Joined: December 04, 2010
KitMaker: 11,666 posts
AeroScale: 7,410 posts
Joined: December 04, 2010
KitMaker: 11,666 posts
AeroScale: 7,410 posts
Posted: Saturday, July 27, 2013 - 03:02 AM UTC
Mark, thanks. Will check on Sunday as I'm working the overnight shift in my store tonight.
Joel
Joel
markchis
Kuwait / لعربية
Joined: February 09, 2009
KitMaker: 467 posts
AeroScale: 60 posts
Joined: February 09, 2009
KitMaker: 467 posts
AeroScale: 60 posts
Posted: Saturday, July 27, 2013 - 10:29 PM UTC
This next bit is just as important as the seams its the final corrections and surface preparation just prior to paint.
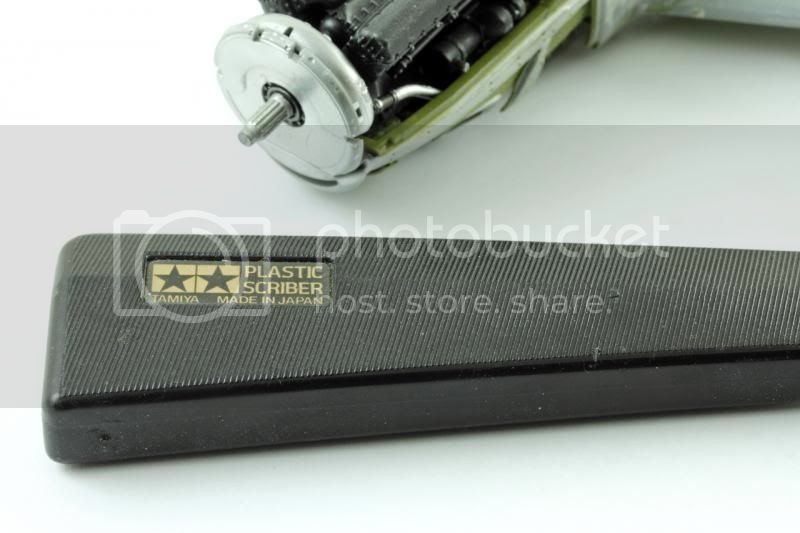
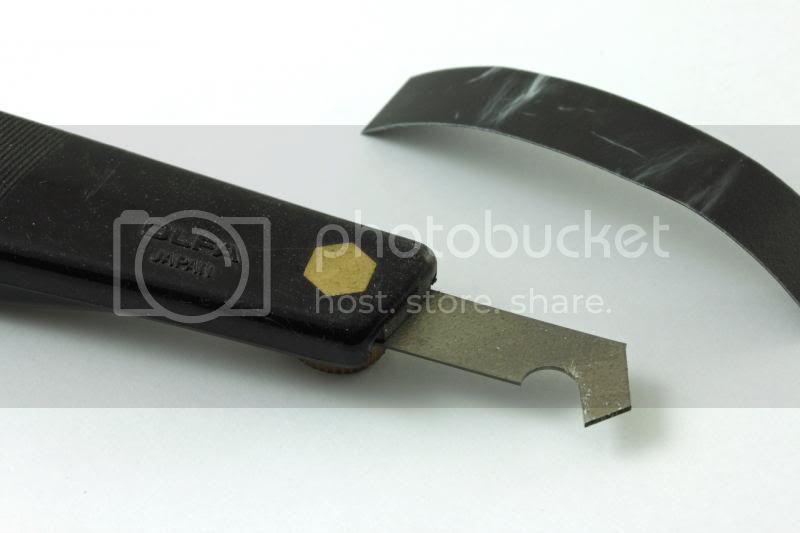
with all that sanding and filling - surface detail is going to get obliterated. So its fairly typical that you need to restore some detail. I just use some "dymo" tape and a P cutter -
here is that seam just ahead of the canopy. smooth and polished but the panel was also smoothed over during the process.
to restore the panel line. lay down the dymo tape just over where you need to scribe.
Then very gently and i mean gently work the cutter back and forth for a few passes. If you put in to much pressure your likely to snag the cutter - then you use more force -- then the cutter goes off path and voila another seam to fill !!
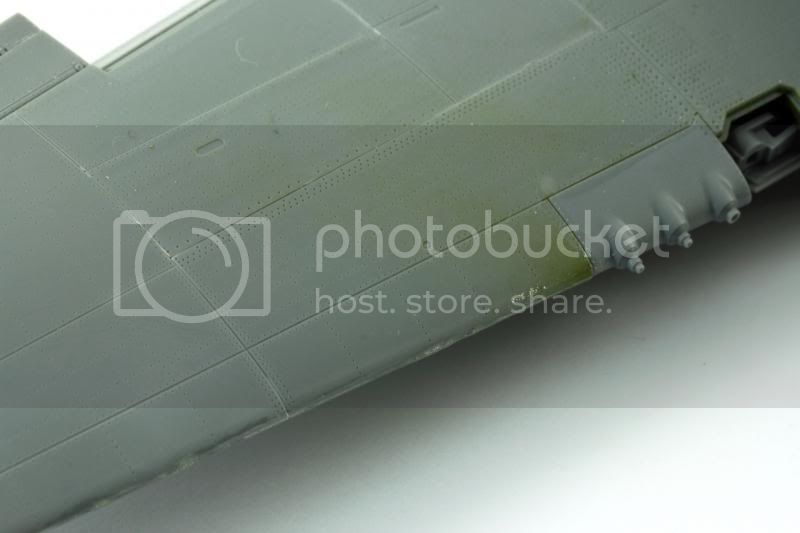
Now unfortunately I have not been able to restore all the detail. One tool that I don't have in my box - is a rivet maker to use to restore rivets using a roller. So to be honest I have just left this area smooth and flat - its the air intake for the radiator, so its not so prominent as its on the underside.
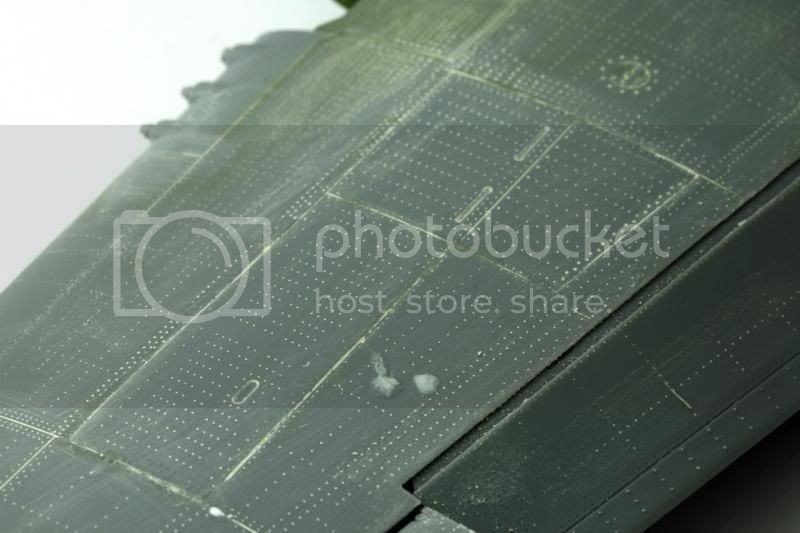
Now the wings --- everyone who knows about P-51s has heard how the wings were puttied in the first 1/3 of the wing filling in the panel lines. This was to further increase performance by decreasing drag on the laminar flow wings. I have seen a few approaches on this - and to be honest I think they dont work so well on a model. Applying filler on the wings just obliterates the entire detail and also it looks irregular. So ok maybe not so accurate --- but all im going to do is sand the detail down a touch and leave it like so.
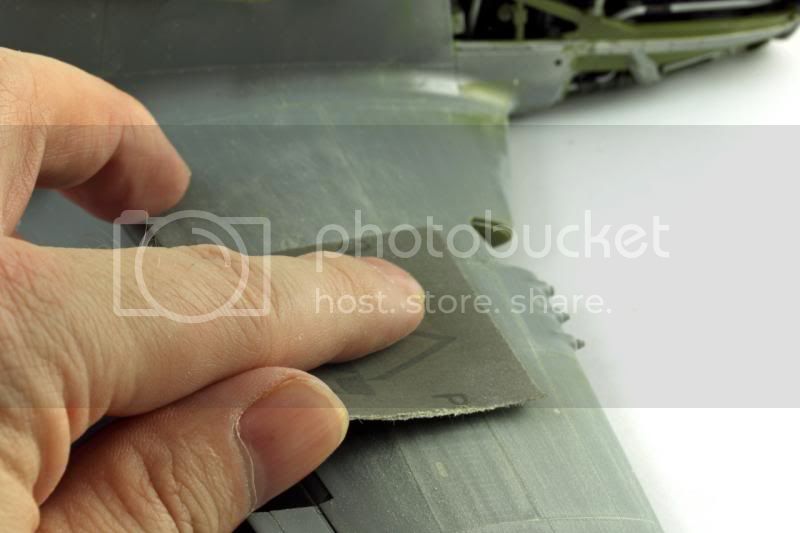
Im using some 300 grit just working width ways over the wing.
I also had some trouble with the covers to the ammo and guns on the wings. I did not add the guns as I thought the detail was to crude, so I cemented the covers closed. One cover is perfect fit - the other i went wrong with. It ended up being recessed on one side. I thought I could live with it --- but becuase you get 2 sets of covers in the kit and every time I looked it really annoyed me! So I hacked out the old cover and replaced it. Ok a better fit but not great.
In the process I damaged some of the wing by delving into it - So i use this Mr Dissolved Putty for such repairs and also It is really good for hairline seam cracks
Its more like a cement or melted plastic substance. In any case it really sticks and will not crumble or fall out. I just use a tooth pick and blob it on.
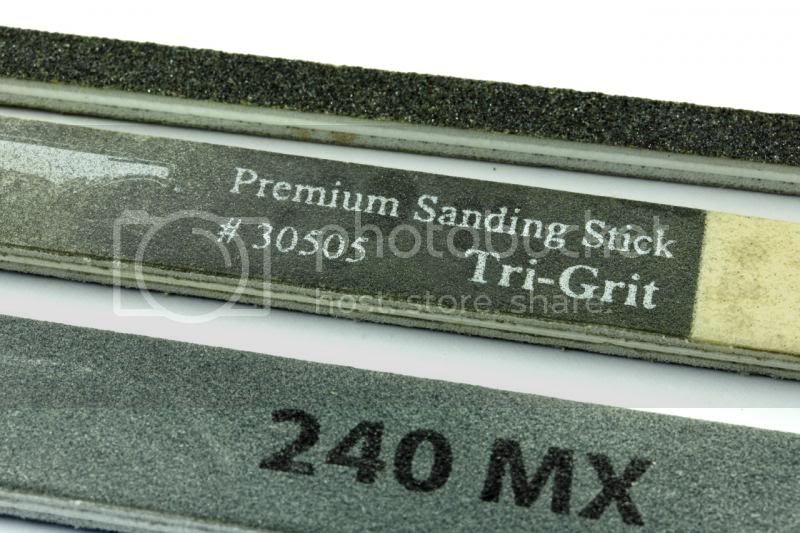
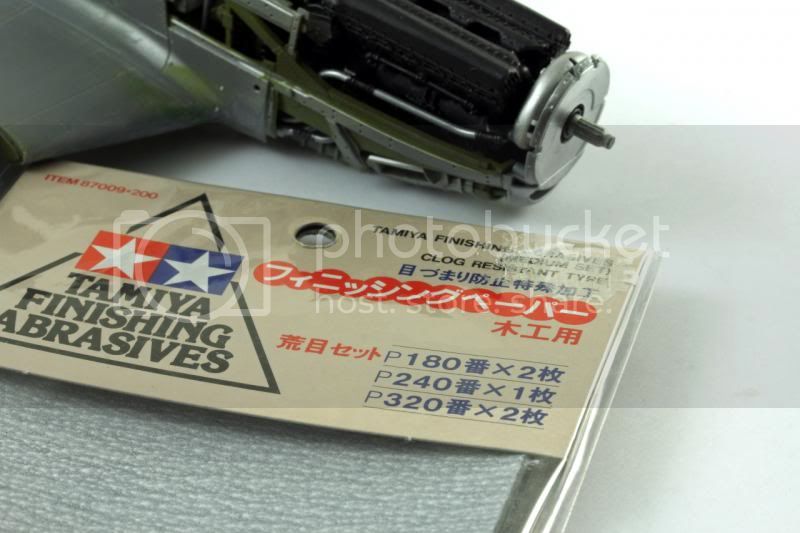
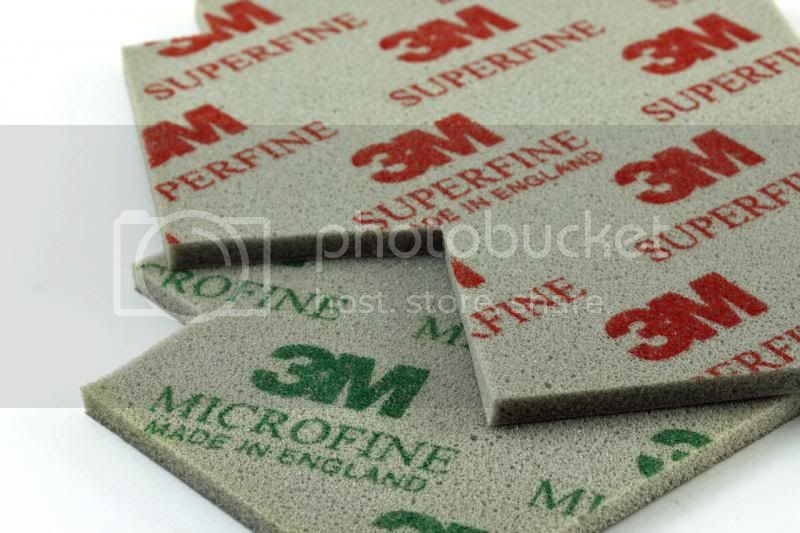
After all this is done its time to polish up the plastic I use these --
I found them in a model shop in Taiwan - and just thought they must be usefull for something. Well they certainly are its aluminium oxide on a foam pad - so flexible and provides a really superb painting key. I did use micromesh pads and clothes and still do - but this is a lot easier!
You use superfine first then microfine for final polish.
best
Mark
stugiiif
Virginia, United States
Joined: December 13, 2002
KitMaker: 1,434 posts
AeroScale: 403 posts
Joined: December 13, 2002
KitMaker: 1,434 posts
AeroScale: 403 posts
Posted: Saturday, July 27, 2013 - 11:14 PM UTC
Mark, your build is coming along nicely. On mine I've decided not to putty the wings. All the photos I have from the Pacific Mustangs I can see panel , but I may use your technique to tone down the rivet detail. Just don't forget the Wings were painted with silver lacquer and fuselage was NMF. Great build!!
markchis
Kuwait / لعربية
Joined: February 09, 2009
KitMaker: 467 posts
AeroScale: 60 posts
Joined: February 09, 2009
KitMaker: 467 posts
AeroScale: 60 posts
Posted: Sunday, July 28, 2013 - 01:17 AM UTC
Steve - many thanks - I would like to see your build also. Yes I was aware of the fact that the wings were painted silver. In face the painting guide for the decals shows some demarcation areas, and calls out differing silver or aluminium paint colours.
Now the only thing that i have found is that when I looked at photos of these aircraft like this superb photo blog
wartime p-51
I can barely see any difference between fuselage and the wings? What do you think?
Now the only thing that i have found is that when I looked at photos of these aircraft like this superb photo blog
wartime p-51
I can barely see any difference between fuselage and the wings? What do you think?
stugiiif
Virginia, United States
Joined: December 13, 2002
KitMaker: 1,434 posts
AeroScale: 403 posts
Joined: December 13, 2002
KitMaker: 1,434 posts
AeroScale: 403 posts
Posted: Sunday, July 28, 2013 - 10:25 PM UTC
Great reference post/ I could tell the lacquered wings in about 7 of them, and mainly the one from Boeing. Here's on that was posted on LSP. I there is link there for his build as well. http://forum.largescaleplanes.com/index.php?showtopic=31521#entry284127 . I'll have to do a log for mine here shortly. Steve
markchis
Kuwait / لعربية
Joined: February 09, 2009
KitMaker: 467 posts
AeroScale: 60 posts
Joined: February 09, 2009
KitMaker: 467 posts
AeroScale: 60 posts
Posted: Monday, July 29, 2013 - 10:52 PM UTC
Hi Steve - its a great link isn't it. The thing I notice is that during wartime surface these aircraft were not pristine they got filthy! That one on LSP he has gone and done a fine job of producing a ultra polished present day war bird restoration. Mine will be not so errr.... pretty LOL
They're creepy and they're kooky,
Mysterious and spooky,
They're all together ooky,
The ALCLAD Family.
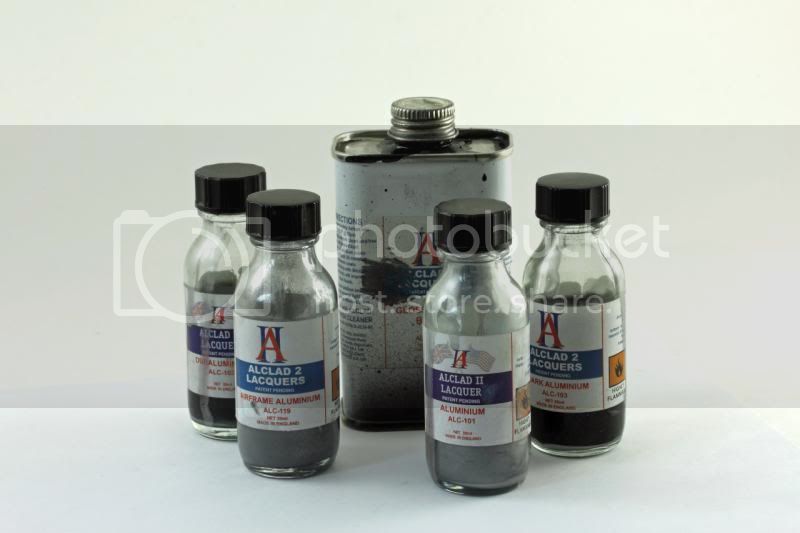
:lol:
A lot of people get all freaked out about using metallic paints - like they are some form of witchcraft. My take is this - get your surface prep work done and the rest takes care of itself. After all that sanding polishing, a few more things are required. I use paint wipes or tak clothes and get all the dust and grease off the model. Then the most important thing I find is to put on some neoprene or latex gloves - you dont want greasy prints on the thing!
As I mentioned the alclads will go onto bare plastic no problems but if you want something nice, I use the gloss primer. Now I before did an entire 100% opaque black coat of the primer. But now I apply more like pre shade technique so laid it thick on the panel lines and sort of mottled it all over the rest of the model. The alclad primer dries in minutes.
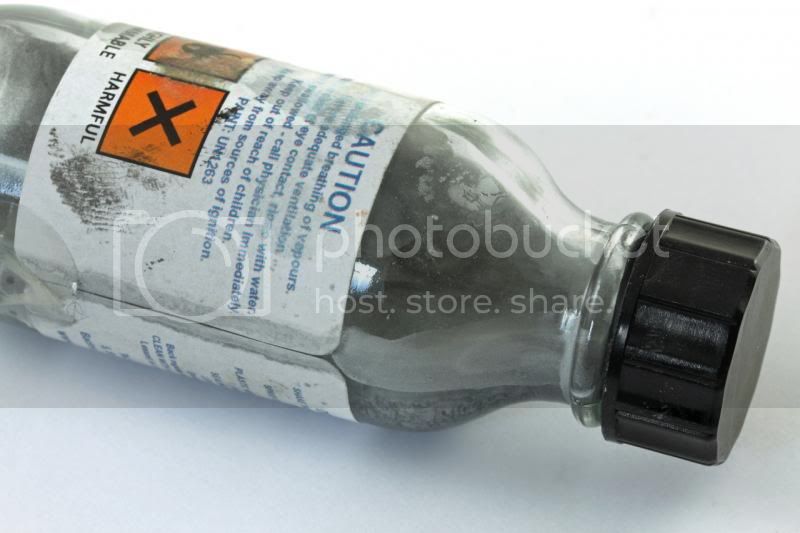
Here is the Alclad metal pigments in a lacquer suspension.
I use these clamps to hold smaller parts
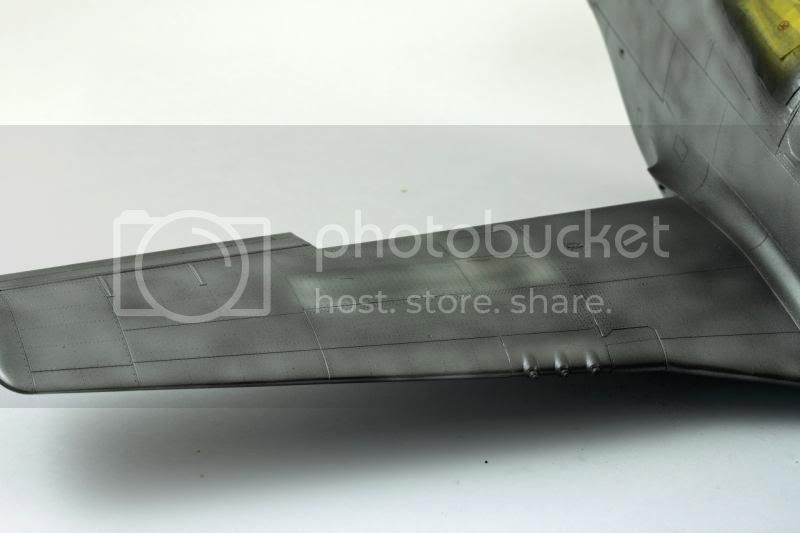
After the application of Alclads - I used the Aircraft Aluminium on the leading edges and gun covers. Then "Aluminium" as the basic shade. You can see the results of the mottling
here is the area that had a lot of seams and required the most filler.
before -
after -
Alclad lays down very smoothly. But in this area i have a grainy texture - maybe due to being to far from the area when spraying.
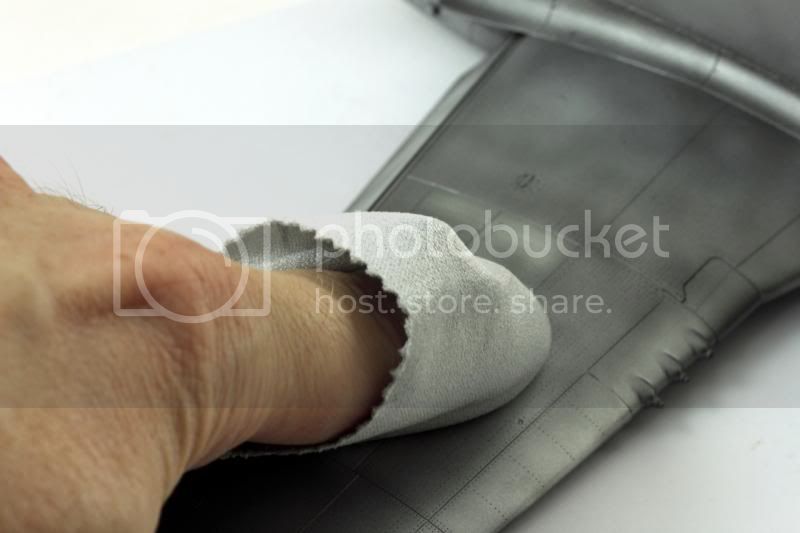
To solve that I use the microfine pad and then this scotchbrite to polish it smooth
smoothed down and no damage to paint
You can use a cloth to polish up also
Because Tamiya provided the model with removable panels for the engine - they served to "mask" off the engine during the painting.
held on by tiny magnets - cool
Now to add more variety the panels for the engine, and rudder were painted separately without any primer straight onto bare plastic, I used White aluminium for them. An area of the cowling near the exhaust was masked and painted "jet exhaust"
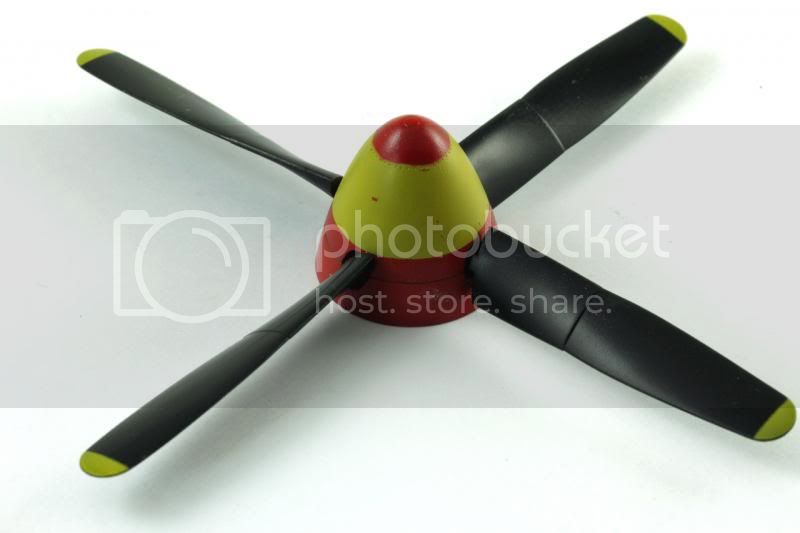
Seriously painting the prop was more work than the alclads!
best
Mark
They're creepy and they're kooky,
Mysterious and spooky,
They're all together ooky,
The ALCLAD Family.
:lol:
A lot of people get all freaked out about using metallic paints - like they are some form of witchcraft. My take is this - get your surface prep work done and the rest takes care of itself. After all that sanding polishing, a few more things are required. I use paint wipes or tak clothes and get all the dust and grease off the model. Then the most important thing I find is to put on some neoprene or latex gloves - you dont want greasy prints on the thing!
As I mentioned the alclads will go onto bare plastic no problems but if you want something nice, I use the gloss primer. Now I before did an entire 100% opaque black coat of the primer. But now I apply more like pre shade technique so laid it thick on the panel lines and sort of mottled it all over the rest of the model. The alclad primer dries in minutes.
Here is the Alclad metal pigments in a lacquer suspension.
I use these clamps to hold smaller parts
After the application of Alclads - I used the Aircraft Aluminium on the leading edges and gun covers. Then "Aluminium" as the basic shade. You can see the results of the mottling
here is the area that had a lot of seams and required the most filler.
before -
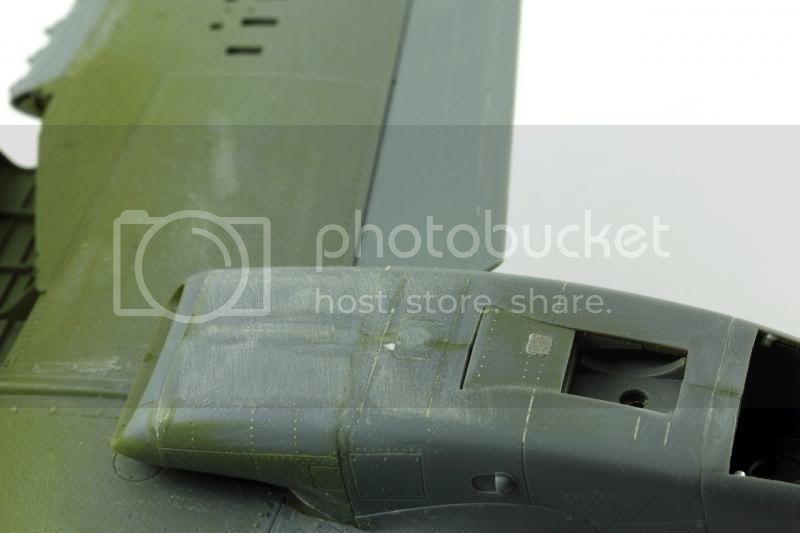
after -
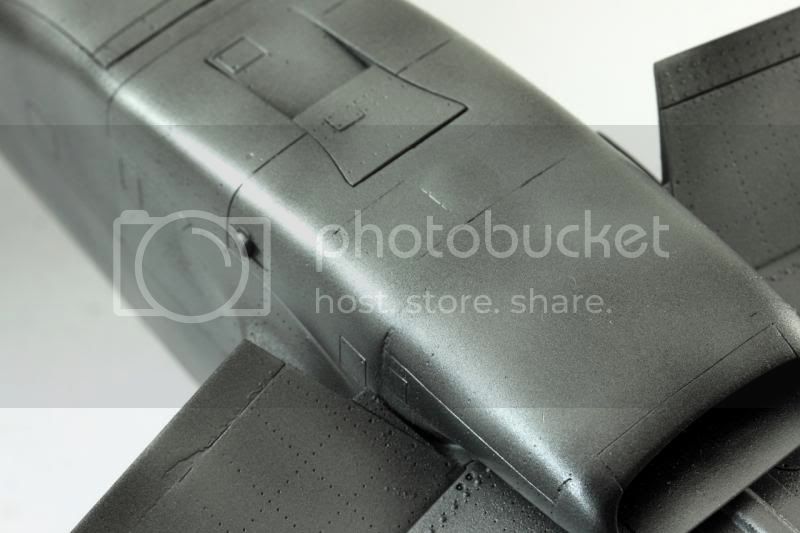
Alclad lays down very smoothly. But in this area i have a grainy texture - maybe due to being to far from the area when spraying.
To solve that I use the microfine pad and then this scotchbrite to polish it smooth
smoothed down and no damage to paint
You can use a cloth to polish up also
Because Tamiya provided the model with removable panels for the engine - they served to "mask" off the engine during the painting.
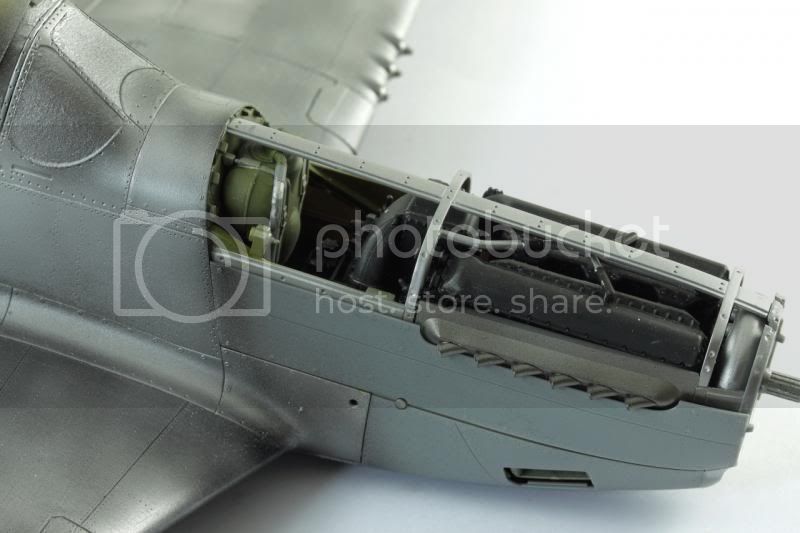
held on by tiny magnets - cool
Now to add more variety the panels for the engine, and rudder were painted separately without any primer straight onto bare plastic, I used White aluminium for them. An area of the cowling near the exhaust was masked and painted "jet exhaust"
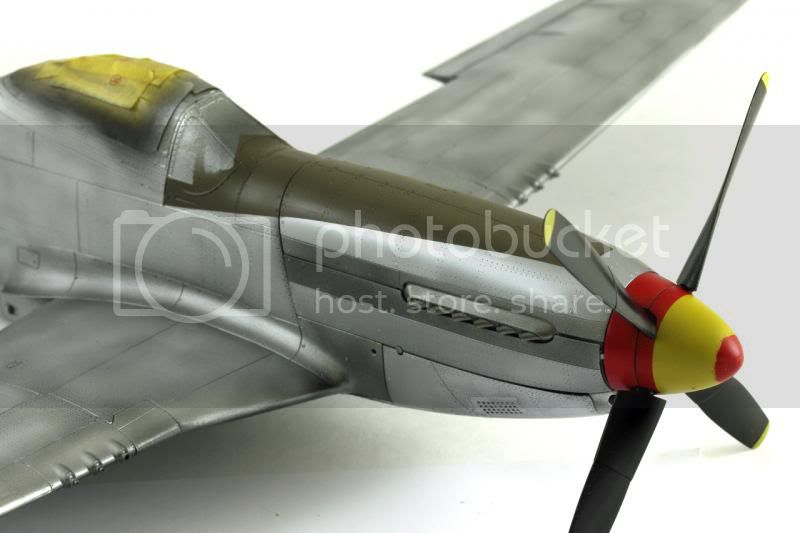
Seriously painting the prop was more work than the alclads!
best
Mark
Joel_W
Associate Editor
New York, United States
Joined: December 04, 2010
KitMaker: 11,666 posts
AeroScale: 7,410 posts
Joined: December 04, 2010
KitMaker: 11,666 posts
AeroScale: 7,410 posts
Posted: Tuesday, July 30, 2013 - 01:08 AM UTC
Mark, very impressive. The motley effect with the base primer and it's results with the Alcad 2 system was something I've never seen before. It's not what I've come to expect from NMFs, as it looks more like the weather effects on a camo paint scheme. Going to go back to that P-51 site and look for that type of finish, as I'm sure that like paint, bare aluminum oxides, and shows wear & tear in a more irregular pattern then we've modeled to date.
Joel
Joel
markchis
Kuwait / لعربية
Joined: February 09, 2009
KitMaker: 467 posts
AeroScale: 60 posts
Joined: February 09, 2009
KitMaker: 467 posts
AeroScale: 60 posts
Posted: Wednesday, July 31, 2013 - 11:25 PM UTC
Hi Joel - thanks - yeah i suppose its just a different effect, the other way to go is what Alclad advises on the website - just sand down the alclad to create differing shades.
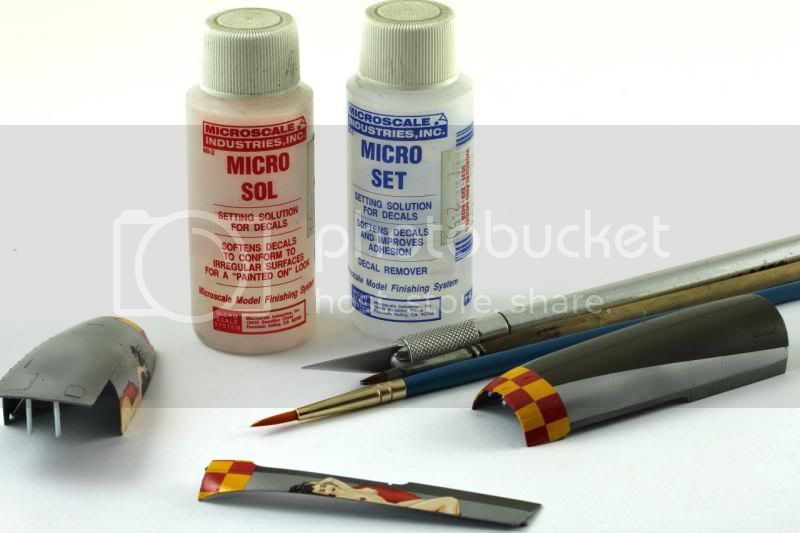
Stickers!!! I mean err... decals
cant say much on this - just use the usual equipment
The stars and bars and stencils are from the Tamiya decal sheet, the nose art etc is from Kits World. The quality of the decals are miles apart. The Tamiya ones are very thick and dont settle so good, the Kits World ones are the opposite ultra thin and hug the details.
I put the nose panels on and laid the decals into place for the nose art and check pattern - then using a new no 11 blade carefully cut the separate parts.
The nose art was straight forward, the checkers not so - i didnt get them perfect - but neither am I
to bed those decals down - the Tamiya ones - I used these solutions - Tamiya thinner being the strongest - but still they were not really sinking into the panels.
So sharpen a toothpick reapply the thinner and then do this
The prop was masked and painted
love the nose art
11 Air victories the last one a Me-262 jet fighter
Capt. Charles E. Weaver
1944
Sep 19 Me-109 P-51B 362 FS S of Zuider Zee
Nov 17 2 FW-190s P-51D “ S of Magdeburg
“ FW-190 prob, dmg “ “ “
Dec 23 Me-109 “ “ N of Donauworth
1945
Jan 14 Me-109, FW-190 “ “ NW of Berlin
Mar 24 Me-109 “ “ W of Gutersloh
Apr 18 Me-262 “ “ Prague-Ruzney A/D
best Mark