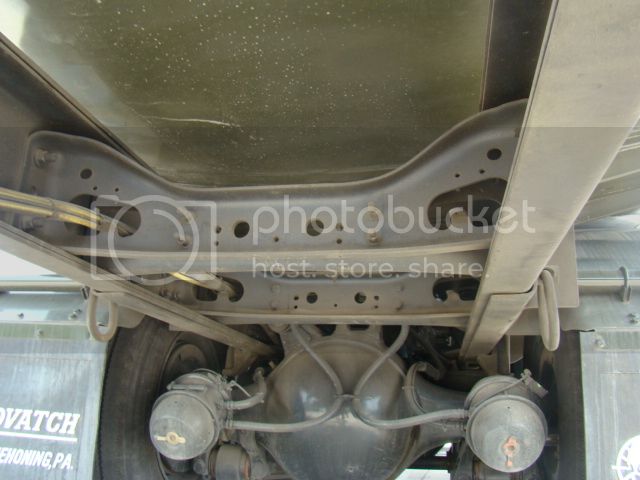
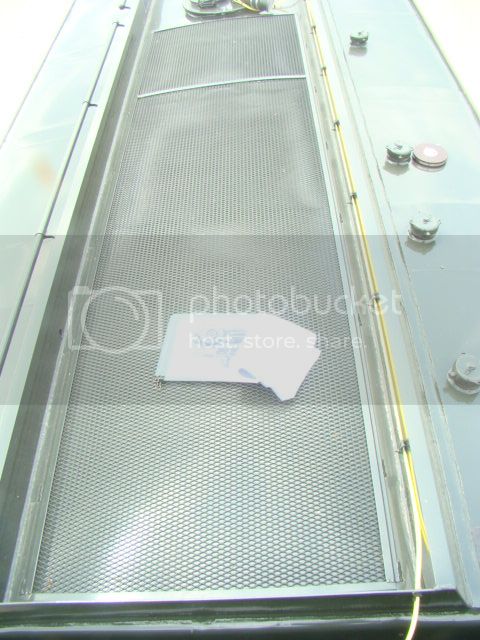
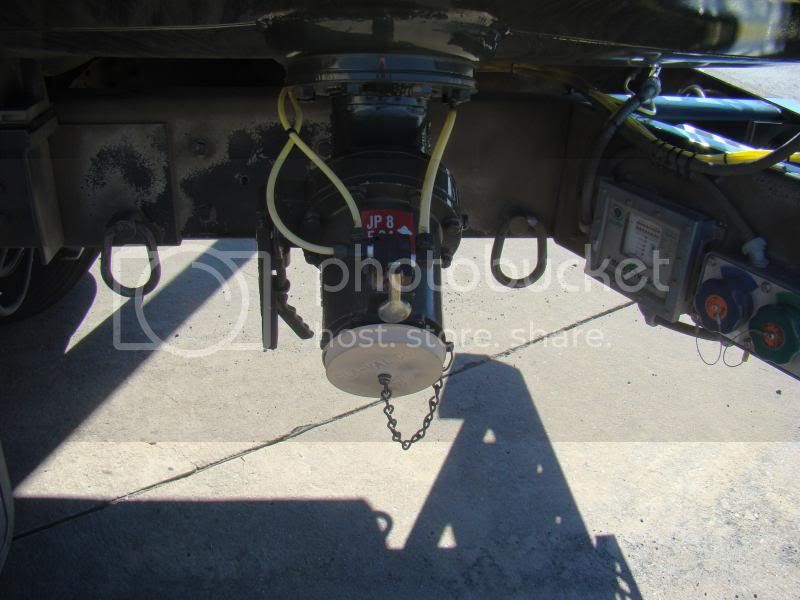
Before I start talking about the build, I'd like to thank the refuelers at NAS JRB Ft. Worth for allowing me to photograph the actual R-11 about two years ago. I brought a few kits by to share, and to my surprise, a few of them had already purchased the kit! I guess they were waiting as long as I was.
Here they are with the kits I left:
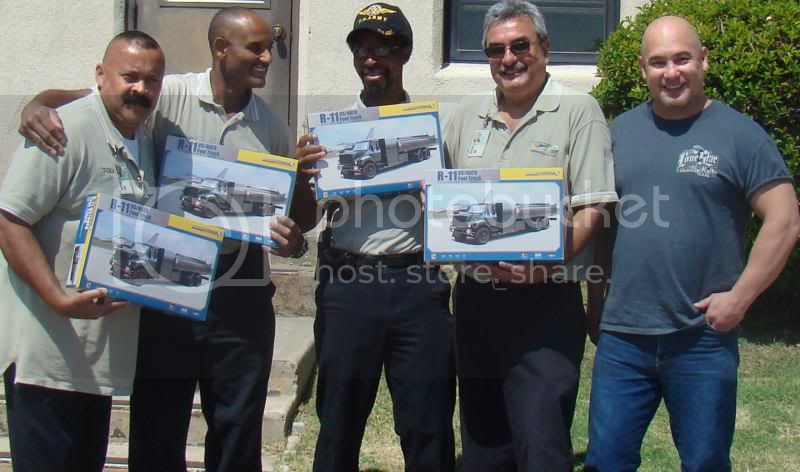
It's nice to see smiling faces, isn't it?
Now on to the build.
I'm an armor modeler, so the first thing I usually do on a tank kit is cement the barrel halves together. That way, when I get to the step that calls for it the bond is cured and I can start getting rid of the seam.
I took a similar route and went after the large fuel tank halves. Later, the seam cleaned up very nicely. I will say you may want to cut off the locater pins and line the halves up by feel. I did this and it worked well.
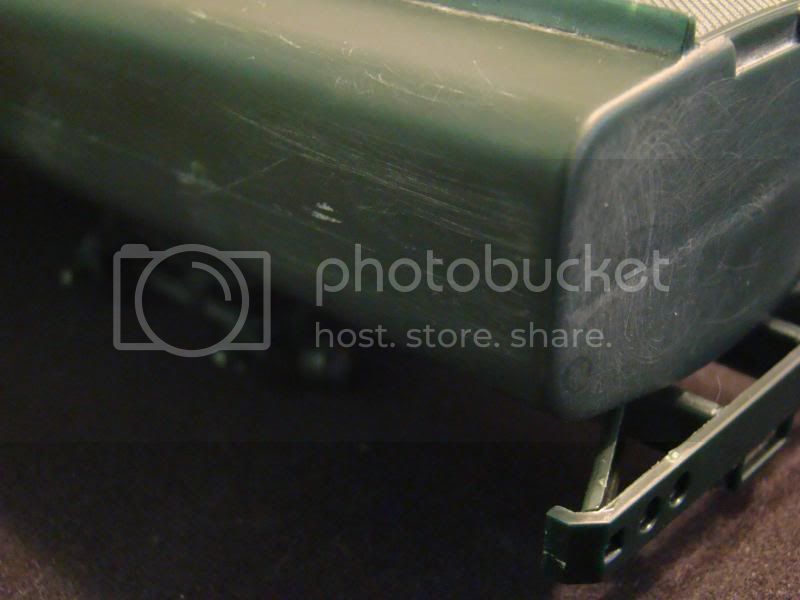
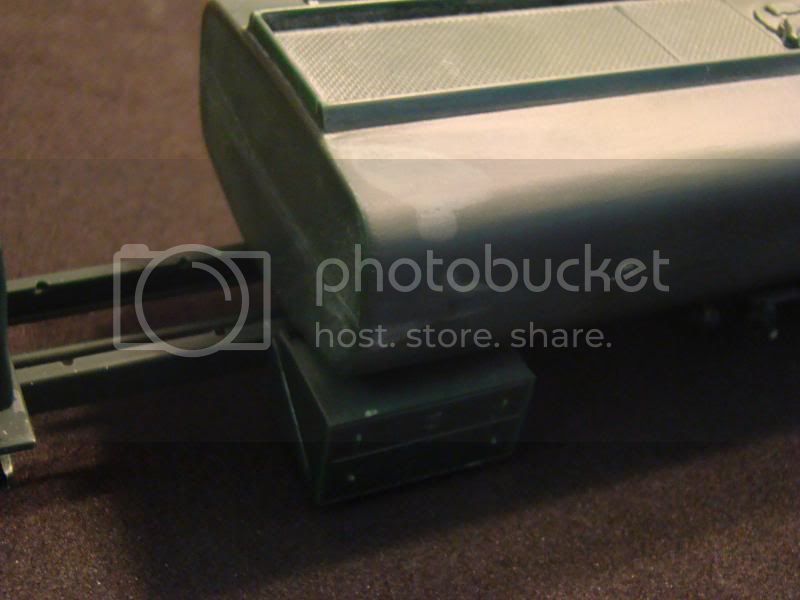
For the rest of the kit I followed the instructions. There were no surprises to speak of. The control box behind the cab takes a little finesses to assemble, but wasn't too hard to deal with. The handrails along the top of the fuel tank are delicate, so I took extra care in cleaning them.
This is where I ended up after only about two hours of modeling - nearly finished.
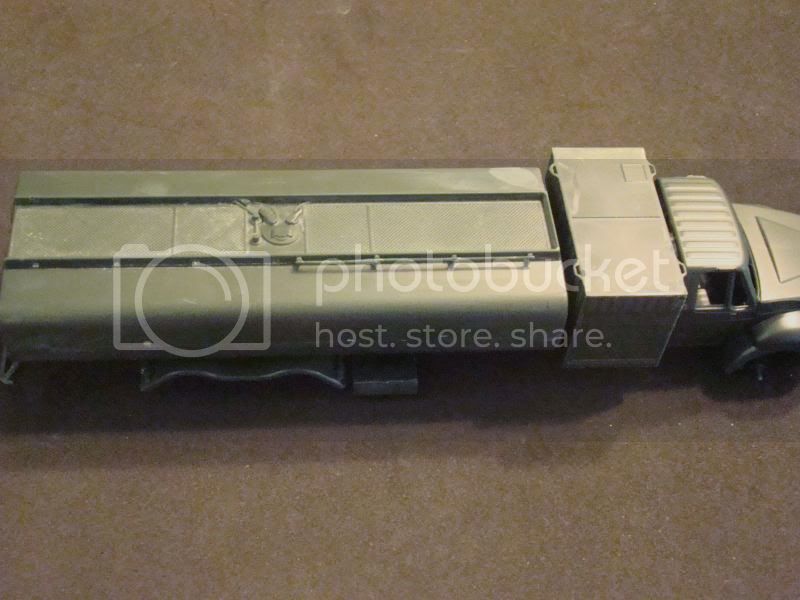
One extra tip: For the stowage and tool boxes that attach to the chassis, sand them with fine grit wet/dry paper on a flat surface such as a granite counter top. They will benefit from it, as they're not quite flat.
Now for some pros and cons:
Pros:
The interior is not bad at all. The dash is correct in every way, down to the last switch. The doors have no inner detail though, but it hardly shows once together. The seats have the correct profile. The stitching is different than what I've seen, but I don't think it detracts from it at all.
The pump control station has a very detailed control panel. It can be closed up within a roll top style door, or displayed with the door rolled up.
The deals are very crisp and on register - always a concern with multi-color decals.
There is somewhat of an underside to the vehicle, even the air brakes are represented.
The kit scales out very well. I spent a few hours measuring the real thing, so I'm happy about that.
Cons:
No decals for the dash or the control panel. Not too serious as you can paint both, but it would have been nice to have.
There are seven clean out caps missing from the top of the tank, even though they are shown in the instructions. I've looked at the sprues, they are not there. These can be replicated fairly easily, but I'm mystified as to how they got left off.
There is also a missing fuel outlet at the lower left rear of the tank. Right by where it should be are also some electrical boxes missing from the inner rear fender. These again, can be easily replicated, but the at least the outlet should have been present.
There is a multi-curved pipe on the sprue (I don't recall the part number as I removed it) that does not show up in the instructions at all. You'll need to install it between the lower front right of the tank and the underside of the control box. The good thing is that it fits perfectly.
Now for what I consider to be the low point of the kit - the wheels, or more precisely, the tires. The tires are in two halves which cement on either side of the wheels. That makes painting the wheels a breeze, but the tires themselves have a ficticious tread pattern - almost a military tread pattern, when they should have an automotive tread. I understand the limitations of injection molding in styrene, so better tires might have been done in rubber or vinyl. In any case, I'd look to see them done in resin before too long.
So, without painting the beast yet, I'd say Kinetic (or Skunkworks) have a real winner on their hands that, with a little extra work could be an absolute show stopper. (You could really go whole hog plumbing the brakes, the fuel tanks, and other wiring)
My thanks to Raymond Chung of Kinetic for generously providing the kits for me and the men at NAS JRB Ft. Worth.


