Thanks guys! I hope this build turns out to be as interesting as you expect.
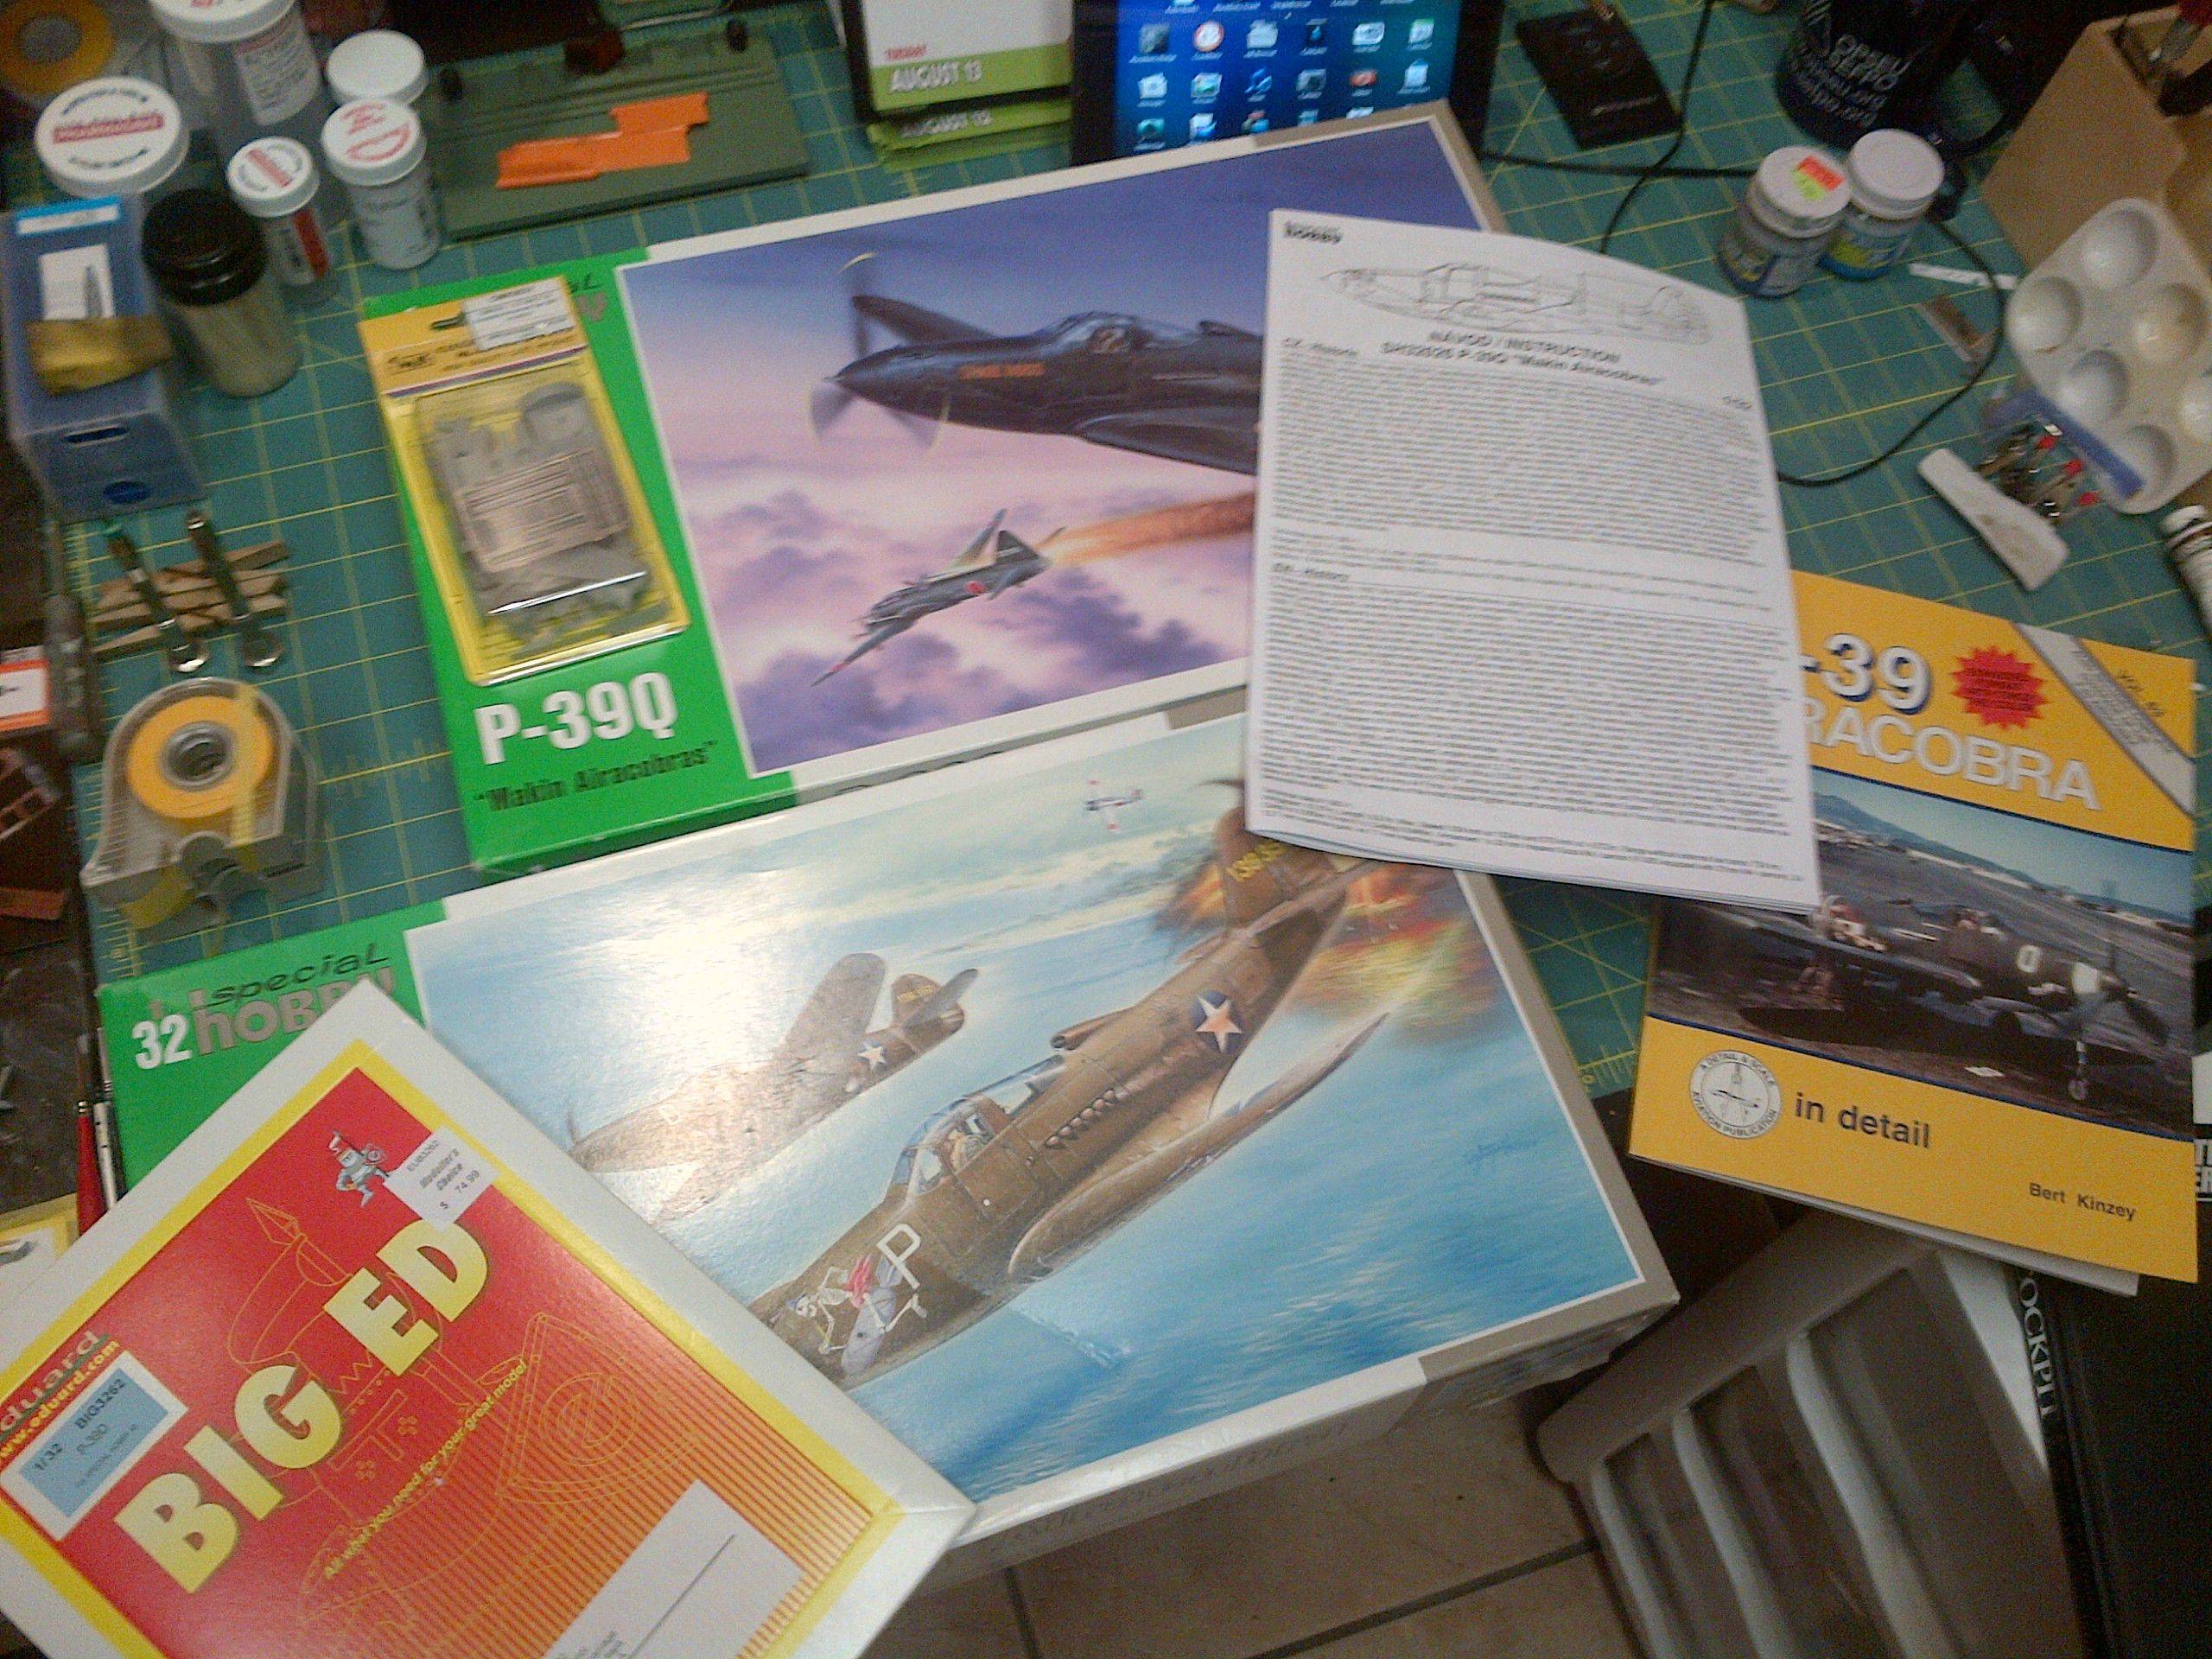
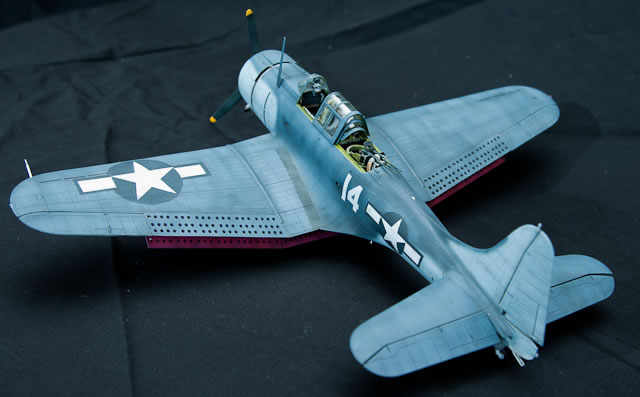
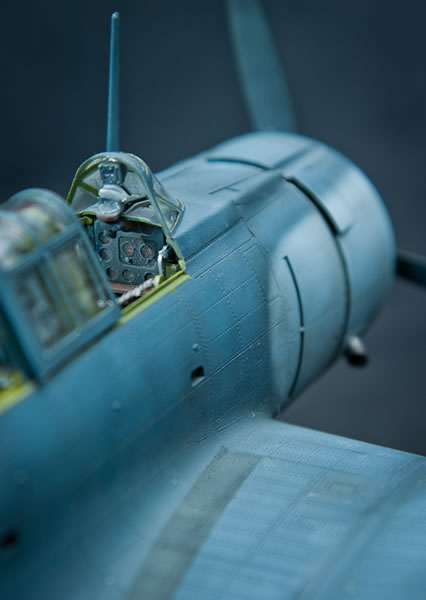
For the sake of keeping this thread going - and therefore keeping myself building - I'm posting the first photos.
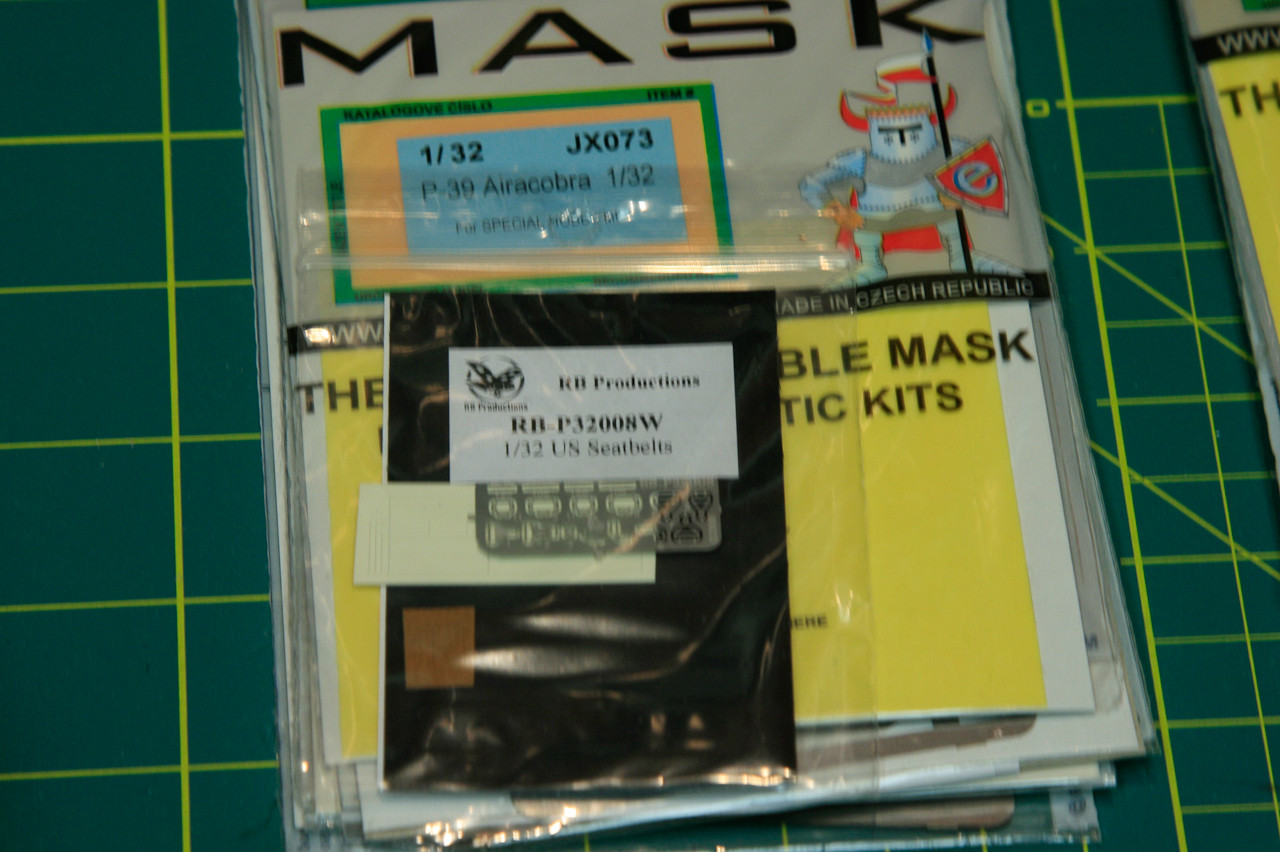
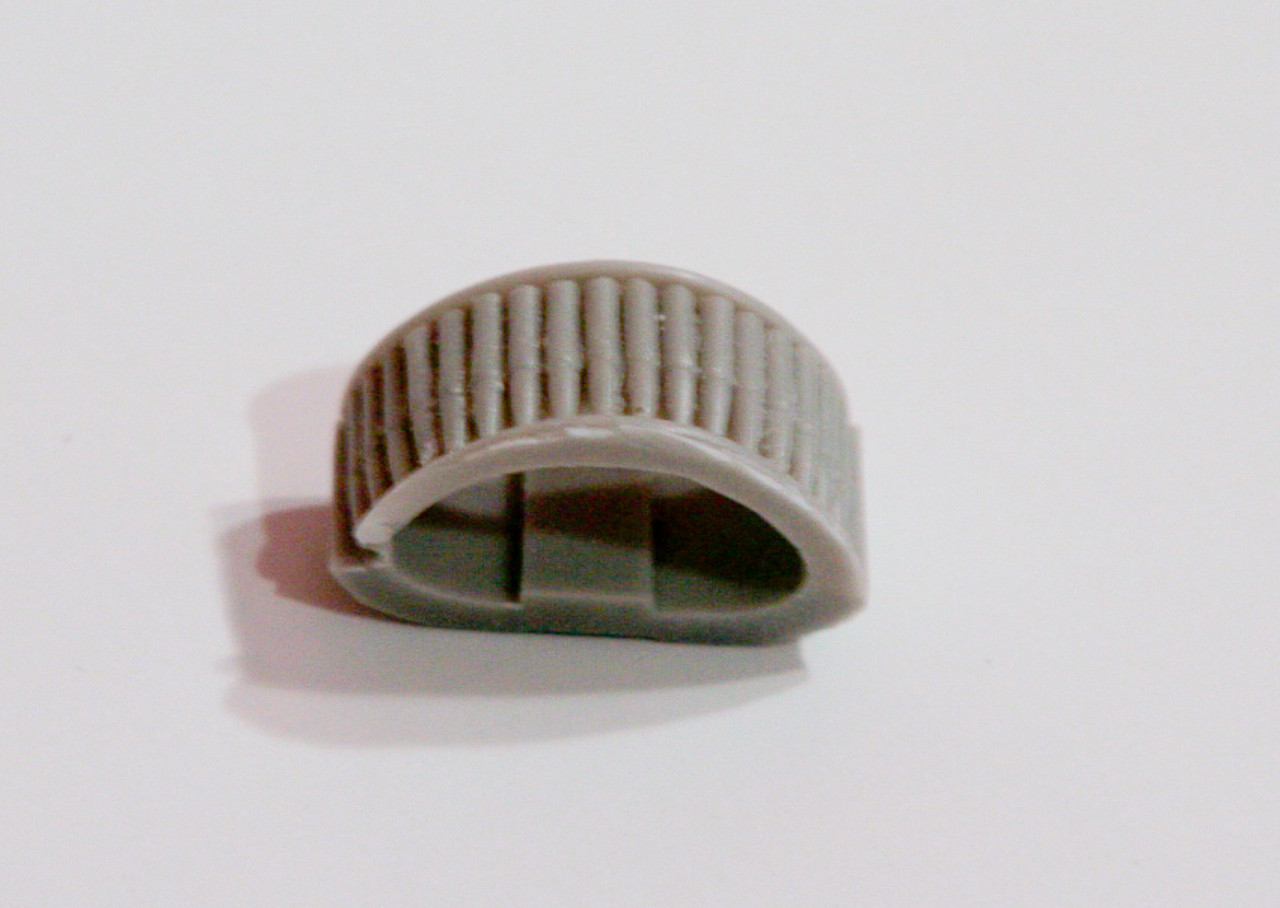
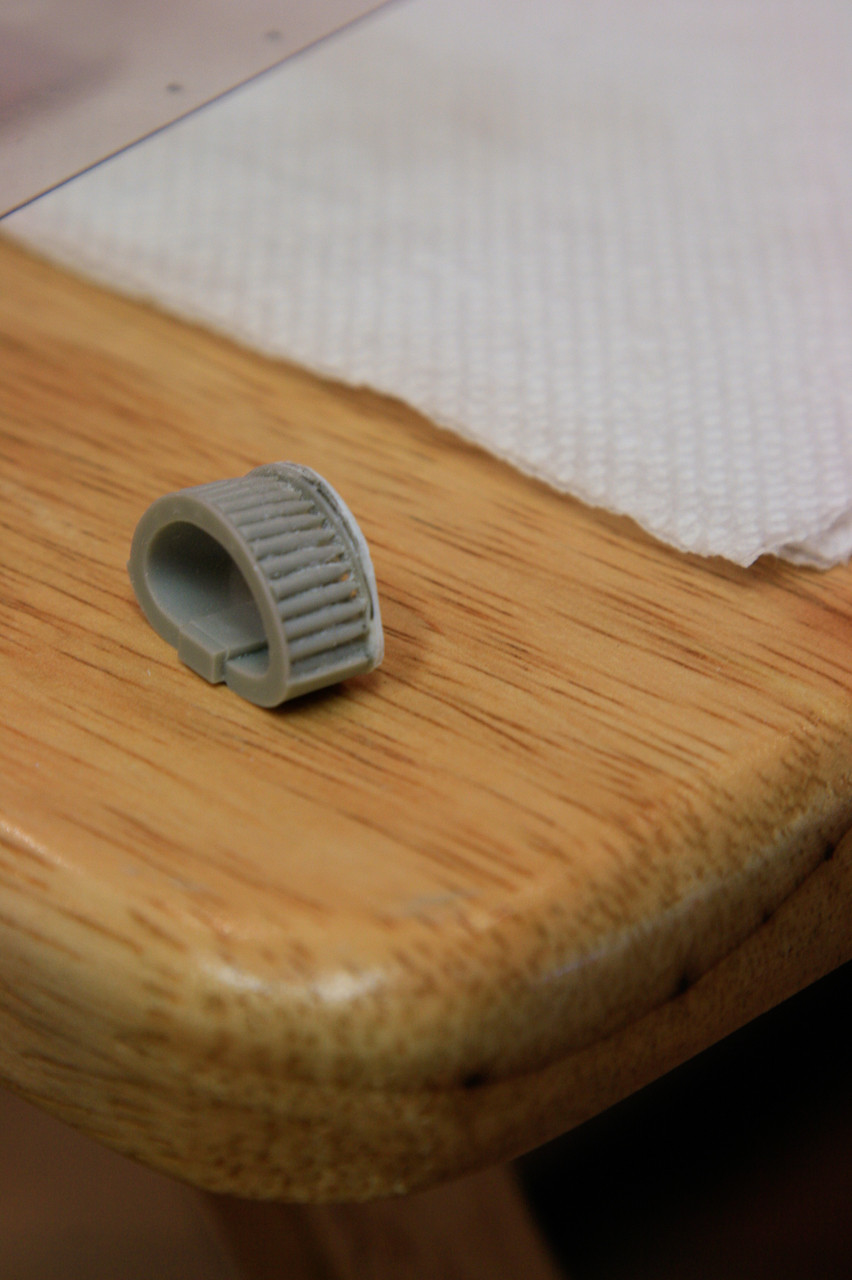
I got some actual time in at the bench today, but before I forget - more goodies! A pair of RB Production Harnesses - one in green and one in white.
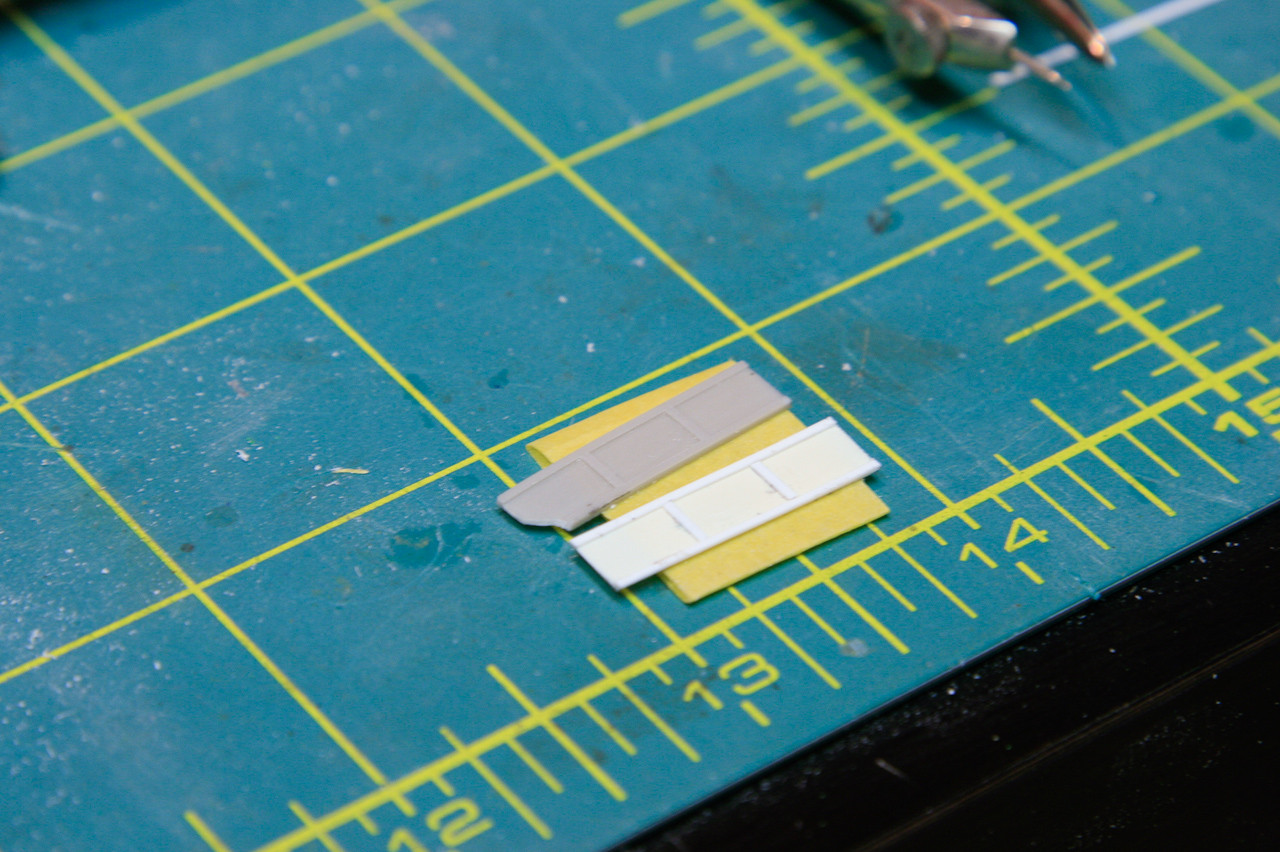
Brief Review RB Harness vs HGW
Having used HGW Harnesses for my Mustang build, the big upside to the RB parts is that they're more easily available - although HGW has an ebay store and to be fair I was amazed how quickly they arrived here. Bigger than that for me though, is the fact that the RB harnesses are pre-cut - the HGW harness you have to cut out yourself (similar to Tamiya's Canopy masks vs. Eduards). I know this is lazy, but for the same price.... Plus on top of that, the HGW instructions are HORRENDOUS. I ended up having to find dozens of photos of the real harnesses to piece together their product. I like both, I would use either, but this time I'm going with a pair of RB items.
 The build!
The goal for the start of this build is to get all of the interior green parts together for priming and painting. I will build both sets alongside each other so it will be interesting to see how the photoetch compares to its resin counterpart. once the green is on then we'll be cookin!
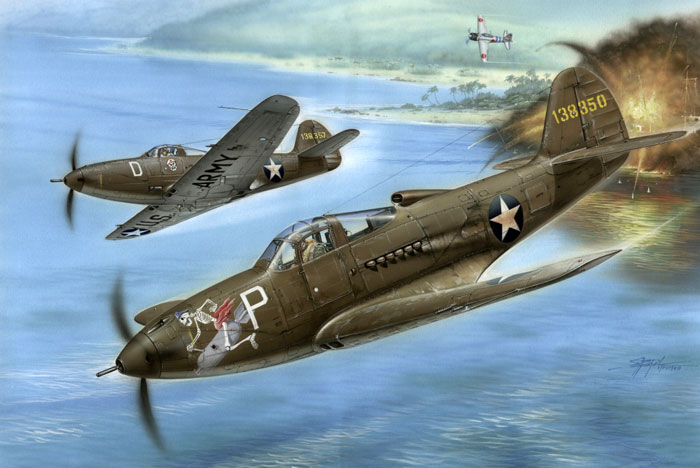
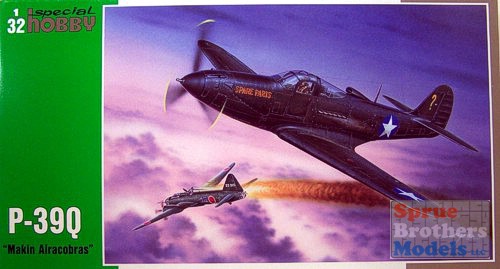
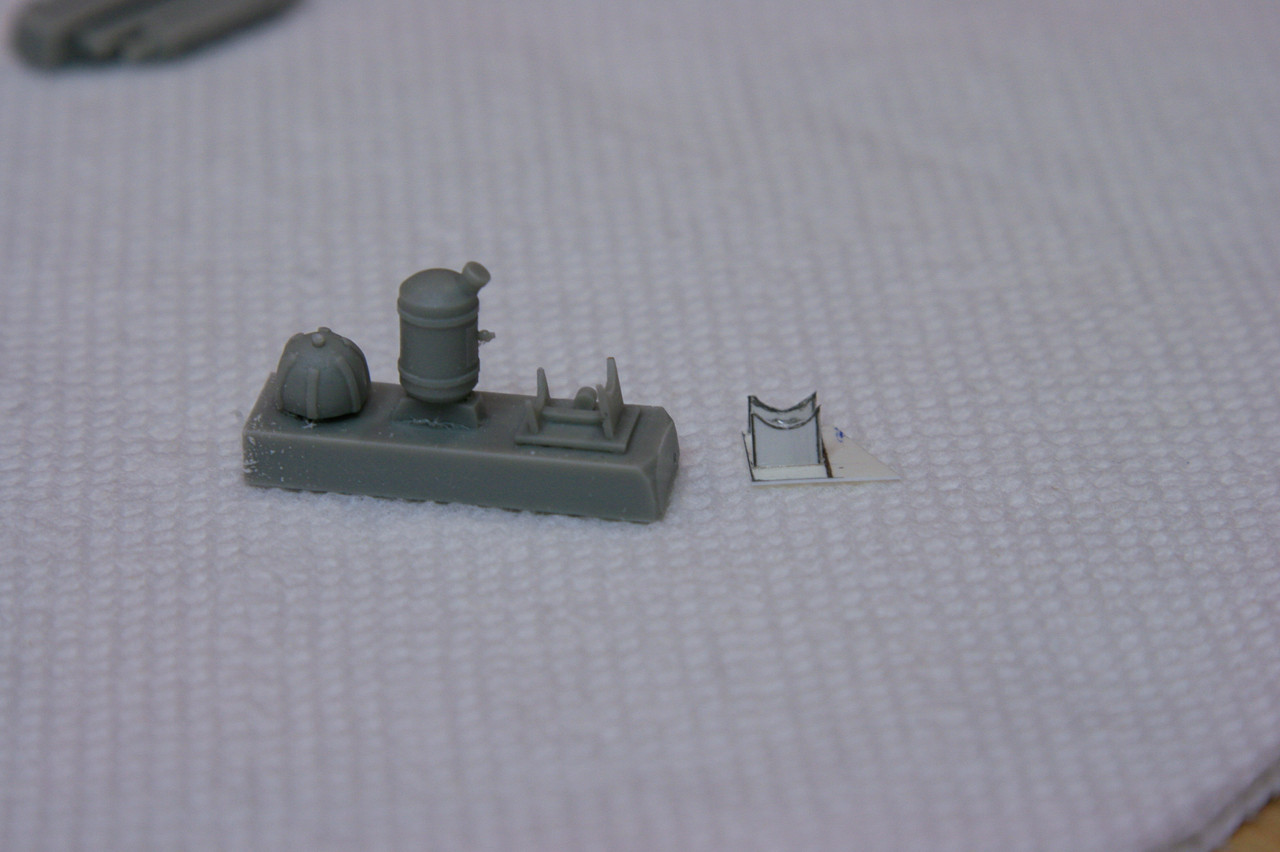
Firstly a quick photo of all the resin parts included in the Q variant kit
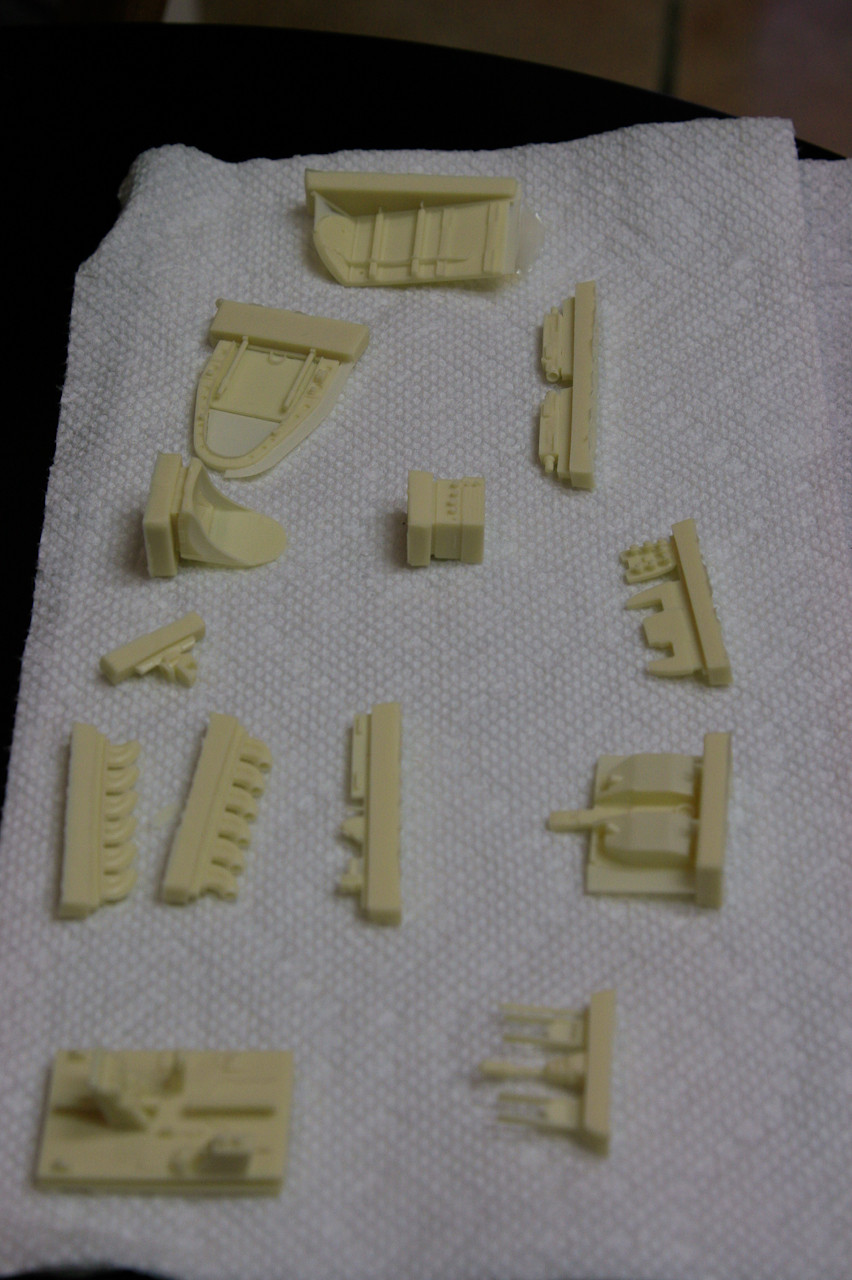
None of these resin pieces are in the 32002 offering, but all of the injection molded pieces are included in both. HAd I known, I would have simply purchased two Q model kits and built one as a D. The upside is that with all the aftermarket going into these two kits, I have a third set of all of these pieces for when something inevitably gets screwed up.
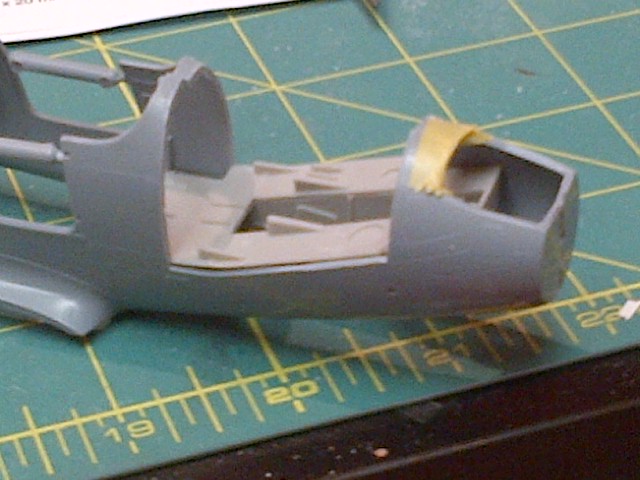
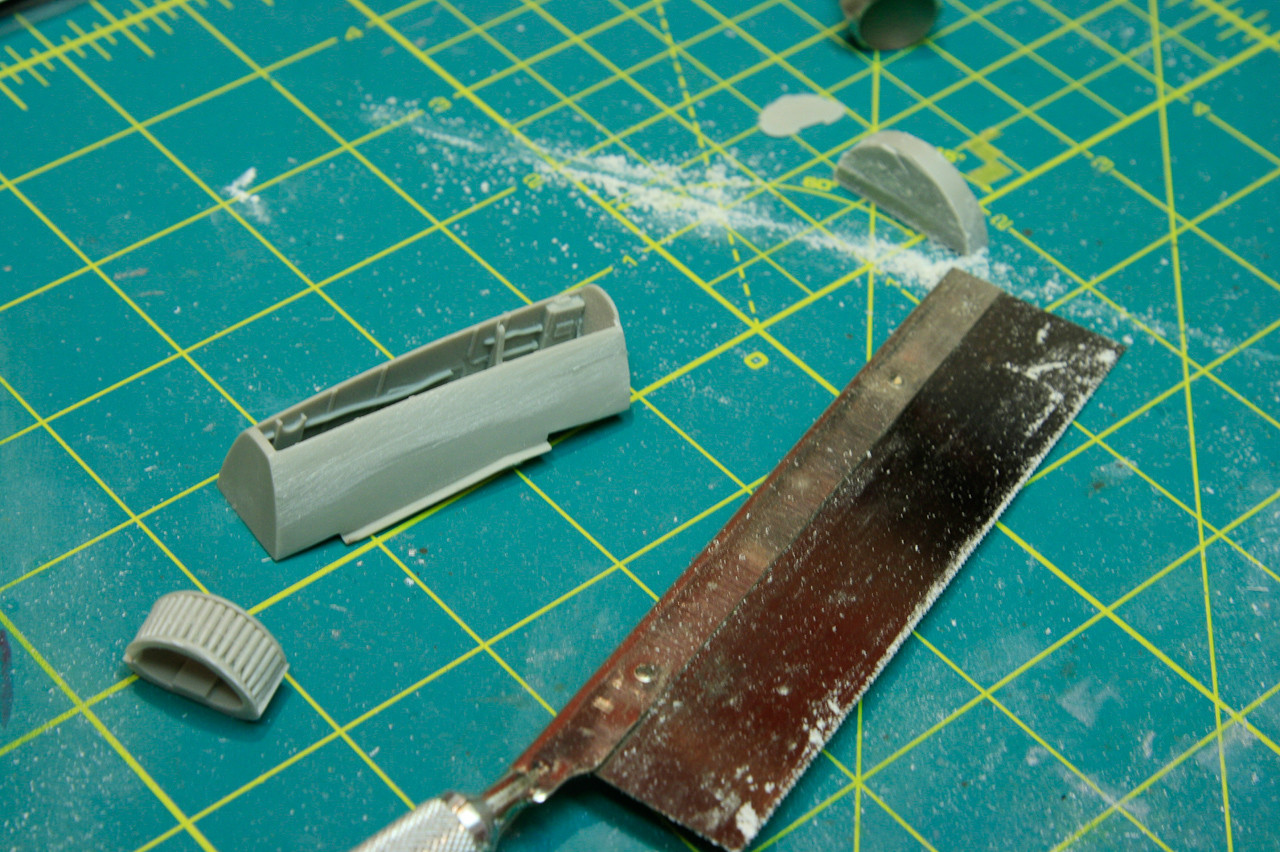
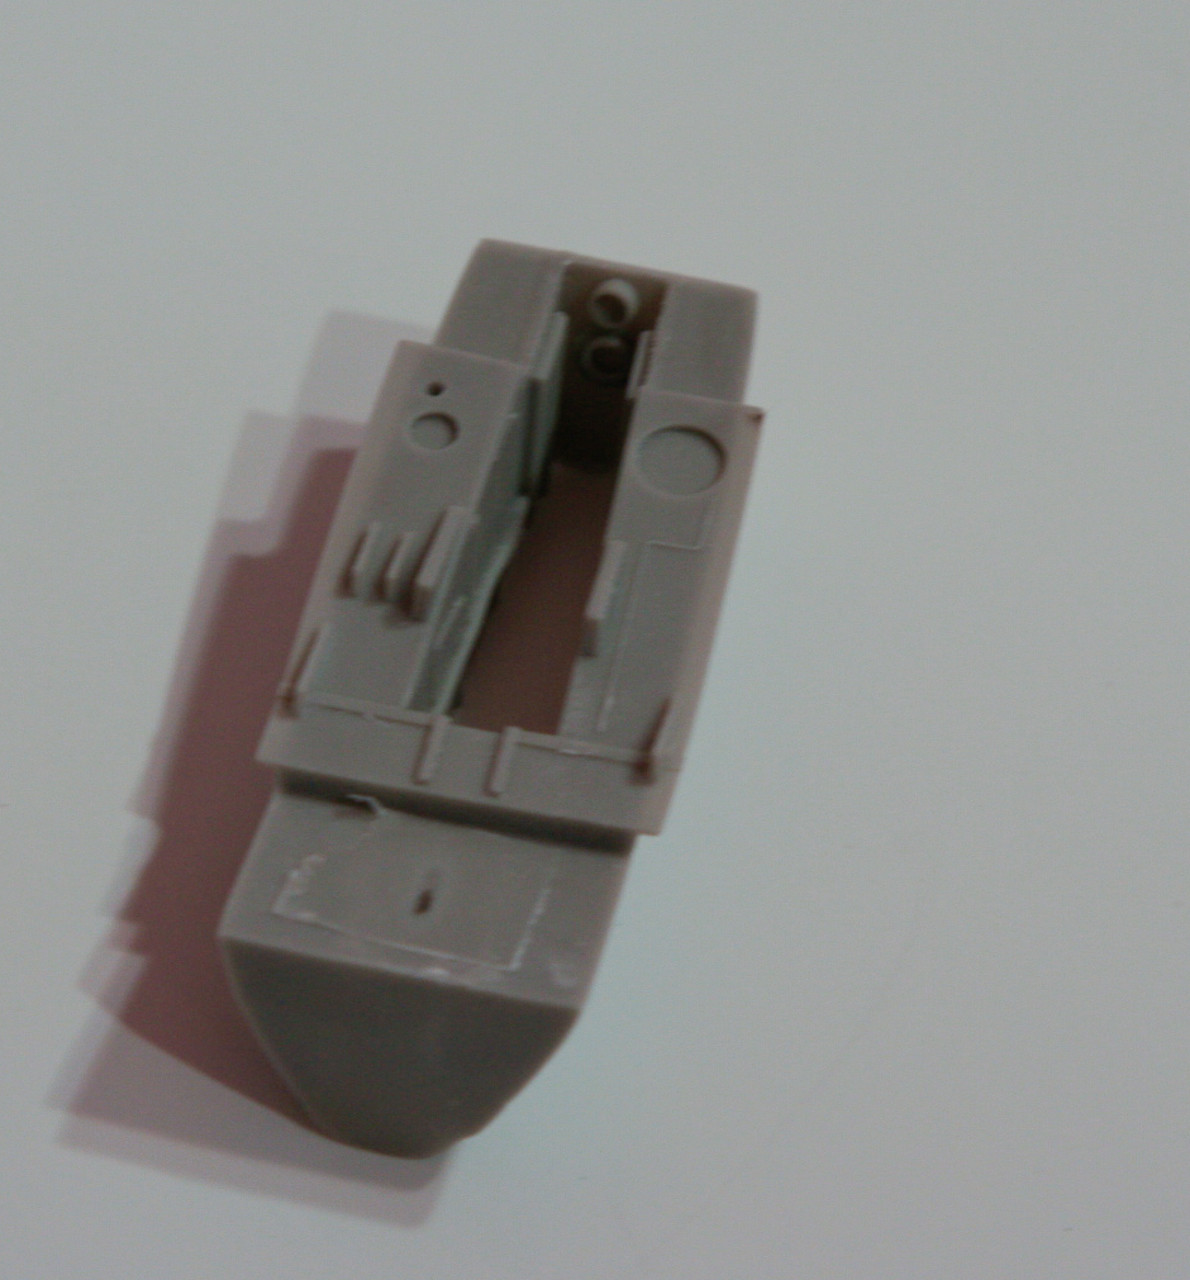
I started the build by separating the nose gear bay/armament bay from it's casting block. All of the grey resin pieces you see in this build article are from the CMK set.
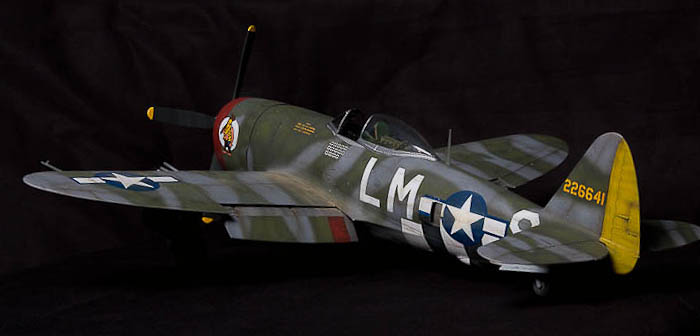
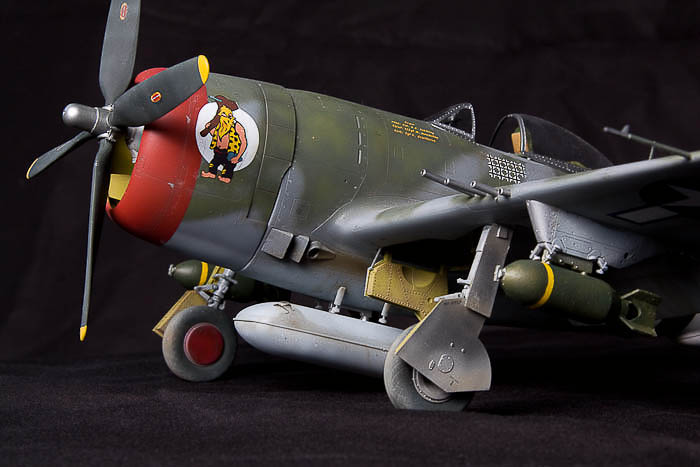
In that photo you can also see the ammunition rack for the 37mm Cannon. I'm working with Mal of Miracle Masks to get a set of masks completed for an early model D. This is important because only the earliest of D models actually carried the 37mm cannon. If we didn't have the luxury of choosing our own markings these days, I'd be in a pickle trying to source a 20mm cannon for the nose AND redoing this ammo rack to reflect the smaller caliber.
Here's the nose gear bay - like I mentioned earlier the detail is all nicely moulded in, so I wont be utilizing the nose gear photo etch from the Big Ed set for this one (at least not the wiring etc, the gear will still get the treatment)
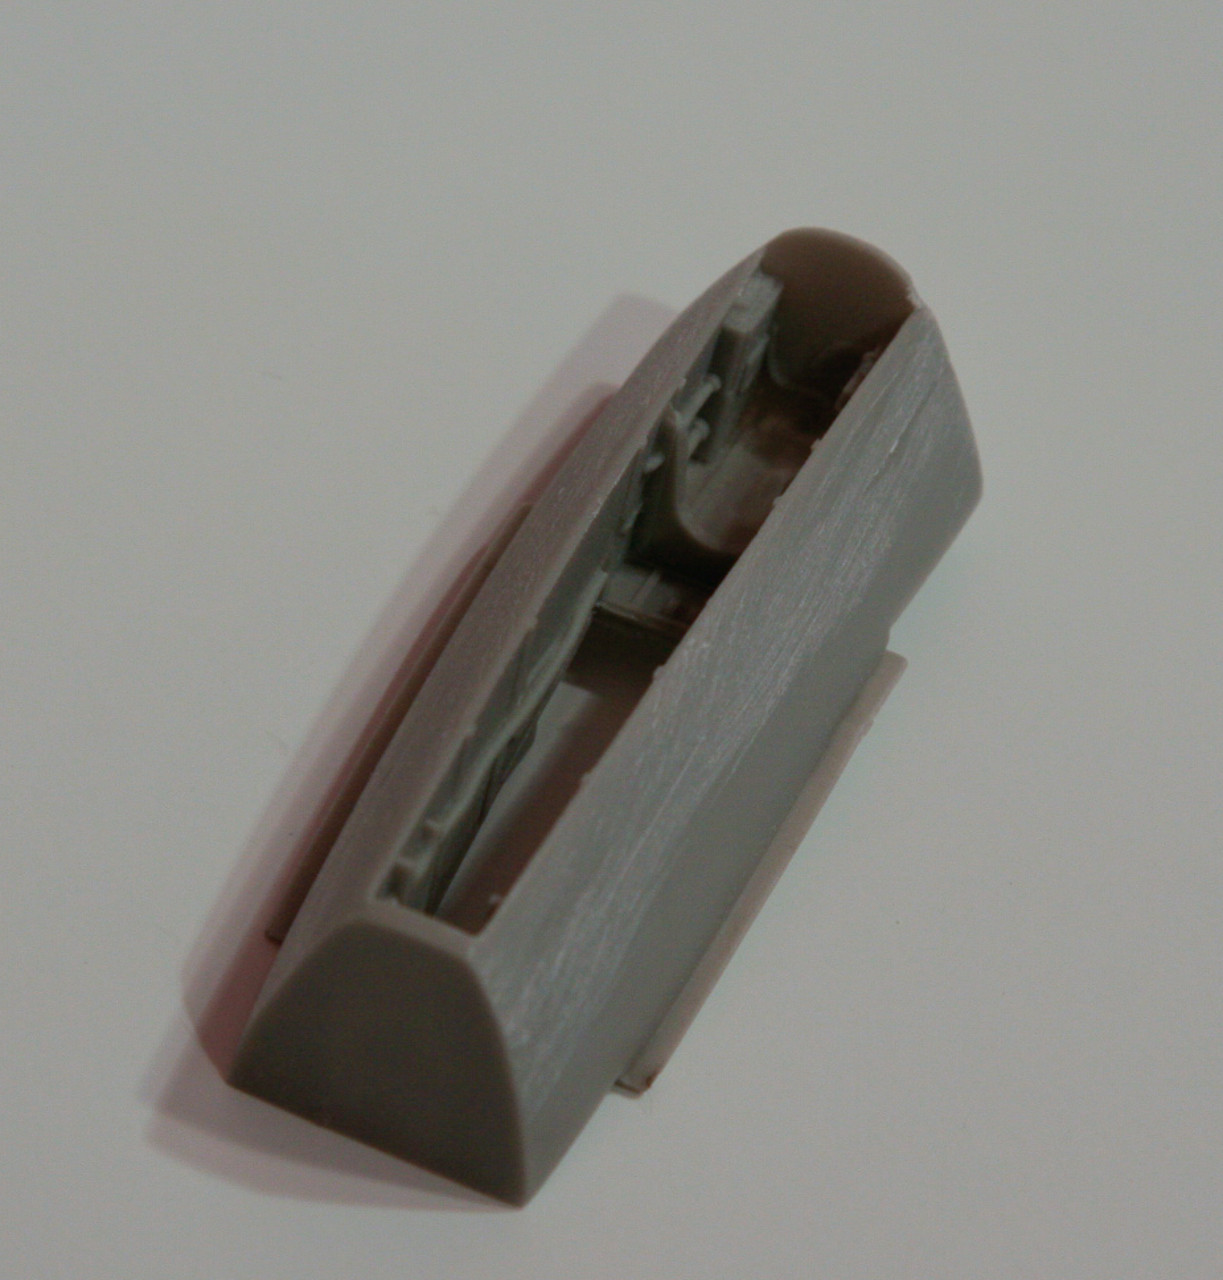
What you dont see in that photo is that the casting I received is thin and where the wheel retracts there's a hole. This will be covered up by the bottom of the cockpit floor, so no worry there. CMK had tried to patch this in the master by adding a small layer of resin on top of where the hole is, but mine didn't completely form.
Here's the gunbay side - you can see the hole near the bottom of the photo, and the small square patch that was likely added to the master.
Big ammo leaves big holes in things:
^^^ This part's casting block was attached to the one side, the bottom would have been much more convenient, but that's just my way of saying I can't sand straight and I sanded part of the front bulkhead away. I laminated the end with styrene stock, sanded it to shape and we're good as new.
The next part to be cut from its block was the firewall. I interestingly noticed that the CMK part is actually a copy of the Special Hobby resin part - or vice versa because there is no need for the detail on the front of the kit part - the nose is closed and there's no propshaft to glue into that hole in the bulkhead.

Like they always say - if it's not broke, dont fix it. Well, unfortunately this part arrived broken, but there's an upside; this type of modelling always involves scratch building, and I can't think of an easier part to start off with to boost confidence a bit!
The last part I got to before the Missus returned home was the cradle for the oxygen tank. (the tank is the center piece on this casting block and the cradle is the rightmost part). Most resin parts have a small gap between the part and the casting block so you can saw there without risking damaging the part - this one didn't and since I can't sand straight, I actually chose to scratch build this cradle out of styrene. I blame all of Chuks threads for this. Actually - credit where credit is due, I wouldn't have known how to size and shape the circular parts of the cradle without his threads; drillbits! I just kept going until I found one that had the same circumference, then traced it onto styrene, made a crude cut with an xacto knife and finally used a round file. It fits the tank perfectly and it honestly took me less time than it would have to cut that block off and sand it down to the part.
Well folks that's it for day 1. I haven't decided if I'm going to track time for this build - it may end up being depressing - but without the time spent with my nose in a book doing research, I have so far put in about 4 hours.
I have also cut the panels out of the fuse for the gunbay in the D - but she aint pretty yet, so no photos so far.
Does anyone have some photos of the gunbay? I'm looking for plumbing, wiring etc. There dont seem to be many photos kicking around except of the restored N. If no one has any then I'll just start making stuff up and no one will be the wiser.