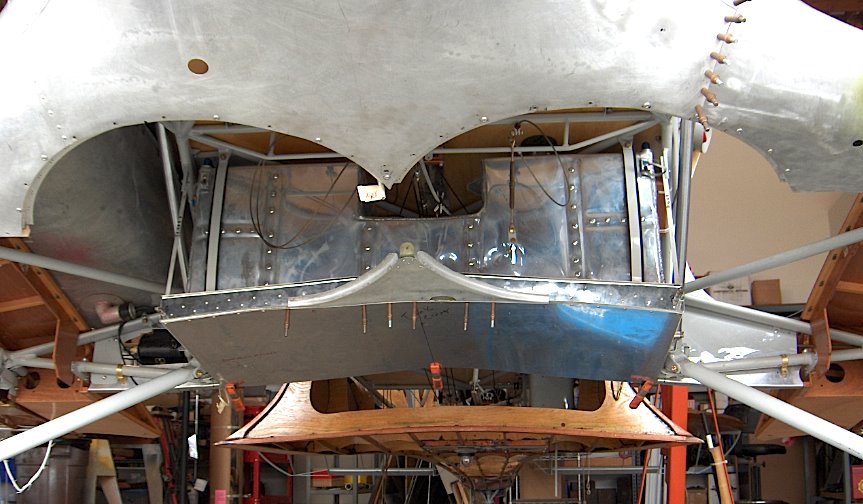
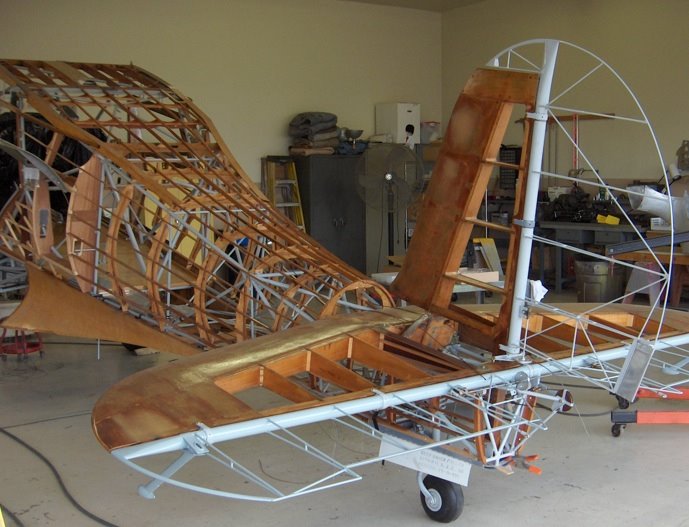
Let’s see if i can get a nice build report started here..
Inspired by this book...
.jpg)
I started on a Beech 17 staggerwing. The kit is from AZ model. And is a short run kit.
.jpg)
.jpg)
And this is what you may expect on mould details from this kit..and how much on clean up work
.jpg)
.jpg)
And last but not least a picture to show you the colour schemes that come with the kit…
.jpg)
But because i want to make a civilian version.. They ended up in the spare box.
As with any airplane build we start with the cockpit… AZ wants us to build the inside as a single unit.
.jpg)
But it beeing a short run kit, i would strongly advice against that. In my version the cockpit elements are too big for the fuselage, And need to be sanded down quite a lot. So it is a case of sanding and fitting, more fitting and sanding... and yet more sanding again...
.jpg)
.jpg)
Before painting and committing to glue. Off course...that is said with hindsight. So yesterday evening was spend carefully sanding down already painted cockpit parts. Especially the dashboard and the floorboard. But i’m getting ahead of myself…
As always i started with the dashboard.
.jpg)
Quickly followed by the rest of the interieur
.jpg)
The Floor got a carpet made out of sanding paper…
.jpg)
The sidepanels new grips out of leadwire
.jpg)
And i also made new footpedals. Based upon reference pictures..
.jpg)
Wich all together looked something like this..
.jpg)
.jpg)
Then i decided to already prepare the striping on the sides. Now that it was still easily reachable..
.jpg)
After masking of the glasswork it was time to finish off the interieur. Give it a last coat of colour..
.jpg)
…and then nicely join the fuselage parts up. To continue with the next step….Or maybe not..
.jpg)
Here the fit without the dash..
.jpg)
Still not brilliant. But better..So the job for the next few days. Sanding and fitting…
Although i did manage to fit in the seatbelts for the front Seats..And with that picture i’m gonna leave you till the next update..
.jpg)


.jpg)
.jpg)
.jpg)

.jpg)
.jpg)
.jpg)
.jpg)
.jpg)
.jpg)
.jpg)
.jpg)
.jpg)
.jpg)
.jpg)
.jpg)
.jpg)
 [/quote]
.jpg)
.jpg)
.jpg)
.jpg)
.jpg)
.jpg)
.jpg)
.jpg)
.jpg)
.jpg)
.jpg)
.jpg)
.jpg)
.jpg)
.jpg)
.jpg)
.jpg)
.jpg)
.jpg)
.jpg)
.jpg)
.jpg)
.jpg)
.jpg)
.jpg)
.jpg)
.jpg)
.jpg)
.jpg)
.jpg)
.jpg)
.jpg)
.jpg)
.jpg)
.jpg)
.jpg)
.jpg)
.jpg)
.jpg)
.jpg)
.jpg)
.jpg)
.jpg)
.jpg)


.jpg)
.jpg)
.jpg)
.jpg)
.jpg)
.jpg)
.jpg)

.jpg)
.jpg)
.jpg)
.jpg)
.jpg)
.jpg)
.jpg)
.jpg)
.jpg)
.jpg)
.jpg)
.jpg)
.jpg)
.jpg)
.jpg)
.jpg)
.jpg)
.jpg)


