_GOTOBOTTOM
General Aircraft
This forum is for general aircraft modelling discussions.
Today's Modeling Quest
Mcleod
_VISITCOMMUNITY
Alberta, Canada
Joined: April 07, 2010
KitMaker: 1,028 posts
AeroScale: 939 posts
Posted: Saturday, November 30, 2013 - 04:56 AM UTC
With big dreams, and limited modeling time available, I thought I would start a thread presenting what my modeling goals of the day are. For myself, I find it easier to get going on a project if I'm able to set an absolute goal.
Plus, I have a weakness where-in I begin too many projects without any real progress, and subsequently accumulate the hanger queens. Its easier to get things done if others know about it. In my remote world, I simply have no live contact with other modellers.
If anyone else would like to contribute, please feel free. It dosen't take very long to post something while your having morning coffee.

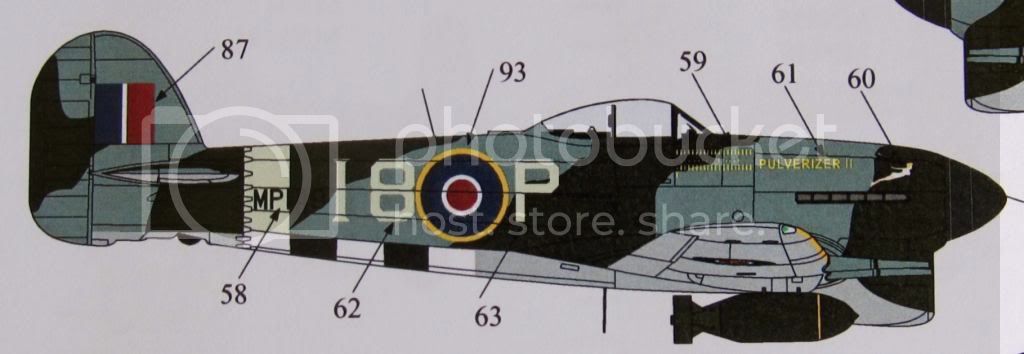
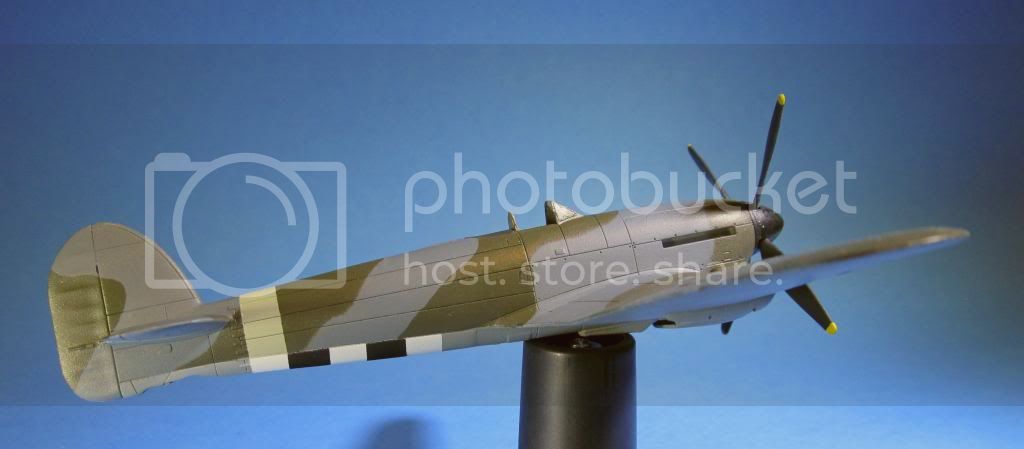
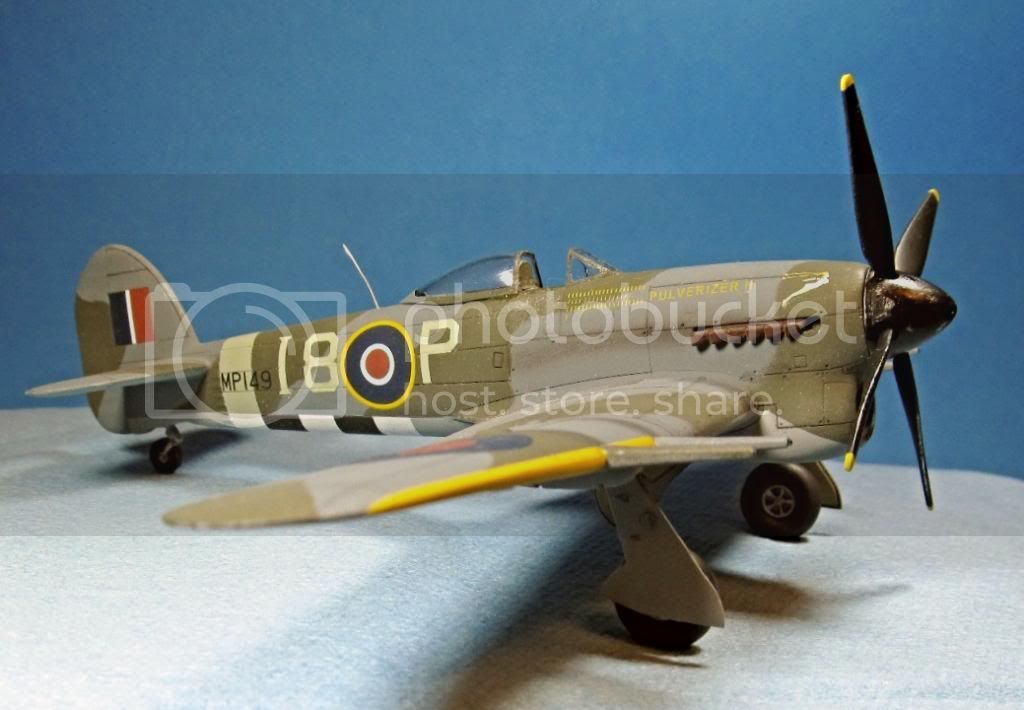
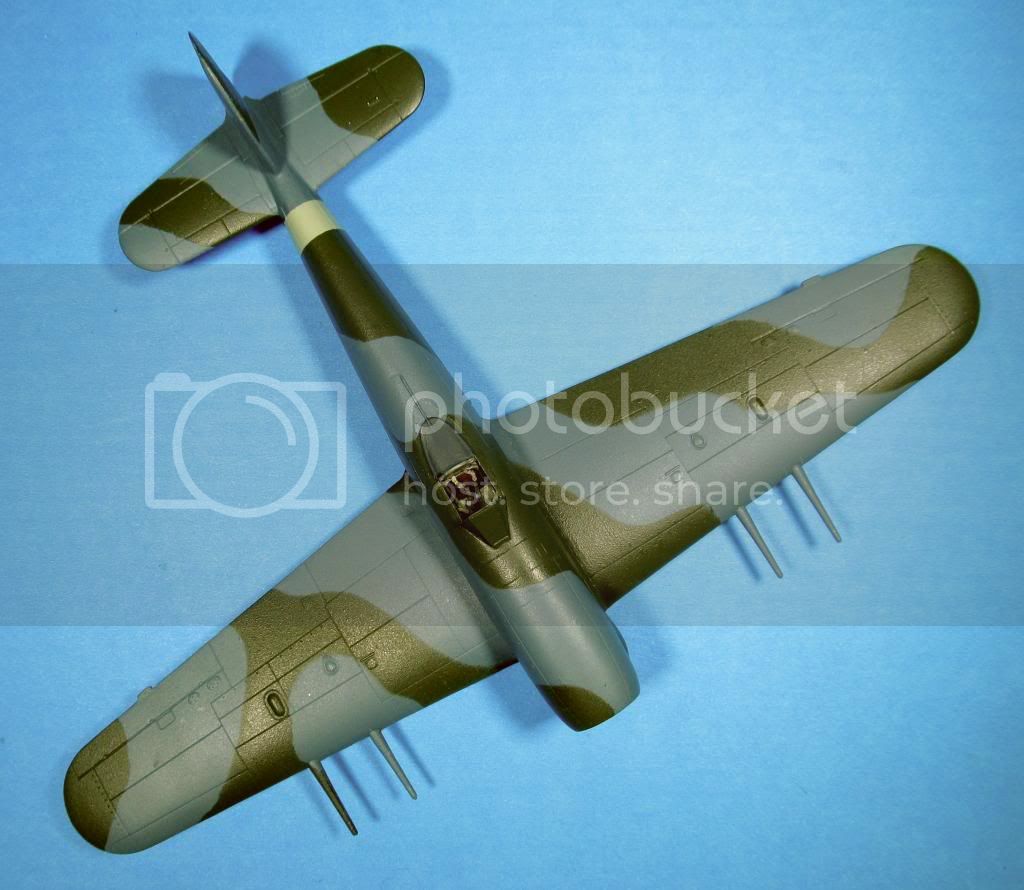
Today, I plan to mask off and paint the yellow wing leading edges of this 1/72 Airfix Typhoon. I'll also be trying to apply the D-Day striping to the lower fuselage. If I'm able to apply both the black and white striping, the painting will be complete and I can move on to weathering.


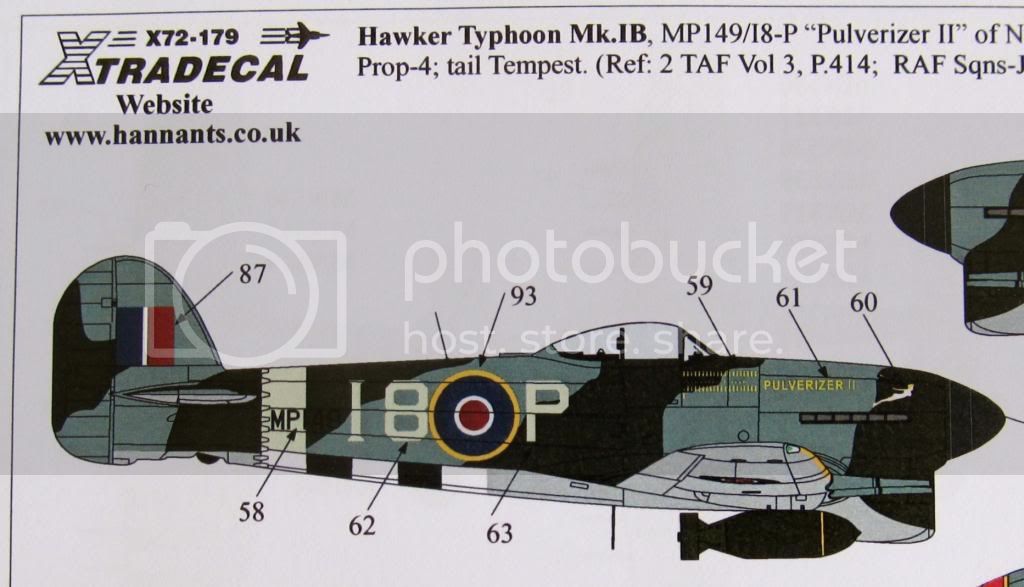
This is the 440Sqn scheme I'm trying to achieve.


Joel_W
Staff MemberAssociate Editor
AUTOMODELER
_VISITCOMMUNITY
New York, United States
Joined: December 04, 2010
KitMaker: 11,666 posts
AeroScale: 7,410 posts
Posted: Saturday, November 30, 2013 - 01:55 PM UTC
Ben, So far your Typhoon is looking really good. Your free hand camo scheme is well done with no apparent over spray.

Since you asked us to join in, here's a suggestion with those yellow leading edges. Prime 1st with Tamiya gray primer. Without priming, you would have a some what difficult time getting the yellow to cover evenly over the gray and the green without building up a lot of paint layers. Same would apply to the invasion stripes with the base coat of white.

Is this the type of feedback/interaction you're looking for?

Joel
Mcleod
_VISITCOMMUNITY
Alberta, Canada
Joined: April 07, 2010
KitMaker: 1,028 posts
AeroScale: 939 posts
Posted: Saturday, November 30, 2013 - 02:38 PM UTC

Quoted Text

Your free hand camo scheme is well done with no apparent over spray.


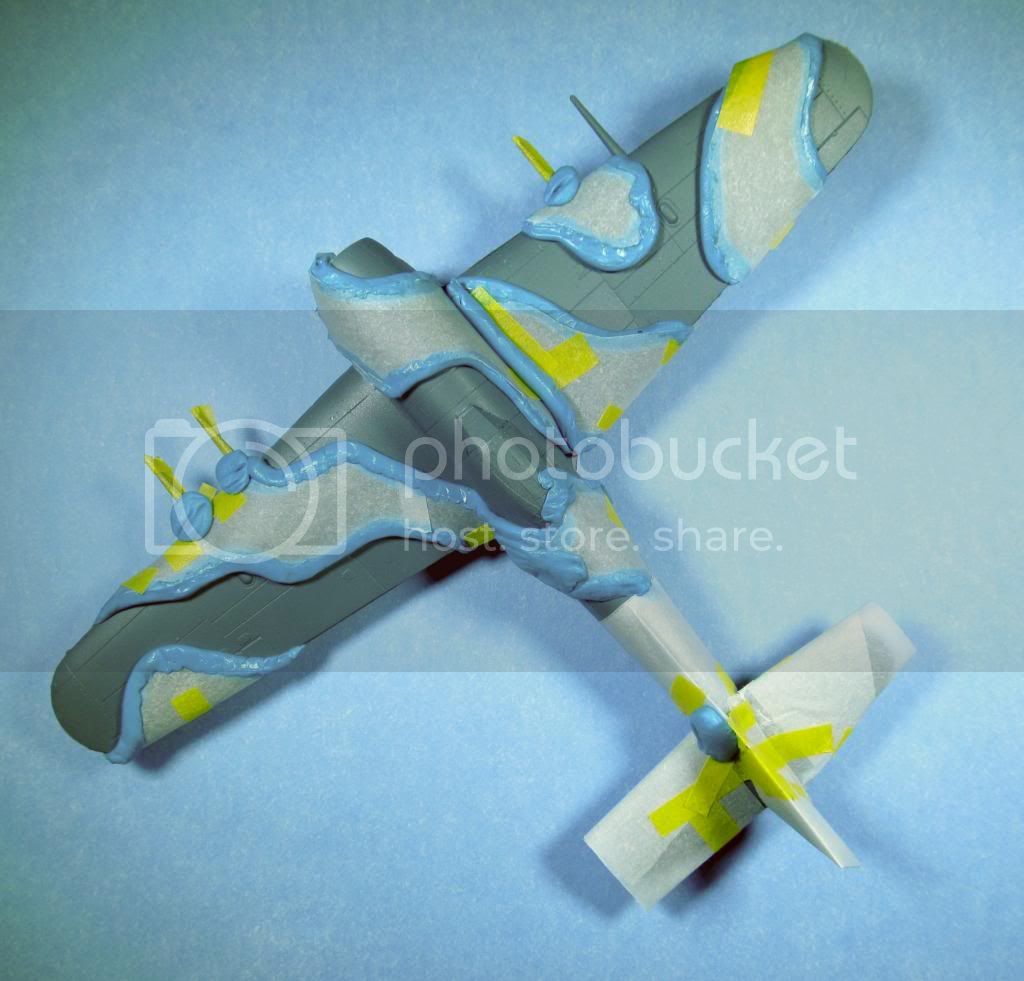
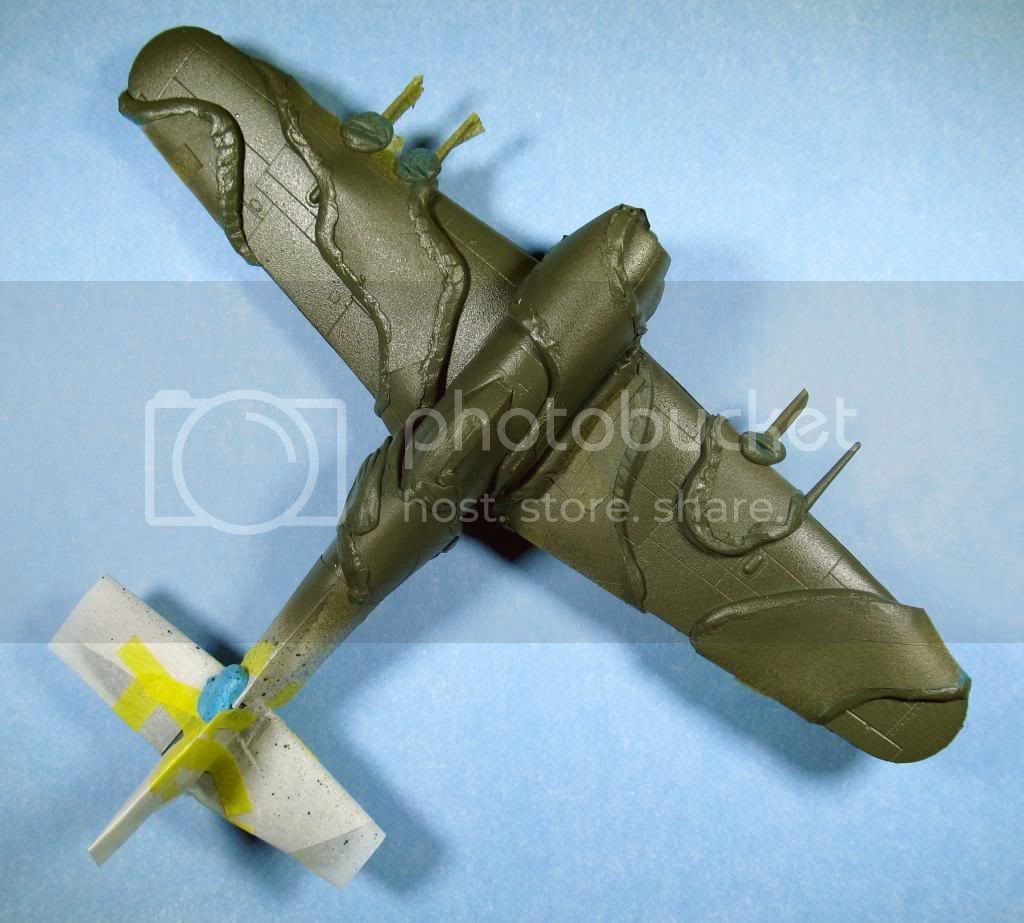
Thanks for your advice, Joel. Actually, I'm a real loser when it comes to freehand brushing, so I use the tack-n-mask method to apply camo paint:


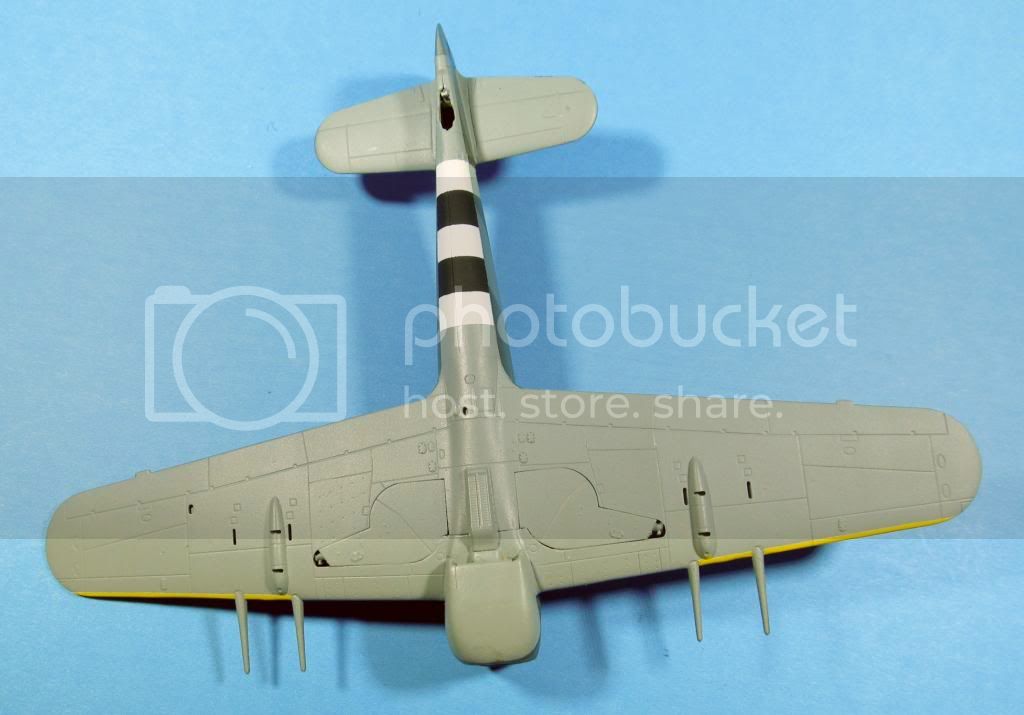
I did manage to mask and paint the yellow leading edges, first priming with tamiya white. Also, the white is on the lower fuselage. Black striping goes on before bed, and I'll be sure to post photos in the morning.

I'm actually finding the scheme rather complex.
JPTRR
Staff MemberManaging Editor
RAILROAD MODELING
#051
_VISITCOMMUNITY
Tennessee, United States
Joined: December 21, 2002
KitMaker: 7,772 posts
AeroScale: 3,175 posts
Posted: Saturday, November 30, 2013 - 03:48 PM UTC
It's looking very good!

Painting the yellow leading edge stripes: Joel is correct with his technique. I have also had great success using tan instead of gray as the base for yellow.
Mcleod
_VISITCOMMUNITY
Alberta, Canada
Joined: April 07, 2010
KitMaker: 1,028 posts
AeroScale: 939 posts
Posted: Saturday, November 30, 2013 - 05:28 PM UTC
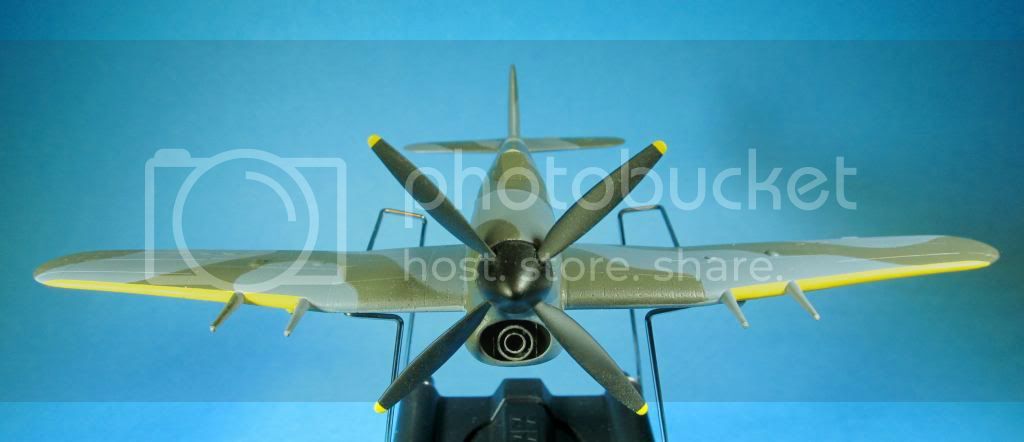
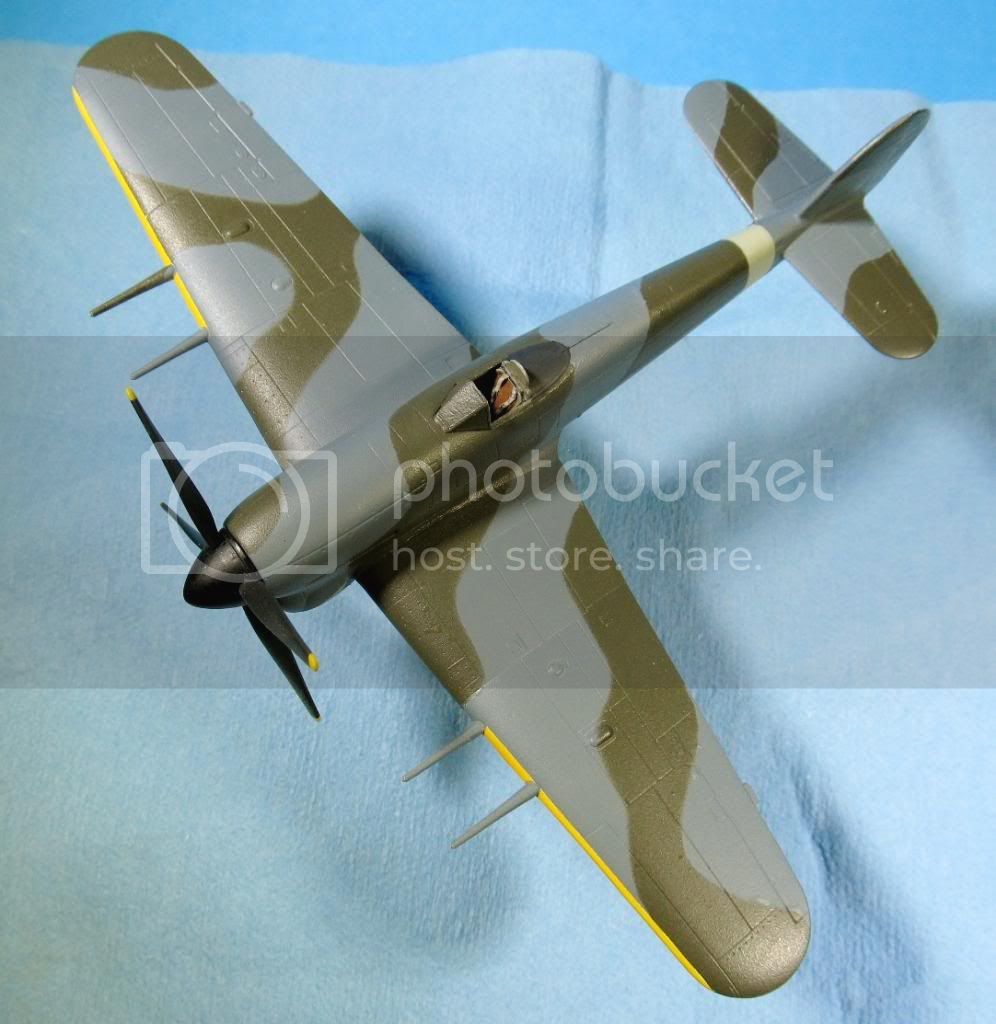
Thankyou Frederick. Here are the results; I believe I met with limited success.


Now its time to consider weathering, clearcoat, and decals. I would like her to look somewhat used, but not abused.
And I would like to try a filter for the first time. For this, I have some of the AK Interactive products.
Time to read the filter article in last months copy of FSM.

Tomorrow is a new day.
Joel_W
Staff MemberAssociate Editor
AUTOMODELER
_VISITCOMMUNITY
New York, United States
Joined: December 04, 2010
KitMaker: 11,666 posts
AeroScale: 7,410 posts
Posted: Sunday, December 01, 2013 - 02:55 AM UTC
Ben, Outstanding "paintmanship". It's the end results that count. Your method (one that I use these days as well) works extremely well, and like I said the feathering is near perfect. Both the yellow leading edges and the belly Invasion stripes look perfect to me. Well done.

As for weathering with filters and washes, it's easier then you think. 1st off gloss, decal, then gloss again to seal the decals.

Do all your paint chipping, rust, or other effects now. Let dry. You don't need to seal again after this stage.

Here's my simple method for basic weathering:
Apply a dark colored pin wash to the recessed panel lines, and nooks & crannies. Enamel and oils seem to flow better then Acrylics even when heavily thinned Carefully remove excess lightly rubbing as close to the lines but not over if possible using a Qtip dampened with the proper base thinner. Let the pin wash completely dry 1st. Other wise you'll end up wicking up a lot of the wash that's in the panel lines, and having to re-do it.

If you're going to use as an example Flory Dark or light wash instead of/or after a traditional pin wash, do it now. It will darken the light colored undersides very nicely. Again, I don't seal the flory filters.

Once dry apply your 1st filter. I apply filters with my airbrush. Over areas that receive direct sunlight light, and the harshest weathering, use the base color paint cut with light gray or white, and thinned 20/80 paint to thinner. Light passes to slowly build up the effect you want. Then a few coats of Dust, light Earth, thinned applied the same way.

As you get comfortable with this method, you can start to add more white, grays, Yellows, etc. to the filters and apply in a more splotchy random pattern to further the weathering/fading effects.

Once dry, seal with flat clear coat.

There are many more methods and applications used in armor model weathering (that's where I learned this from), like dots of oil colors and streaking, that just don't translate to aircraft very well.

Since you're airbrushing on the filters, you really don't have to be concerned about the filter eating through your sealer gloss coat. Working washes with a brush, you do.

Joel
Mcleod
_VISITCOMMUNITY
Alberta, Canada
Joined: April 07, 2010
KitMaker: 1,028 posts
AeroScale: 939 posts
Posted: Sunday, December 01, 2013 - 05:55 PM UTC
I did read your kind and very instructional reply earlier, Joel. Thankyou.
The model is now clear coated with future, and in dry time.

I spent a goodly part of the day trying to track the exhaust stacks for this kit, unsuccessfully. Even cleaning up the bench failed to locate them. I strongly suspect the wifes evil vacumn cleaner.
So I tried scratching up a pair. That failed as well.

Now I've primed and blacked a pair borrowed from a Spitfire IX. It'll look funny, but, thats the best I can do for now. Just trying to finish on time for its intended campaign.

Darn,I can remember priming the originals..
Mcleod
_VISITCOMMUNITY
Alberta, Canada
Joined: April 07, 2010
KitMaker: 1,028 posts
AeroScale: 939 posts
Posted: Tuesday, December 03, 2013 - 04:27 AM UTC
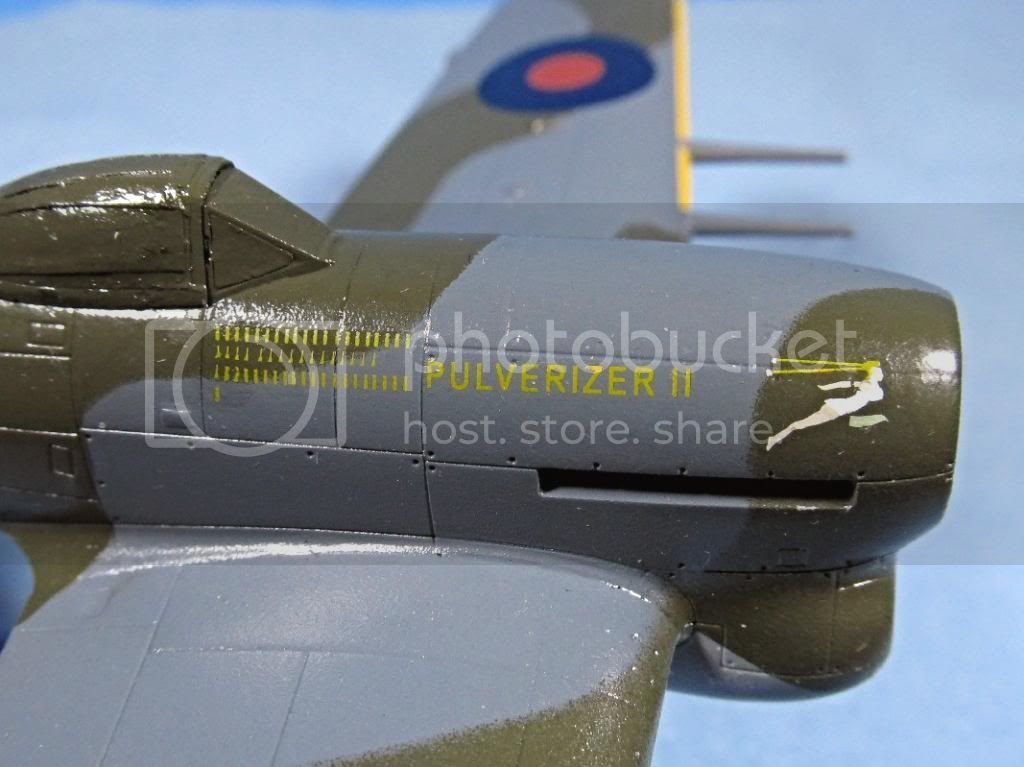
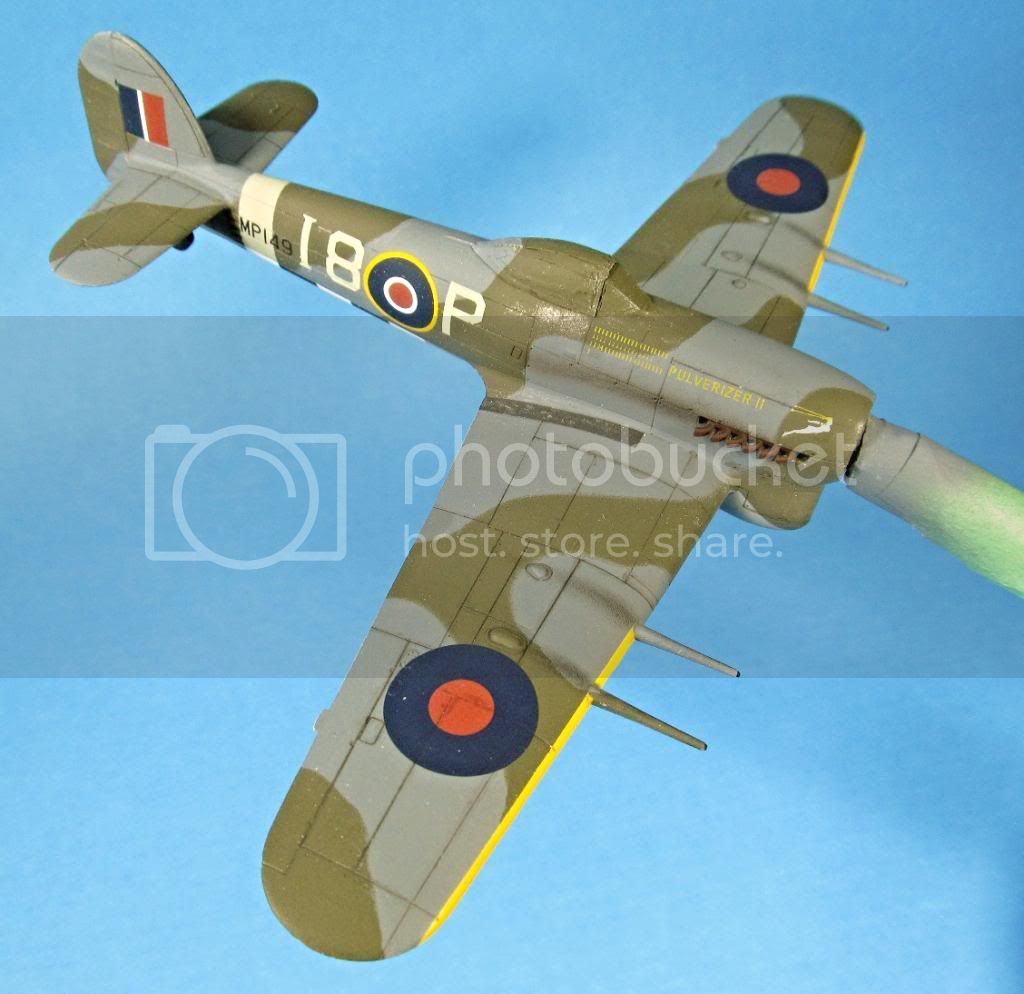
Ahh Well!! The decals did give me problems. Directly attributable to impatience and hand/tool motor function.

Today, I will attempt repair work. Going to have to wing it, as its a little late to ask for advice.


Jessie_C
_VISITCOMMUNITY
British Columbia, Canada
Joined: September 03, 2009
KitMaker: 6,965 posts
AeroScale: 6,247 posts
Posted: Tuesday, December 03, 2013 - 04:32 AM UTC
Here's your exhaust solution. Whether it can arrive before the end of the campaign is another question, especially this time of year.
Joel_W
Staff MemberAssociate Editor
AUTOMODELER
_VISITCOMMUNITY
New York, United States
Joined: December 04, 2010
KitMaker: 11,666 posts
AeroScale: 7,410 posts
Posted: Tuesday, December 03, 2013 - 07:50 AM UTC
Ben, Decaling looks nearly perfect. Takes Jessica's advice and go for the resin exhausts. After all the time and effort you put into your build, a few more dollars will be well spent. Use the Spit exhausts as a temp fix to finish the campaign on time.

Joel
Mcleod
_VISITCOMMUNITY
Alberta, Canada
Joined: April 07, 2010
KitMaker: 1,028 posts
AeroScale: 939 posts
Posted: Wednesday, December 04, 2013 - 08:48 AM UTC
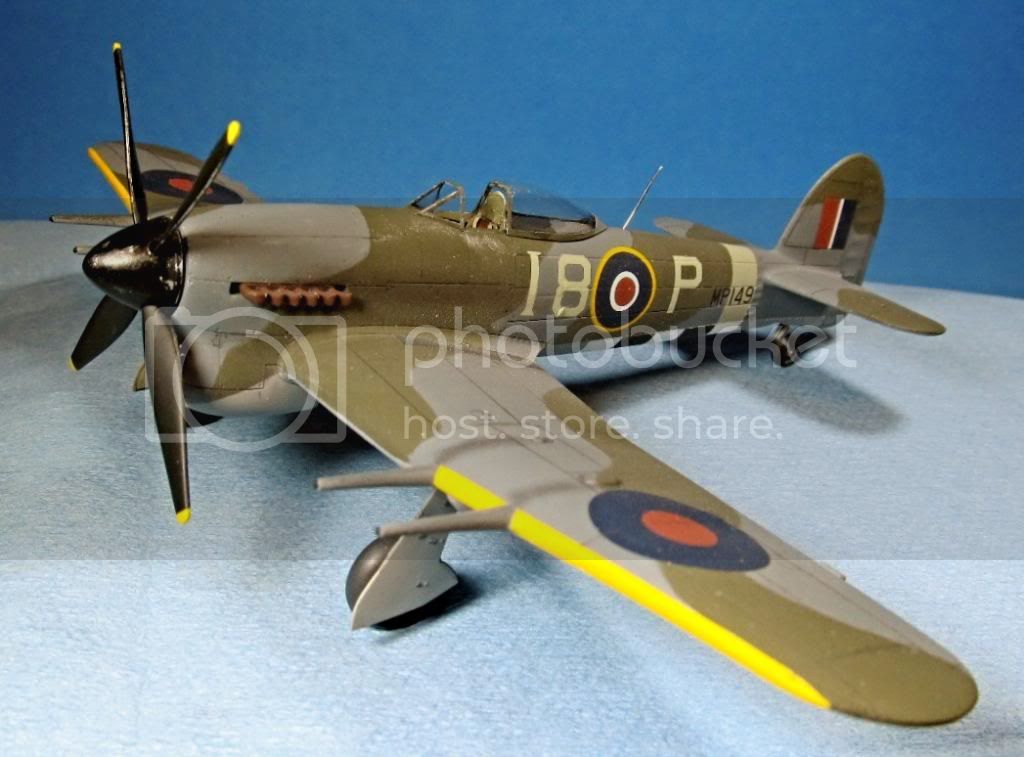
Today, I was able to repair the little mess-ups I made putting those decals on, plus I painted on wing walks.
At first, I didn't think this aircraft had the wing walks. Not all of them did. After studying a photo of the real one, though, I realize its there, however faint in the photo.


And I will be ordering a new set of AM exhaust. Just as soon as I figure what else I need to make-up the minimum order policy at the only place I've been able to find them so far.

Bye-the-way, this is a done it today thread, in case your wondering why its not in the WWII section.
Mcleod
_VISITCOMMUNITY
Alberta, Canada
Joined: April 07, 2010
KitMaker: 1,028 posts
AeroScale: 939 posts
Posted: Thursday, December 05, 2013 - 09:13 AM UTC
I'm thinking that maybe I was somewhat over-zealous in the weathering process. There's a lesson here. Stop before you think you've done well enough. Less is better.


The hard part for me is always making a model look more real than just a toy.
Jessie_C
_VISITCOMMUNITY
British Columbia, Canada
Joined: September 03, 2009
KitMaker: 6,965 posts
AeroScale: 6,247 posts
Posted: Thursday, December 05, 2013 - 09:47 AM UTC
I think that looks pretty good actually. Remember that tactical aircraft were used pretty hard and especially after D-day they didn't see a lot of maintenance beyond repairing immediate problems, and that's before considering what happened because they lived outdoors on improvised airfields.
J8kob_F
_VISITCOMMUNITY
Stockholm, Sweden
Joined: October 24, 2012
KitMaker: 202 posts
AeroScale: 92 posts
Posted: Friday, December 06, 2013 - 12:17 AM UTC
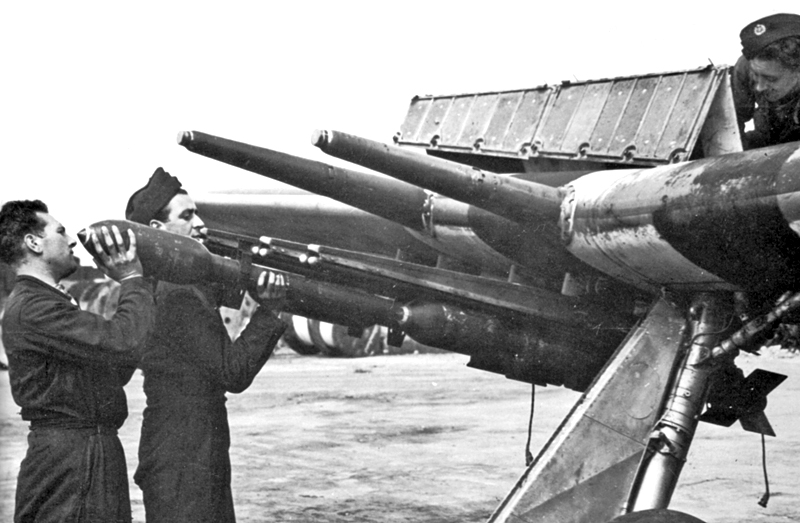
AS Jessica said you could probably much more weathering and get away with it. Look at these two pictures for example you can se that the D-day stripes are almost completly gone along the leading edge and the underside is pretty dirty as well.

I love your typhoon BTW i have liked them since i was a child (it was the plane you started with in a flight simulator i played).


Jakob
Mcleod
_VISITCOMMUNITY
Alberta, Canada
Joined: April 07, 2010
KitMaker: 1,028 posts
AeroScale: 939 posts
Posted: Friday, December 06, 2013 - 03:40 AM UTC
Thanks Jessica and Jakob. I am happy with it.
I see by that underside photo the Spitfire exhausts on my model don't look all that far off. Surprises me. Still going with the AM exhausts when they get here..

I see my outdoor thermometer is sitting dead on -30C. Its likely a very good day to stay indoors and work on the bombs and under-carriage. I just finished Windexing and re-Futureing the exposed canopy. She's in dry time now.
robot_
_VISITCOMMUNITY
United Kingdom
Joined: March 08, 2009
KitMaker: 719 posts
AeroScale: 691 posts
Posted: Friday, December 06, 2013 - 04:26 AM UTC
That underside photo shows an early car-door Typhoon with extended exhaust stubs- a failed attempt to rid to cockpit of carbon monoxide. They were only short-lived, and by mid car-door production had been removed- they caused a lot of drag. I think Rolland Beamont describes going 5+ mph faster than a colleague alongside him with the long exhausts.

I've often wondered why that aircraft is carrying bombs, yet has no cannon. Maybe a trials aircraft?

The rear-most exhaust's opening should just be clear of the cowling, and the front-most exhaust should be a little more proud of the surface (the engine block has no taper, but the nose panels do).

Anyway, your Typhoon is looking really nice- where did you get the markings?
Mcleod
_VISITCOMMUNITY
Alberta, Canada
Joined: April 07, 2010
KitMaker: 1,028 posts
AeroScale: 939 posts
Posted: Friday, December 06, 2013 - 05:33 AM UTC

Quoted Text

That underside photo shows an early car-door Typhoon with extended exhaust stubs- a failed attempt to rid to cockpit of carbon monoxide. They were only short-lived, and by mid car-door production had been removed- they caused a lot of drag.
- where did you get the markings?


Thanks for the info, Ben, I didn't know that.
The markings come from the EtraDecal sheet.
Mcleod
_VISITCOMMUNITY
Alberta, Canada
Joined: April 07, 2010
KitMaker: 1,028 posts
AeroScale: 939 posts
Posted: Friday, December 06, 2013 - 04:10 PM UTC
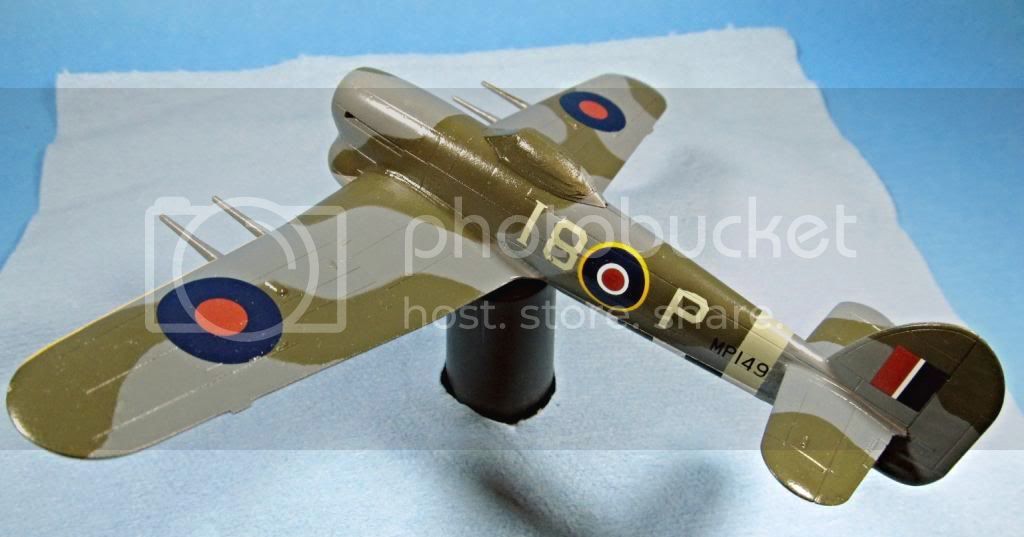
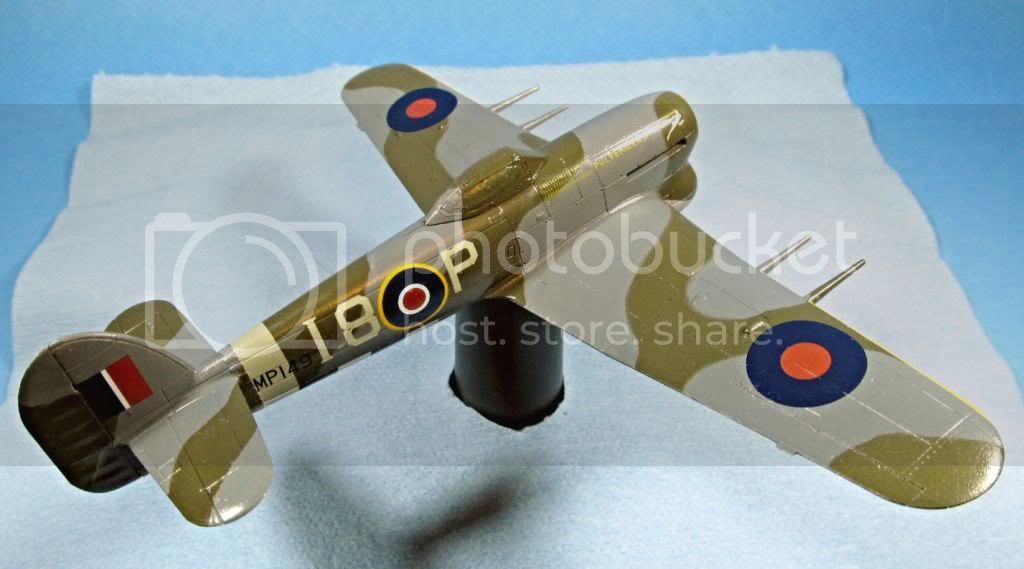
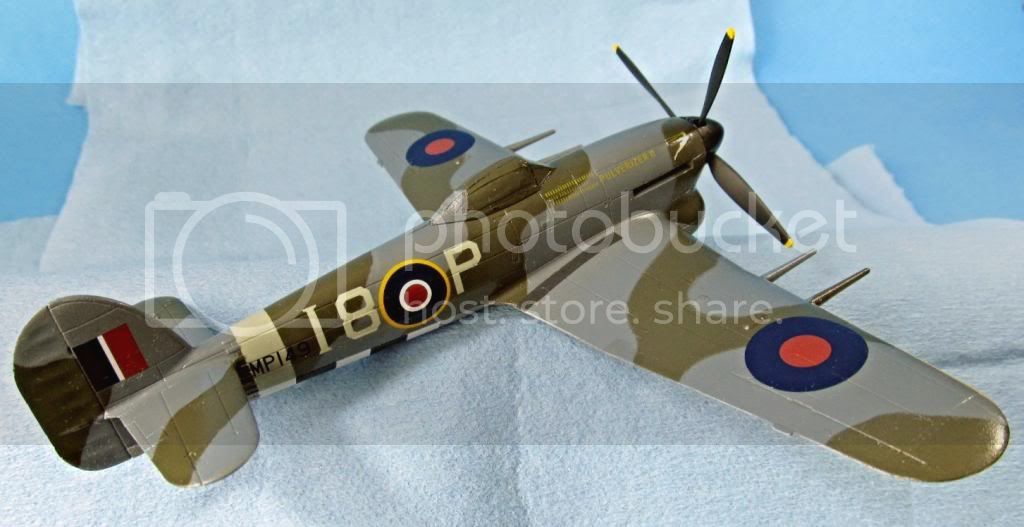
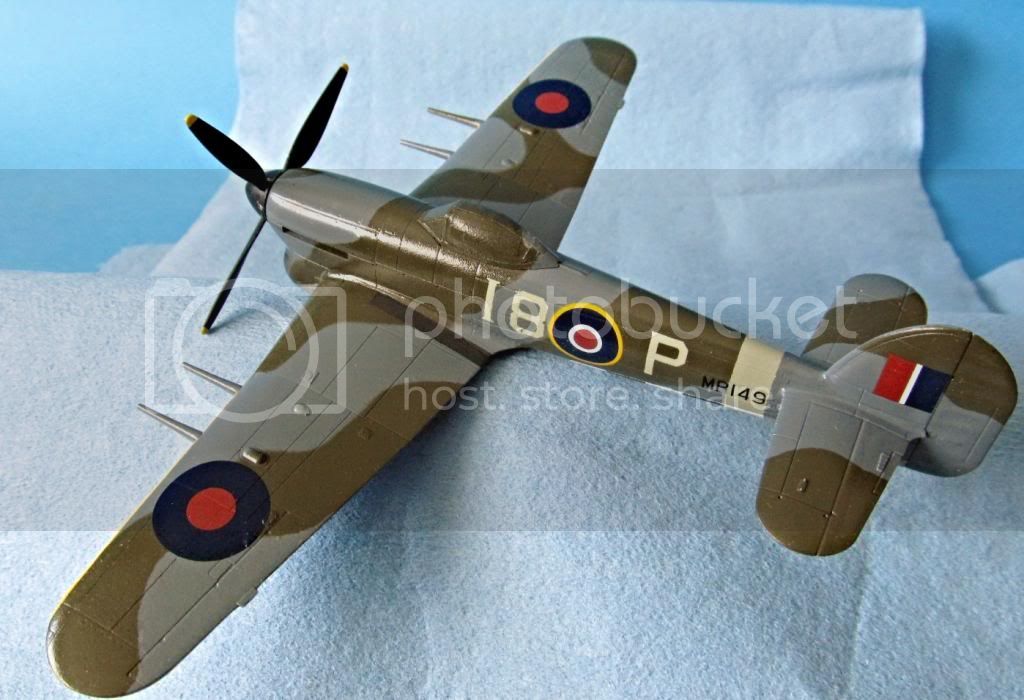
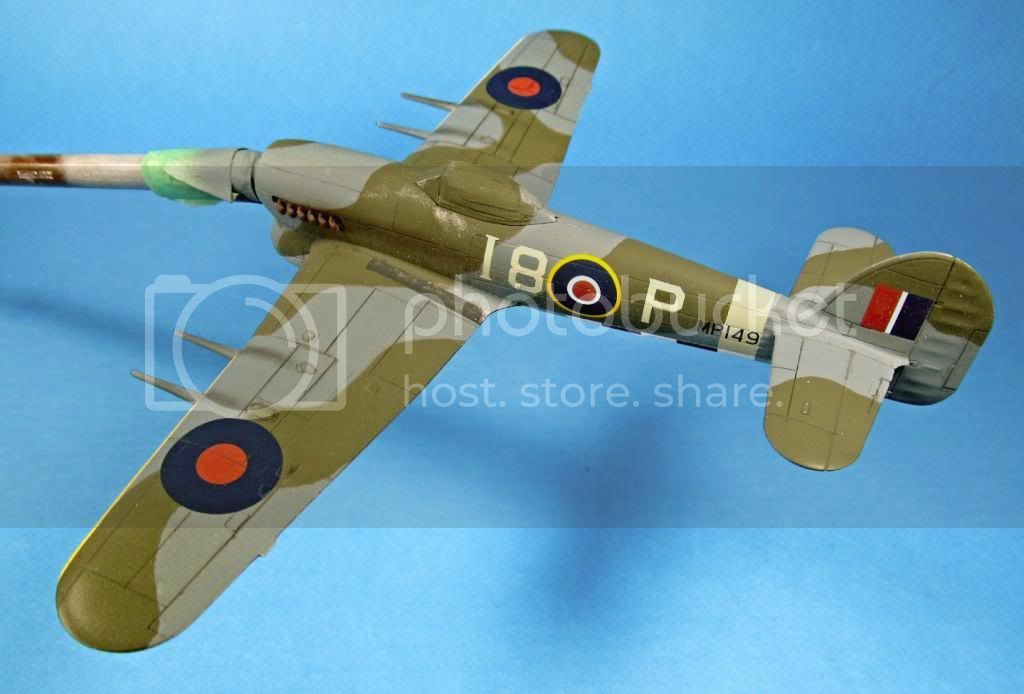
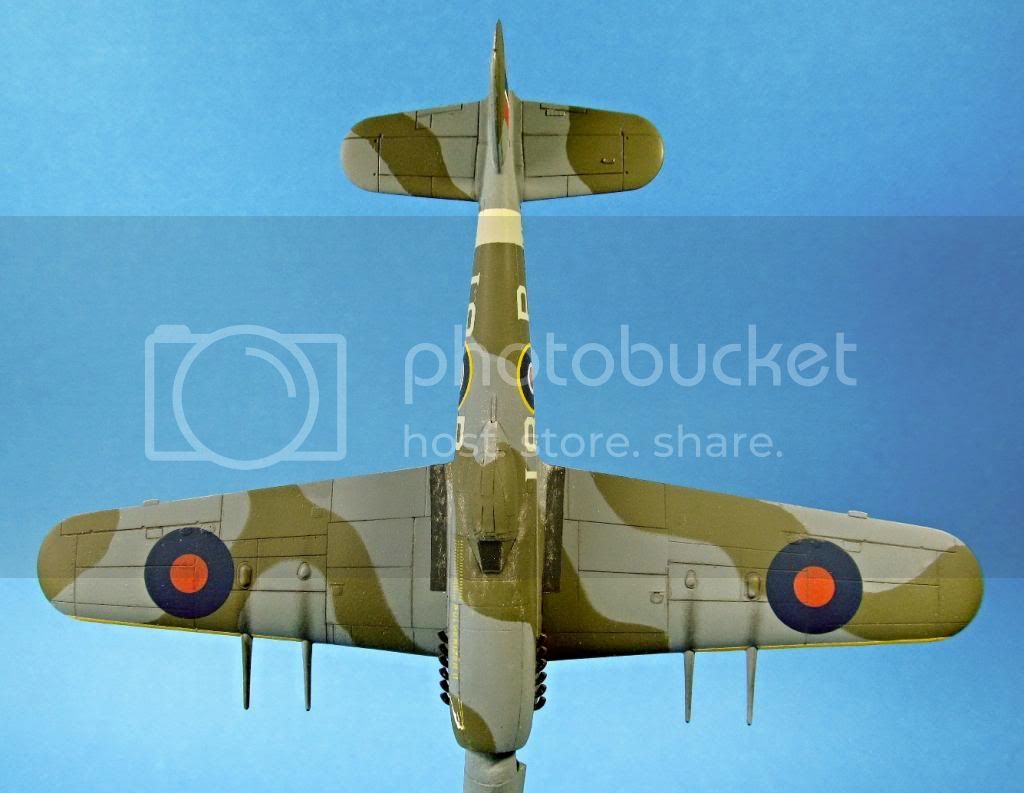
Done!

At least for now.


Tomorrow is a new day!
 _GOTOTOP