_GOTOBOTTOM
Cold War (1950-1974)
Discuss the aircraft modeling subjects during the Cold War period.
Hosted by Tim Hatton
Phillipine AF F-51D
USMC6094
_VISITCOMMUNITY
North Carolina, United States
Joined: August 30, 2013
KitMaker: 51 posts
AeroScale: 11 posts
Posted: Monday, December 30, 2013 - 11:17 AM UTC
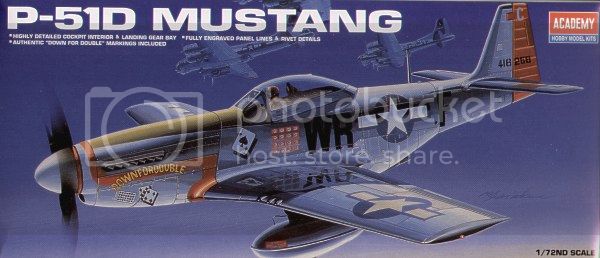
I got this Academy P-51 for a the princely sum of a nickle, thats right five whole cents, lol.
I really got into this little model about a week ago thinking it would be a pretty quick build, as with many assumptions, I was wrong.
Dont get me wrong, the kit is nice, well executed recessed panel lines, the shapes seem to be about right, but heres the issue of the model I have.

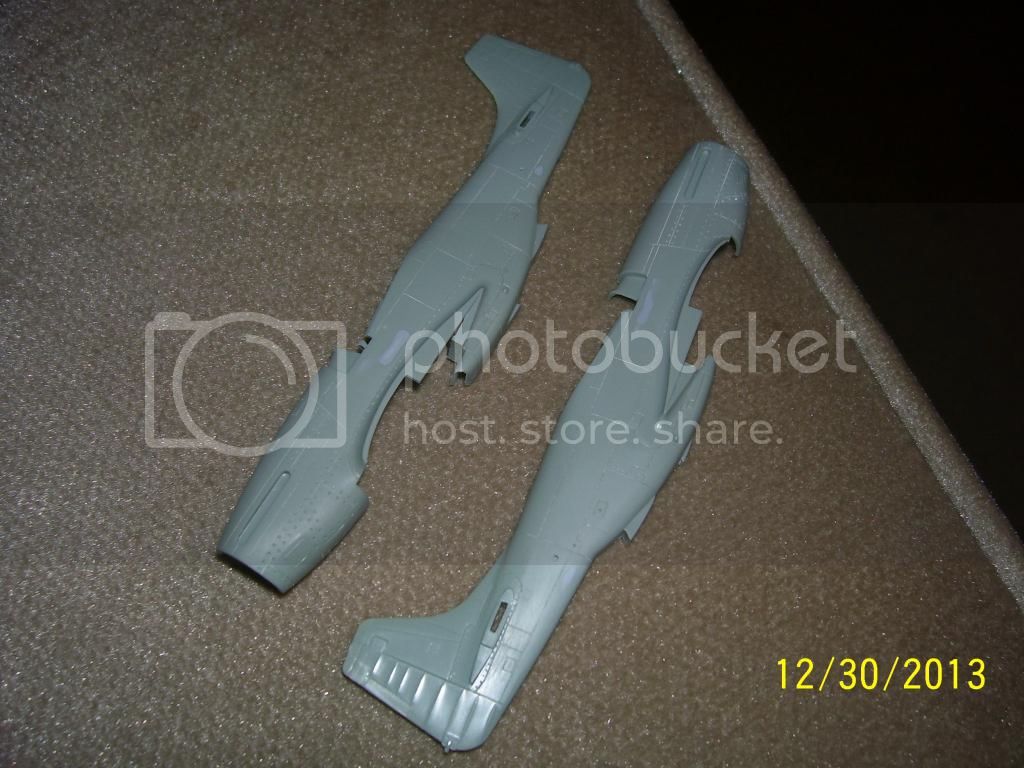
I gave the kit a good once over and found about a half dozen low spots that needed filling, this thanks to Academy molding some of the parts with either interior detail or as a single piece, like the flaps.

USMC6094
_VISITCOMMUNITY
North Carolina, United States
Joined: August 30, 2013
KitMaker: 51 posts
AeroScale: 11 posts
Posted: Monday, December 30, 2013 - 11:20 AM UTC
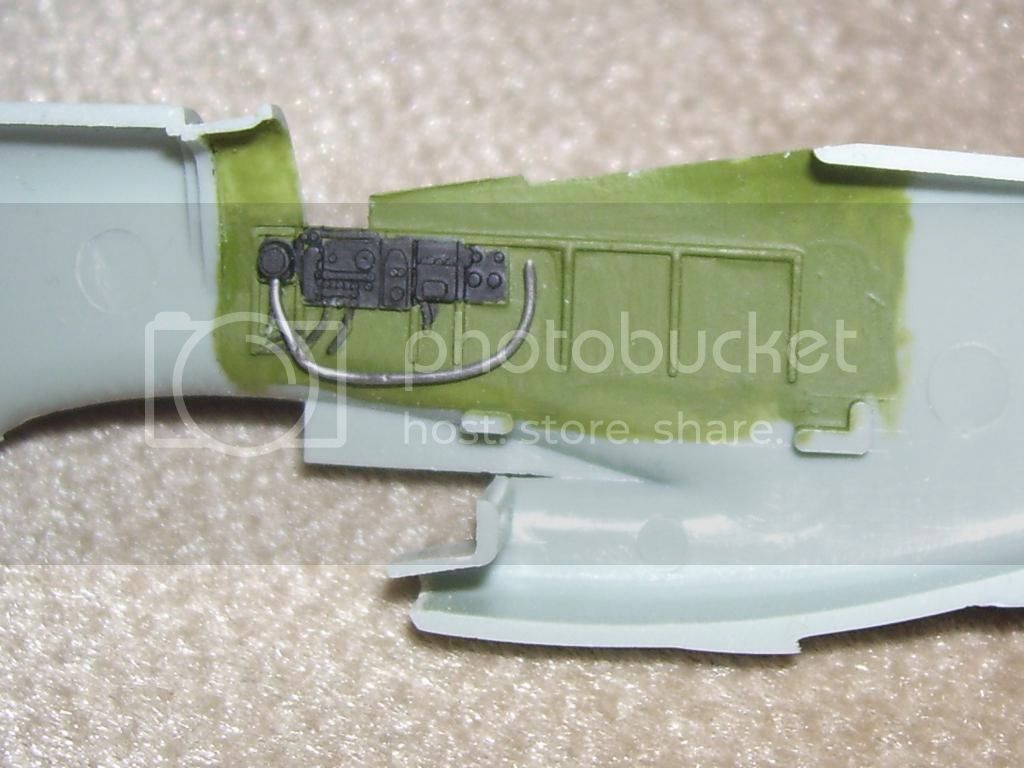
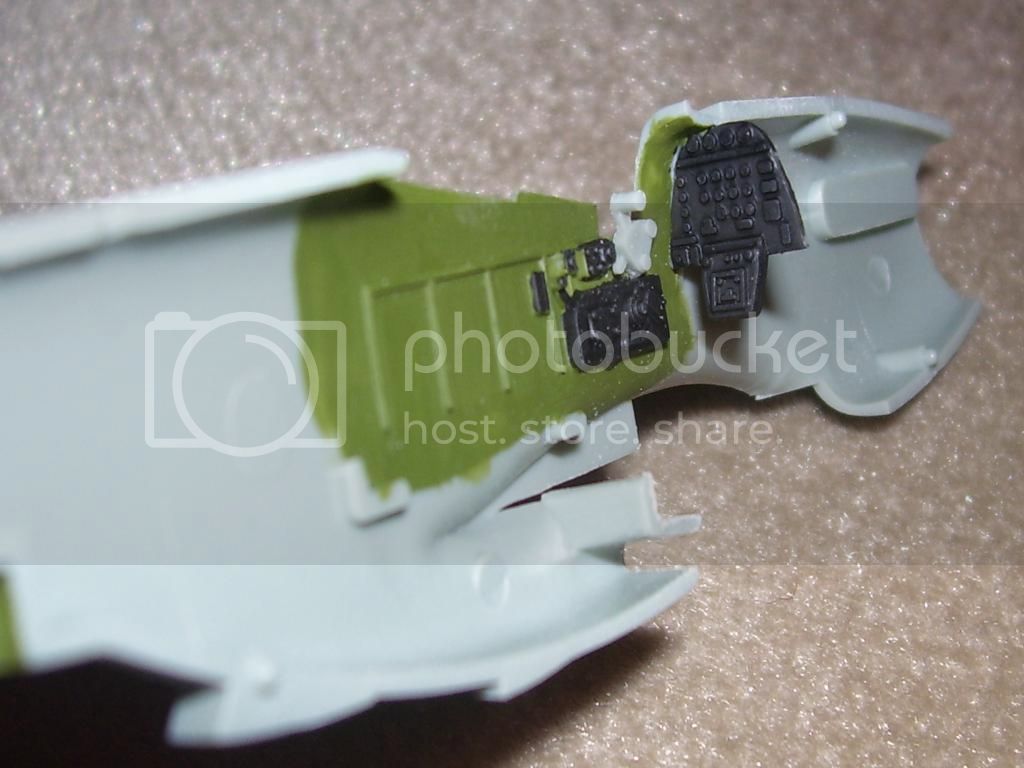
After filling the low spots in the flaps with Mr Surfacer, I started on the interior.
For the kit supplied oxygen hose I substituted a length of solder.


And I added some color to the interior since the instructions call for a flat black hole.


USMC6094
_VISITCOMMUNITY
North Carolina, United States
Joined: August 30, 2013
KitMaker: 51 posts
AeroScale: 11 posts
Posted: Monday, December 30, 2013 - 11:27 AM UTC
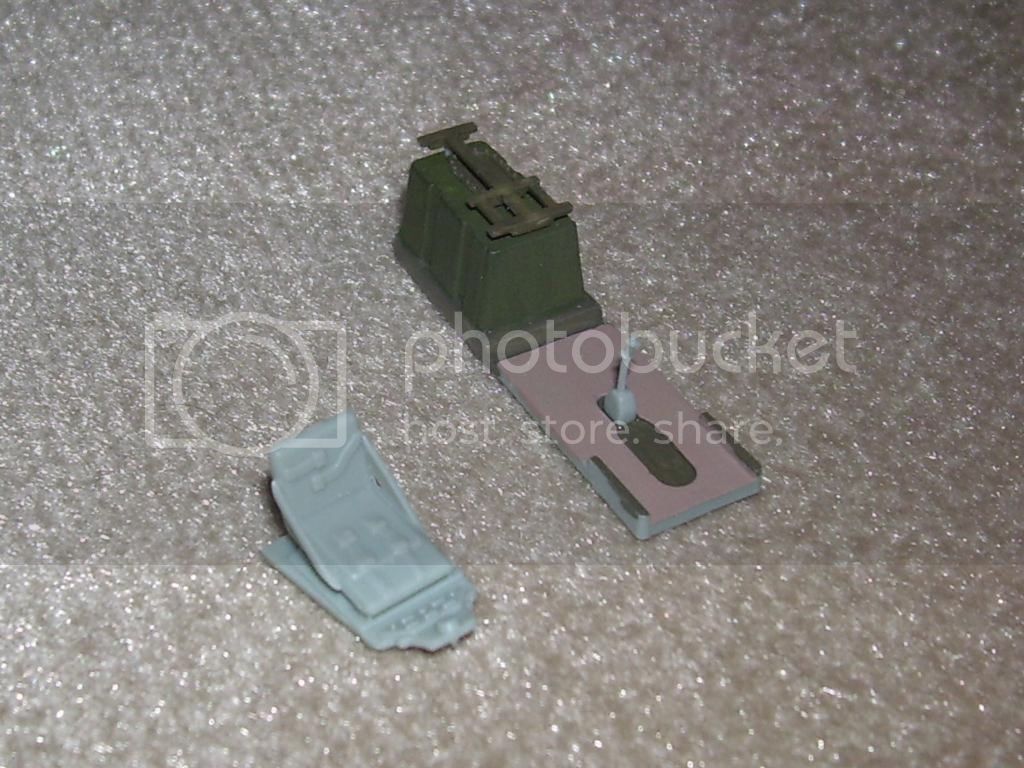
Since I deviated from the instructions for painting the interior, I used interior green, flat black, ANA olive drab and standard OD to bring life to the office.


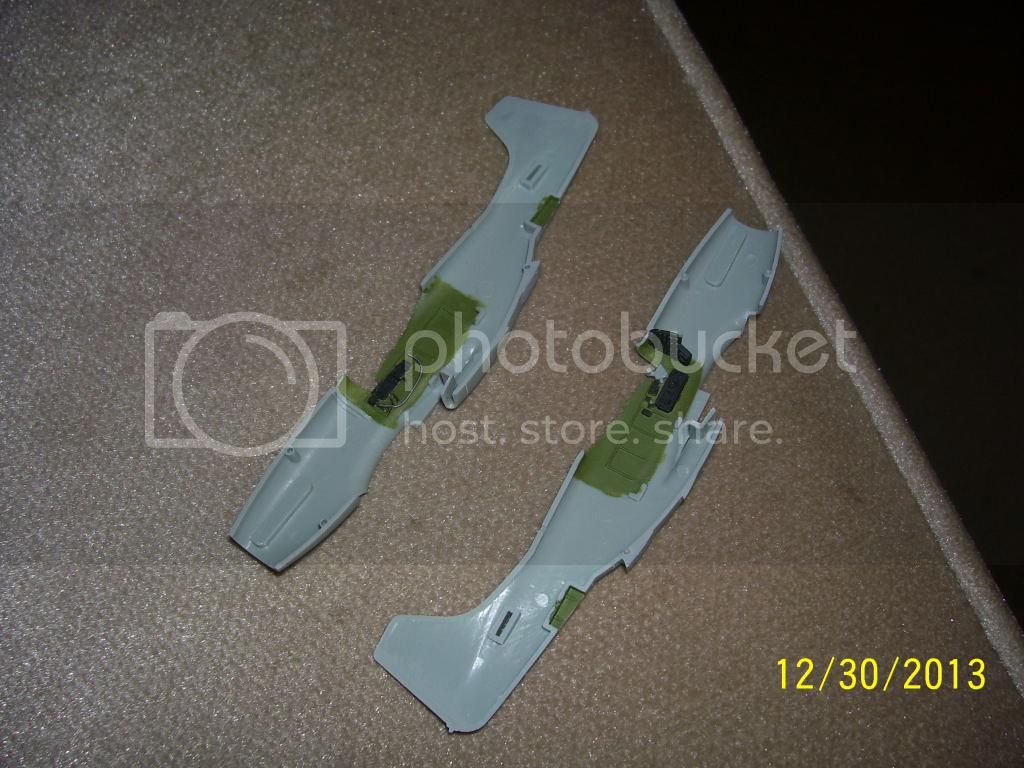
I've done over about the whole air frame and filled all the low spots with Mr Surfacer 1000 then with 500 to top it off before sanding.


You can barely make out the grey spots below the cockpit, but theyre there.

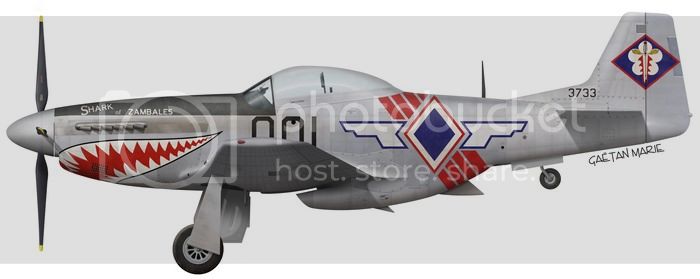
Anyhow, thanks to a friend of mine I decided to build my kit up as a Phillipine Air Force bird.


More will follow
Joel_W
Staff MemberAssociate Editor
AUTOMODELER
_VISITCOMMUNITY
New York, United States
Joined: December 04, 2010
KitMaker: 11,666 posts
AeroScale: 7,410 posts
Posted: Tuesday, December 31, 2013 - 05:26 AM UTC
Keith,
Nice attention to those fuselage sink marks. Your efforts will be certainly rewarded with a much better NMF. Your choice of markings is certainly an unusual one. Yet it's bold colors and large size markings should really make this build stand out.

Joel
USMC6094
_VISITCOMMUNITY
North Carolina, United States
Joined: August 30, 2013
KitMaker: 51 posts
AeroScale: 11 posts
Posted: Wednesday, January 01, 2014 - 09:36 AM UTC

Quoted Text

Keith,
Nice attention to those fuselage sink marks. Your efforts will be certainly rewarded with a much better NMF. Your choice of markings is certainly an unusual one. Yet it's bold colors and large size markings should really make this build stand out.

Joel


Thanks Joel, I'm still kind of rusty when it comes to building anything.All the painting on this one so far has been by brush.
I liked the markings alot myself, it was either this one or a Somalai set, but my friend spoke for them before I could get to them, lol, but the Phillipino set wouldve been the winner between the two.

In the end though I want to give it a nice used but not too worn natural metal finish.

The only real downer so far with the kit is the breather vents on the lower section of the forward cowl, theyre raised instead of recessed. I looked around for a photo etched replacement set but none of the current sets that I saw have them, so I'll do it the old fashioned way and drill all the breather holes with a micro drill bit and pin vise.
ivanhoe6
_VISITCOMMUNITY
Wisconsin, United States
Joined: April 05, 2007
KitMaker: 2,023 posts
AeroScale: 81 posts
Posted: Wednesday, January 01, 2014 - 11:33 AM UTC
Good job of rescuing this old kit and turning it into a gem. Great patience and a steady hand drilling out all those vent holes.
Where did you find those decals and any idea if they come in 1/48th ?
Thanks for sharing and will check in from time to time and check on your progress.
Happy New Year
Tom
USMC6094
_VISITCOMMUNITY
North Carolina, United States
Joined: August 30, 2013
KitMaker: 51 posts
AeroScale: 11 posts
Posted: Wednesday, January 01, 2014 - 01:00 PM UTC

Quoted Text

Good job of rescuing this old kit and turning it into a gem. Great patience and a steady hand drilling out all those vent holes.
Where did you find those decals and any idea if they come in 1/48th ?
Thanks for sharing and will check in from time to time and check on your progress.
Happy New Year
Tom


Thanks Tom
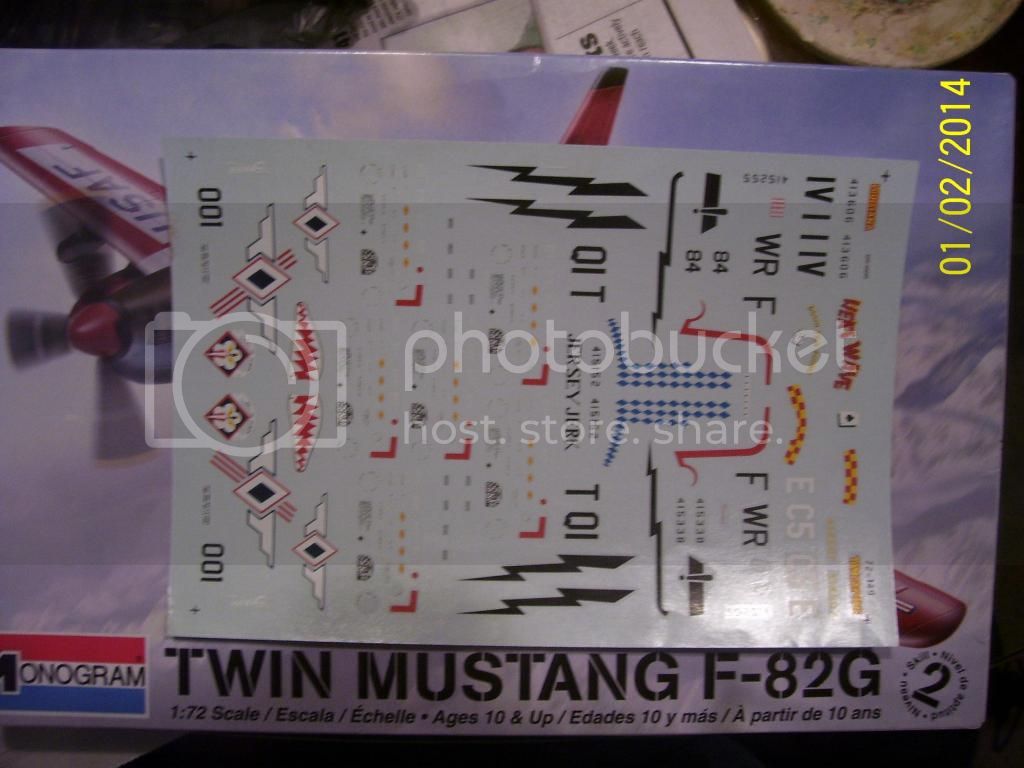
The sheet is an OLD microscale sheet, I dont have here with me at the moment, but I'll bring it with me to work tomorrow night. snap a picture and post it for you. To be honest I have no idea if the sheet was ever made in 48 scale.
ivanhoe6
_VISITCOMMUNITY
Wisconsin, United States
Joined: April 05, 2007
KitMaker: 2,023 posts
AeroScale: 81 posts
Posted: Wednesday, January 01, 2014 - 02:33 PM UTC
Thanks Keith, I appreciate the offer but don't go to any trouble. I've been on the internet searching and had no luck. They are such cool looking decals. I wanted to have a one of a kind Mustang on the shelf, Philippine AF would have been the ticket.
Thanks and Happy New Year !
Tom
jowady
Joined: June 12, 2006
KitMaker: 1,027 posts
AeroScale: 131 posts
Posted: Wednesday, January 01, 2014 - 03:11 PM UTC
You did get the kit with the proper number of exhaust stacks? Evidently the early kits had 7 stacks a side instead if 6.
USMC6094
_VISITCOMMUNITY
North Carolina, United States
Joined: August 30, 2013
KitMaker: 51 posts
AeroScale: 11 posts
Posted: Thursday, January 02, 2014 - 10:59 AM UTC

Quoted Text

You did get the kit with the proper number of exhaust stacks? Evidently the early kits had 7 stacks a side instead if 6.


Its kind of funny, the box art shows seven per side, but the actual kit part has six.

So I guess I got the correct ones.

Tom I was right its an old Microscale sheet.

Heres a picture of it
USMC6094
_VISITCOMMUNITY
North Carolina, United States
Joined: August 30, 2013
KitMaker: 51 posts
AeroScale: 11 posts
Posted: Wednesday, January 08, 2014 - 07:59 AM UTC
made some headway before school started today.

I got the fuselage halves together and the cockpit finished, for the most part that is.

It seems that the fuselage halves were perfectly aligned before the cockpit was installed, so I have a load of seam work to do especially in the area forward and behind the cockpit and the underside of the nose.

I'll be taking pictures in the next few days to show the progress.
 _GOTOTOP