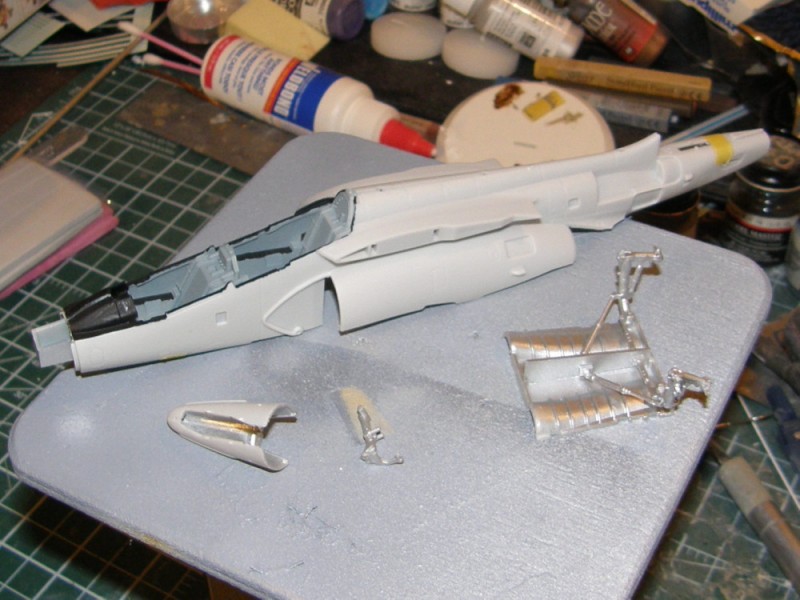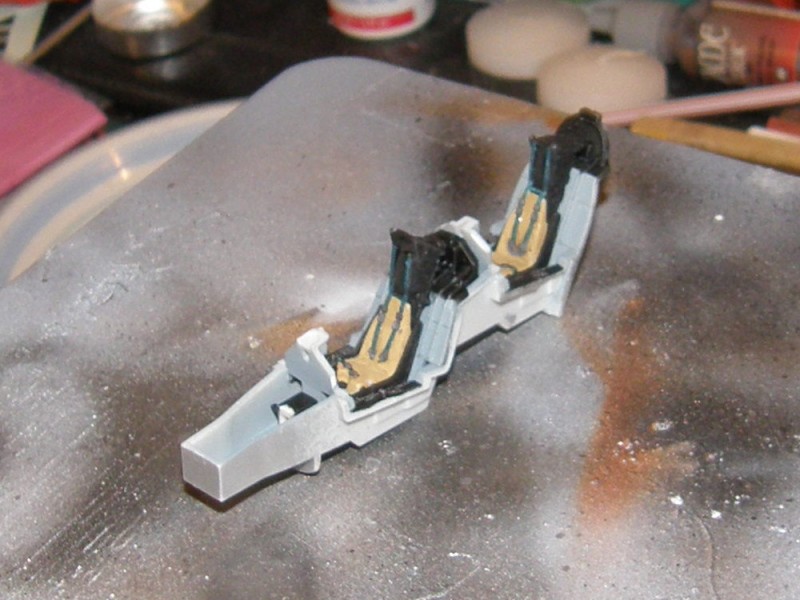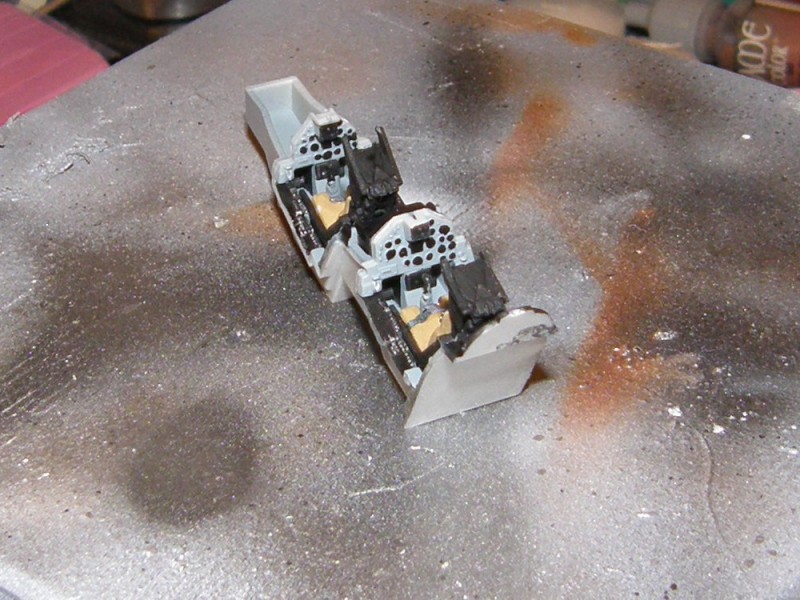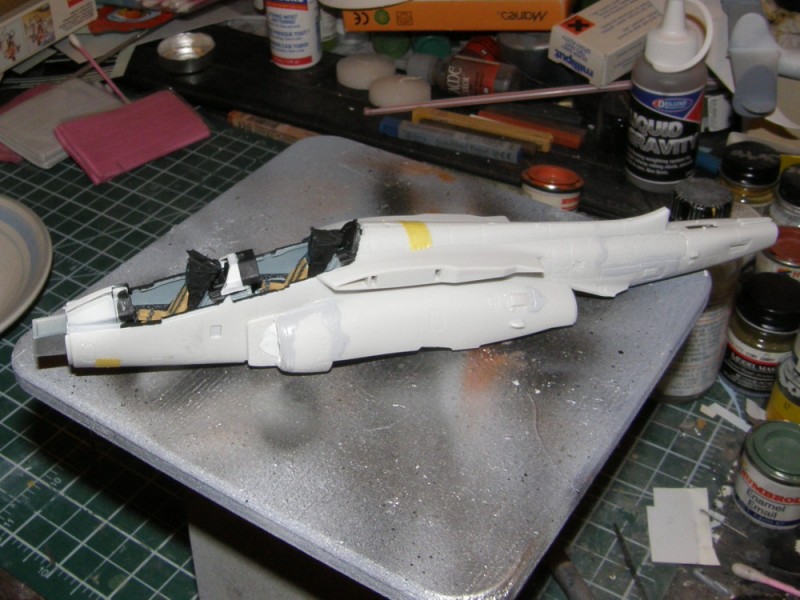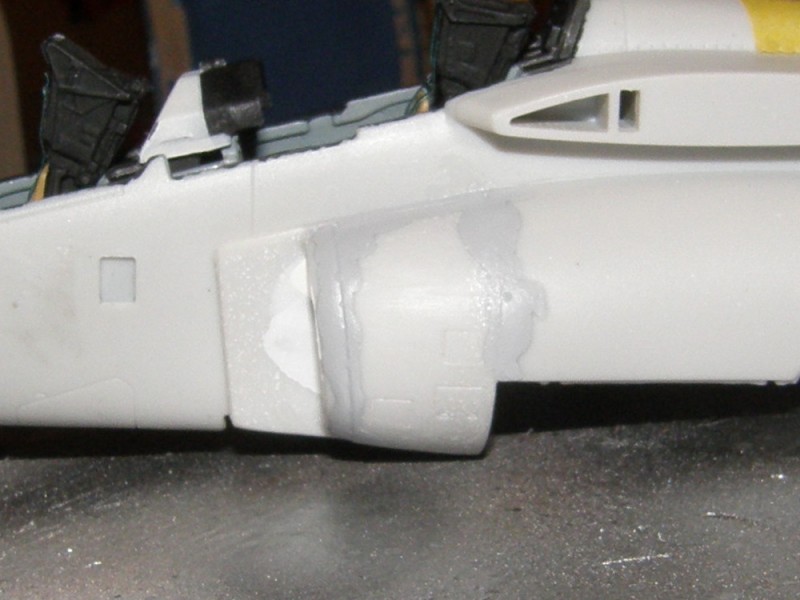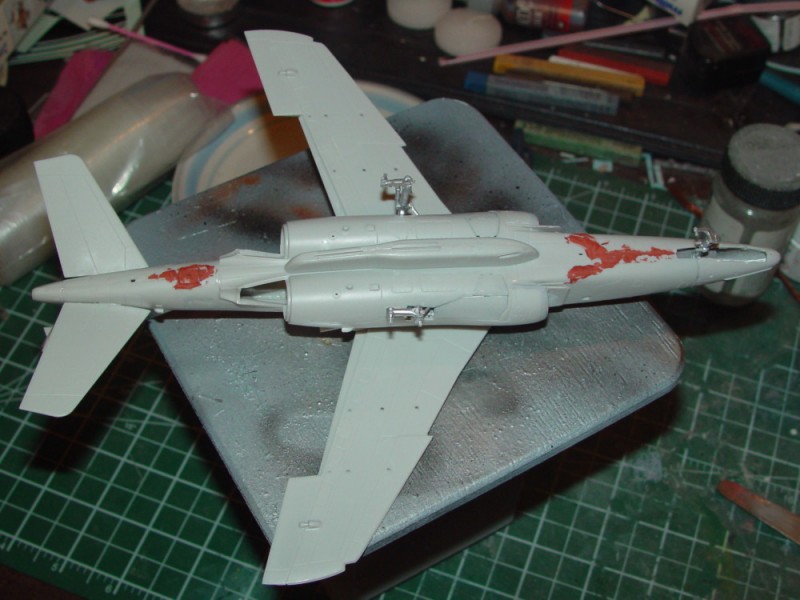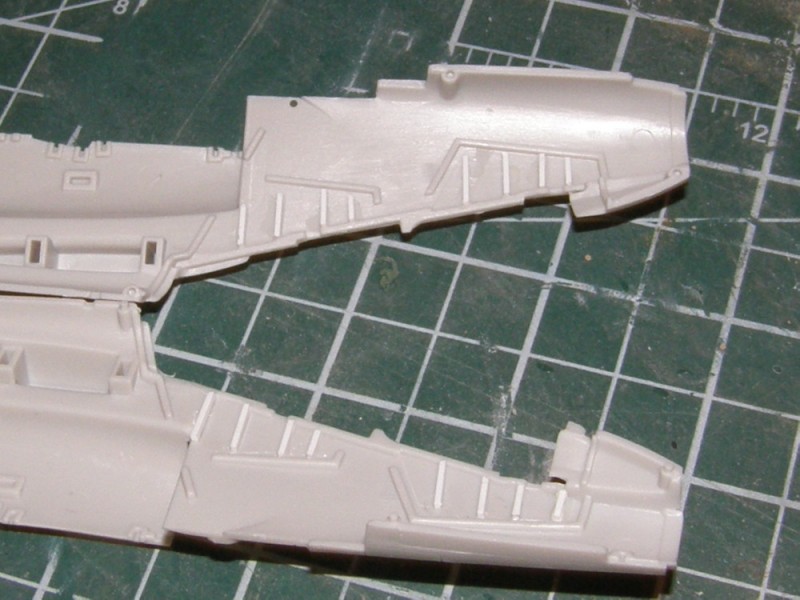
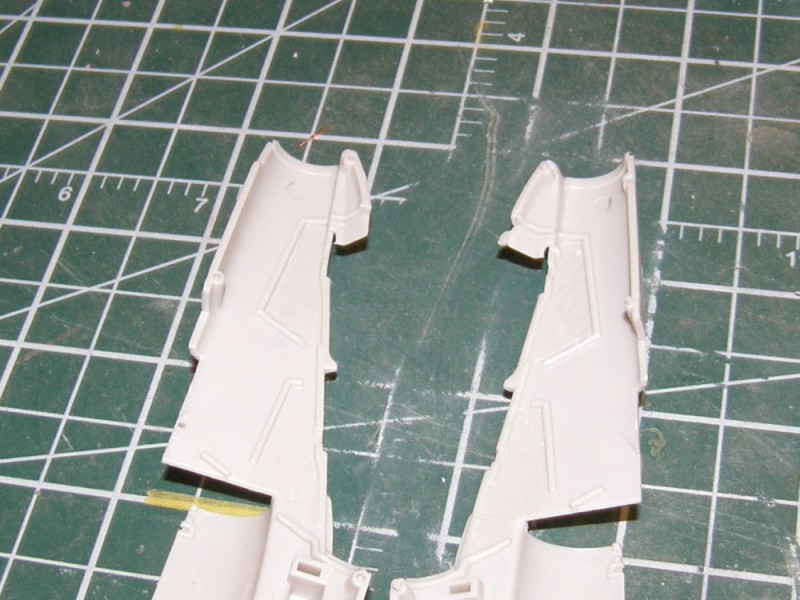
After doing the in-box review of this kit, the next step is to build it. The first thing I did was to trawl the interwebs for pictures because I'm not terribly familiar with the Alpha Jet. This was a mistake, since the cockpit photos I found were of an aircraft undergoing maintenance, and the rib detail I put into the cockpit sides is normally hidden behind panels. Oops.
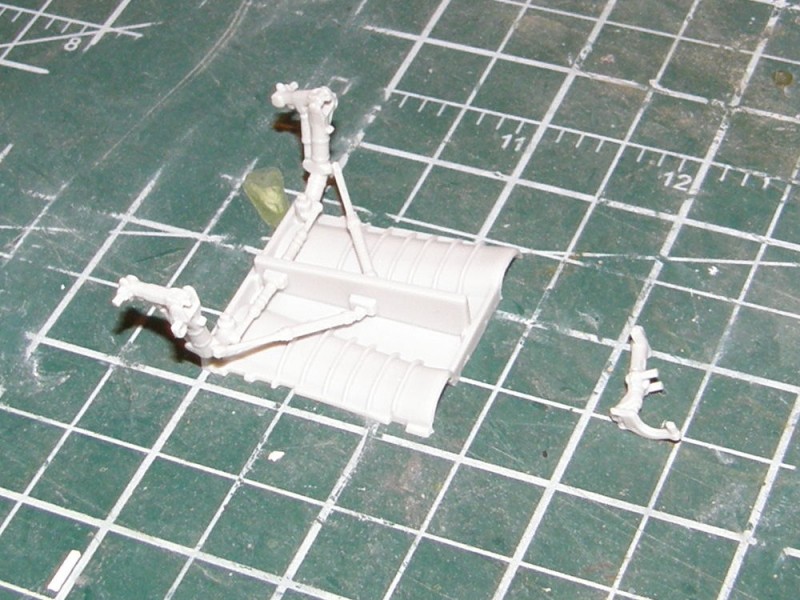
My preliminary building concentrates on subassemblies. The landing gear is fairly complex, and needs to be built up from several pieces with 90 degree bends. I glued it before painting to ensure maximum strength of the glue bond.
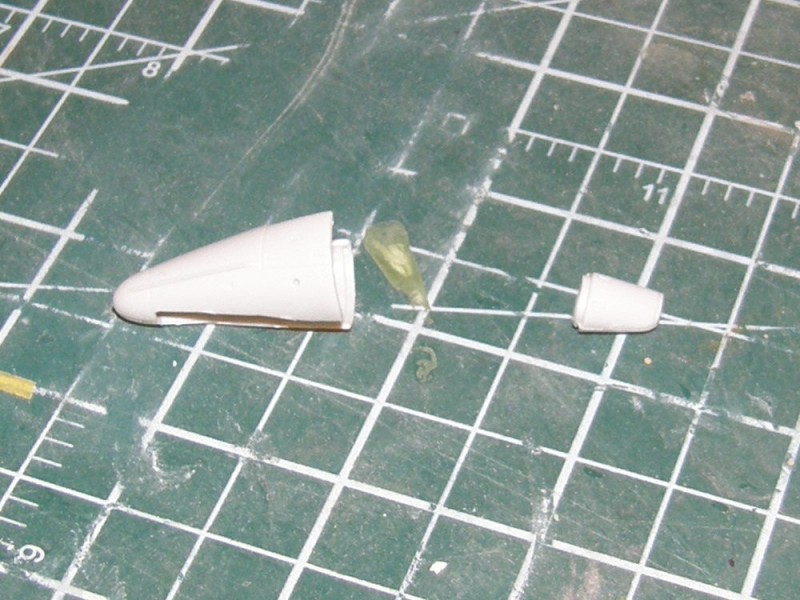
Nose and tail cones. The kit instructions are vague about which optional tail cone to use. I resorted to finding pictures of French Air Force Alpha Jets in service to determine that the plain tail cone without the chaff dispenser is the one I want
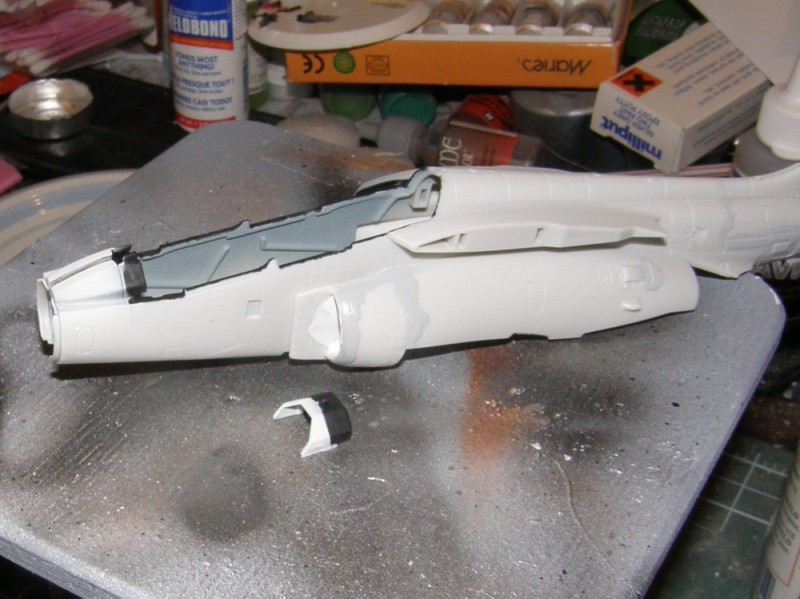
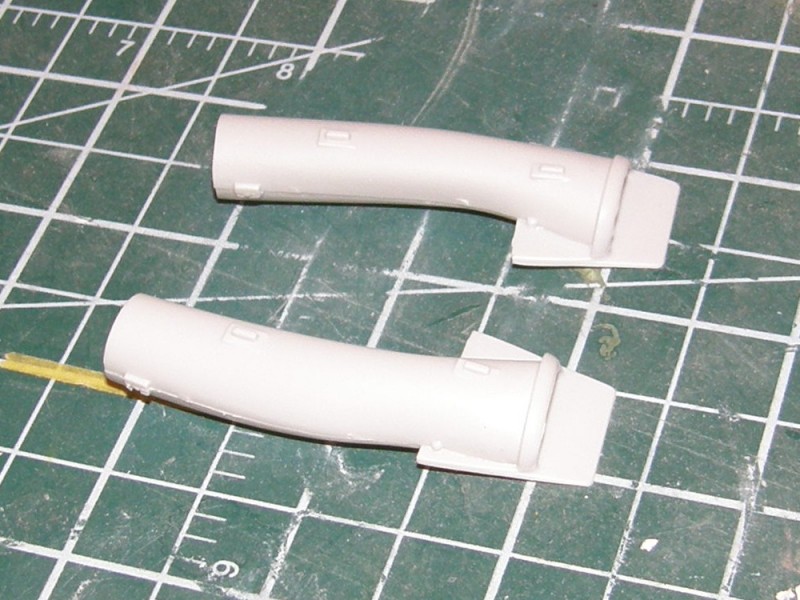
I glued the intakes and ran a bead of gap filling superglue down the joins inside.
And finally, I repaired those incorrect cockpit side walls.
Modern (1975-today)
Discuss the modern aircraft age from 1975 thru today.
Hosted by Jim Starkweather
Alpha Jet E Kinetic Models 1/48
Jessie_C
British Columbia, Canada
Joined: September 03, 2009
KitMaker: 6,965 posts
AeroScale: 6,247 posts
Joined: September 03, 2009
KitMaker: 6,965 posts
AeroScale: 6,247 posts
Posted: Sunday, January 05, 2014 - 07:57 PM UTC
Posted: Monday, January 06, 2014 - 10:08 AM UTC
Nice one Jessie
I'll be following this!
All the best
Rowan
I'll be following this!
All the best
Rowan
Jessie_C
British Columbia, Canada
Joined: September 03, 2009
KitMaker: 6,965 posts
AeroScale: 6,247 posts
Joined: September 03, 2009
KitMaker: 6,965 posts
AeroScale: 6,247 posts
Posted: Tuesday, January 07, 2014 - 07:08 PM UTC
I've got some paint in the cockpit and wheel wells
drabslab
European Union
Joined: September 28, 2004
KitMaker: 2,186 posts
AeroScale: 1,587 posts
Joined: September 28, 2004
KitMaker: 2,186 posts
AeroScale: 1,587 posts
Posted: Tuesday, January 07, 2014 - 08:07 PM UTC
Coming nicely together
This Alpha Jet is a nice little airplane;
Jessie_C
British Columbia, Canada
Joined: September 03, 2009
KitMaker: 6,965 posts
AeroScale: 6,247 posts
Joined: September 03, 2009
KitMaker: 6,965 posts
AeroScale: 6,247 posts
Posted: Wednesday, January 08, 2014 - 06:50 PM UTC
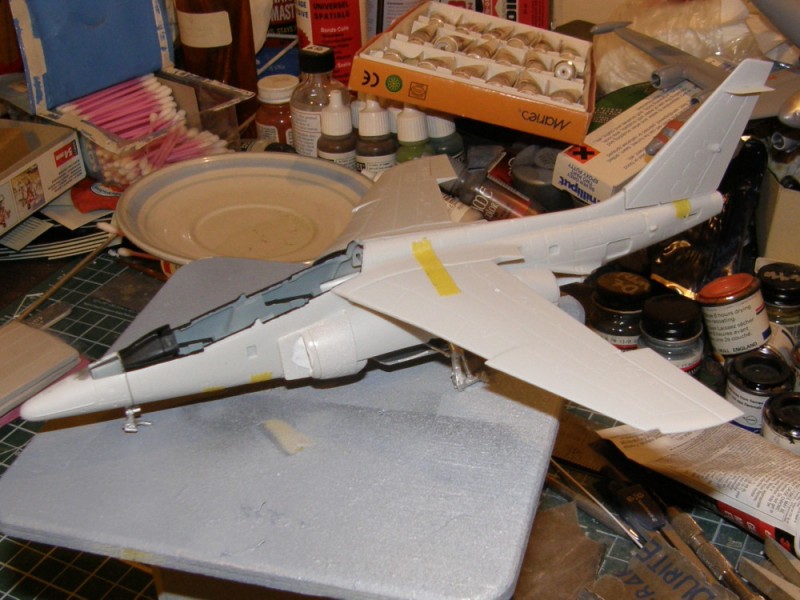
Another day, a little more progress, another test fit. I read a thread on ARC about the difficulties of fitting the wheel well in around the intakes and the lower fuselage part. Perhaps it's because I haven't glued anything yet, but I haven't run into the problem with this model. Everything fits where it ought to.
The tape held long enough for me to take the picture. The moment I put the camera down the model went *plink* and fell apart. But I know it fits.
And not a speck of nose weight is required! I'm amazed
The tape held long enough for me to take the picture. The moment I put the camera down the model went *plink* and fell apart. But I know it fits.
And not a speck of nose weight is required! I'm amazed
Jessie_C
British Columbia, Canada
Joined: September 03, 2009
KitMaker: 6,965 posts
AeroScale: 6,247 posts
Joined: September 03, 2009
KitMaker: 6,965 posts
AeroScale: 6,247 posts
Posted: Thursday, January 09, 2014 - 09:23 AM UTC
No pics this update, but I found out why Dan was having such a difficult time with his wheel wells because my kit just tried to do it to me. When fitting the intakes, it's very important to get both locating pins on the back of the splitter plate into their holes. The top one takes a bit of fussy fiddling to fit correctly because it wants to fit in behind its locating hole rather than in it. This causes the intakes to angle downwards inside the fuselage, fouling the top of the wheel well and forcing it down too far.
Jessie_C
British Columbia, Canada
Joined: September 03, 2009
KitMaker: 6,965 posts
AeroScale: 6,247 posts
Joined: September 03, 2009
KitMaker: 6,965 posts
AeroScale: 6,247 posts
Posted: Saturday, January 11, 2014 - 04:16 PM UTC
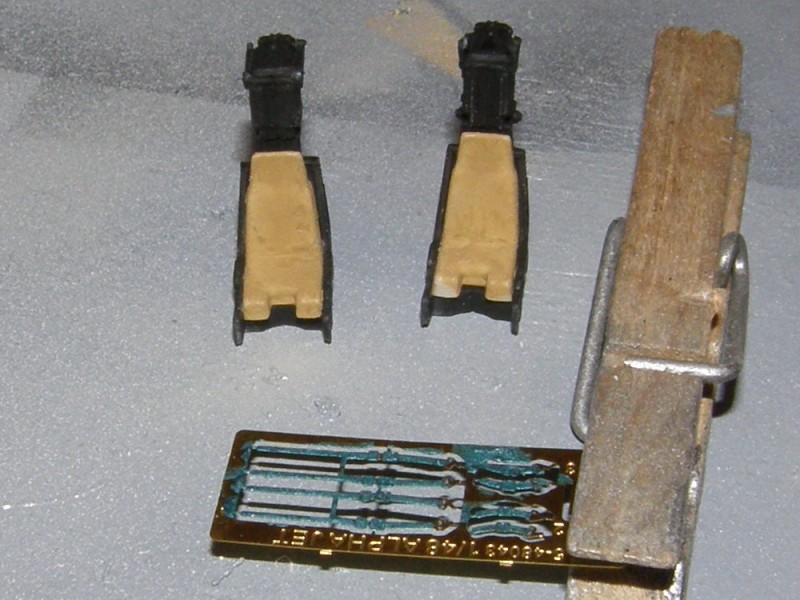
Some paint on the bang seats tonight. Washes and drybrushing will be called for shortly
Jessie_C
British Columbia, Canada
Joined: September 03, 2009
KitMaker: 6,965 posts
AeroScale: 6,247 posts
Joined: September 03, 2009
KitMaker: 6,965 posts
AeroScale: 6,247 posts
Posted: Thursday, January 16, 2014 - 04:51 PM UTC
Back to the Alpha Jet. Reference photos kindly lent to me show that the forward portions of the instrument panel shrouds are covered by a very light coloured fabric material. I thought that pure white was a bit too strong, so I toned it down with a drop of Deck Tan
The cockpit is finished apart from washes and drybrushing. The carpet monster got one of the front seat belts, so I'm just going to claim that it fell down between the seat and the side console when the front-seater got out last time
A test fit once again
The intakes didn't want to fit very well. I'll need a session or two of sanding the Mr. Surfacer I globbed on
The other fuselage inserts also need a bit of filling and sanding
Emeritus
Uusimaa, Finland
Joined: March 30, 2004
KitMaker: 2,845 posts
AeroScale: 1,564 posts
Joined: March 30, 2004
KitMaker: 2,845 posts
AeroScale: 1,564 posts
Posted: Thursday, January 16, 2014 - 10:51 PM UTC
Great progress! I've been following this closely. I've always liked the aesthetics of the Alpha Jet and I'll be getting one myself too.
Killian
Oost-Vlaanderen, Belgium
Joined: November 26, 2005
KitMaker: 30 posts
AeroScale: 11 posts
Joined: November 26, 2005
KitMaker: 30 posts
AeroScale: 11 posts
Posted: Saturday, January 18, 2014 - 05:32 AM UTC
Nice one, following this build as I might buy one myself. Hopefully someone makes Belgian decals for this thing
Jessie_C
British Columbia, Canada
Joined: September 03, 2009
KitMaker: 6,965 posts
AeroScale: 6,247 posts
Joined: September 03, 2009
KitMaker: 6,965 posts
AeroScale: 6,247 posts
Posted: Saturday, January 18, 2014 - 12:45 PM UTC
Caracal Models has announced a forthcoming sheet which will include Belgian markings. Scroll about 2/3 down the page to see an image of the sheet.
Killian
Oost-Vlaanderen, Belgium
Joined: November 26, 2005
KitMaker: 30 posts
AeroScale: 11 posts
Joined: November 26, 2005
KitMaker: 30 posts
AeroScale: 11 posts
Posted: Sunday, January 19, 2014 - 12:09 AM UTC
Aha, now that is interesting; think I will purchase this kit then, and the Fouga Magister also when it comes out
Jessie_C
British Columbia, Canada
Joined: September 03, 2009
KitMaker: 6,965 posts
AeroScale: 6,247 posts
Joined: September 03, 2009
KitMaker: 6,965 posts
AeroScale: 6,247 posts
Posted: Saturday, January 25, 2014 - 07:55 PM UTC
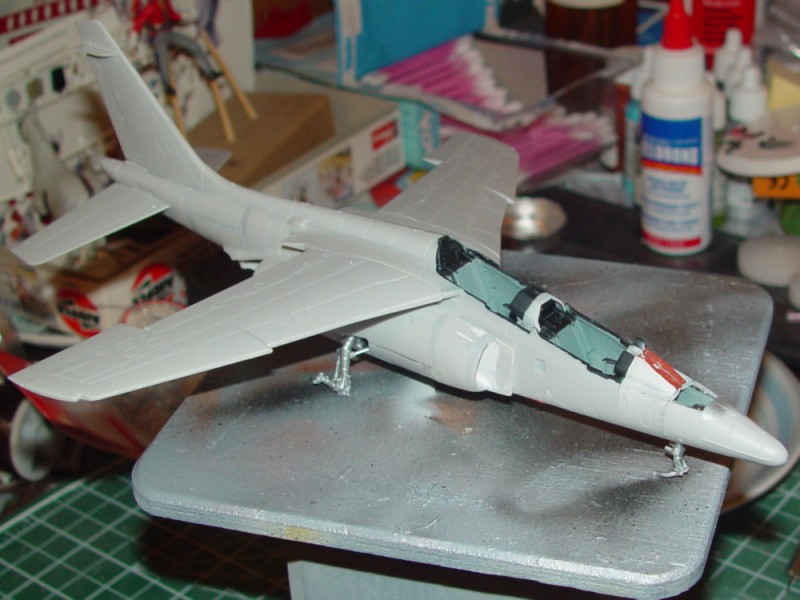
The Alpha Jet returns! I've got the major assembly work done, with only a few tiny fit problems. I'm trying out a new camera, which came equipped with a blue filter which is why my pictures have the blues tonight.
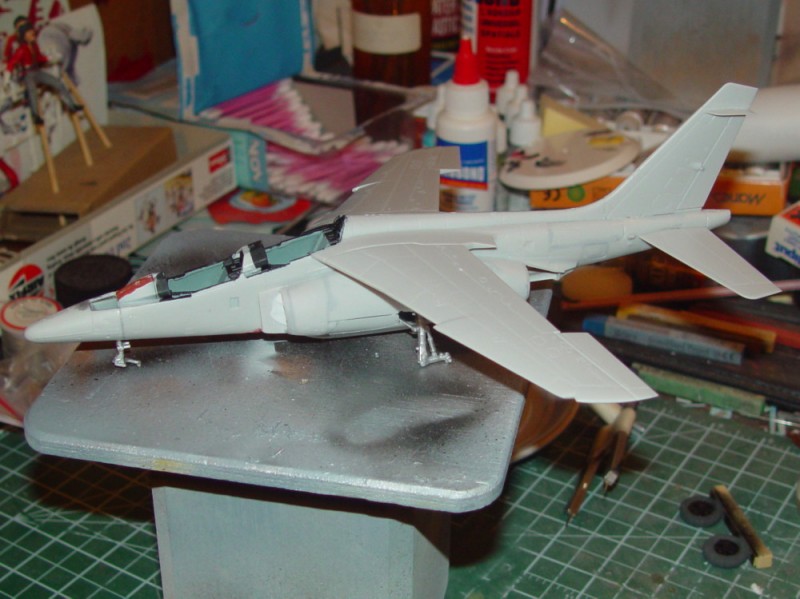
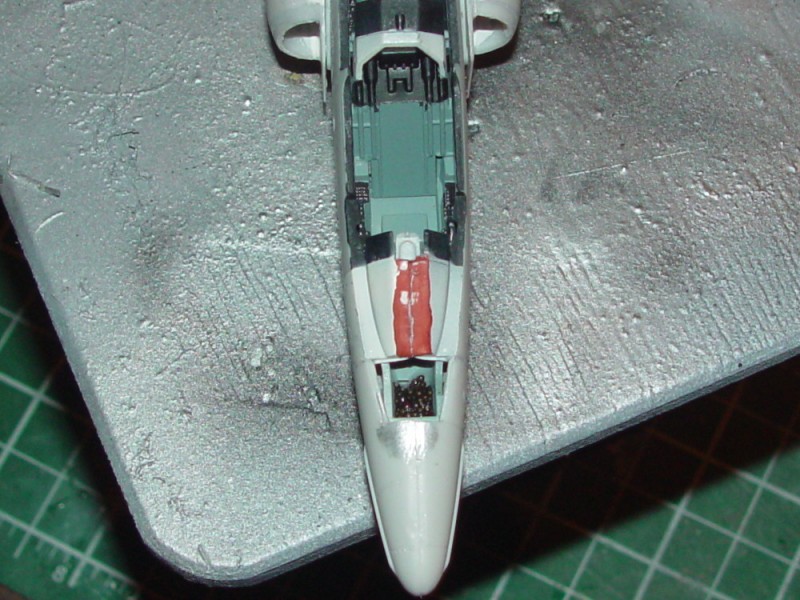
Once the tilplanes were on it got a bit tippy, so I solved that with an application of liquid gravity. I needed some filler on the front glare shield
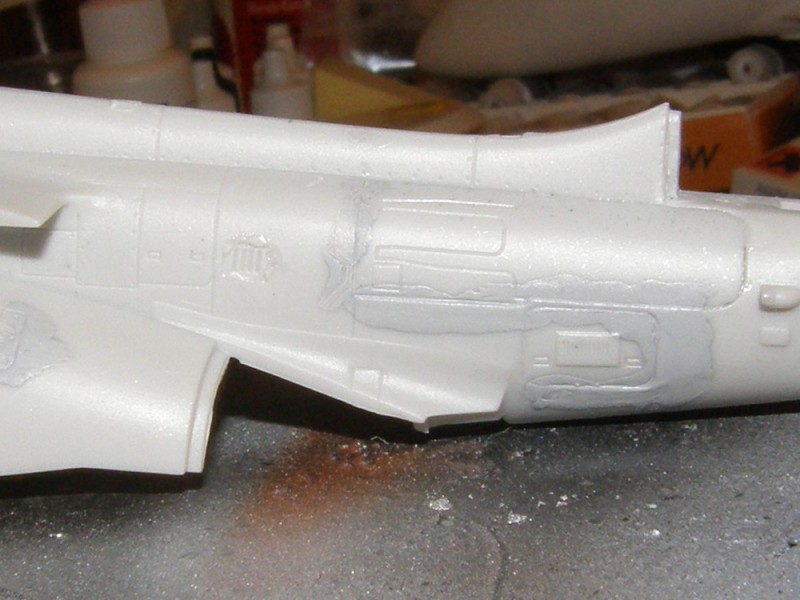
And more filler underneath. The worst fit was the insert under the aft fuselage. That had gaps all around
Once the tilplanes were on it got a bit tippy, so I solved that with an application of liquid gravity. I needed some filler on the front glare shield
And more filler underneath. The worst fit was the insert under the aft fuselage. That had gaps all around