_GOTOBOTTOM
Rotary Wing
Discuss helicopters and other rotary wing aircraft from any era.
1/35 Apache Longbow, build log
helkaissy
_VISITCOMMUNITY
Al Qahirah, Egypt / لعربية
Joined: October 06, 2013
KitMaker: 244 posts
AeroScale: 37 posts
Posted: Friday, January 10, 2014 - 10:37 AM UTC
Hi Everyone
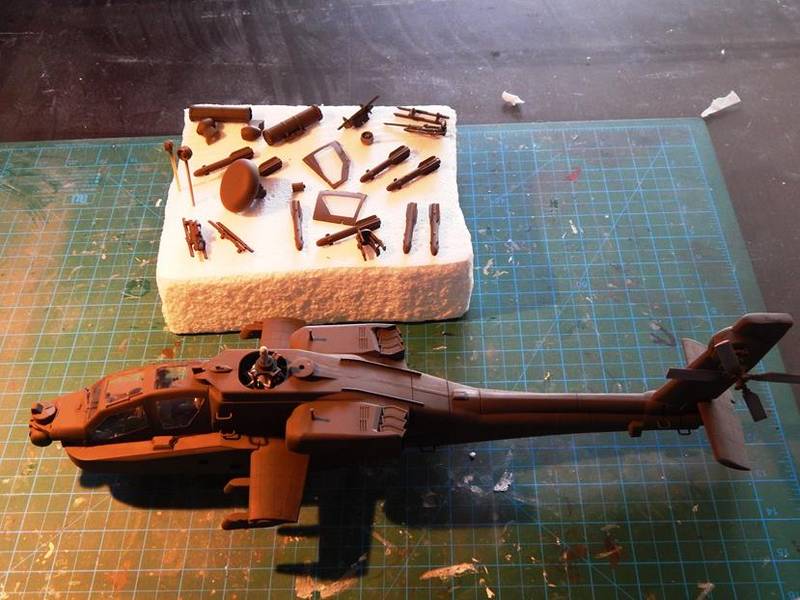
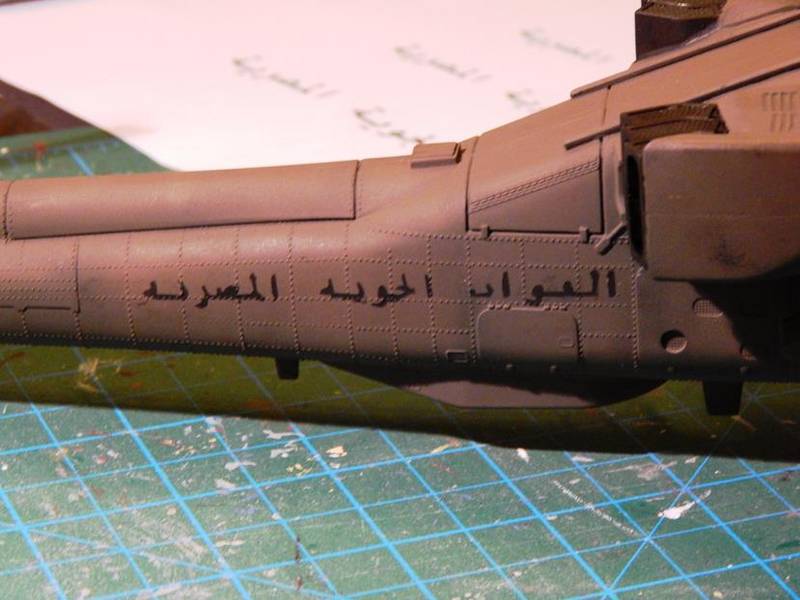
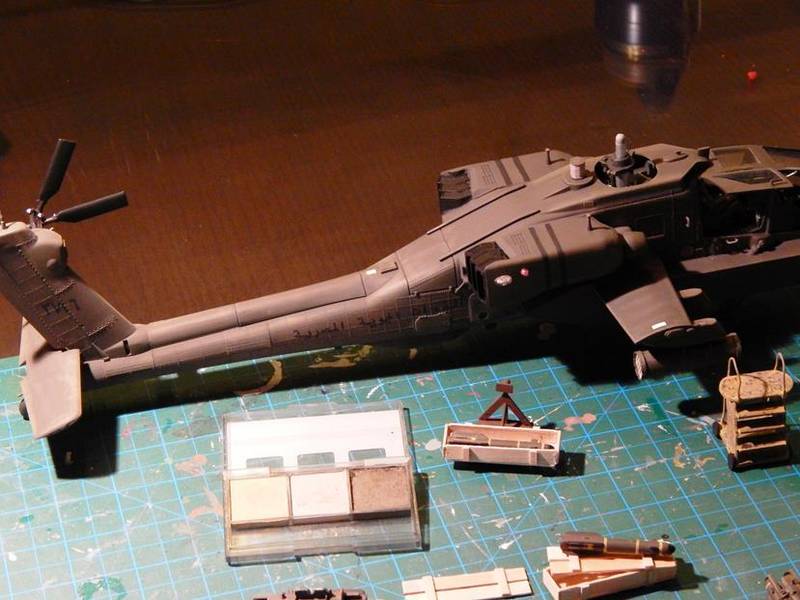
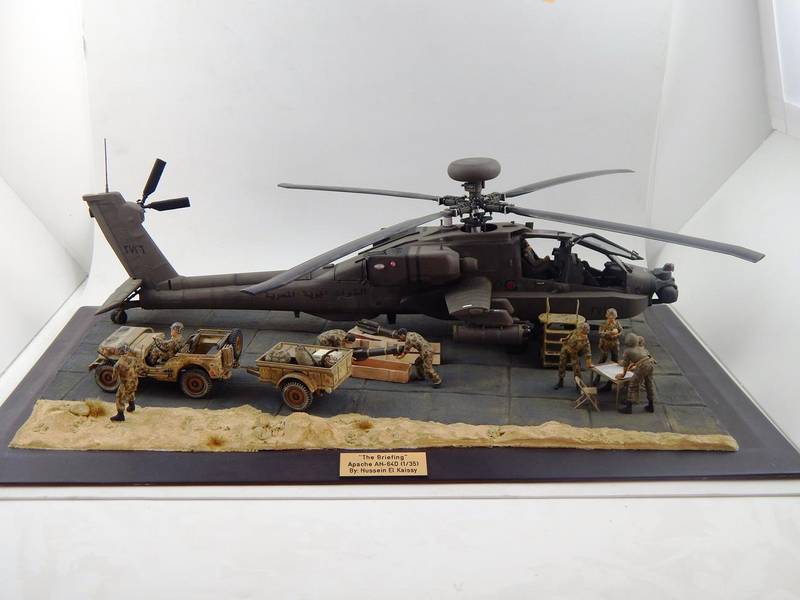
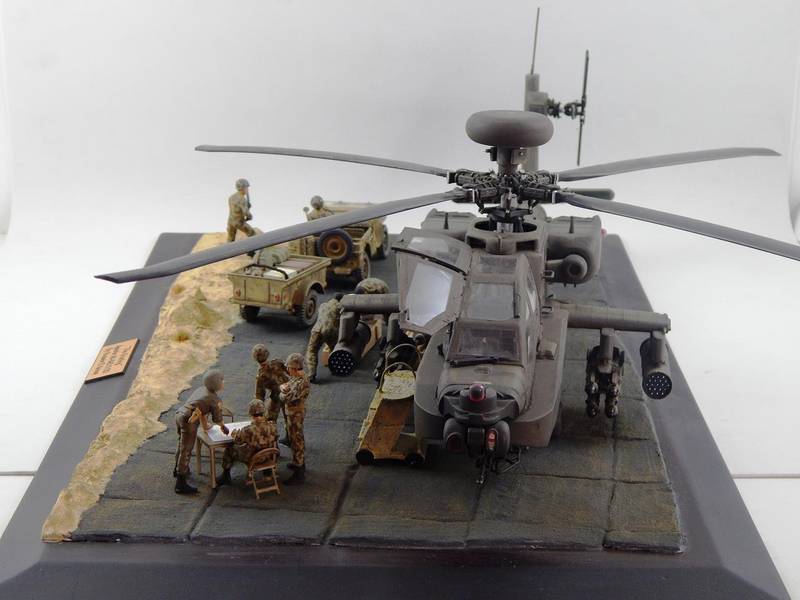
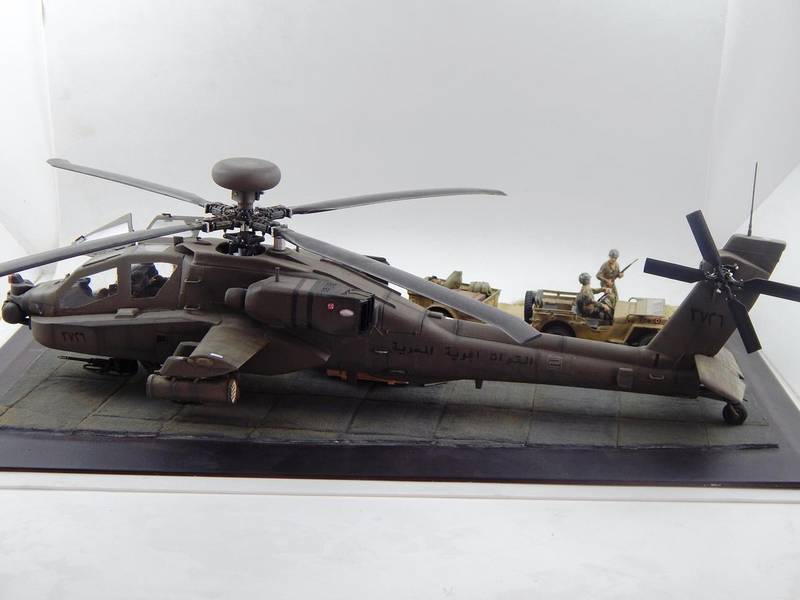
I have started this weekend the make my first ever helicopter model, this will be part of a Diorama project.
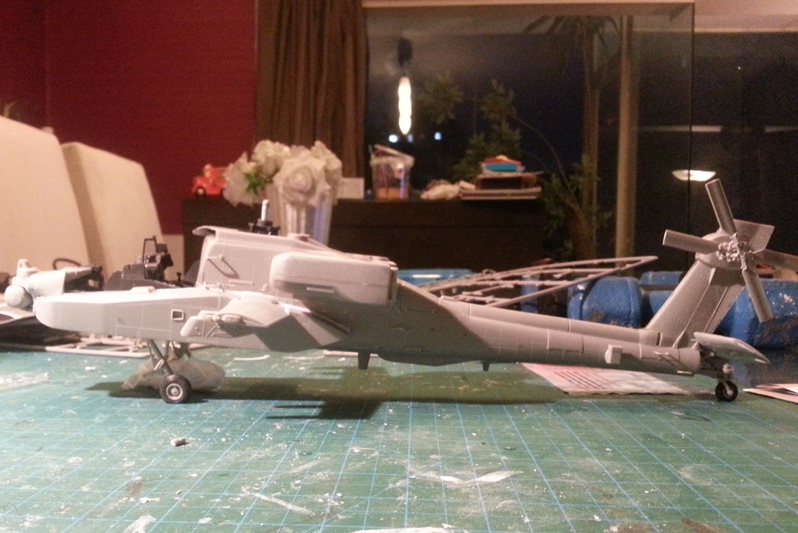
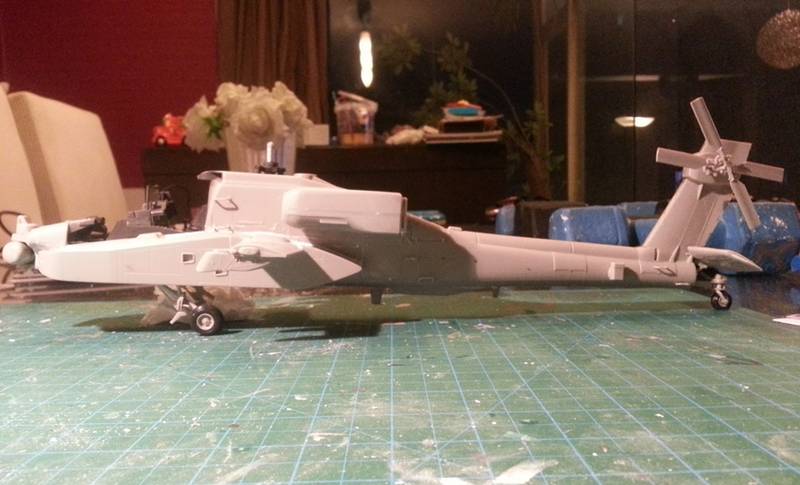
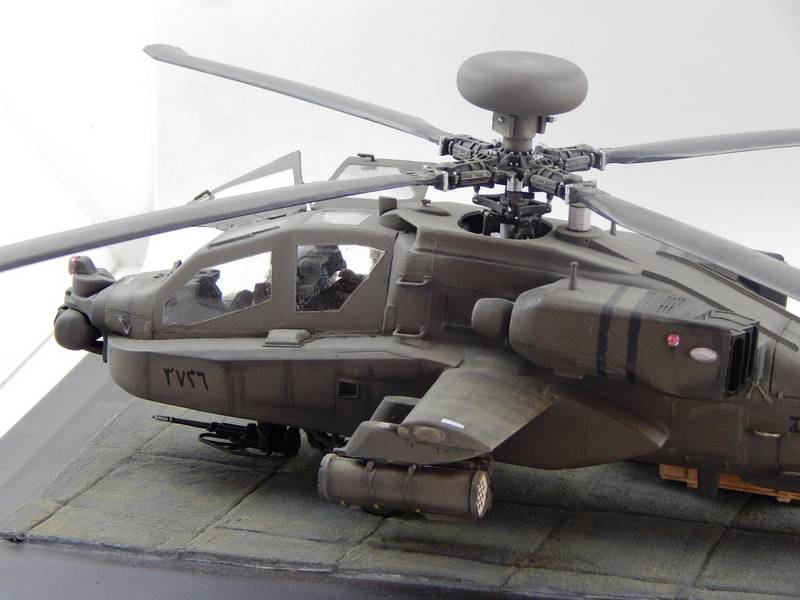
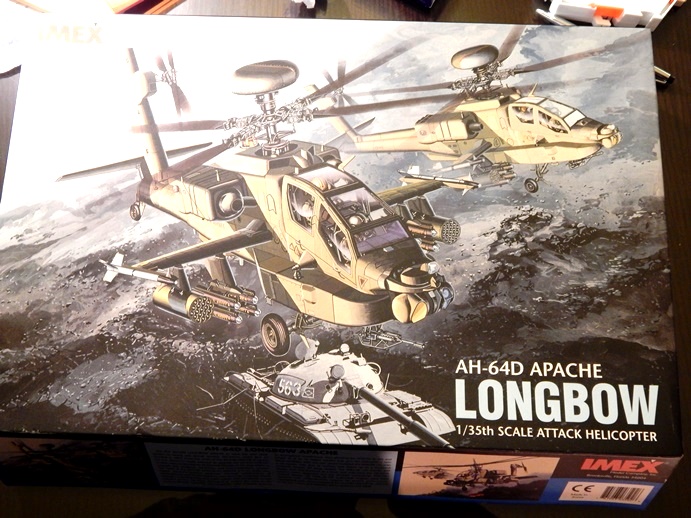
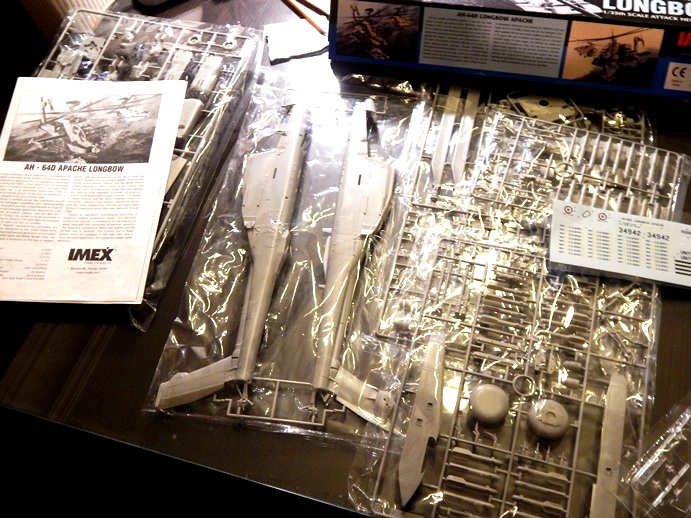
I usually make tanks and AFVs so this will be a new experience. This is the "AH64-D Apache Longbow" kit for IMEX in 1/35 scale it was a bit difficult to find because it was discontinued. I was shocked at the size of this model when I first opened the box but I think I will enjoy making it a lot.

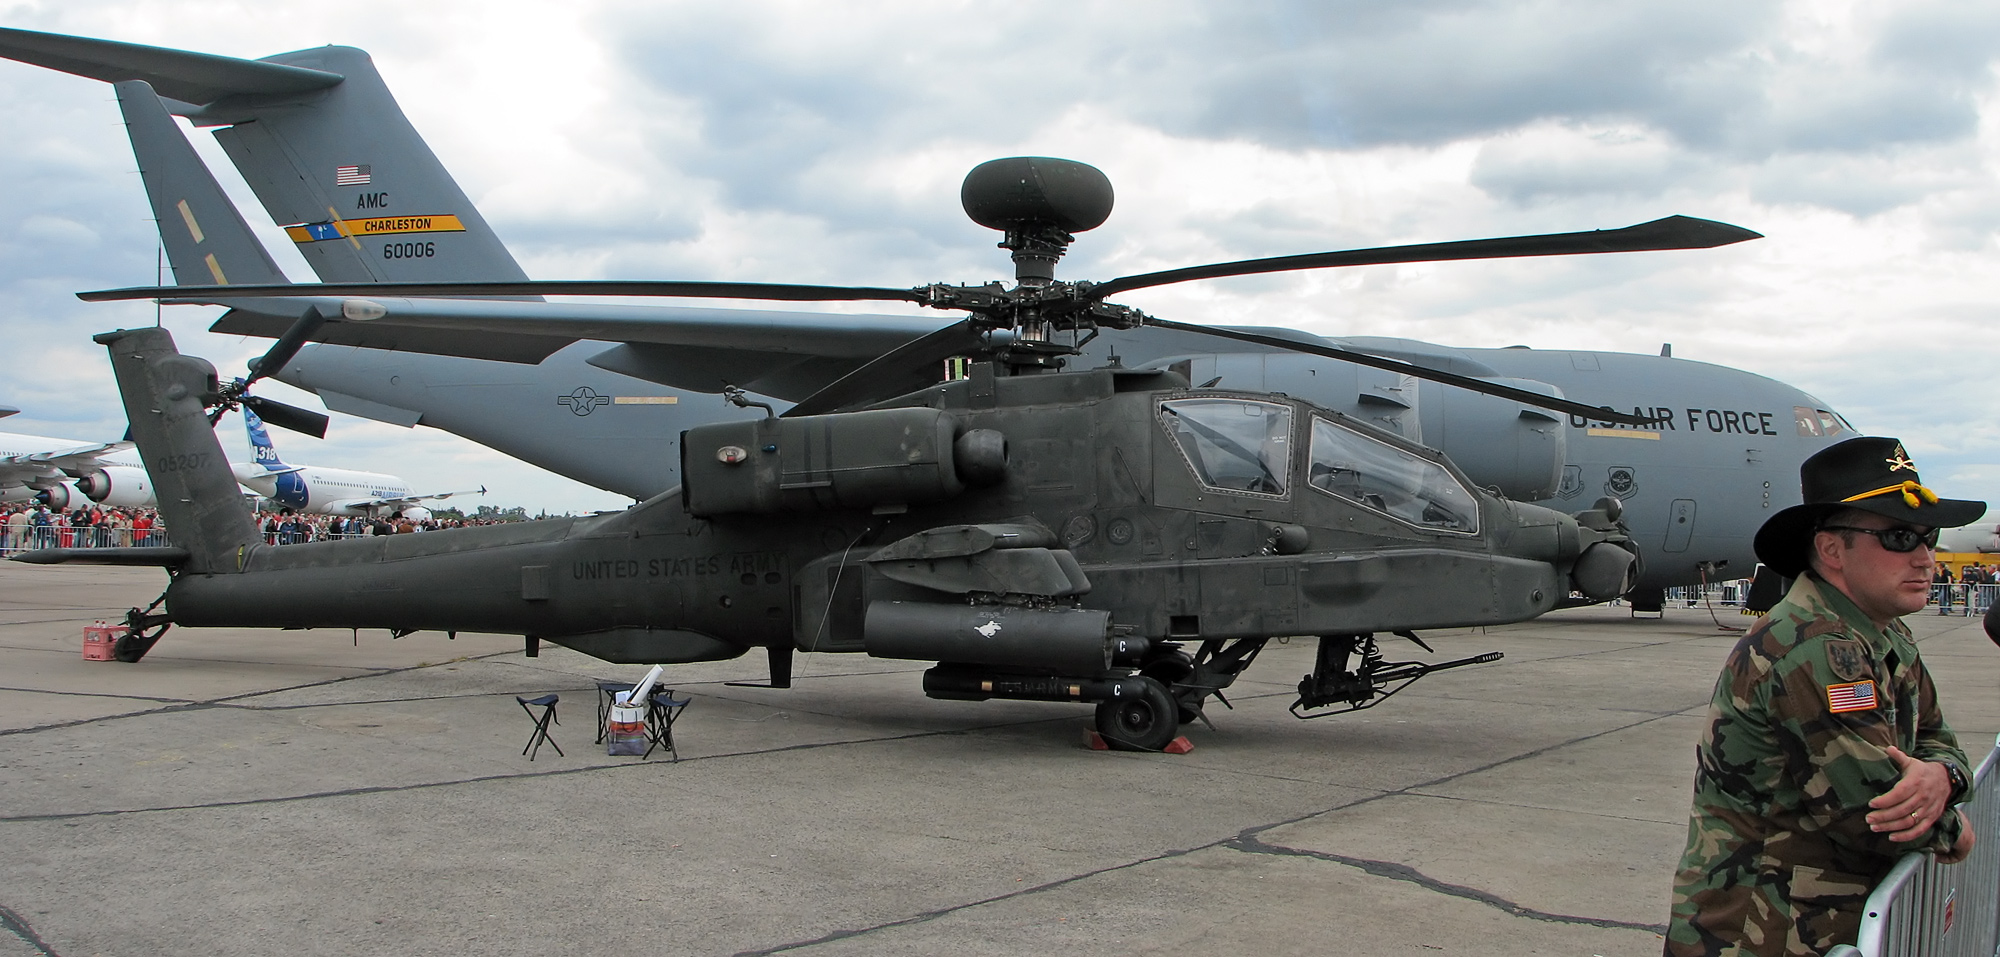
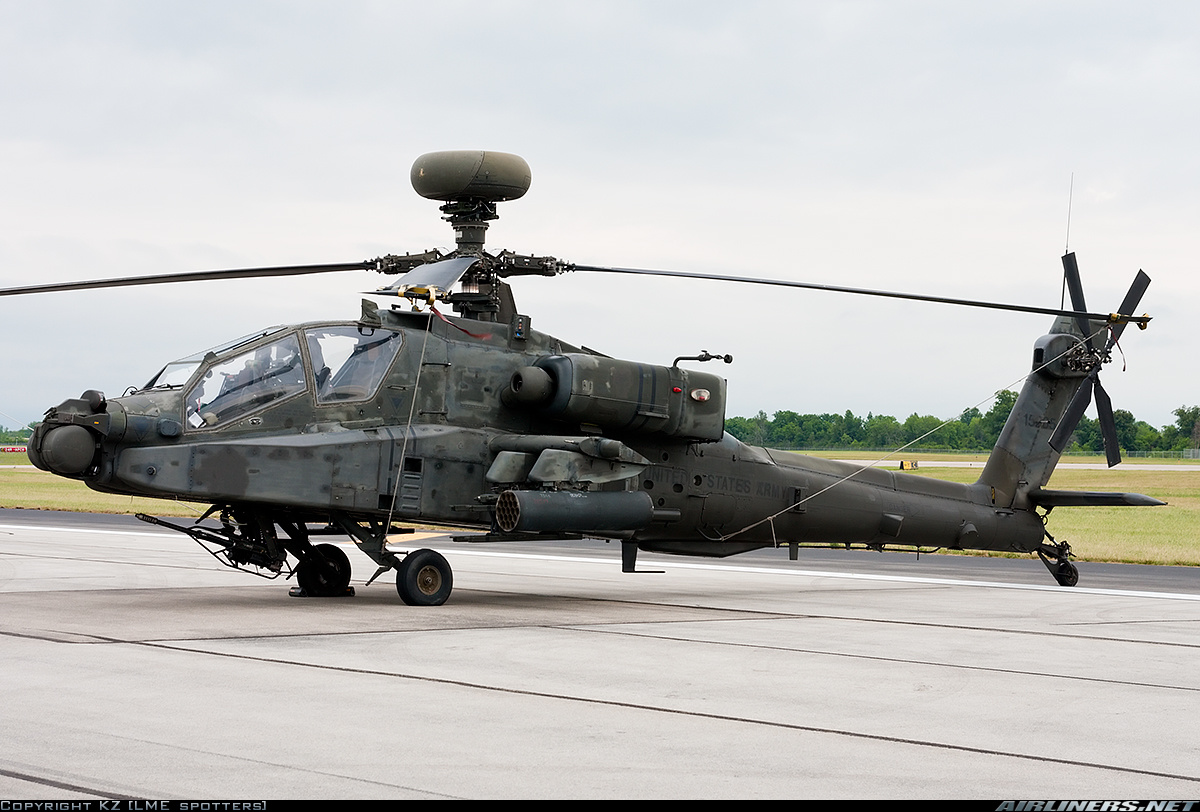
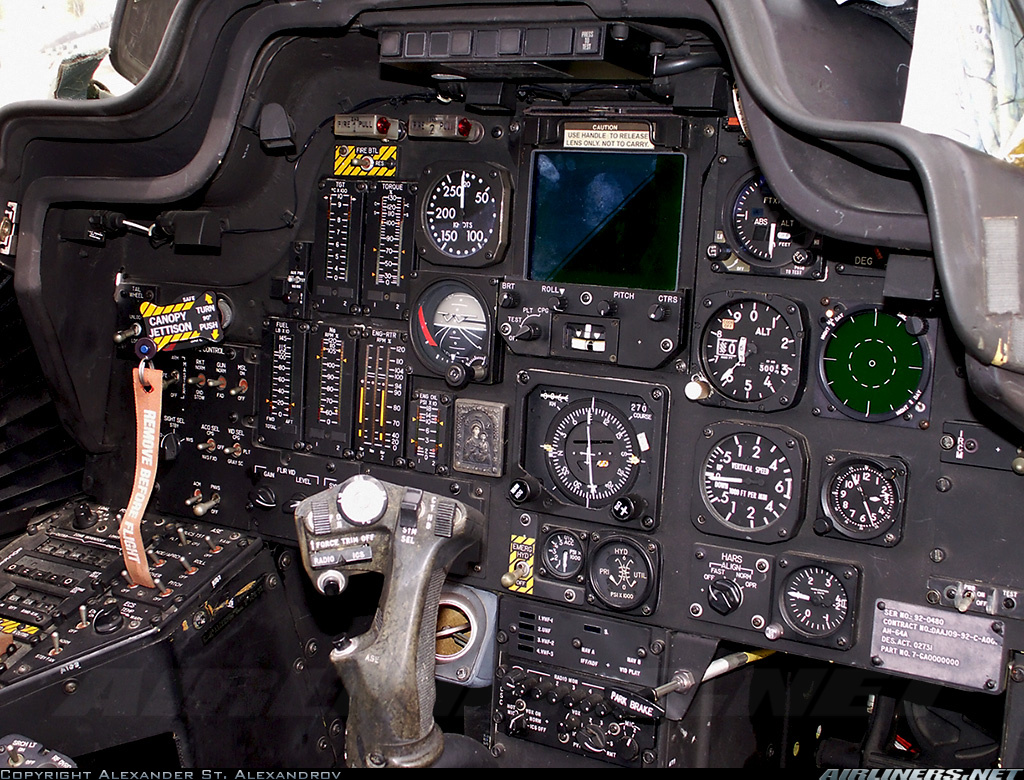
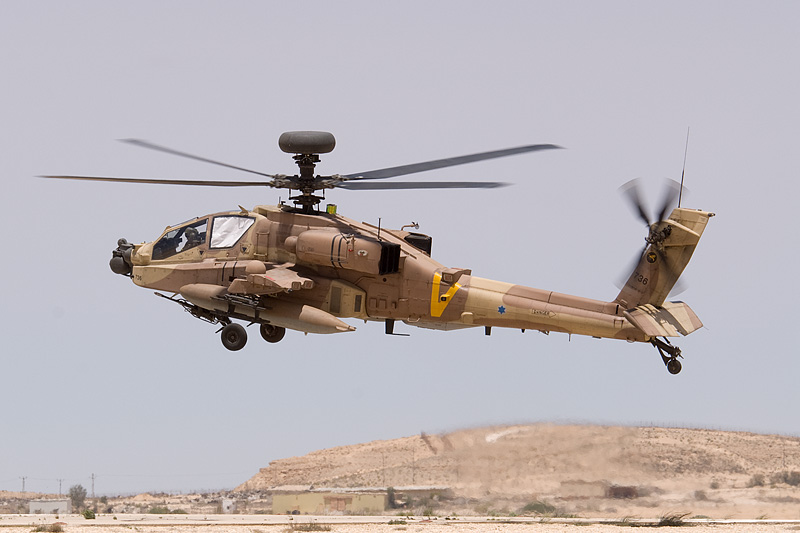
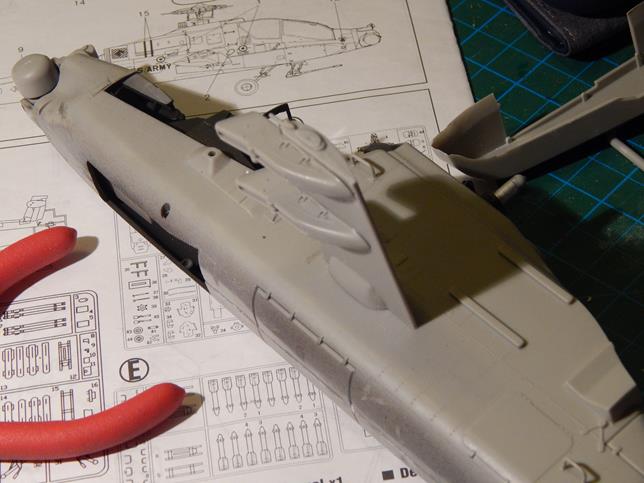
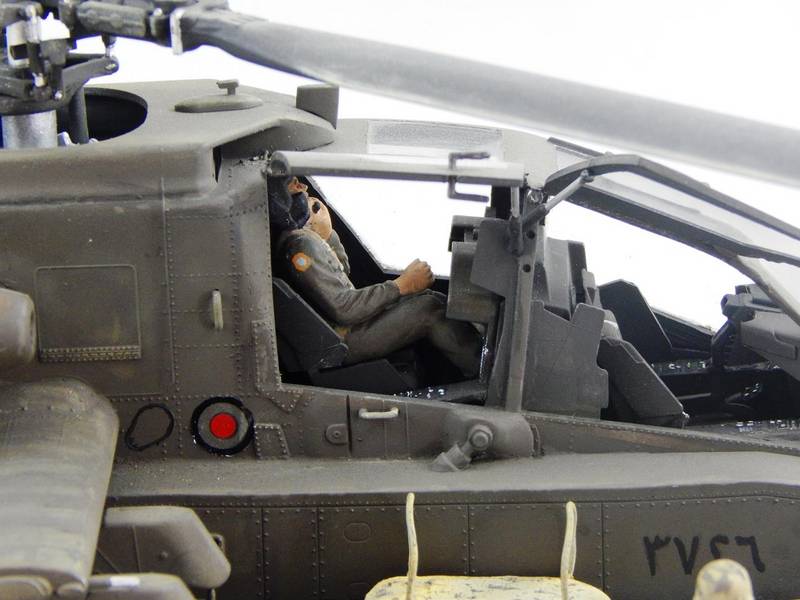
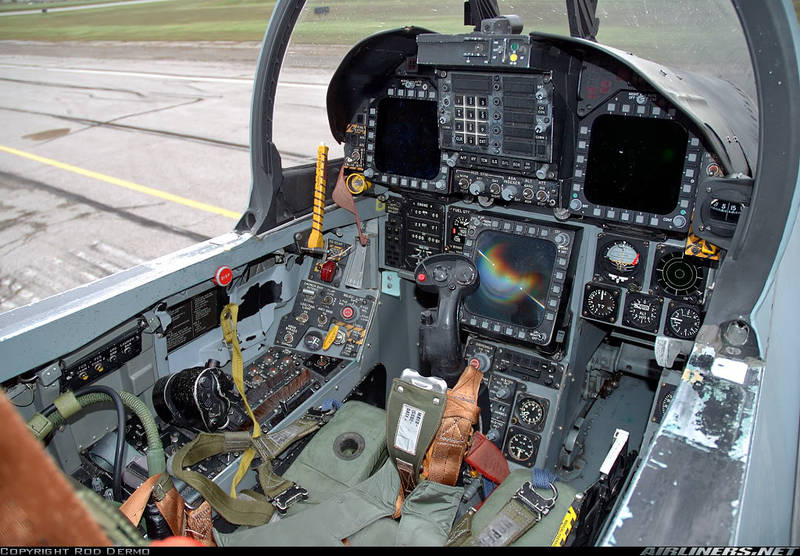
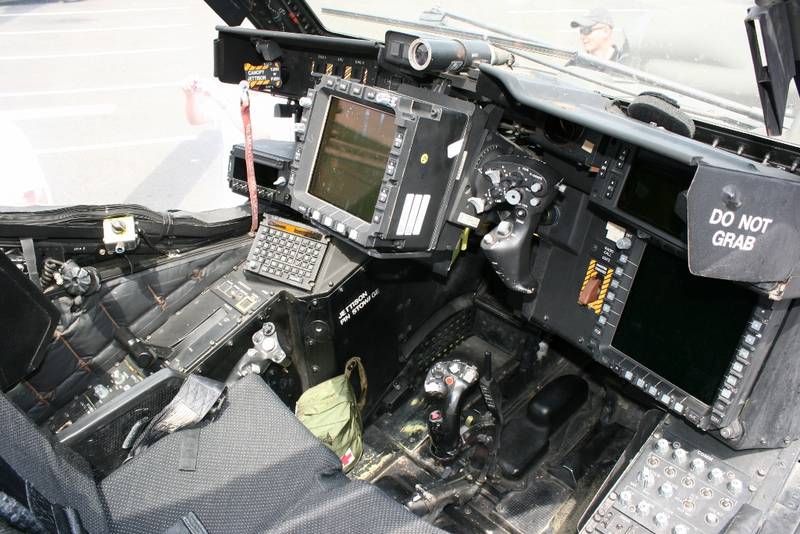
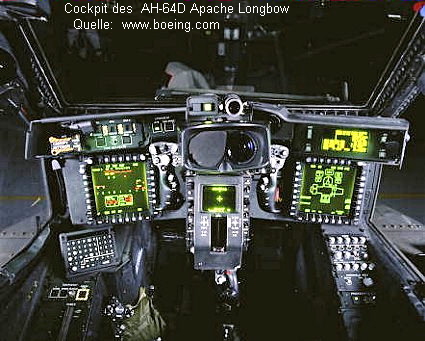
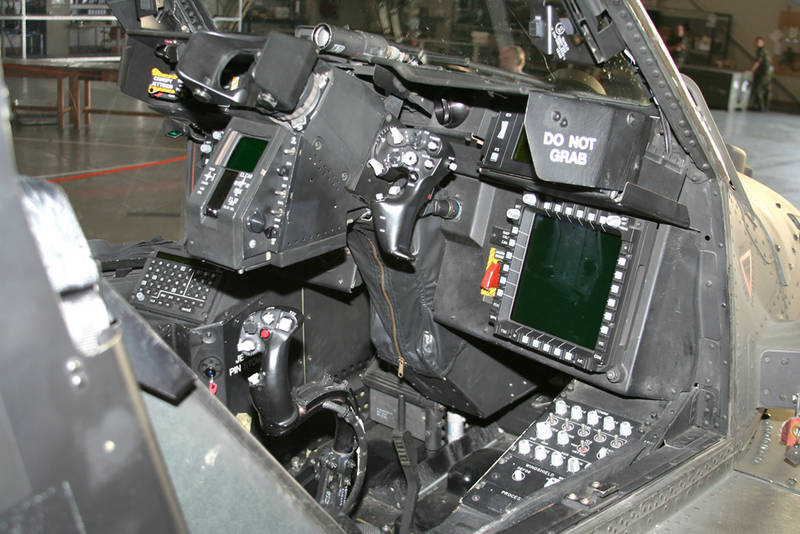
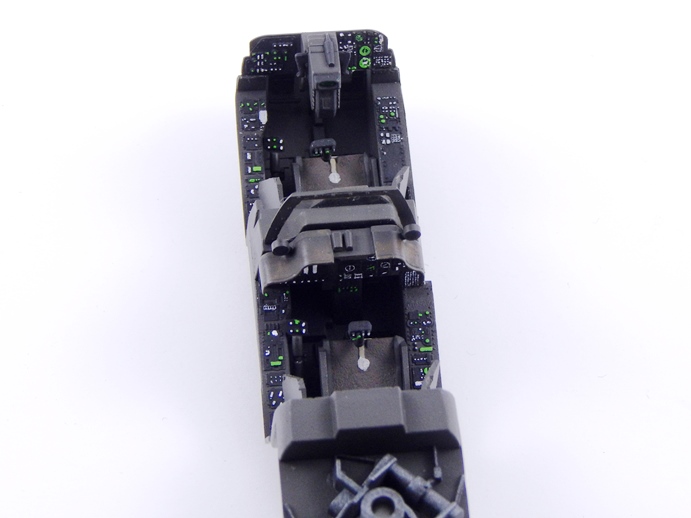
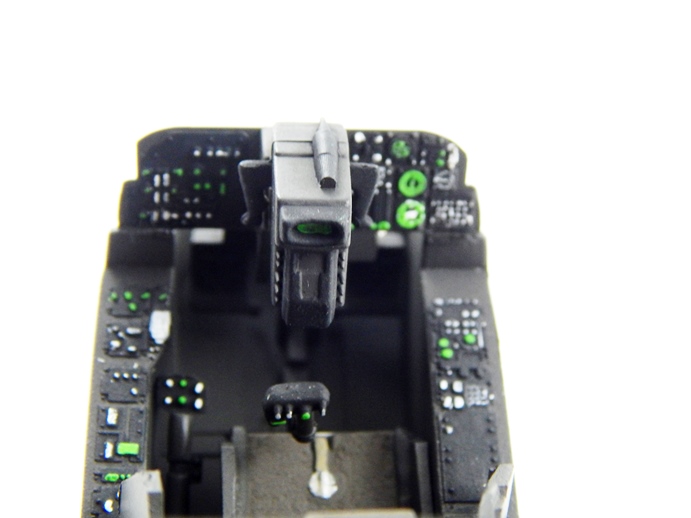
I started this weekend with the cockpit I intend to use Tamiya XF51 color for the outer body but noticing that the cockpit is usually much darker than the body I added 30 drops of black on a bottle of XF51 for the cockpit, it gave a nice dark green color that matches some of these research photos:
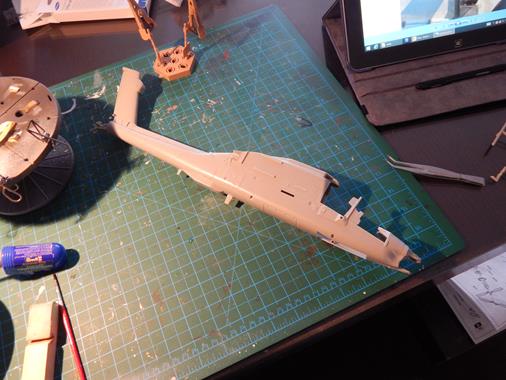
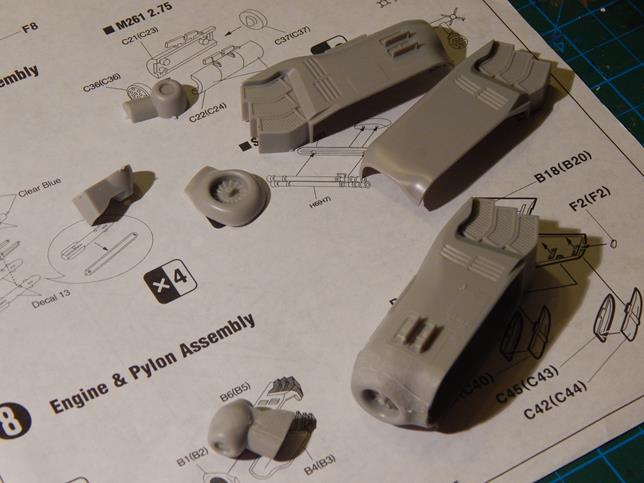
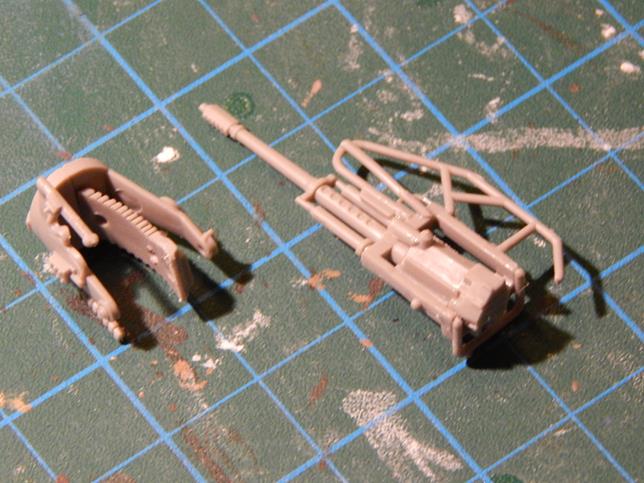
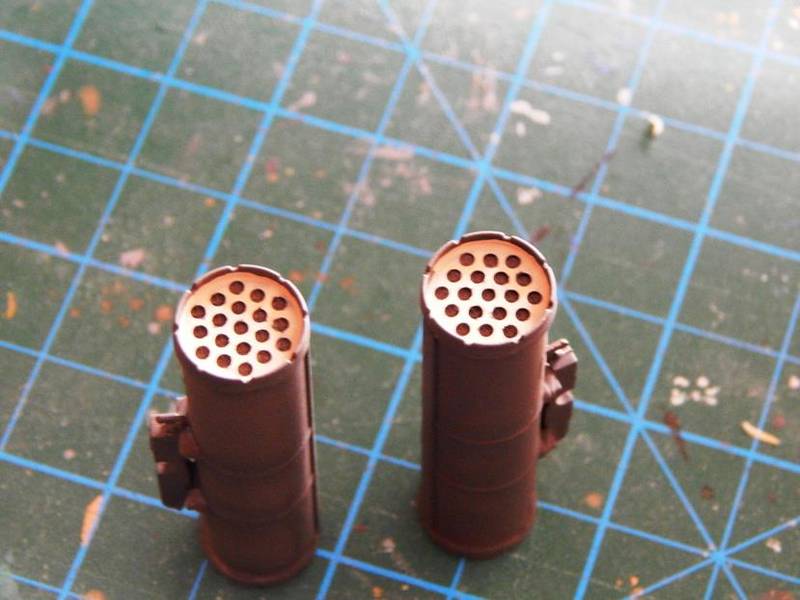
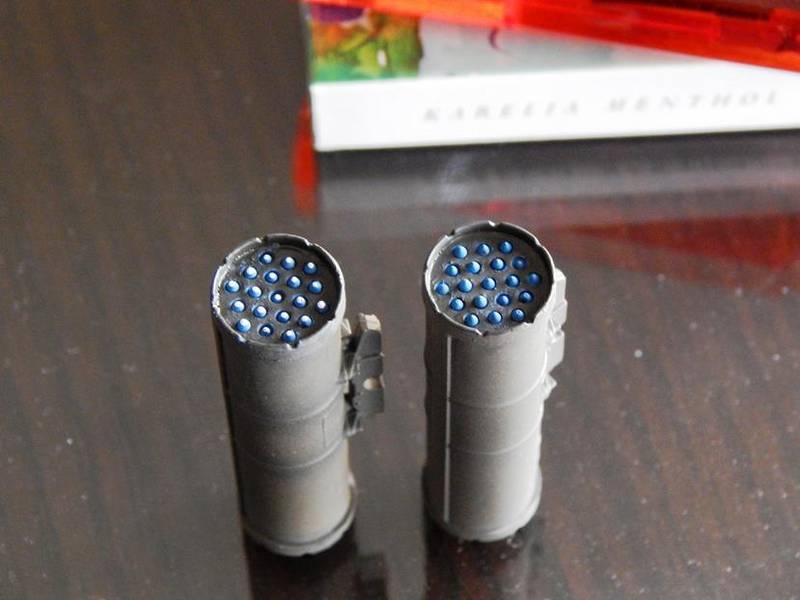
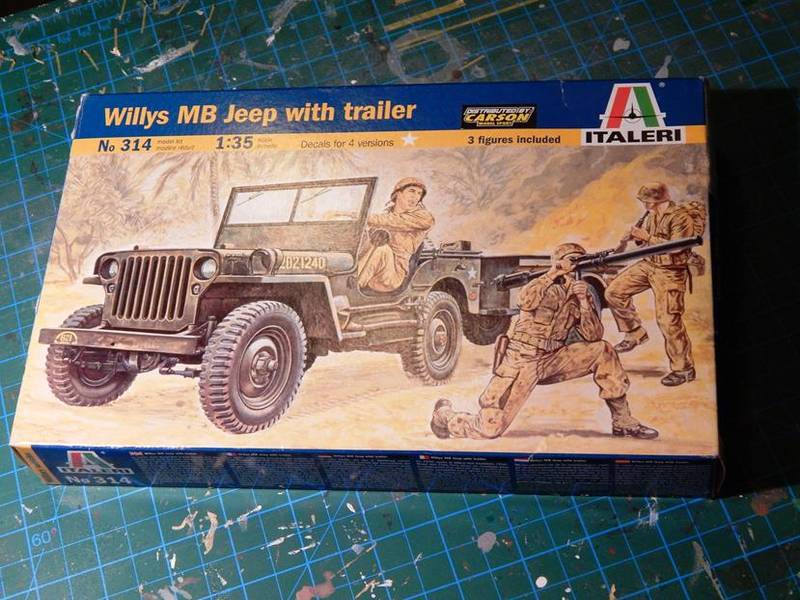
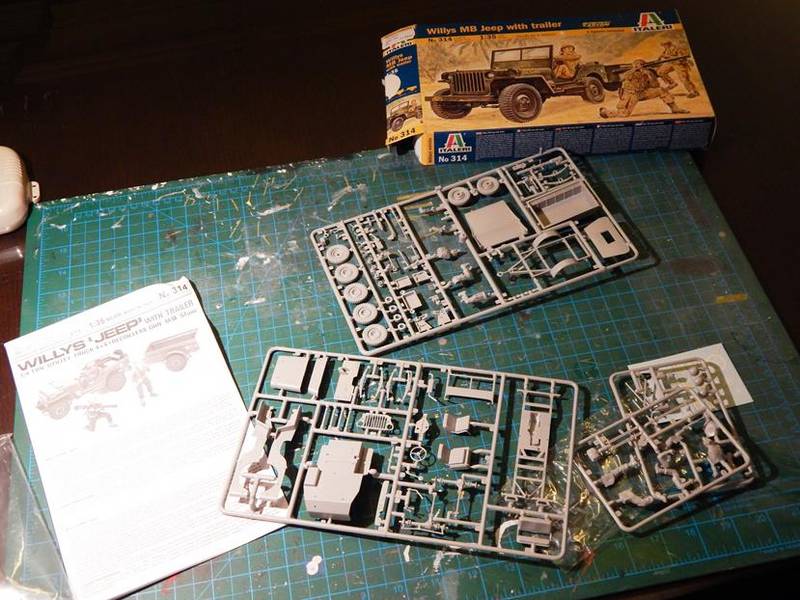
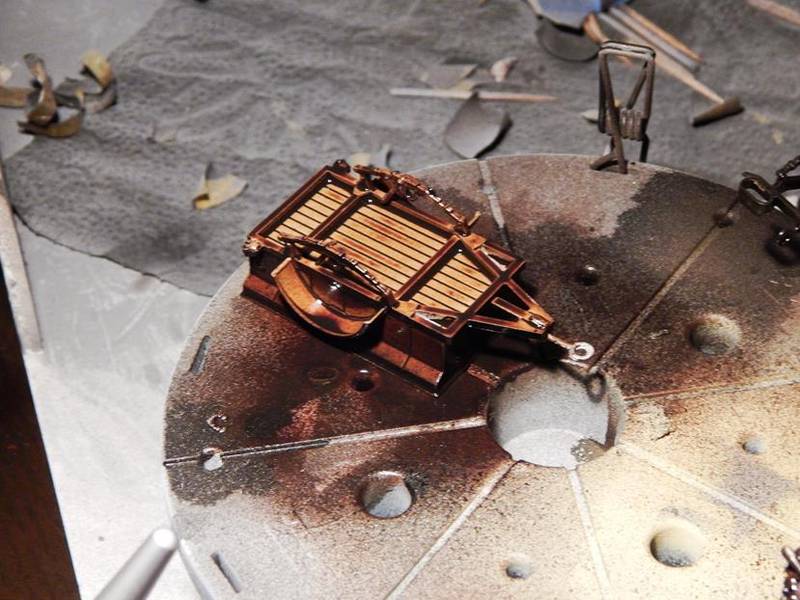
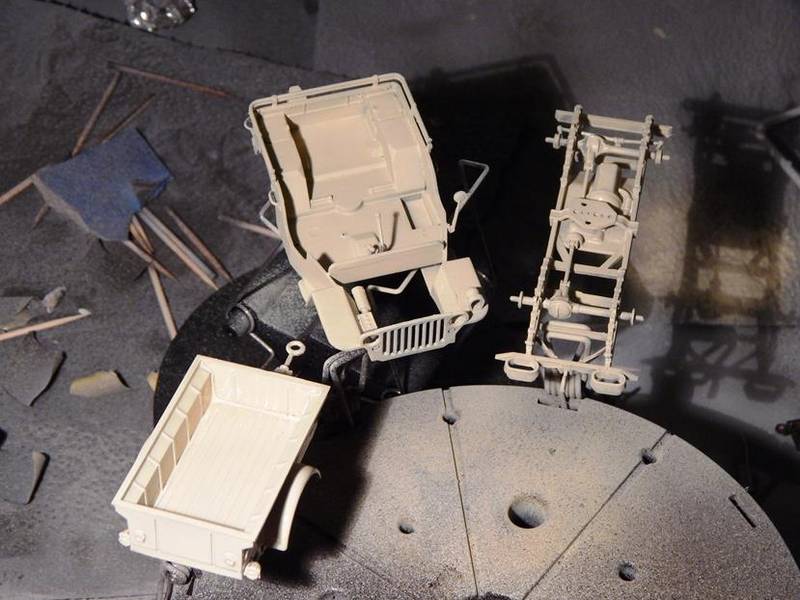
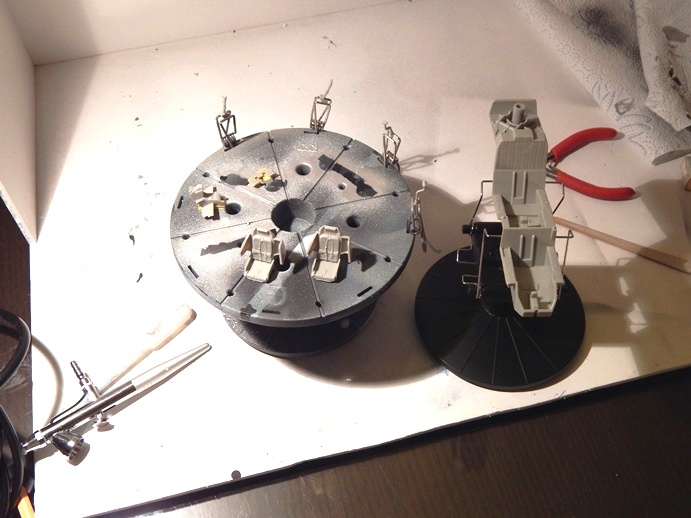


Here is the Kit:


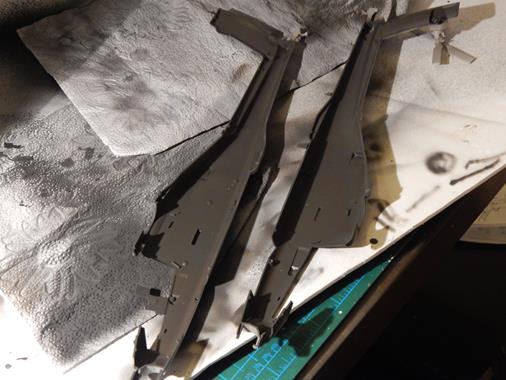
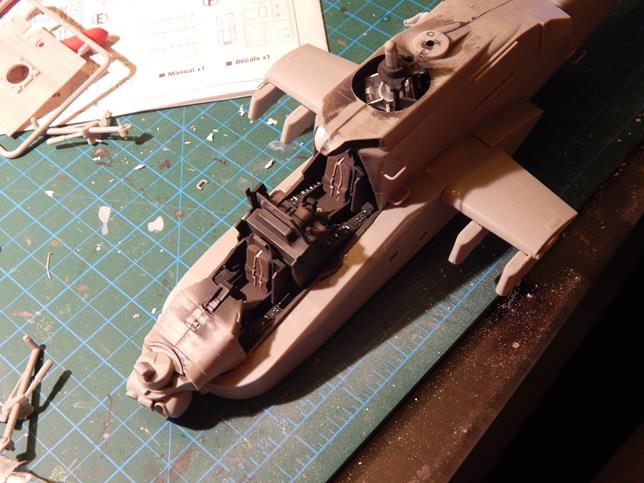
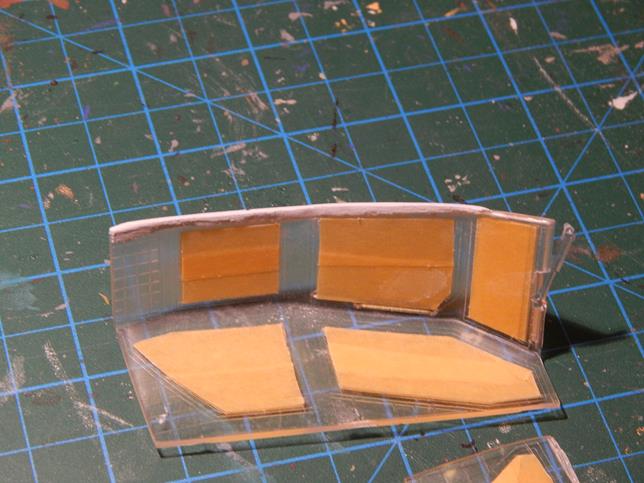
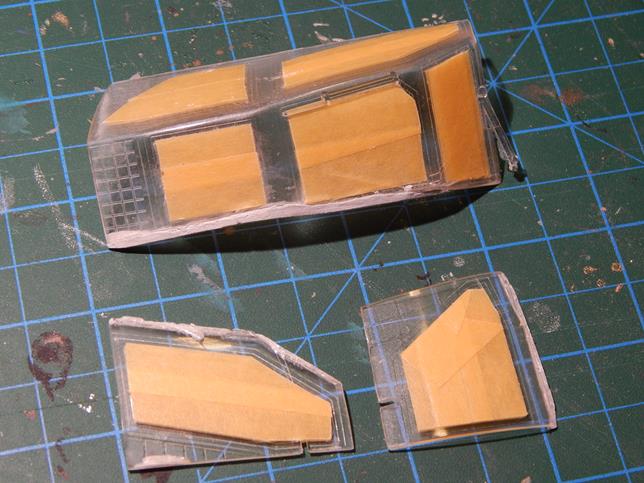
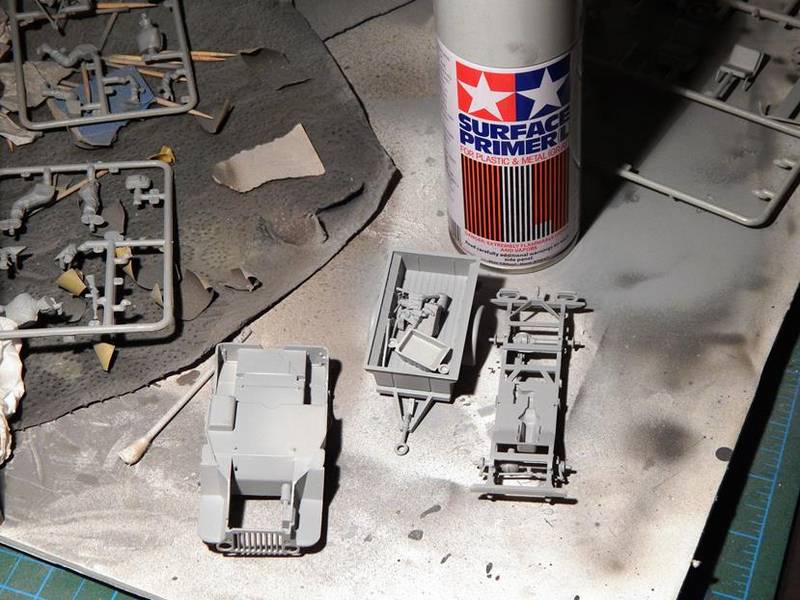
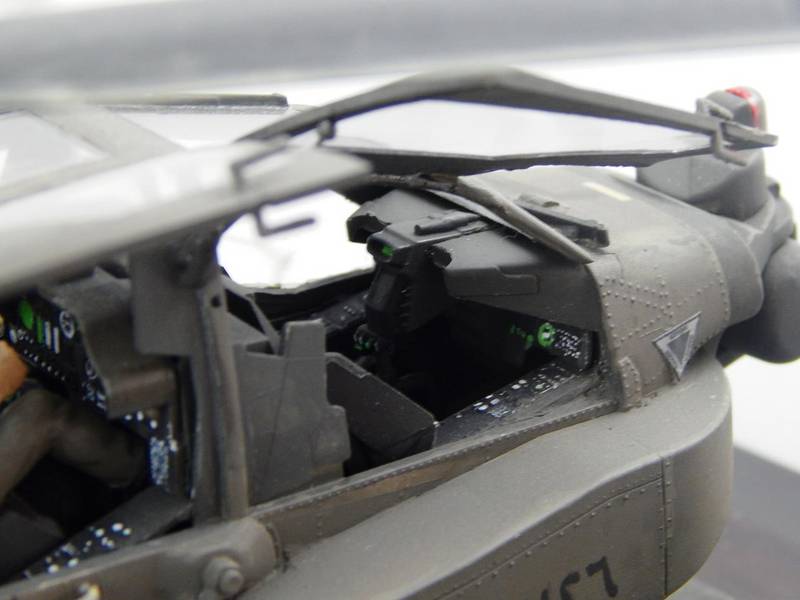
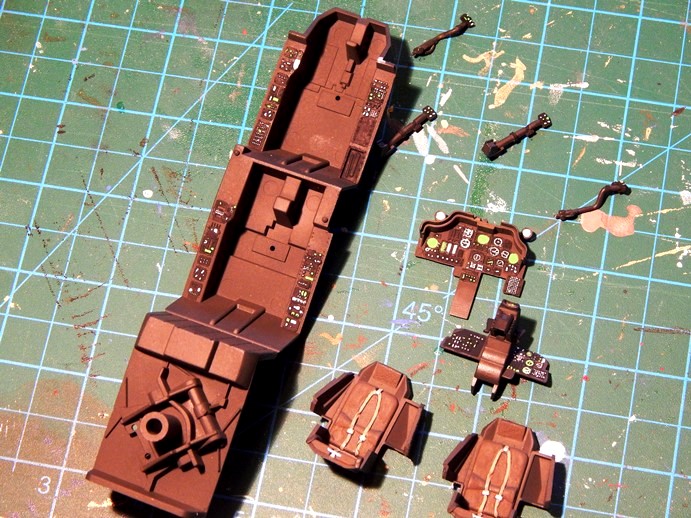
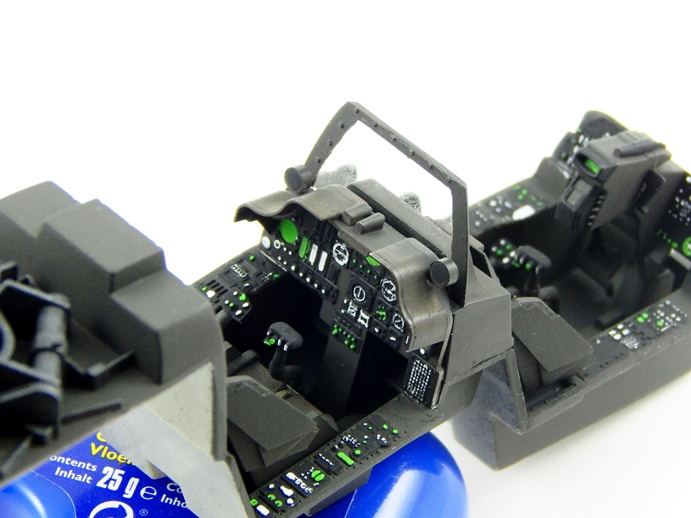
Preparing to Airbrush the cockpit after assembly:

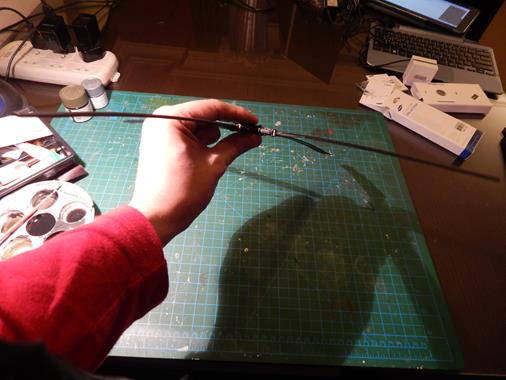
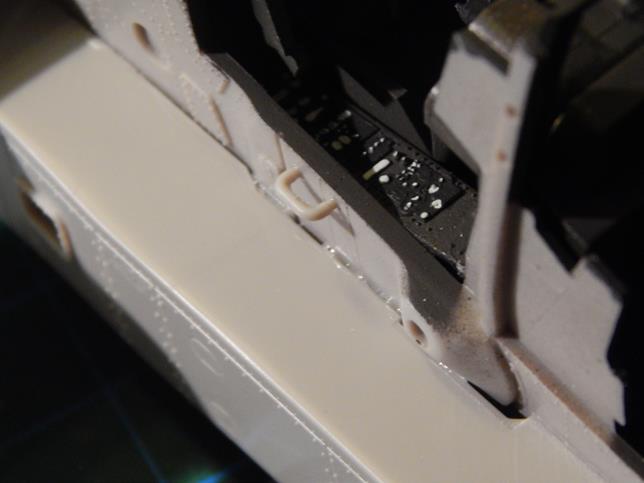
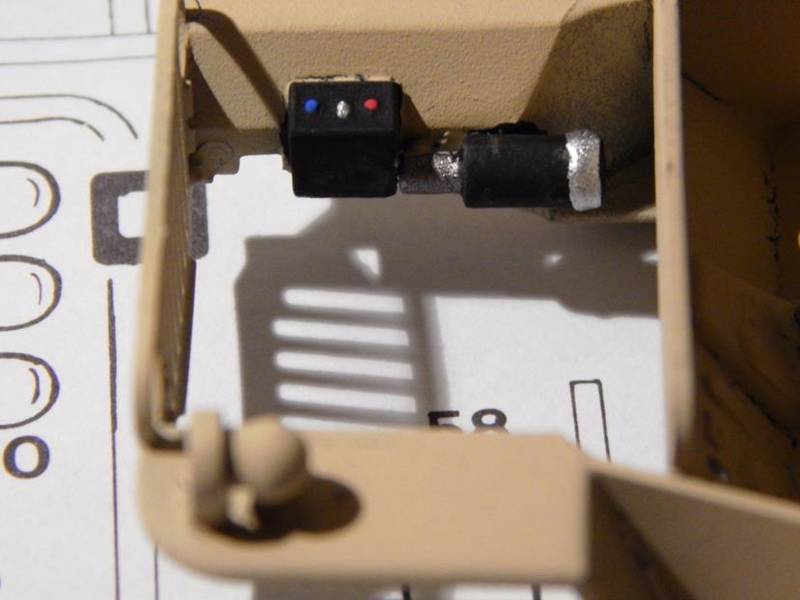
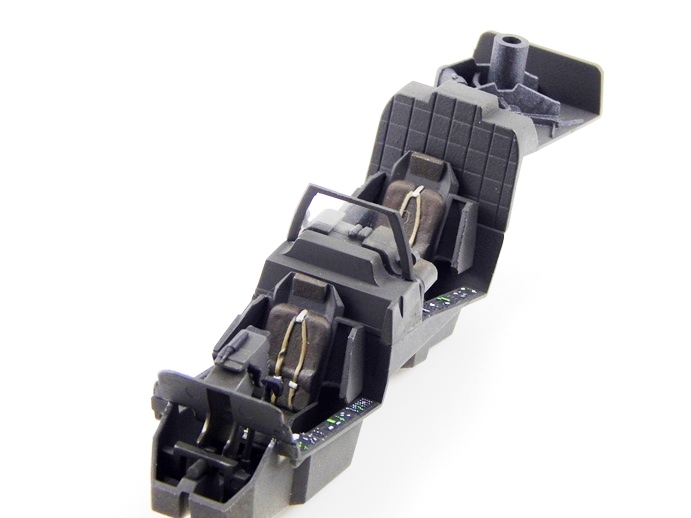
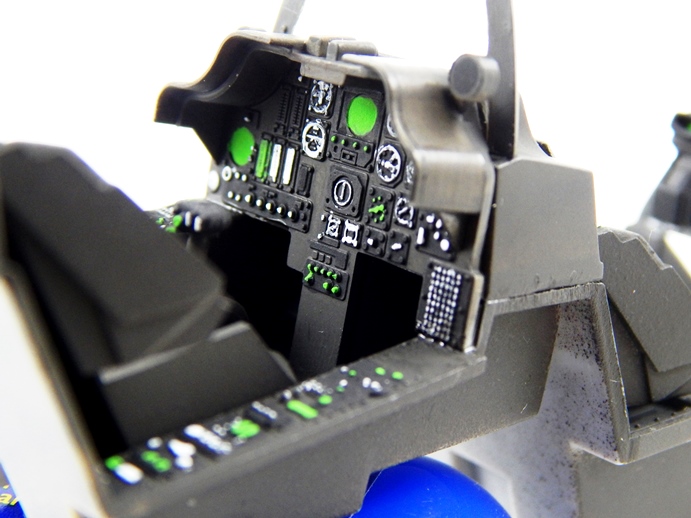
Hand Painting the cockpit Gauges and controls:

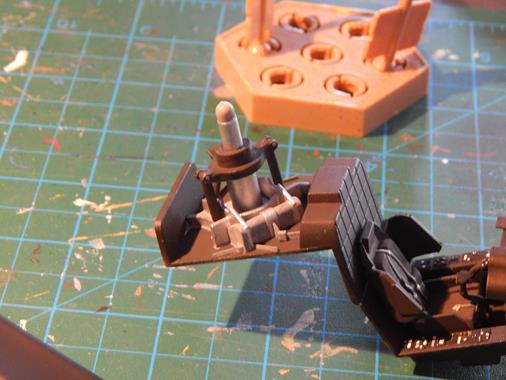
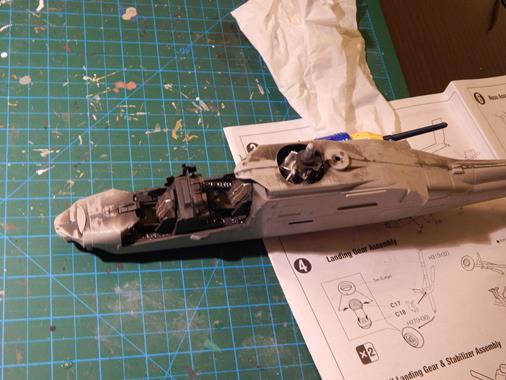
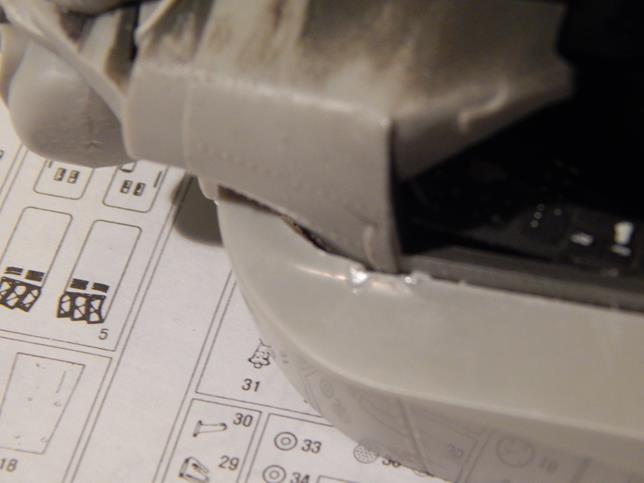
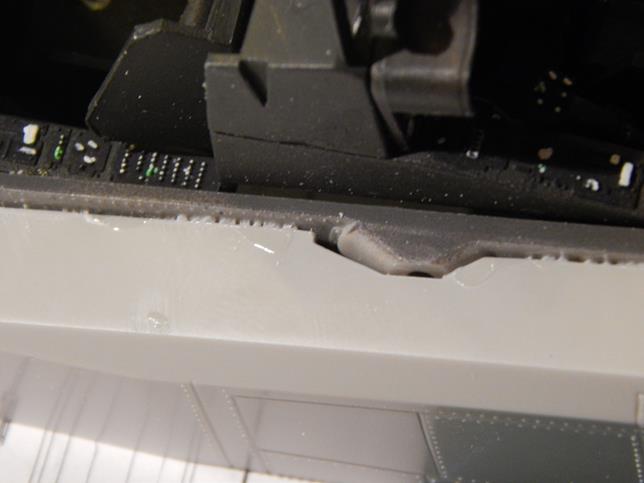
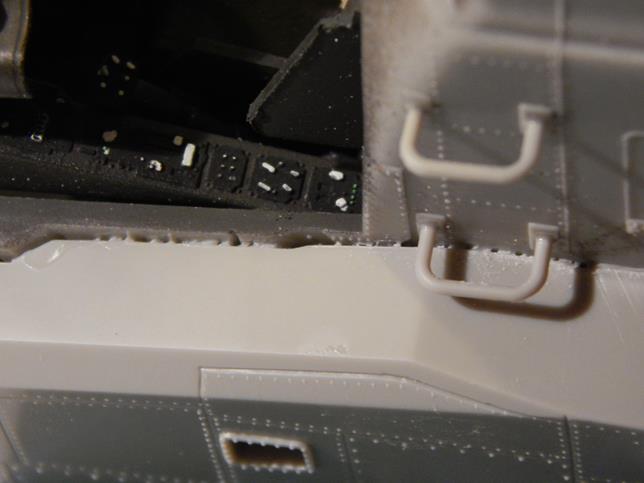
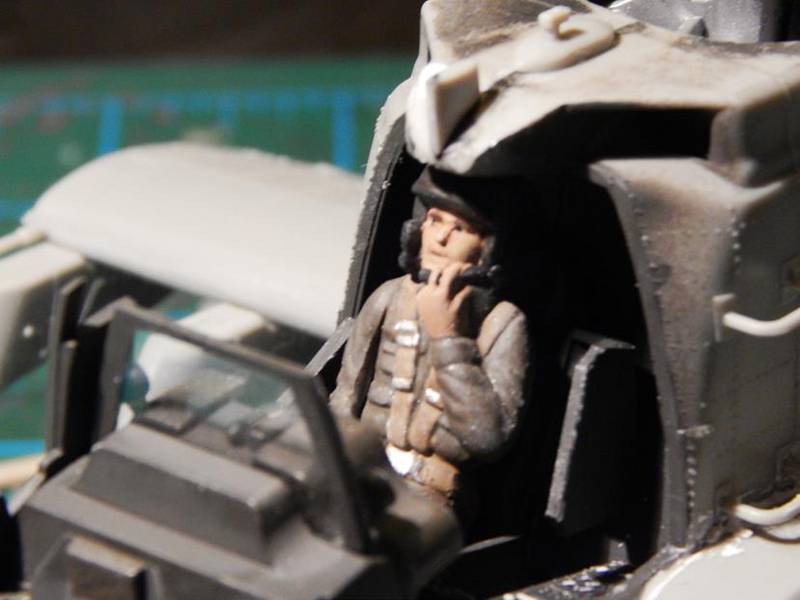
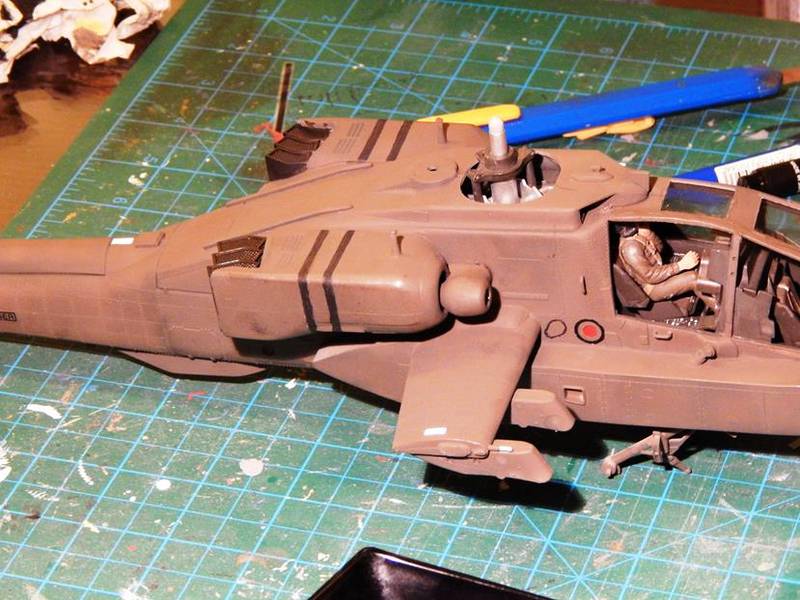
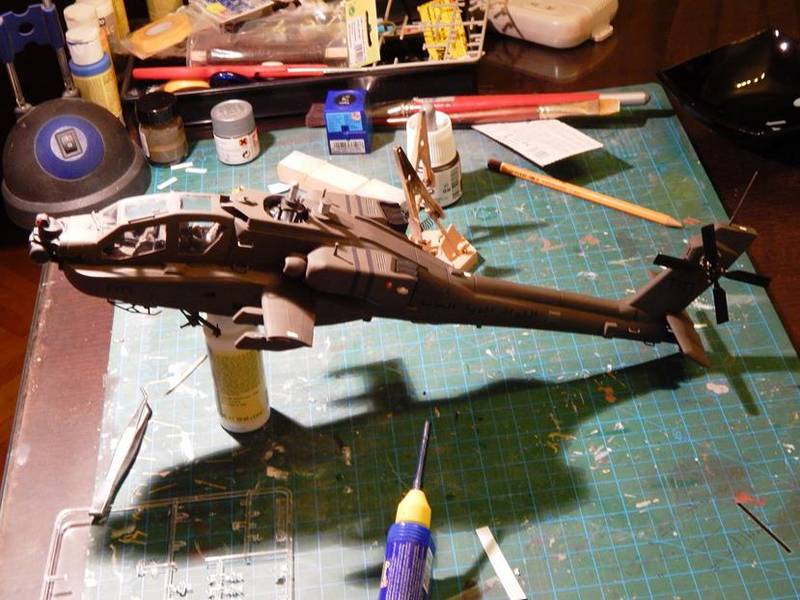
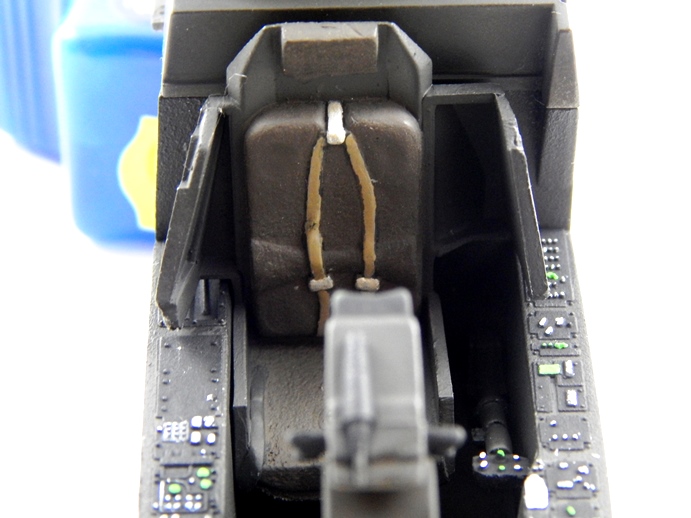
and this is the almost completed cockpit:


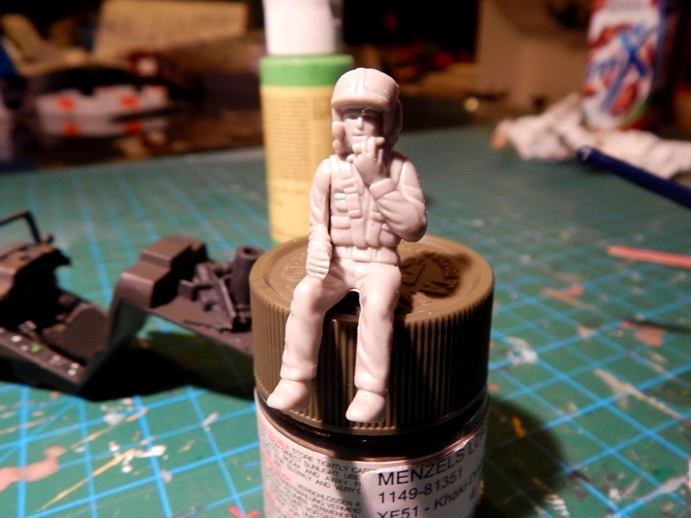
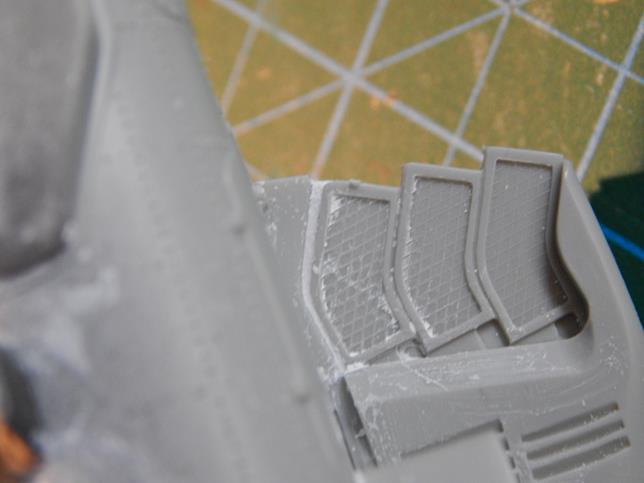
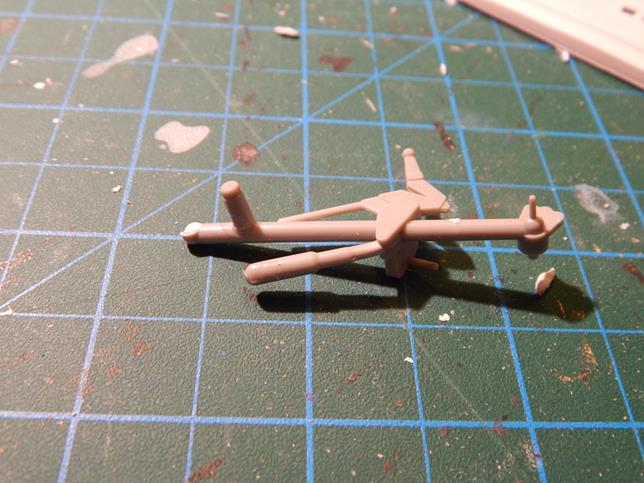
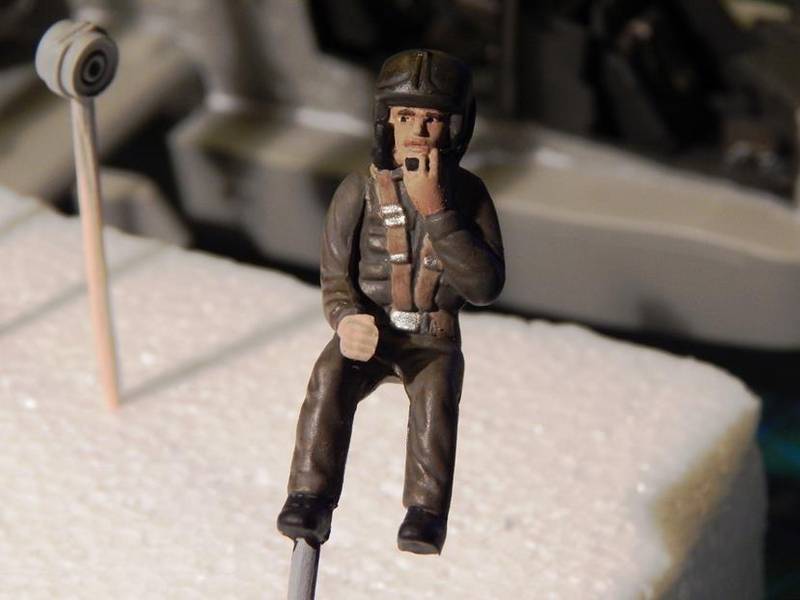
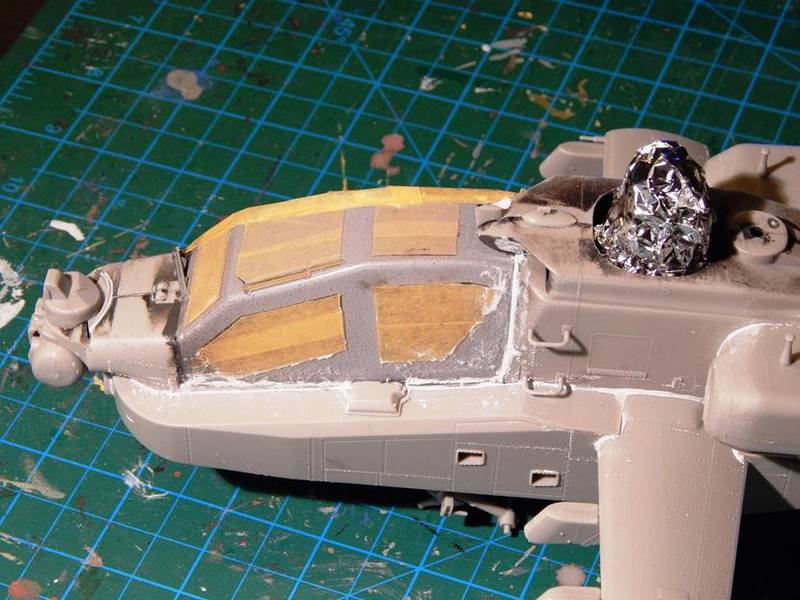
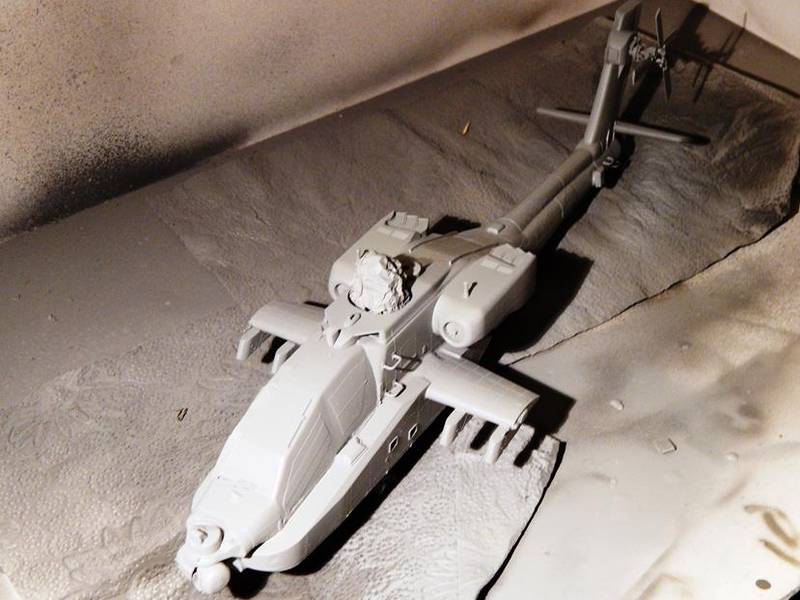
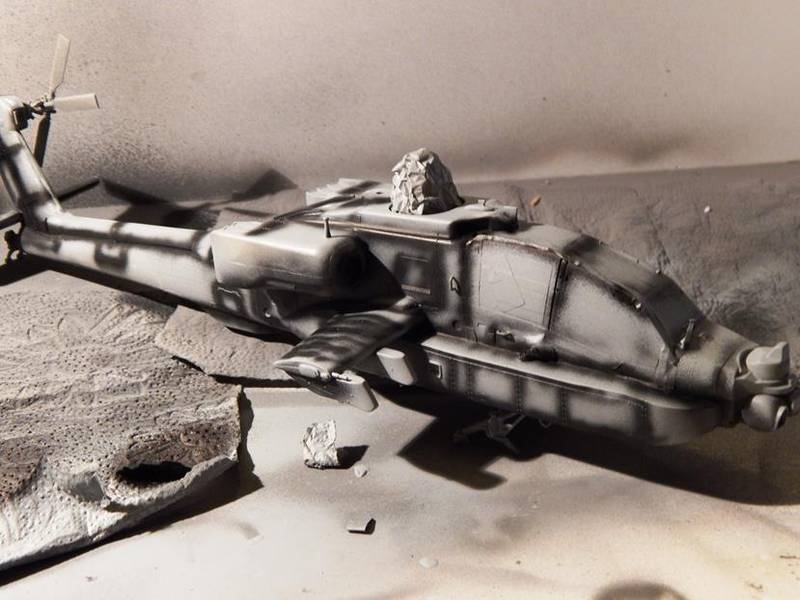
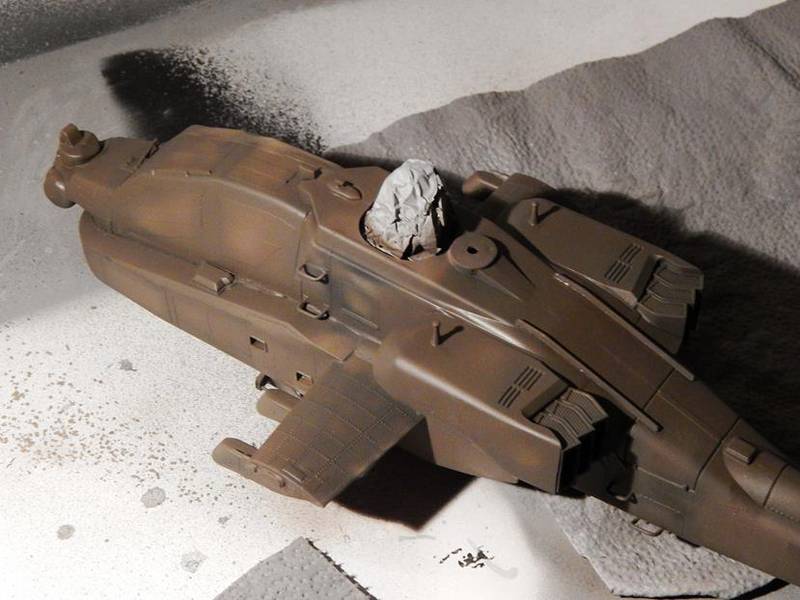
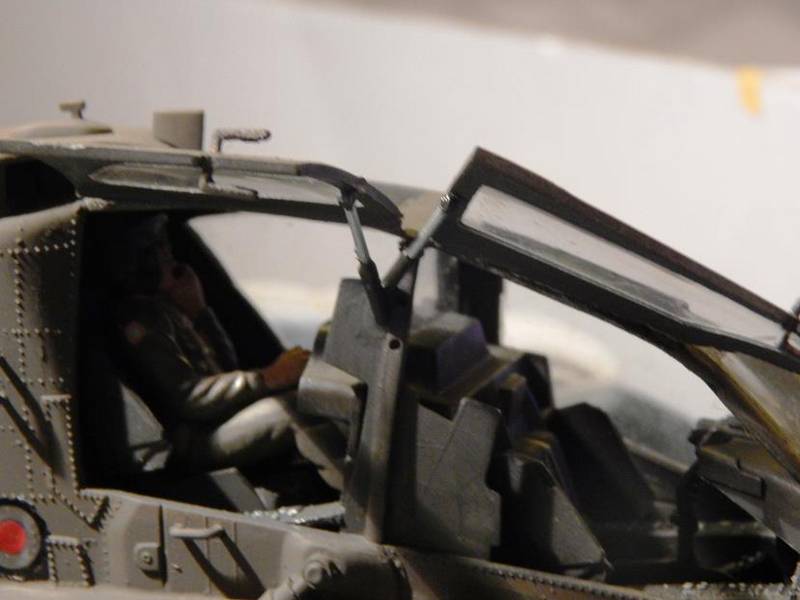
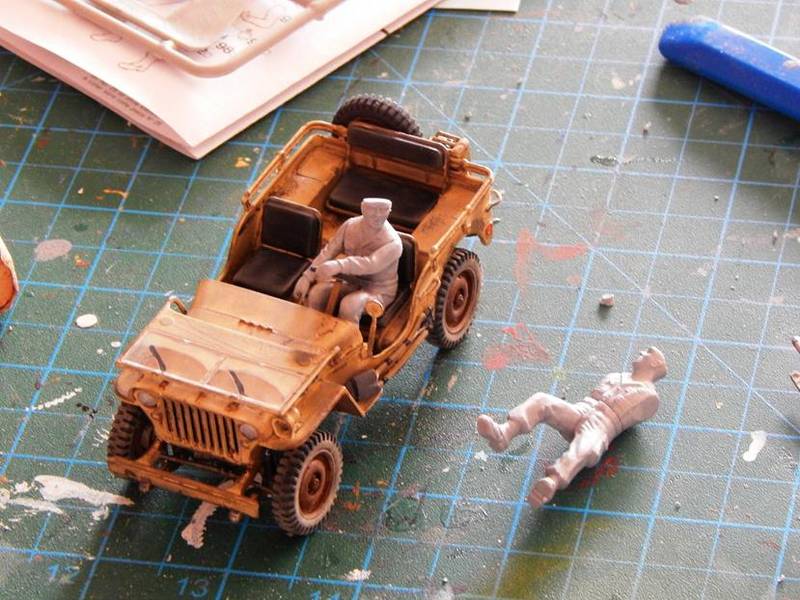
Now I have to get to the pilot figures that came with the kit, there are two pilots but I will use only one of them. in reality the figures that came with the kit are really bad quality, low details, lots of flash and seems and holes.
They will need some fixing I assembled one of them but I will start on that next week

helkaissy
_VISITCOMMUNITY
Al Qahirah, Egypt / لعربية
Joined: October 06, 2013
KitMaker: 244 posts
AeroScale: 37 posts
Posted: Saturday, January 11, 2014 - 08:04 AM UTC
Hey guys,
Does anyone know of good 1/35 figures for some Ground Crew personnel that can be included around this Apache?
HeavyArty
_VISITCOMMUNITY
Florida, United States
Joined: May 16, 2002
KitMaker: 17,694 posts
AeroScale: 1,728 posts
Posted: Saturday, January 11, 2014 - 08:41 AM UTC
Looks like you are off to a good start.

As I stated in the helo pilots post, nope, no specific helo ground crew figures. Just about any figure can be used though. See the helo crew post for more info.

One issue is the green in the cockpit. It is OK for the instruments if you are going to have it running with the pilots onboard. The switches do not light up green though. They should be all grey. Also, the instruments look way too green and blobby to me. I would either get some instrument decals and overcoat them with clear green, or faintly paint the details on the instruments with white paint and then again overcoat with clear green.

Also of note, the kit is not that accurate. It has quite a few issues. If you are looking for accuracy, it isn't there. The cockpit is an AH-64A cockpit, not a D "Longbow" model. The side sponsons are incorrect for a production D and not really that close to the test model ones either. The biggest issue if you are going to have it on the ground is the struts for the main landing gear are way too long. It will not sit right on the ground. The nose will be way high in the air. The struts need to be lowered about an inch to fix the problem. The fuselage should sit almost level to the ground with only a slight tail down attitude.


helkaissy
_VISITCOMMUNITY
Al Qahirah, Egypt / لعربية
Joined: October 06, 2013
KitMaker: 244 posts
AeroScale: 37 posts
Posted: Saturday, January 11, 2014 - 09:36 AM UTC
Thanks Gino
Just to make sure I get that right, I should change all the green from the side panels to grey and keep the green in the front panels only.
About the green color, I think it is in reality not that flashy but maybe because I autocorrected these photos on PC, I will bring it down a bit.
Also great advice regarding the leveling issues of the kit, have you built it before? I will make adjustments to the landing gear until it levels right, do you have any photos of this adjustment. Great advice and heads up
Yes it seems like a rather problematic kit and I also can add the worst instructions I have ever seen, but I was the only one I could find in 1/35 scale for my diorama.
HeavyArty
_VISITCOMMUNITY
Florida, United States
Joined: May 16, 2002
KitMaker: 17,694 posts
AeroScale: 1,728 posts
Posted: Saturday, January 11, 2014 - 09:56 AM UTC
You are correct. The green should only be on the screens of the instrument panel. If you notice below, only the square MFD (Multi-Function Displays) have the green. They are basically tv/cmputer screens.


Also not that the model's instrument panel is nowhere near the same as the one pictured. The model still has an A model cockpit.

AH-64A cockpit.


I got one a while ago and gave up on it before starting since it had so many issues. I sold it. It is the only 1/35 Apache, but, there is a 1/32 Revell AH-64A model that is really nice. There are a couple upgrade sets for it by Verlinden and Cobra Company as well as a couple PE sets for it too. I have one I did a long time ago before the upgrades were available. I may get another and go all out on it.

Also noticed that you missed a couple sprue plugs on the rear instrument panel. The circles that are sticking up on either side of the top should not be there.
helkaissy
_VISITCOMMUNITY
Al Qahirah, Egypt / لعربية
Joined: October 06, 2013
KitMaker: 244 posts
AeroScale: 37 posts
Posted: Monday, January 27, 2014 - 10:15 PM UTC
Good Morning
Here is some progress on the 1/35 Apache kit last weekend:
Painting the rotor engine part attached to the cockpit:

Assembling the main rotor:


Priming the rotor:

Green Airbrushing the center of the rotor:

Black Airbrushing the blades:


Detailing the rotor center:


Curving the rotor to create the static weight effect:

Painting the inside of the main body by dark green, (just in case part of it will show from inside the kit:

Assembling the main body halves together was a really tough job especially without clamps, whenever you close one end the other opens it took many trial until it finally fit right:


Assembling the rear rotor:


Doing some sanding to remove the seems:


Fixed steps on the body:


Assembling the wheels, a friend also suggested the idea to make a cut in the tires rubber to simulate the weight effect of the apache on its wheels:


Adding the front equipment:

I used white clay to cover some of the open seems that needed filling:


Finally I have a question, I started assembling the side rocket racks of the apache and there is one on each wing carrying 4 rockets so a total of 8 rockets all together. But I am surprised to find in the kit two complete sets of rocket racks with another 8 rockets, do you think that was included as extra spare or is there a certain configuration in which the apache can carry 16 large rockets? on the photo cover of the kit it is carrying the 8 rockets normally!
Konigwolf
_VISITCOMMUNITY
Tasmania, Australia
Joined: November 06, 2009
KitMaker: 368 posts
AeroScale: 27 posts
Posted: Monday, January 27, 2014 - 10:45 PM UTC
While I have seen pics with load outs of 16 Hellfire missiles the more normal loadout is 8 Hellfire and 2 rocket pods.
helkaissy
_VISITCOMMUNITY
Al Qahirah, Egypt / لعربية
Joined: October 06, 2013
KitMaker: 244 posts
AeroScale: 37 posts
Posted: Tuesday, January 28, 2014 - 01:29 AM UTC
Thanks Andrew
so that is why they probably include the 16 rockets as an option
helkaissy
_VISITCOMMUNITY
Al Qahirah, Egypt / لعربية
Joined: October 06, 2013
KitMaker: 244 posts
AeroScale: 37 posts
Posted: Thursday, January 30, 2014 - 06:51 AM UTC
Hi everyone
Due to the nature of the diorama i have decided to make the kit in Desert Camouflage colors instead of dark green color.
As i found out that this is the color used in Egypt for units in Sinai area where my diorama goes on, i looked for some photos showing this type of camouflage but i only found very few. I am still missing photos showing how the apache components are colored in this scheme, i.e. the missile launchers, the hellfire missiles, the top of the main rotor seems to have some markings and finally the rear rotor and landing gear.
Any one can send me any photos of apache ah64 with desert scheme from differentangles i would appreciate very much your help

Thanks

Hussein
HeavyArty
_VISITCOMMUNITY
Florida, United States
Joined: May 16, 2002
KitMaker: 17,694 posts
AeroScale: 1,728 posts
Posted: Thursday, January 30, 2014 - 01:41 PM UTC
The only desert camo Apache I have seen is the Israeli ones.


From all I can tell, Egyptian ones are painted the same as US ones, Helo Drab Green with Egyptian flags on the engine cowlings.


helkaissy
_VISITCOMMUNITY
Al Qahirah, Egypt / لعربية
Joined: October 06, 2013
KitMaker: 244 posts
AeroScale: 37 posts
Posted: Thursday, January 30, 2014 - 10:26 PM UTC
Hi Gino
I saw this in the news today

But I cannot find a single reference to it, so I guess I will go with the Helo Drape green as I am not sure of the details of the other one in Egypt
Thanks
Hussein
HeavyArty
_VISITCOMMUNITY
Florida, United States
Joined: May 16, 2002
KitMaker: 17,694 posts
AeroScale: 1,728 posts
Posted: Friday, January 31, 2014 - 01:42 AM UTC
The picture you have posted is of an Egyptian Mi-8 Hip, not an AH-64.

Mi-8 Hip


The pictured version has a squared-off fuselage rear to accommodate the rear ramp conversion, as pictured below.


helkaissy
_VISITCOMMUNITY
Al Qahirah, Egypt / لعربية
Joined: October 06, 2013
KitMaker: 244 posts
AeroScale: 37 posts
Posted: Friday, January 31, 2014 - 03:24 AM UTC
Thanks Gino
Seems you're right, I'm back to the green drape color which is actually easier to do.
This IMEX kit is sooooooo full of errors, I keep getting into misfits and gaps and even parts that dont fit and the instructions are missing many parts too.
But I won't give up till it done
helkaissy
_VISITCOMMUNITY
Al Qahirah, Egypt / لعربية
Joined: October 06, 2013
KitMaker: 244 posts
AeroScale: 37 posts
Posted: Friday, January 31, 2014 - 04:34 AM UTC
Gino,

I tried to reduce the landing gear by 1.3 cm due to the length error in the kit you mentioned
This is how it looks:


Is that ok for height or needs to be reduced more?
helkaissy
_VISITCOMMUNITY
Al Qahirah, Egypt / لعربية
Joined: October 06, 2013
KitMaker: 244 posts
AeroScale: 37 posts
Posted: Friday, January 31, 2014 - 04:49 AM UTC
I will answer myself here, lol, I think its still too high
I dont think its only a matter of height but also a matter of angle, the angle is too wide and needs to be drawn closer to the body to match the reality images above.
I will rework it and post
helkaissy
_VISITCOMMUNITY
Al Qahirah, Egypt / لعربية
Joined: October 06, 2013
KitMaker: 244 posts
AeroScale: 37 posts
Posted: Friday, January 31, 2014 - 05:26 AM UTC
Here is the modification:

Hope I didn't overdo it, and I hope the machine gun will not drop to the ground
HeavyArty
_VISITCOMMUNITY
Florida, United States
Joined: May 16, 2002
KitMaker: 17,694 posts
AeroScale: 1,728 posts
Posted: Friday, January 31, 2014 - 10:15 AM UTC
That looks much better. You still should have plenty of room for the gun. Good job.
helkaissy
_VISITCOMMUNITY
Al Qahirah, Egypt / لعربية
Joined: October 06, 2013
KitMaker: 244 posts
AeroScale: 37 posts
Posted: Thursday, February 06, 2014 - 05:18 AM UTC
Hello Everyone
Here are some more updates, this phase of the build was very stressful as a lot of gaps and miss-fits came out during assembly. and a lot of missing instructions so I had to guess where parts went using pictures from the internet.

Making the rocket launchers, used white paste to fill some gaps:


More assembly of body parts:


Look at all these gaps coming out!!!


Back to the white paste and some sanding:


The workspace is a mess

More gaps appear:


I'm still on it


I had a little misshap with the cockpit shield, I wanted the cockpit hatches (doors) open as part of the diorama and since the shield came as one clear piece I had to cut it and in the process the edges got broken off. So I had to replace the edge with some white paste. I think I saved it after the paint it won't show:


According to Gino's advice this kit has the landing gear much longer than reality and it had to be shortened. I cut the edges that attach to the body and relocated them lower and I also changed the landing gear angle to lower the body under the weight of the standing Apache:


Some more assemblies:


Next Stage ---> to the painting booth, back into paint mode (my favorite)
helkaissy
_VISITCOMMUNITY
Al Qahirah, Egypt / لعربية
Joined: October 06, 2013
KitMaker: 244 posts
AeroScale: 37 posts
Posted: Thursday, February 06, 2014 - 06:20 AM UTC
Hey Gino
I wanted to ask do you think i should paint those rubber tires or leave them as they are?
Thanks
Hussein
HeavyArty
_VISITCOMMUNITY
Florida, United States
Joined: May 16, 2002
KitMaker: 17,694 posts
AeroScale: 1,728 posts
Posted: Friday, February 07, 2014 - 04:39 AM UTC
I would leave them as rubber doesn't take paint well. You can rub them down with some steel wool to take the shine off them though.
norbertJ
_VISITCOMMUNITY
Loire, France
Joined: May 29, 2008
KitMaker: 219 posts
AeroScale: 50 posts
Posted: Friday, February 07, 2014 - 07:49 AM UTC
Hi Hussein

excellent work on this kit, first time I see somebody doing it.

Norbert
helkaissy
_VISITCOMMUNITY
Al Qahirah, Egypt / لعربية
Joined: October 06, 2013
KitMaker: 244 posts
AeroScale: 37 posts
Posted: Thursday, June 12, 2014 - 07:35 AM UTC
Hi Everyone, it has been a long while since I posted on this build, this was honestly the hardest diorama I've ever made and has taken the longest time, but I enjoyed every bit of it
I have also made my first diorama base from scratch and I hope the result went well.
Let me know what you think and if there are any modifications that could be made to it I learned a lot building this one!
If you want to watch the youtube video you'll find it here:
https://www.youtube.com/watch?v=iJjPWS18rTQ
HERE ARE MORE BUILDING STEPS:
The Painted pilot


Priming and Paining the Body


Painting the Hellfire missiles


Creating Lettering and Numbering


The rocket launcher


The Front radar & Sighting device

I cut the tires to create the weight effect for the statice helicopter

Creating the open latches and hydraulic system


I used coffee wood sticks to create crates and ladder


The Jeep and Trailer Kit


The Chassis

The Engine


The Battery

The engine


The Dashboard


The kit figures


CREATING THE DIORAMA BASE


The Briefing map is inkjet printed


AND THIS IS THE FINISHED DIORAMA


helkaissy
_VISITCOMMUNITY
Al Qahirah, Egypt / لعربية
Joined: October 06, 2013
KitMaker: 244 posts
AeroScale: 37 posts
Posted: Friday, June 13, 2014 - 01:02 AM UTC
helkaissy
_VISITCOMMUNITY
Al Qahirah, Egypt / لعربية
Joined: October 06, 2013
KitMaker: 244 posts
AeroScale: 37 posts
Posted: Monday, June 16, 2014 - 04:51 AM UTC
I have heard that there are certain details that should be added to an Apache in parking position, there are some cables and grounding equipment
Can someone help me with some reference photos ans information about this.
 _GOTOTOP