_GOTOBOTTOM
Cold War (1950-1974)
Discuss the aircraft modeling subjects during the Cold War period.
Hosted by Tim Hatton
1/48 SR-71 Blackbird
nimrod77
_VISITCOMMUNITY
Australia
Joined: January 18, 2012
KitMaker: 42 posts
AeroScale: 41 posts
Posted: Thursday, February 13, 2014 - 11:55 PM UTC
Hi all,
Here's my latest project. The infamous Testors 1/48 SR-71.


Ive started out with the TD cockpit and I am finding that the side walls don't really fit the tubs very well. They tend to hold it out of position. I have done a bit of work on the front walls to get them to fit in and look similar to the real deal. More work to come as you can see.


The real deal..


The RSO's cockpit is worse for fit....


nimrod77
_VISITCOMMUNITY
Australia
Joined: January 18, 2012
KitMaker: 42 posts
AeroScale: 41 posts
Posted: Thursday, February 13, 2014 - 11:56 PM UTC
I have modified the RSO's IP to more accurately represent what the real deal looks like. Not 100% but better IMHO.


Like this one... kinda
http://www.sr-71.org/photogallery/blackbird/simulator/index.php?img=sr-71simulator-12.jpg

I have also chopped the sidewalls down on both cockpits to make the IP's and tubs fit in better.


The RSO's cockpit tub has had a bulkhead added to get the revised IP to fit better. The whole cockpit tub has tilted down at the front to give better clearance. It takes the pressure off the IP to hold the entire assembly in place, putting it back on the tub instead.
nimrod77
_VISITCOMMUNITY
Australia
Joined: January 18, 2012
KitMaker: 42 posts
AeroScale: 41 posts
Posted: Thursday, February 13, 2014 - 11:57 PM UTC
I have scratched up a new Nose wheel well as the kit one was WAAAYYYYY to shallow.


Thanks to archybean for the help on the wheel well dimensions and pics

nimrod77
_VISITCOMMUNITY
Australia
Joined: January 18, 2012
KitMaker: 42 posts
AeroScale: 41 posts
Posted: Thursday, February 13, 2014 - 11:58 PM UTC
I added some shiming around the back of the Pilots cockpit tub to make the fit better and added a bulkhead at the front, as I did with the RSO's cockpit. This helps with the fit of the side walls and IP. I also added a little wiring to avionics boxes in there />


I also decided that the True Details side walls were no good. So I had a go at making my own. The Vertical plasticard is there to cover a hole that appeared when I added the front bulkhead. It also has the added bonus of strengthening the front fuselage..


I also found that the IP's centre console didn't line up with the tubs centre, so I have cut it off in preparation...

nimrod77
_VISITCOMMUNITY
Australia
Joined: January 18, 2012
KitMaker: 42 posts
AeroScale: 41 posts
Posted: Thursday, February 13, 2014 - 11:59 PM UTC
Here's the Nose wheel well finished...


And I've fitted it up onto the lower forward fuselage..


nimrod77
_VISITCOMMUNITY
Australia
Joined: January 18, 2012
KitMaker: 42 posts
AeroScale: 41 posts
Posted: Friday, February 14, 2014 - 12:04 AM UTC

The cockpit has been detail painted. I did add a landing gear control handle, and a yellow and black handle in the upper left corner of the fwd cockpit too...


Aft cockpit..


nimrod77
_VISITCOMMUNITY
Australia
Joined: January 18, 2012
KitMaker: 42 posts
AeroScale: 41 posts
Posted: Friday, February 14, 2014 - 12:06 AM UTC
I've fitted the ducktail to the back of the fuselage and added some plasticard for strengh...


I have been playing with the CE Exhausts that I was GIVEN (!). I've thined down the edge near the blow in doors of the tail feathers as instructed by the .. ummm... instructions />


And dry fitted the assembly together..


Much better than the kit!!


nimrod77
_VISITCOMMUNITY
Australia
Joined: January 18, 2012
KitMaker: 42 posts
AeroScale: 41 posts
Posted: Friday, February 14, 2014 - 12:06 AM UTC
After my discussion with those in the know about Sleds, I have decided to move the camera bay positions on the belly. The "Q-bay" and "P-Bay" windows for the for the TEOC camera's were incorrectly positioned on the kit, so a little plasticard filler and some stitch drilling and my Sled has two new TEOC windows />.


nimrod77
_VISITCOMMUNITY
Australia
Joined: January 18, 2012
KitMaker: 42 posts
AeroScale: 41 posts
Posted: Friday, February 14, 2014 - 12:07 AM UTC
I painted the insides of my CE Burner cans. The base colour is Radome tan lightened with a few drops of white.


Then the scorched areas were painted using a combination of Aircraft interior black and Tamiya smoke.


The "Bluing" that is common on jet engines was done using Russian interior blue/green.


Then the whole thing was washed in Paynes grey water colour paints.

The Flame holders at the back were covered in Citadel "Babab black" wash. Then once it was 80% dry I wiped off the wash over the flame holder. The edge where the fan duct should be was painted with Aircraft interior black too.


I am pretty happy with the whole look.

nimrod77
_VISITCOMMUNITY
Australia
Joined: January 18, 2012
KitMaker: 42 posts
AeroScale: 41 posts
Posted: Friday, February 14, 2014 - 12:08 AM UTC
I have been putting in many hours into the engine nacelles/Outer wings. The HORROR...THE HORROR...

They have been totaly rescribed, and all the sink marks (and there were ALOT) were filled with cyano and sanded smooth. The massive gaps around the edges were filled with Evergreen and cyano, then the whole lot sanded.


The panel lines have been....enhanced. I won't say corrected as I can't find good references for the panel lines for the black bird. I do think that they are a lot better now however.


The CE Exhausts needed a lot of convincing to get them to fit... Still not finished with these yet. I'll make sure the transition is between the kit parts and the CE parts are as good as possible.

nimrod77
_VISITCOMMUNITY
Australia
Joined: January 18, 2012
KitMaker: 42 posts
AeroScale: 41 posts
Posted: Friday, February 14, 2014 - 12:10 AM UTC
And finally this time, I decided that the IFR receptical on the kit was pure fiction. I used this pic for inspiration and guesstimating the size and shape of the real deal.


Here is the version that I scratched from Evergreen.


Here it is temp fitted to make sure everything will fit before I commit to gluing it in permanently.


More pics to come once it's all sorted />
nimrod77
_VISITCOMMUNITY
Australia
Joined: January 18, 2012
KitMaker: 42 posts
AeroScale: 41 posts
Posted: Friday, February 14, 2014 - 12:17 AM UTC
I have started building new main wheel wells. I cut out the old and scratched up some new ones from 1mm card stock. You can see the remnants of the original wheel wells with the new parts here.


The roof is 1mm thick, 1mm pitch corrugated evergreen to emulate the ribs on the roof of the real thing.


I did end up removing every second raised rib on the inboard parts to try and match the real thing too.
nimrod77
_VISITCOMMUNITY
Australia
Joined: January 18, 2012
KitMaker: 42 posts
AeroScale: 41 posts
Posted: Friday, February 14, 2014 - 12:18 AM UTC
I've started to drop the flight controls too so as to give this big bird some look of life. I have discovered that the two IB flaperons are not symmetrical unfortunately.... which has resulted in alot of extra work to bring them back to some semblance of symmetry.


nimrod77
_VISITCOMMUNITY
Australia
Joined: January 18, 2012
KitMaker: 42 posts
AeroScale: 41 posts
Posted: Friday, February 14, 2014 - 12:19 AM UTC

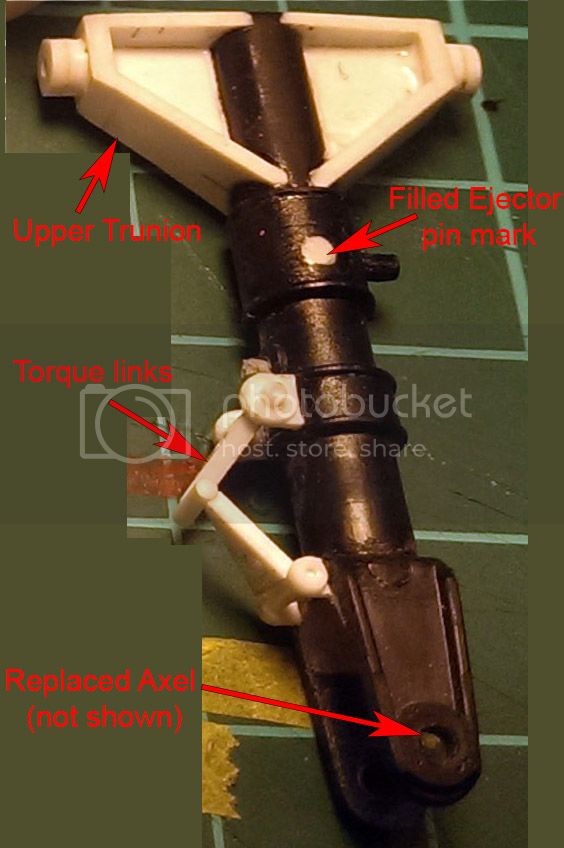
I have rebuilt the main gear as they were pretty malnourished. I rebuilt the upper trunnion, filled the ejector pin marks with discs of punched styrene, rebuilt the torque links and replaced the axel with brass rod to make fitment of the wheels easier along with stronger.


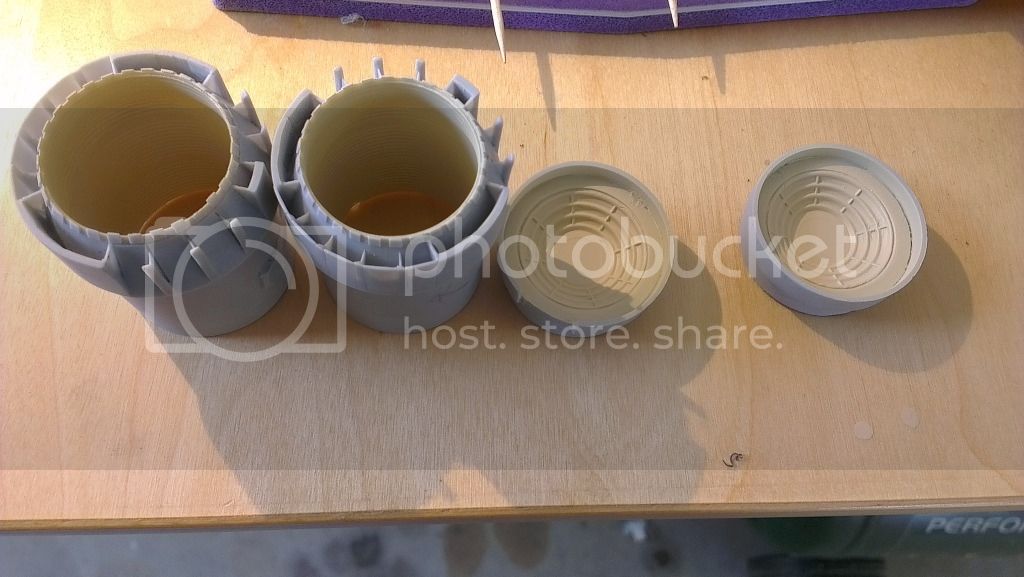
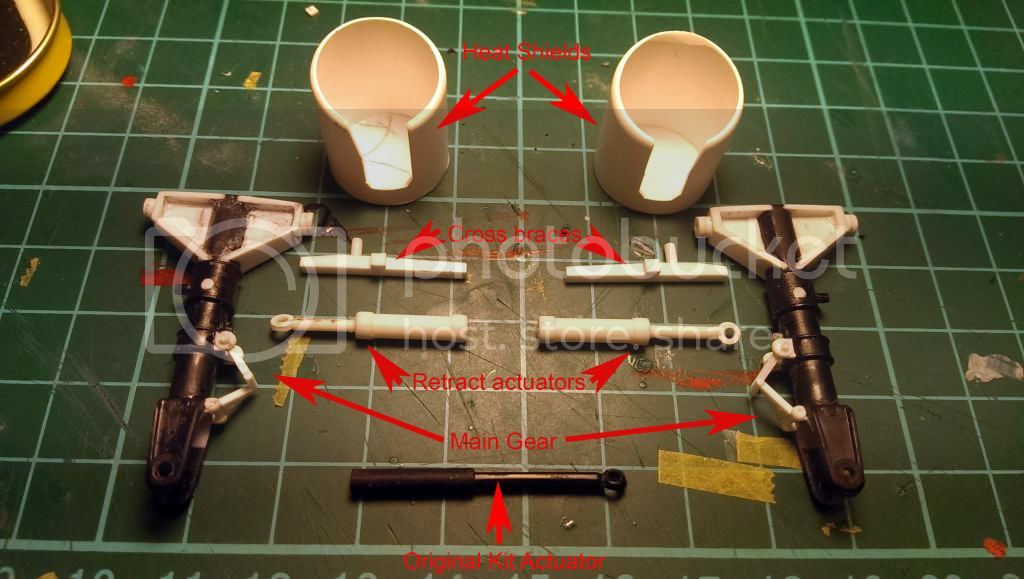
This is all the parts I have built so far for the undercarriage.


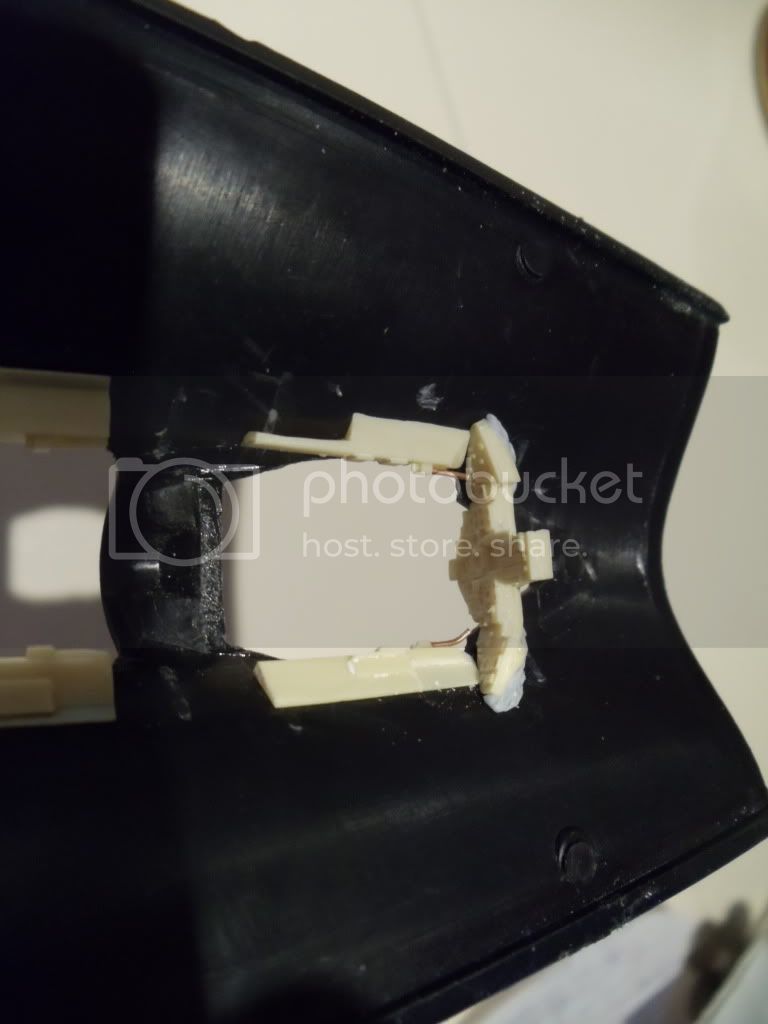
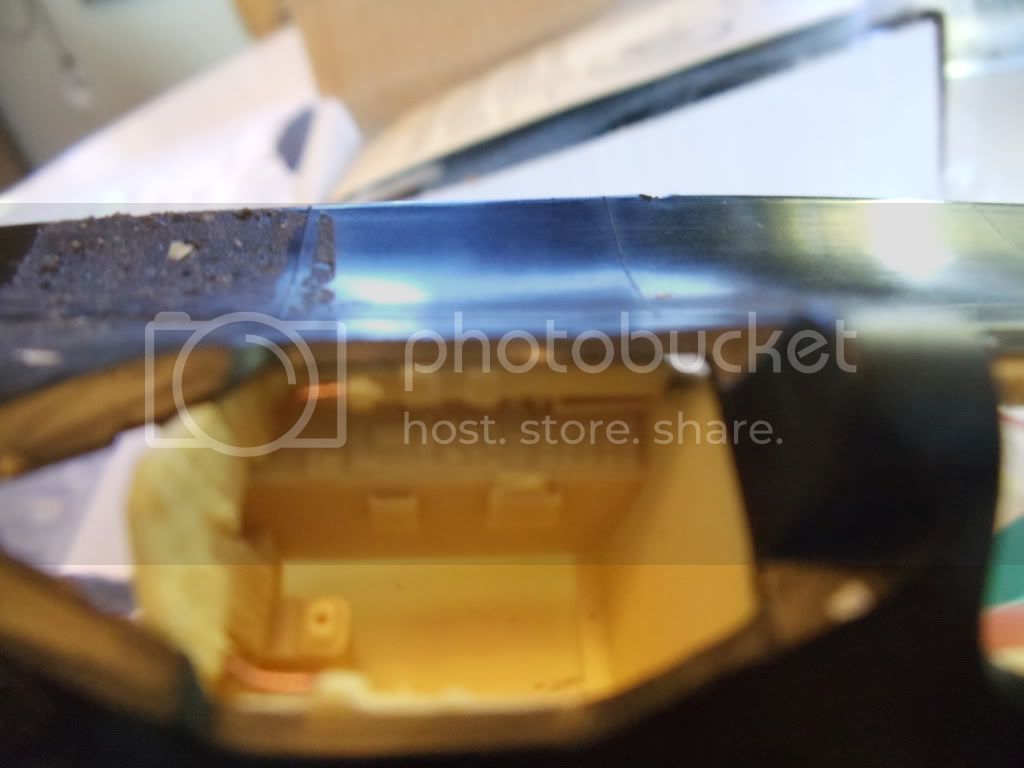
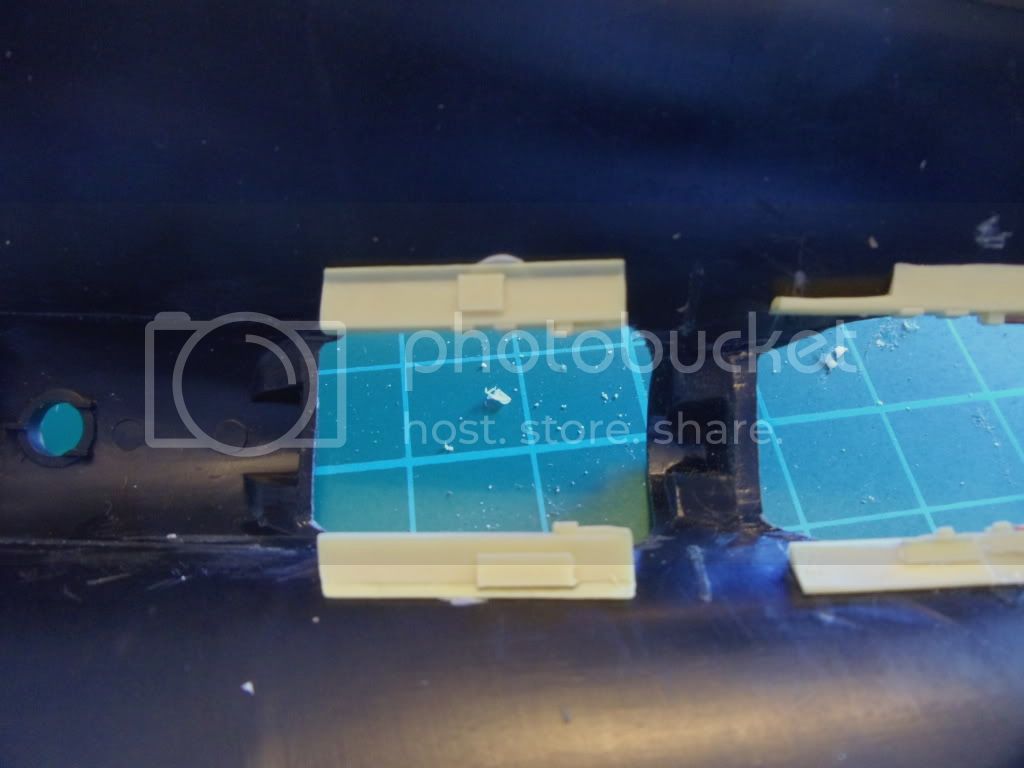
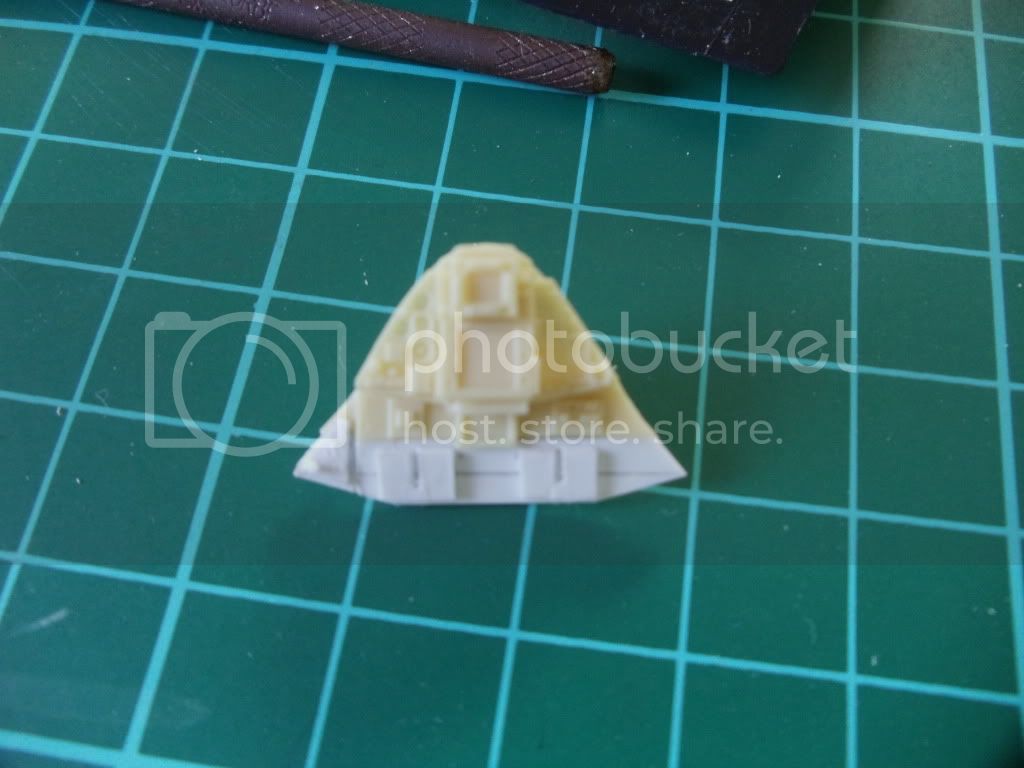
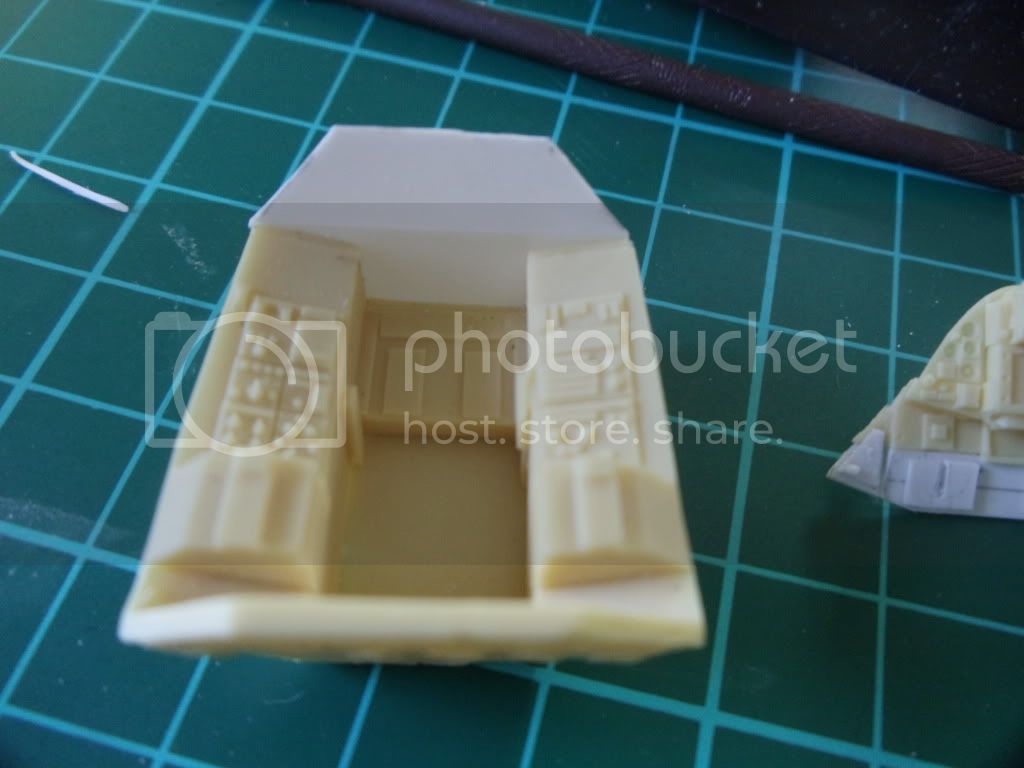
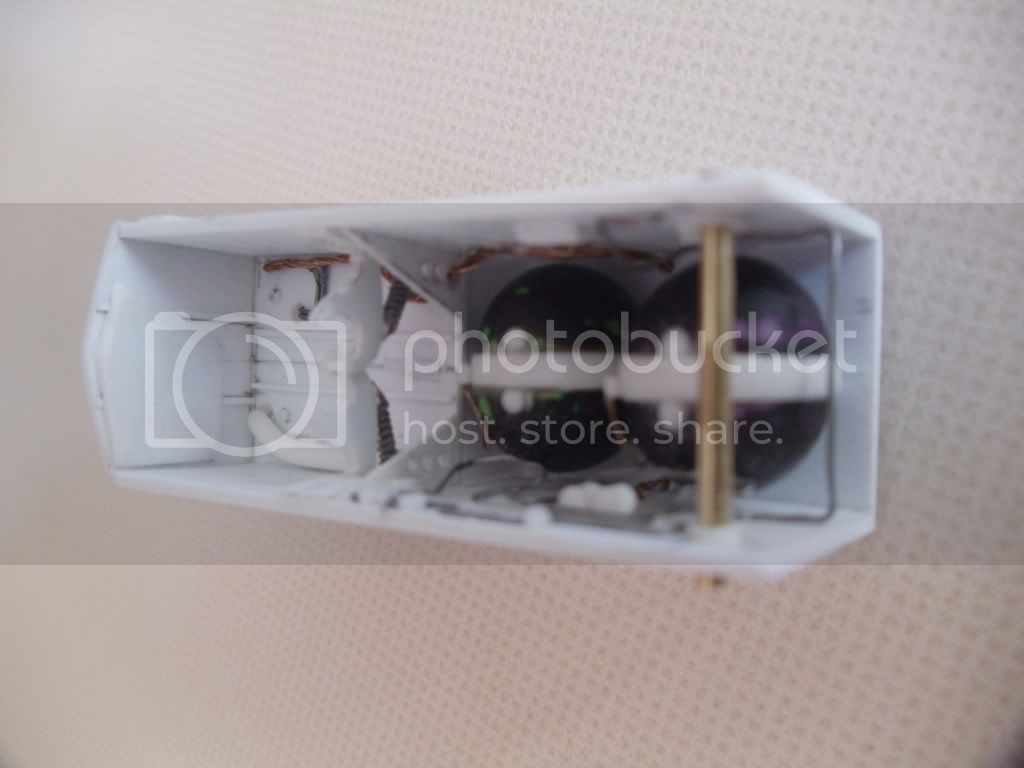
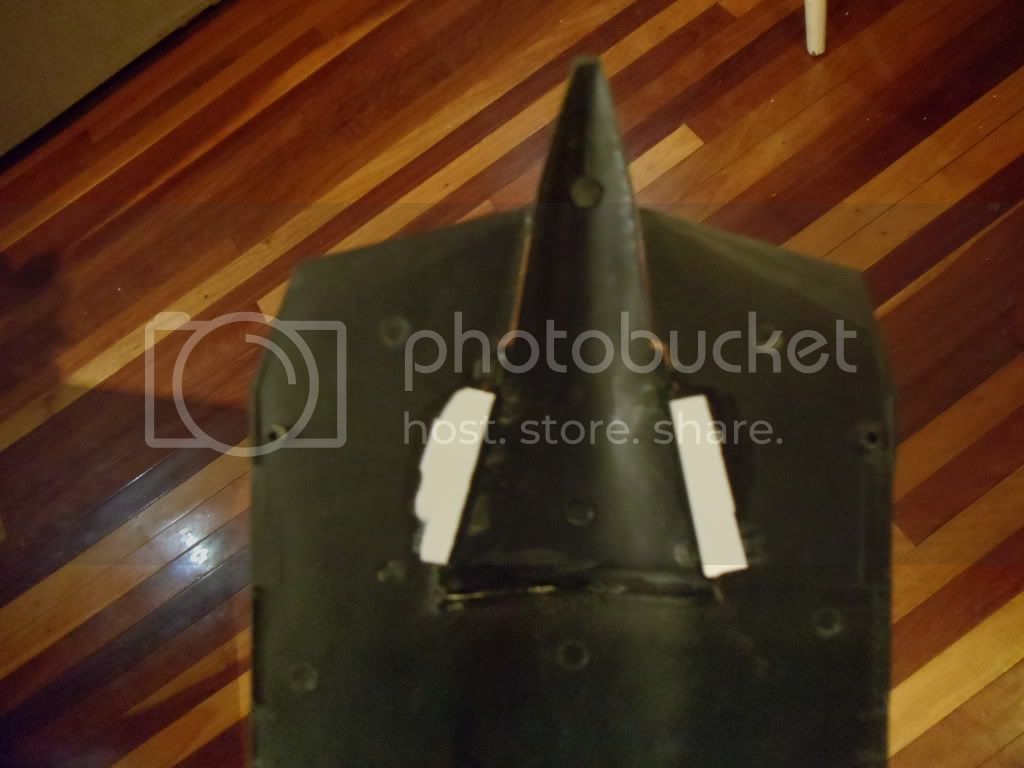
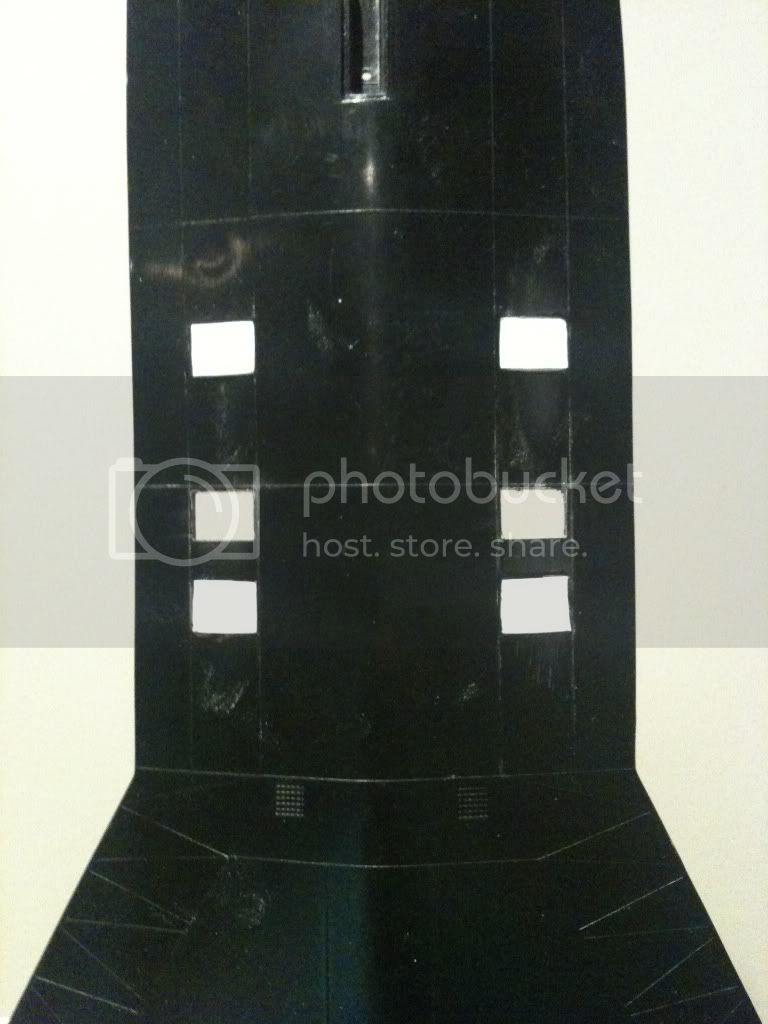
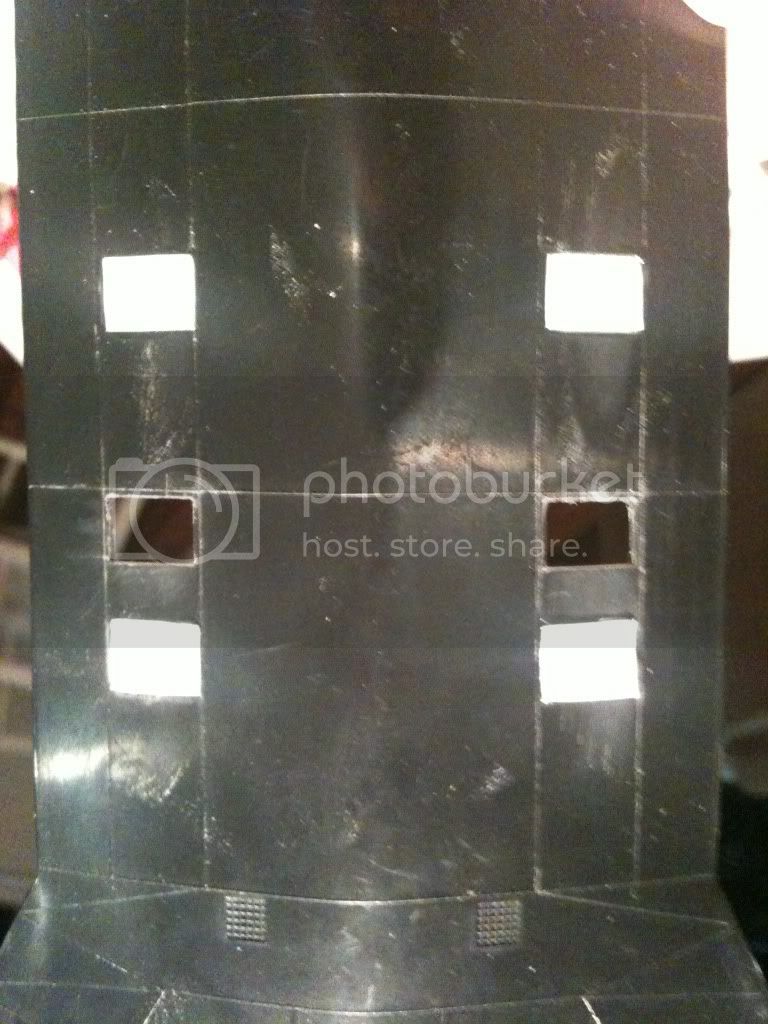
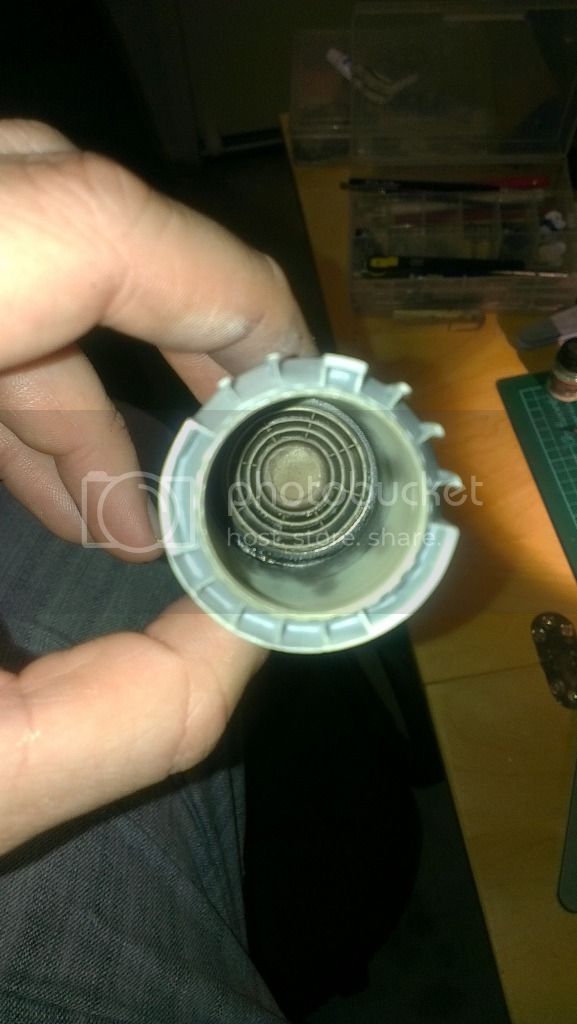
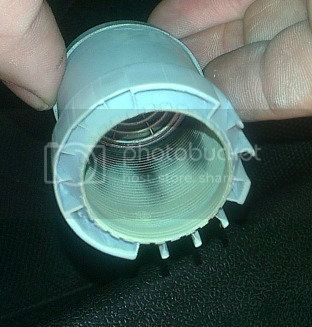
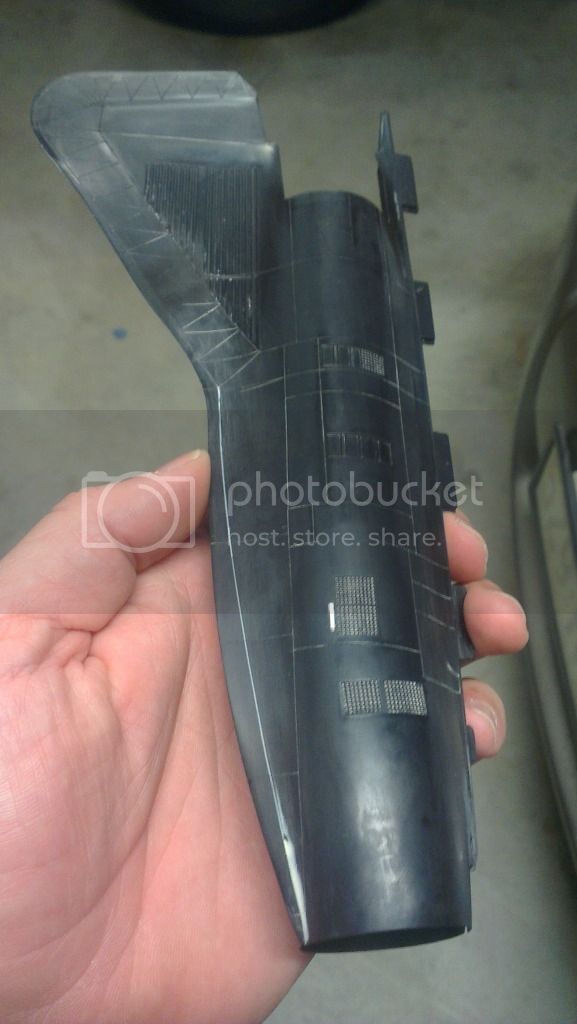
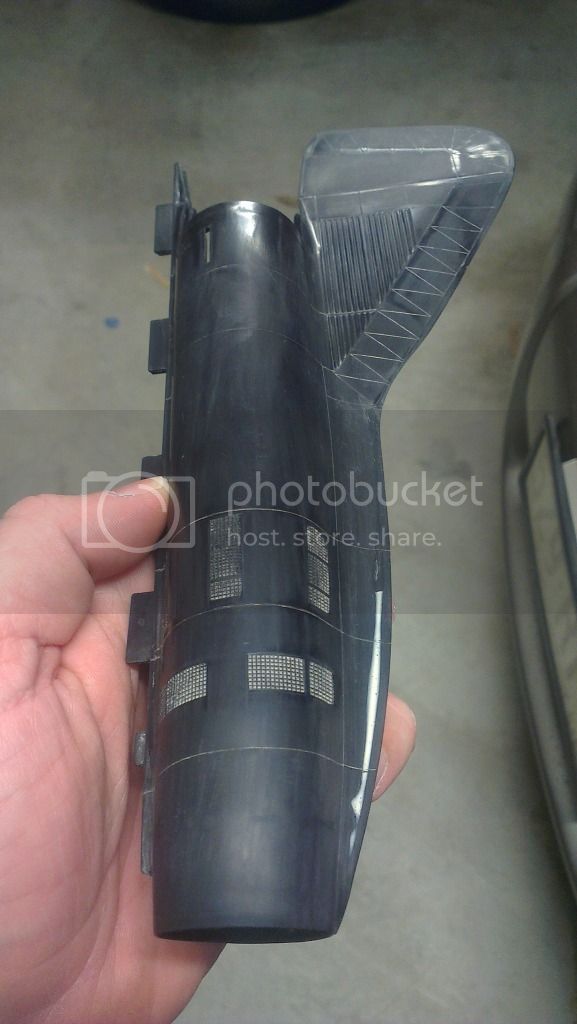
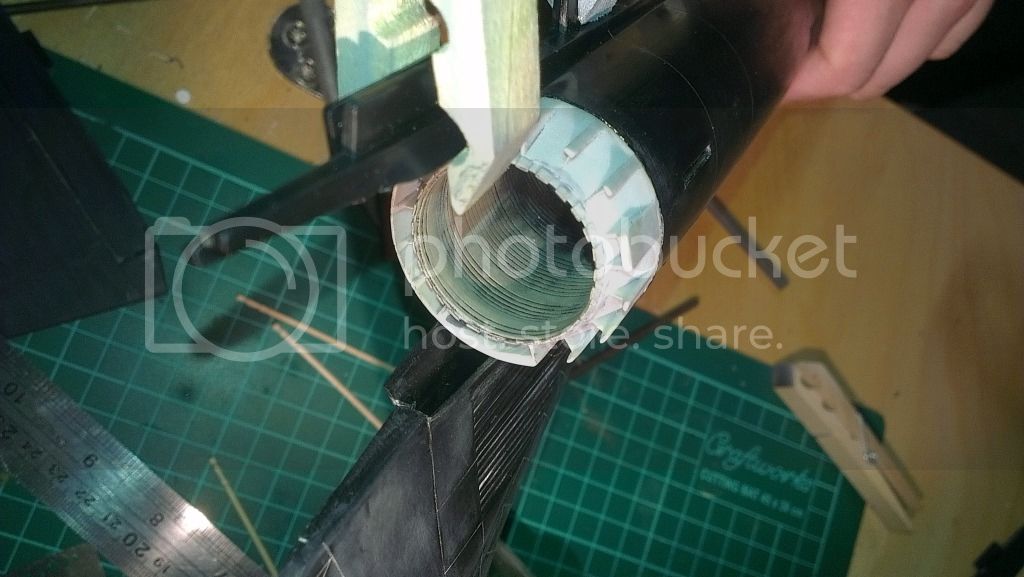
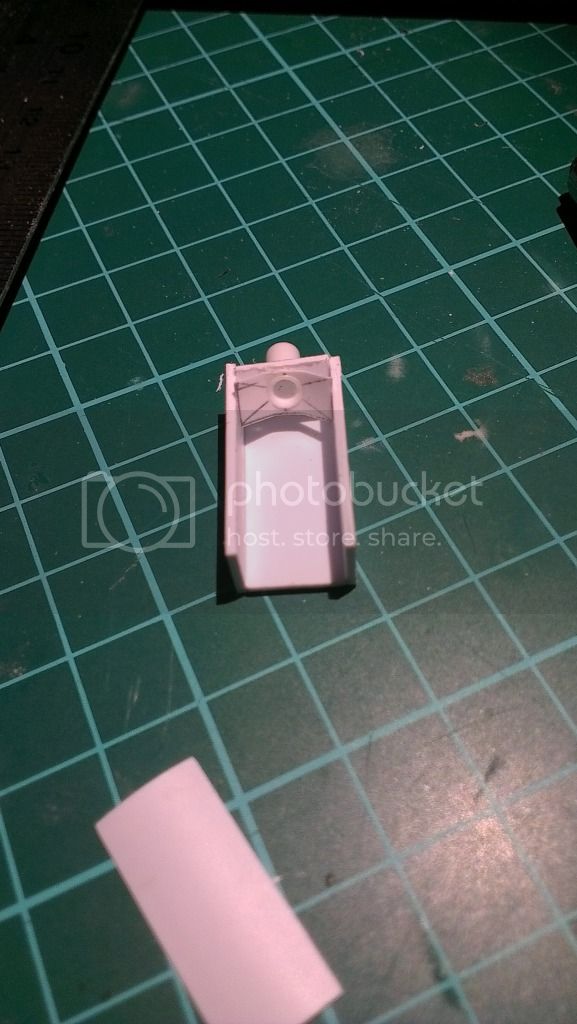
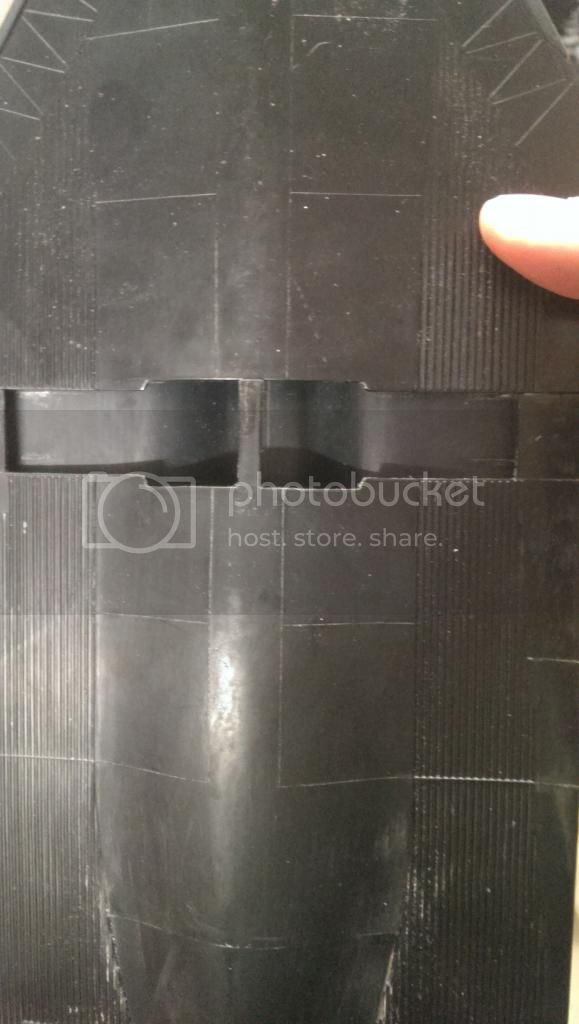
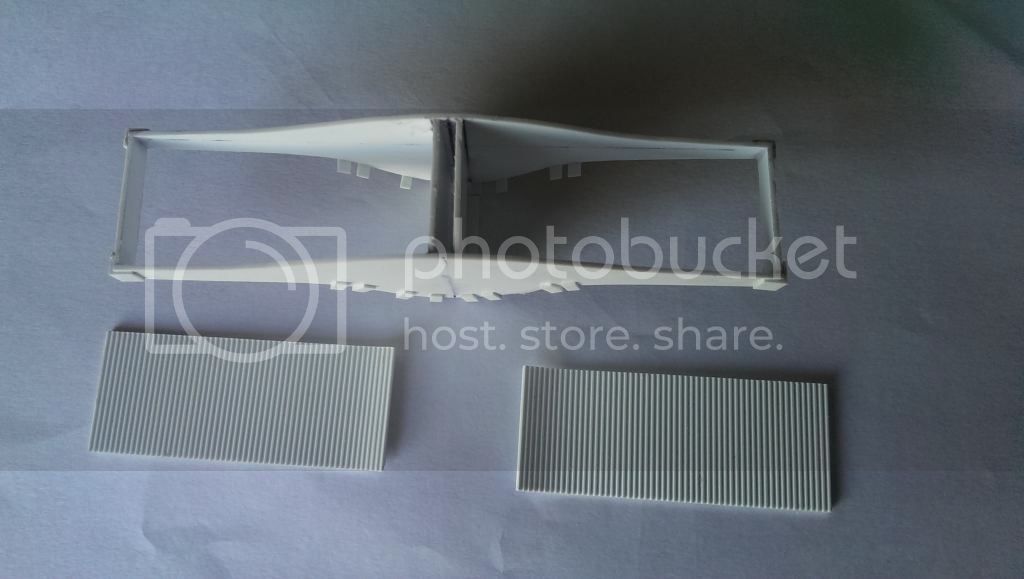
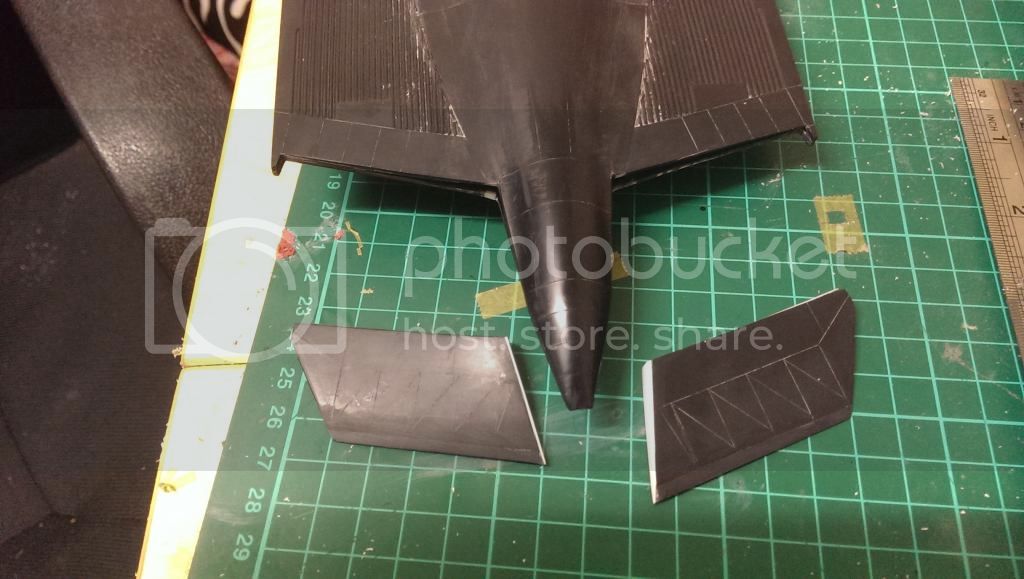
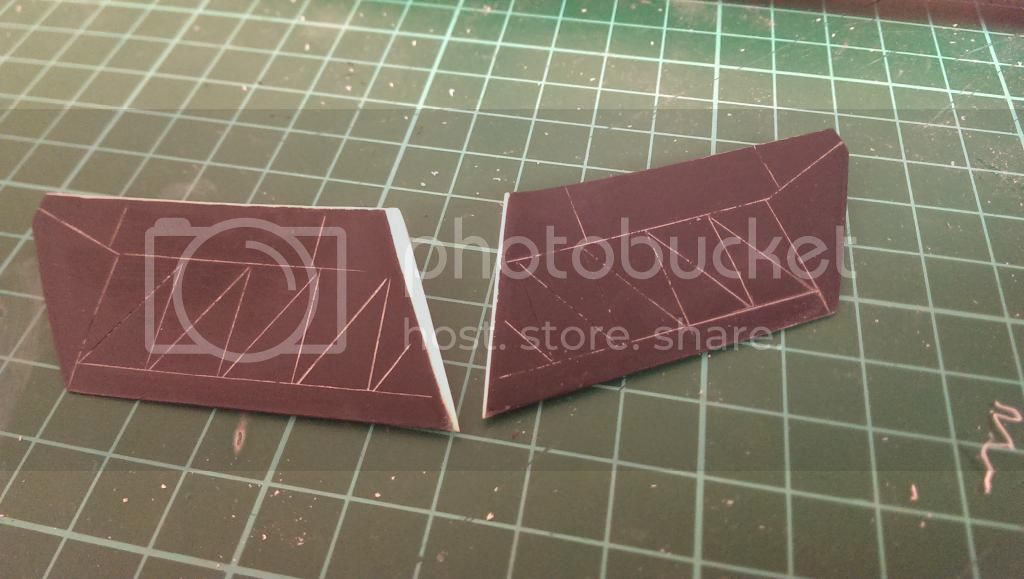
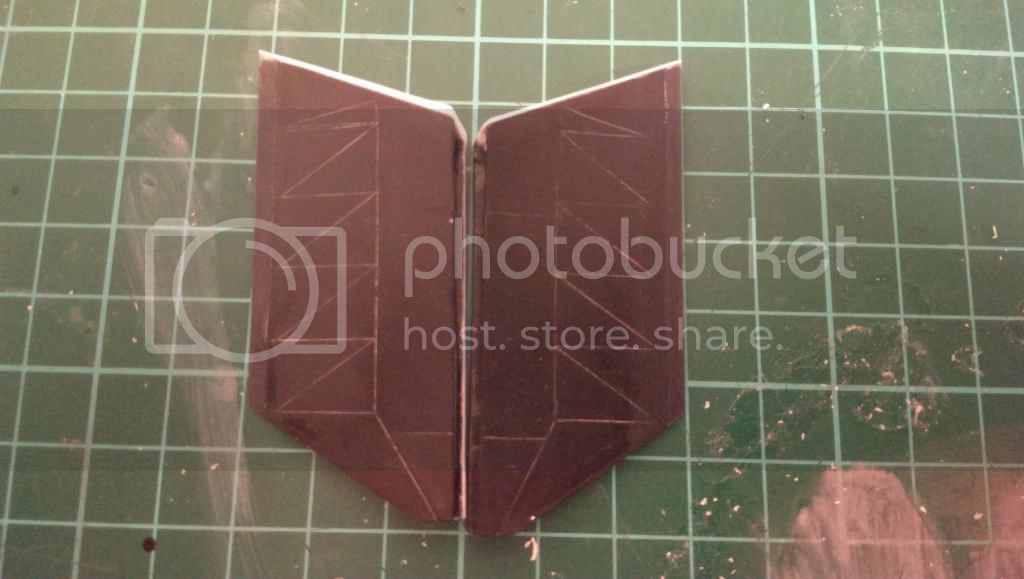
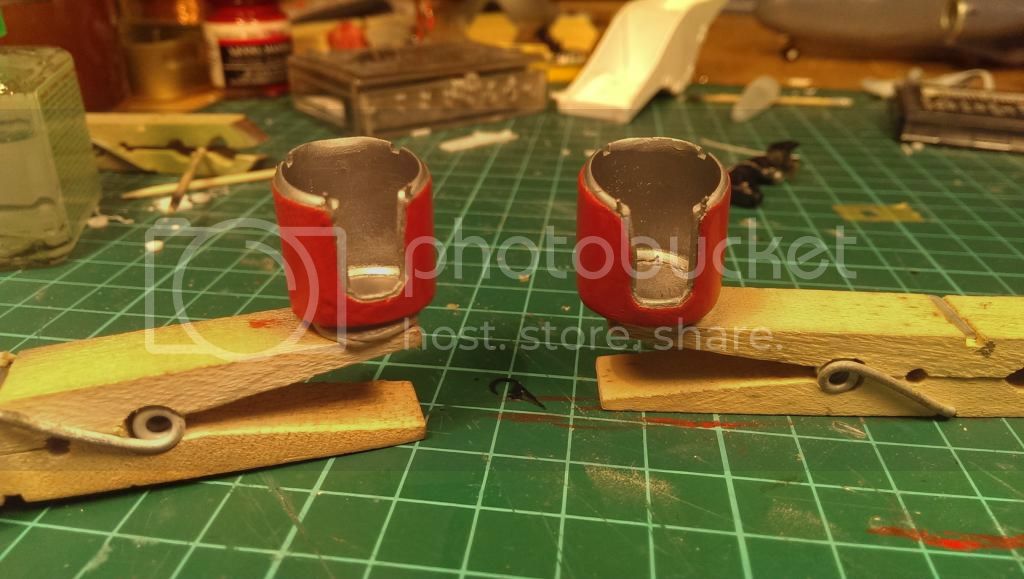
Here is the wheel well and heat shields offered up to the MWW as a test fit (I know that one is in backwards :wasntme:/>/>/>/>/> ).


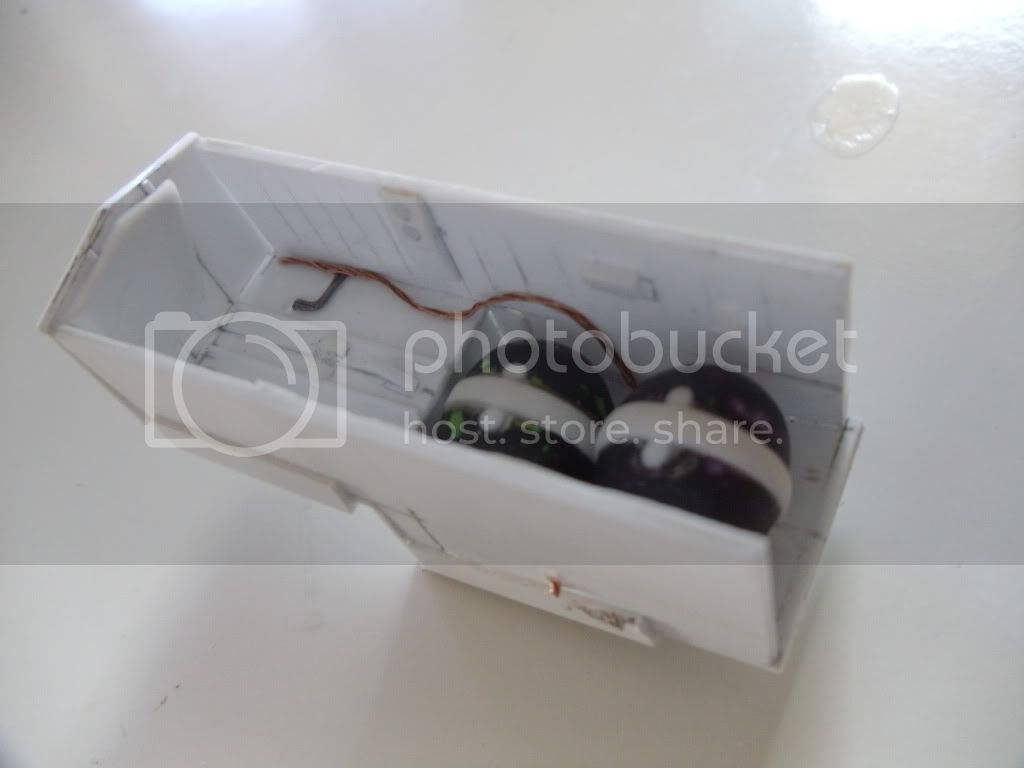
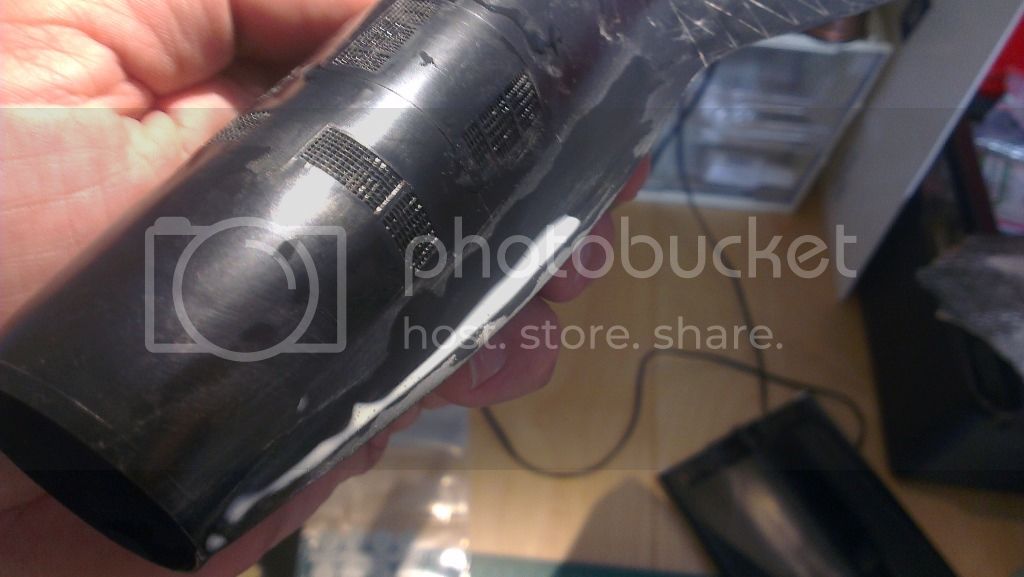
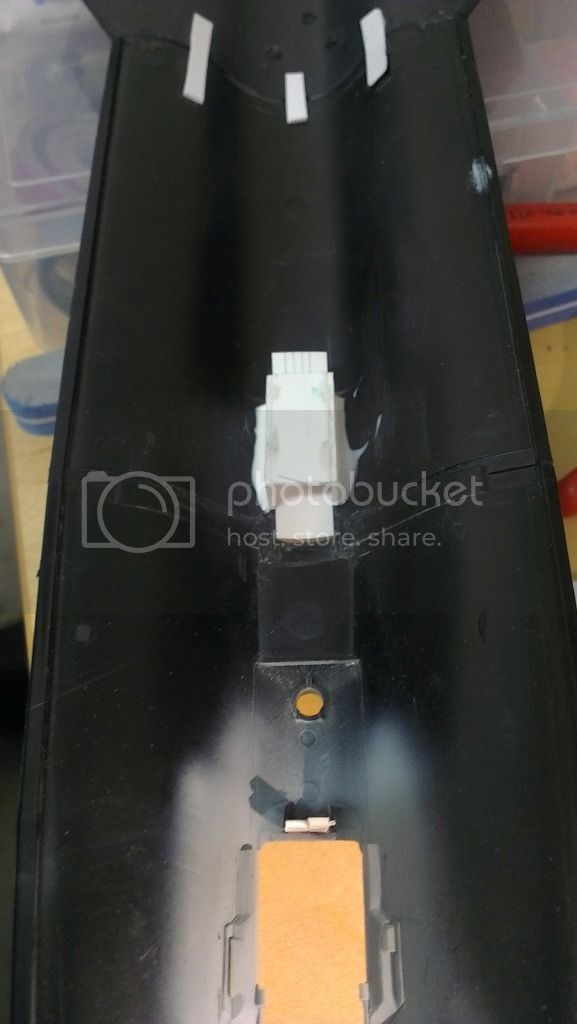
I have started to plumb the wheel well using thick wire to re-produce the ECS ducting that runs along the front. The "Heat Wrap" is made from Tamiya tape, and the clamps are created with Milo tin foil.


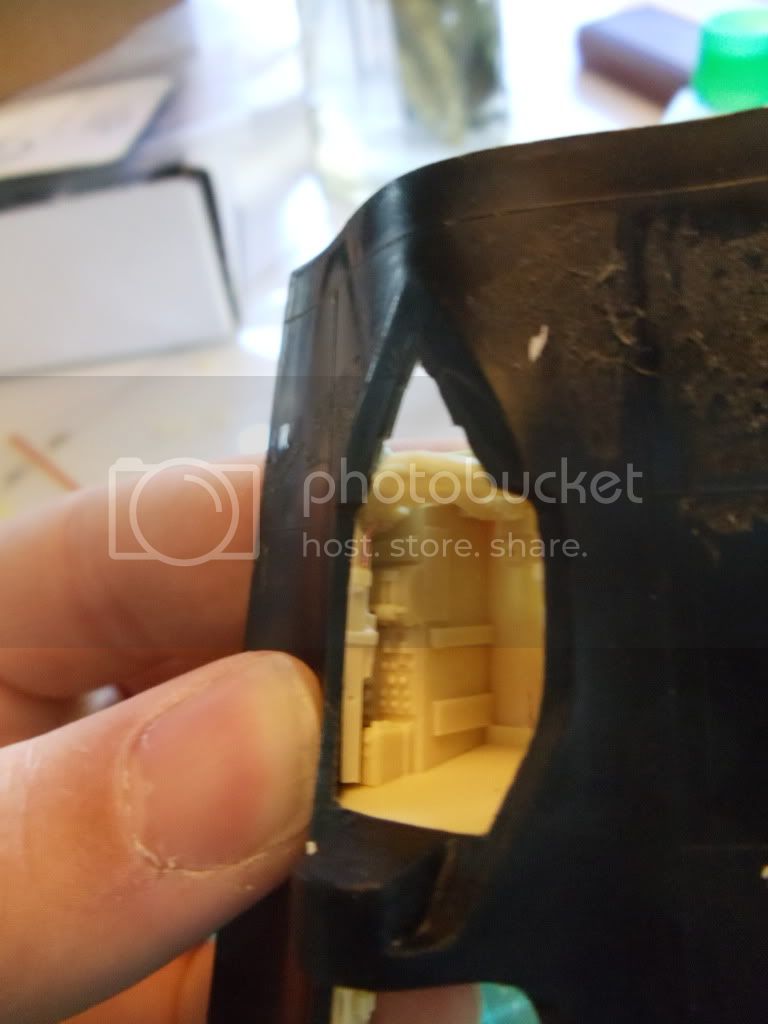
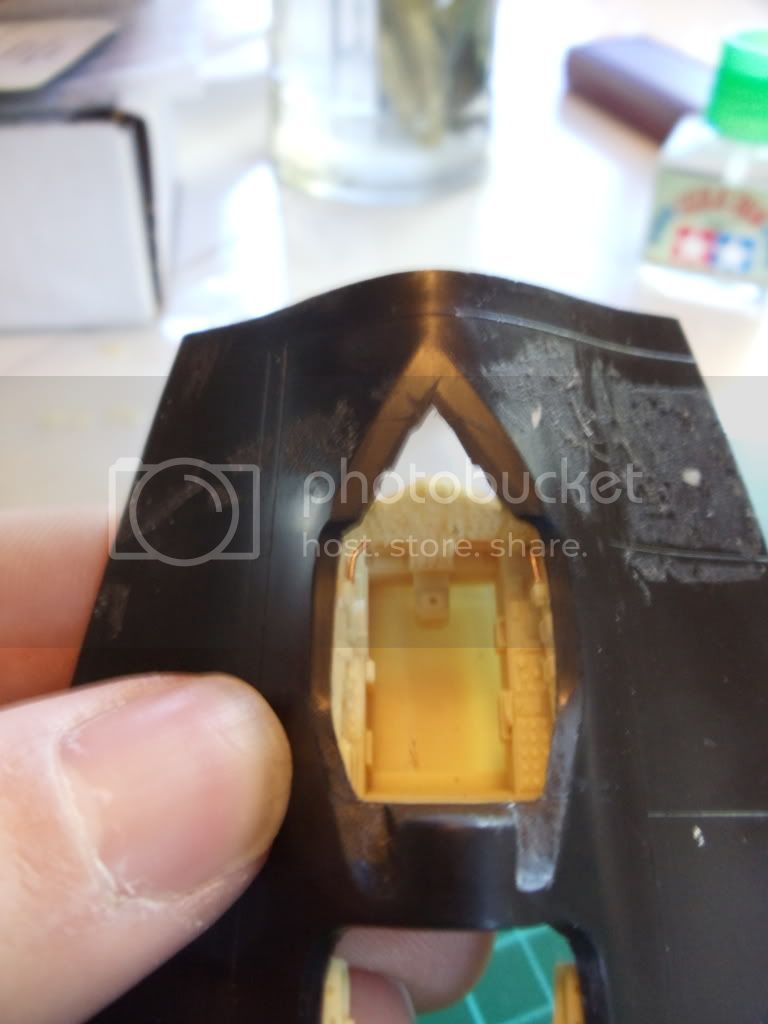
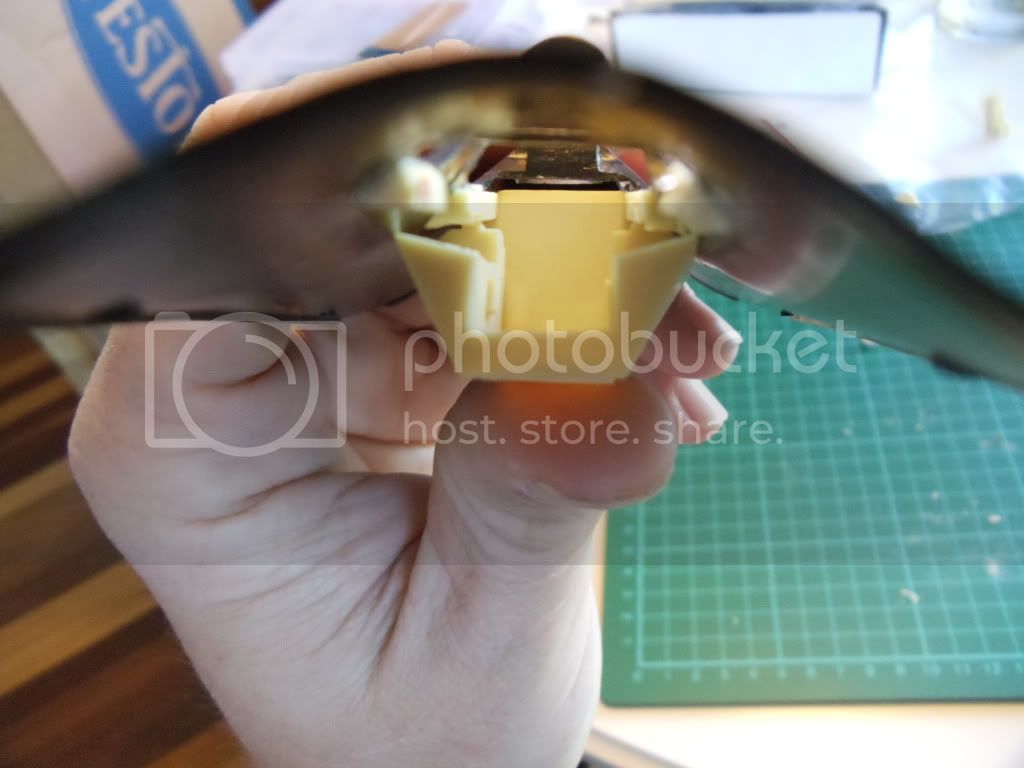
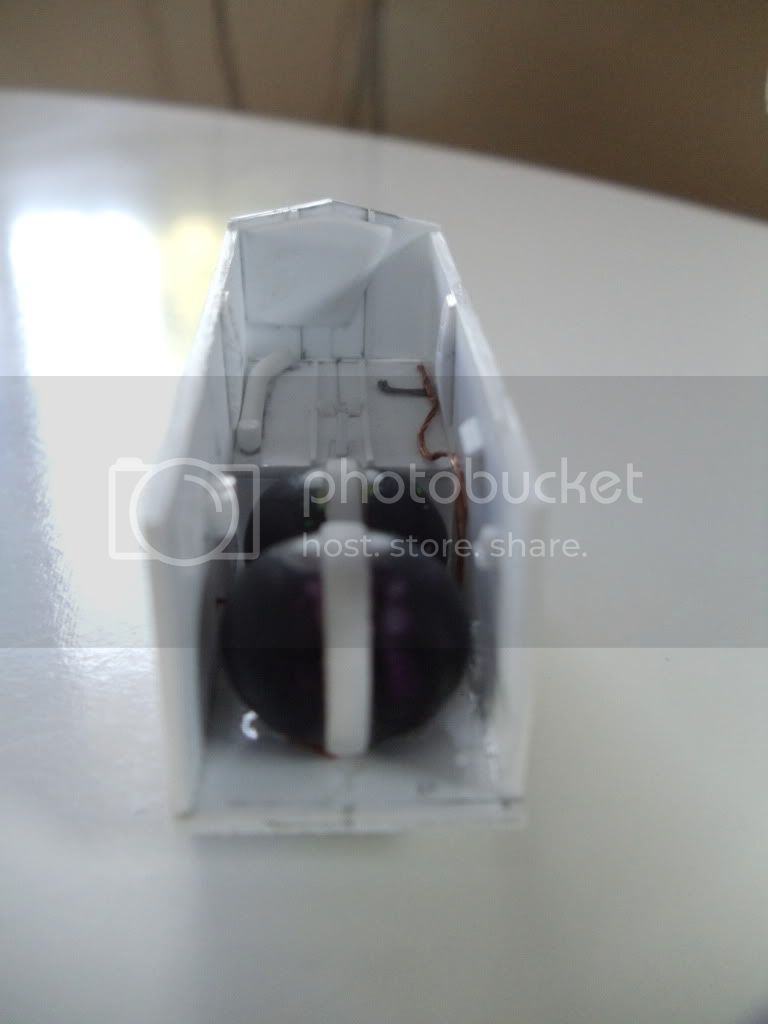
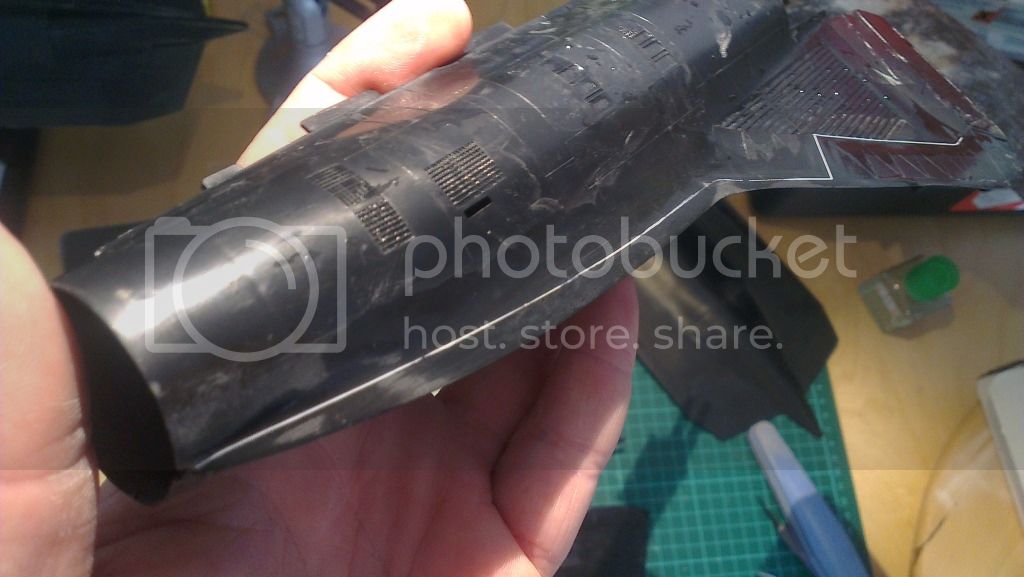
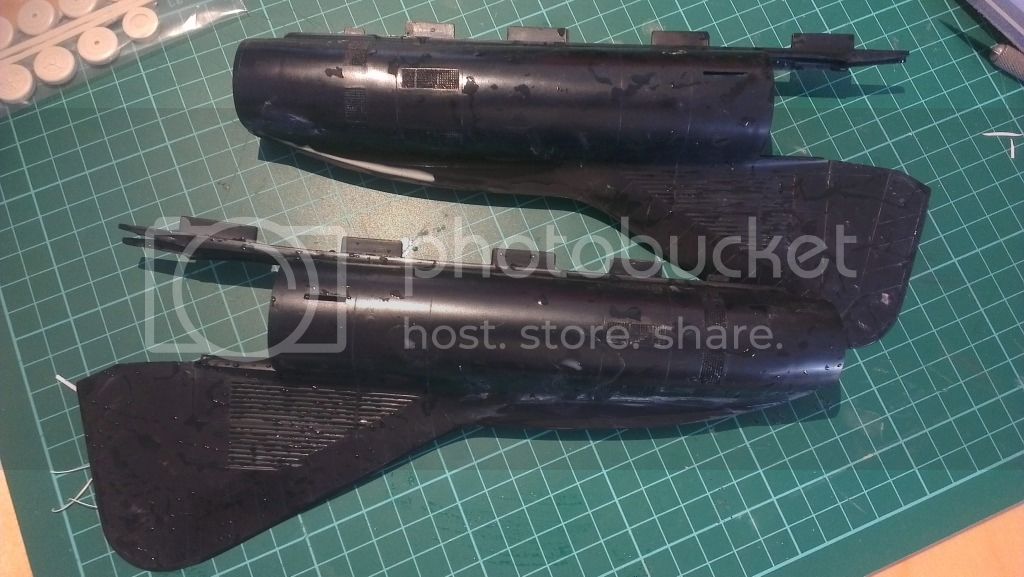
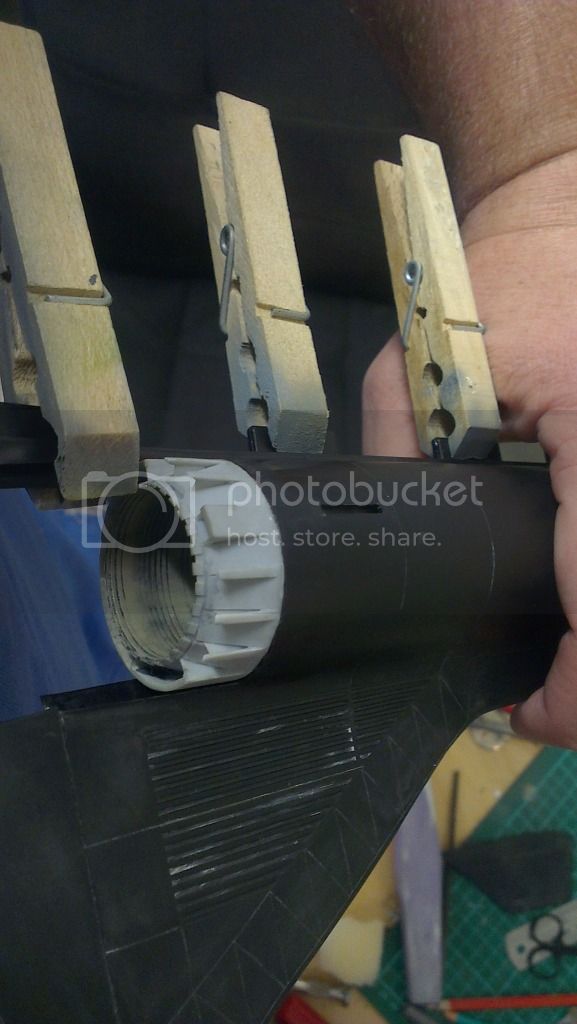
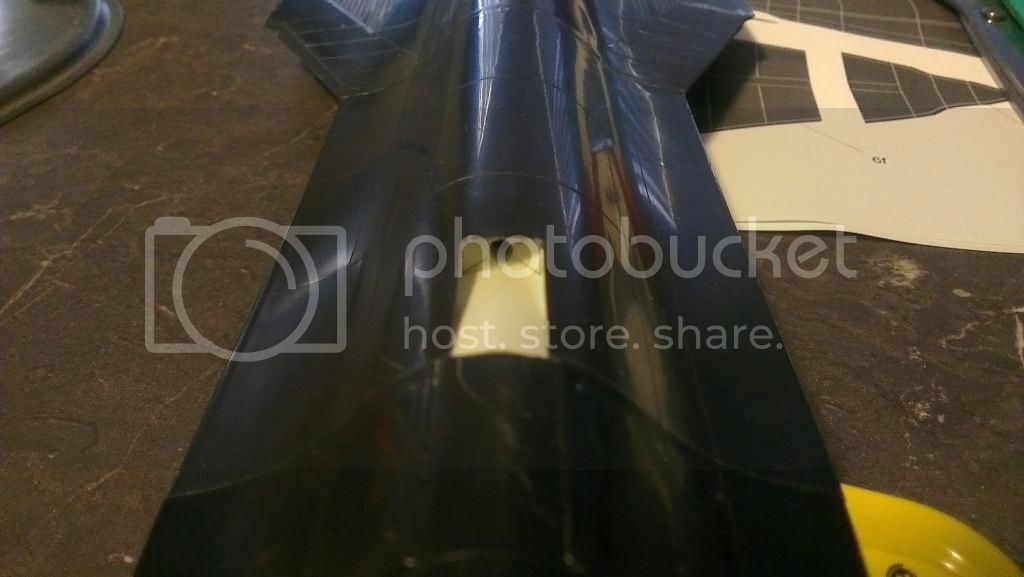
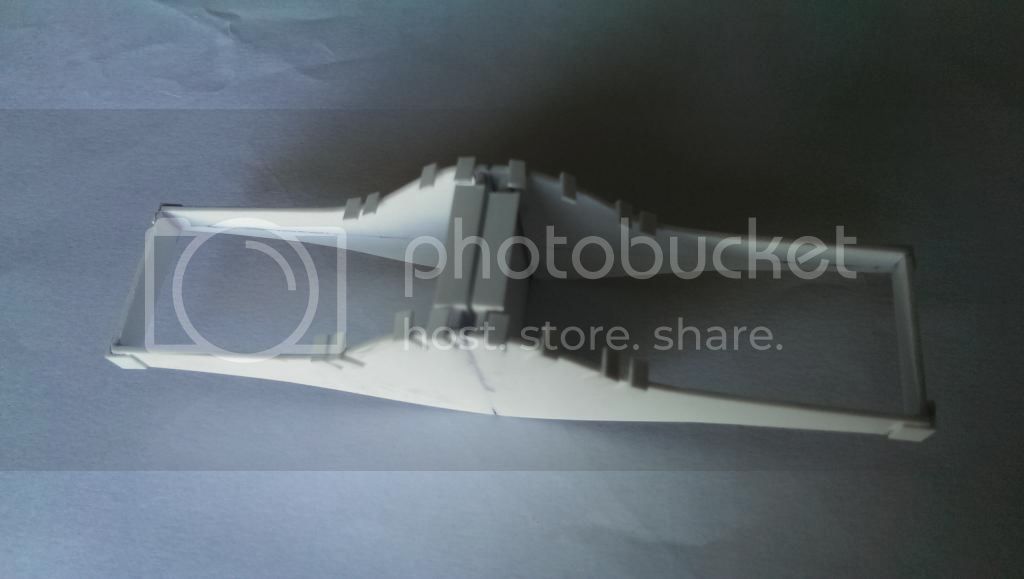
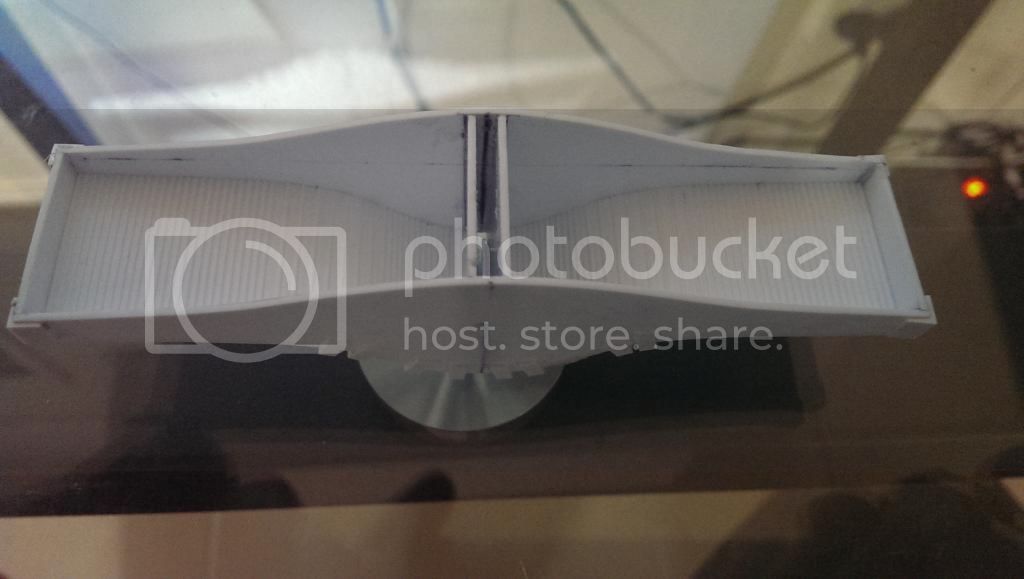
This is what it looks like all together so far.


and with the old wheel well beside it..


I still have to finish plumbing the wheel well, and finish detailing the gear legs, but I've made a good dent in all that I want to do.


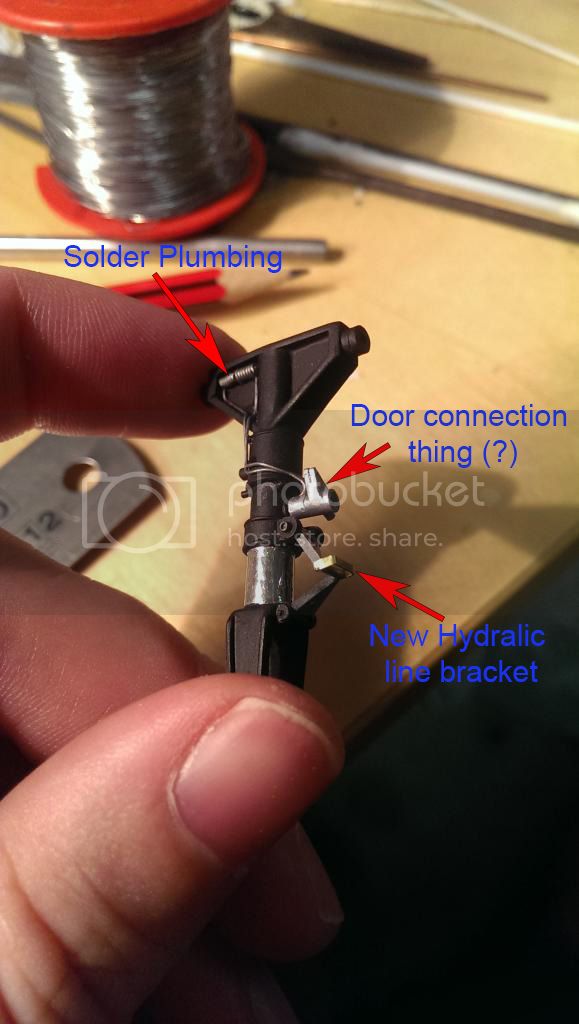
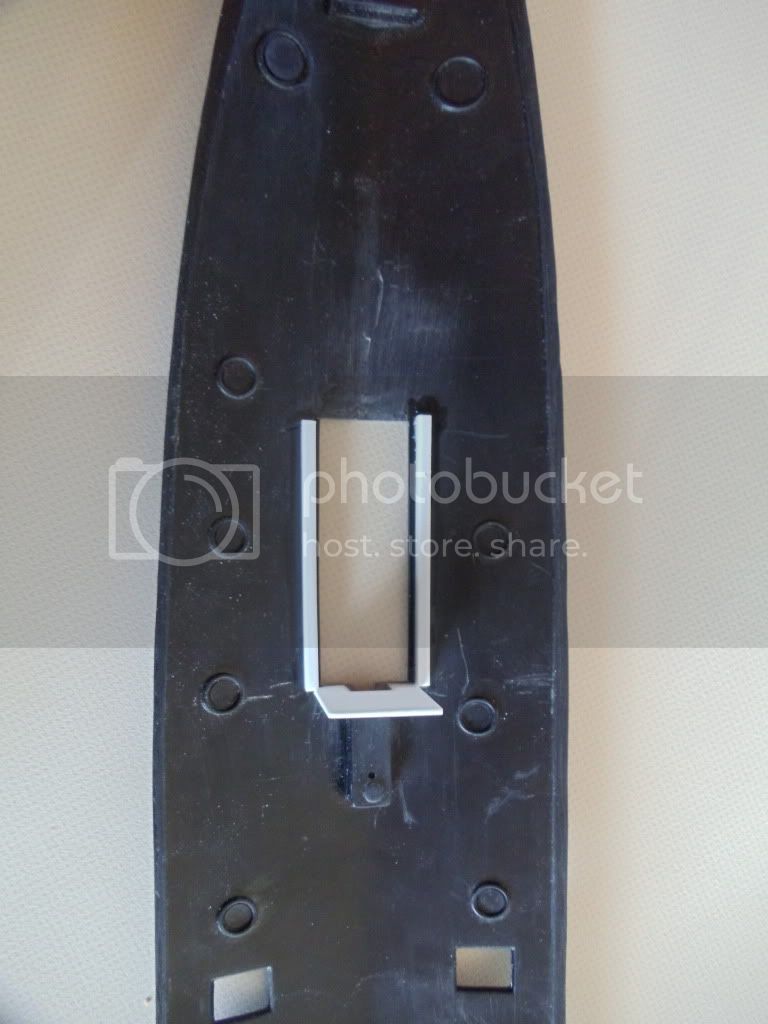
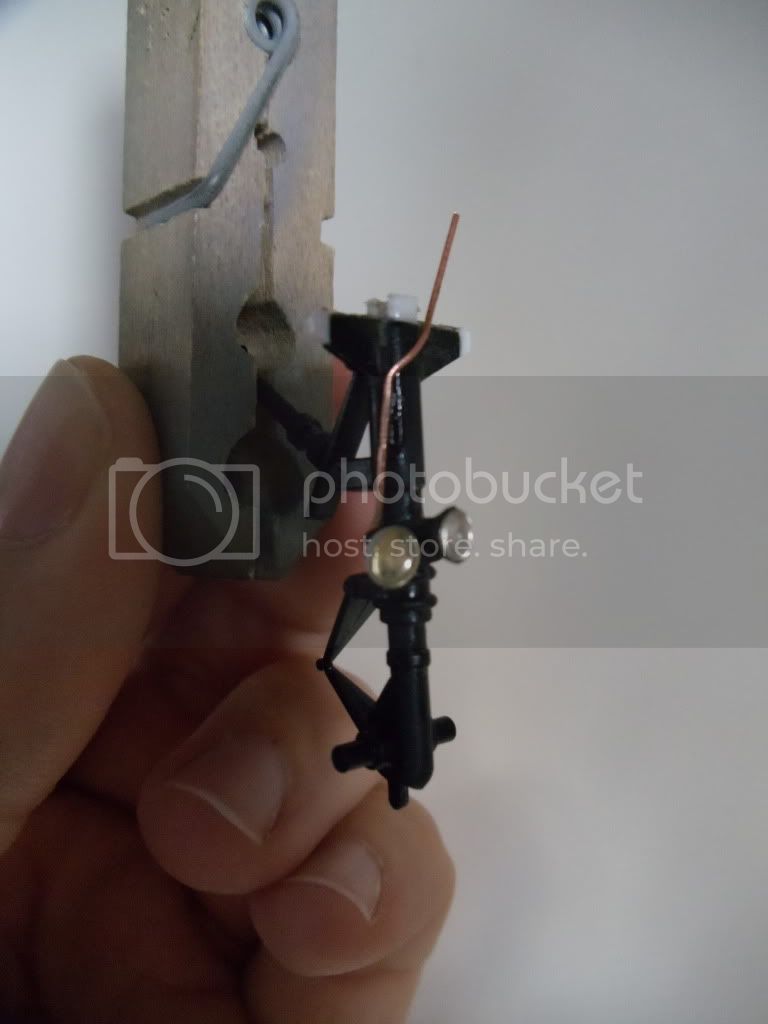
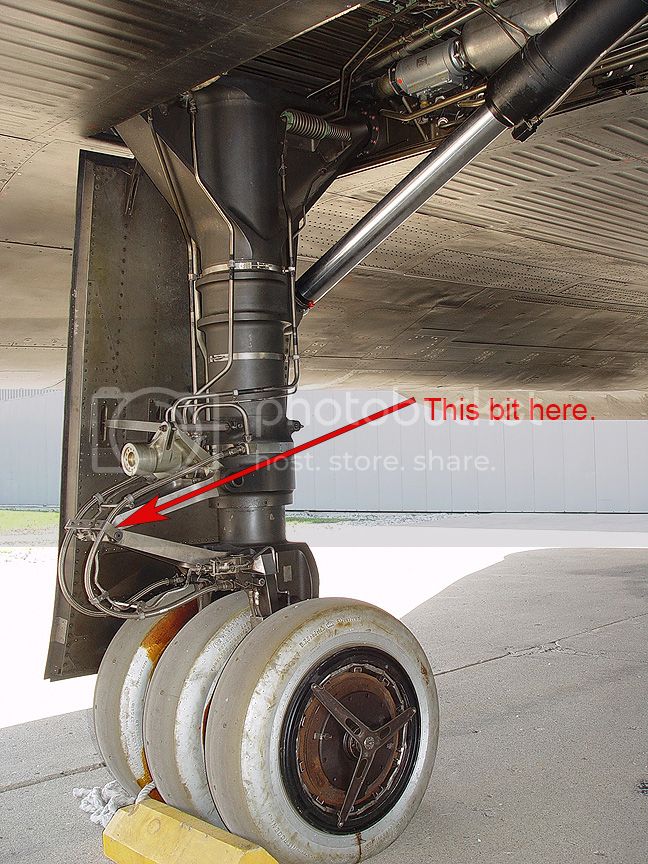
I've painted the main gear and started plumbing them. One thing I noticed on the scissor links, at the front there was a bracket that held the braided hydraulic lines shown here.


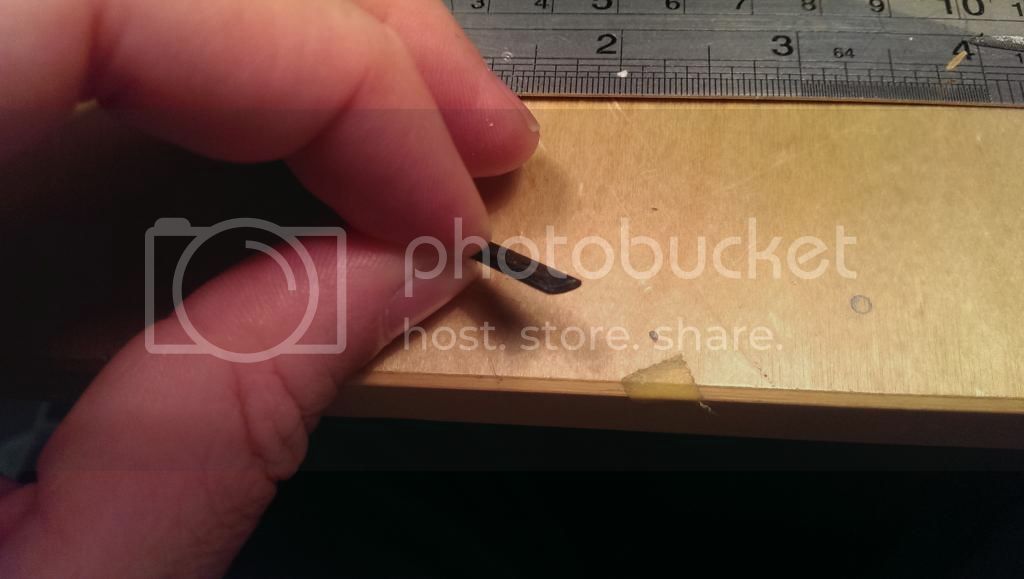
My first thought was to create them out of plasticard. The problem with this was that they were extremely fragile and any movement of the lines or gear would cause them to break off, not to mention that they looked rubbish. I thought that brass etch would be a much better solution. SO after a bit of looking around in the old spares box I found some leftover brass from some Flightpath F-111 ladders.


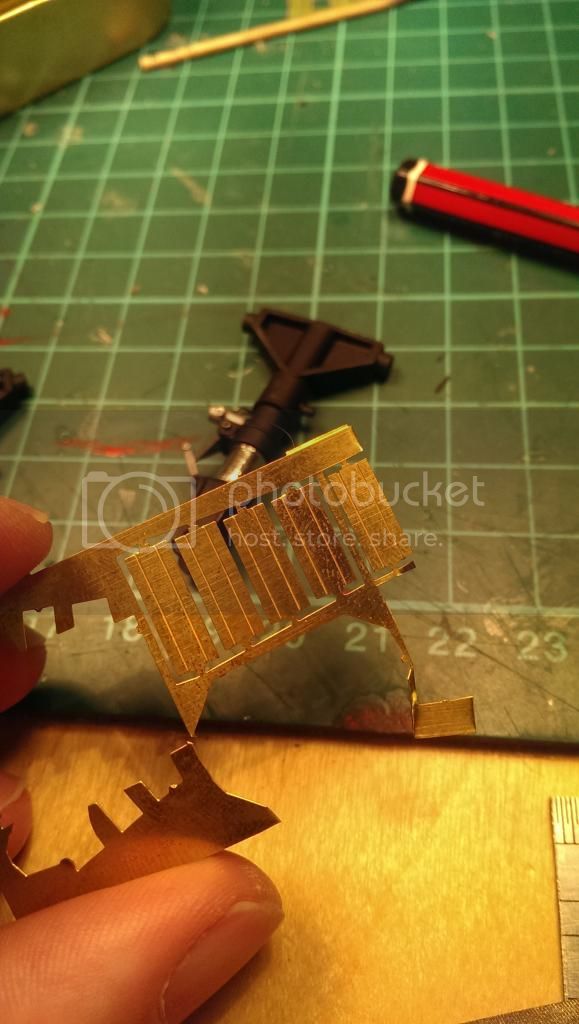
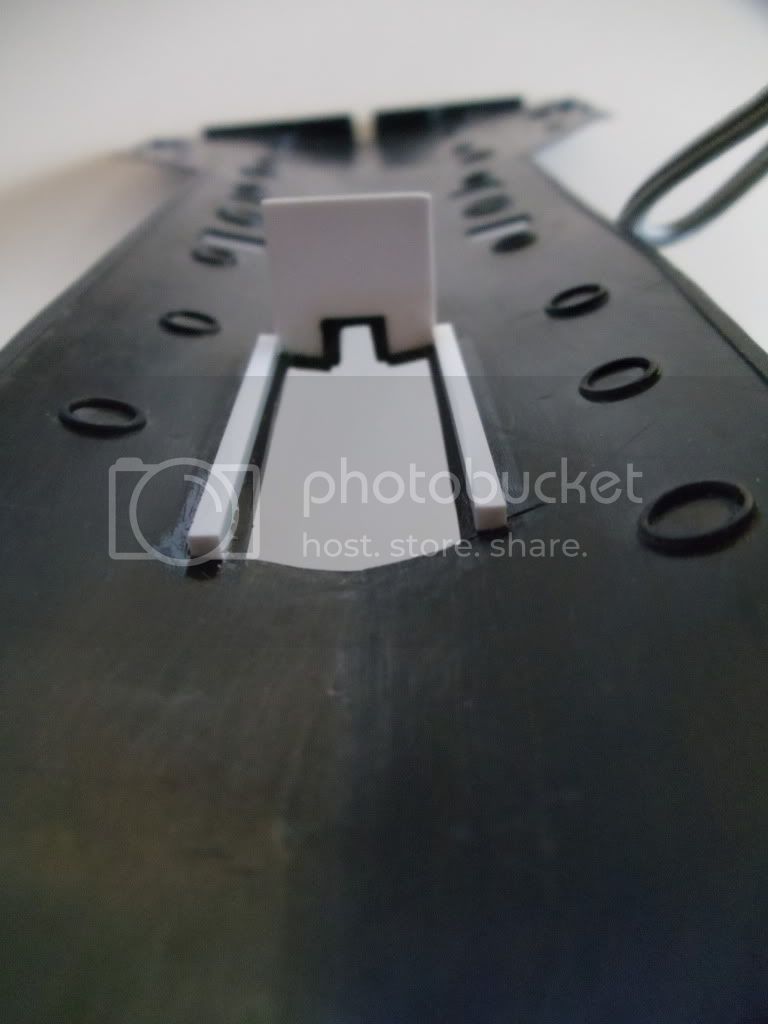
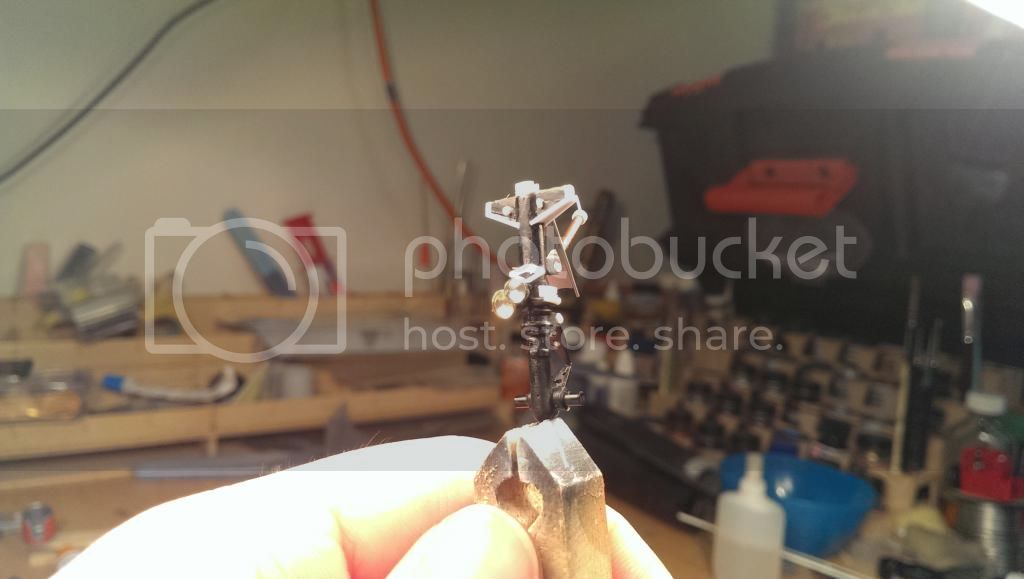
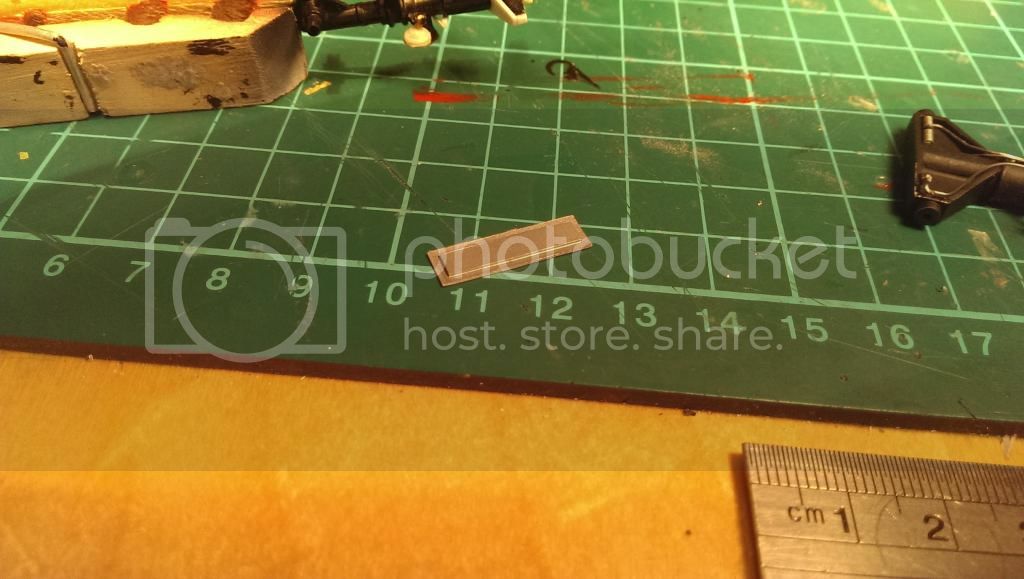
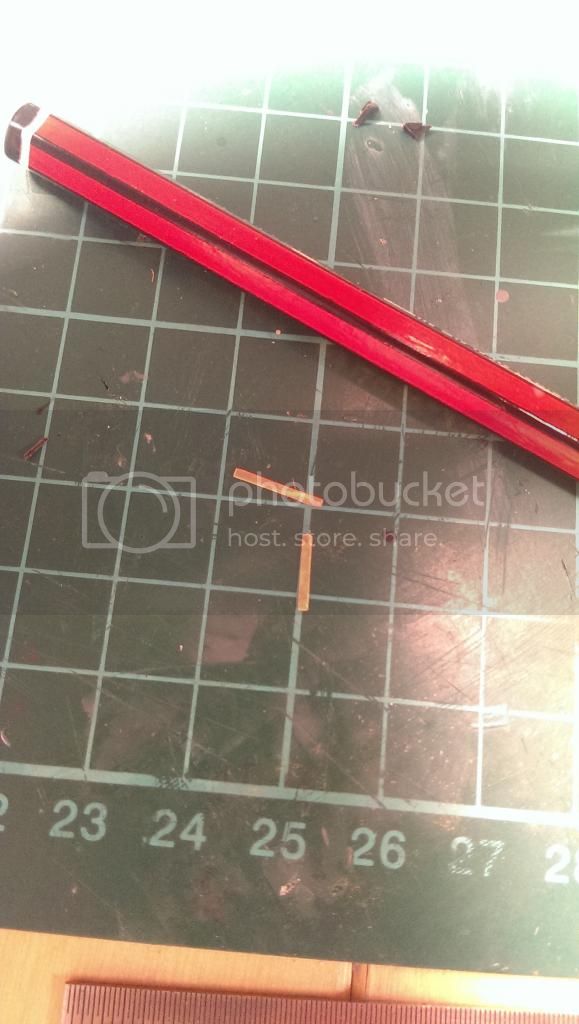
The outer part of the rung was the right width, it just needed to be trimmed to the correct length and bent to shape.


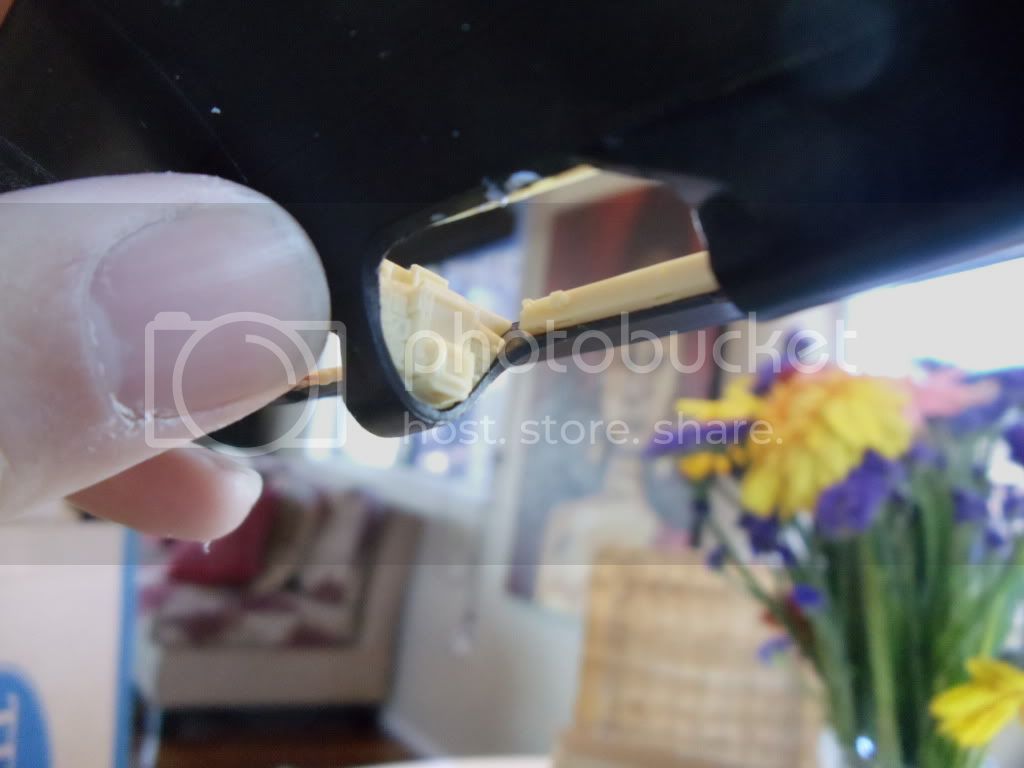
This is the end result...


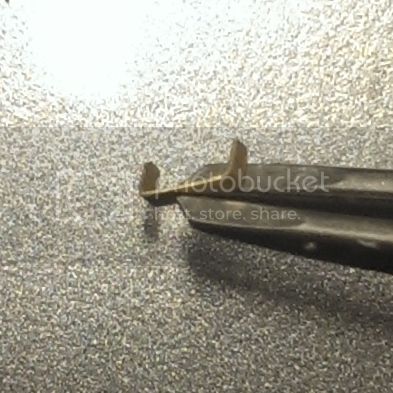
I'm very happy with them and I believe they will be much stronger (not to mention better looking).
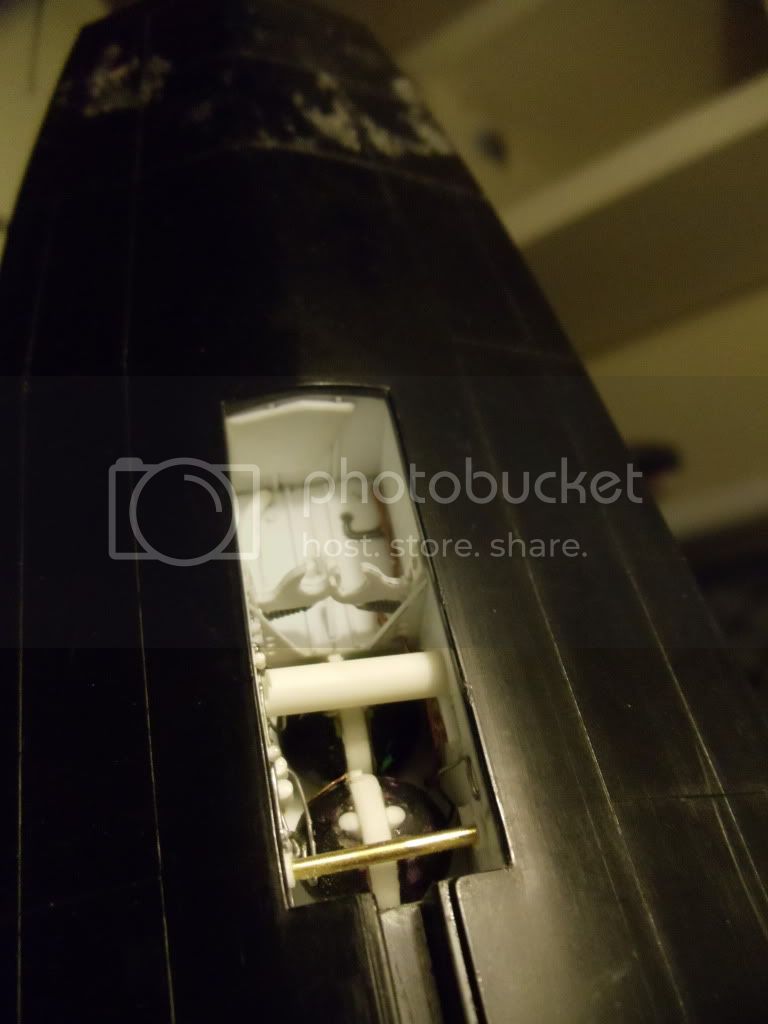
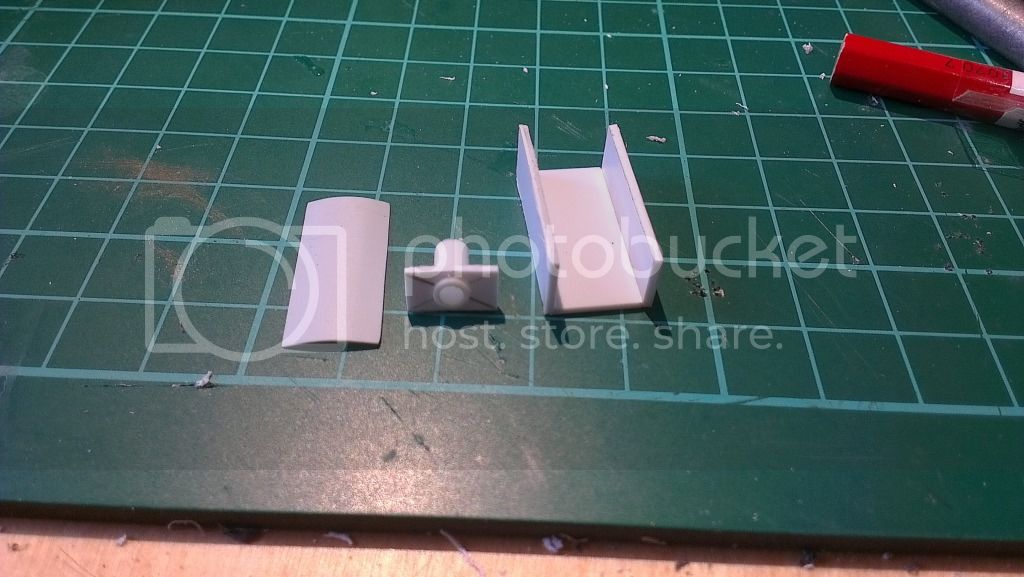
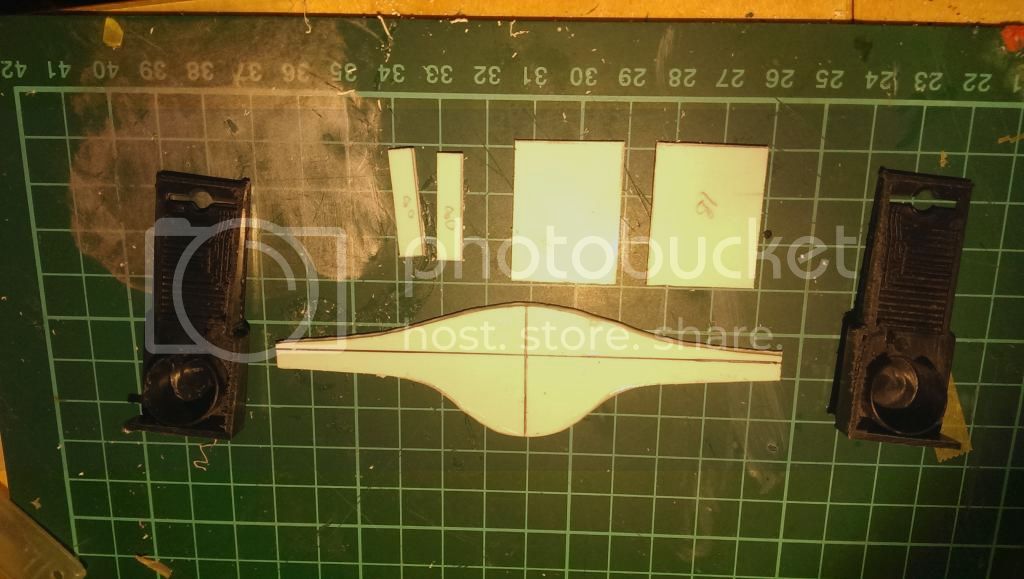
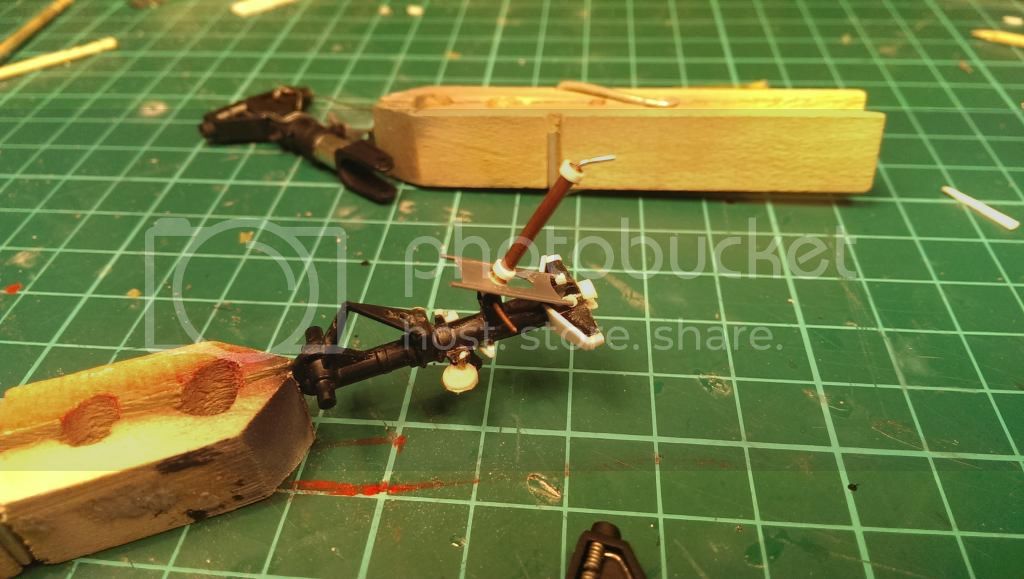
During this time I also built up and added the door connection, Hydraulic.... um... things /> as seen here along with the finished bracket.

nimrod77
_VISITCOMMUNITY
Australia
Joined: January 18, 2012
KitMaker: 42 posts
AeroScale: 41 posts
Posted: Friday, February 14, 2014 - 12:21 AM UTC
I've also attempted to simulate the insulation applied to the wheel heat shields in the main wheel wells. I used a blob of Procreate epoxy putty, which I rolled out flat whist sandwiched between some baking paper to prevent it sticking.


Once that was done, I wrapped it around my heat shields and then, once trimmed, I rolled the still soft putty around on my desk. Over any little bits and bobs left lying around to create the stressed look I can see in pictures.
You can see the end result in the picture below, one finished, and one waiting for the same treatment.


Thanks for the comments guys.

I've painted up the wheel heat shields and I'm pretty happy with how they came out....


I hope that they look somewhat like this, once they are weathered of course..


I decided that after all the work I've put into the main gear that the nose gear needed some love too. I removed the simplified drag strut from the back the the associated door mechanism and scratched up some new ones in a combination of copper tube and plastic stock. I added the landing and taxi lights from MV lenses.
The real thing looks like this..


Kit part before..


and after..


And the door. The kit part was REALLY thick. If it was that thick in real life you could use it as a BBQ plate! I built the new one by heating some thin sheet in hot water whist being taped to my large hobby knife. Once I removed it it had a good amount of curve to it.

Kit..


Mine..


Sorry about the quality of the photos. I'm only using my crappy phone camera.
Thanks for dropping in again guys />
Joel_W
Staff MemberAssociate Editor
AUTOMODELER
_VISITCOMMUNITY
New York, United States
Joined: December 04, 2010
KitMaker: 11,666 posts
AeroScale: 7,410 posts
Posted: Friday, February 14, 2014 - 02:49 AM UTC
Nathan,
That's some exceptional modeling you've done there. I think you would have been better off if your presentation was broken up into a few smaller posts. That way we could more easily take in what you've accomplished, which is quite a lot.
Your scratch built wheel wheels and highly modified landing gear is amazing. Just extremely well done.

The numerous kit corrections with scratch building/enhancing are certainly well done. Such modifications as the camera bays, and the IFR receptacle are two perfect examples.

My only suggestion is that you consider a purchase of a decent camera, as it will bring your presentations up to the same high level as your modeling.

Looking forward to your next update.
Joel

 _GOTOTOP