_GOTOBOTTOM
World War II: Soviet Union
Russian aircraft of WWII
Hosted by Rowan Baylis
Trumpter 1/32 MiG-3
DougN1
_VISITCOMMUNITY
Georgia, United States
Joined: August 08, 2011
KitMaker: 410 posts
AeroScale: 409 posts
Posted: Sunday, March 23, 2014 - 03:30 AM UTC
Thanks Rowan!

I'm going to keep pressing on, and hope another windscreen comes my way

I've gotten the wings on. In reading other builds, it seems that some had issues with the forward wing root inserts (A11/A12 for those following along in your programs). So, I decided to install them before adding the upper and lower nose cowls to give me the most flexibility in that area. The fit was pretty good, I just needed to use a little Mr Surfacer 500 at the front to blend them to the rest of the wing:


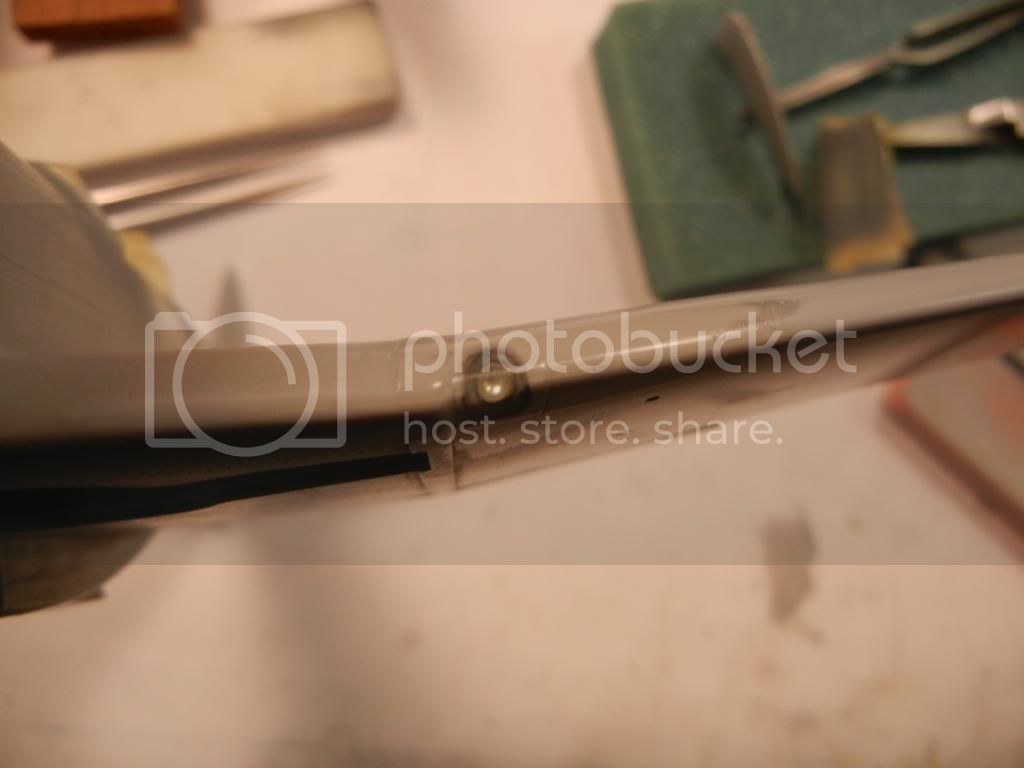
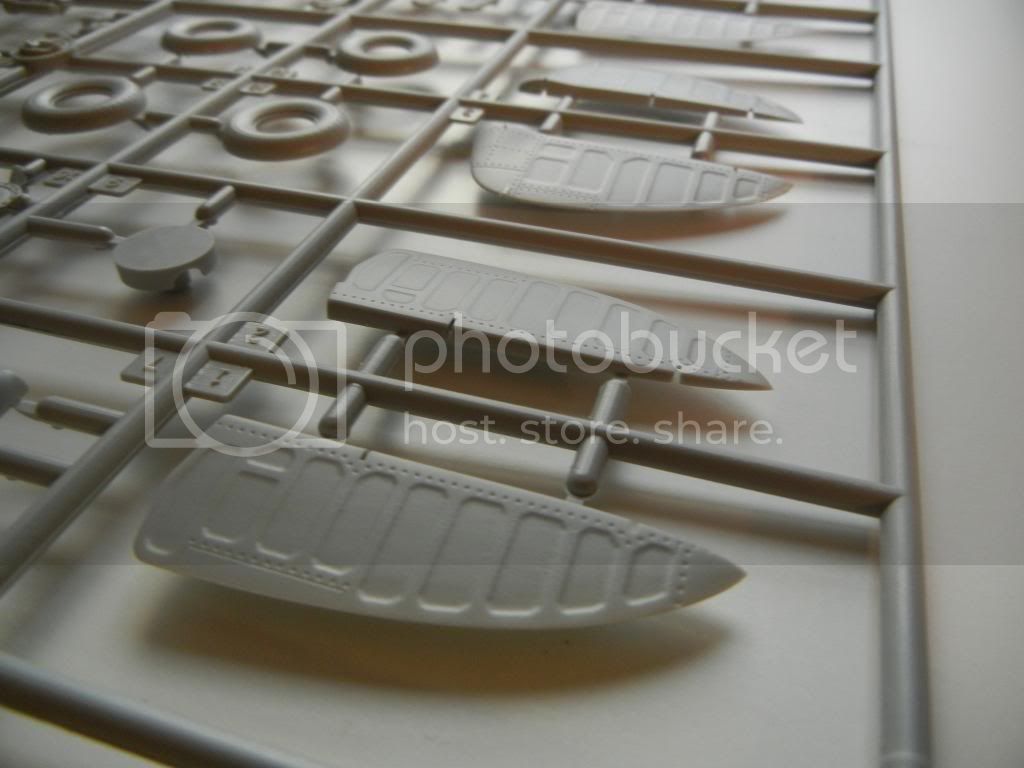
The kit use PE hinges and rod to attach the control surfaces to the airframe. The PE hinge is designed with a notch in it that slots into a tab on the wing/tail parts to "lock" it in place:
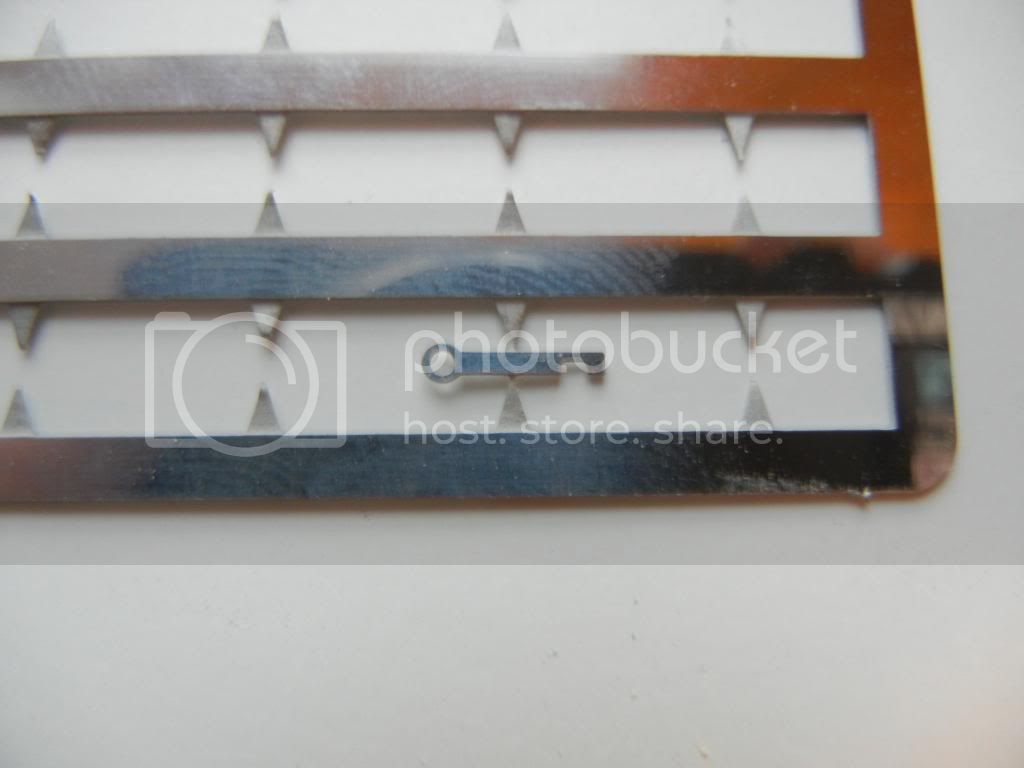


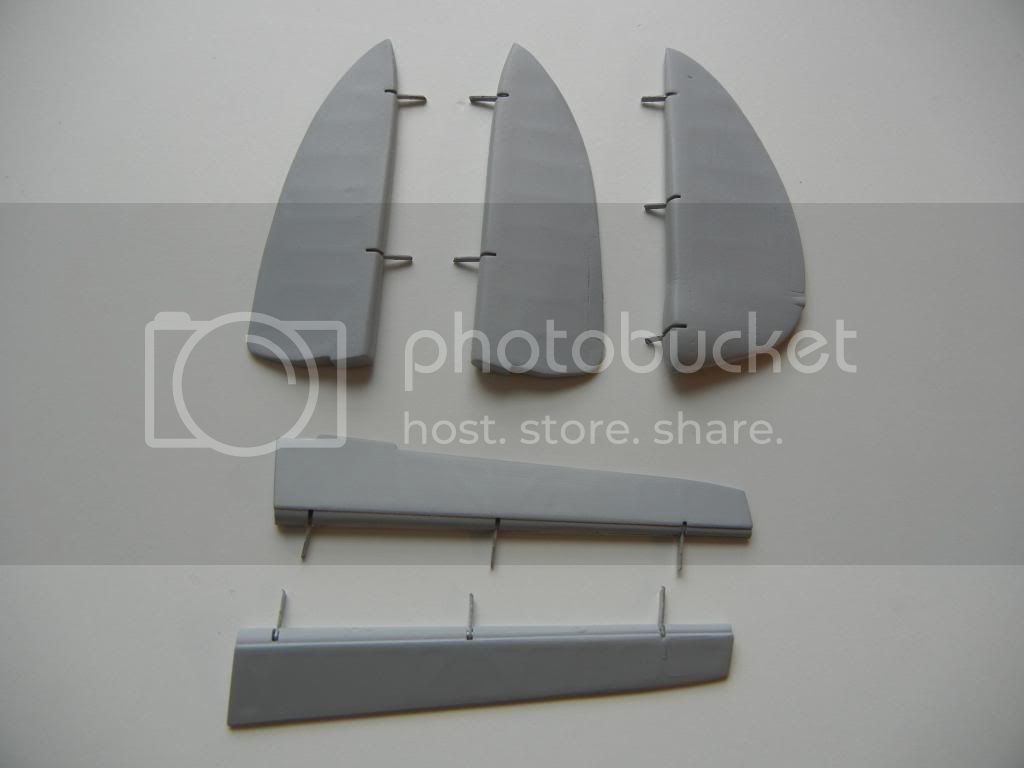
As I wanted to be able to attach the control surfaces after assembing the wing and tail parts, I simple cut the hinge off at the front side of the notch, which allows me to add them whenever I want, and still keeps the hinge in place (to fill the slot):


More fun and excitement to come

Thanks for looking!

Doug
DougN1
_VISITCOMMUNITY
Georgia, United States
Joined: August 08, 2011
KitMaker: 410 posts
AeroScale: 409 posts
Posted: Friday, March 28, 2014 - 01:19 AM UTC
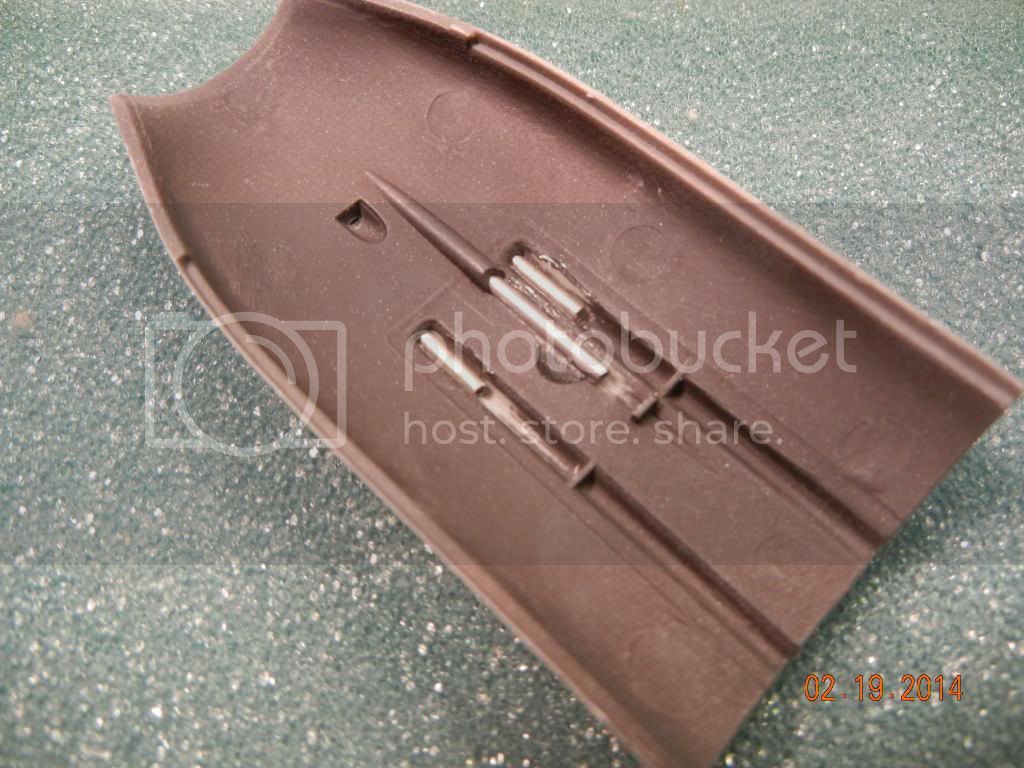
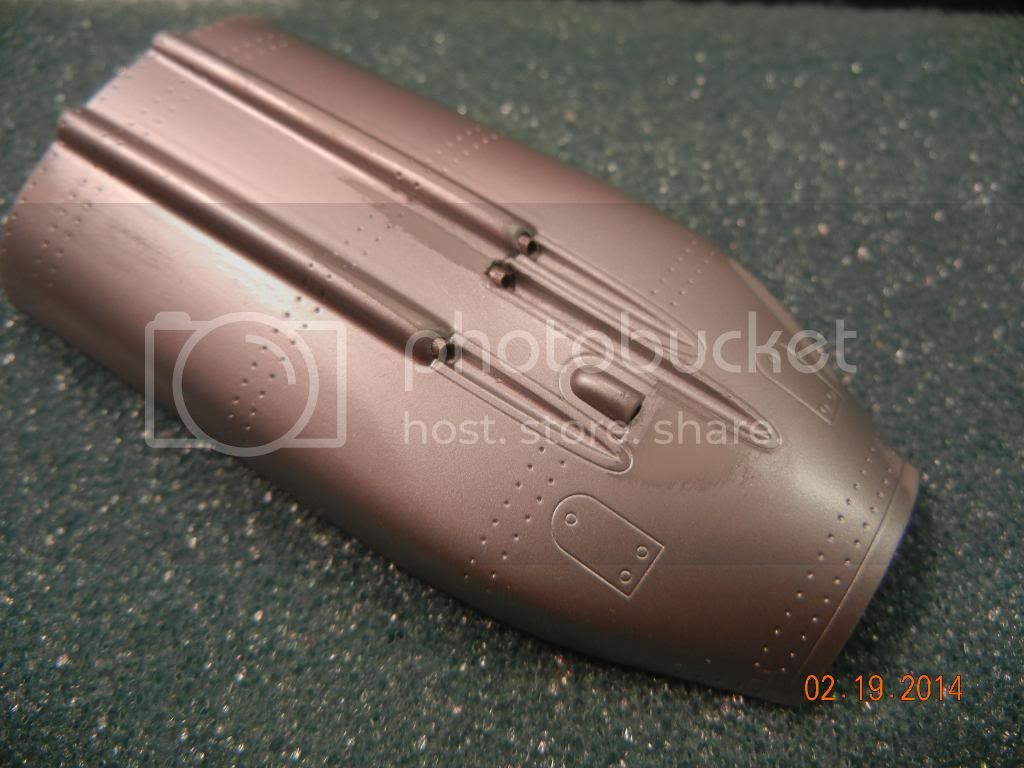
Another small update. Did a little work on the nose. The 3 guns all have a "thermnal tube" on the ends to keep them from freezing up. As it just looks like a blast tube, I decided to replicate this with some small aluminum tube. I just cut some to length and added it in place of the kit parts:


Looks "crisper" than just using the kit plastic bits:


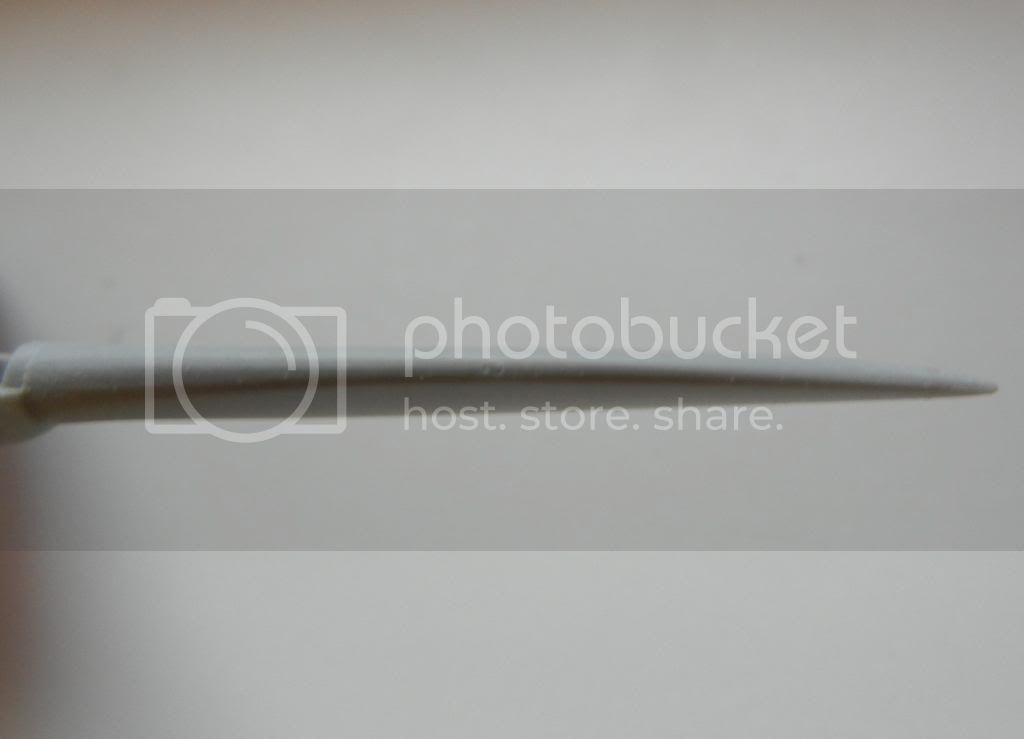
Another area for improvement is the kit prop. The blades are really, really thick and need to be sanded down quite a bit to start to look like a real prop.

Before:


After:


That's it for today, more later!

Thanks for looking, comments/questions/crtique always welcomed!

Doug
DougN1
_VISITCOMMUNITY
Georgia, United States
Joined: August 08, 2011
KitMaker: 410 posts
AeroScale: 409 posts
Posted: Friday, April 04, 2014 - 02:11 AM UTC
Another update!

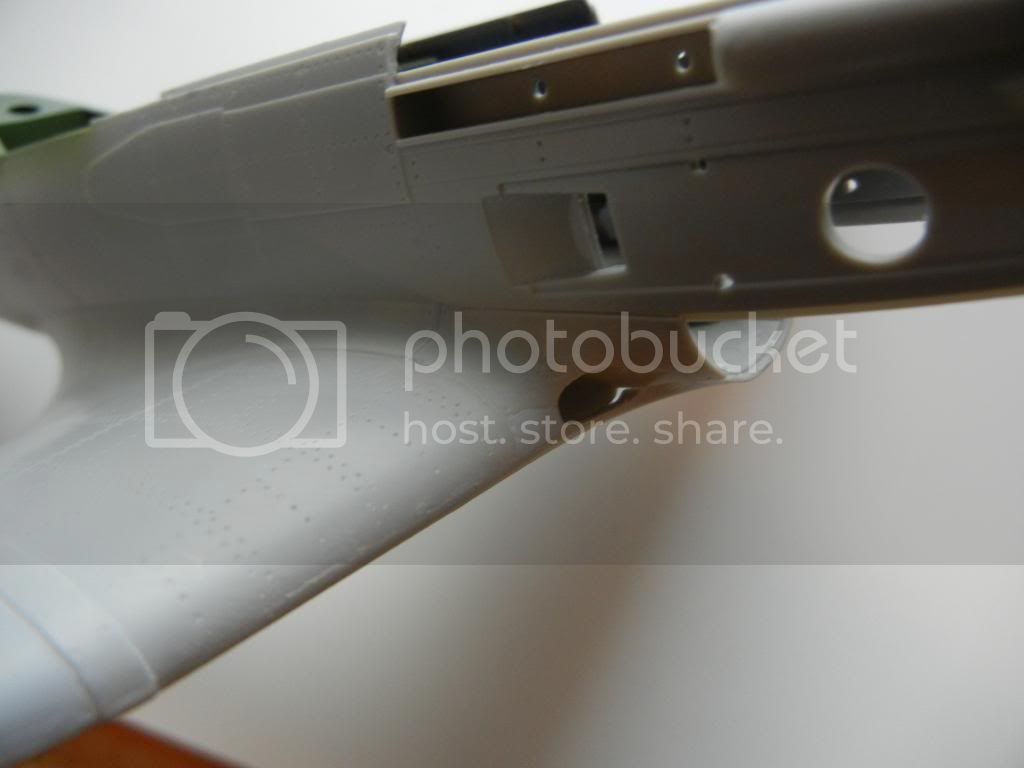
I added the underwing radiator fairing, and fit was excellent.


As mentioned in a previous post, the area underneath this part was the only "fit issue" I encountered when joining the fuselage halves, but it is covered up by this part

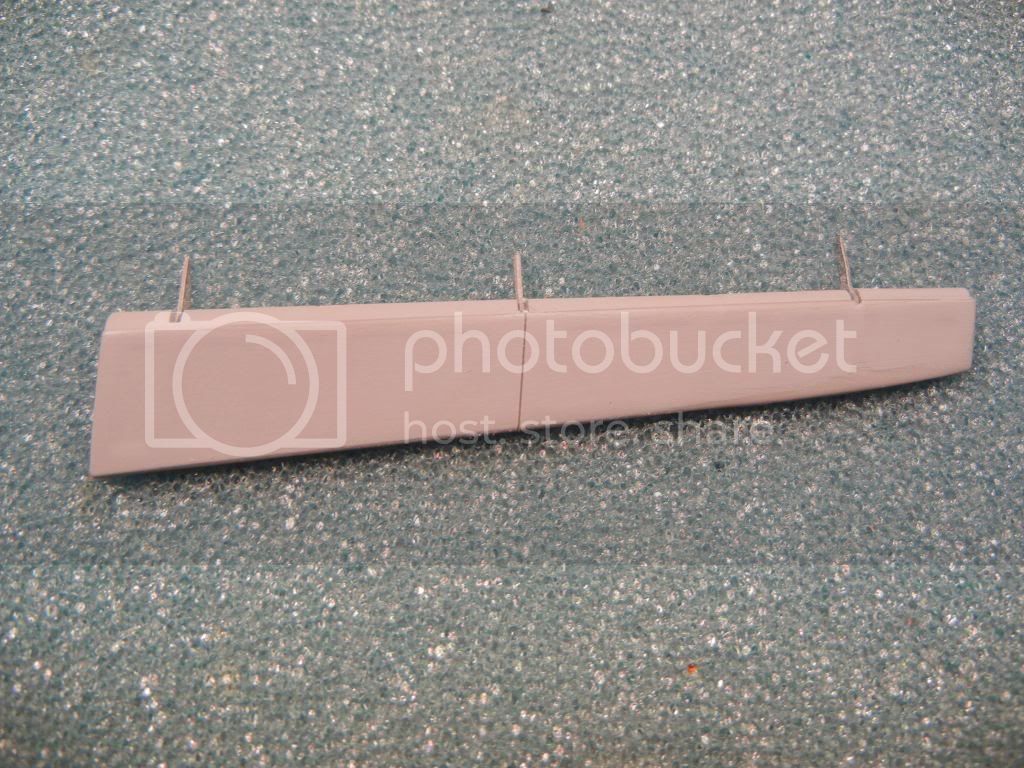
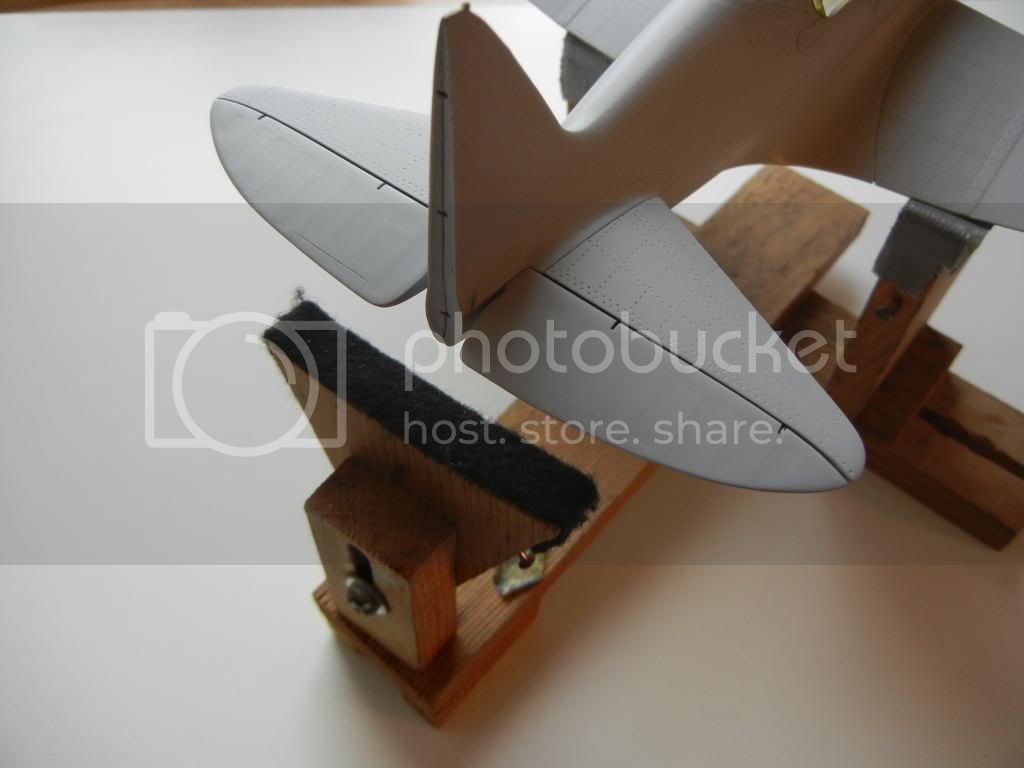
I also noticed that on the real aircraft, the ailerons are made up of two parts on each side. The kit part is just one part. So, I just took my razor saw and put a deep cut on each side of the ailerons to give the impression of two parts:


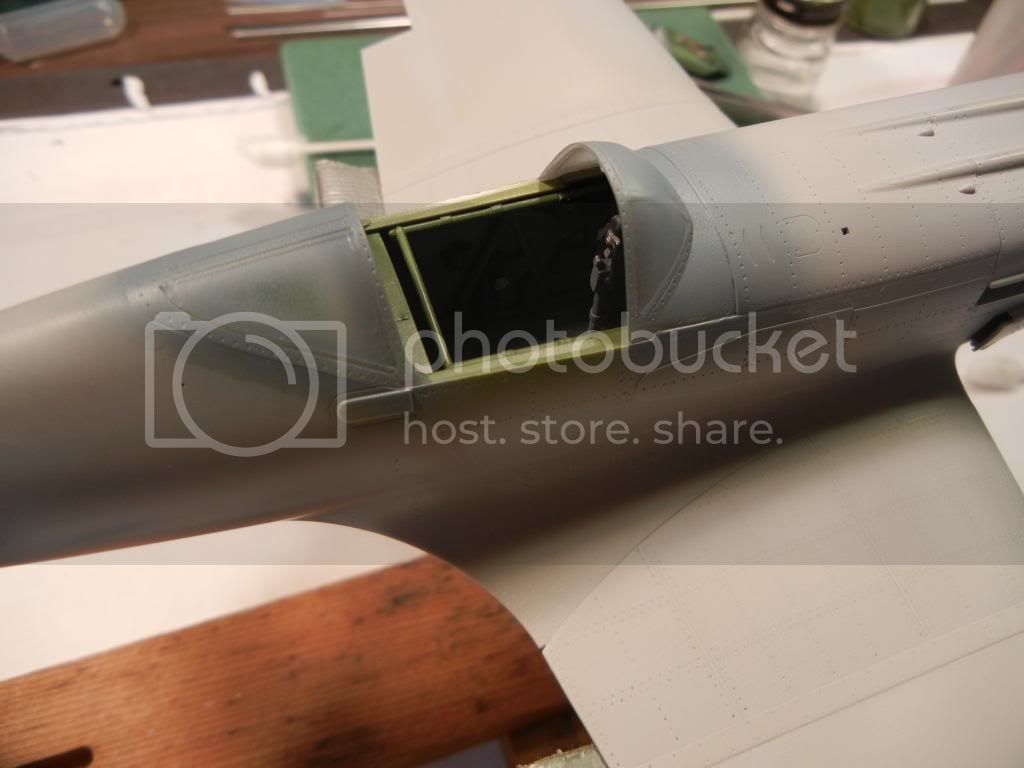
Finally, while waiting for the "canopy fairy" to deliver a new windscreen, I picked up another kit (as this one is enjoyable to build so I'll likely do another some day) and borrowed the windscreen from that one.

I then attached the front and rear canopy parts. The rear one sat a bit lower than the spine, but a little sanding of the spine and all was good. The front also sits a bit lower than the next section up, in future builds I tweek the part in front of the windscreen to get it to sit a little lower. For this one I'm afraid I'll need to do a little sanding as well and replace lost detail to get it closer.


That's it for now. Thanks for looking, comments/questions/critique always welcomed!

Doug
Joel_W
Staff MemberAssociate Editor
AUTOMODELER
_VISITCOMMUNITY
New York, United States
Joined: December 04, 2010
KitMaker: 11,666 posts
AeroScale: 7,410 posts
Posted: Friday, April 04, 2014 - 03:55 AM UTC
Doug,
Too bad that the canopy fairy didn't pay you a visit. I hate when you have to go out and buy a 2nd kit to replace missing or broken parts. I'll fess up and admit that I've had to do that a few times.

Your build is coming along nicely. Those prop blades really did look way too thick.

Joel
DougN1
_VISITCOMMUNITY
Georgia, United States
Joined: August 08, 2011
KitMaker: 410 posts
AeroScale: 409 posts
Posted: Friday, April 11, 2014 - 01:41 AM UTC
Thanks Joel, I'm still hopeful a new windscreen will show up, so I can build the second kit as well. This one has been an enjoyable build so I would like to do another at some point.

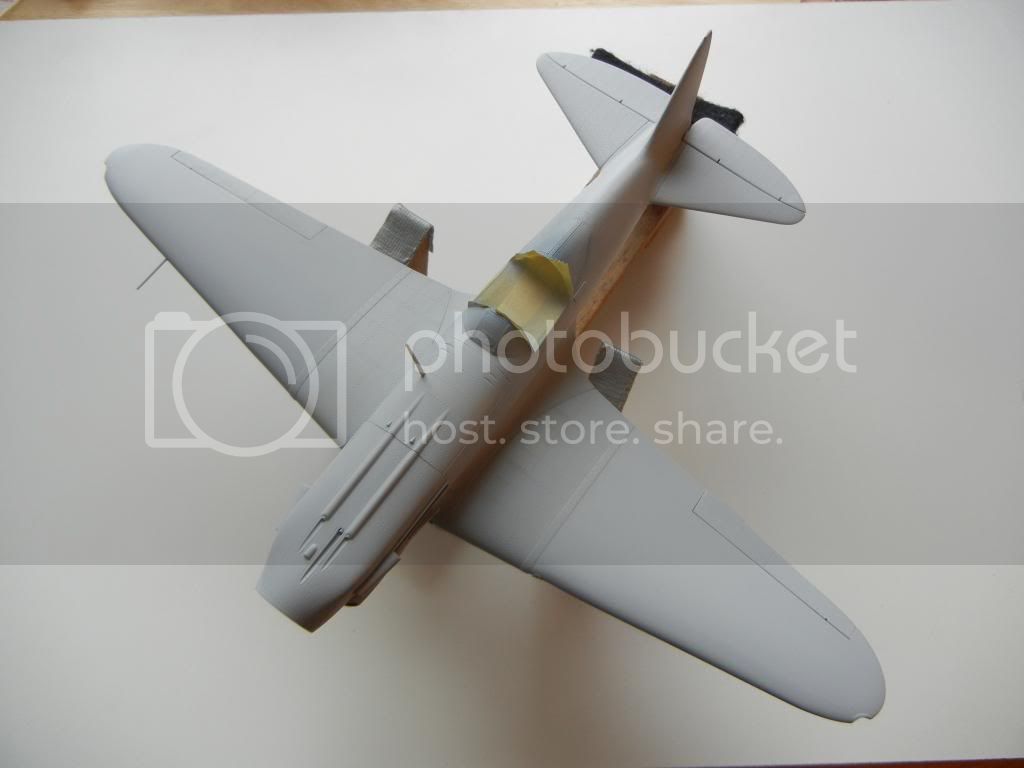
Getting close to the end, another update!

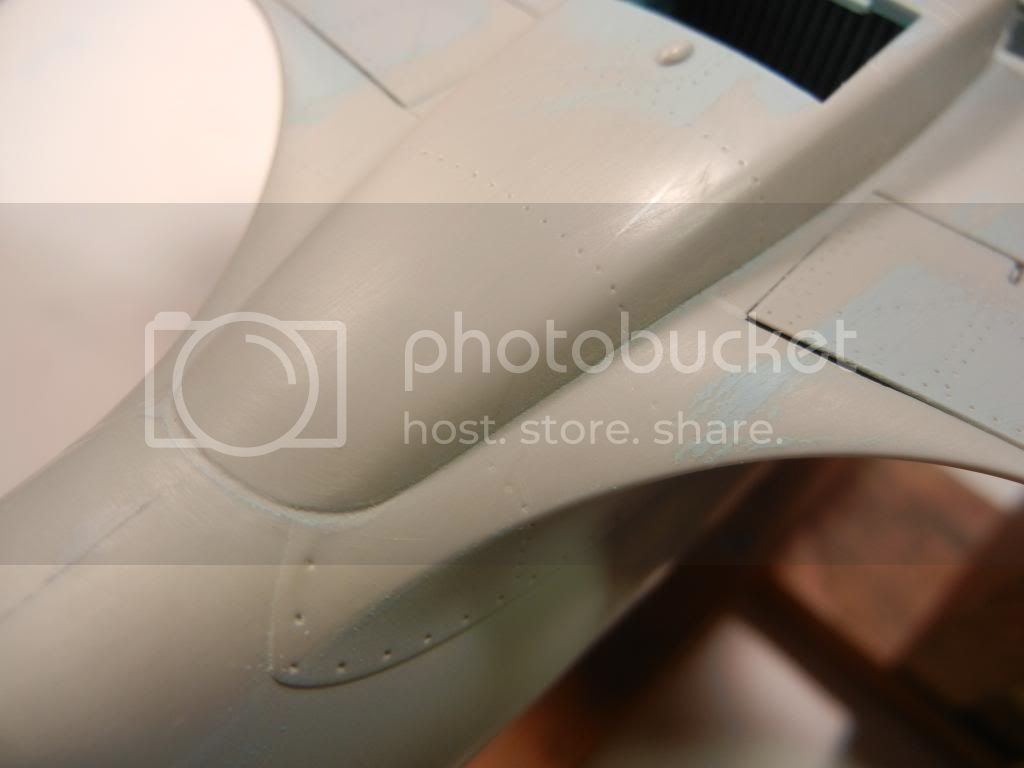
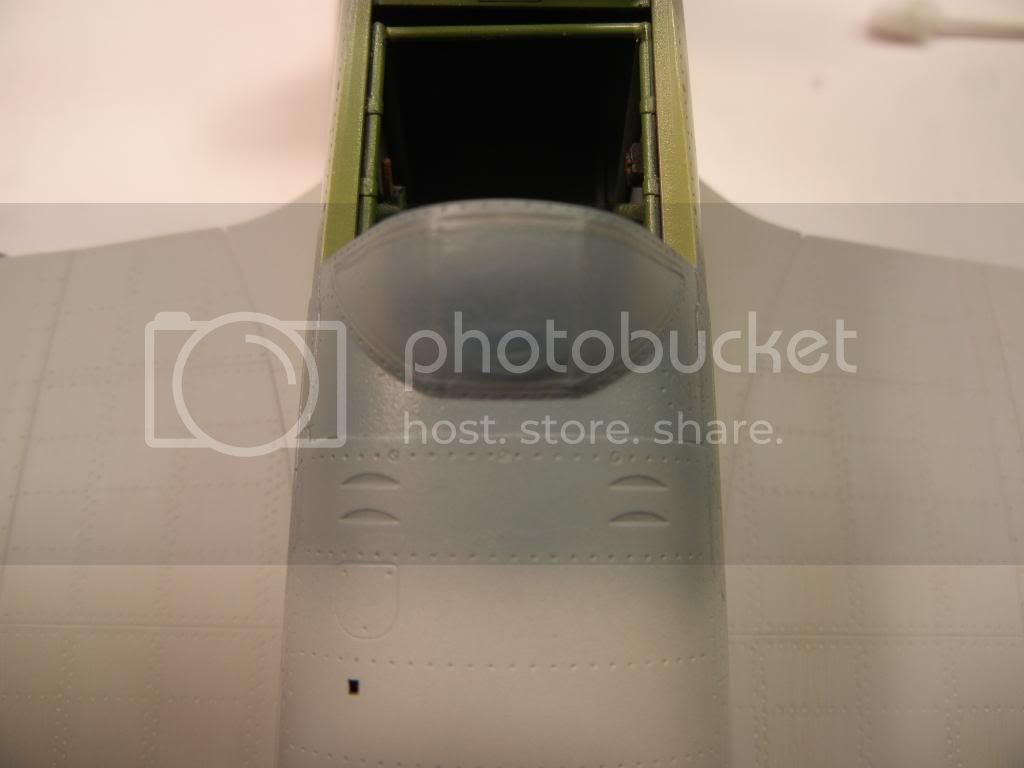
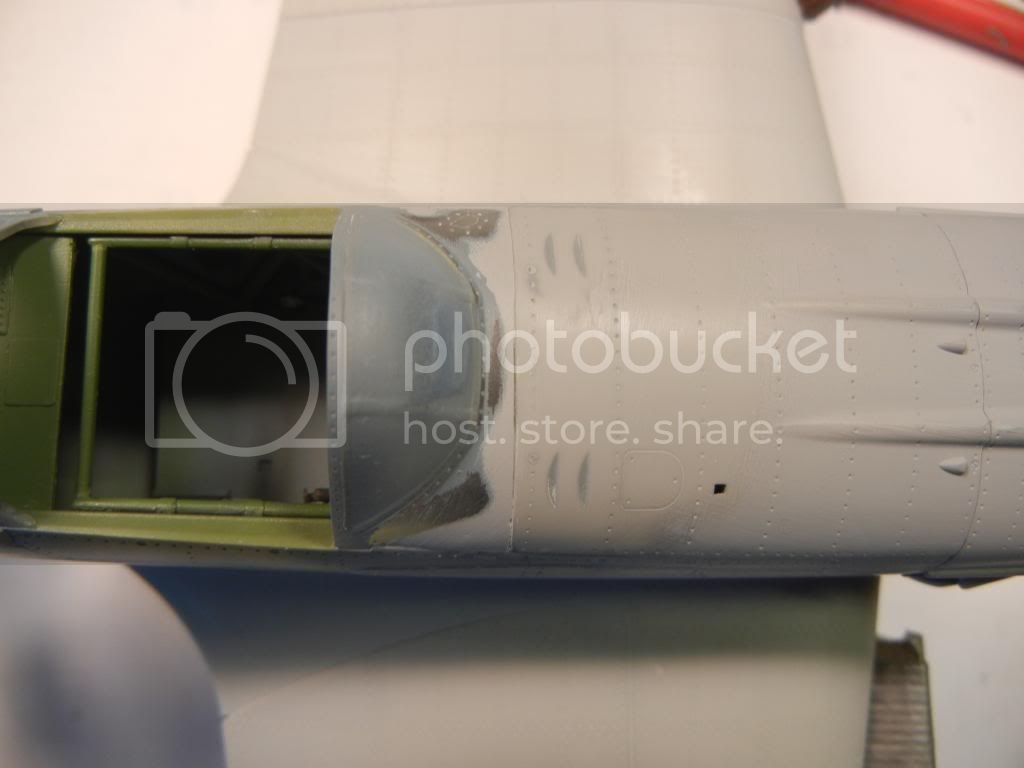
I applied some Mr Surfacer 500 around the windscreen join and sanded it out:


Fortunately it was pretty painless and I didn't lose much detail at all.

I also found that once I'd installed the new landing light, the clear part cover would not fit well. Since the shape was a little off anyway, I decided to just fill in the area with superglue and sand/polish it out:


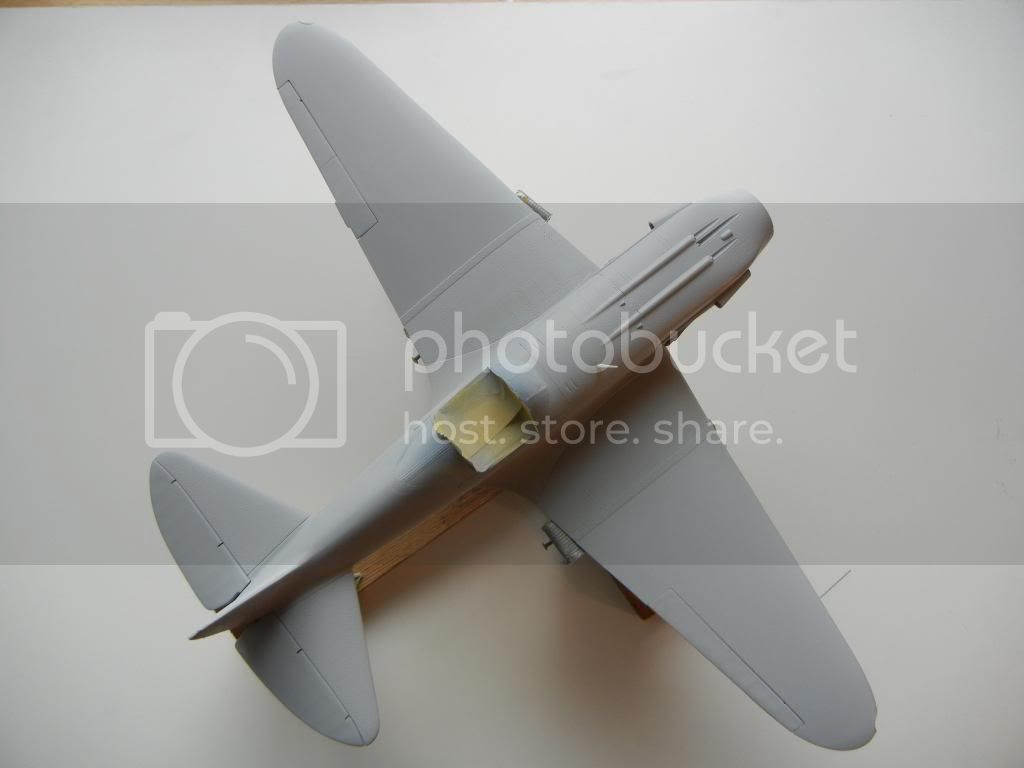
I then masked it and primed the airframe to get it ready for paint. But first, a shot of the modified control surfaces, compared with the unmodified kit items:


And, overall shots ready for paint!


That's it for now, thanks for looking! Comments/questions/critique always welcome!

Doug

Merlin
Staff MemberSenior Editor
AEROSCALE
#017
_VISITCOMMUNITY
United Kingdom
Joined: June 11, 2003
KitMaker: 17,582 posts
AeroScale: 12,795 posts
Posted: Friday, April 11, 2014 - 07:18 AM UTC
Hi Doug
Nice progress. I love the seamless glass-smooth shine over the wing's leading edge and landing lamp - a sight to make any modeller proud. The transformation of the fabric surfaces is excellent.

All the best

Rowan
DougN1
_VISITCOMMUNITY
Georgia, United States
Joined: August 08, 2011
KitMaker: 410 posts
AeroScale: 409 posts
Posted: Friday, April 18, 2014 - 12:40 AM UTC
Thanks Rowan

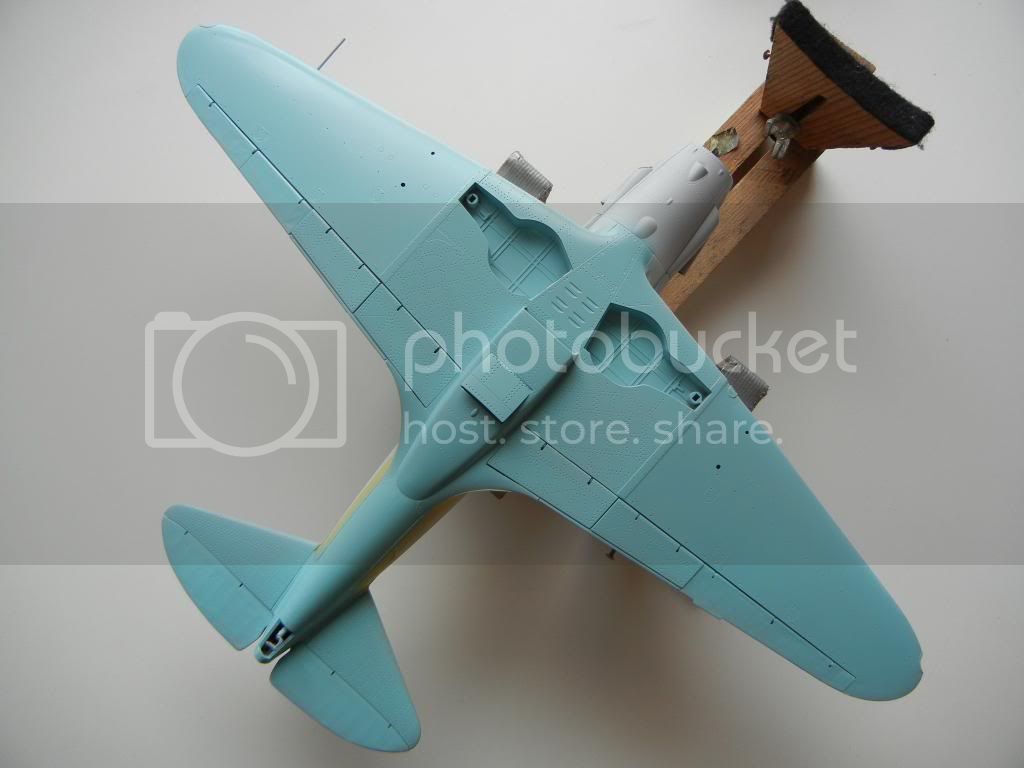
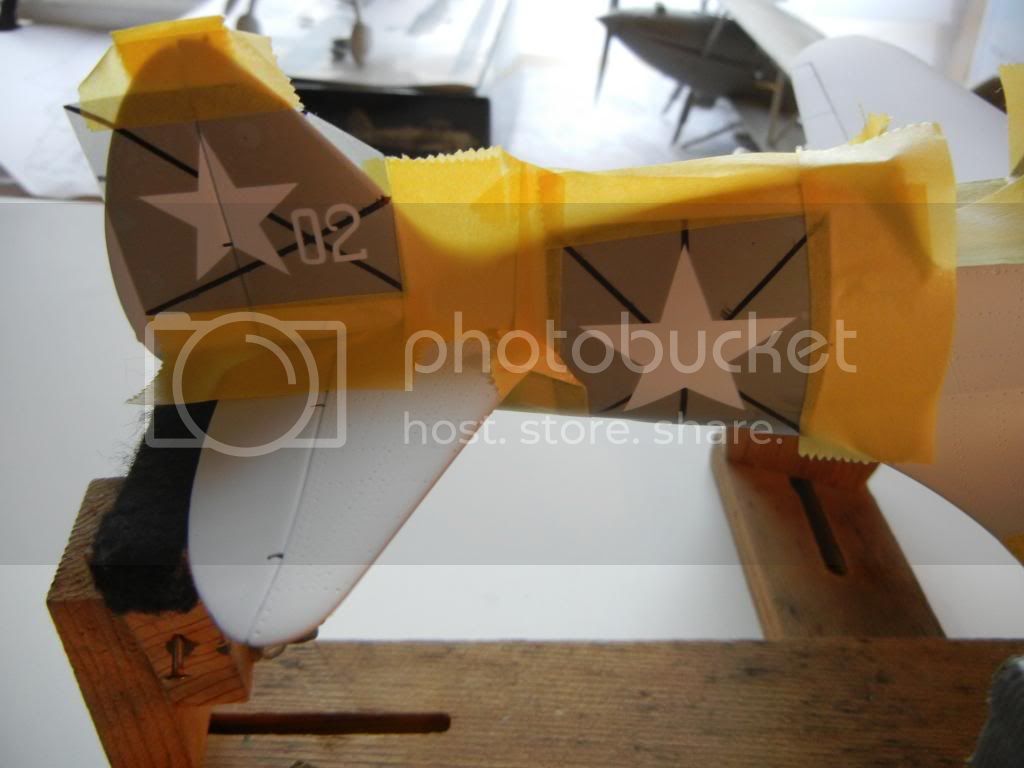
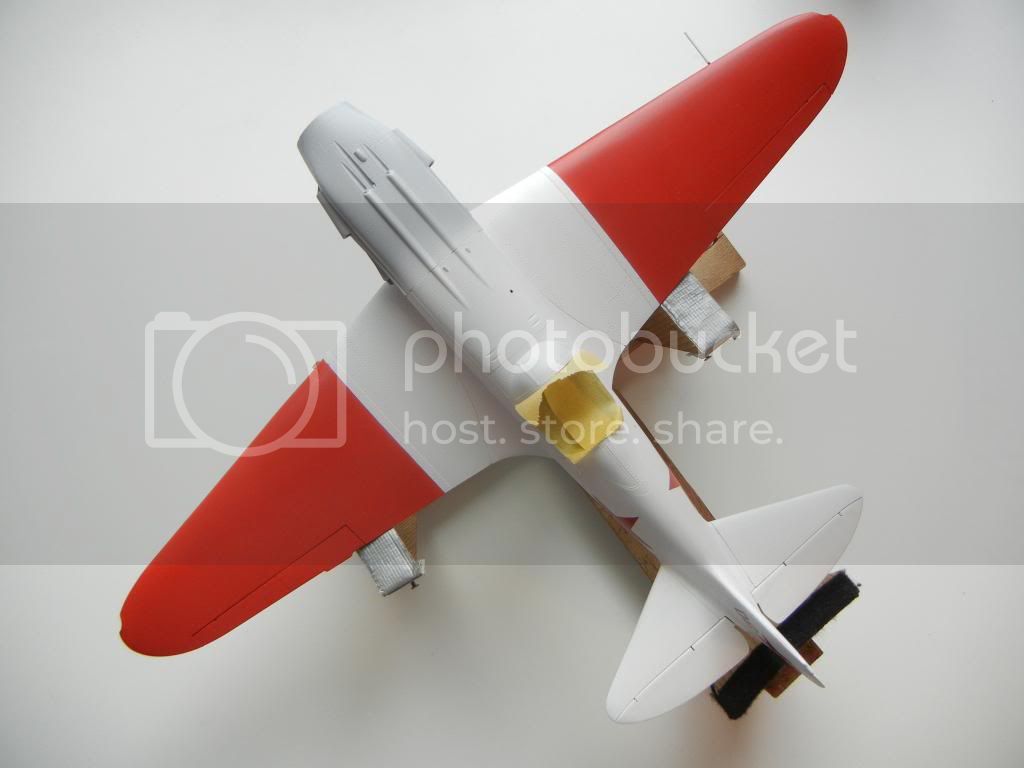
Getting near the end! Got all the painting wrapped up now.

Underside blue on:


Painted the topsides white, and applied the masks for the markings:


Red paint on:


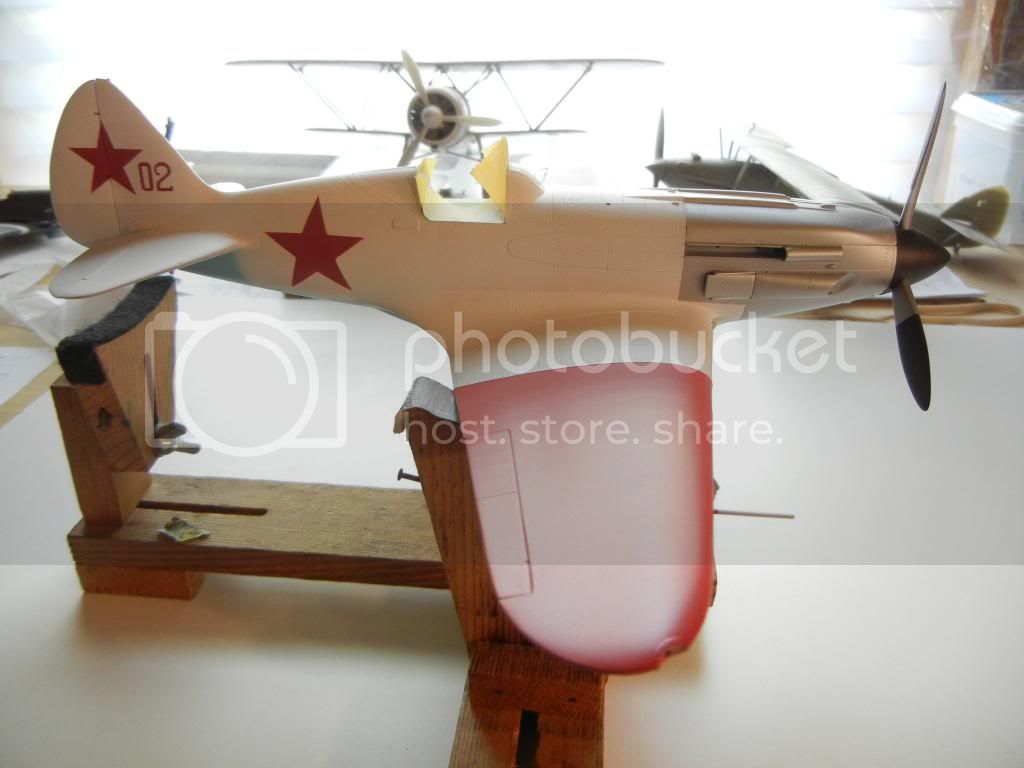
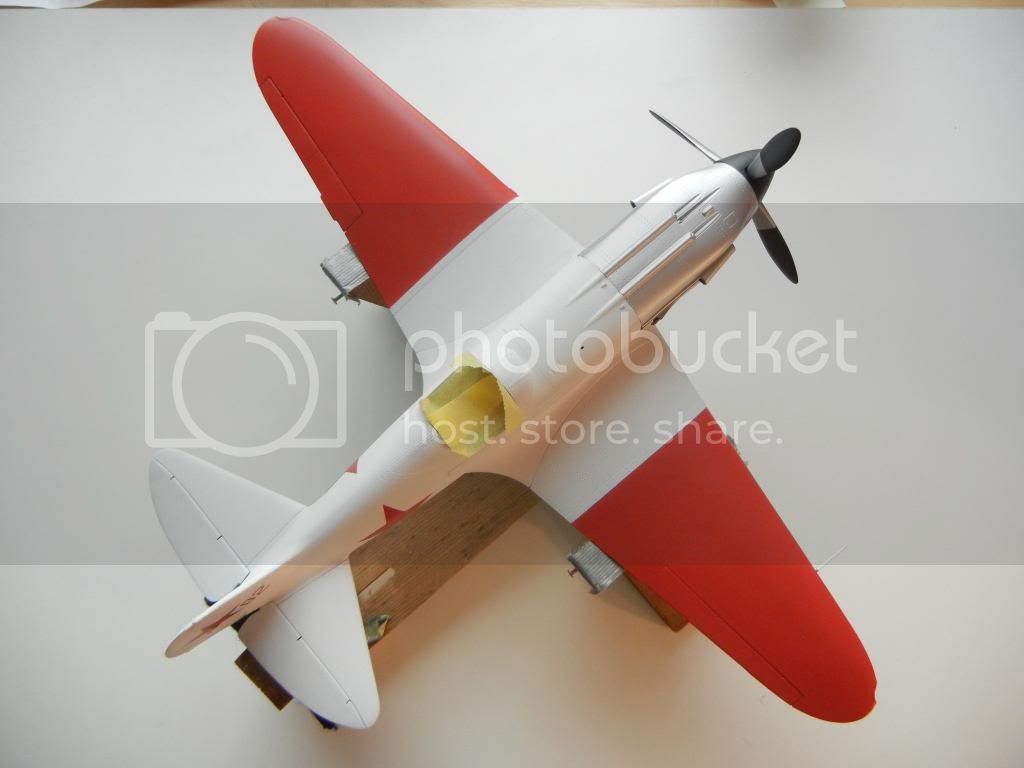
Painted the engine "pod" silver (prop just stuck on for glamour shot):


Need to get the main gear together and attached, and the exhaust, aerials, and other small bits, and then do some weathering on the finish.

Thanks for looking! Comments/critique/questions welcome!

Doug
Joel_W
Staff MemberAssociate Editor
AUTOMODELER
_VISITCOMMUNITY
New York, United States
Joined: December 04, 2010
KitMaker: 11,666 posts
AeroScale: 7,410 posts
Posted: Friday, April 18, 2014 - 04:57 AM UTC
Dough,
Outstanding progress. I certainly agree with Rowan that your decision to use super glue for the landing light lens, was the right one. I'm kicking my self in the butt right about now, for not doing that on my F4B build. Would have solved a few issues I'll be facing.
Paint is just perfect. Is the engine covers a metalizer type paint? Love your masked insignias, they came out fantastic.

Joel
DougN1
_VISITCOMMUNITY
Georgia, United States
Joined: August 08, 2011
KitMaker: 410 posts
AeroScale: 409 posts
Posted: Wednesday, April 23, 2014 - 01:25 AM UTC
Thanks Joel The engine "pod" is just Mr Color Silver (#8).

Ok, got this one about wrapped up. Of course had a "last minute" issue to deal with, but that's normal for me

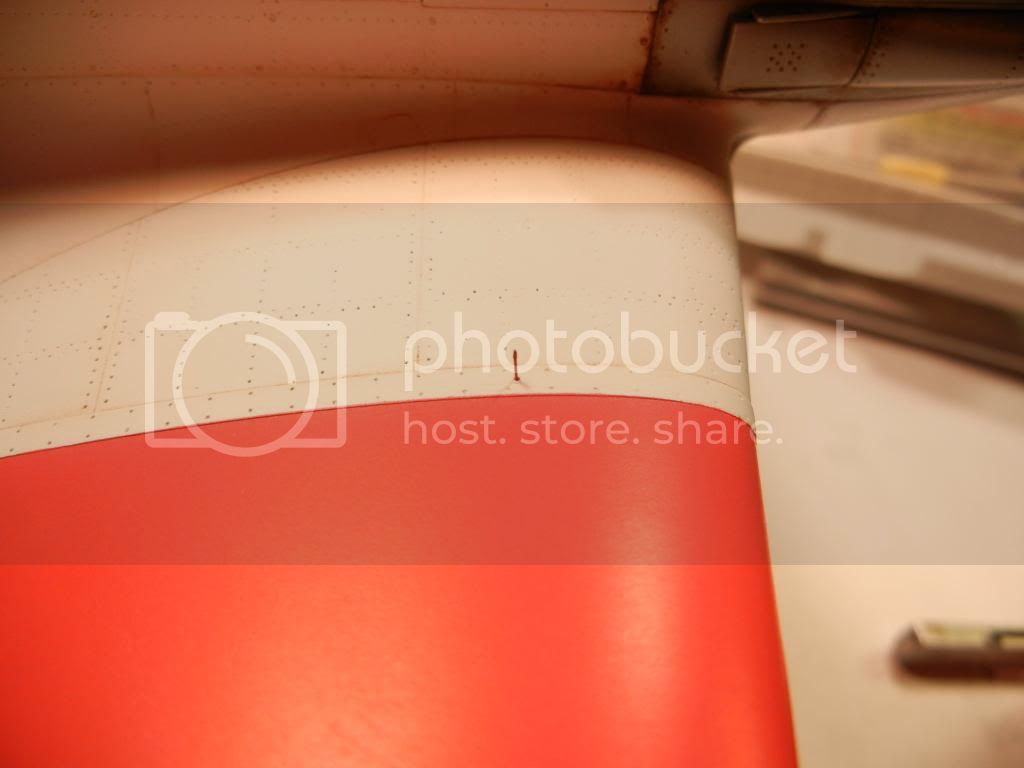
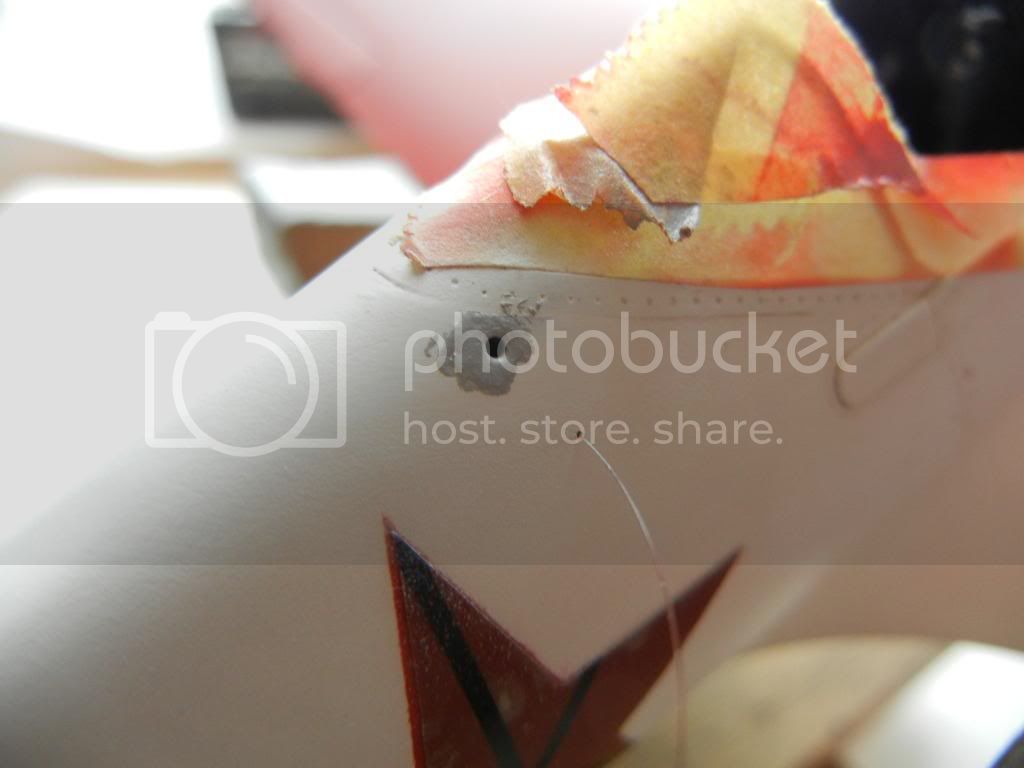
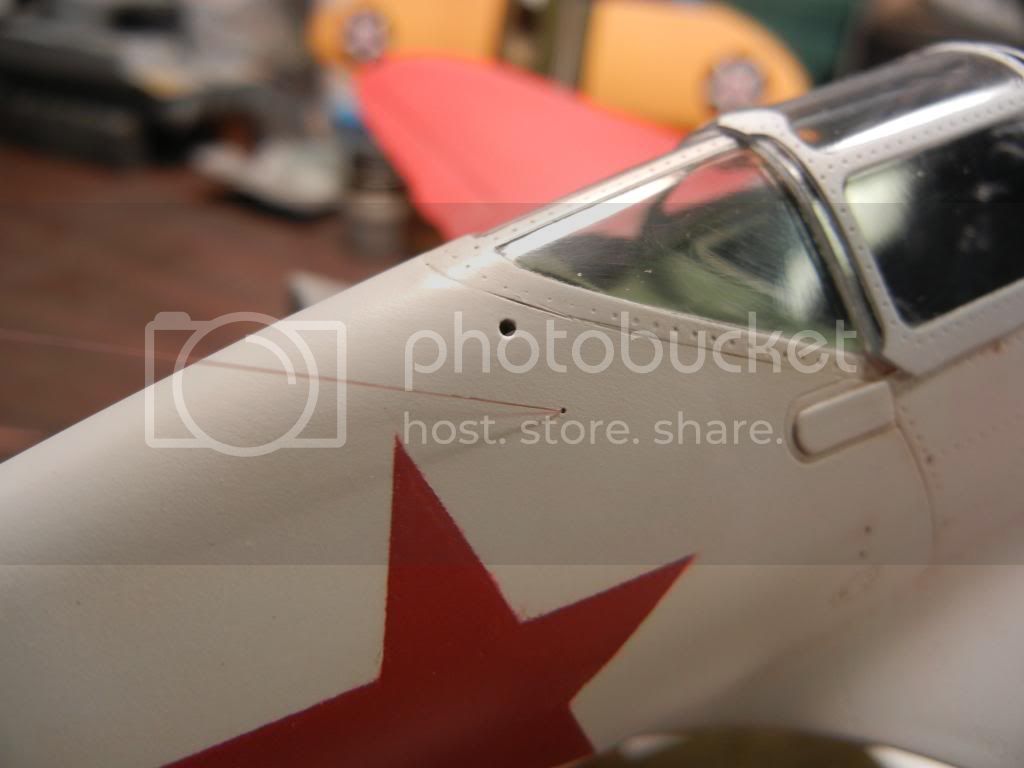
The kit has some recessed circles behind the cockpit that are supposed to represent the ventilation holes on either side of the fuselage. While I was rigging the aerial wire I was looking at that area and decided I needed to drill them out. Not bothering to go get my references, I selected the drill bit that matched the size of the recessed circle and drilled away. When completed, it looked much too large. At that point, I checked my references and confirmed that was indeed the case. So, I filled it in with some Mr Dissolved Putty, let it dry, sanded it out, re-drilled the correct sized hole, put some Mr Surfacer 500 on it and finally sanded and repainted and re-weathered that area:


Finished:


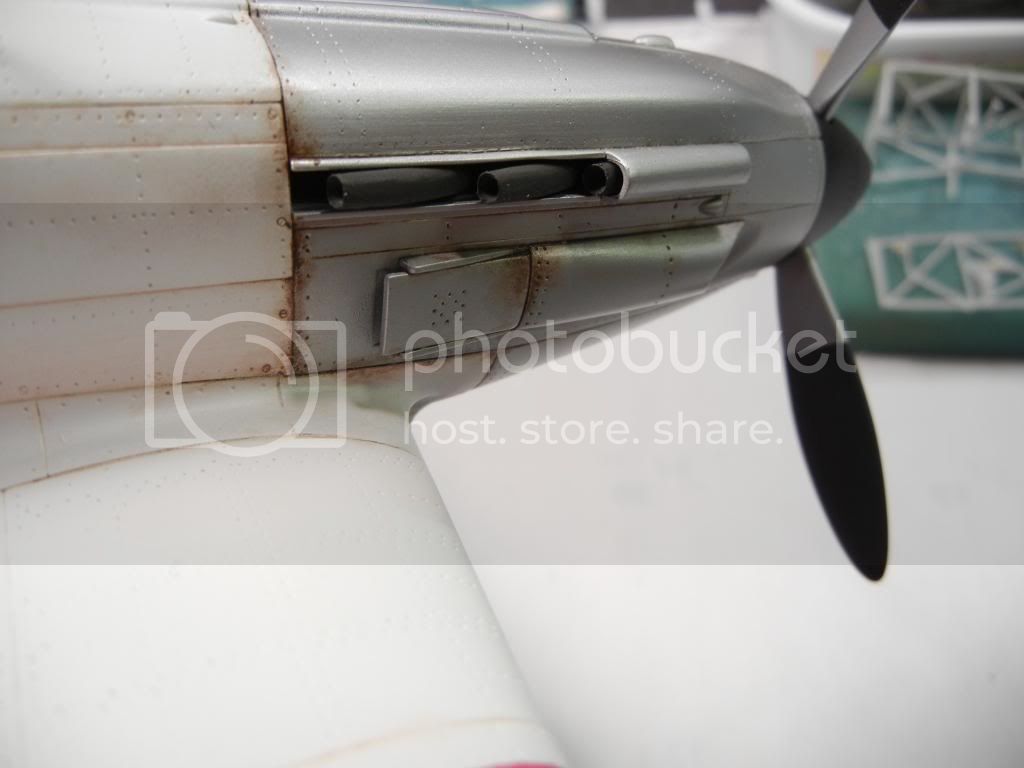
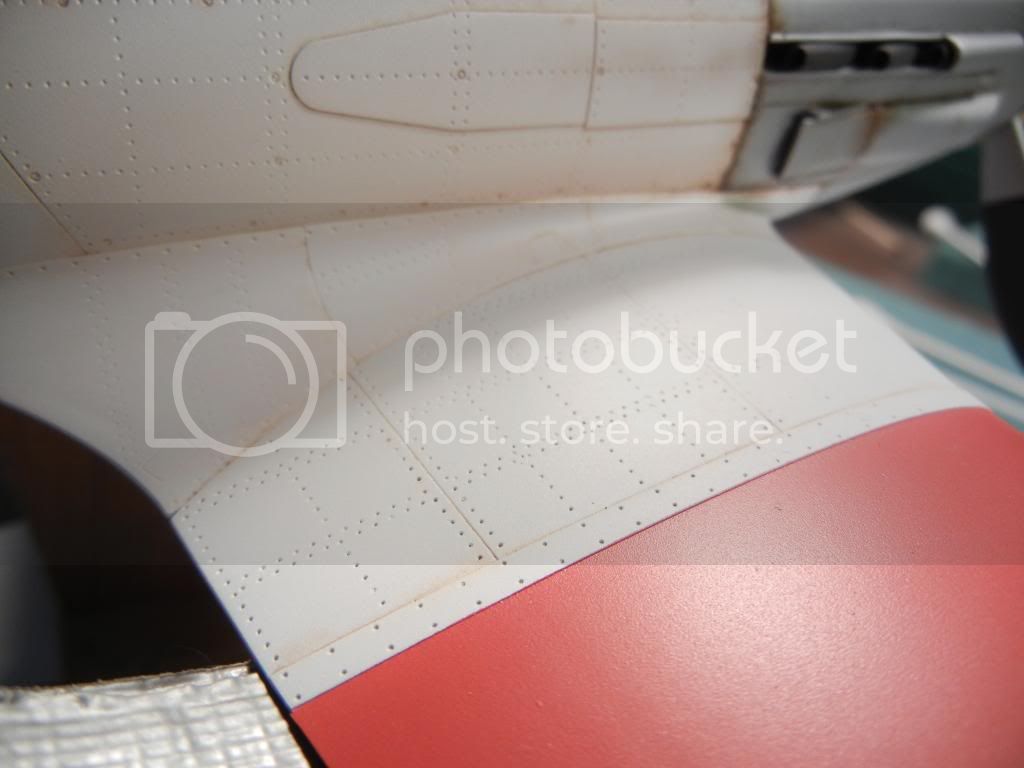
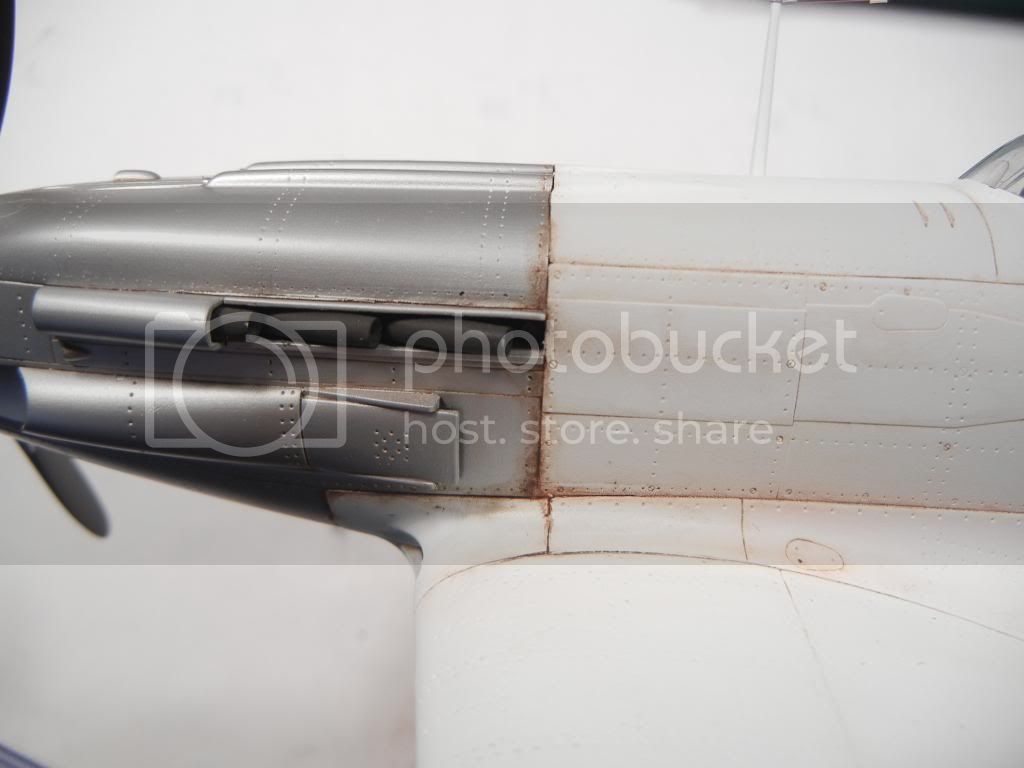
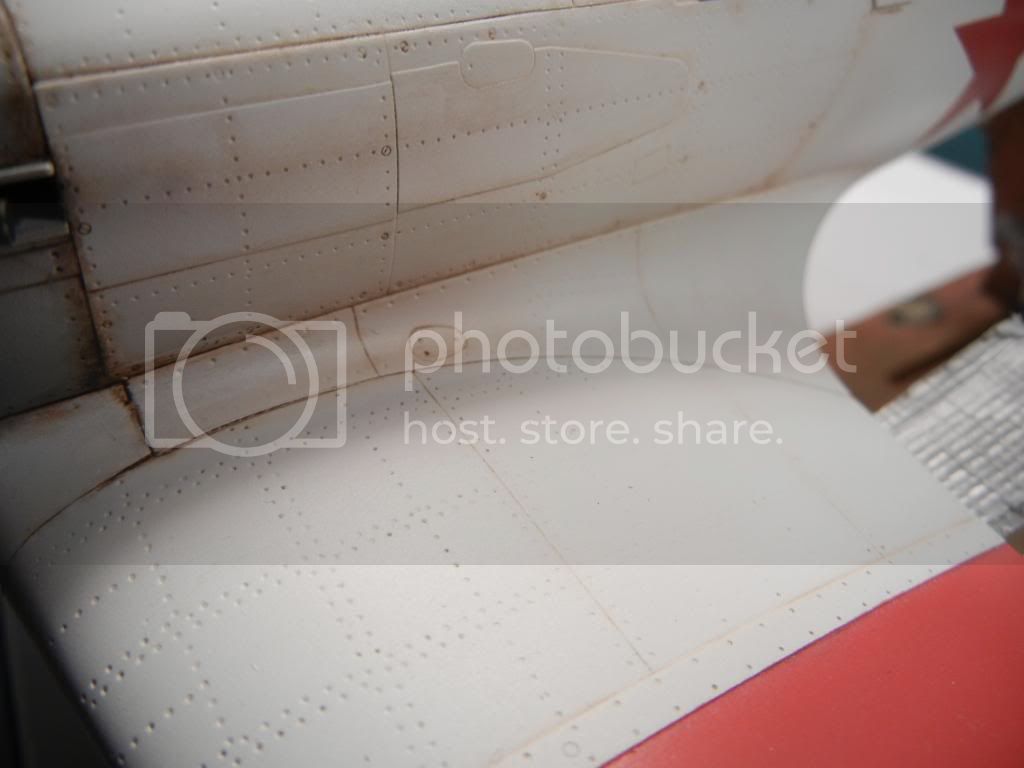
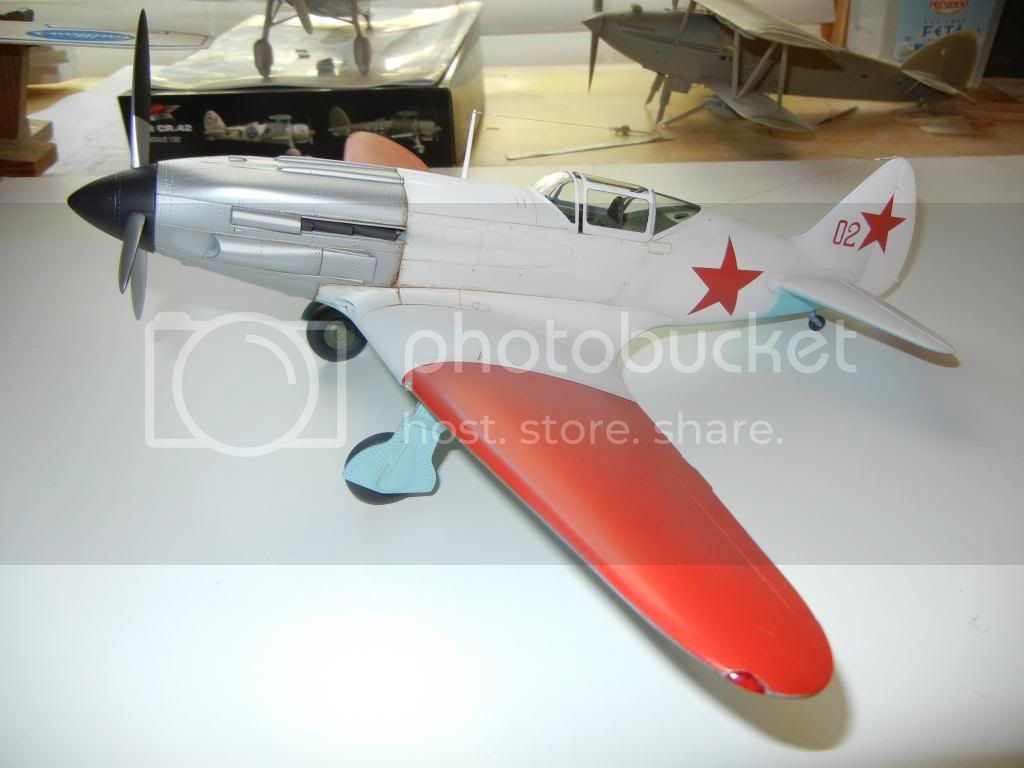
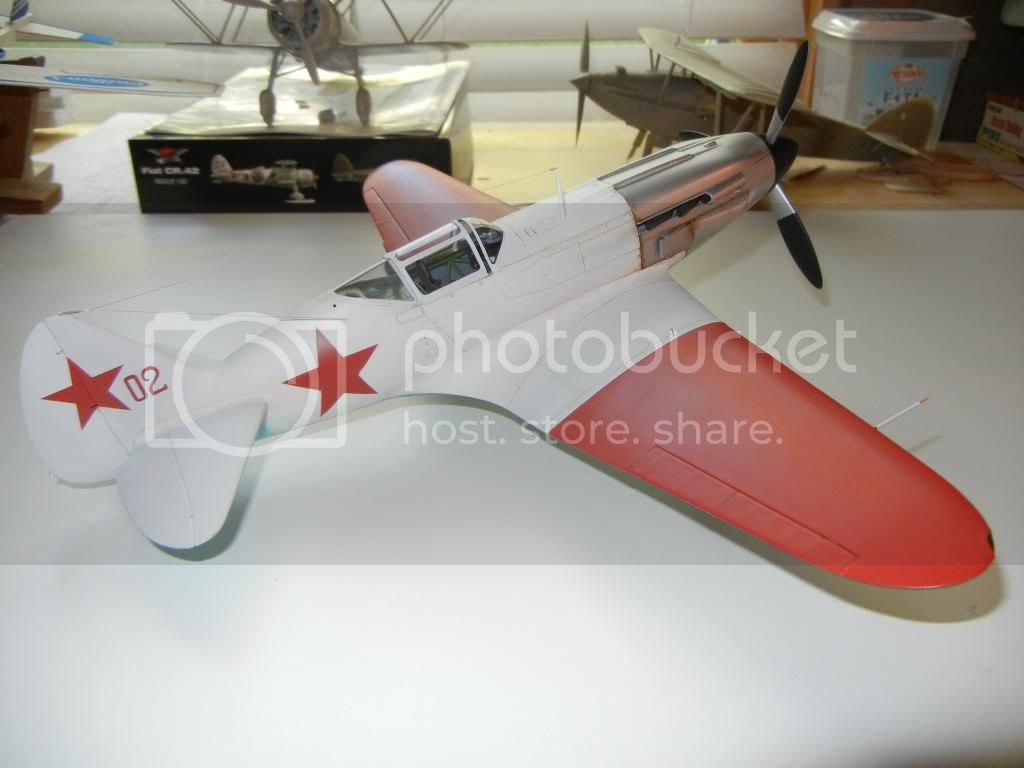
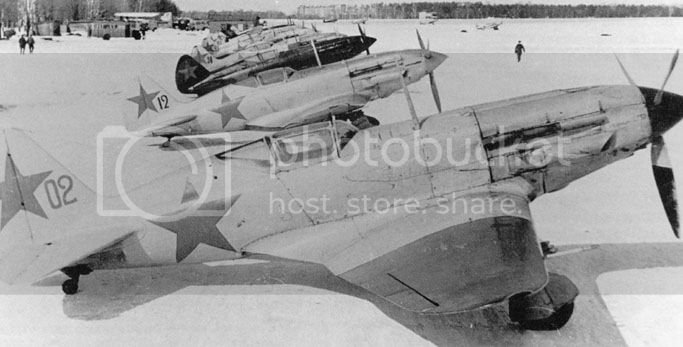
The aircraft I am modelling is "Red 02", which may have had red, or green outer wings. As cases can be made for either color, I decided to go with red as it looked better This aircraft is overall pretty clean, however there is some "gunk" around the rear of the cowling panels where they meet the fuselage, as can be seen in this photo.


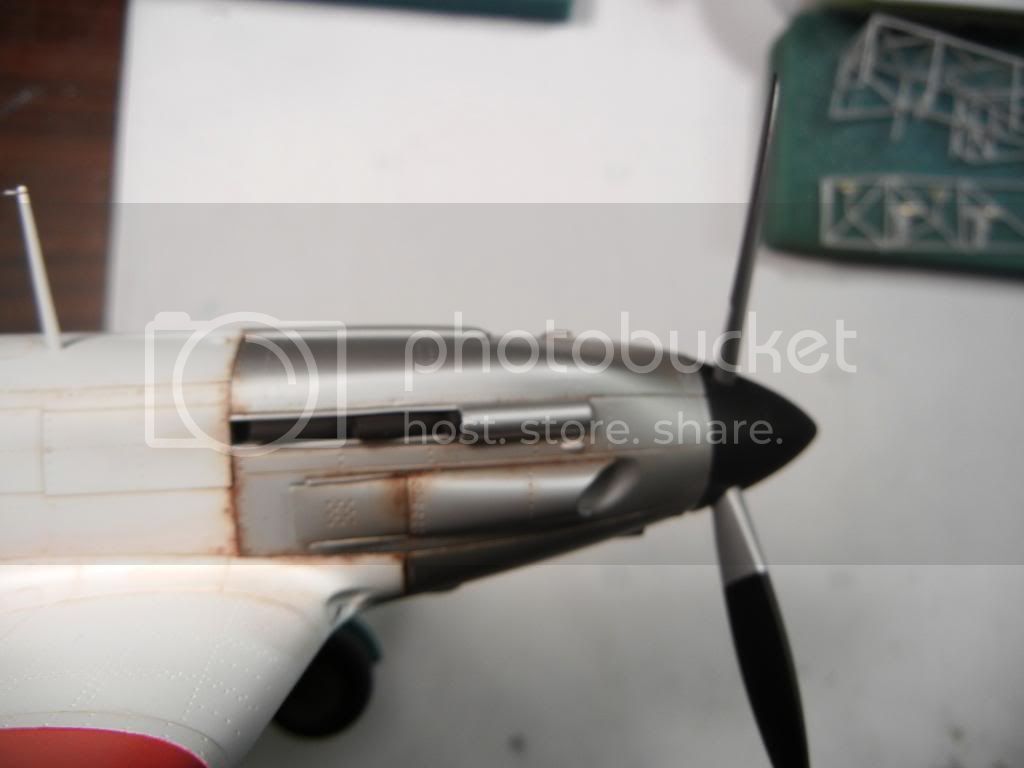
I tried to replicate this look using some burnt umber oil wash, and applied it as follows. The port side is speculative of course:


As on the real aircraft, the "gunk" and dirt was applied the heaviest around the engine area, and then progressively lighter further away.

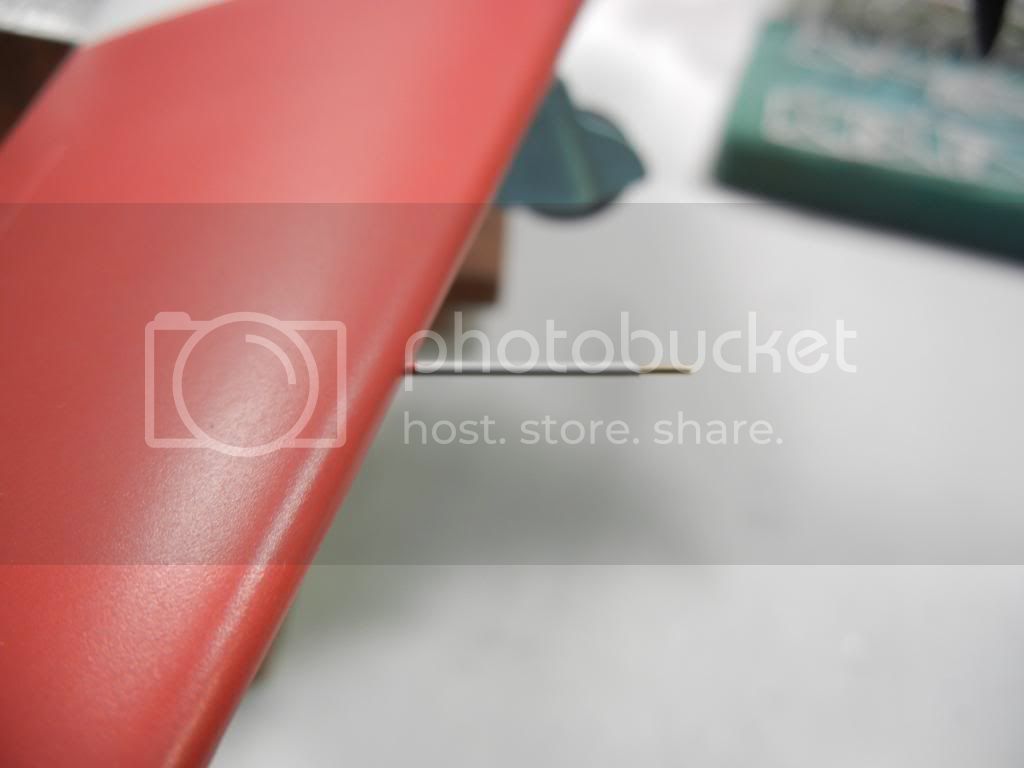
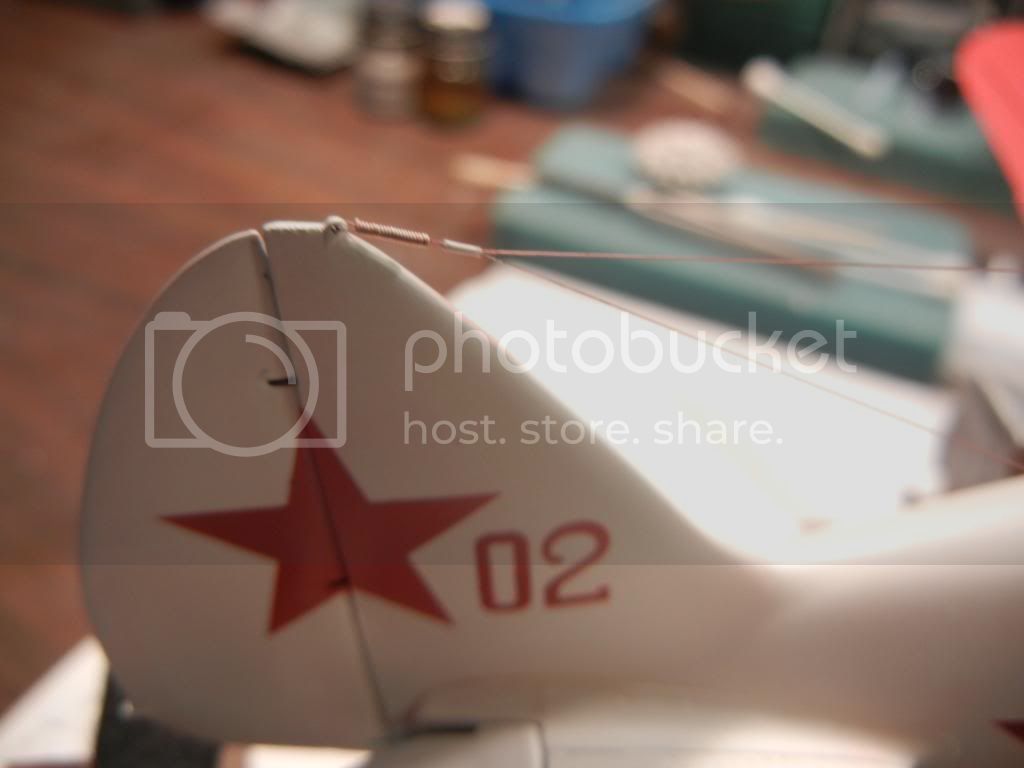
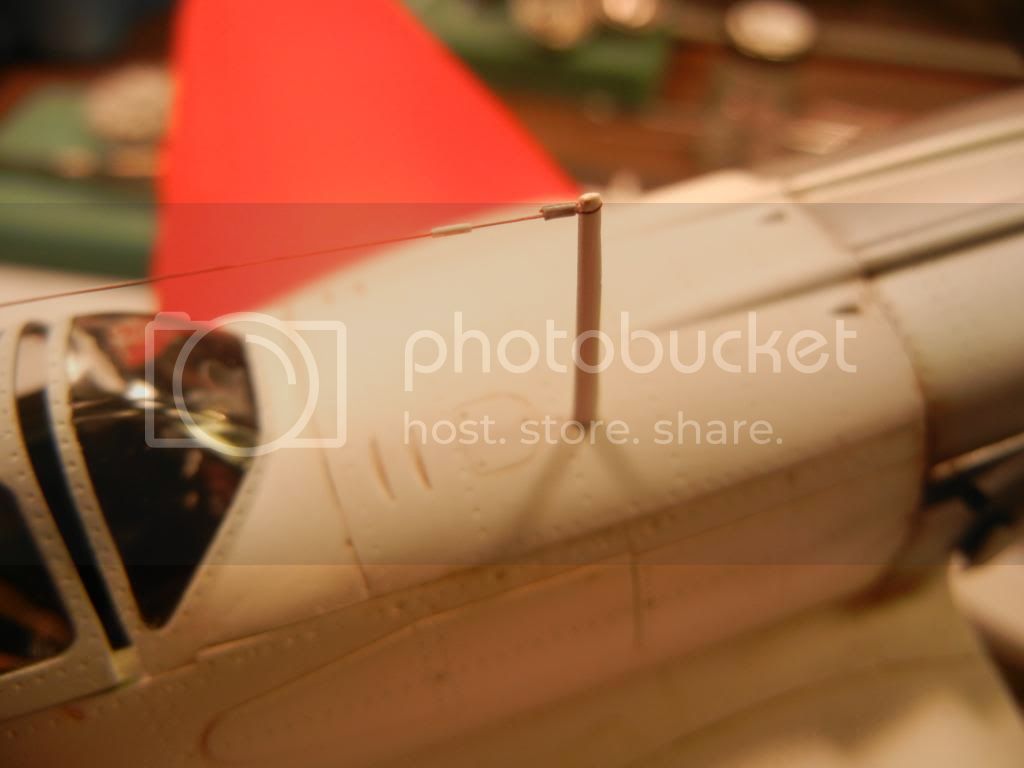
I also added all the last bits to the model. such as the aerial wires, pitot tube from brass tube, and the landing gear indicators:


So that about wraps this one up! Here are a couple of poor photos to get the overall look. I'll try to take some better photos for a feature article in the next few days.


Thanks for following along! I hope you enjoyed this build as much as I did

Thanks,

Doug
Joel_W
Staff MemberAssociate Editor
AUTOMODELER
_VISITCOMMUNITY
New York, United States
Joined: December 04, 2010
KitMaker: 11,666 posts
AeroScale: 7,410 posts
Posted: Wednesday, April 23, 2014 - 01:43 AM UTC
Doug,
Congrats on completing a truly excellent build, and a equally well written and photographed Build Blog that was a pleasure to follow from start to completion.

The weathering came out perfectly, and compares quite well with your reference photographs. A job extremely well done.

Looking forward to your Feature Article.
Joel
Holdfast
Staff MemberPresident
IPMS-UK KITMAKER BRANCH
#056
_VISITCOMMUNITY
England - South West, United Kingdom
Joined: September 30, 2002
KitMaker: 8,581 posts
AeroScale: 4,913 posts
Posted: Wednesday, April 23, 2014 - 07:00 PM UTC
Yes Doug really well done and I will be using this for reference when I get hold of one of these kits, so thanks for the well written blog and some nice photos
Merlin
Staff MemberSenior Editor
AEROSCALE
#017
_VISITCOMMUNITY
United Kingdom
Joined: June 11, 2003
KitMaker: 17,582 posts
AeroScale: 12,795 posts
Posted: Wednesday, April 23, 2014 - 07:42 PM UTC
Hi Doug

Fantastic job as ever! Great invisible touch up to the paint job after drilling.

All the best

Rowan
Joel_W
Staff MemberAssociate Editor
AUTOMODELER
_VISITCOMMUNITY
New York, United States
Joined: December 04, 2010
KitMaker: 11,666 posts
AeroScale: 7,410 posts
Posted: Thursday, April 24, 2014 - 01:10 AM UTC

Quoted Text

Hi Doug

Fantastic job as ever! Great invisible touch up to the paint job after drilling.

All the best

Rowan


Rowan really got it right when he said that your touch up of the drilled out hole is invisible.
Joel
 _GOTOTOP