Paints: Vallejo & Tamiya
Weathering: True Earth Whitewash; Iawa Com.Art Acrylics

The Kit:
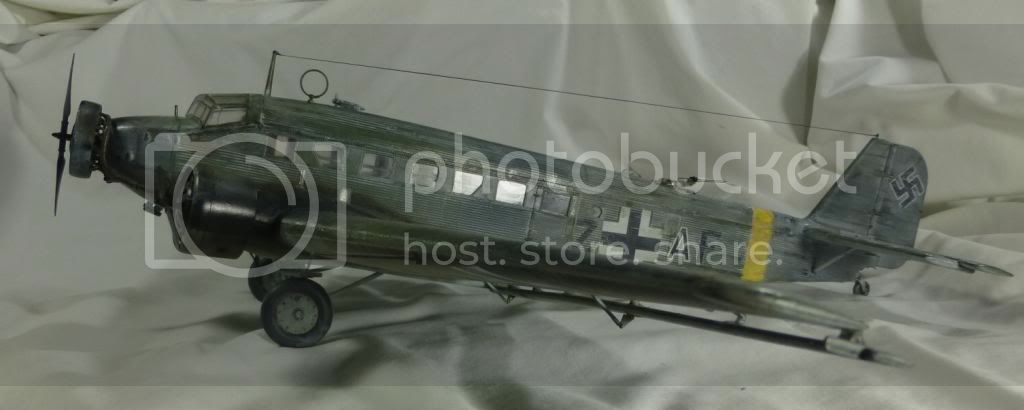
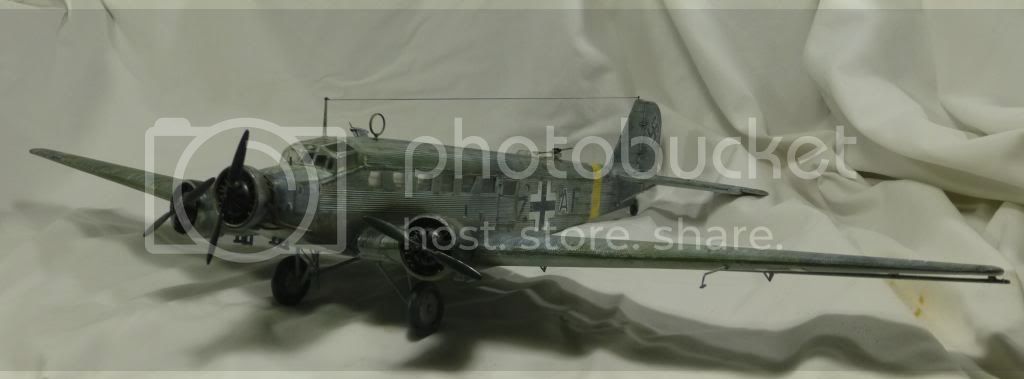
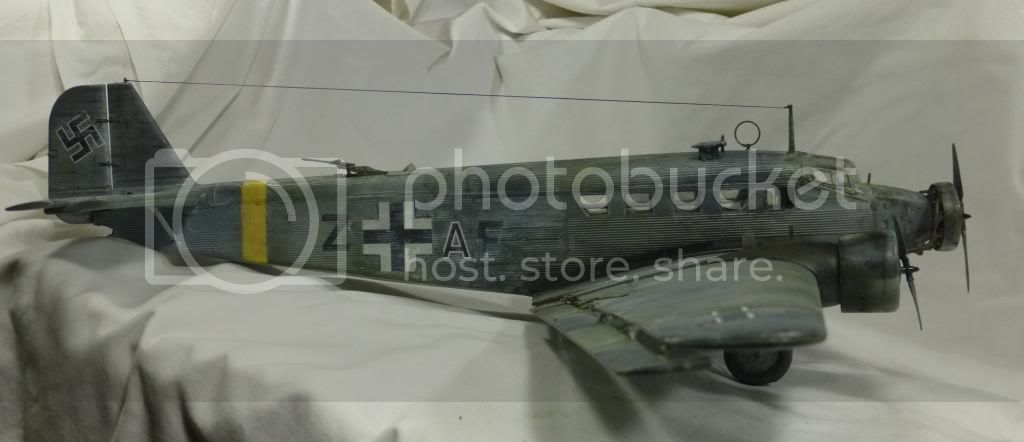
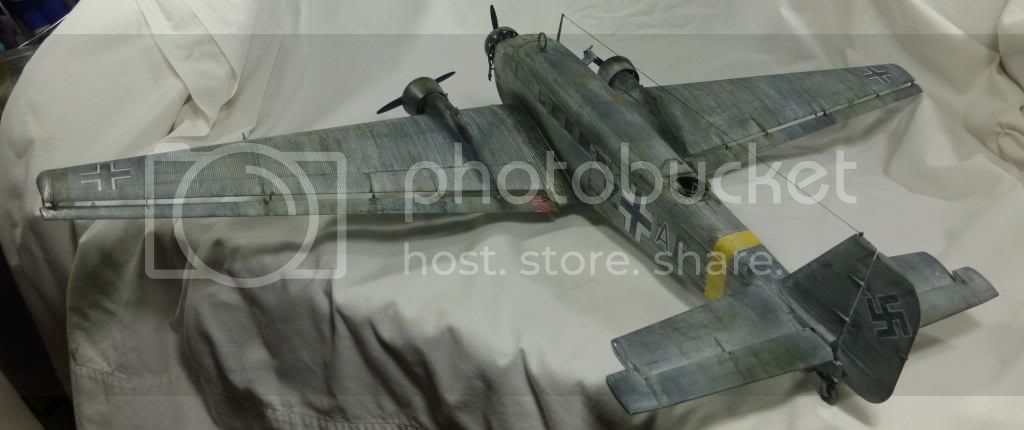
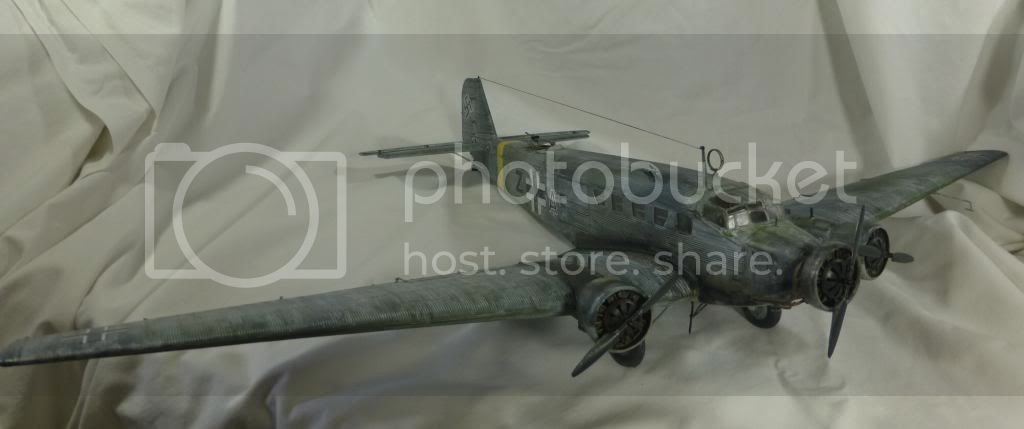
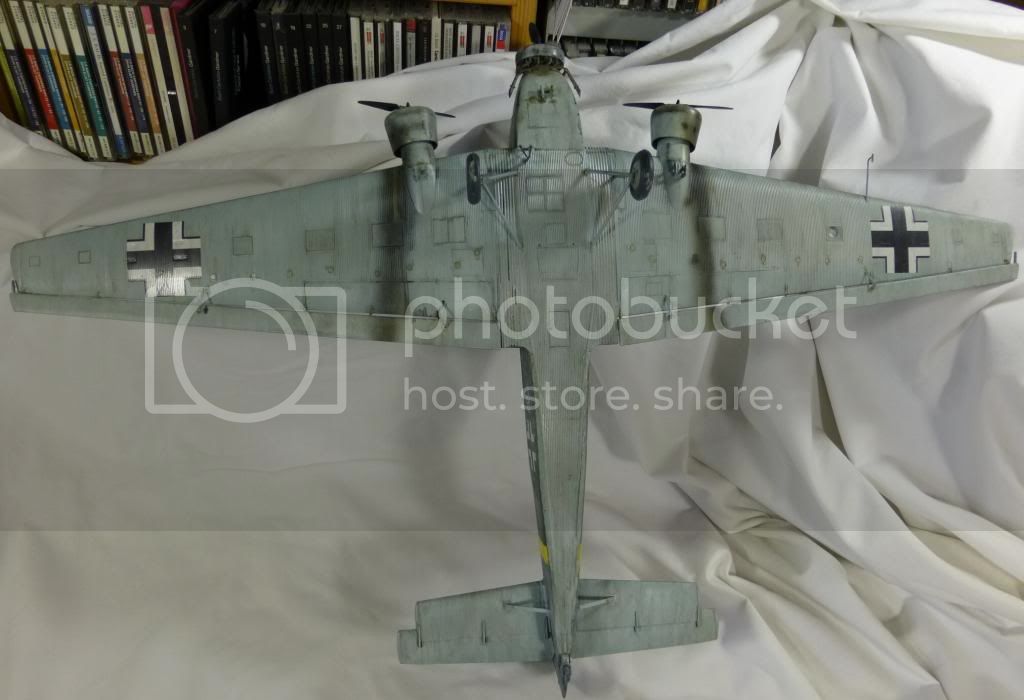
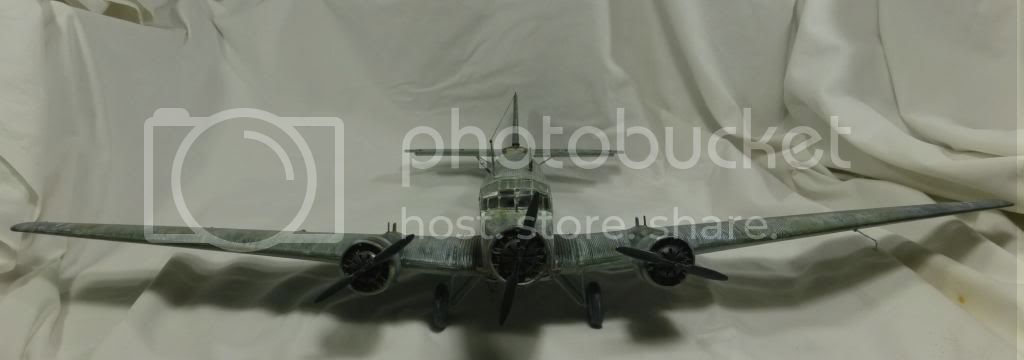
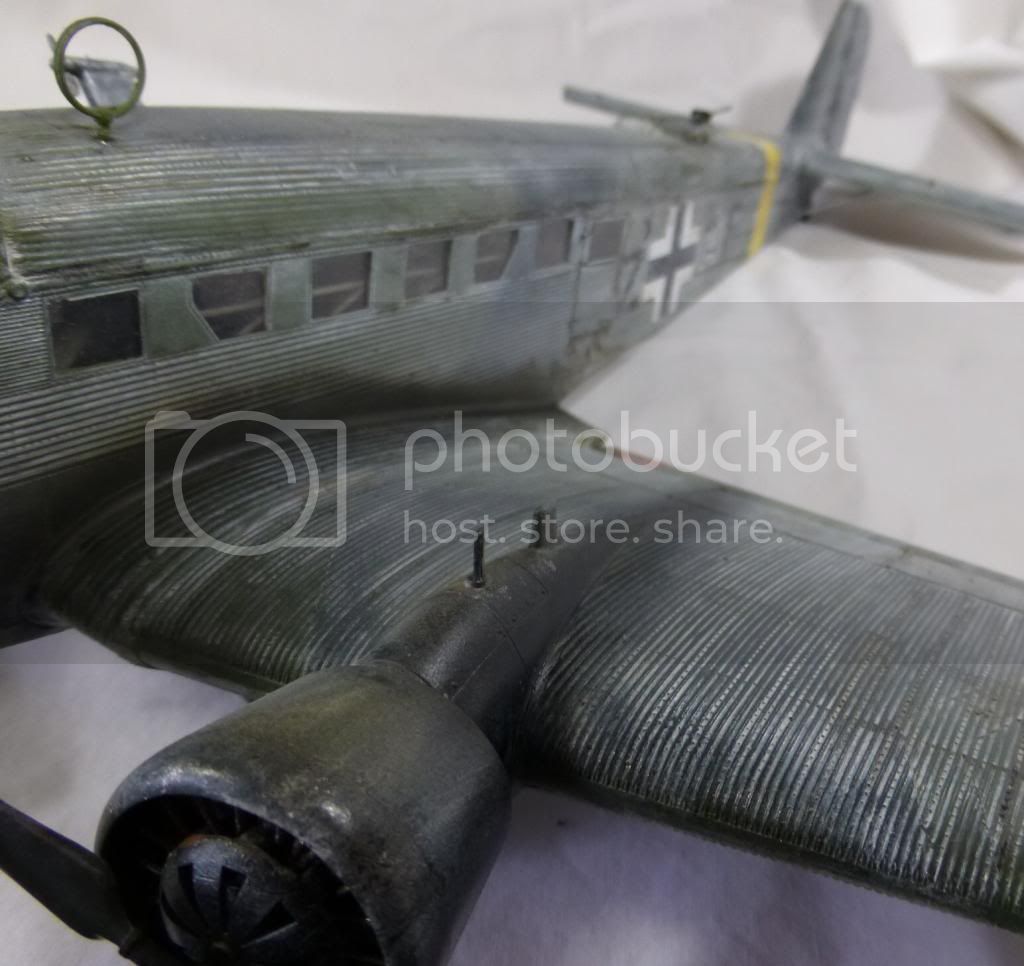
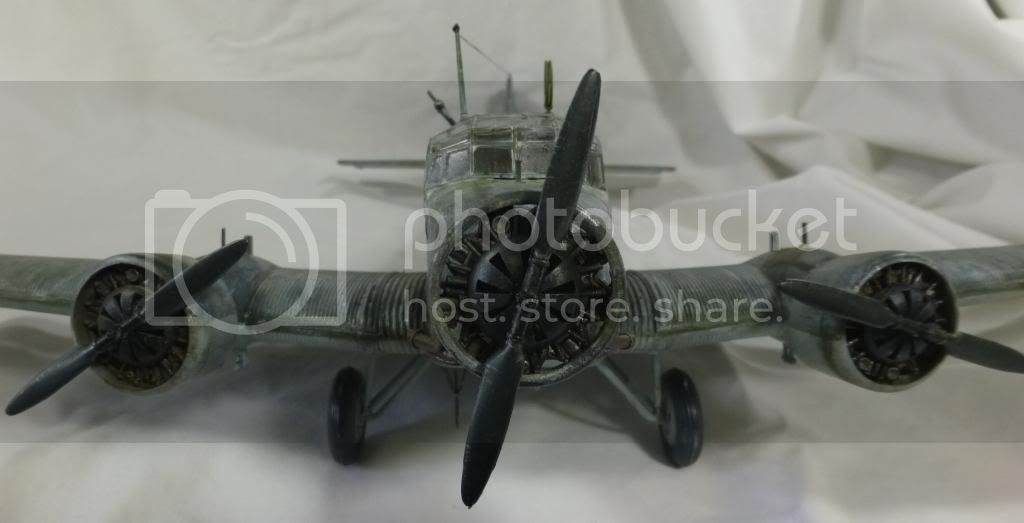
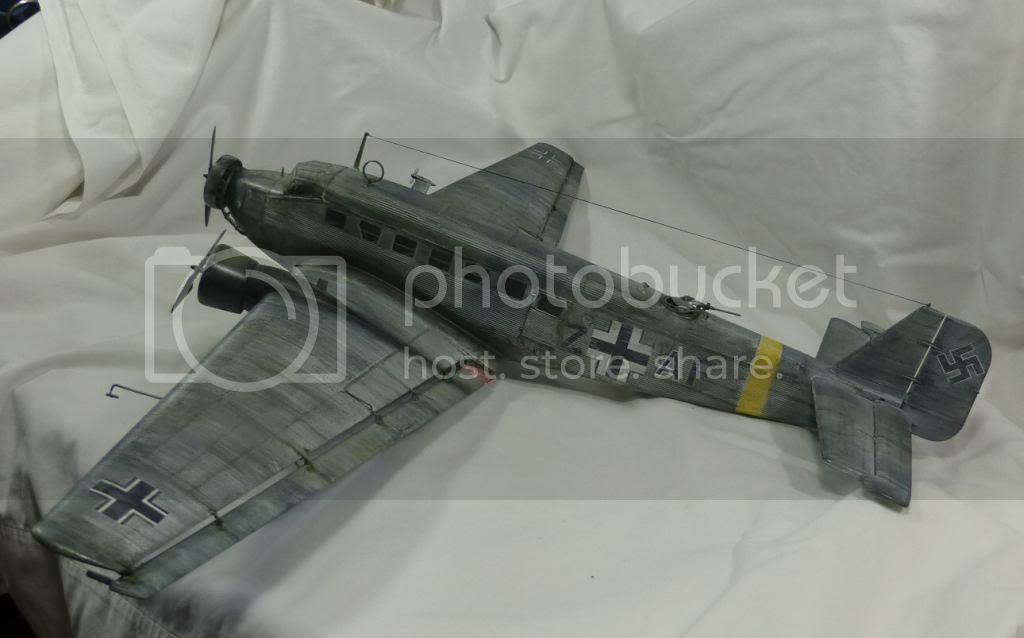
This is my build of Revell's rendition of the redoubtable JU-52 transport that was as important to the Wehrmacht as C-47s were to the allies: very. The first thing that strikes you is that “Tante” (auntie) Ju-52 was a good sized plane: at 1/48 scale it's much the larges aircraft model I've built. (I'm very glad now that I've bought a B-17, Sunderland and Lancaster in 1/72: I'm not sure where I'm going to put this one.) The part count is moderate, but the detail is very impressive especially when you consider the $25 cost.
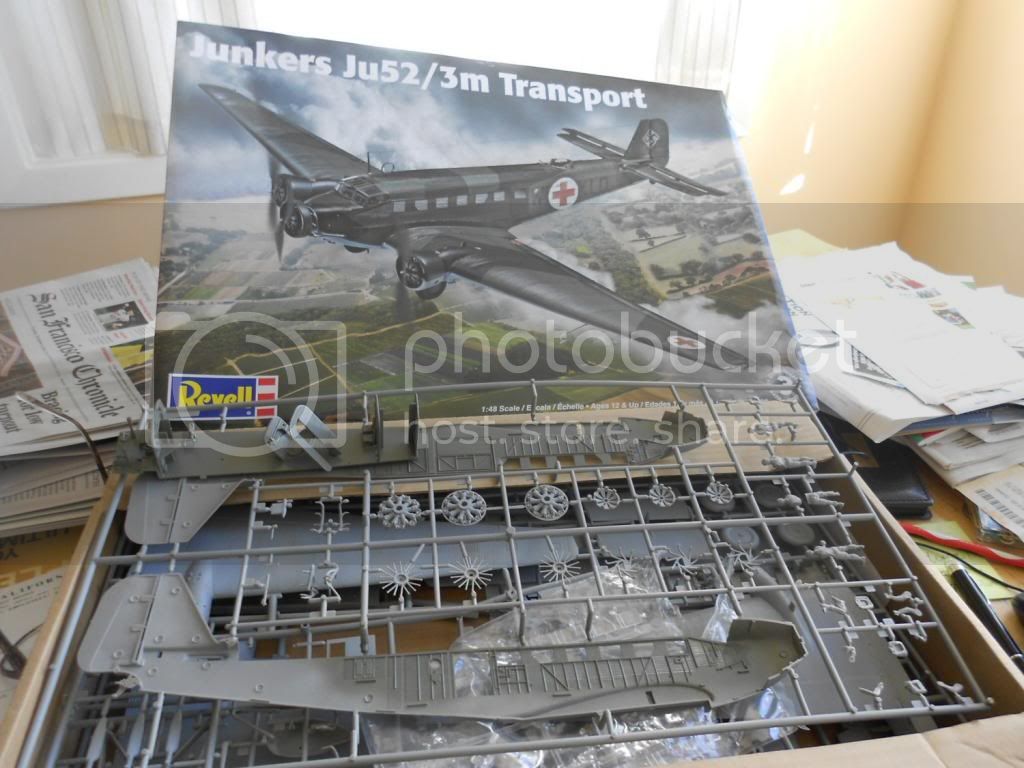
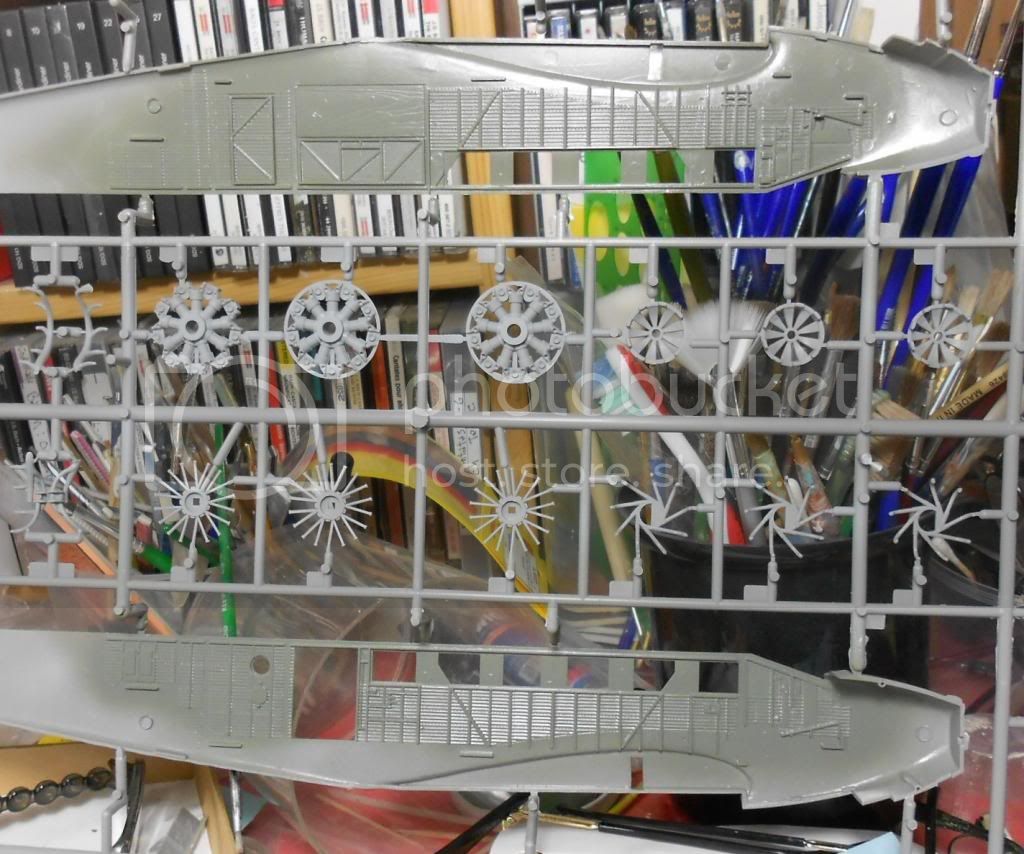
This kit has gotten excellent notices by some very good modelers on the net. (Should note that Tug did a splendid build of this kit for Finescale – on floats no less – just a few months ago.) In general I found the fit excellent and would likewise praise the kit to the skies. However, misfortune intervened. The complex “double wing” was attached to seven points on each side with the parts fitting into grooves. (This was a time for separate assemblies with pins and holes – it would have been tricky under the best of circumstances.) Unfortunately I only had five connectors in proper condition – the other nine were broken off. A pain regardless but I compounded the problem by attaching the control surfaces to my largely scratch assembly before weathering. Trouble was that it was not possible to weather the plane without picking it up, and because the thing is so big you can't really see what's going on. So I broke the things off twice. If there was ever a time that I was glad for some heavy weathering (intended all along) this was it. The clear parts were thick but okay. However the windscreen for the rear gunner was missing. And I stepped on the canopy within a half hour of opening the box and broke it in three parts. I scratched a decent screen and, all things considered, the canopy (glued with MicroScale clear cement) looked ok at the end. Consider it battle damage. Things were made easier with EZ Masks which I like a lot.
Painting:
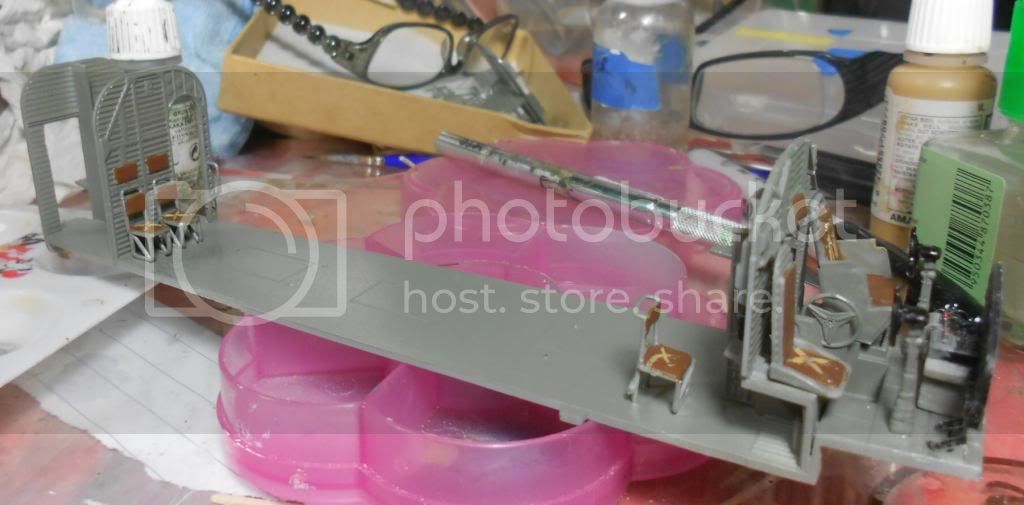
I get a kick out of paint mixing. I wasn't pleased with anything I had that represented RLM2 for the interior, so I made my own brew that looked pretty good I think. Not that it mattered much because unless one chose to cut open all the hatches you can see very little of the interior. I was behind schedule for the D-Day Group Build and decided not to embellish in that way. So, I painted on the seat belts and only I would know if I didn't photograph it:
I also made a nice mix for RLM 71 out of three shades of Vallejo Model Color. I made it a little light because I wanted it to contrast a little more than proper with the RLM 70 which Vallejo Model Air fit perfectly. There was a lot of masking, and a lot of painting. Model Color has a perfect fit for RLM 65.
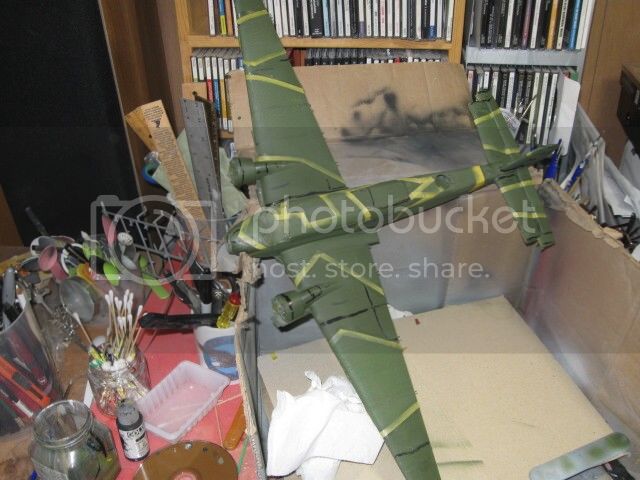
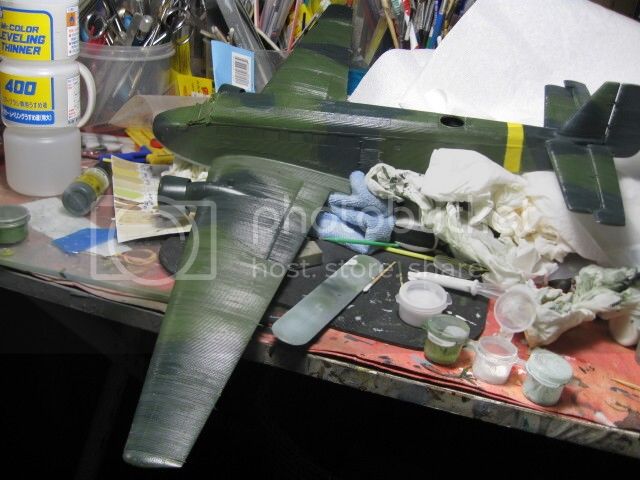
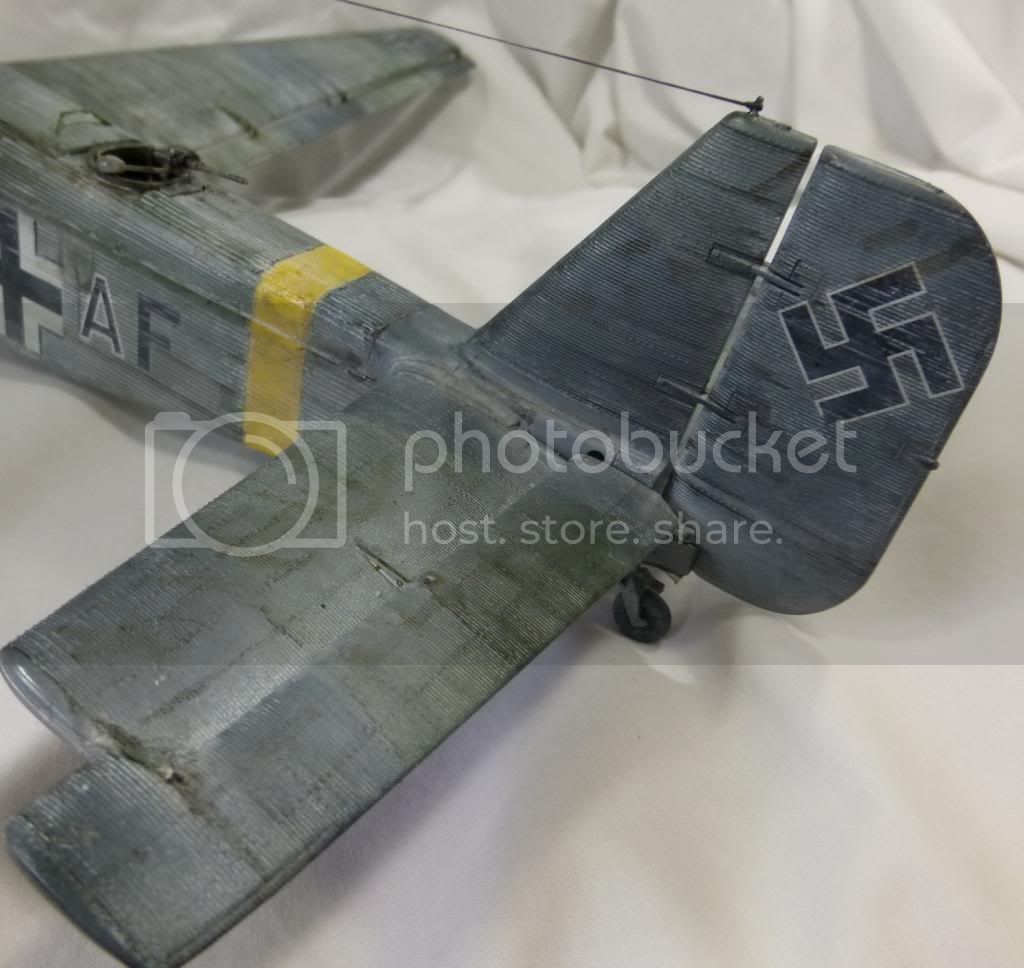
I had heard some worrisome things about putting on the decals because the entire surface is corrugated. (I masked the yellow theater band and that proved a challenge because it was hard to seal the tape. Good reason to leave yellow off the wing tips – an option anyway.) The decals were pretty tough – which was good – because they were tricky. I employed a technique recommended by FS editor Aaron Skinner: I put the decals onto a proper bath of Pledge. I did simplify the decals because I was not modeling a particular aircraft – I just wanted something that looked German. It eventually worked out pretty well.
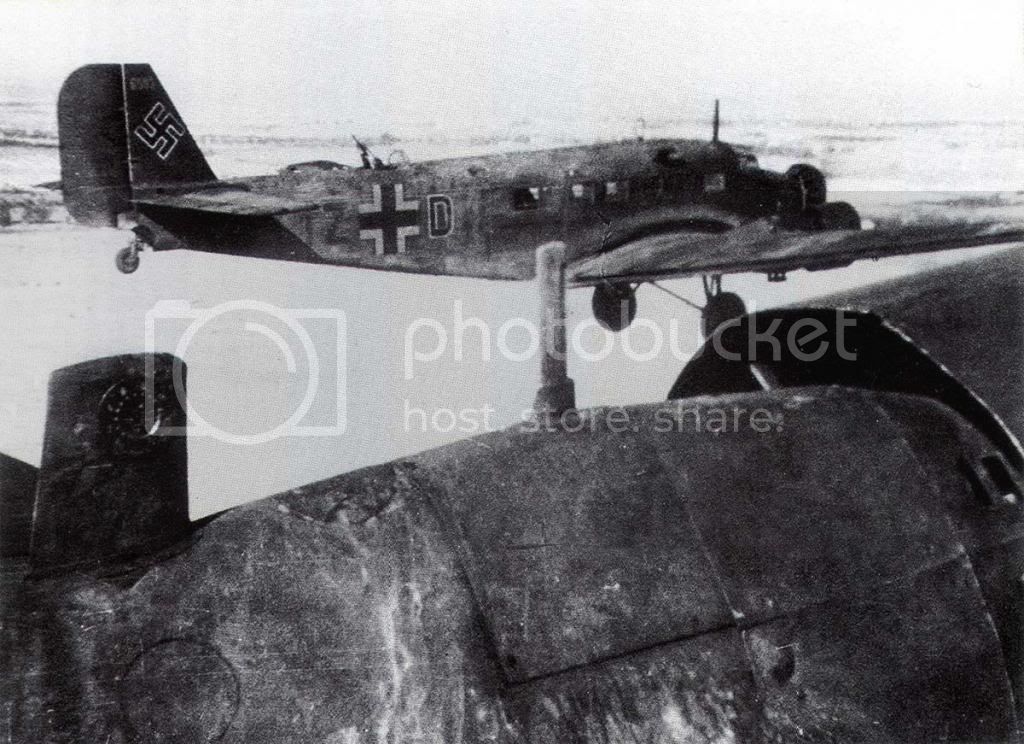
Things were looking pretty good with the decals on and I was very tempted to give the aircraft a summer uniform and be done with it. But I've never winterized a model before, and decided from the outset that this model cried for it. JU-52s were busy 24 X 7 in every theater of the war, but it's hard not to think of these aircraft supplying German units trapped or nearly trapped in pockets on the Eastern Front. Stalingrad gets all the press, but after the collapse of the Kursk offensive, the Wehrmacht was on a mad dash westward trying to avoid a general collapse. Some brilliant generalship and the Wehrmacht's traditional fighting skill, kept the front more or less in tact until the summer of 1944 catastrophe. But it was nip and tuck in the winter of 43-44 with large German units in jeprody all across the front. The Korsun pocket was the largest but not alone. In any case, the LW transport wing helped keep the FeldHeer alive in that period.
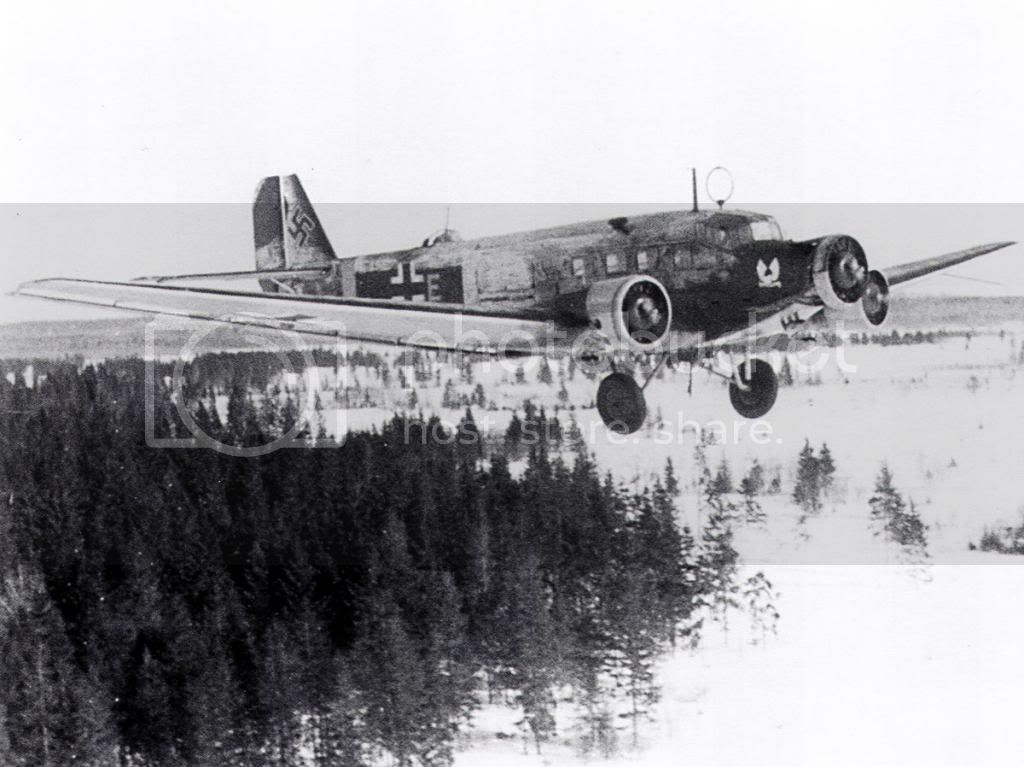
In the winter the LW applied whitewash to their transports. (I think some might have received a more formal winter camo scheme.) This would have gone over the RLM 65/70/71 splinter scheme. With these aircraft being flown into the ground there was no time for cosmetics – a condition shown in a blizzard of photos of Ju-52s flying in this period. So the white wash was wearing off and the plane was taking an overall pounding. And then there was the oil. I watched a nice old episode of the “Wings” series on the Ju-52 and the narrator noted that the plane burned so much oil that under the best of circumstances it was covered with an oily film that made things tough on ground crew. When under furious use the photo evidence is very clear that huge oil/carbon deposits came from each of the three engines. Add to the general wear and tear of non-stop use and heavy weathering was certainly in order.
I wanted to give the white wash a kind of base, so I sprayed the plane with a very thin mixture of Tamiya flat white: and if there's any paint that works better greatly thinned under very low PSI I've never seen it. For the whitewash I used a new product from the Italian firm True Earth. It's an acrylic whitewash that can be applied by hand or airbrush. (They have a number of other weathering products.) It was very good for what I wanted to do. I wasn't looking for big streaks that you'd get with hairspray or one of the AK substitutes. I wanted something that would come off gradually – giving the impression of wearing down instead of ripping off. True Earth did that job very well. The stuff is $7 for a small bottle (I used about half) but it might be worth a look. In retrospect it is a refined version of my well used Com.Art acrylics. I know for a fact that I could have gotten an almost identical effect by coating the plane with Com.Art opaque white and slowly removing it with a wet brush, although it would have taken more put and take. The True Earth was good stuff. Here's how it looked:

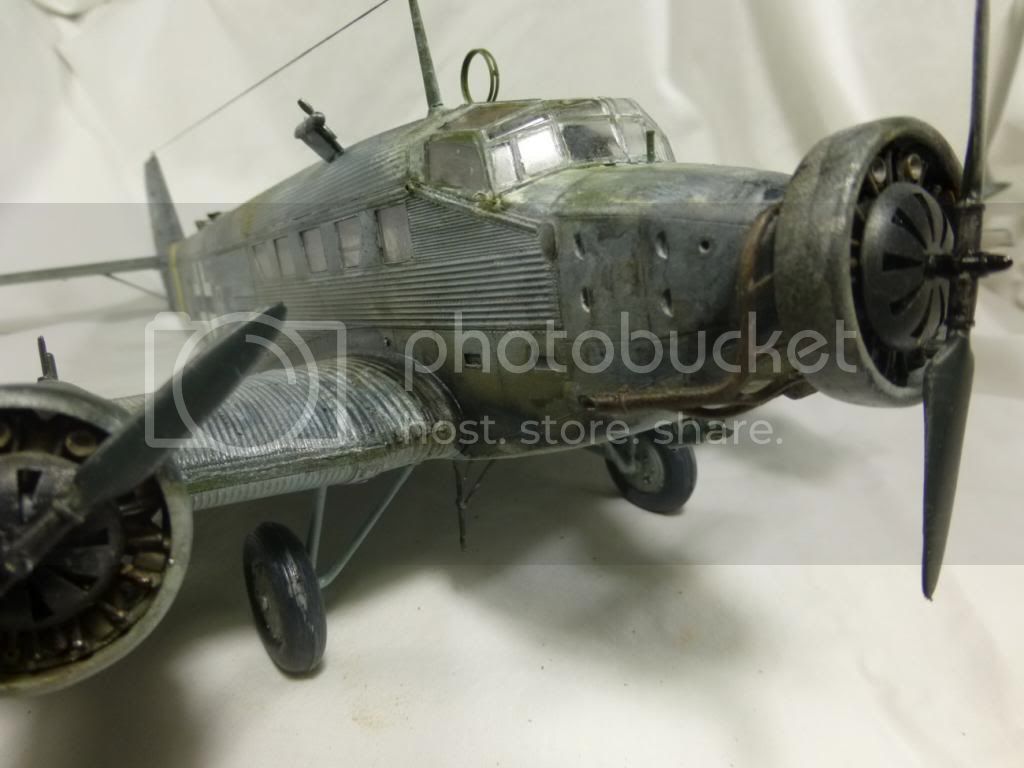
Rest of the weathering was done with Com.Art. First I used their transparant smoke and finely painted the major lines of rivets. I used transparent black for major panel lines. (The panel lines took a night.) I then put on a kind of filter made out of transparent black, transparent brown cut with opaque white leaving a kind of brownish gray. It evened out the panel lines and left a very nice look and texture of grime. I used Com.Art old oil and blue-smoke to color the carbon deposits on the wings. Some old oil and clear was used on places where I'd guess lubrication stains would show – including all the along the control surfaces both wing and tail. I wanted the whitewash to be in the final stages of dissolution so the other RLM 70 & 71 were faintly visible and they are. (In retrospect I could have done a very simple camo scheme because all the later weathering blurred details.)
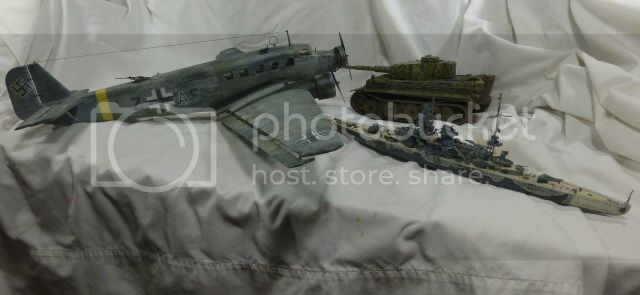
It took a long time. I made things harder than needed. But overall, I'm pretty happy. I normally do a plane-ship-tank cycle and this finished a German cycle. Just not sure where I'm going to put this monster, but maybe close to the other villains:
More Ju-52 pics below:
Eric

