Is it Shinden or Shin Den? - It's written both ways in the instructions. Anyway, rather belatedly (and with due apologies to Zoukei-Mura who generously gave us a sample of the kit), here's the start of my Review-Build.
Staff_Jim has already In-Box Video-Reviewed the kit HERE, while Tom "Shanghied" built the model beautifully himself HERE.
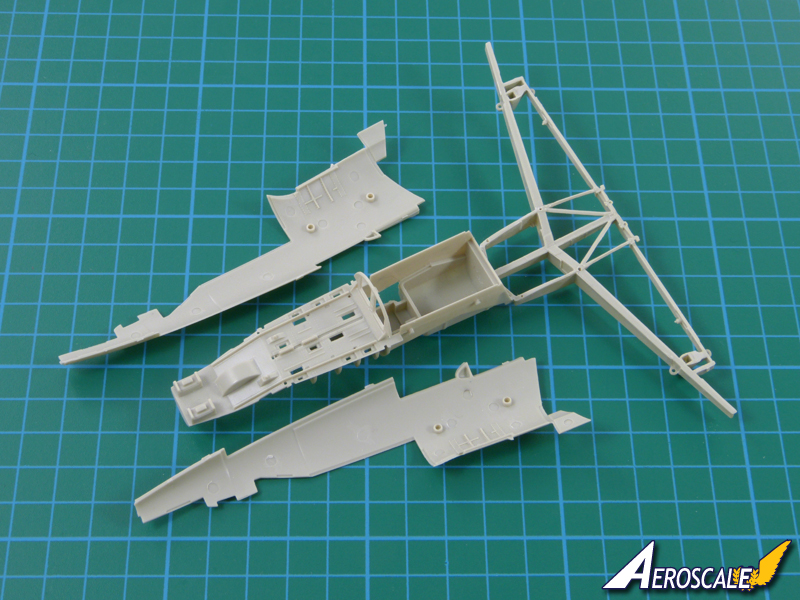
Right, let's get started. It's been a day of preparing parts in the main. The kit's designers have kept the number of parts down by moulding some quite complex shapes as single pieces with multi-part part moulds. This inevitably means a few parting-lines to take care of, but it's all been pretty straightforward so far.
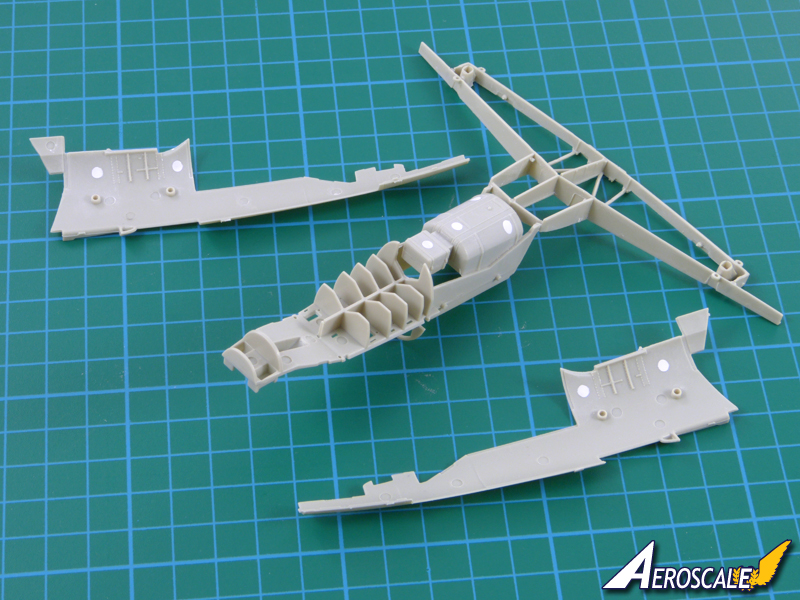
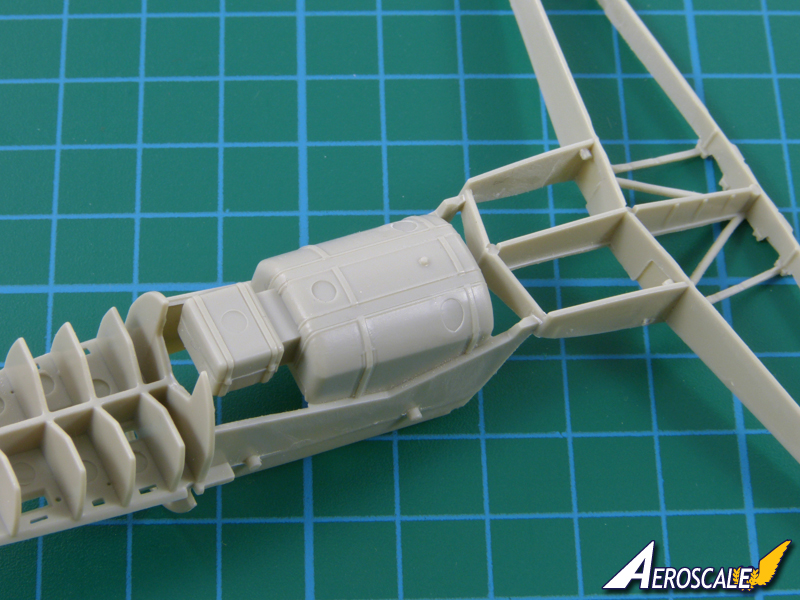
The core of the model is a one-piece fuselage framework / wing spar (here with a gun bay frame added):
I'll probably stray from the suggested construction sequence by fitting the fuselage side panels before constructing the gun bay to ensure neat seams at the edges.
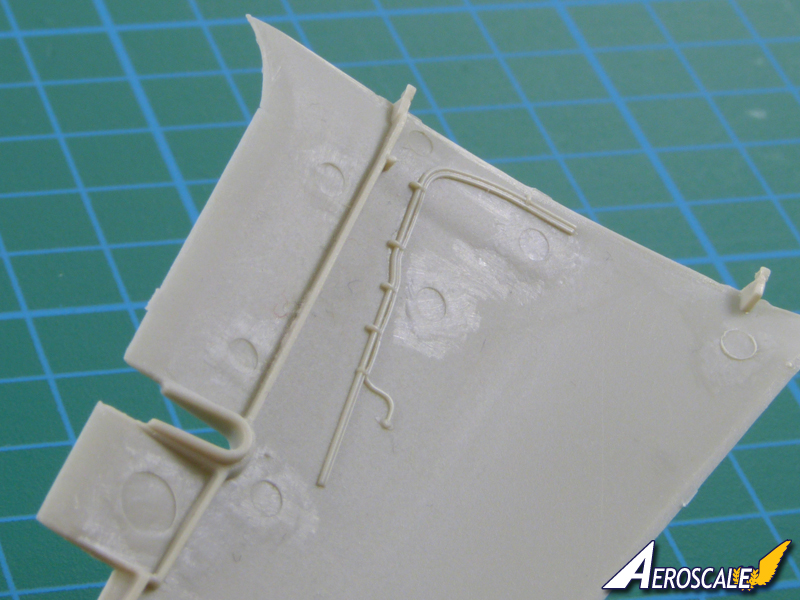
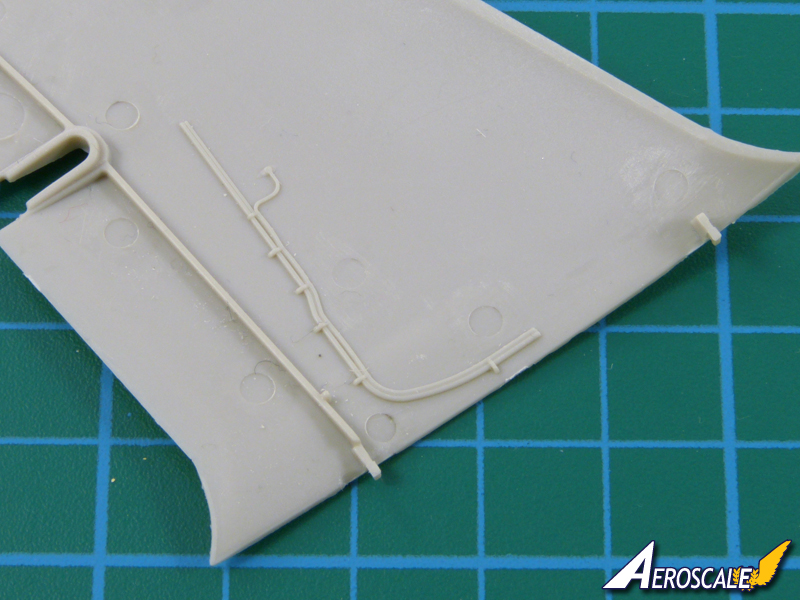
Talking of the side panels, there are a few ejector-pin marks to take care of that might otherwise show in the cockpit:
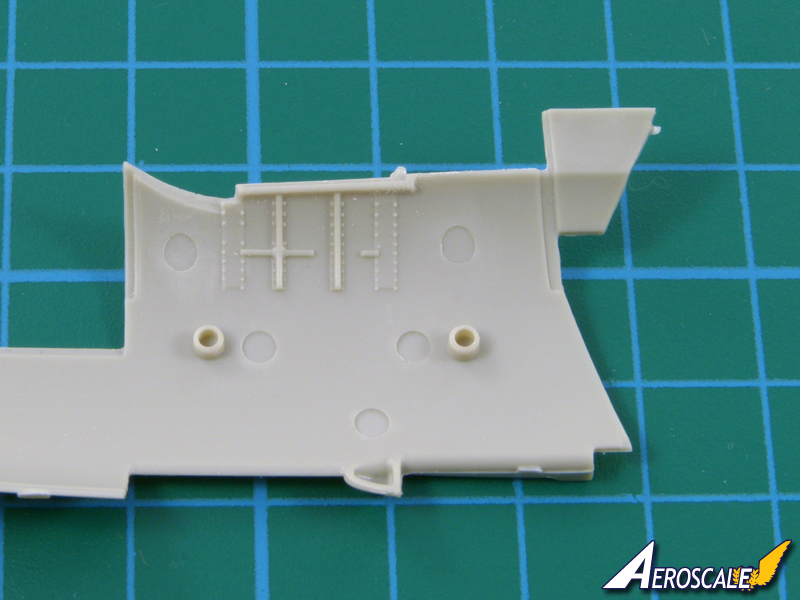
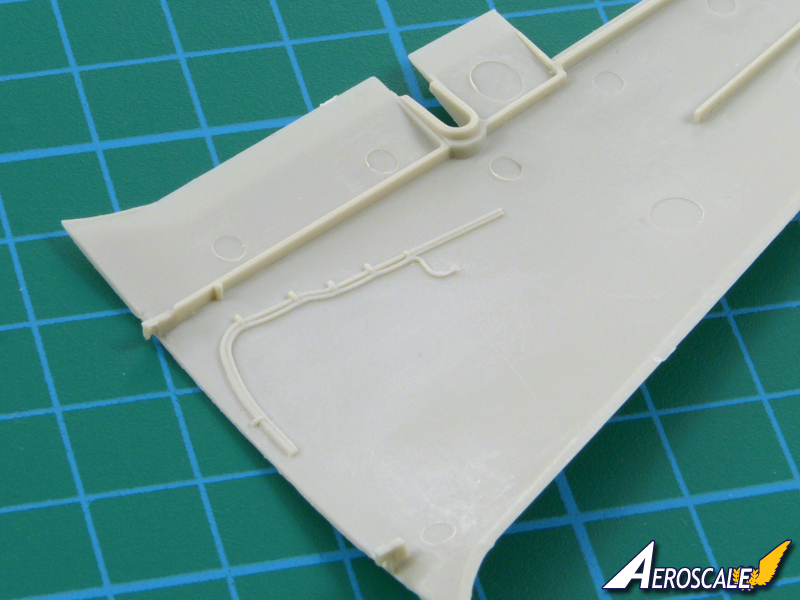
Others, such as these under the fuselage frame, won't show:
But the wheel wells will need a little work. They do seem a bit empty too, but perhaps that's correct?:
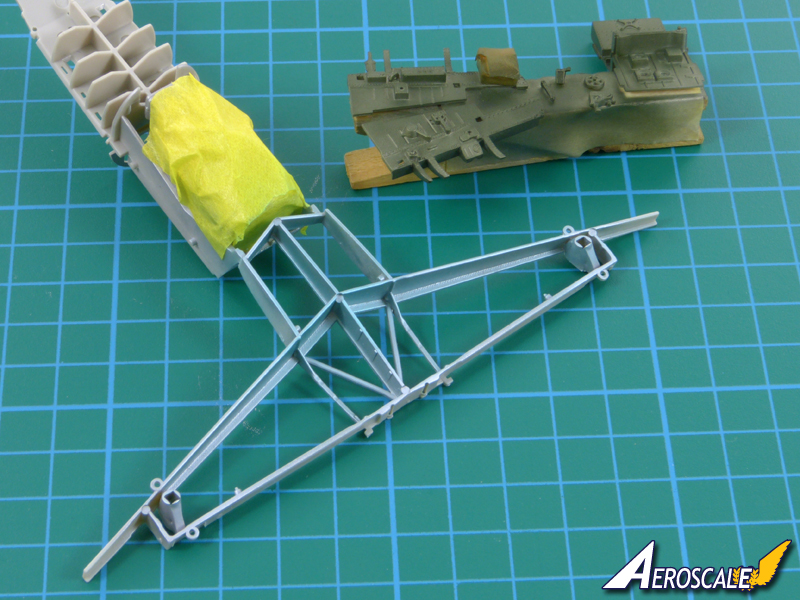
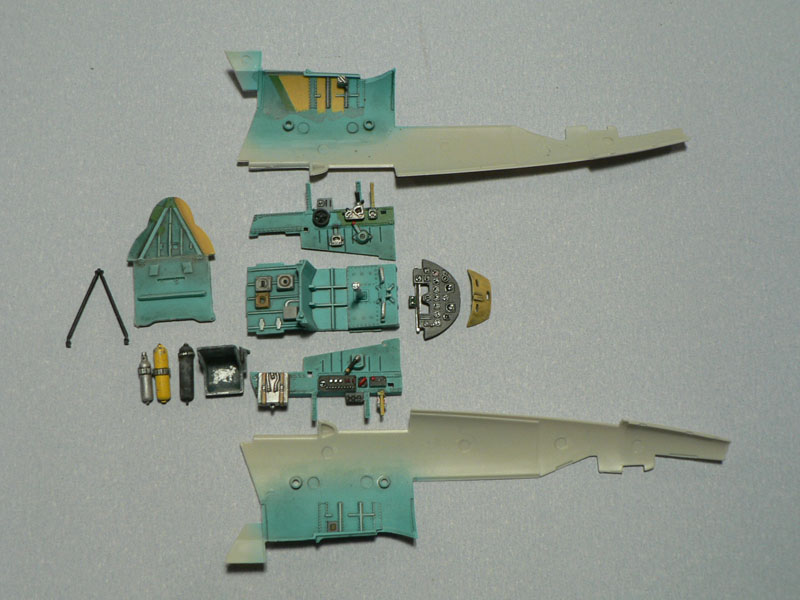
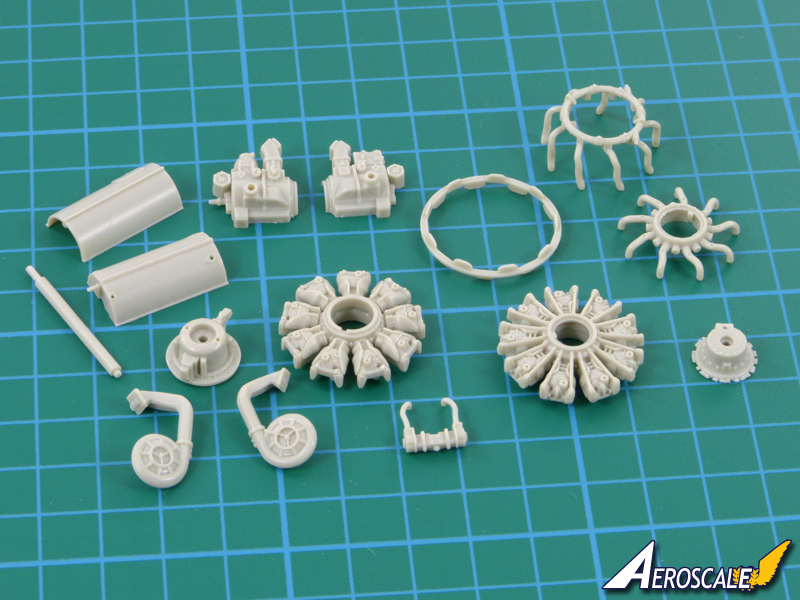
I've made a start on the engine and cockpit:

For the engine base colour I've used Mr Metal Color Aluminium:
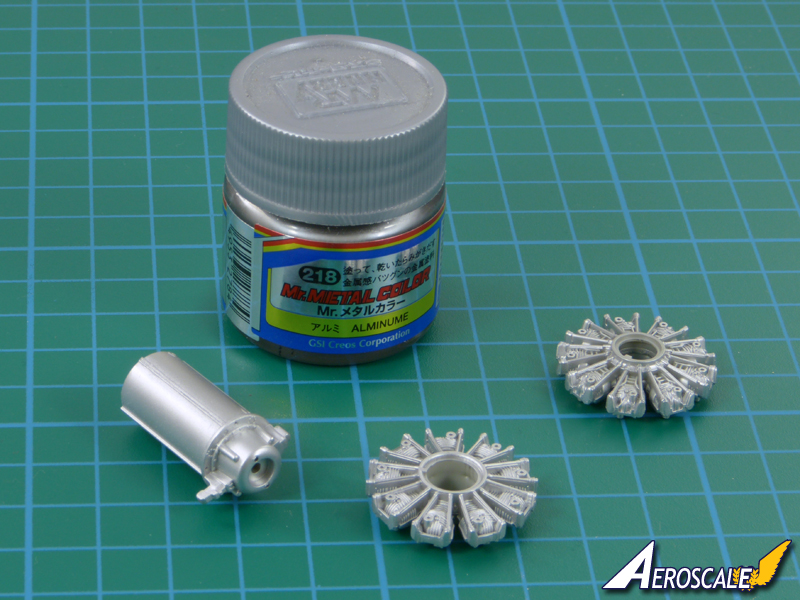
Beautiful fine particle paint that sprays neat from the pot to give a really smooth finish. I'll be going for a fairly well-used look, so the parts won't be that bright for long.

Much more to come.

All the best
Rowan