Hello Mates...
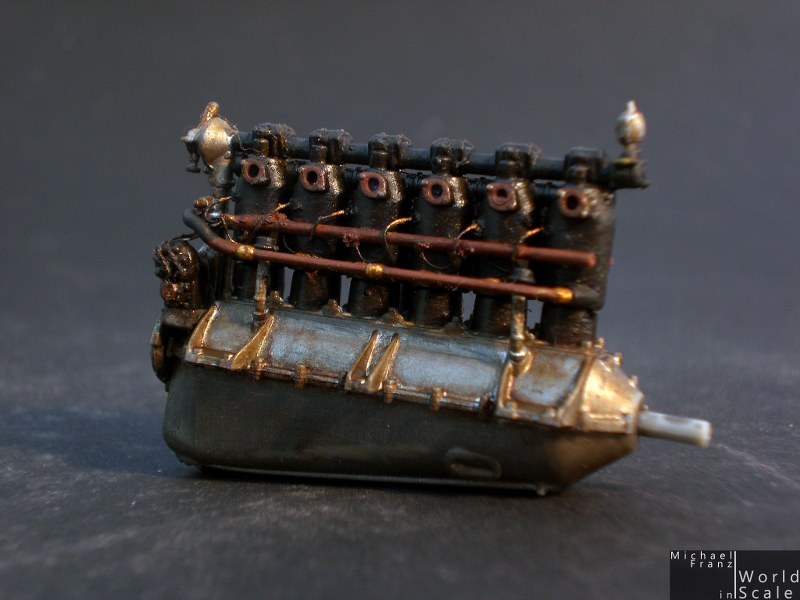
let's go on, next Wingnut Wings Kit on my bench.... the ROLAND D.VIa is waiting for me..... I think there is nothing more to say about the original one or about the Wingnut Wings kit..... everyting is said, so let's start with the engine.....
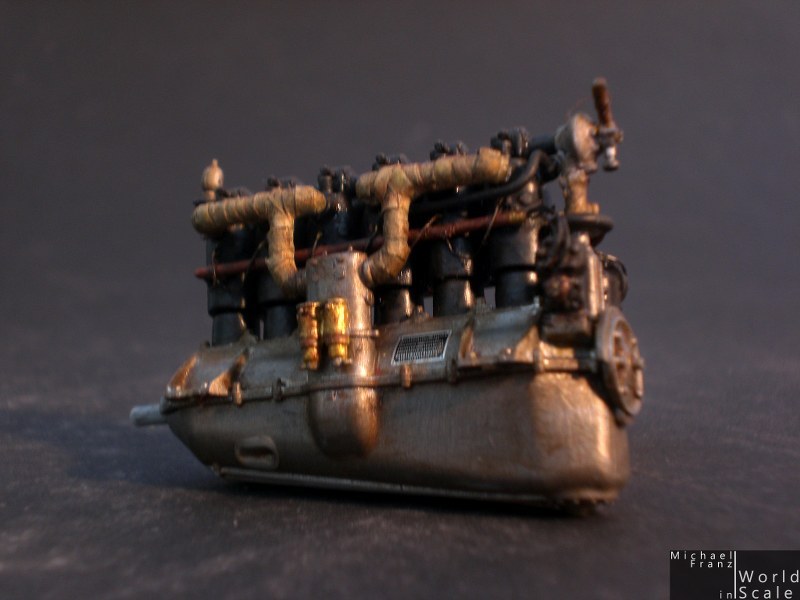
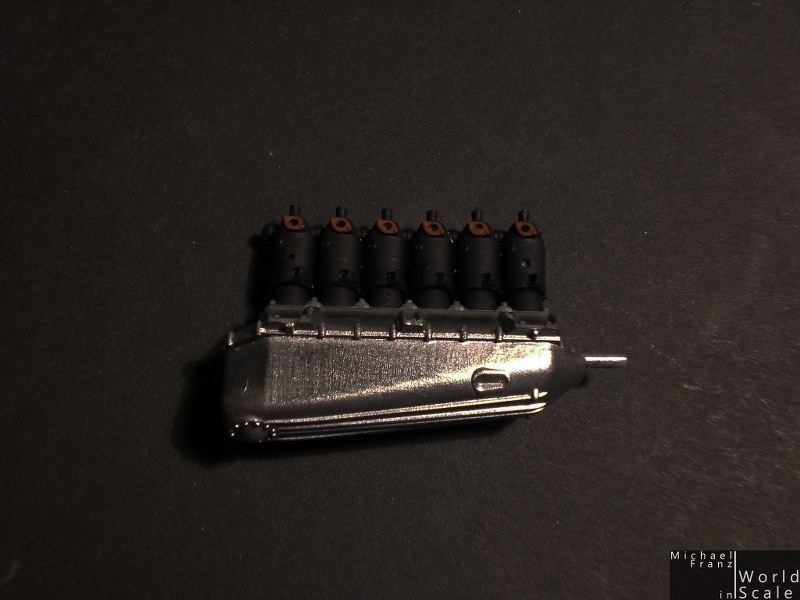
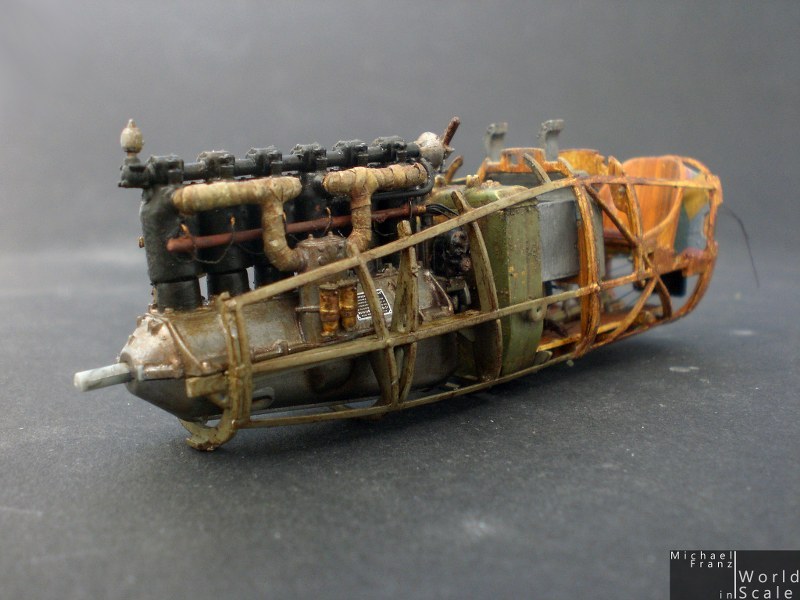
I fitted the first parts together and started the painting..... iron and black and dark red..... the iron is polished..... now following the next parts and the wiring of the engine....
BR
Michael
Early Aviation
Discuss World War I and the early years of aviation thru 1934.
Hosted by Jim Starkweather
Wingnut Wings 1:32 Roland D.VIa
elmarriachi
Baden-Württemberg, Germany
Joined: December 26, 2009
KitMaker: 813 posts
AeroScale: 98 posts
Joined: December 26, 2009
KitMaker: 813 posts
AeroScale: 98 posts
Posted: Wednesday, March 12, 2014 - 10:26 AM UTC
Posted: Wednesday, March 12, 2014 - 04:02 PM UTC
Wow! Now to decide: keep my Blue Max Roland D or buy this?
dolly15
Quebec, Canada
Joined: May 20, 2004
KitMaker: 8,227 posts
AeroScale: 3,915 posts
Joined: May 20, 2004
KitMaker: 8,227 posts
AeroScale: 3,915 posts
Posted: Thursday, March 13, 2014 - 07:14 AM UTC
I would love to build that wood fuselage !
Mgunns
Arizona, United States
Joined: December 12, 2008
KitMaker: 1,423 posts
AeroScale: 1,319 posts
Joined: December 12, 2008
KitMaker: 1,423 posts
AeroScale: 1,319 posts
Posted: Saturday, March 15, 2014 - 02:26 PM UTC
Quoted Text
Wow! Now to decide: keep my Blue Max Roland D or buy this?
And, why would you even consider doing the Blue Max with this great kit out there?
And now there is the D.VIb to further tempt you and sweeten the pot.
Jessie_C
British Columbia, Canada
Joined: September 03, 2009
KitMaker: 6,965 posts
AeroScale: 6,247 posts
Joined: September 03, 2009
KitMaker: 6,965 posts
AeroScale: 6,247 posts
Posted: Saturday, March 15, 2014 - 07:23 PM UTC
Quoted Text
And, why would you even consider doing the Blue Max with this great kit out there?
Because it's 1/48 and the Fly Models kit is less than spectacular, perchance?
elmarriachi
Baden-Württemberg, Germany
Joined: December 26, 2009
KitMaker: 813 posts
AeroScale: 98 posts
Joined: December 26, 2009
KitMaker: 813 posts
AeroScale: 98 posts
Posted: Sunday, March 16, 2014 - 05:22 AM UTC
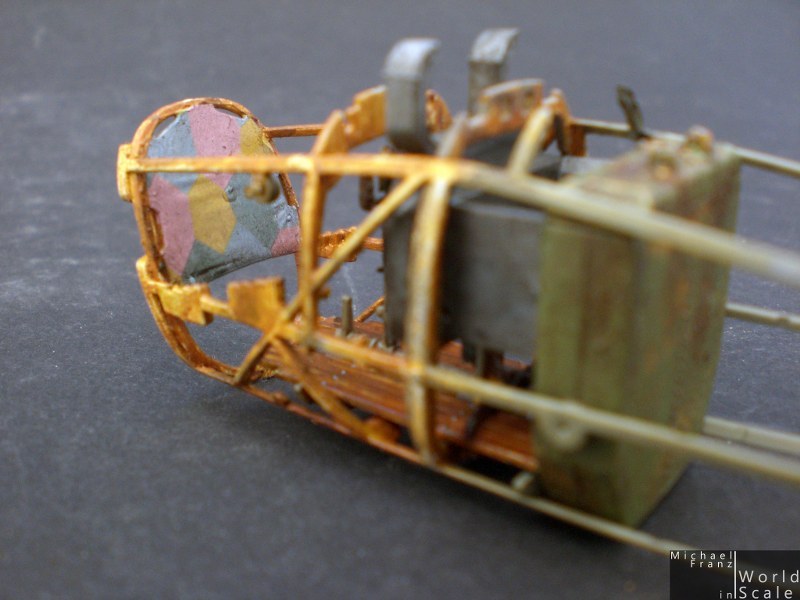
Several wiring is added, made of thin wire and thin metal pipe. The intake manifold gets some wrapping made of tamiya tape, colored in beige and oil colors. After all parts were mounted the engine gets some weathering made of oil color put on everything, later wiped away, The steel parts were polished for some shinig
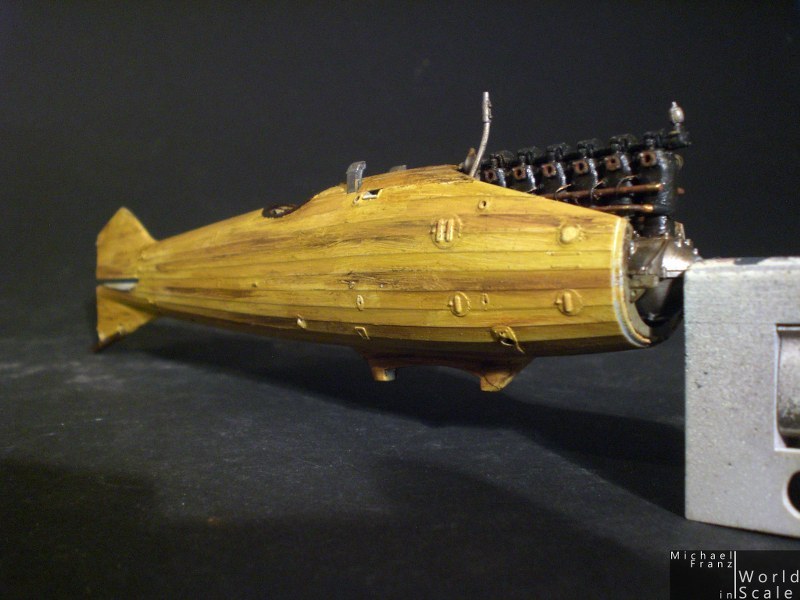
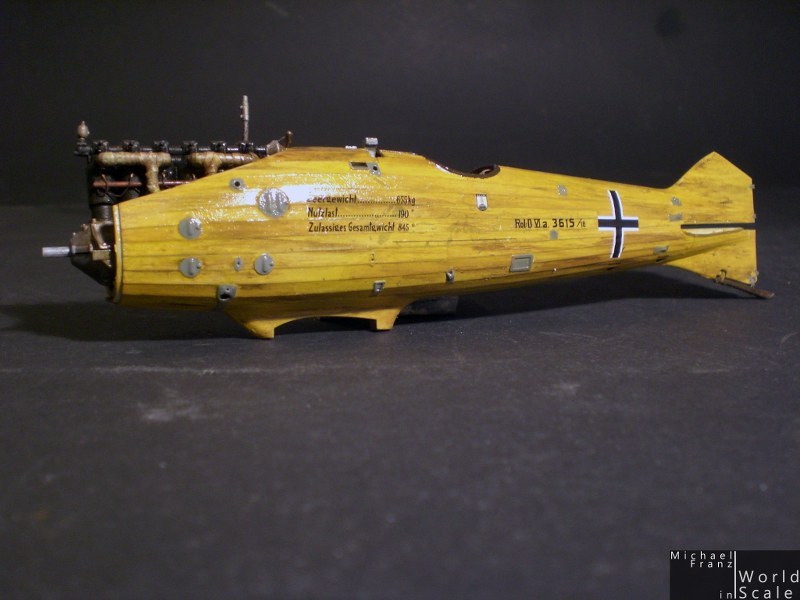
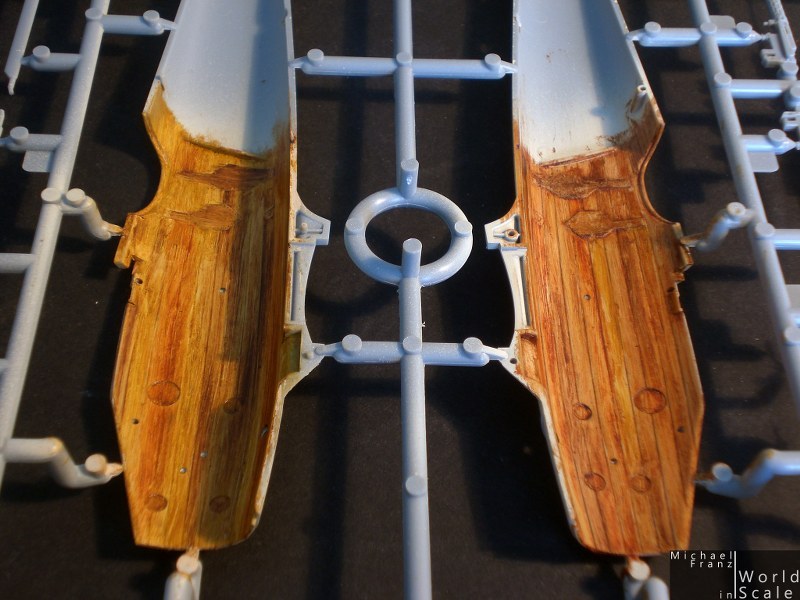
The wooden parts were made of oil colors. Firstly I sprayed some beige acryl colors on everything, the wood was painted with oil colors in different kind of beige, brown, red and dark brown. Later I will add a dark brown washing to detail the several planks a little more.
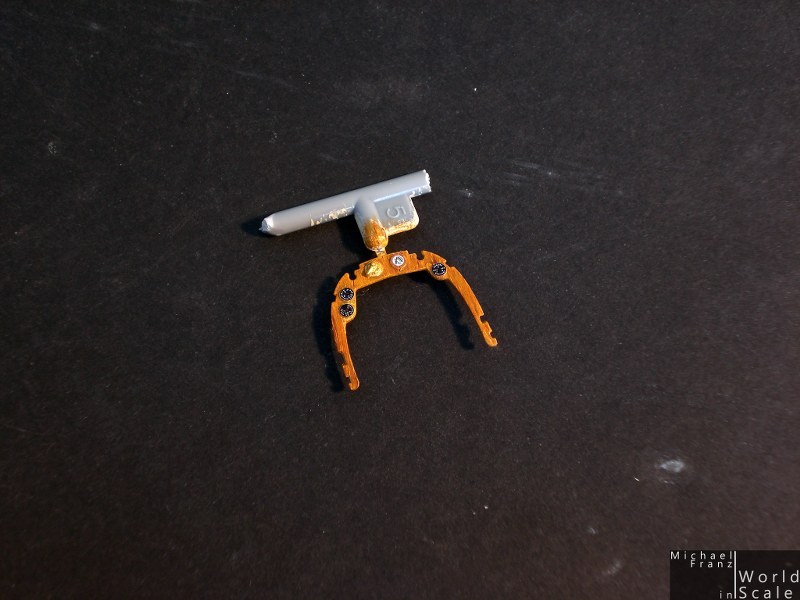
The decals in the cockpit were also added, the glasses made of crystal clear. The bezels follow in silver and black. Also some further details will be added on that too. The screws on the floor were painted in silver with a tooth pick.
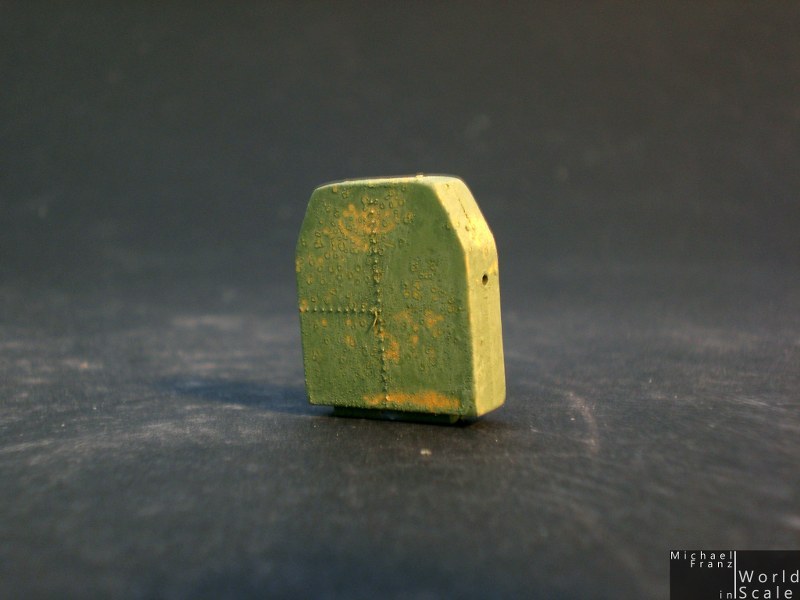
The tank firstly was painted in golden, then salt was put on it and later colored in green. Some washings will follow.
The pilot seat received a wooden frame (oil colors as above), the leather itself a first painting in dark brwon, then several brown and dark read oil colors followed.
Cheers
Micha
The wooden parts were made of oil colors. Firstly I sprayed some beige acryl colors on everything, the wood was painted with oil colors in different kind of beige, brown, red and dark brown. Later I will add a dark brown washing to detail the several planks a little more.
The decals in the cockpit were also added, the glasses made of crystal clear. The bezels follow in silver and black. Also some further details will be added on that too. The screws on the floor were painted in silver with a tooth pick.
The tank firstly was painted in golden, then salt was put on it and later colored in green. Some washings will follow.
The pilot seat received a wooden frame (oil colors as above), the leather itself a first painting in dark brwon, then several brown and dark read oil colors followed.
Cheers
Micha
elmarriachi
Baden-Württemberg, Germany
Joined: December 26, 2009
KitMaker: 813 posts
AeroScale: 98 posts
Joined: December 26, 2009
KitMaker: 813 posts
AeroScale: 98 posts
Posted: Tuesday, March 18, 2014 - 03:38 AM UTC
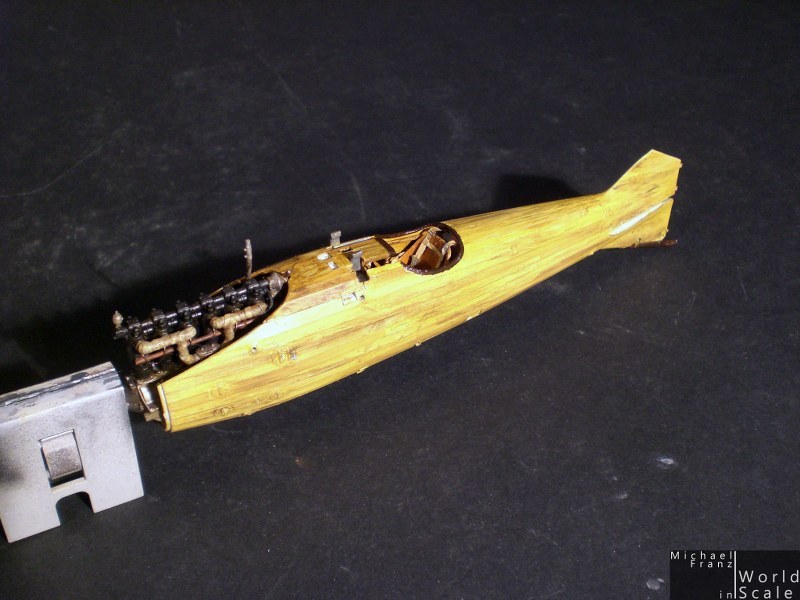
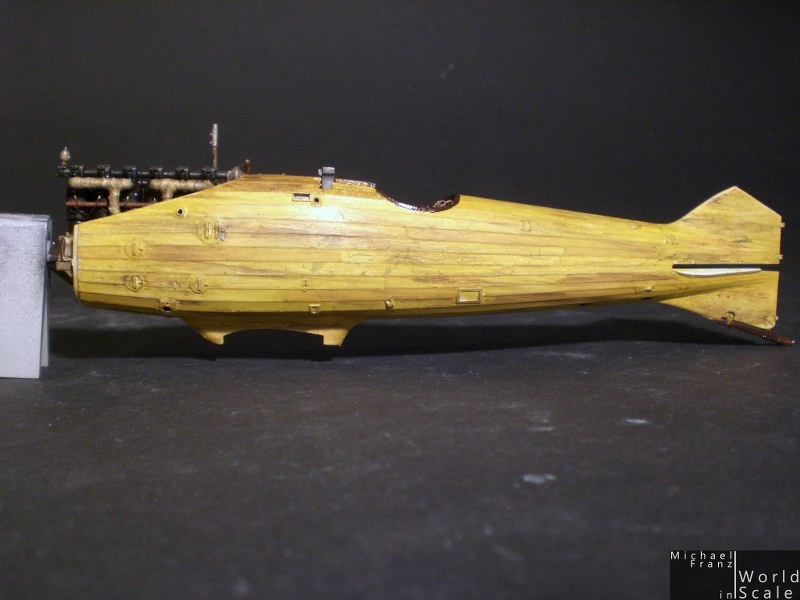
some mountings, paintings, decals, washings, .... later.... it lookes like that ...
BR
Michael
BR
Michael
Biggles2
Quebec, Canada
Joined: January 01, 2004
KitMaker: 7,600 posts
AeroScale: 121 posts
Joined: January 01, 2004
KitMaker: 7,600 posts
AeroScale: 121 posts
Posted: Wednesday, March 19, 2014 - 02:51 AM UTC
Except for your scratch-detailing of the engine, is the rest of your build out of box? What is your opinion of WNW models in general?
elmarriachi
Baden-Württemberg, Germany
Joined: December 26, 2009
KitMaker: 813 posts
AeroScale: 98 posts
Joined: December 26, 2009
KitMaker: 813 posts
AeroScale: 98 posts
Posted: Thursday, March 20, 2014 - 08:33 AM UTC
And the German Officer....:
BR
Michael
elmarriachi
Baden-Württemberg, Germany
Joined: December 26, 2009
KitMaker: 813 posts
AeroScale: 98 posts
Joined: December 26, 2009
KitMaker: 813 posts
AeroScale: 98 posts
Posted: Sunday, March 23, 2014 - 06:17 AM UTC
Hello,
the fuselage received one further layer of clear orange followed by clear coat as base for the decals which were saved with one furhter layer of clear coat.
The metal parts were brush painted in green-greay....
The next steps are the Lozenge decals on the wings....
BR
Michael
the fuselage received one further layer of clear orange followed by clear coat as base for the decals which were saved with one furhter layer of clear coat.
The metal parts were brush painted in green-greay....
The next steps are the Lozenge decals on the wings....
BR
Michael
JackFlash
Colorado, United States
Joined: January 25, 2004
KitMaker: 11,669 posts
AeroScale: 11,011 posts
Joined: January 25, 2004
KitMaker: 11,669 posts
AeroScale: 11,011 posts
Posted: Sunday, March 23, 2014 - 10:52 AM UTC
Beautiful work Michael!