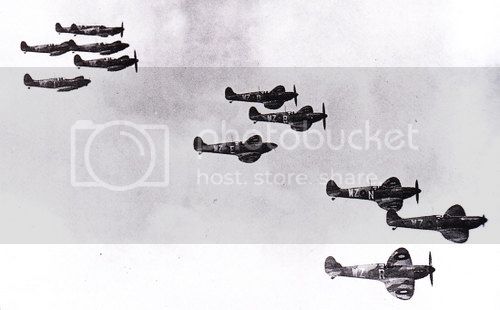

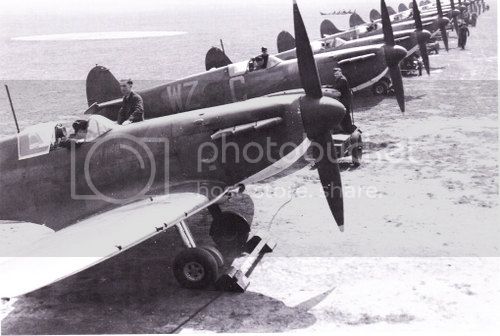
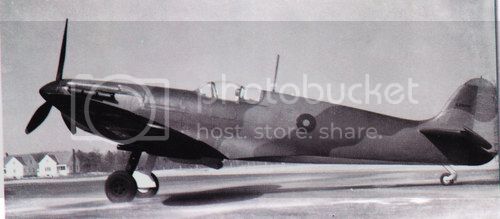
So here we go. The spitfire Mk 1 vs. The seafire Mk. 47. The first and the last of the breed.
.jpg)


Before I get going though. I thought it would be nice to introduce myself a bit.

I am Cliff. 43 years old. From the Netherlands. Always interested in aircraft. Especially the 1930-1950 props era. As I kid I build a couple of models. Which ended up beeing devastated in the toy box. And since about 4 years i'm back modelling. But beeing self-employed in the same period meant I made slow progress on builds. And kinda got stuck on a mediocre level because of it. By now I have more time on my hands. So the goal for this build is mostly to get my skills up. I want to achieve a nice clean build. With no Putty, sanding, glue or airbrush/paint mistakes.
I'm gonna try to build the kits as a good representative of the type. Not as an exact copy of a single version. But as I said. The main focus will be on the build-technical part.
I have no problems with constructive feedback, because they only will make me better. So feel free to question my work and give comments. I will enjoy reading them.
Now i'm lousy at technical stuff. It has always been about the esthetics for me. So i'm not gonna write an in depth technical analyses of the differences between the two types.
I'm just gonna build the two alongside each other. And tell what I find on differences along the way. That's the main reason i'm doing the build anyway. To be able to compare them as a non-technical nerd.
The Mk 1 i'm gonna build using the new airfix tooling.
.jpg)
So what do we get?
.jpg)
A nice set of sprues. A really clean mold. Nice details. Although i'm not convinced about the depth of the panel lines. They seem a bit deep for my taste. But I will see what the paint job will bring. (allthough i'm pretty sure i don't need a preshade on tis one..)
.jpg)
.jpg)
.jpg)
Then we have the decals.
.jpg)
With the colorschemes in the booklet printed in color. Nice touch.
.jpg)
This is the version I wanna build
.jpg)
All in all I like the way the booklet is set up. Diagrams are good. And they contain more info then i'm used to from older revell and Airfix booklets.
.jpg)
.jpg)
So all in all looking forward to this one...
The second Kit is gonna be the Mk.47 Seafire.

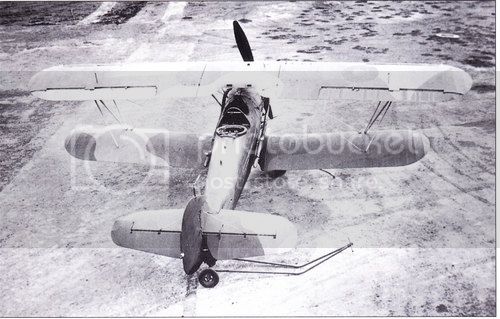
a spitfire version adjusted for deck landing
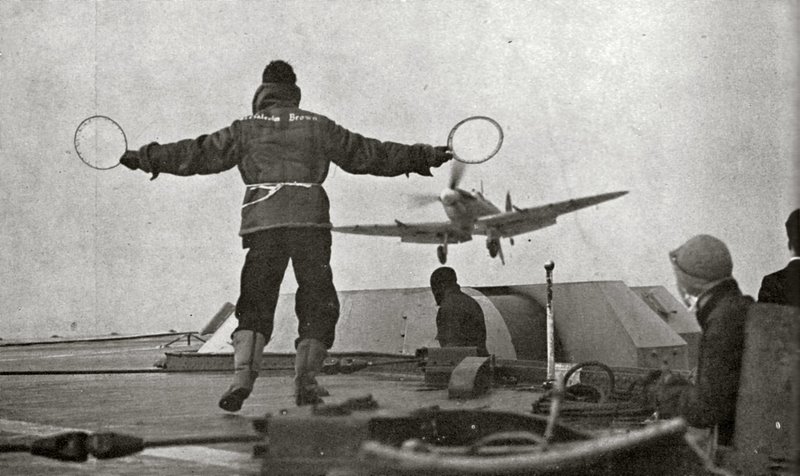
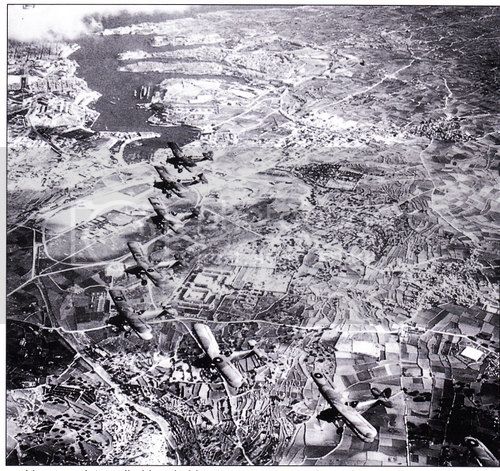
which didn't always work...


Allthough it makes for cool pictures. But I get distracted. Here is the kit i'm gonna use for the Mk 47
.jpg)
When you open that box a lot of plastic welcomes you..
.jpg)
Enough for me to have had a second look in the booklet. How many parts does this kit actually need??
.jpg)
Well when you look a bit closer, you will find that you only need half the parts..The rest is welcome filling for the spare part box.
.jpg)
Still it has a lot of detail and options to work with...
.jpg)
.jpg)
.jpg)
.jpg)
Something simple as a cockpit suddenly becomes a kit on it's own. And that in 1/72. Fun.
.jpg)
Again a good booklet. Bit bigger then the Revell or Airfix... Obviously..
.jpg)
the decals.
.jpg)
In this case three versions. The box art...
.jpg)
Or two more conventional color schemes. The 151/BR of the RNVR squadron, 1952 Bramcote. Or the 178/P., on HSM Triumph, Korea 1950. And that's the version I wanna build
.jpg)
Again a kit i'm looking forward too to build. A bit more of a challenge. But nothing seriously dramatic.
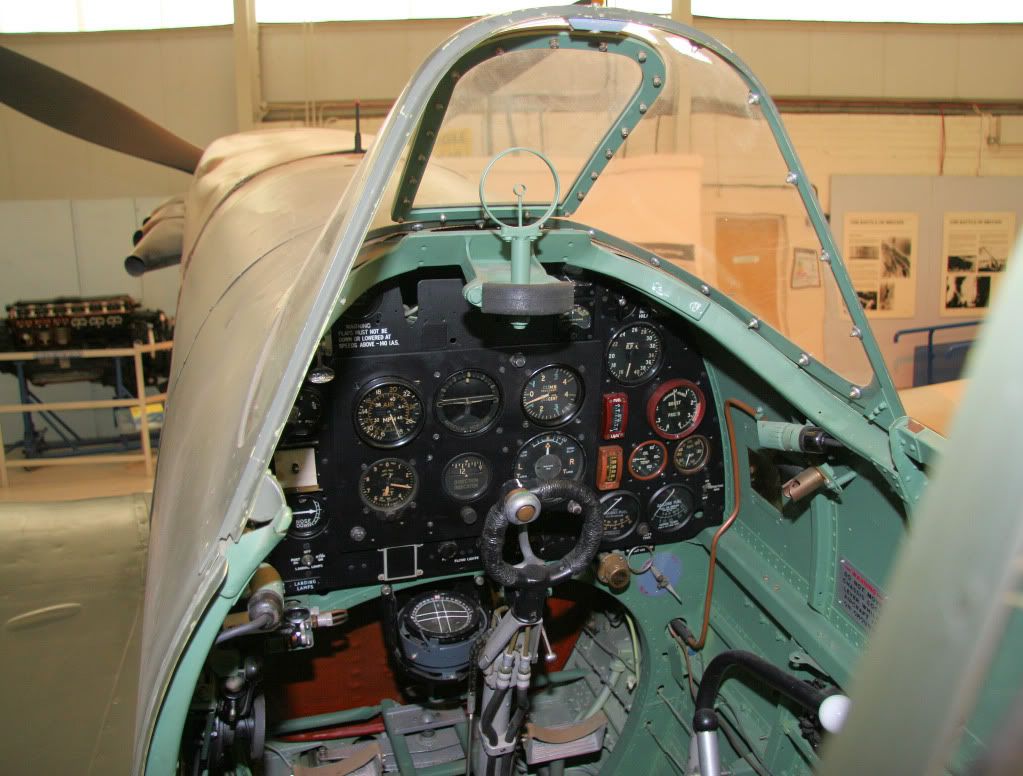
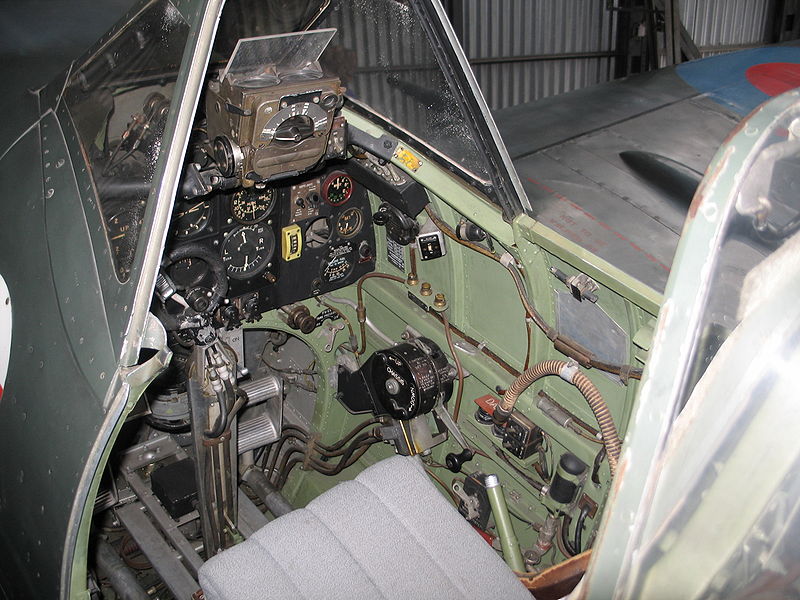
Good. The planes are introduced. First up..The office. I'm already working on those. So expect an update somewhere during the next 24 hours.


.jpg)
.jpg)
.jpg)
.jpg)
.jpg)
.jpg)
.jpg)
.jpg)
.jpg)
.jpg)
.jpg)
.jpg)
.jpg)
.jpg)
.jpg)
.jpg)
.jpg)
.jpg)
.jpg)
.jpg)
.jpg)
.jpg)
.jpg)
.jpg)
.jpg)
.jpg)
.jpg)
.jpg)
.jpg)
.jpg)
.jpg)
.jpg)
.jpg)
.jpg)
.jpg)
.jpg)
.jpg)
.jpg)
.jpg)
.jpg)
.jpg)
.jpg)
.jpg)
.jpg)
.jpg)


.jpg)
.jpg)
.jpg)
.jpg)
.jpg)
.jpg)
.jpg)
.jpg)
.jpg)
.jpg)
.jpg)
.jpg)
.jpg)
.jpg)
.jpg)

.jpg)
.jpg)
.jpg)