Alberta, Canada
Joined: January 19, 2008
KitMaker: 6,743 posts
AeroScale: 6,151 posts
Posted: Sunday, March 23, 2014 - 12:20 PM UTC
I start this yesterday and it's going faster then planned .
Cockpit is painted up following the kit instructions . Since the intakes needed white paint everything called for white was sprayed .
I had this fear that there was going to be fair bit of seams to clean up but over it's not bad . More so in the nose cone area which is glued up and drying at the moment .
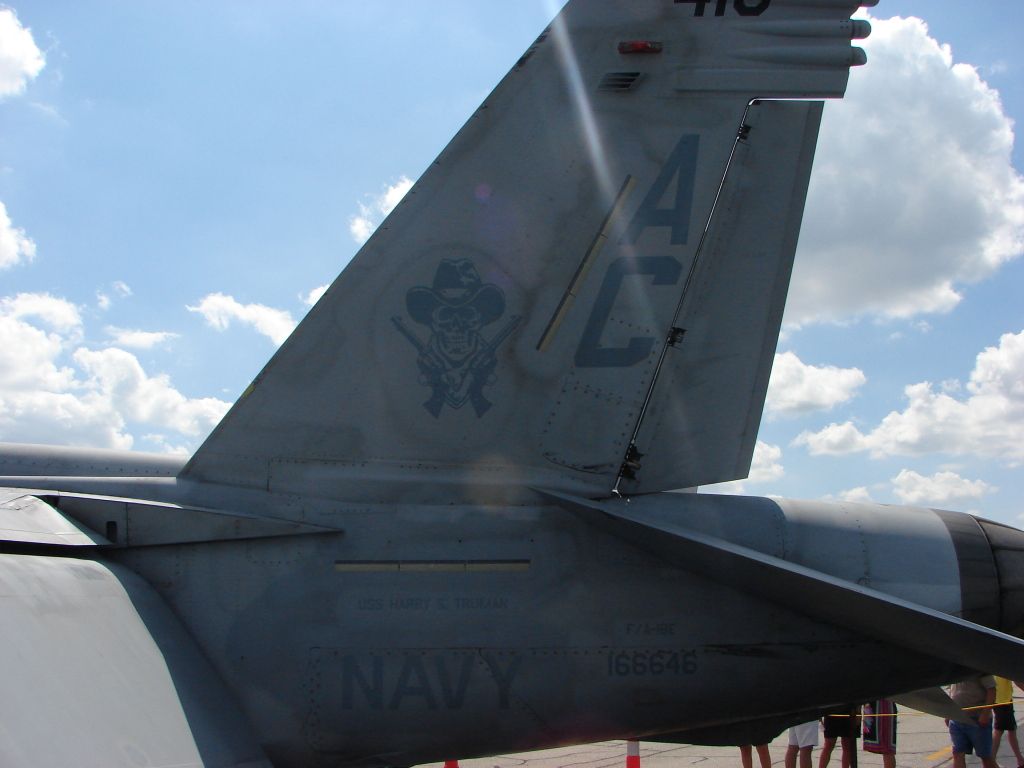
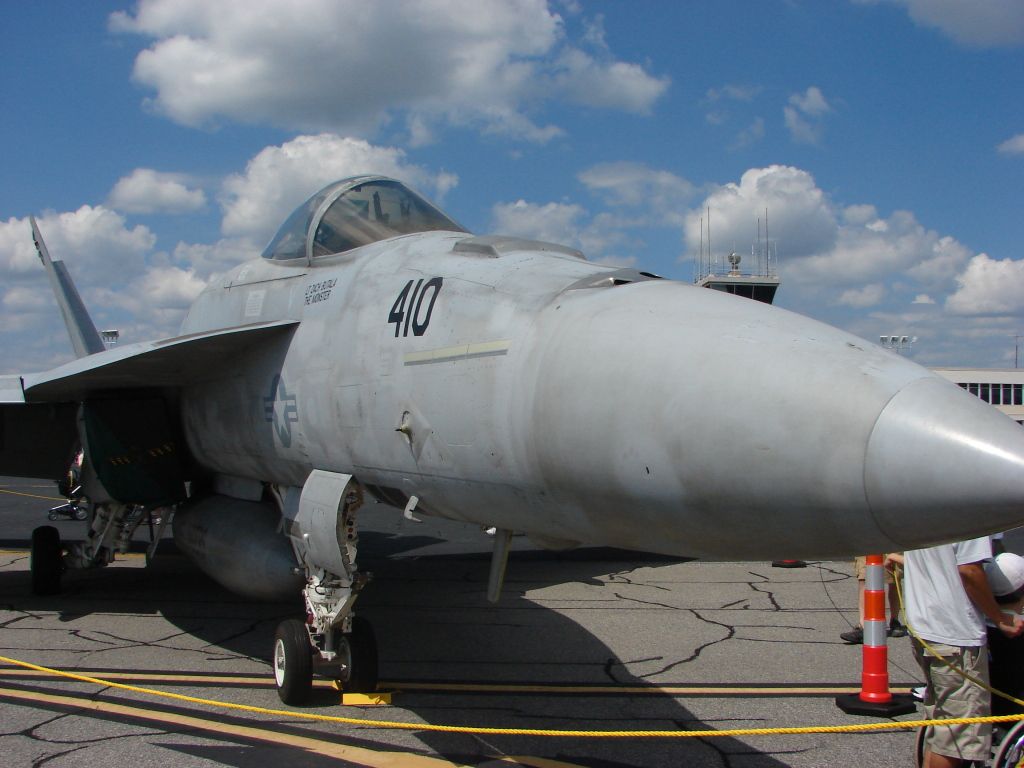
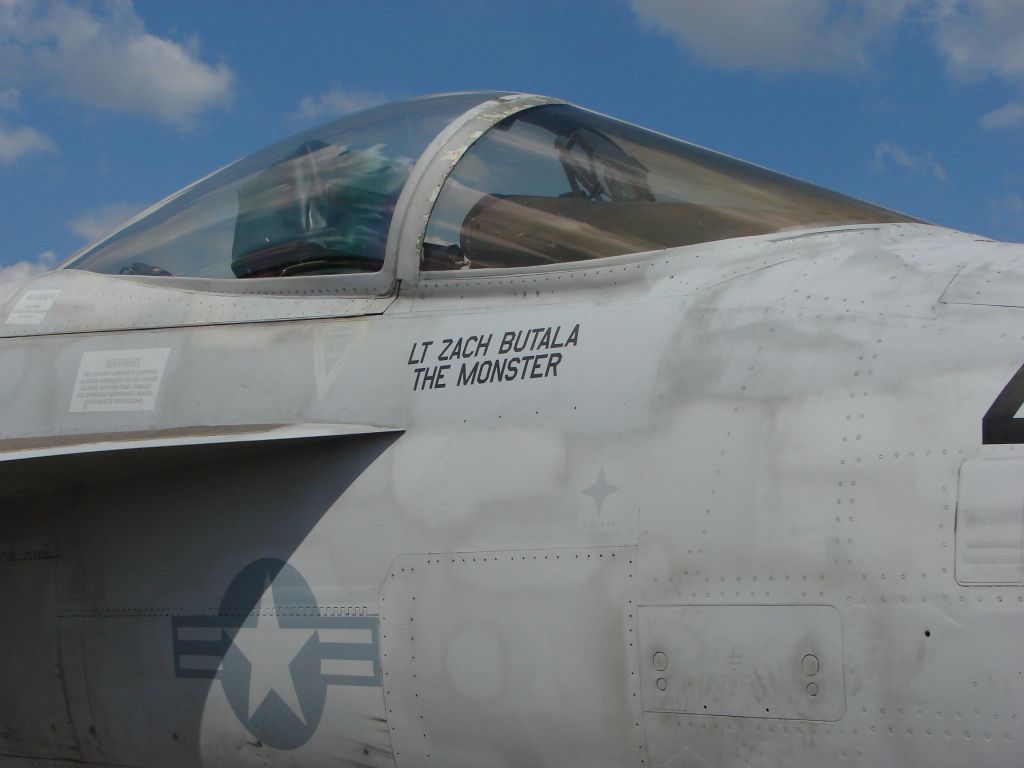
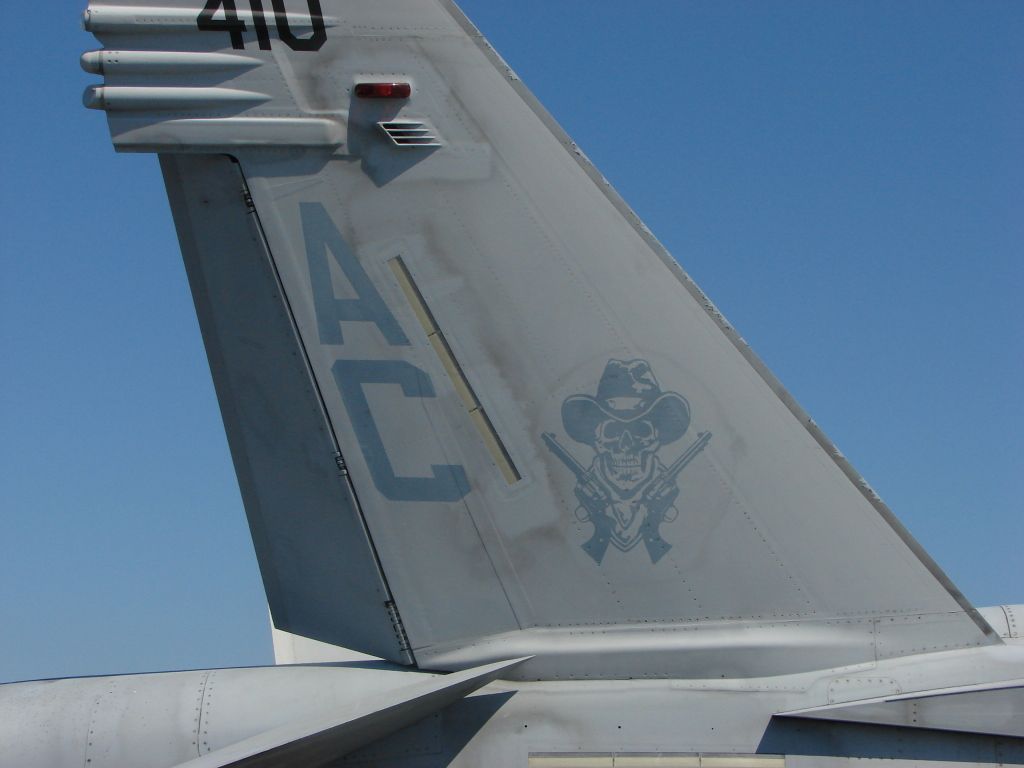
Markings will be VFA - 105 Gunslingers " 404 " NAS Oceana , USA .


Terri
New Hampshire, United States
Joined: November 09, 2008
KitMaker: 615 posts
AeroScale: 459 posts
Posted: Sunday, March 23, 2014 - 11:55 PM UTC
Very cool Terri, I always liked the Gunslingers.
Later

P-61 Black Widows, the Group Build
Veni, Vidi, Velcro; I came, I saw, I stuck around
Lisboa, Portugal
Joined: March 04, 2008
KitMaker: 5,386 posts
AeroScale: 635 posts
Posted: Tuesday, March 25, 2014 - 07:34 AM UTC
Very nice Terri
I will follow this one for sure, I have the F version.
Good progress so far !
Active Builds: 0
Active Campaigns: 0
Alberta, Canada
Joined: January 19, 2008
KitMaker: 6,743 posts
AeroScale: 6,151 posts
Posted: Thursday, March 27, 2014 - 11:46 AM UTC
I was going to build Hasegawa's F/A 18C , but I really like how Revell did their engineering on the fuselage assembly . Seems in the nose area has less sanding/filling and is better detailed than Hasegawa's kit ( early nineties )
Here are the results so far . I will leave off the rudders and paint these and weather them as separate same with the weapons pods . I figured this would make per-shading and painting easier in the long run .
The turtle deck right behind the pilot was shot shot and needed filler and a bit of sanding other than that rest of the fit is pretty good . All other seems got Mr. Surface 500 and I left this to dry for 24 hours and sanding this with a fine sanding stick followed by a three grid polishing stick . I also had a mishap and spilled my Microscale glue over the workbench . Two of the fuel wing tanks didn't make it

I was able to salvage one out of the three so I can still have one hang from the belly and still be able to use the gunslinger decals


Terri
Alberta, Canada
Joined: January 19, 2008
KitMaker: 6,743 posts
AeroScale: 6,151 posts
Posted: Sunday, March 30, 2014 - 05:08 AM UTC
She has got her colours on and clear coated ready for decaling !
For the under side and all that stuff hanging off the wings I sprayed Tamiya sky grey . On the top side it was sprayed with dark sea grey .


Terri
Alabama, United States
Joined: December 05, 2007
KitMaker: 204 posts
AeroScale: 202 posts
Posted: Sunday, March 30, 2014 - 07:07 AM UTC
Quoted Text
I was going to build Hasegawa's F/A 18C , but I really like how Revell did their engineering on the fuselage assembly . Seems in the nose area has less sanding/filling and is better detailed than Hasegawa's kit ( early nineties )
Really? Wow, that’s totally the opposite from the 48th scale versions. The 48th Revell kit fit is not that good and quite poor in the nose assembly compared to Hasegawa. I built Hasegawa’s 72nd Super Hornet a few years ago and there was not much to it. Hasegawa’s 72nd SH is not truly a scaled down version of the 48th scale kit (it came out prior to) unlike the 72nd Revell SH, which also unfortunately carried over all the shape inaccuracies from the 48th scale Revell SH.
Hasegawa’s 72nd SH did have some fit problems and was less detailed than Revell. In addition problem in the nose, I experienced fit issues around the intakes. I was curious how the 72nd Revell Intake fit was, since the 48th scale version was quite poor. Not much in the form of ordinance is included in the Hasegawa kit as well, unlike Revell.
Quoted Text
Here are the results so far . I will leave off the rudders and paint these and weather them as separate same with the weapons pods . I figured this would make per-shading and painting easier in the long run .
Nice work. Are you leaving the intakes open(uncovered), and if so, how are you masking the demarcation line from gray to white?
Mike
United States
Joined: February 01, 2009
KitMaker: 1,233 posts
AeroScale: 663 posts
Posted: Sunday, March 30, 2014 - 11:20 AM UTC
It is a fact that under equal conditions, large-scale battles and whole wars are won by troops which have a strong will for victory, clear goals before them, high moral standards, and devotion to the banner under which they go into battle.
-Georgy Zhukov
Alberta, Canada
Joined: January 19, 2008
KitMaker: 6,743 posts
AeroScale: 6,151 posts
Posted: Sunday, April 13, 2014 - 10:33 AM UTC
United States
Joined: February 01, 2009
KitMaker: 1,233 posts
AeroScale: 663 posts
Posted: Sunday, April 13, 2014 - 11:19 AM UTC
Terri, the Super Hornet looks good. Like the MUTHA motif on the tail. In answer to your question about the demarcation line in the intakes; the grey extends 2 to 3 feet inwards from the lower lip of the intake, back towards the fan. The line then goes straight up, roughly perpendicular to the bottom of the plane. It does not follow the slant of the intake. As for the decals in the intake, you can probably leave those off because they are really not visible on Super Hornets now. Just gray and white paint is really all you see now.
Best wishes,
Ian
It is a fact that under equal conditions, large-scale battles and whole wars are won by troops which have a strong will for victory, clear goals before them, high moral standards, and devotion to the banner under which they go into battle.
-Georgy Zhukov
Joel_W
 Associate Editor
New York, United States
Joined: December 04, 2010
KitMaker: 11,666 posts
AeroScale: 7,410 posts
Posted: Monday, April 14, 2014 - 07:25 AM UTC
Terri,
Don't know how I kept on missing your build blog, guess I just don't stop by modern aircraft enough. My apologies.
Looks like you're well on your way to completing another excellent build. Very nice two tone gray camo paint scheme. Believe me, I feel your "pain" with all those decals. The 1/48 F4B build has literally hundreds of stencils. I've been decaling for more then a week, and I'm not even halfway done. And like you, I haven't even started the loads yet. Some times I feel like there just isn't any end to it.
Your weathering as usual is most realistic.
Looking forward to your next update.
Joel
On my Workbench:
Monogram 1/24 scale 427 Shelby Cobra
Just Completed:
Beemax 1/24 scale BMW M3 E30 1992 Evolution II
Alberta, Canada
Joined: January 19, 2008
KitMaker: 6,743 posts
AeroScale: 6,151 posts
Posted: Tuesday, April 15, 2014 - 11:36 AM UTC
Hi Ian , thanks for answering on the intakes . Too late on doing this now but I will be building another one on the larger side 1/48 . The LHS has Trumpeters in 32 scale , but at 230 bucks is a lot of cash of a model kit !
Joel , it took me three nights on placing the decals and they are small ! Not one of my favorite things on doing .
Terri
Joel_W
 Associate Editor
New York, United States
Joined: December 04, 2010
KitMaker: 11,666 posts
AeroScale: 7,410 posts
Posted: Wednesday, April 16, 2014 - 01:29 AM UTC
Quoted Text
...Joel , it took me three nights on placing the decals and they are small ! Not one of my favorite things on doing .
Terri
I'm putting in 3 or 4 work sessions of several hours per week just decaling. At the rate of completion, I'll be thrilled to be done after 3 weeks time. Just not use to all these little stencils.
Heck, 1/48 scale WW11 Naval aircraft took just a few hours top side, then a 2nd session for the bottom and it was done.
Jets are a whole new ballgame for me.
Joel
On my Workbench:
Monogram 1/24 scale 427 Shelby Cobra
Just Completed:
Beemax 1/24 scale BMW M3 E30 1992 Evolution II
Alberta, Canada
Joined: January 19, 2008
KitMaker: 6,743 posts
AeroScale: 6,151 posts
Posted: Wednesday, April 16, 2014 - 01:20 PM UTC
I hear ya on Jets being a whole new ballgame but must say though , very enjoyable so far .
Round two is finished up ready for round three which I will focus on the panel lines ...


Terri
Joel_W
 Associate Editor
New York, United States
Joined: December 04, 2010
KitMaker: 11,666 posts
AeroScale: 7,410 posts
Posted: Thursday, April 17, 2014 - 05:36 AM UTC
Terri,
Have to agree that jets are certainly different, but just as enjoyable a build. Will be doing 2 props to 1 jet for some time to come.
Weathering really looks really convincing. Certainly looks like an operational F/A-18E.
Joel
On my Workbench:
Monogram 1/24 scale 427 Shelby Cobra
Just Completed:
Beemax 1/24 scale BMW M3 E30 1992 Evolution II
Alberta, Canada
Joined: January 19, 2008
KitMaker: 6,743 posts
AeroScale: 6,151 posts
Posted: Friday, April 18, 2014 - 11:00 AM UTC
Hi Joel

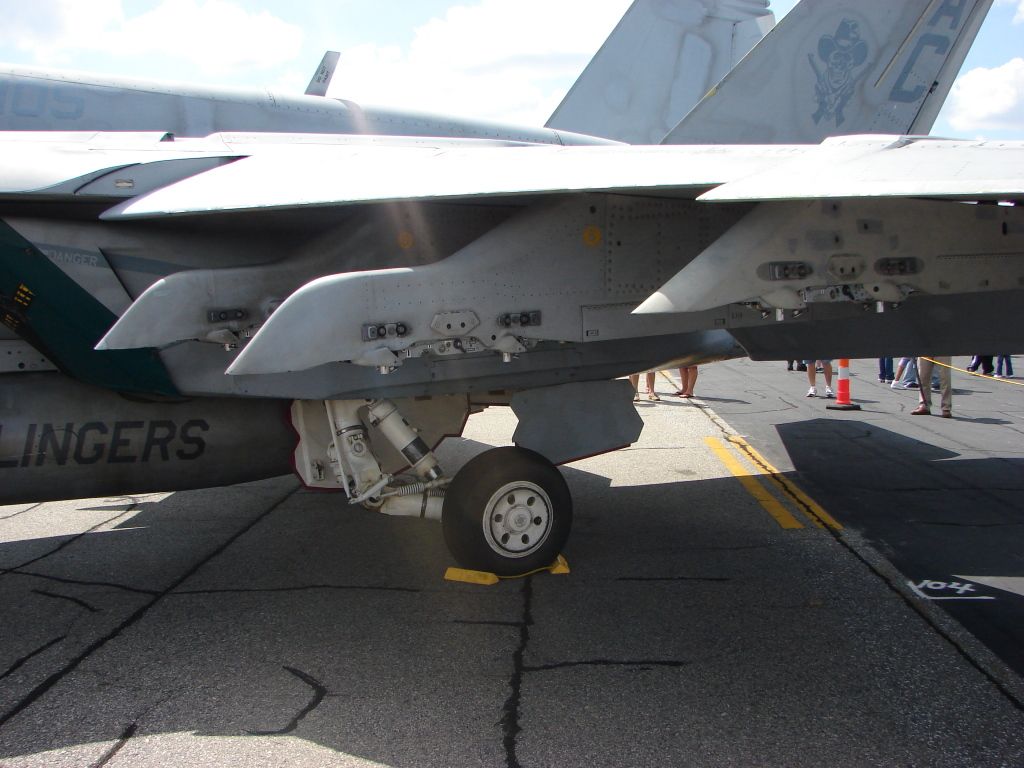
Weathering on the main airframe is finished and landing gear in place which now get weathered tieing it all together then it's finish the decaling on the weapons and more weathering again . Fix them in place and then a final seal of dull coat install the canopy and she will be done !
Beginning to think that the weathering never ends either ...

Will have pic's up soon .
Terri
New Hampshire, United States
Joined: November 09, 2008
KitMaker: 615 posts
AeroScale: 459 posts
Posted: Friday, April 18, 2014 - 04:00 PM UTC
As usual Terri, a most impressive job. Weathering is spot on. Painting and decaling are always the fun bits for me.

Weathering, not so much

I am looking forward to seeing the finished product.
Later

P-61 Black Widows, the Group Build
Veni, Vidi, Velcro; I came, I saw, I stuck around
California, United States
Joined: October 09, 2004
KitMaker: 65 posts
AeroScale: 45 posts
Posted: Friday, April 18, 2014 - 06:25 PM UTC
Great job! Don't sweat the "Shades of Grey" issue - trust me, these Navy Rhinos are worked hard and put into the stable wet a lot!

I worked corrosion for a while in VFA-27 and you would be SHOCKED at how fast that poly paint fades in the sun & weather!
This ship will stand and she will fight!
U.S. Navy (Ret)
Aircraft Electrician
NAWS China Lake
Joel_W
 Associate Editor
New York, United States
Joined: December 04, 2010
KitMaker: 11,666 posts
AeroScale: 7,410 posts
Posted: Saturday, April 19, 2014 - 10:24 AM UTC
Terri,
Sure sounds like you're seeing the finish line. Looking forward to your next update.
Joel
On my Workbench:
Monogram 1/24 scale 427 Shelby Cobra
Just Completed:
Beemax 1/24 scale BMW M3 E30 1992 Evolution II
Alberta, Canada
Joined: January 19, 2008
KitMaker: 6,743 posts
AeroScale: 6,151 posts
Posted: Saturday, April 19, 2014 - 03:19 PM UTC
Hi Bruce , nice to hear from you !

Thanks for the support and encouragement and not to let you jet guy's down .
Calvin , online photo's show this aircraft very well used and I'm surprised on how fast they weathered so it's nice to know I going in the right direction

Hey Joel , last of the decals are on . This will be wrapped up tomorrow so pic's are coming soon

Terri
Joel_W
 Associate Editor
New York, United States
Joined: December 04, 2010
KitMaker: 11,666 posts
AeroScale: 7,410 posts
Posted: Sunday, April 20, 2014 - 02:35 AM UTC
Terri,
Looking forward to your pictures.
Joel
On my Workbench:
Monogram 1/24 scale 427 Shelby Cobra
Just Completed:
Beemax 1/24 scale BMW M3 E30 1992 Evolution II
Alberta, Canada
Joined: January 19, 2008
KitMaker: 6,743 posts
AeroScale: 6,151 posts
Posted: Sunday, April 20, 2014 - 04:26 AM UTC
United States
Joined: February 01, 2009
KitMaker: 1,233 posts
AeroScale: 663 posts
Posted: Sunday, April 20, 2014 - 04:54 AM UTC
Terri,
Great looking Rhino! Looks every inch a combat jet.
Best wishes,
Ian
It is a fact that under equal conditions, large-scale battles and whole wars are won by troops which have a strong will for victory, clear goals before them, high moral standards, and devotion to the banner under which they go into battle.
-Georgy Zhukov
New Hampshire, United States
Joined: November 09, 2008
KitMaker: 615 posts
AeroScale: 459 posts
Posted: Sunday, April 20, 2014 - 11:01 AM UTC
Terri,
Great job! Beautiful Rhino and load out.
P-61 Black Widows, the Group Build
Veni, Vidi, Velcro; I came, I saw, I stuck around
Joel_W
 Associate Editor
New York, United States
Joined: December 04, 2010
KitMaker: 11,666 posts
AeroScale: 7,410 posts
Posted: Sunday, April 20, 2014 - 11:06 AM UTC
Terri,
Just a rock solid build, perfect paint & decaling, and your weathering is simply outstanding.
You sure come a long way from bi-planes, to WW11, to a helicopter, and now modern jet fighter. I'm more then duly impressed. So what's next on your build plate?
Joel
On my Workbench:
Monogram 1/24 scale 427 Shelby Cobra
Just Completed:
Beemax 1/24 scale BMW M3 E30 1992 Evolution II
Alberta, Canada
Joined: April 07, 2010
KitMaker: 1,028 posts
AeroScale: 939 posts
Posted: Monday, April 21, 2014 - 01:52 AM UTC
I'm properly impressed!!

Well done, indeed!!!
To prevent being called an 'expert', screw something up good every now and again.


