Now I've cleared part of the desk to get it built.
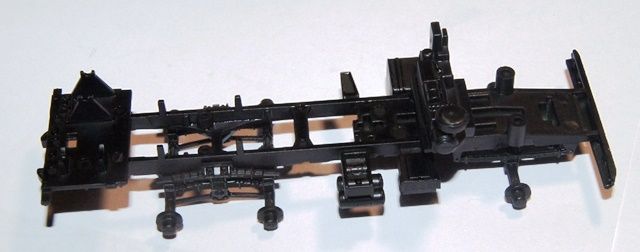
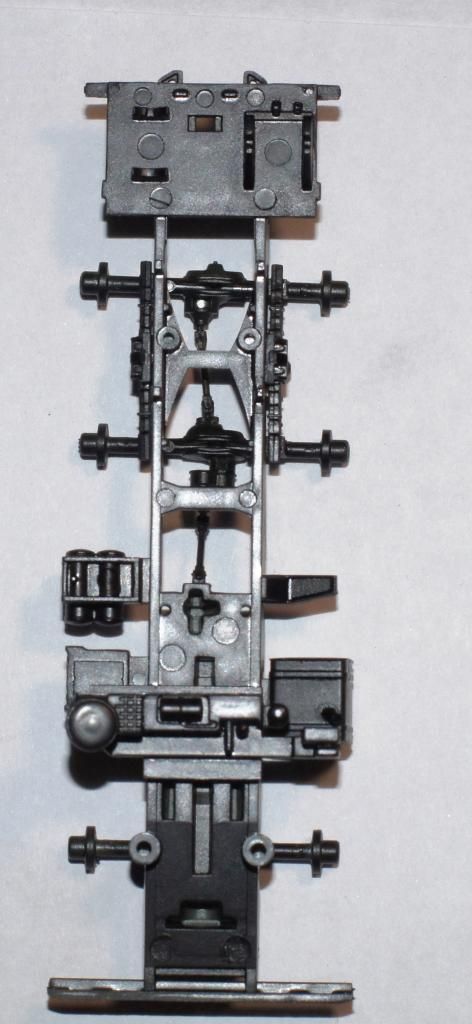
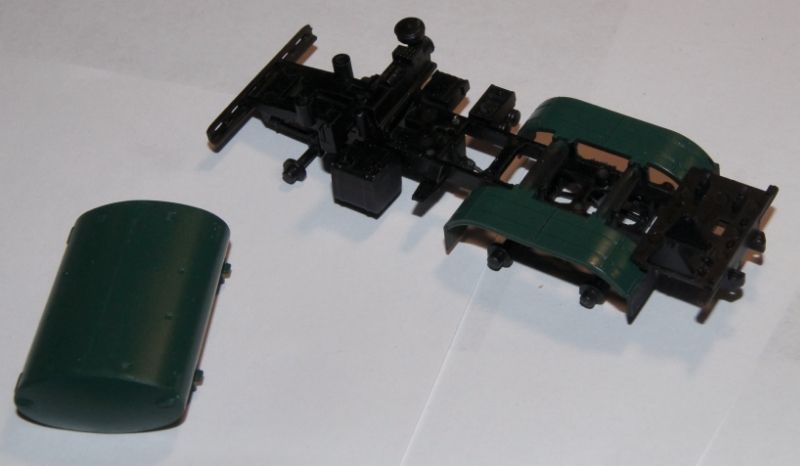
The painting instructions tend to be kind of general, and I didn't want to try and mask off some of the intricate detail. So I broke down the instructions to try and group similar painting efforts together. For the first 2 sessions, I managed to get the entire chassis, most of the first 3 assembly steps, together and painted. Some of the sub assemblies can be a bit tricky to take your time and check the pictures carefully. Take care with the drive train parts, it's possible to trim off part of the connection while trimming the gate (sad voice of experience).


Lots of ejector marks, but it looks like most will be covered on the next couple of assembly steps.
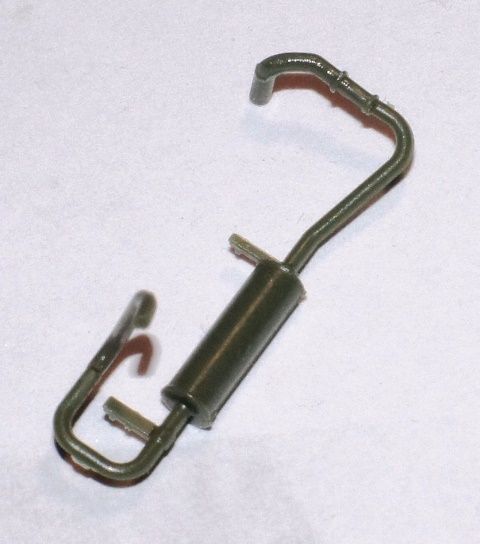
Here's the muffler and exhaust pipe assembly. This is made up of 3 sections, both pipes actually have spices mid length to get all the curves in place.


