Hey all. This is my first post on Aeroscale. Im going to be trying to build an aircraft for the first time in a year or two.
So first things first, I feel I should mention my intentions. A few days ago I saw on Scalemates a1/144 diorama of a Harrier firing off one of it's missiles. It looked so good it almost looked real. Well it gave me an idea to try that with a F-14.
I was at a show on the 2nd and yesterday, NortheastCon 43, where I saw a vendor selling a Revell F-14A Black Tomcat so I picked one up (along with a Mauve P-40M, a DML US Rangers set, and a Starfix Bf-109). I started work on the Tomcat last night and I'm almost half way finished building it. I'll post some pictures later.
Hosted by Jim Starkweather
1/144 Tomcat Dio In The Works
MikeyBugs95

Joined: May 27, 2013
KitMaker: 2,210 posts
AeroScale: 63 posts

Posted: Sunday, May 04, 2014 - 03:11 AM UTC
thegirl

Joined: January 19, 2008
KitMaker: 6,743 posts
AeroScale: 6,151 posts

Posted: Sunday, May 04, 2014 - 12:32 PM UTC
Welcome to Aeroscale !
I like the idea you have here and I look forward on viewing your up-dates .
Terri
I like the idea you have here and I look forward on viewing your up-dates .
Terri

MikeyBugs95

Joined: May 27, 2013
KitMaker: 2,210 posts
AeroScale: 63 posts

Posted: Monday, May 05, 2014 - 12:17 AM UTC
Well I have an update.
I finished the rear fuselage and am getting close to finishing the cockpit area. I'm thinking about looking for pilots but I doubt if be able to find any.
I finished the rear fuselage and am getting close to finishing the cockpit area. I'm thinking about looking for pilots but I doubt if be able to find any.
jimb

Joined: August 25, 2006
KitMaker: 2,539 posts
AeroScale: 231 posts

Posted: Monday, May 05, 2014 - 12:44 AM UTC
Joel_W

Joined: December 04, 2010
KitMaker: 11,666 posts
AeroScale: 7,410 posts

Posted: Monday, May 05, 2014 - 01:32 AM UTC
Michael, looking forward to seeing some pictures of your progress on a 1/144 scale F-14A. I can't even see 1/72 scale anymore, so observing someone working in 1/144 scale always amazes me.
Joel
Joel

MikeyBugs95

Joined: May 27, 2013
KitMaker: 2,210 posts
AeroScale: 63 posts

Posted: Monday, May 05, 2014 - 01:57 AM UTC
James: I'll check them out. They won't really be very visible but it'd add to the effect.
Joel: the hardest part(s) so far have been getting the wings in so they could swing (I couldn't get them to swing so I had to glue the wings in at about 3/4 sweep) and the decals. Those tiny things are so finicky...
Joel: the hardest part(s) so far have been getting the wings in so they could swing (I couldn't get them to swing so I had to glue the wings in at about 3/4 sweep) and the decals. Those tiny things are so finicky...

MikeyBugs95

Joined: May 27, 2013
KitMaker: 2,210 posts
AeroScale: 63 posts

Posted: Monday, May 05, 2014 - 09:23 AM UTC
And a build update: I've finished the build enough to warrant the spraying of some paint. Since I don't have any Satin Black or Flat Black (which comes out pretty glossy on the plastic anyway), I have to use the Gloss Black spray that I do have. I will also be spraying the AIM-54s, AIM-9s, and AIM-7s with a gloss white spray after trying to brush paint them and not having nice results.
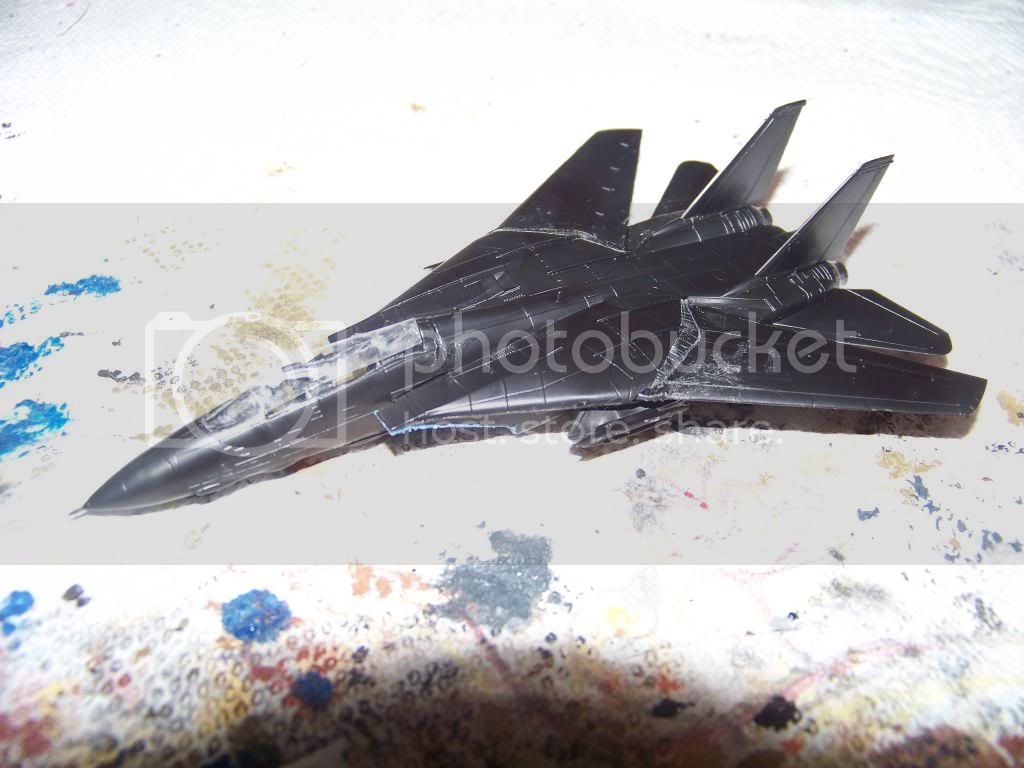
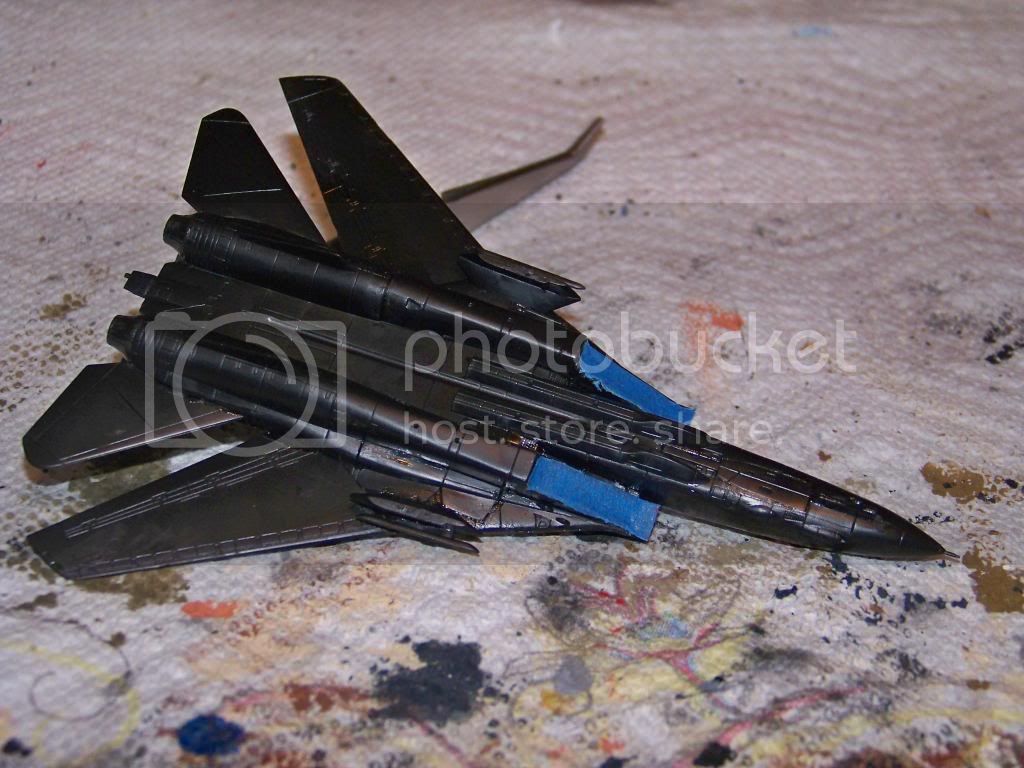
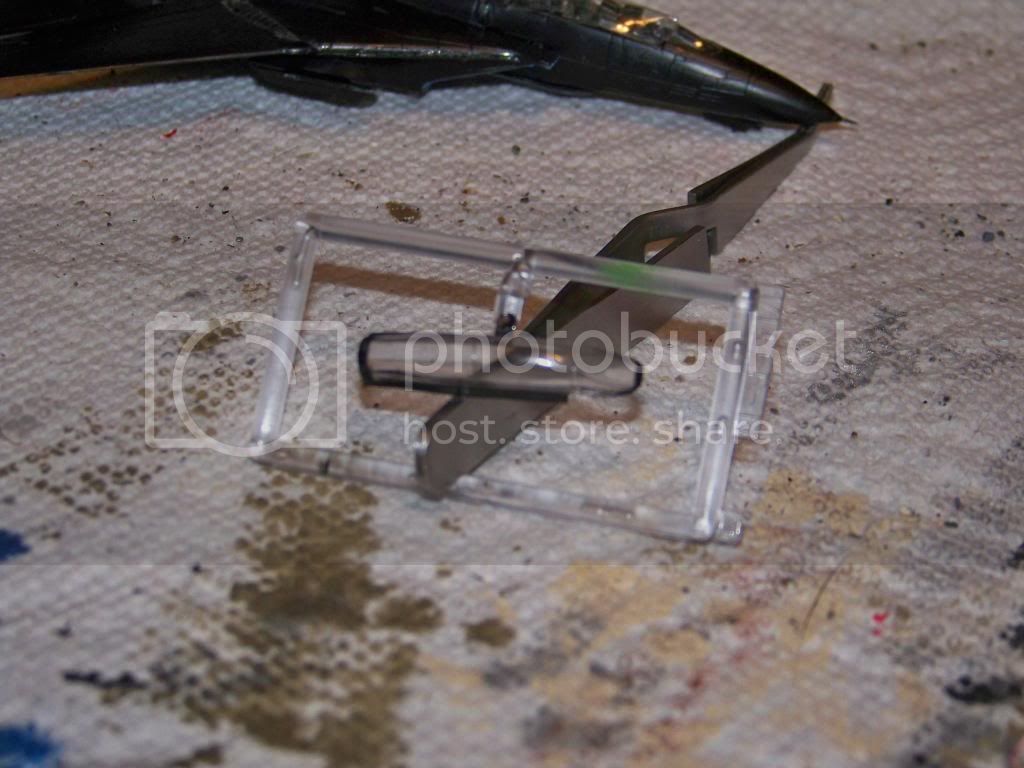
I'm also having a tough time trying to paint the ridges on the canopy (the word for those things escapes me at the moment) because they're so small. I'm contemplating just leaving them unpainted if I cant find a solution to paint them. Either way I'll be leaving the canopy off until I get the figures.


I'm also having a tough time trying to paint the ridges on the canopy (the word for those things escapes me at the moment) because they're so small. I'm contemplating just leaving them unpainted if I cant find a solution to paint them. Either way I'll be leaving the canopy off until I get the figures.

Jessie_C


Joined: September 03, 2009
KitMaker: 6,965 posts
AeroScale: 6,247 posts

Posted: Monday, May 05, 2014 - 12:49 PM UTC
There are two possible solutions:
Solution 1) Get some Scotch Magic tape (the frosted kind), burnish it down onto the canopy and then using a brand new Xacto blade, cut out the canopy frame areas for the paint.
Solution 2) Spray your gloss black onto clear decal film, cut it into slivers and decal those frames on.
Solution 1) Get some Scotch Magic tape (the frosted kind), burnish it down onto the canopy and then using a brand new Xacto blade, cut out the canopy frame areas for the paint.
Solution 2) Spray your gloss black onto clear decal film, cut it into slivers and decal those frames on.
Arizonakid

Joined: October 03, 2012
KitMaker: 89 posts
AeroScale: 33 posts

Posted: Monday, May 05, 2014 - 01:16 PM UTC
Kewl stuff. In addition to the suggestions of Jessica, there is also one other old trick you could try. Hand paint with thinned black using two or three layers. This keeps it thin enough to keep from building up bulky layers. And after each application has a chance to dry (but not harden) go at the edges with a clean dry wood toothpick. The wood is softer than the plastic canopy, and should not scratch it. And if it is fresh paint, it should come right off very easily.
Gary


MikeyBugs95

Joined: May 27, 2013
KitMaker: 2,210 posts
AeroScale: 63 posts

Posted: Monday, May 05, 2014 - 02:05 PM UTC
Jessica: the first option I was considering but I feared about the black that's already on the frame but I could simply repaint it. The second option I feel is a bit too unfeasable for me because of the diminutive size of those frame spars. They are about the thickness of my pinkie's fingernail. If not smaller. But I do think I will use the first option.
Cooper: I have tried that with a wash I made and it didnt go well. The paint went all around the frame except on the area where I need it.
Cooper: I have tried that with a wash I made and it didnt go well. The paint went all around the frame except on the area where I need it.
Posted: Monday, May 05, 2014 - 05:42 PM UTC
Michael, just use a fine 00 brush and a steady hand like I did with these:
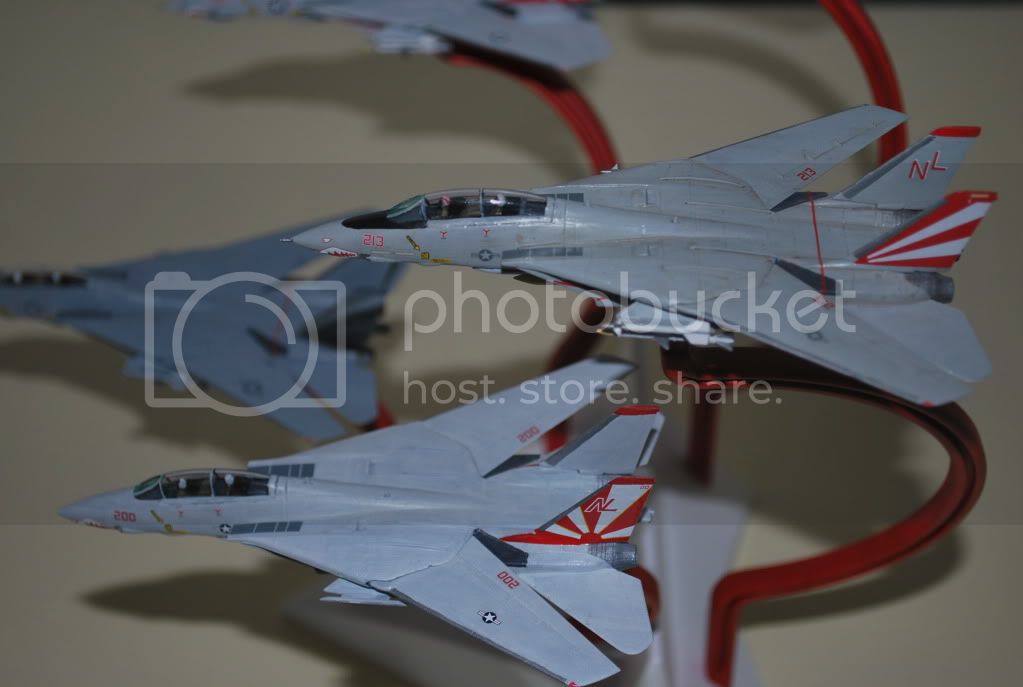
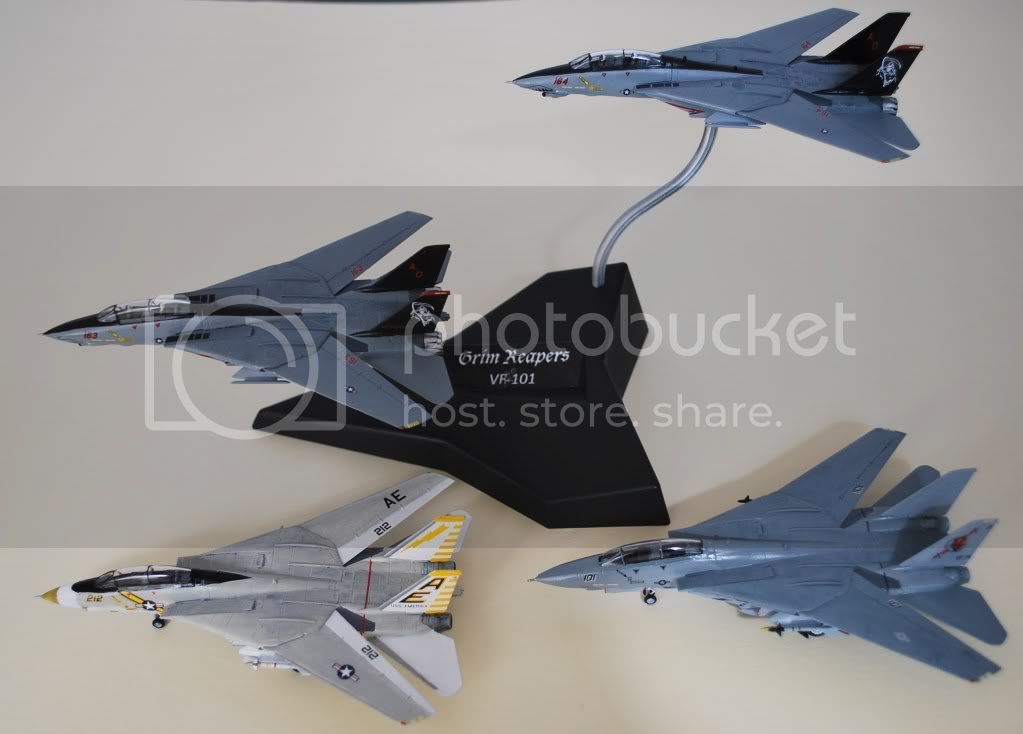
Matt black acrylic paint which as it is not over primer can be carefully scraped off if you go over the edge of the canopy frame, this will work as your primer and interior colour. Once dry clean up then go over with your top colour.


Matt black acrylic paint which as it is not over primer can be carefully scraped off if you go over the edge of the canopy frame, this will work as your primer and interior colour. Once dry clean up then go over with your top colour.

MikeyBugs95

Joined: May 27, 2013
KitMaker: 2,210 posts
AeroScale: 63 posts

Posted: Monday, May 05, 2014 - 11:47 PM UTC
Those are some very, very fine models, Luciano, but unfortunately my hand shakes slightly and I dont have a 00 brush. I have a fine applicator that I had cut from a proxy brush before but I tried using that and I was too satisfied. I'll try the masking first.
Joel_W

Joined: December 04, 2010
KitMaker: 11,666 posts
AeroScale: 7,410 posts

Posted: Tuesday, May 06, 2014 - 04:34 AM UTC
Jessica's idea of frosted tape is an excellent way to get the canopy frames painted. Rather then frosted tape I use Tamiya 10mm tape. Using a straight edge you can easily cut it into halves for a thinner piece to work with. Cut each piece slightly longer then 1/2 length of the frame, then over lap the next piece, starting each piece in opposite corner. Burnish down, then hand paint.
Working in that small scale has all sorts of unique challenges. As Luciano said, you can clean up the edges quite easily with a toothpick.
Joel
Working in that small scale has all sorts of unique challenges. As Luciano said, you can clean up the edges quite easily with a toothpick.
Joel
Posted: Tuesday, May 06, 2014 - 11:42 AM UTC
cutting masks or decaling with thin lines - its hard to say which is more nerve wracking. Ive had fair results with both methods.
These 1/350 Skywarriors are done with decal film painted gray and cut into thin strips, nudged into place with size000 paint brushes,
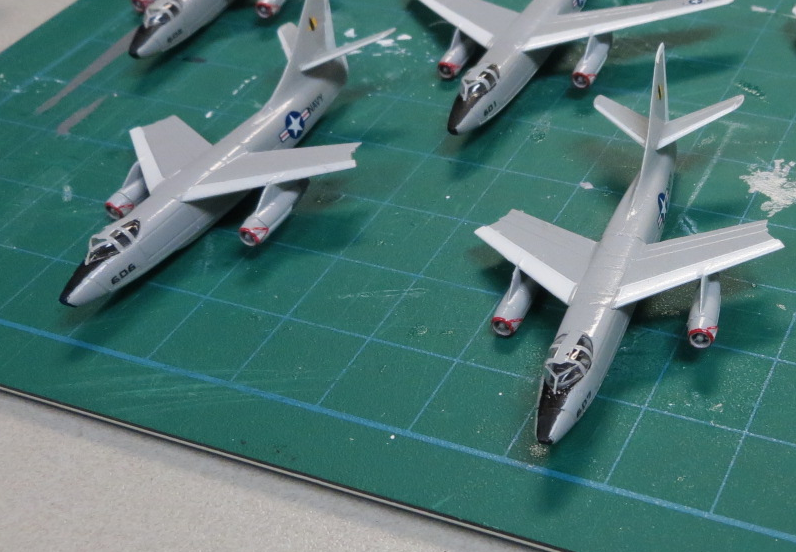
and on these 1/144 Avengers, I cut dozens of tiny rectangles from tamiya tape and stuck them down.
cutting the masking tape in place is something I havent tried, might be quicker than conventional cutting and fitting of bits.
free hand brush painting is beyond my ability, though Luciano makes it look easy !
These 1/350 Skywarriors are done with decal film painted gray and cut into thin strips, nudged into place with size000 paint brushes,

and on these 1/144 Avengers, I cut dozens of tiny rectangles from tamiya tape and stuck them down.
cutting the masking tape in place is something I havent tried, might be quicker than conventional cutting and fitting of bits.
free hand brush painting is beyond my ability, though Luciano makes it look easy !


MikeyBugs95

Joined: May 27, 2013
KitMaker: 2,210 posts
AeroScale: 63 posts

Posted: Friday, May 09, 2014 - 04:48 AM UTC
I'm taking a short hiatus from building because I've come down with something and I'm sleeping in today. But...:
I had finally gotten around to painting the kit (I have quite a few other kits in the works and schoolwork and job searching) a couple of days ago. I first sprayed it with a rattle can Gloss Black but it came out heavy in places and very splotchy. Same with the Gloss White I sprayed the weapons with (I associate this with the age of the paints). So I stripped those off and went at it with a brush with Flat Black and Flat White. The black didnt turn out too bad except on the very flat surfaces: the wings and horizontal stabilizers. I have to strip the bottom of those surfaces, again, and hopefully I'll have some good Flat Black spray paint at some point to be able to paint it over. That or the $10 mini-compressor that was bought for me comes before then and I can finally use my airbrush.
Oh... And I masked one of the canopy lines and painted it. I have yet to see how it came out because I haven't taken the tape off yet.
(P.S.: I apologize the long wall-of-words post)
 |


