Hi Mal. Sorry for the long wait for the saying thanks. Get back to those WNW kits. You won't regret it.
And I know all about pressing matters. Been a busy summer work wise. Bench time is counted in minutes these days. Hope to make even more progres with the long weekend.
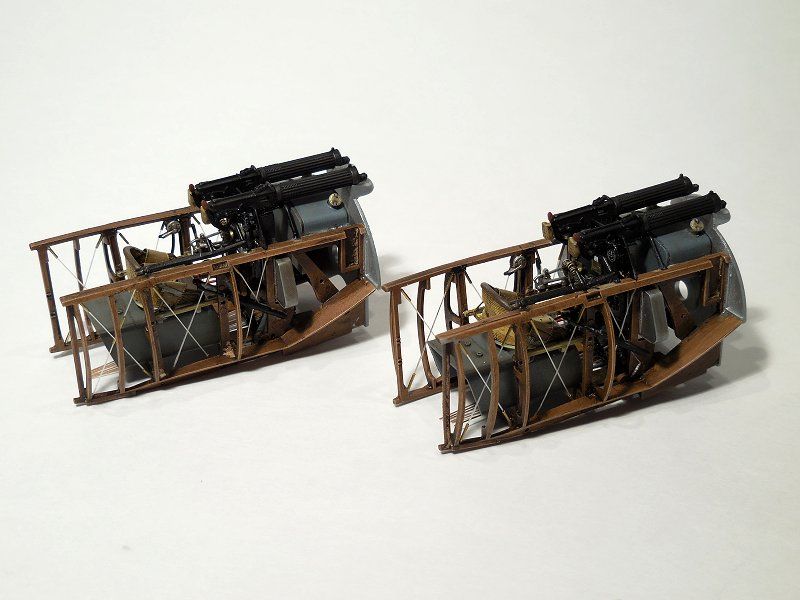
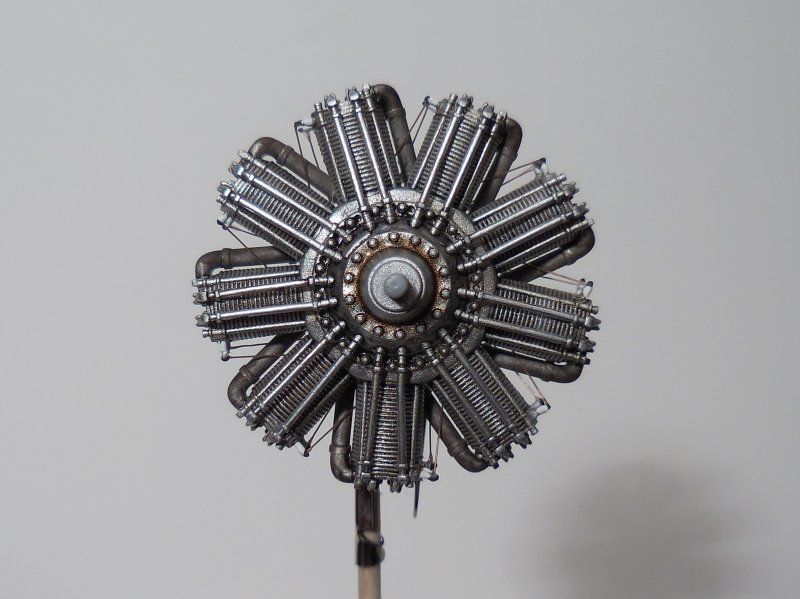
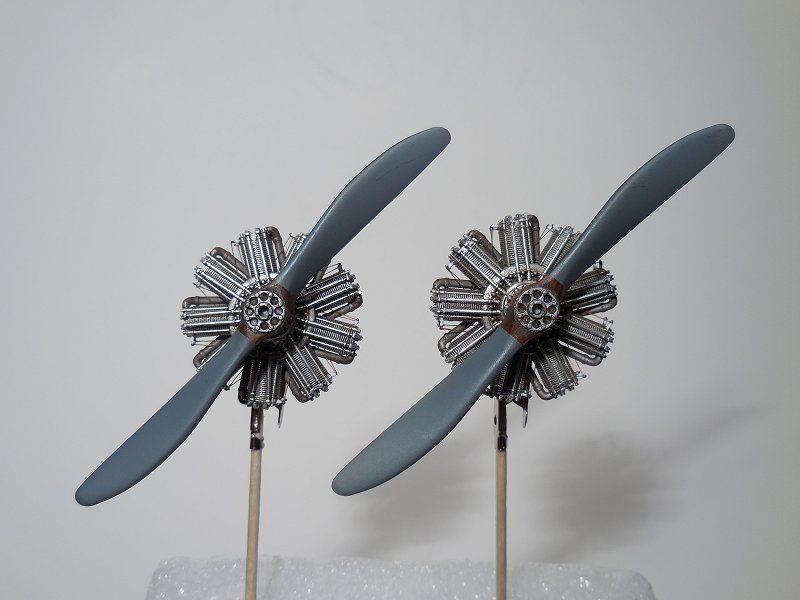
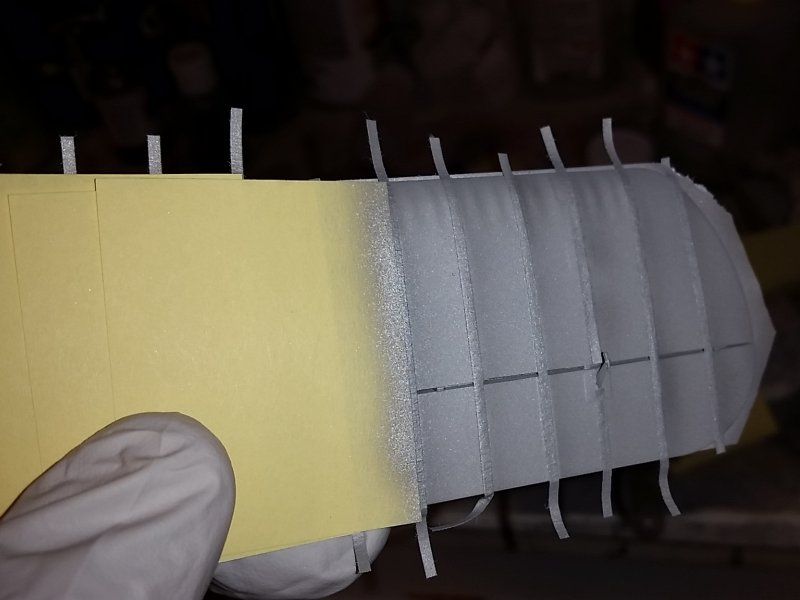
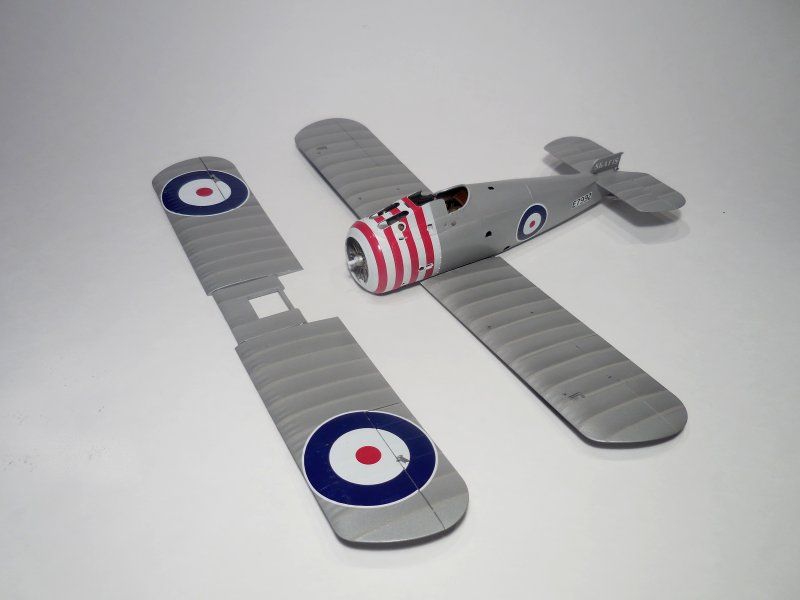
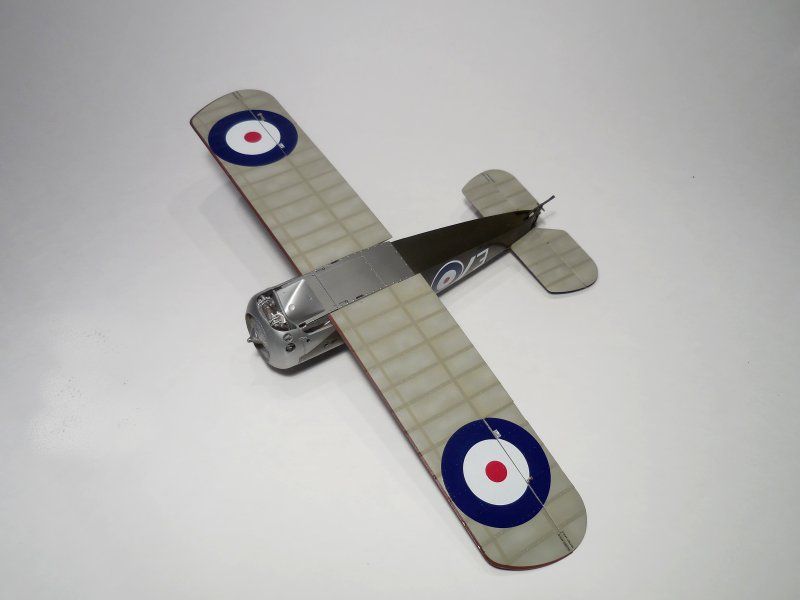
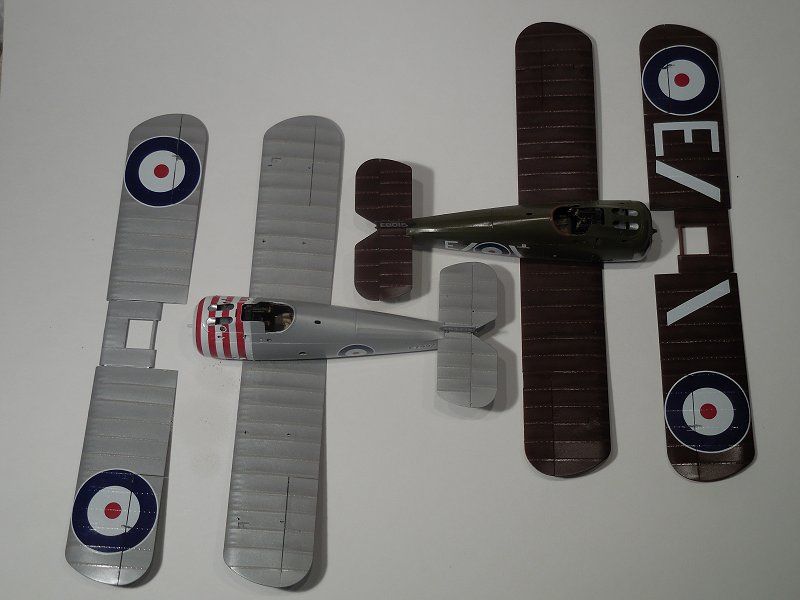
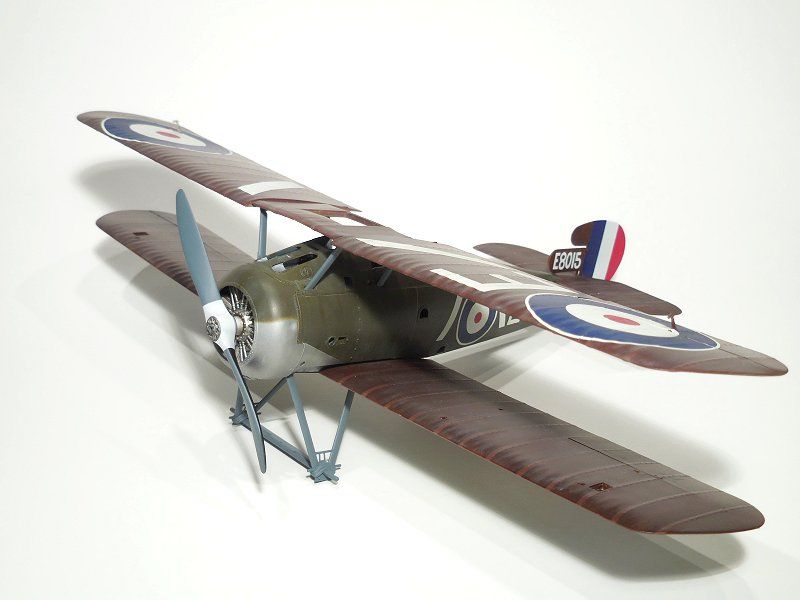
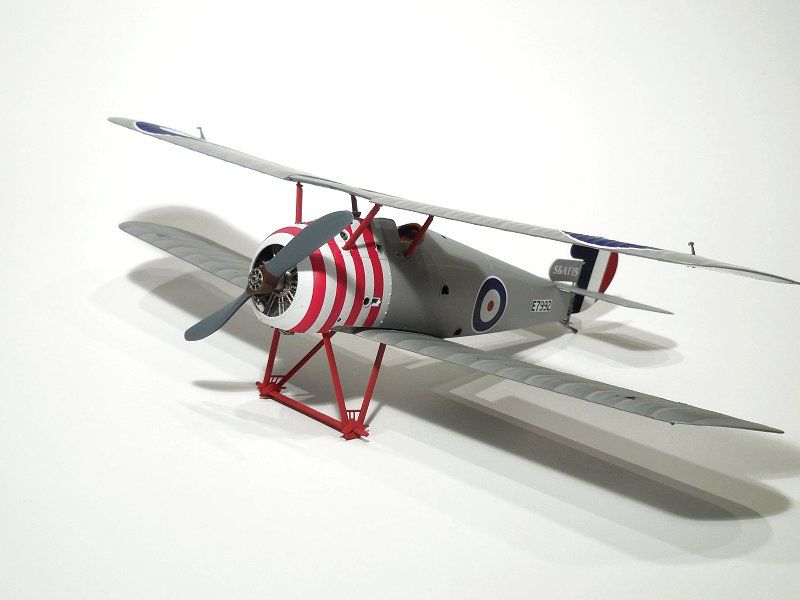
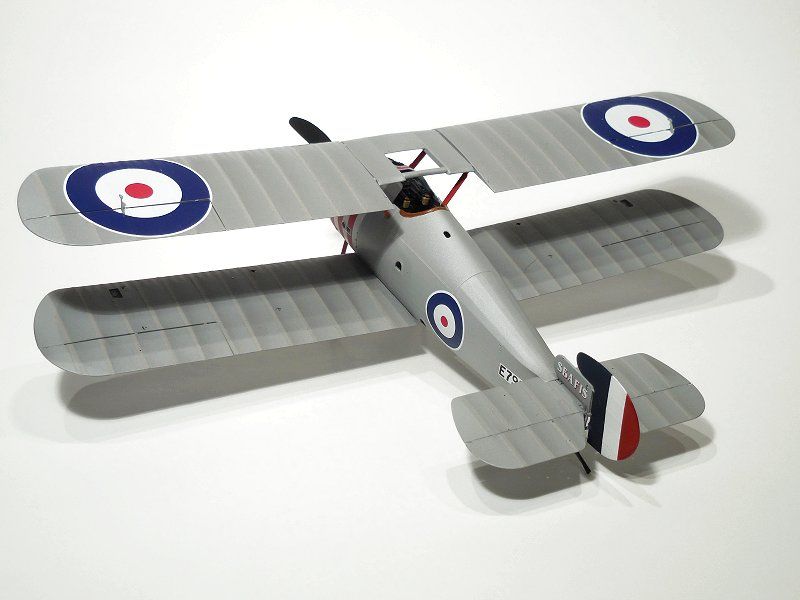
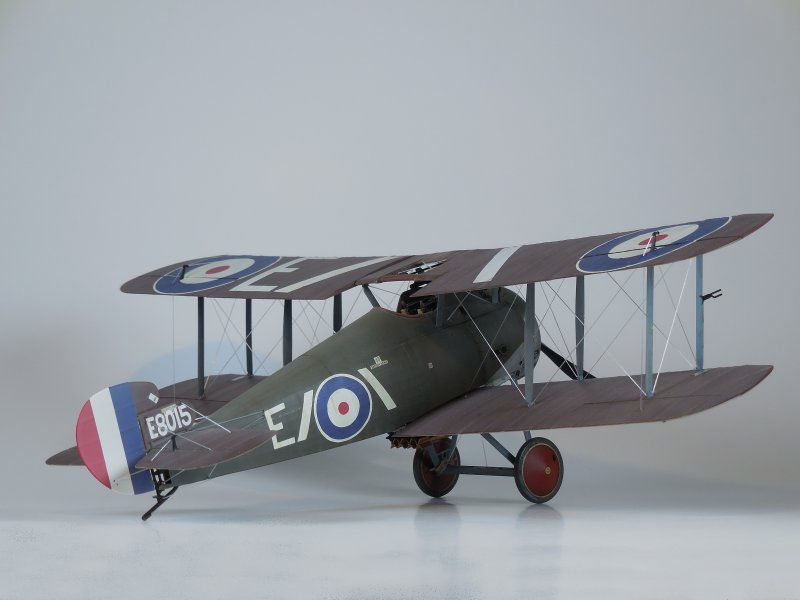
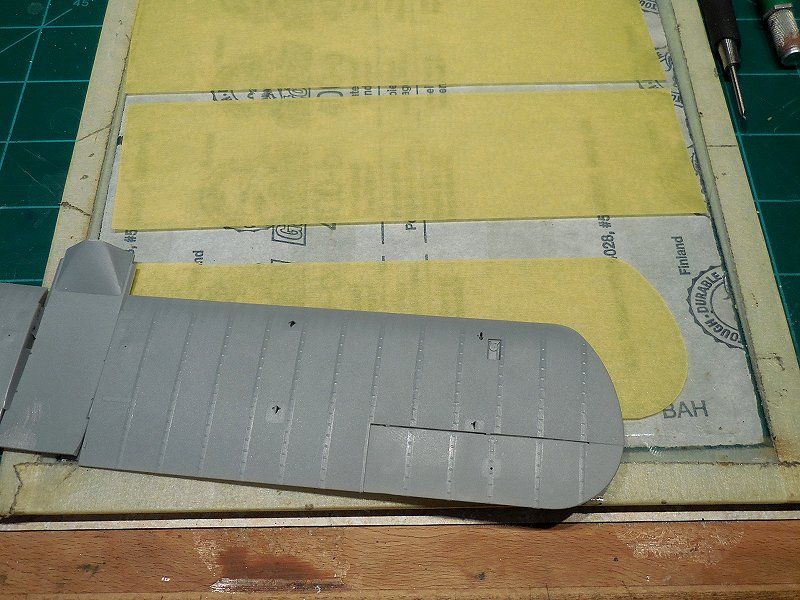
Be that as it may, work has been done. Every part that need clean up has had it and just waiting there turn. Most are sitting on a big Styrofoam block and their own little alligator clip waiting for paint. WHICH HAS BEGUN! I am starting on E8015 which has a green (PC10) fuselage, brown (PC12) upper wing, and clear doped linen lower wings. This is why the wings are being done separately. The other bird is all sliver doped so the lower wing has already been attached.
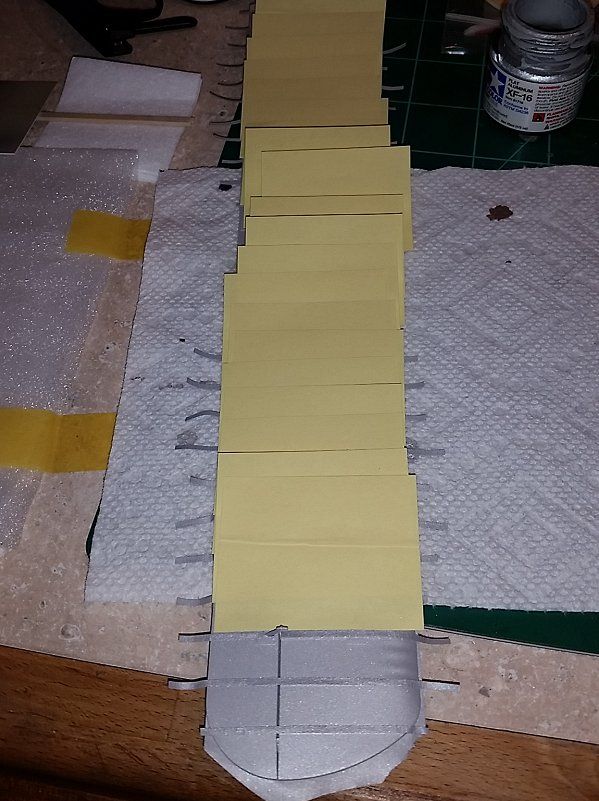
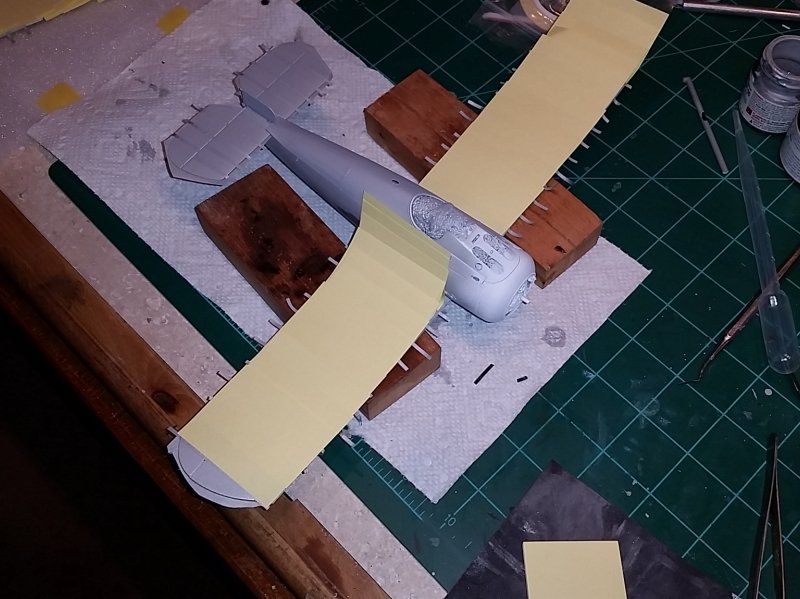
Since the brown wraps around the LE a tiny bit the wings were used to make tape masks.
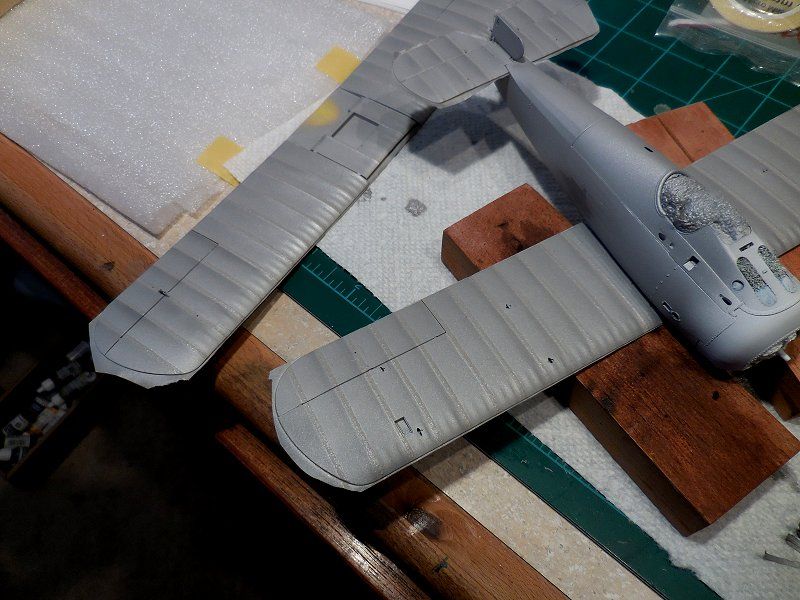
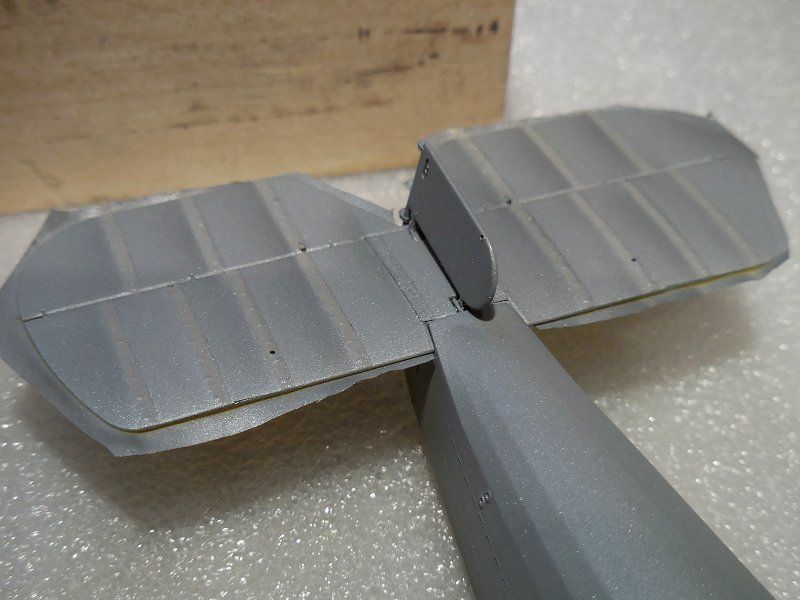
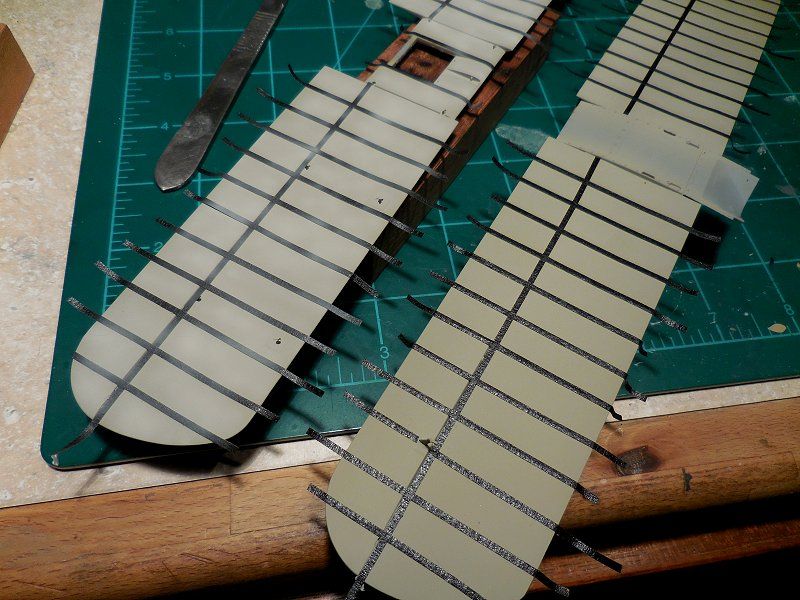
I know I asked in another thread about whether or not the ribs would be seen form below and the answer was really no. A lot of people read that and didnt add anything so I guess it really is a no. Still and all... I had this idea in my head for a look and we hoping for a yes to my question and wanted to give it a try. So I did it anyway.
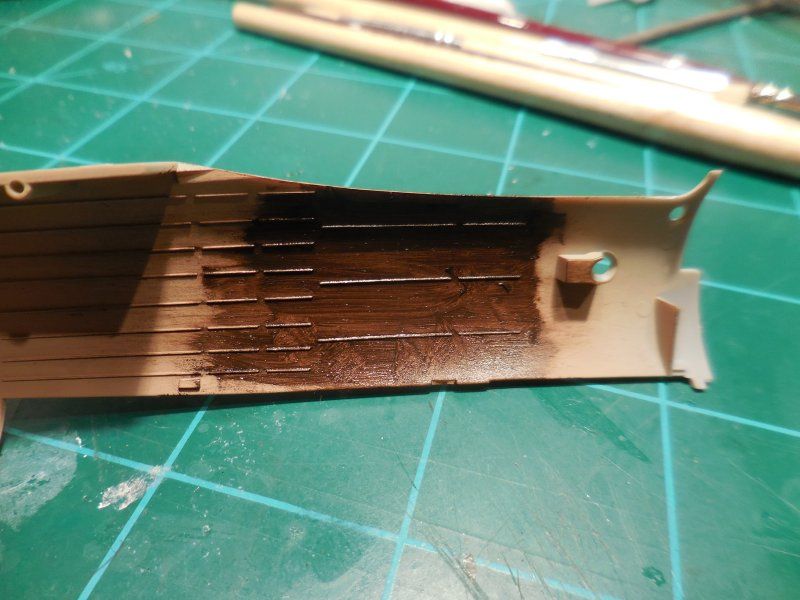
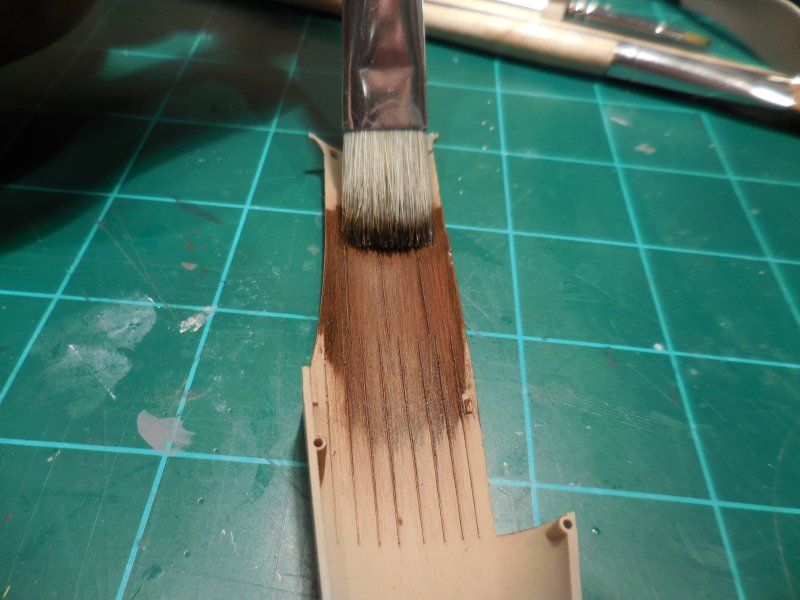
First is a base coat of Tamiya deck tan with the tiniest drop of black to darken. The ribs and spar are taped and an uneven coat of deck tan made fairly light fills in all the spaces. Then some straight deck tan was sprayed following the tape hold the AB far enough away to just straddle the tape with overspray.
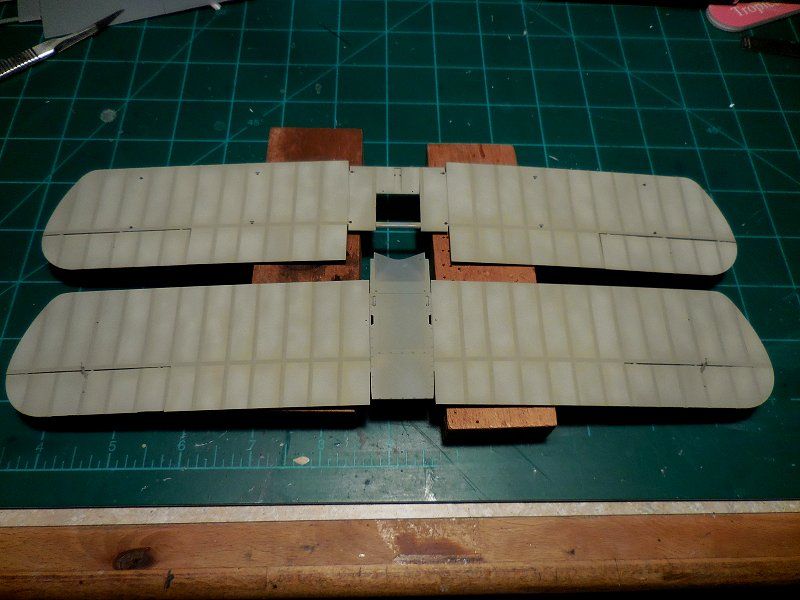
My cabane jig worked so well on the Albatros and the Roland I figured
what the heck. Lets give it a go again.
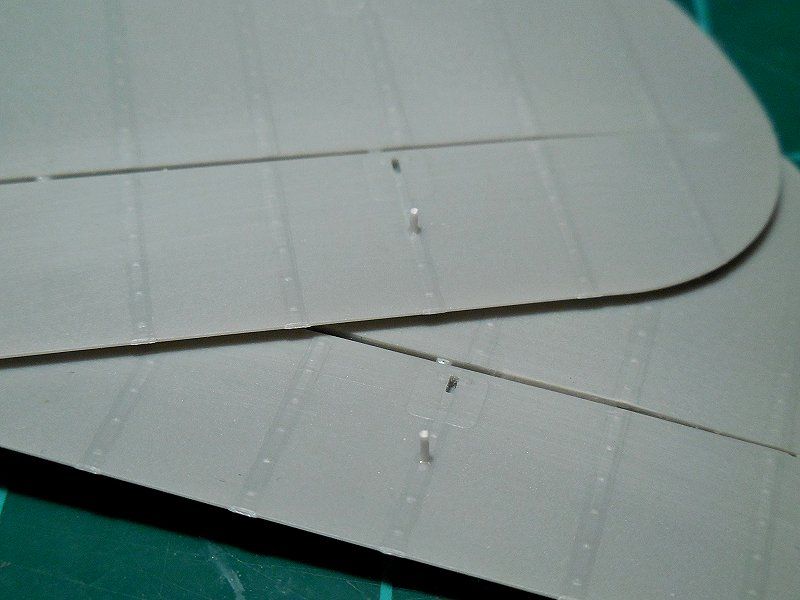
Tamiya tape was used to transfer the cabane strut holes to a piece of sheet plastic.

Plastic rod starts the process of keeping everything square.


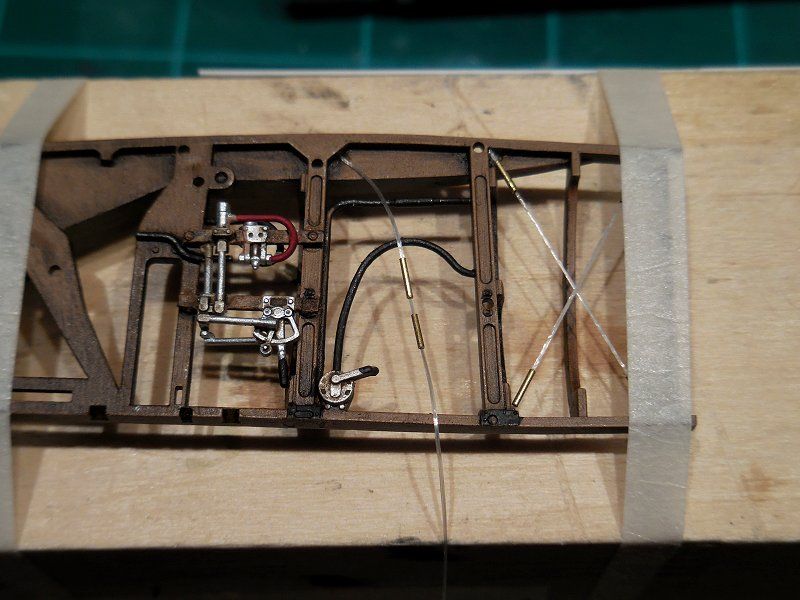
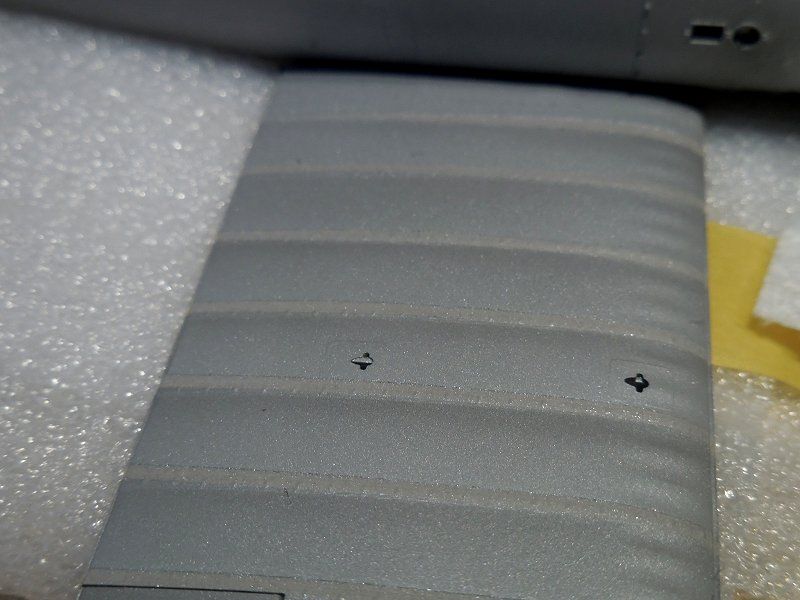
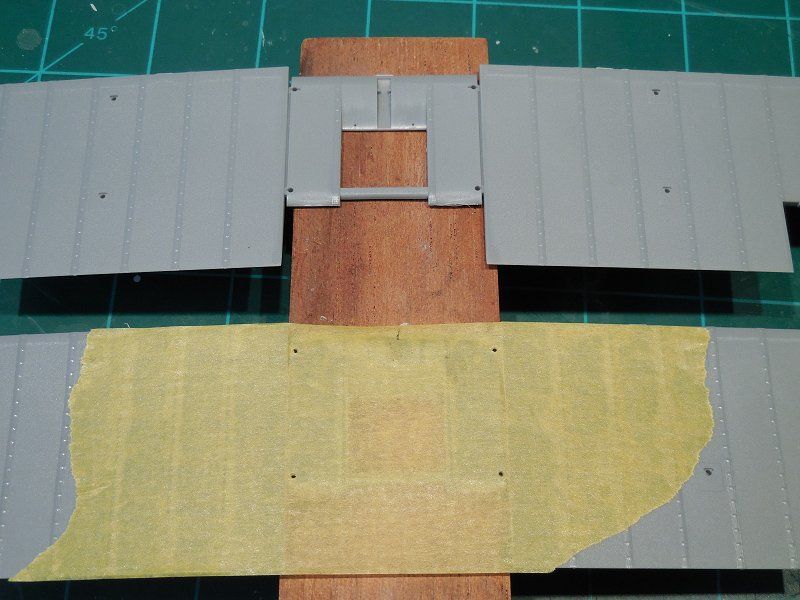
To make the rigging easier I plan to run a single line from wing to wing through the control surfaces. But the hole did not line up when I drilled though 1 of the molded holes. So I filled one side with plastic rod that was chiseled of so only one hole showed after I drilled through.
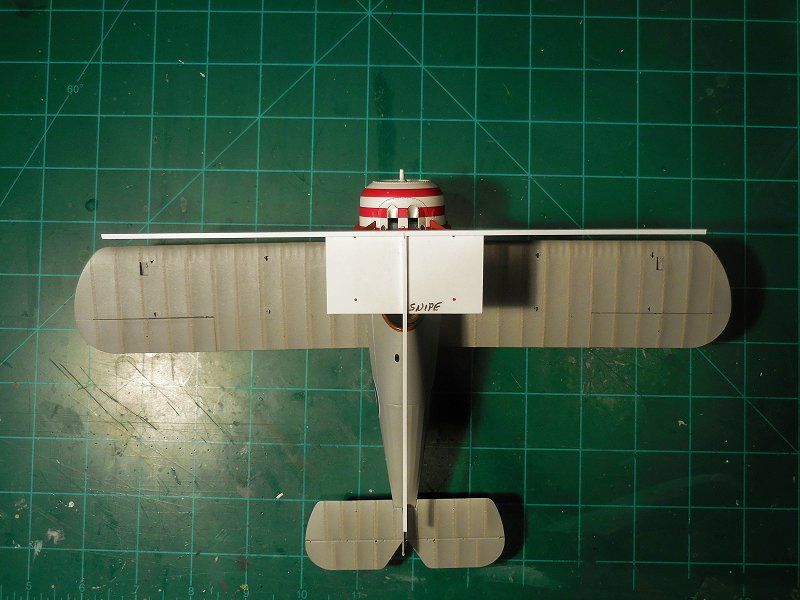
A little bit more painting and the wings will be going on his guy.