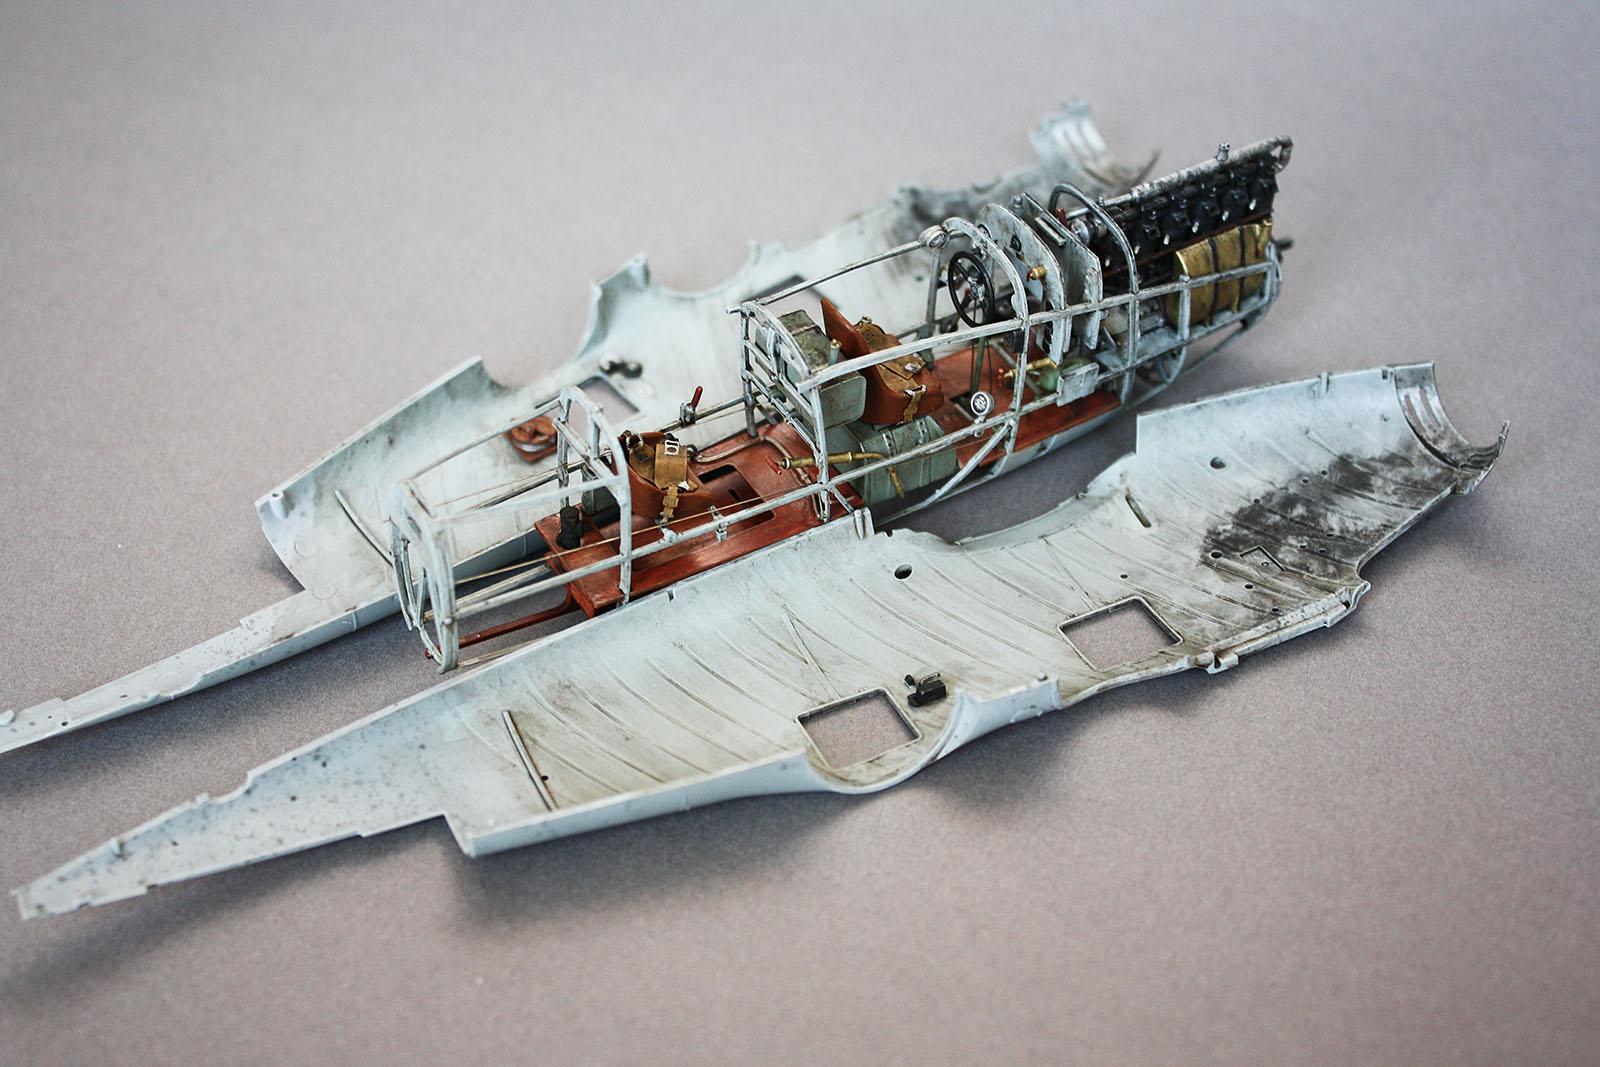
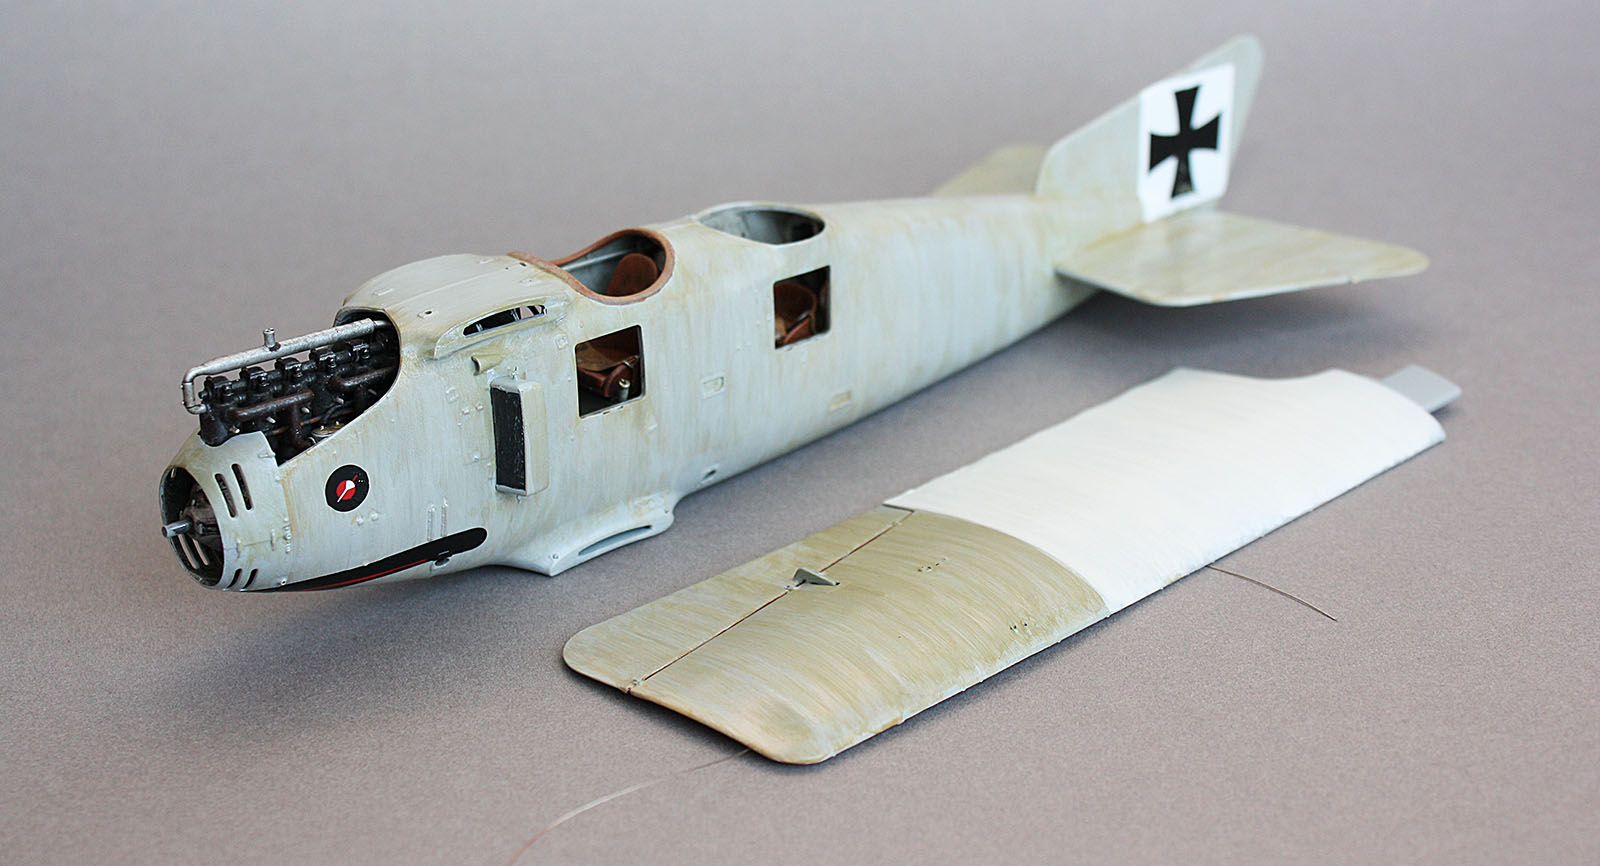
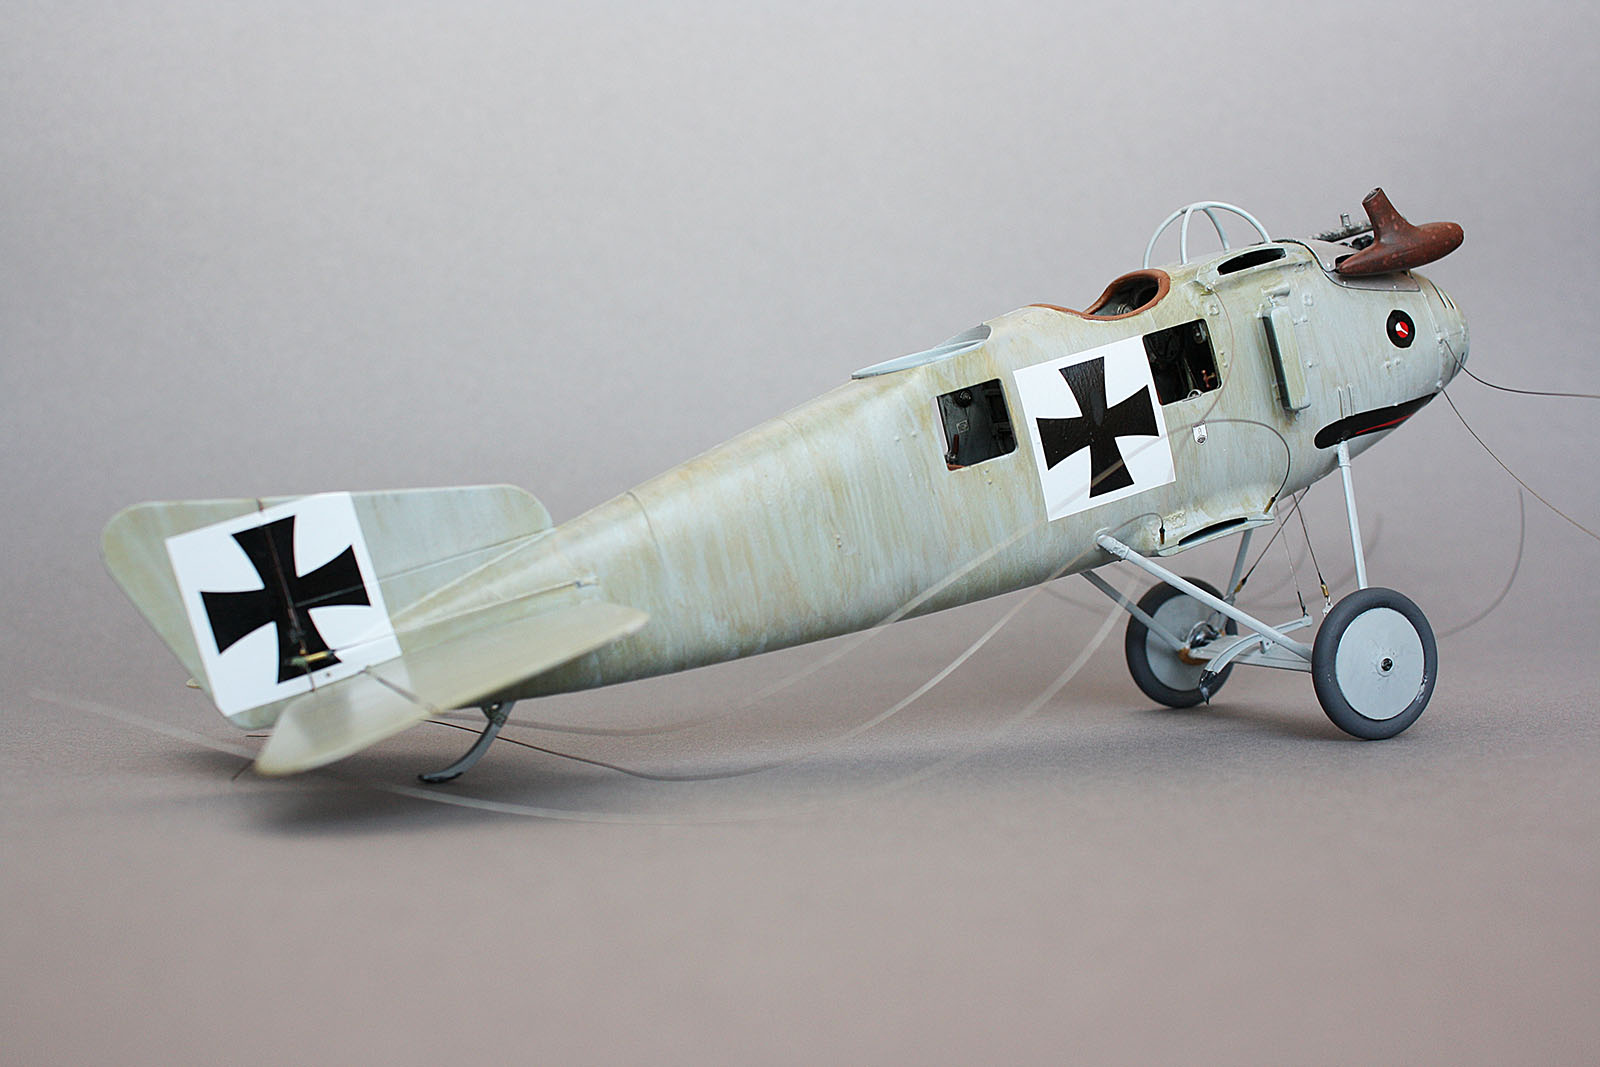
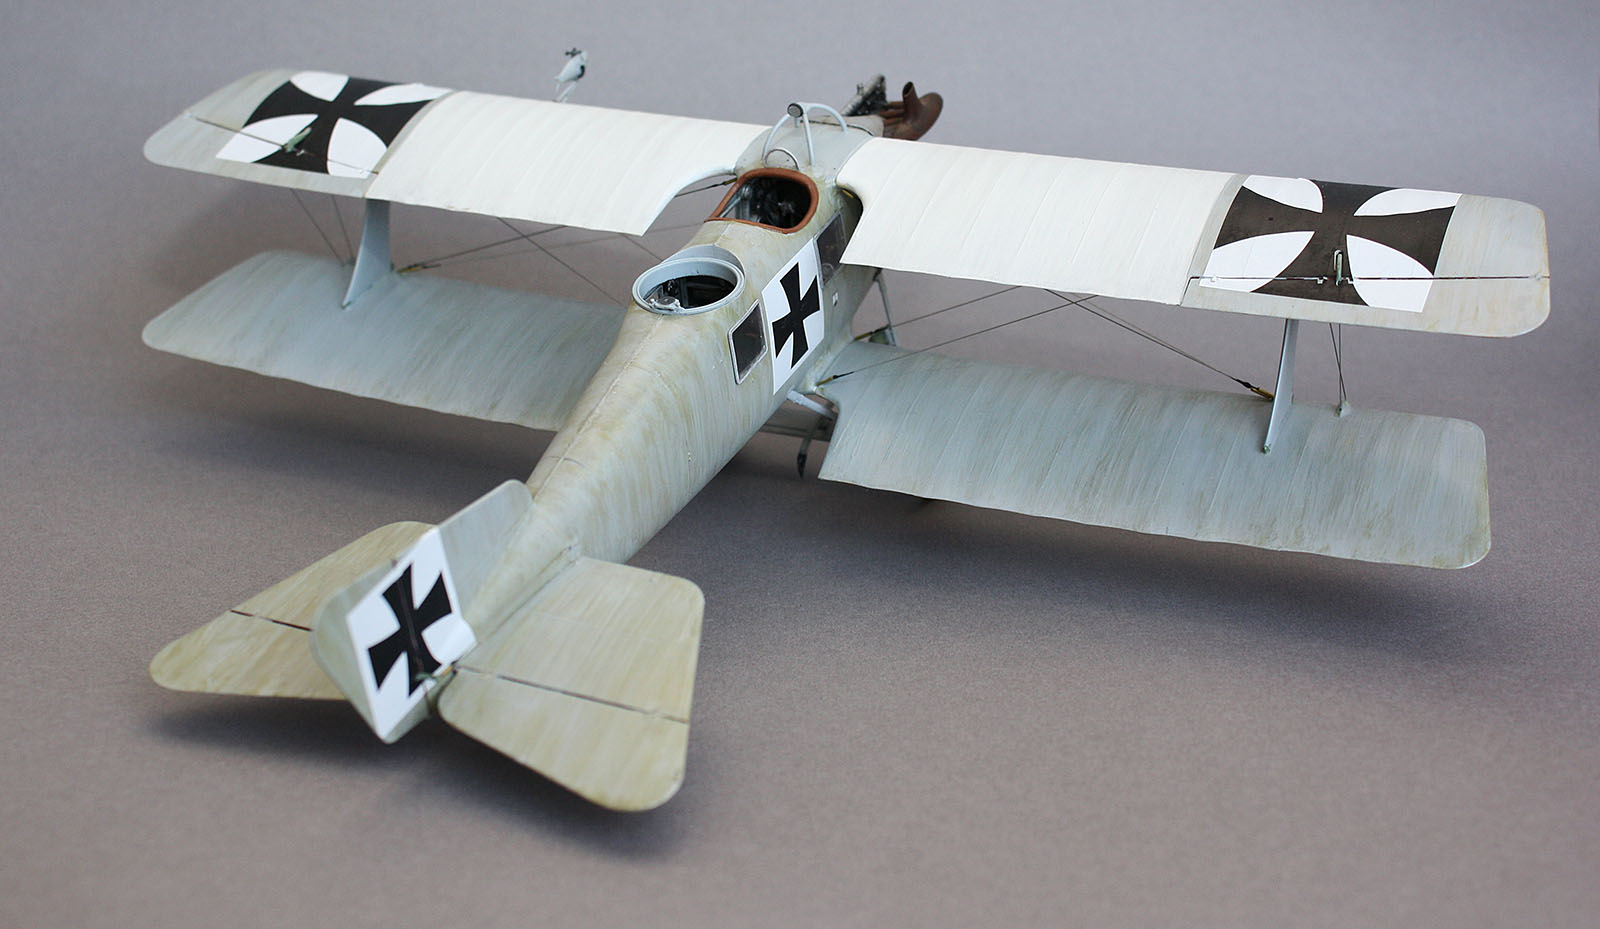
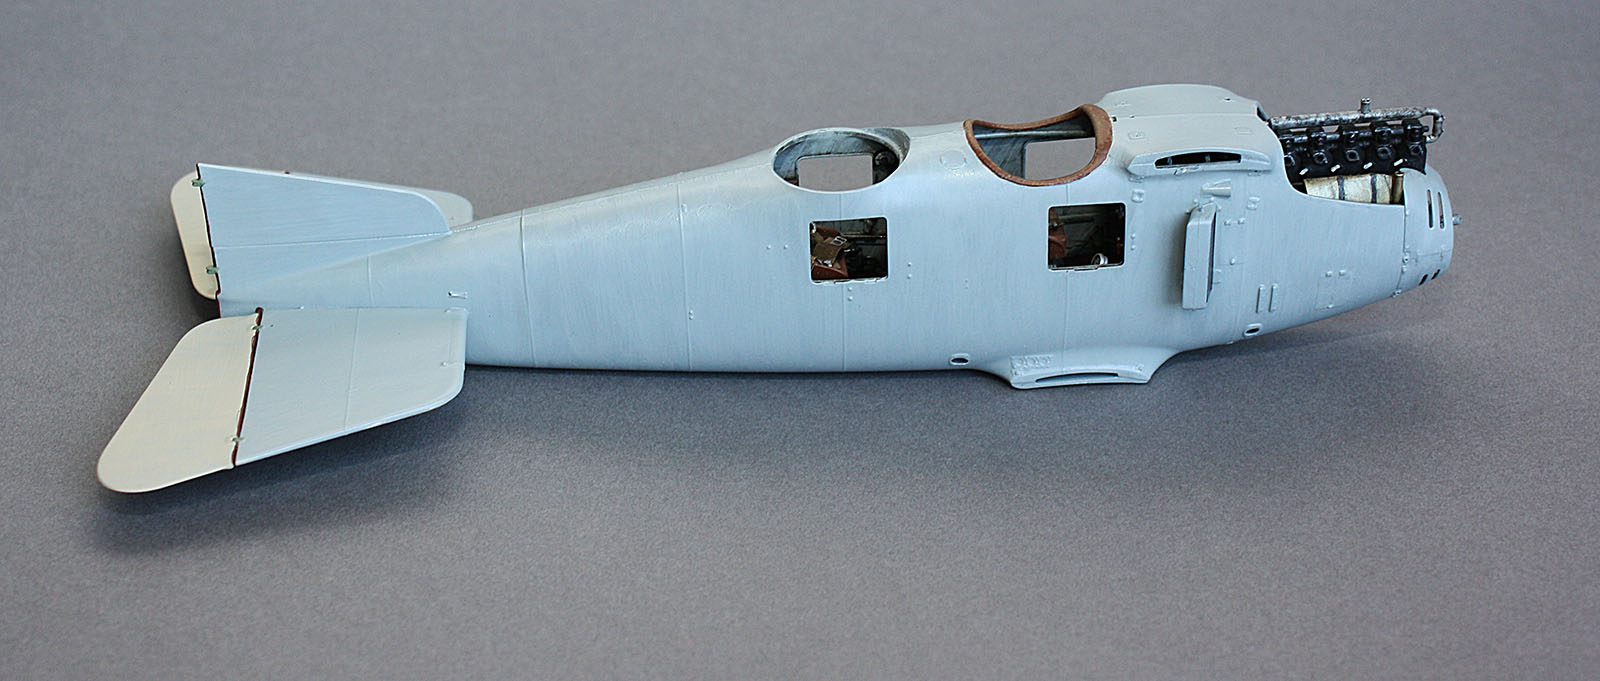
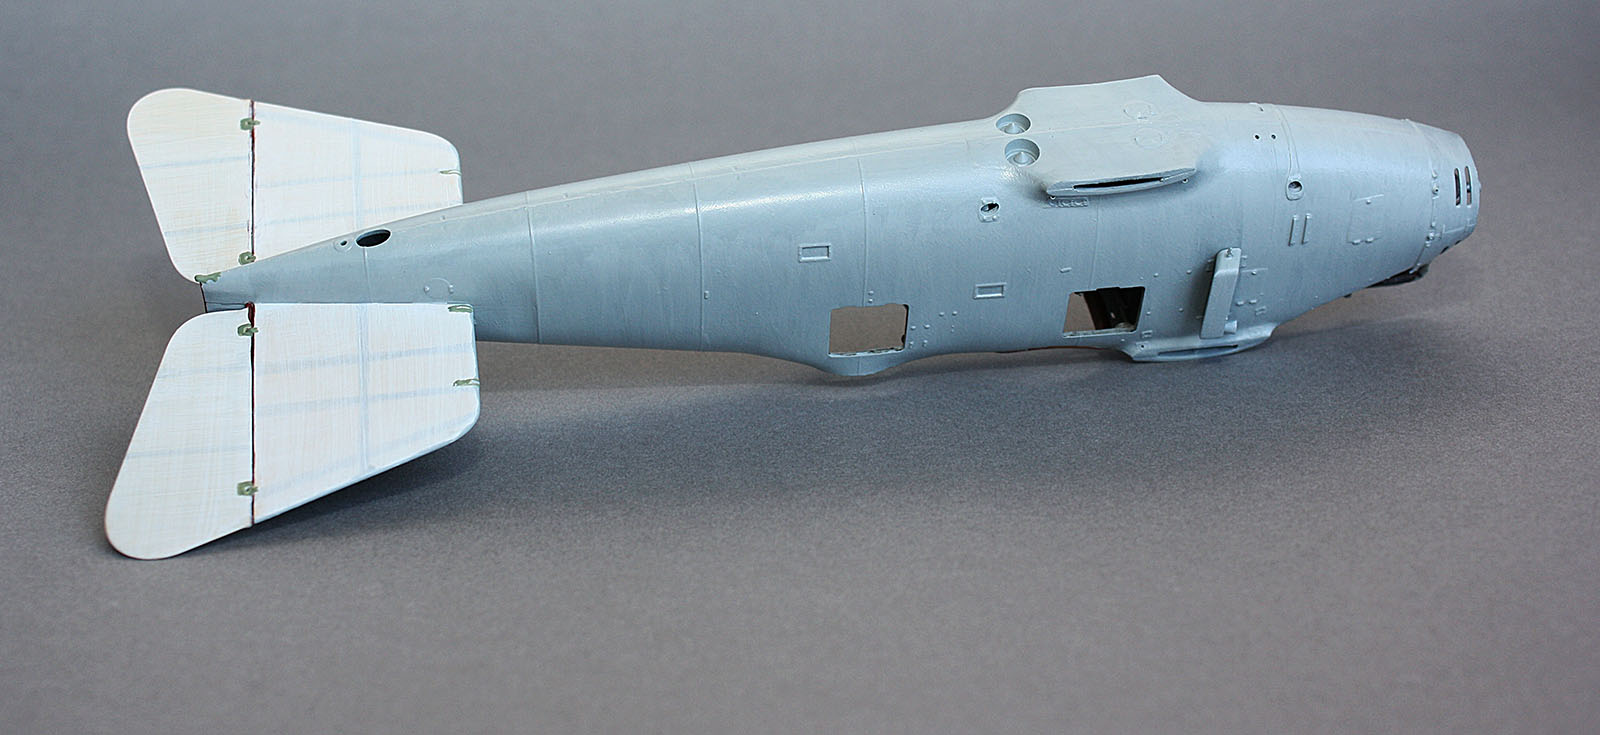
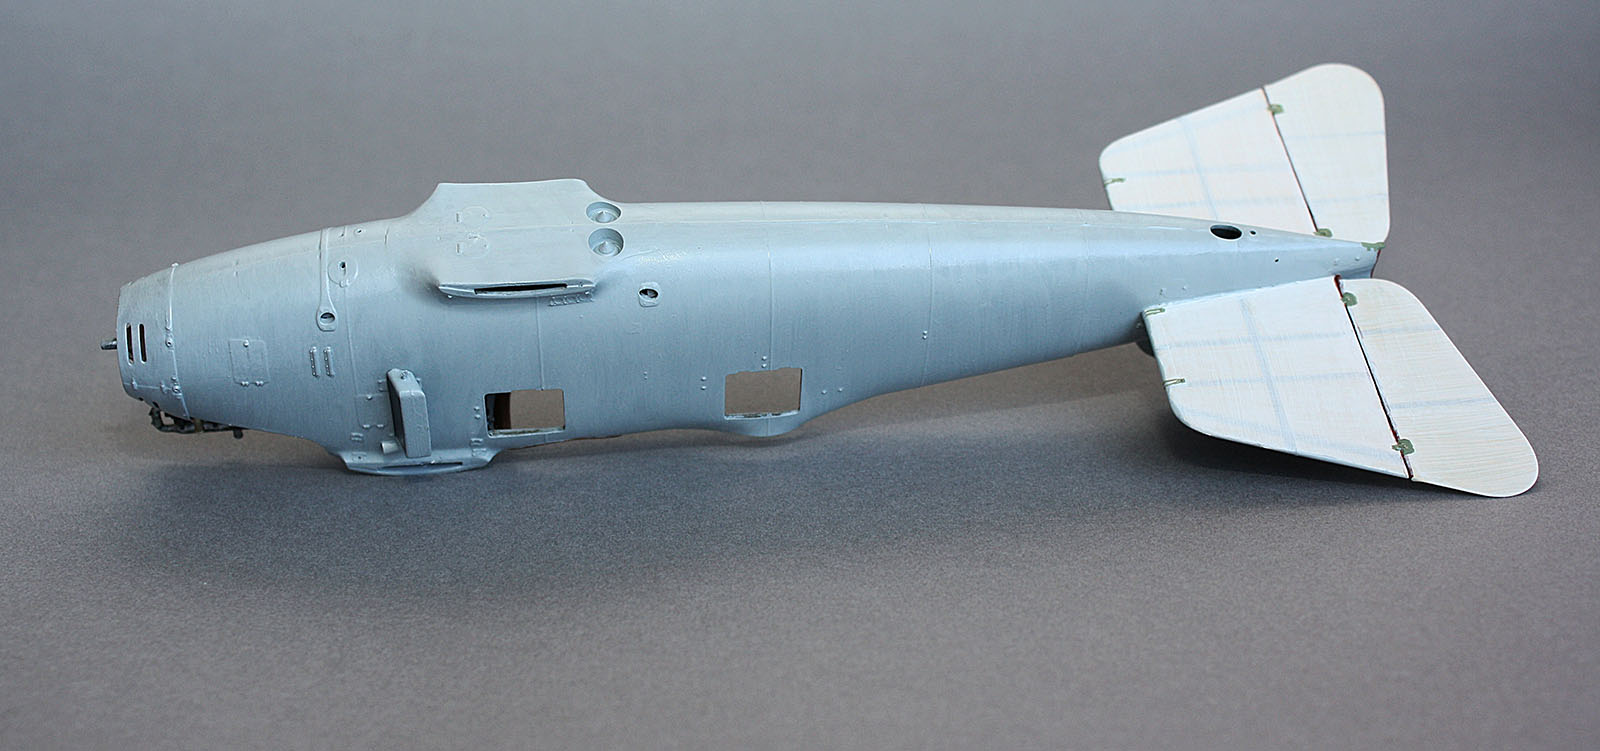
I've wrapped up the week with closed fuselage and base painting of the former, the tail control surfaces and the wings (not pictured)
This is very much a boring stage - most of aircraft, including both sets of wings, will be covered in faint drab streaking - thus I can't do much decal application, weathering or detailing until that is done (as to not have patched appearance).


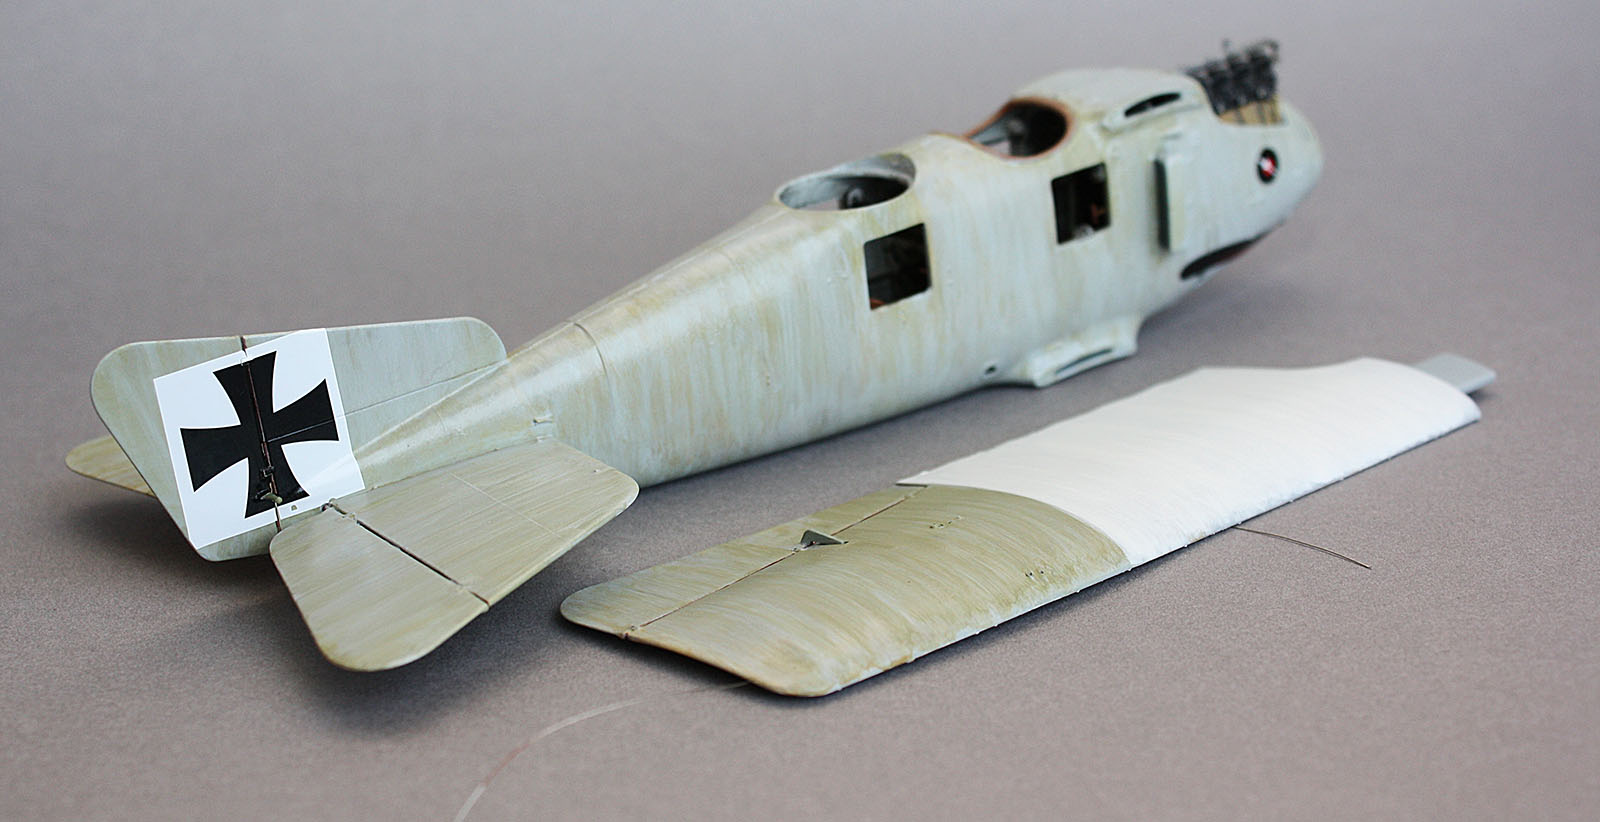
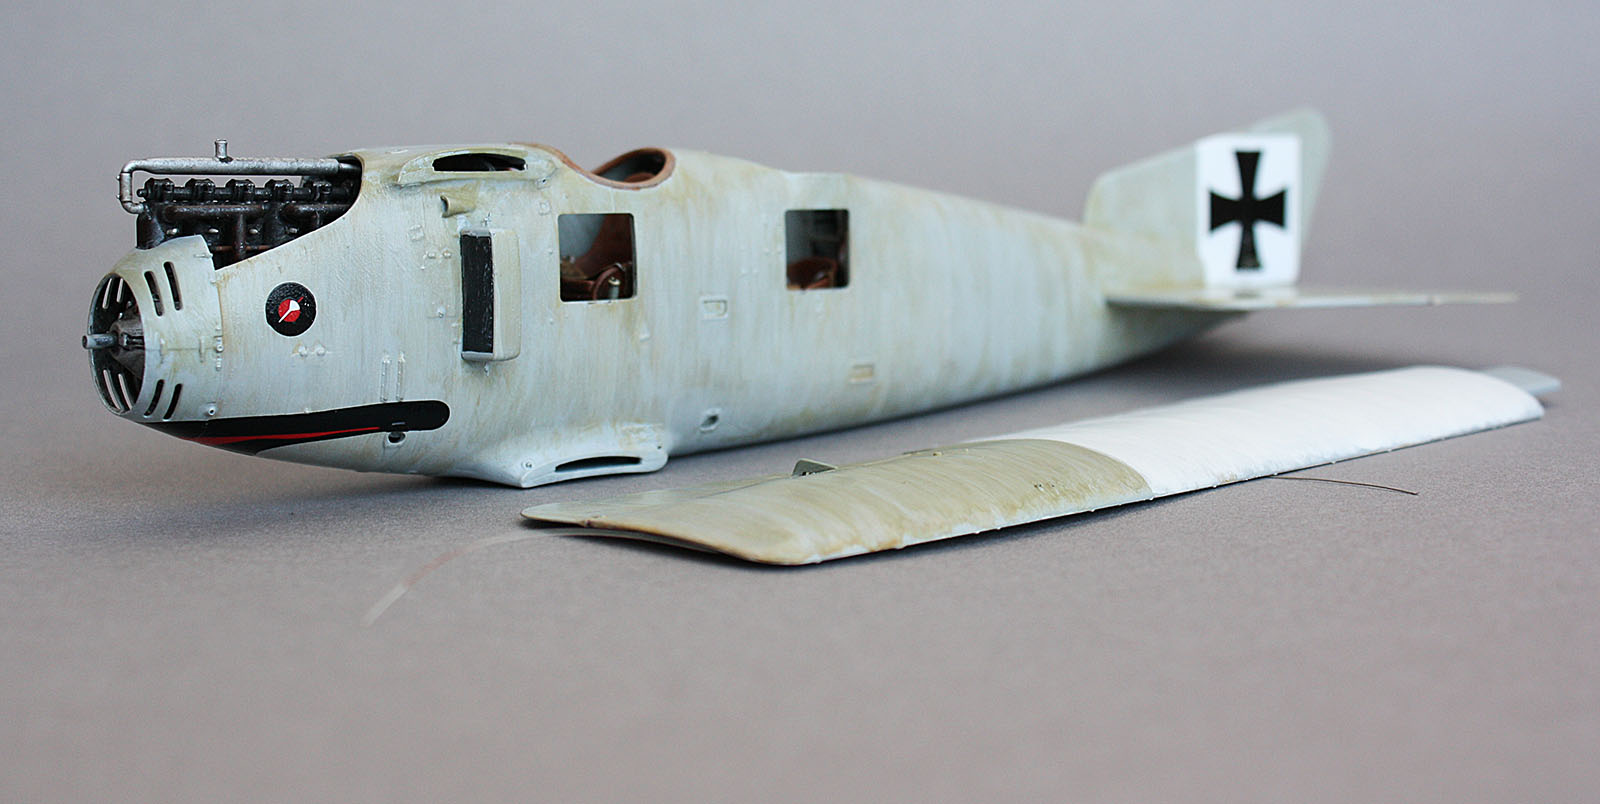
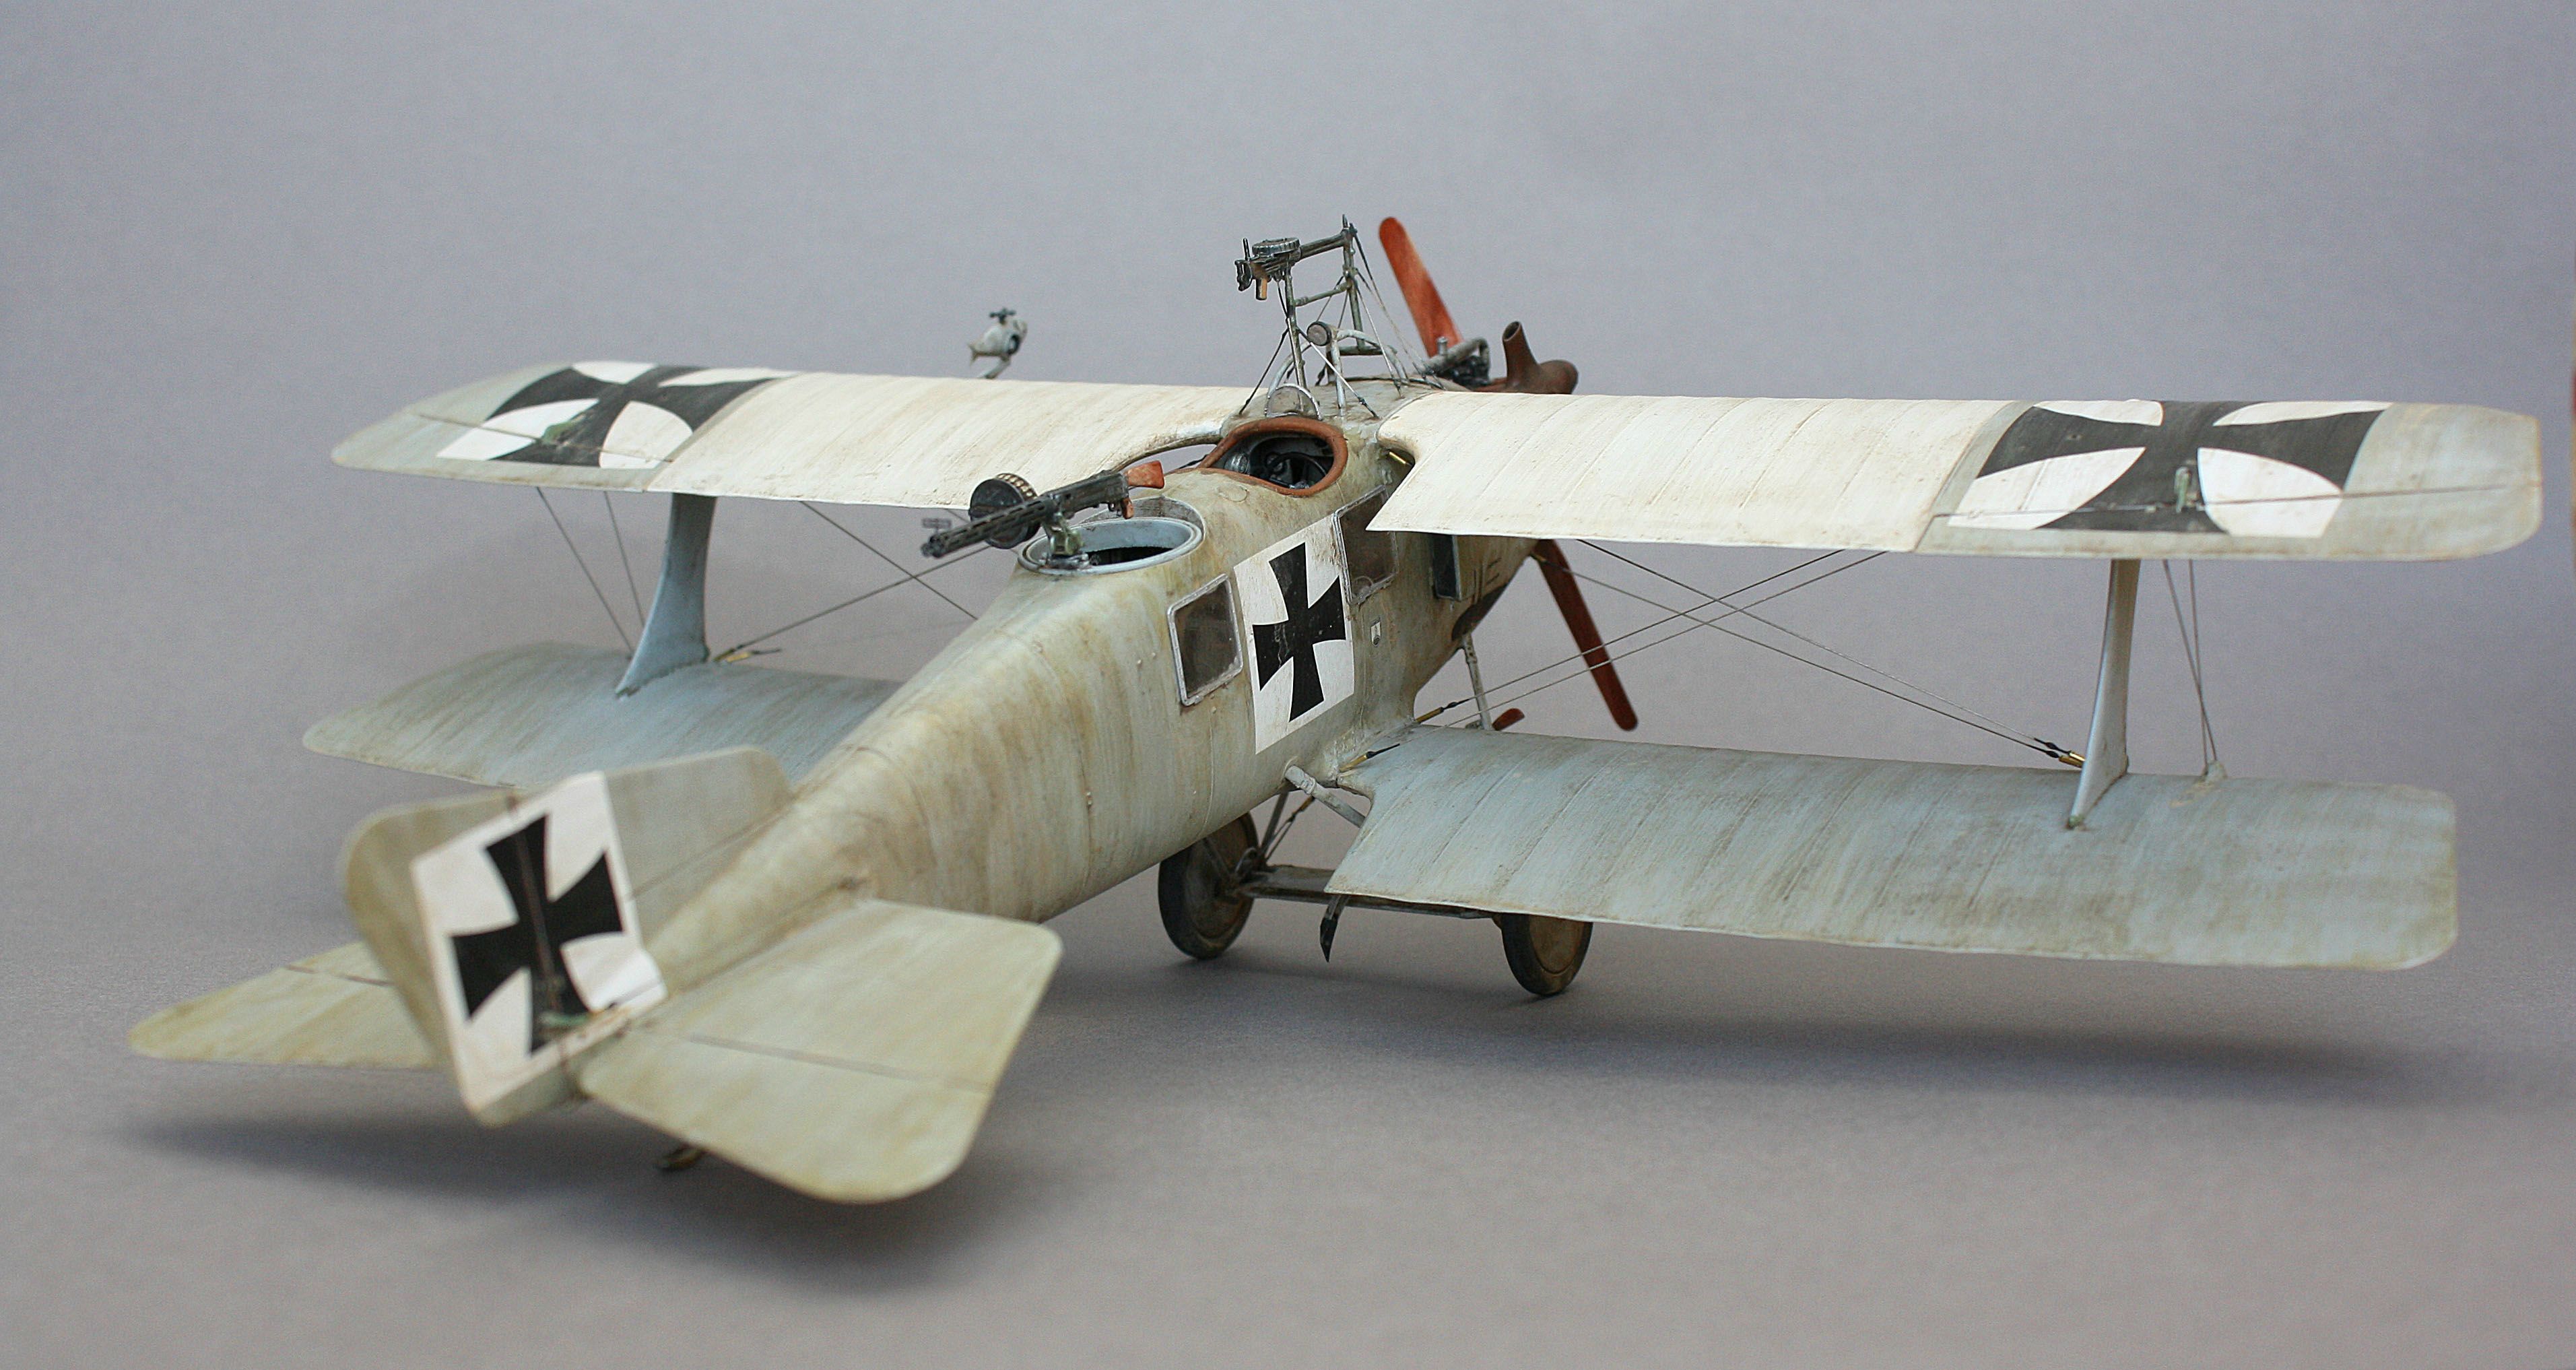
I've opted to go with gray-green metal protective paint on the CDL side and overpainted blue where fabric is doped. Top surfaces of wings receive an undercoat of Radome Tan - overpainted with the same light gray/blue, this will contrast overpainted wood surfaces of the same color and attain desired surface distinction... Early Aviation subjects - where you want streaky, uneven application

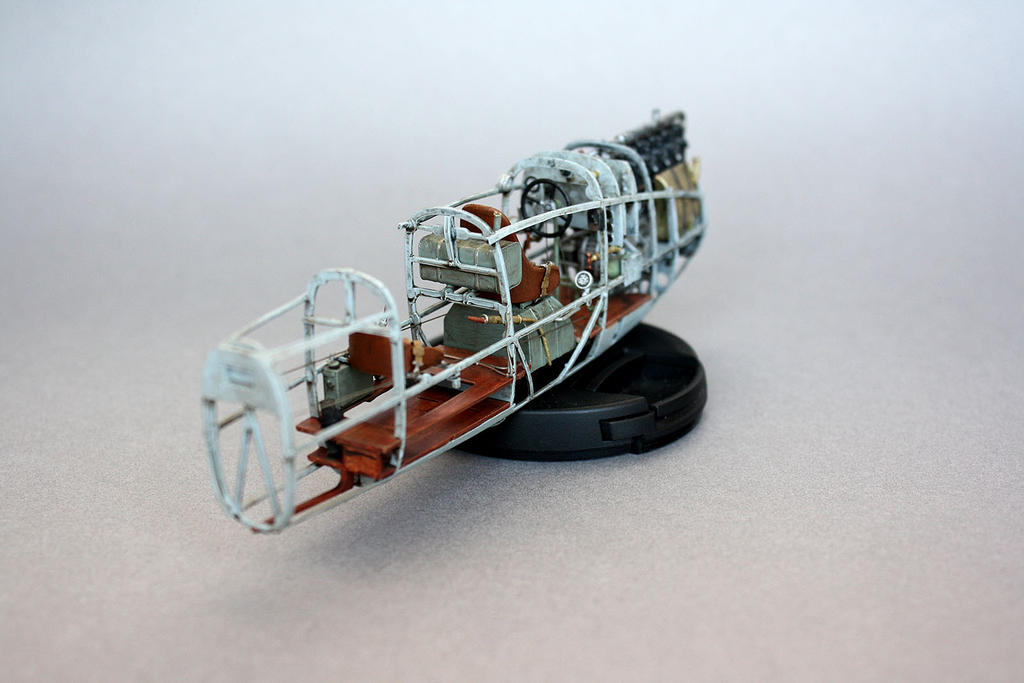
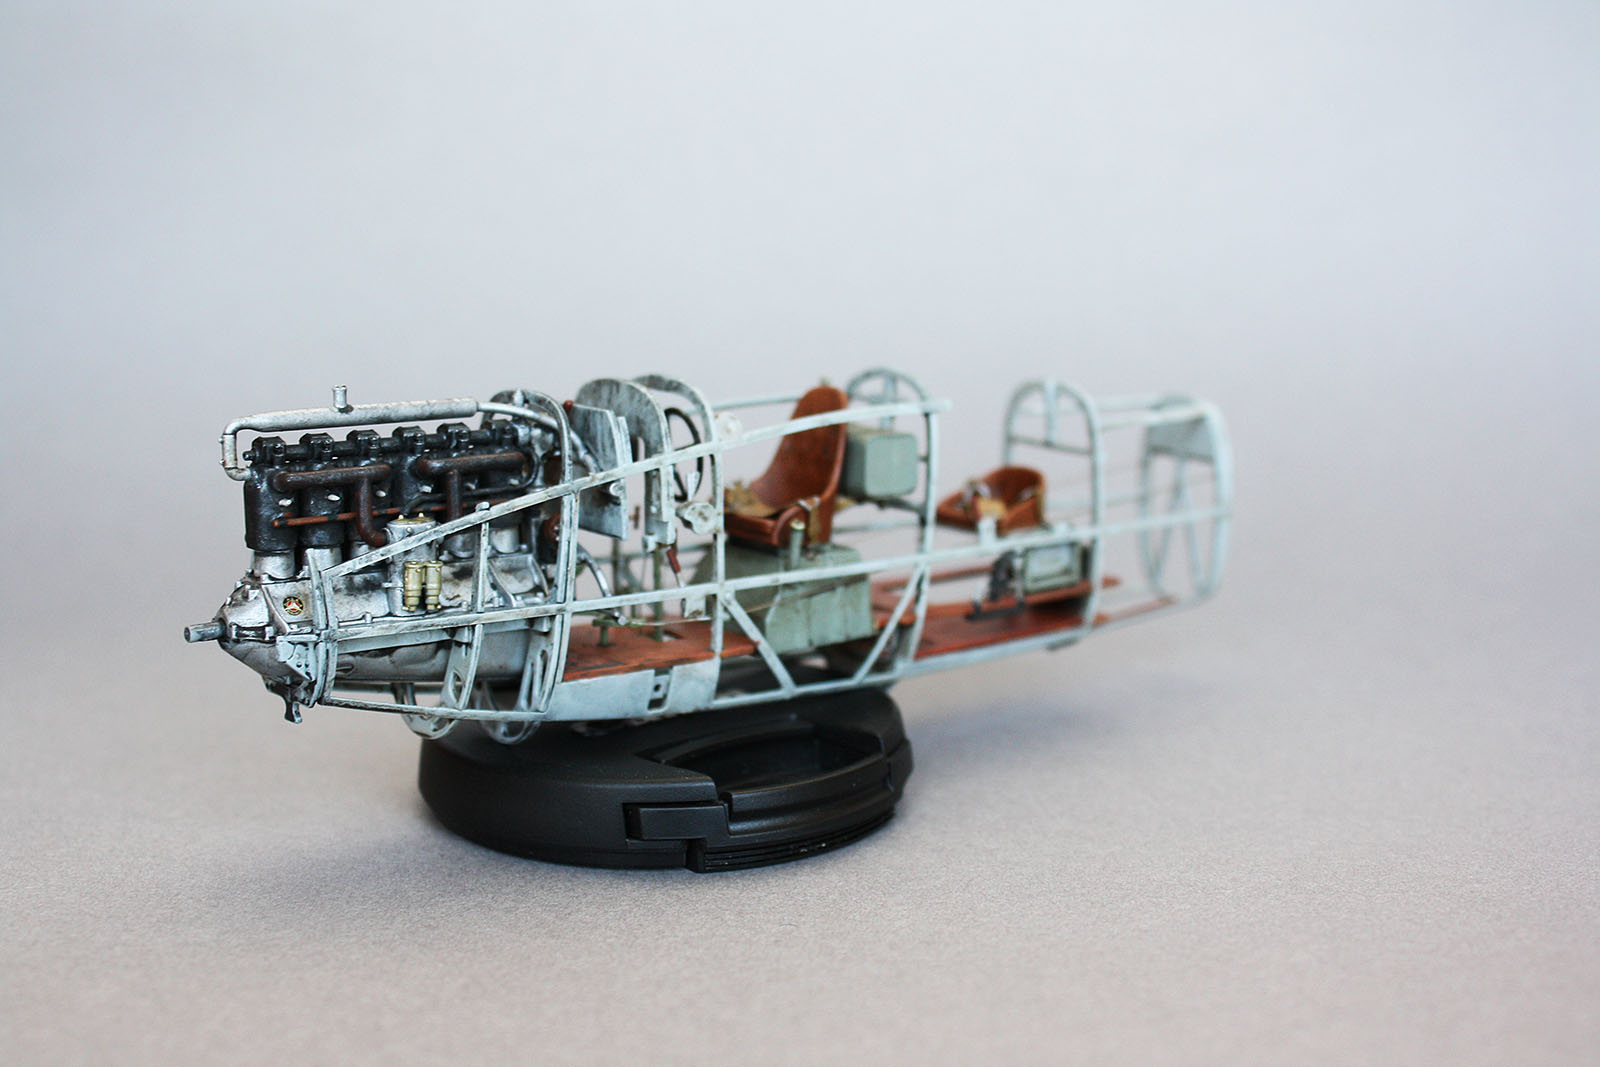
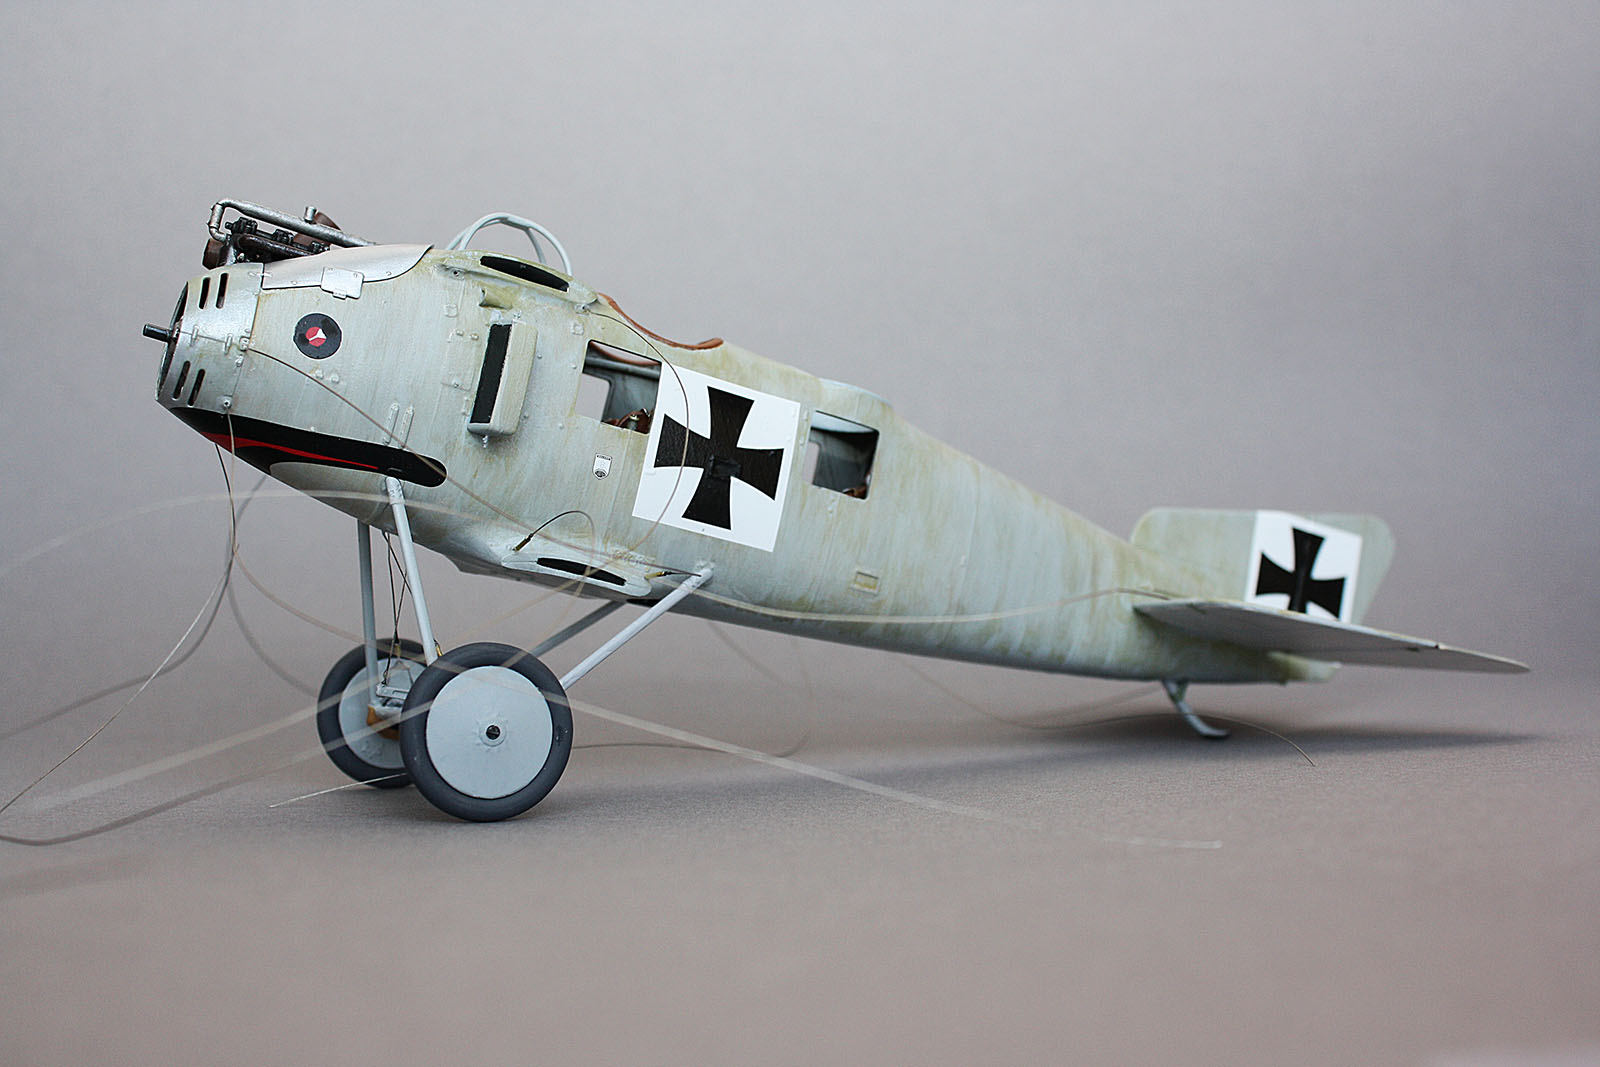
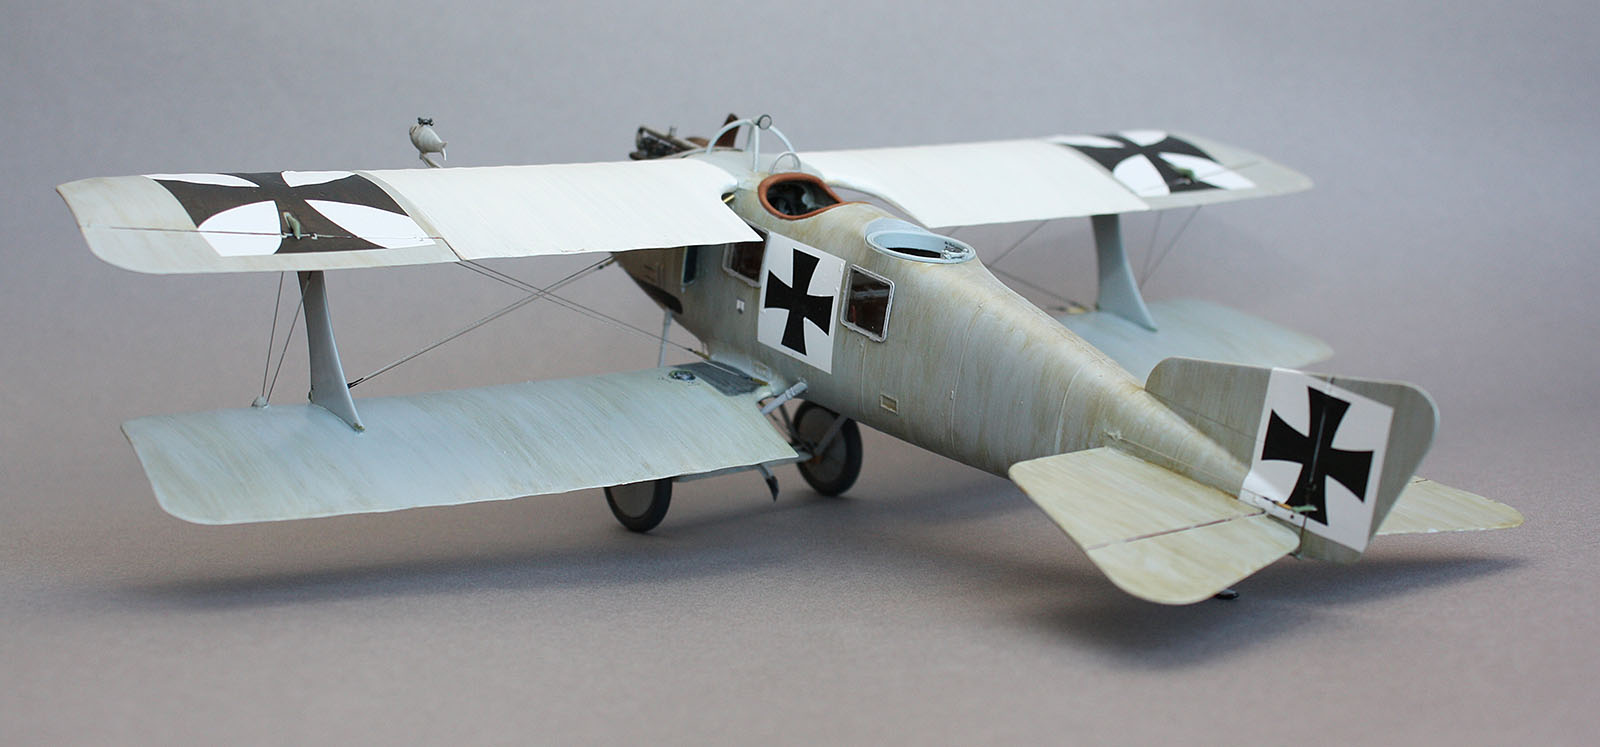
Starting to experiment with Bleached CDL under fabric - the frame is painted with 50% gray over Radome Tan, then dry brushed in cross-patches with flat white... It looks the part, though difficult to photograph
Dark vs Light choice for shading the framing through the CDL - I see it done as a lighter shade, mostly, but I've opted to go dark. As this effect is very display angle specific, this shading meant to represent aircraft in its upright position with sun through the fabric (though this will look incorrect when turned upside down)
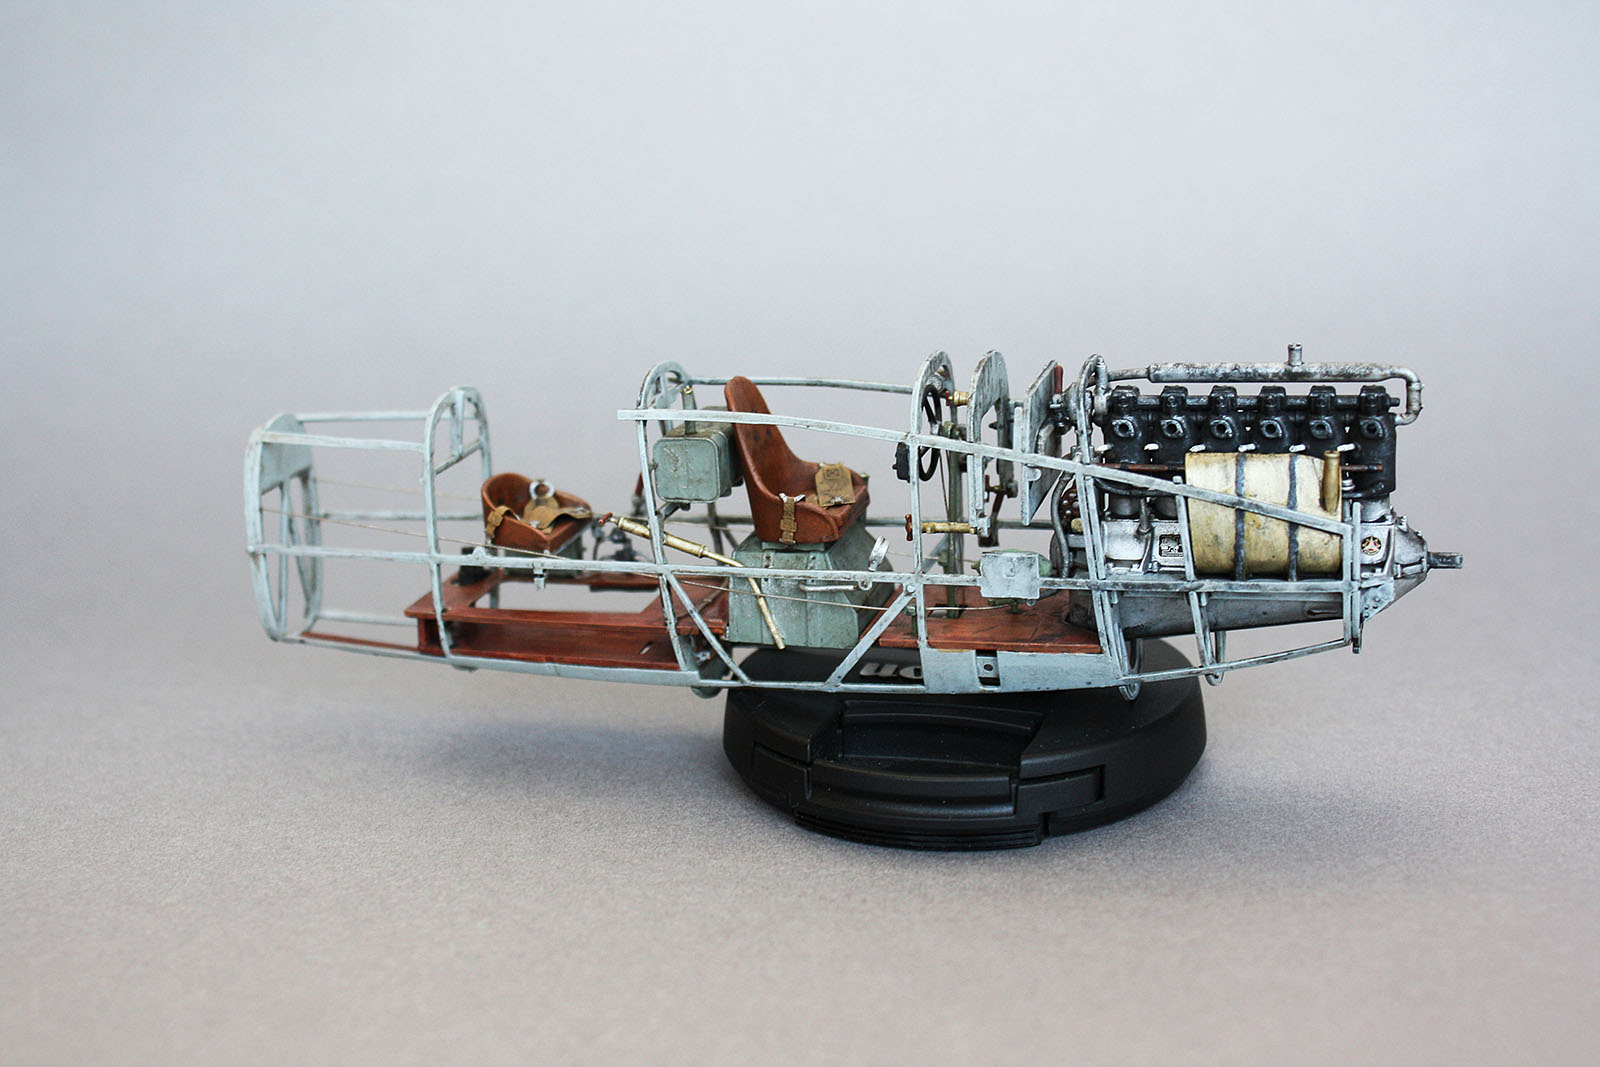
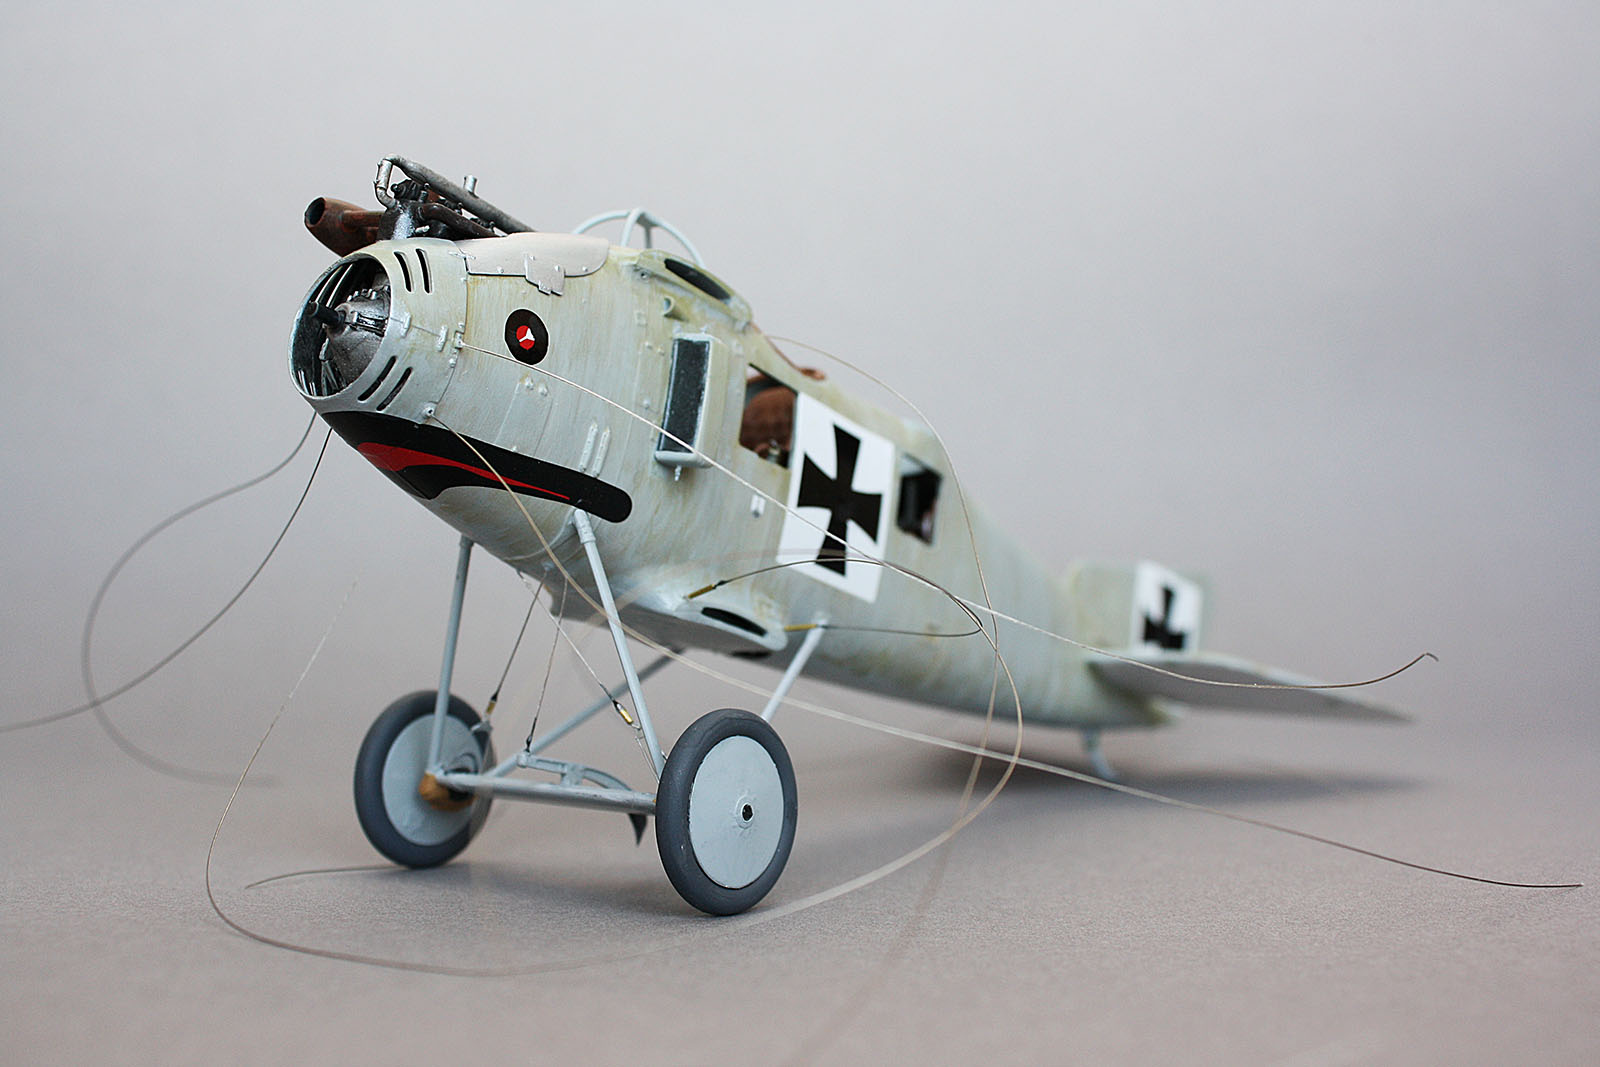
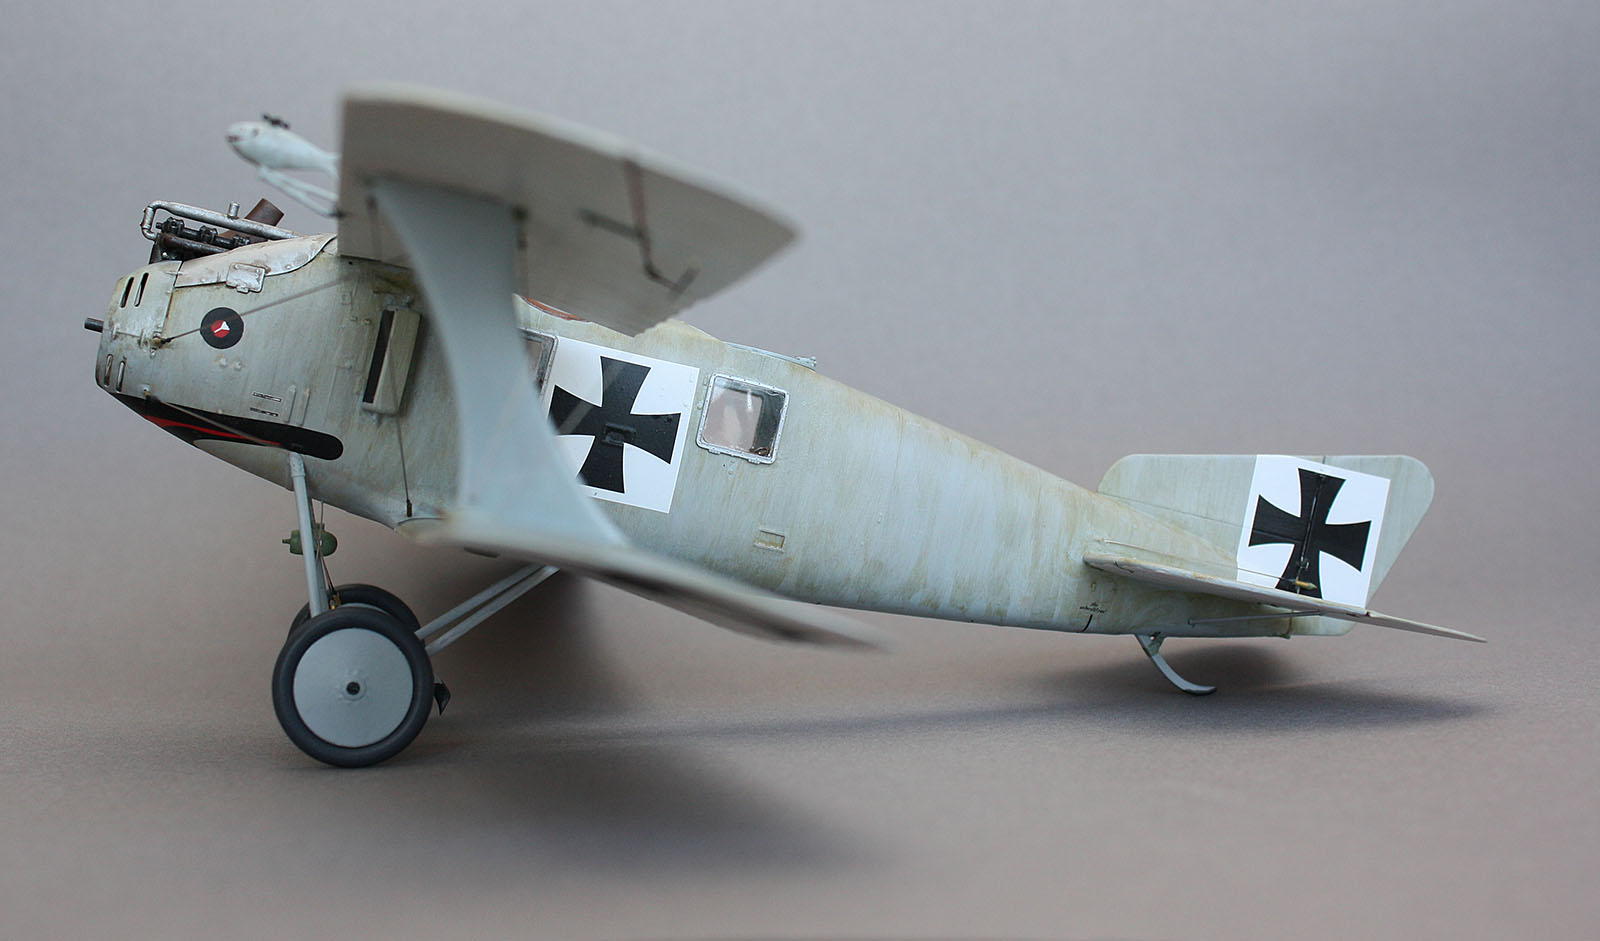
This kit is receiving my top praise - it's becoming clear that the team over at WingNut Wings does not just maintain the design edge, but improves with every release. Case and point are the lower wings and tail planes - the wings don't just slide in and attach to the fuselage, but also now have means of interlocking / overlapping with the wing on the other side, resulting in a much more rigid construction / correct angle... Furthermore, this aids in gluing wings to the fuselage where one can limit amount of goop or get away from gooping anywhere near the fuselage. Top wings still just slide in with their stubs lining up - this should be enough with the added rigidity of the
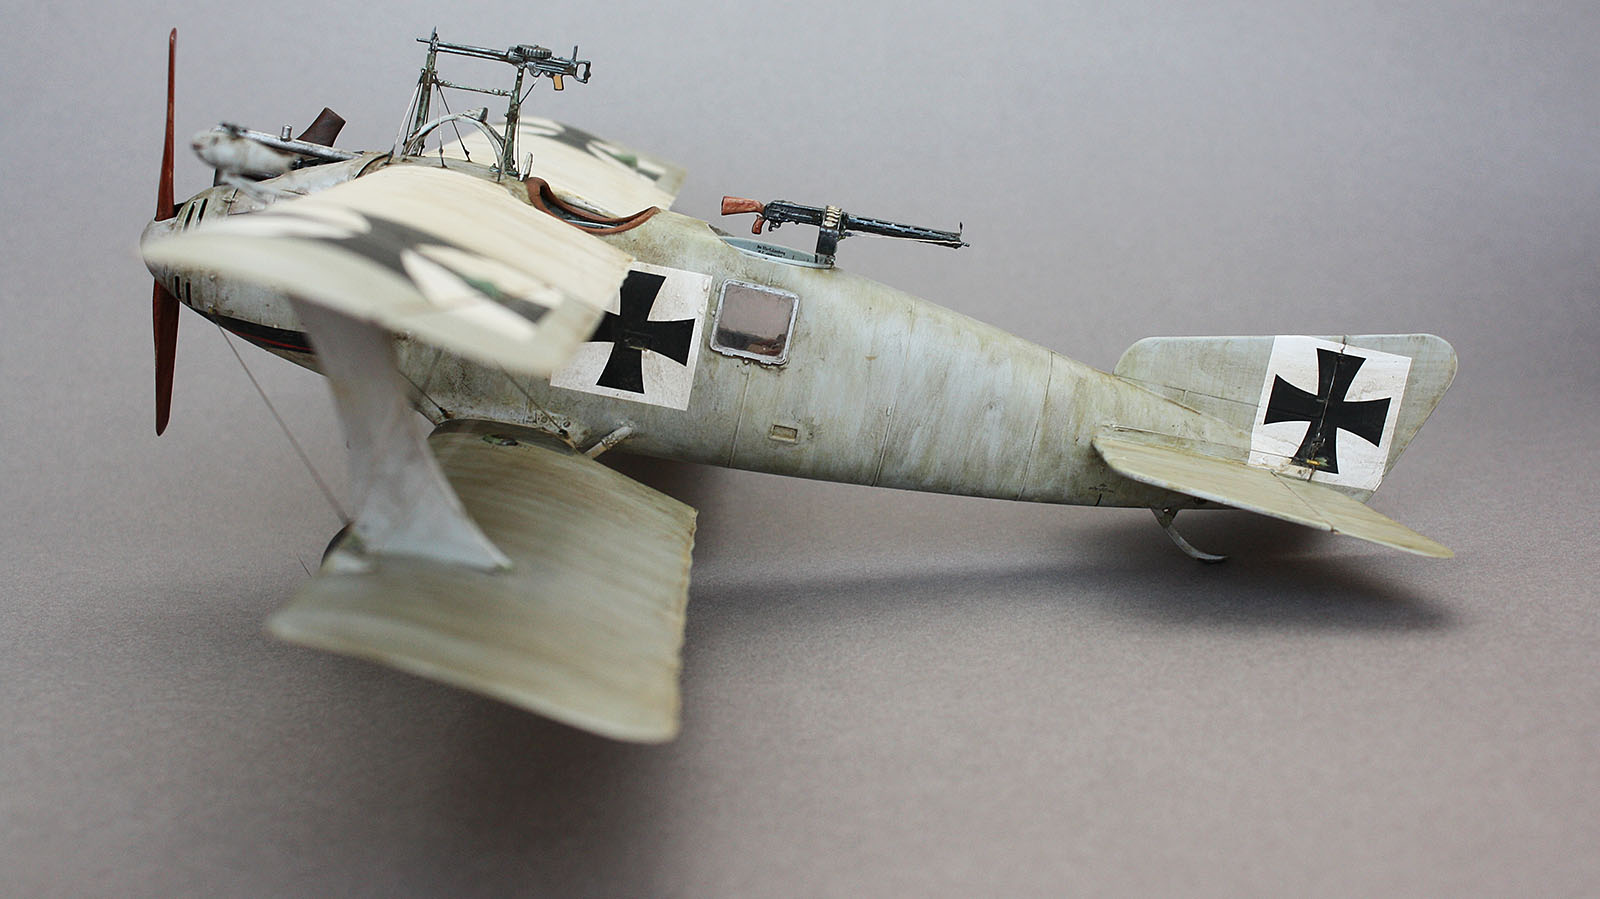
Only gripe are the 2 20kg bombs that are molded as part of a belly panel - looks like it would have been an easy task of making the empty / loaded option... That said, it doesn't look too much of a challenge to do the modification with a craft knife and a correct diameter tube (it's just I didn't recognize them for what they were until after I was done with the area)