Thanks for all the comments. I have to admit full retail price was not paid for any of them. I got around 25% - 30% off each kit (the joys of parents working in the local hobby shop owned by their friend

) I do indeed like the Tiffy it is certainly in my top 5 all time favorites
It has been a while since doing any builds I had given up modelling the early part of last year I only picked up the tools again for doing a build for Russell's memorial campaign. I had such a good time building that little Hasegawa Tony OOB I decided to carry on with some other part started builds. Latest completed kit was a Tamiya Gecko for Hanger Queen.
Just so happened the Tiffy's arrived when my bench had been cleared up ready for the next build.
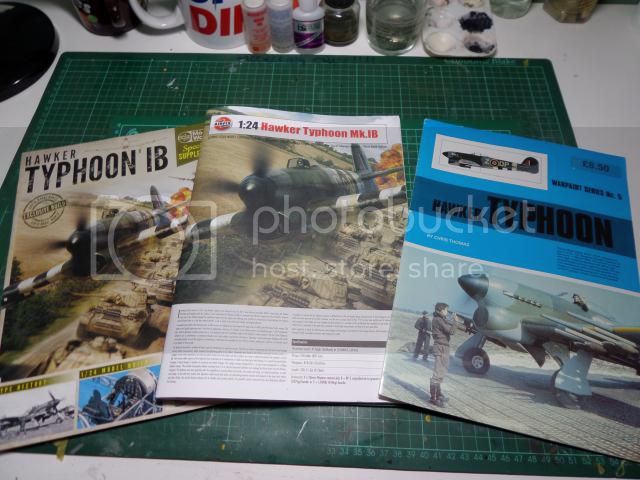
Onto the build well what can I say a clear bench and some reference material to start with this morning. Love the instruction manual

What a wonderful kit, love the detail in it and can not wait to make a start on the engine.

I spent a fair amount of time filling and sanding injection pin marks yes I know they probably wont be visible when done but as its such a big kit I could not leave them as they were but thats just me at the moment. So really I spent many hours at the bench but not much to show for it but its worth it for this stunning kit I love it. There is a very little line/crack in the canopy but I think a quite micro polish and dip in Johnsons will sort it.

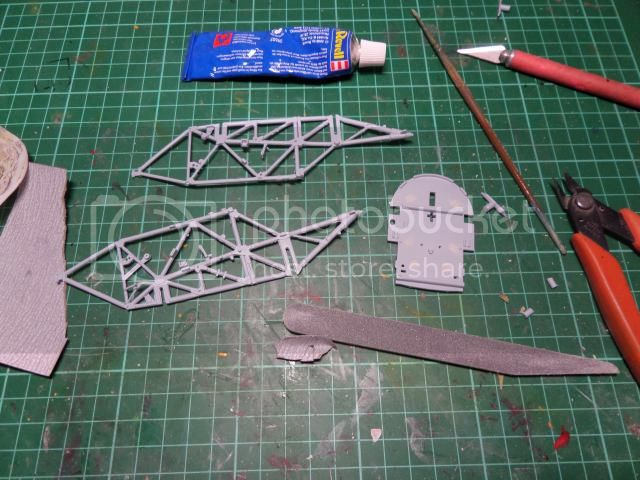

In the last pic I can assure you it is straight at 90 degrees as per the instructions it just got placed on the cutting mat
I have decided this one I am doing at the box art well as the squadron letter codes are CG I thought it was meant to be. Have decided when I eventually do the second one fully stripped down I will do the CG airframe again but in its role after Normandy and after its crash/forced landing after flak damage it was recovered and repaired and then used in a flight training school. The tail codes still the same but it lost the CG, became all over silver except the camo rudder.