_GOTOBOTTOM
Early Aviation
Discuss World War I and the early years of aviation thru 1934.
RE.8 "Harry Tate"
wing_nut
_VISITCOMMUNITY
New Jersey, United States
Joined: June 02, 2006
KitMaker: 1,212 posts
AeroScale: 468 posts
Posted: Friday, September 12, 2014 - 03:21 AM UTC
With the 2 Snipes finished I've started that last of the commission builds. I really need to build a tank after this... no rigging

1st major sub-assembly photos and a couple of gripes.

Seems this would be a good time to make some observations about the engineering of this kit. So far I have found this to be quite different than the other WNW kits I’ve built. That is just 3 different aircraft so it may be that what I feel is superior about them may be the exception and the RE.8 is the norm.

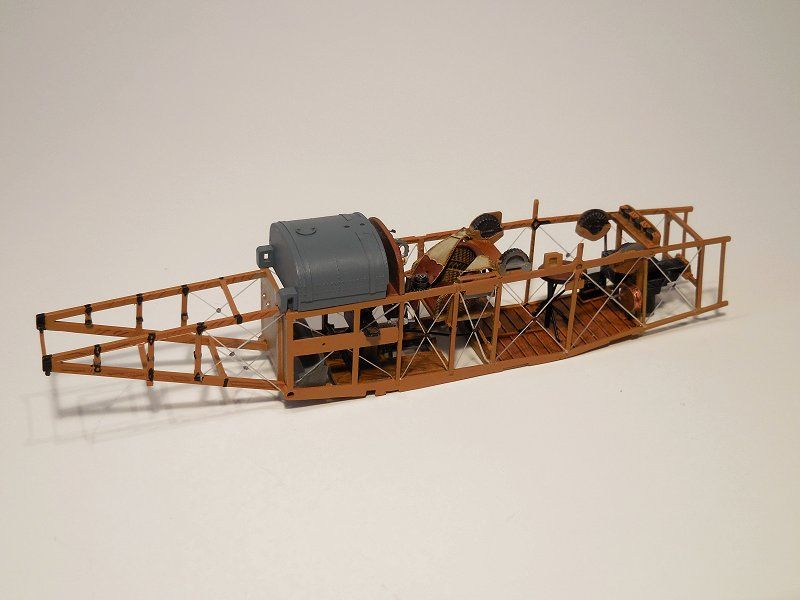
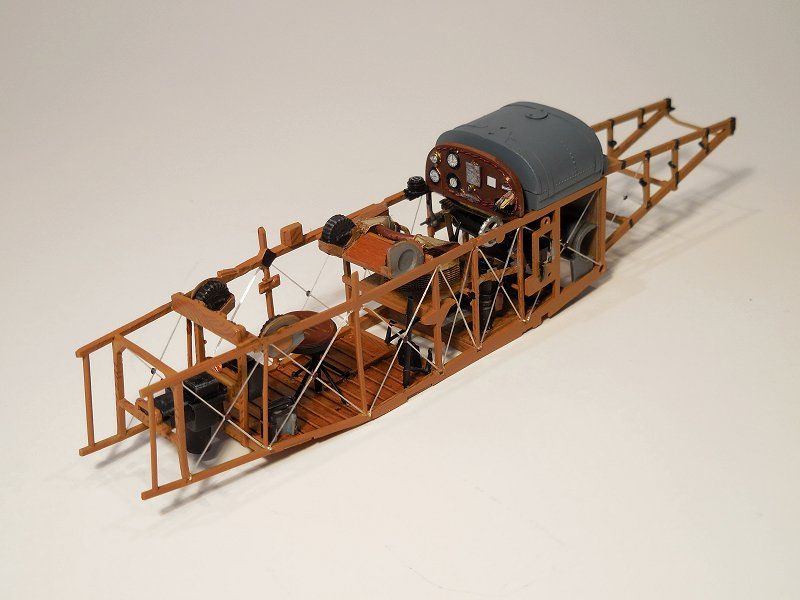
The interior frame work is very thin and fragile and molding as 2 halves puts a mold line along the edge that are fair big compared to other kits, and not just their own. Lots of delicate clean up. In the case of the tank on the interior frame, this is molded as 2 halves side by side. The seam runs down the center across some very fine detail. This tank is exposed when the fuselage it put together so there isn’t any, “Oh well, that won’t be seen once all buttoned up.” The easiest thing to do was sand it all clean, fix he seam and re-make the detail. Given the size and shape of other parts of the kit I would have though it could have been down as a top and bottom half. Like I said, no clue what dictates that kind of decision. In the end not a big job and more of a head scratcher.
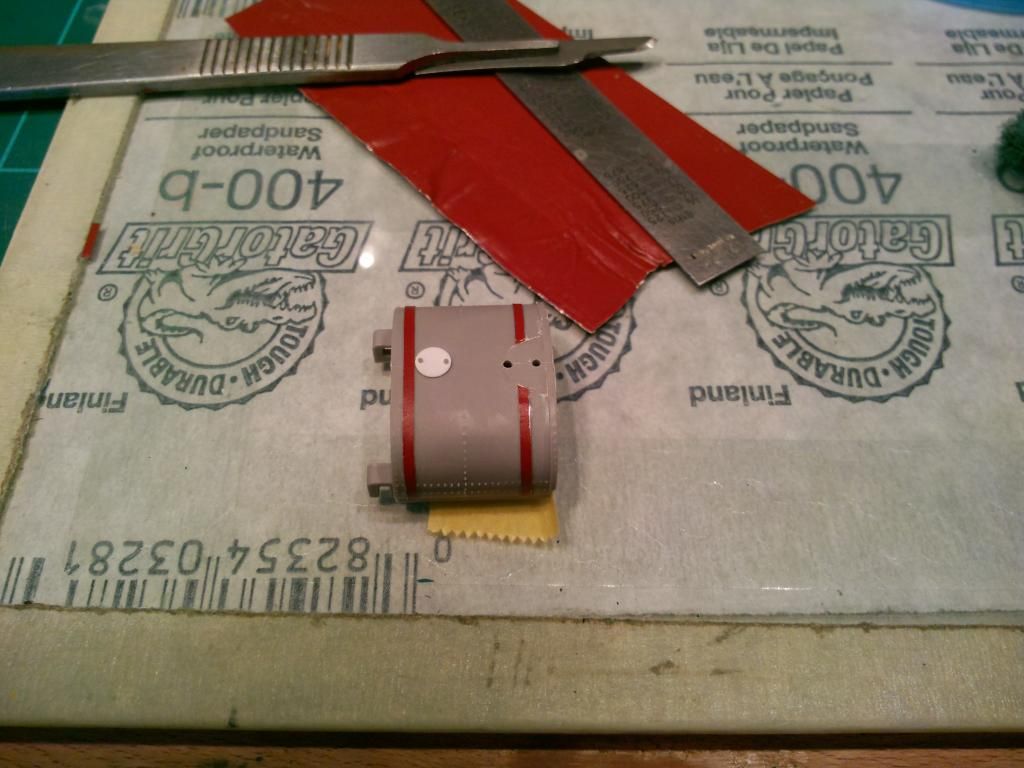


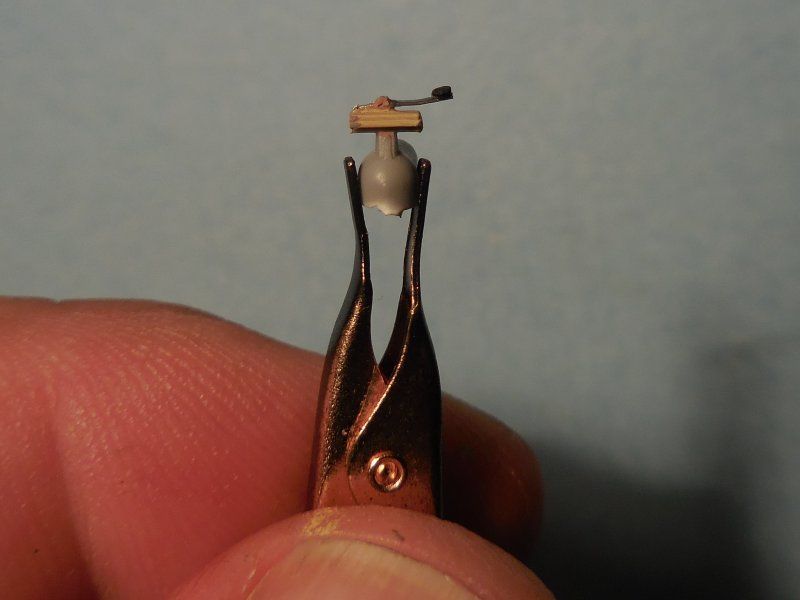
I reworked the telegraph key that was just a little layered chunk of plastic with a round thing for the end of the key. Some spare PE fret and a slice off a .3” did the trick.


Here’s the interior to go into the fuselage. More stuff will be added later for the “passenger” as the instruction refers to the guy in the back. Some how I don’t think that guy is kicking back waiting for the flight attendant to bring more peanuts when there’s an Albatros hot on their tail.


wing_nut
_VISITCOMMUNITY
New Jersey, United States
Joined: June 02, 2006
KitMaker: 1,212 posts
AeroScale: 468 posts
Posted: Tuesday, November 04, 2014 - 09:14 AM UTC
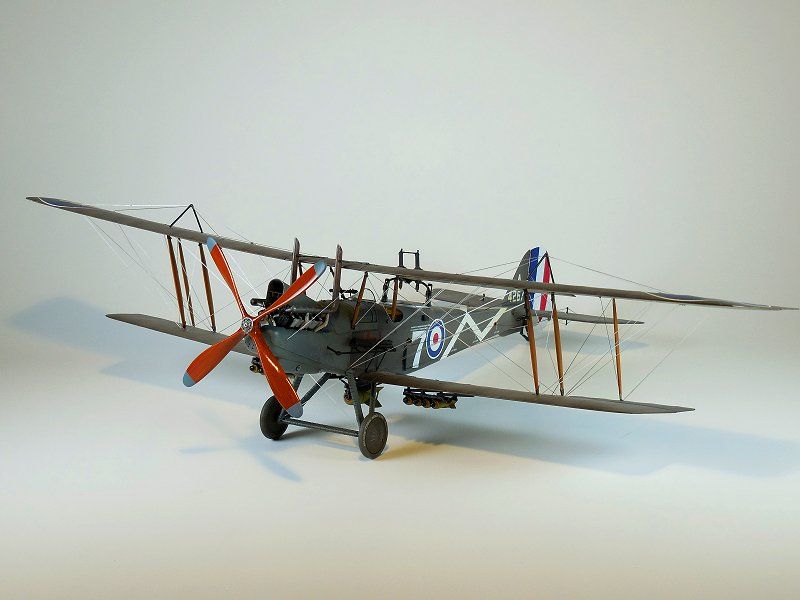
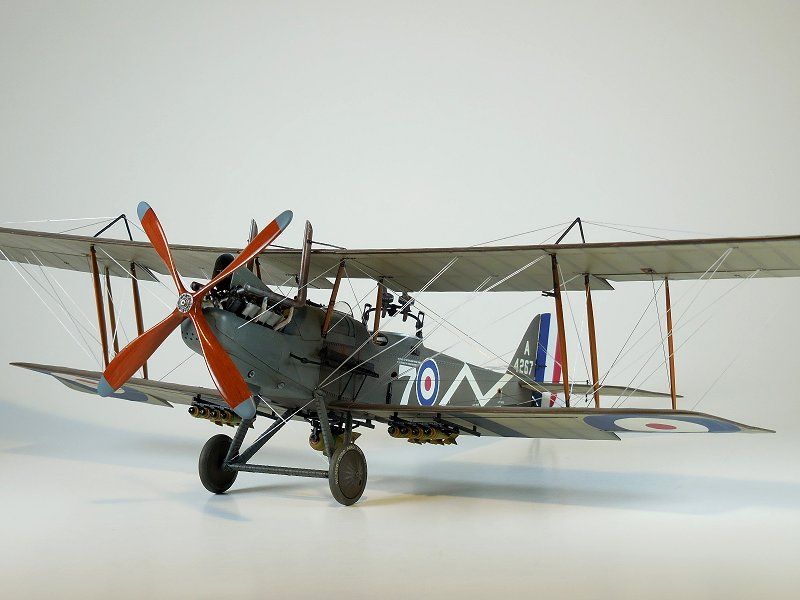
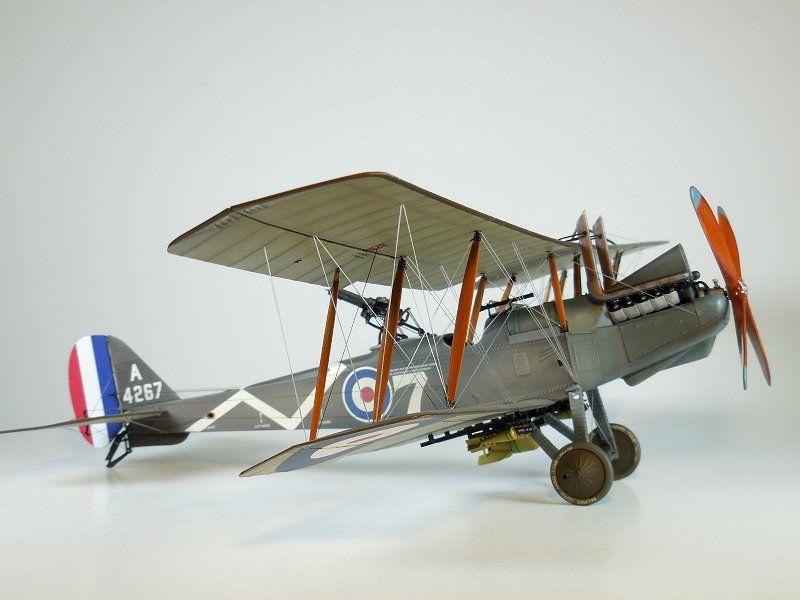
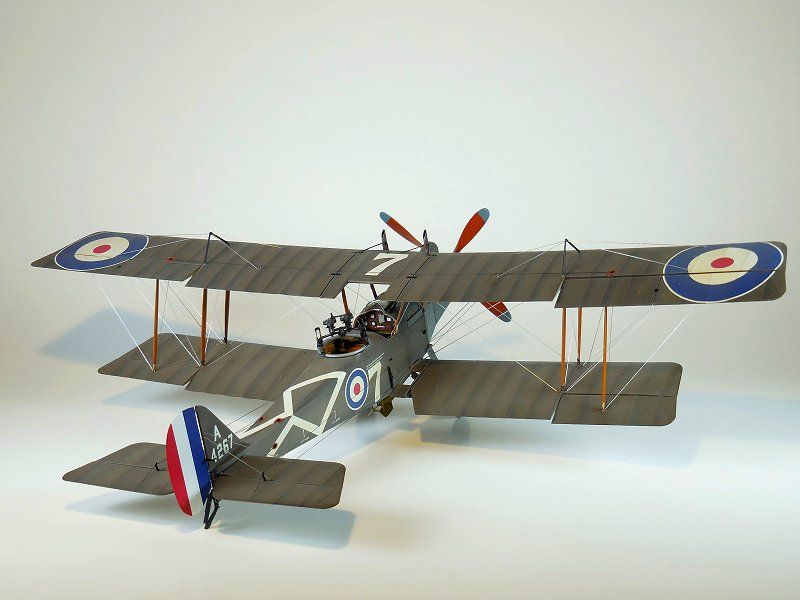
I know I didn't' keep up with the WIP pics but as long as I started the thread I figured it should be ended too.

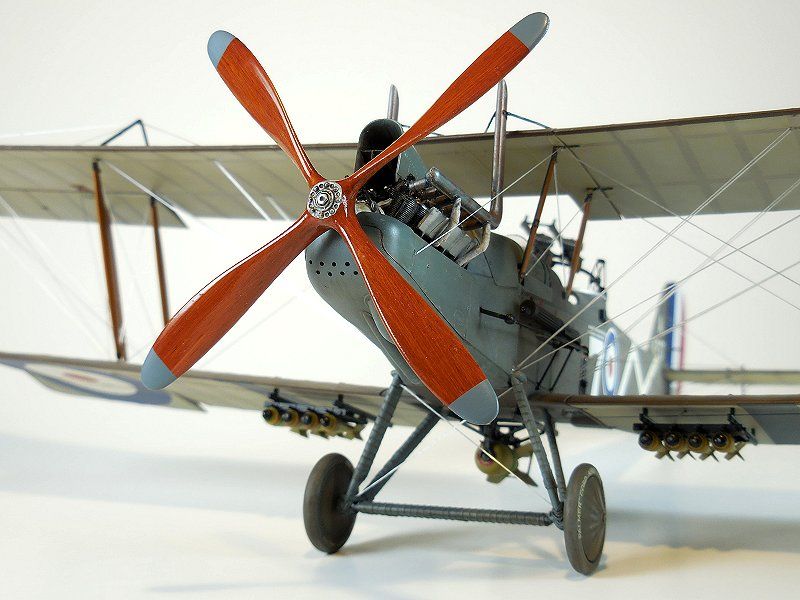
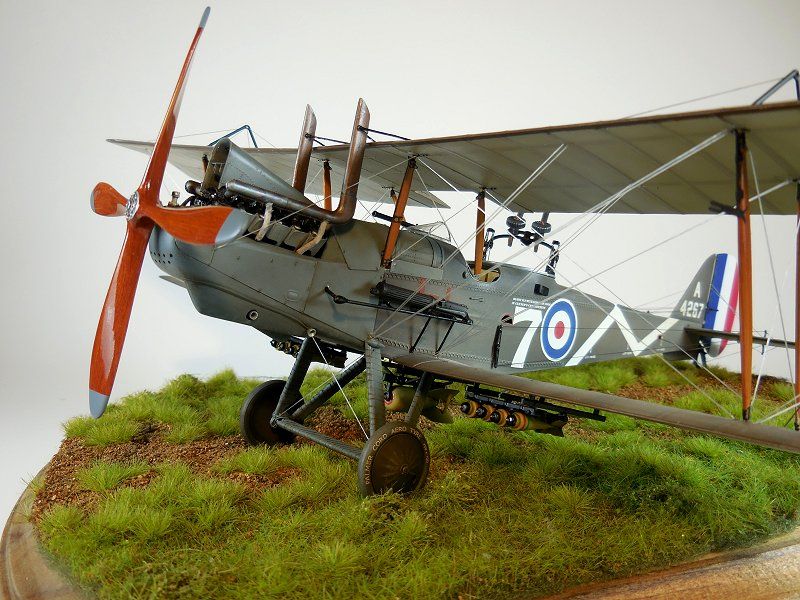
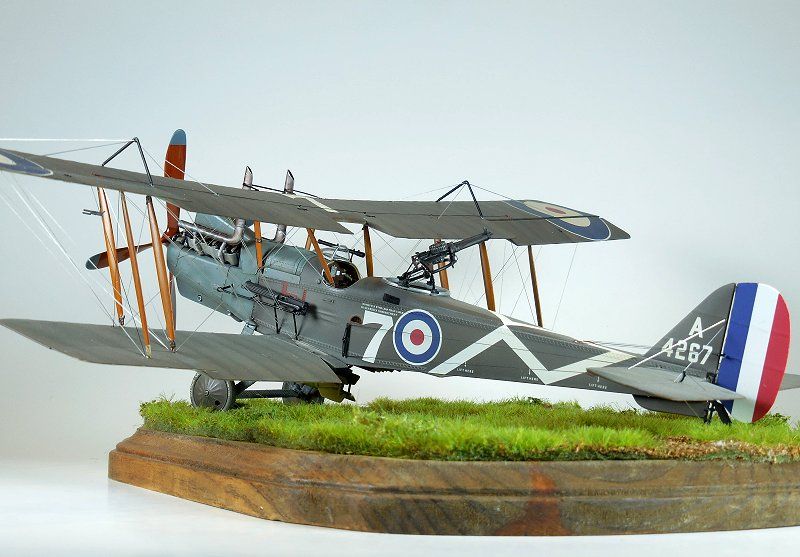
Here is the completed Harry Tate.


Namabiiru
Staff MemberAssociate Editor
MODEL SHIPWRIGHTS
#399
_VISITCOMMUNITY
Rhode Island, United States
Joined: March 05, 2014
KitMaker: 2,888 posts
AeroScale: 307 posts
Posted: Tuesday, November 04, 2014 - 10:13 AM UTC
Wow! That is staggeringly beautiful. What an impressive piece of work. With all those incredibly fine details, I can see me not lasting an hour trying to put that together before it wound up a mangled mess in the circular file, let alone achieving the results you did.

wing_nut
_VISITCOMMUNITY
New Jersey, United States
Joined: June 02, 2006
KitMaker: 1,212 posts
AeroScale: 468 posts
Posted: Sunday, November 09, 2014 - 05:13 PM UTC
Namabiiru... Thanks very much for the kind words.
drabslab
_VISITCOMMUNITY
European Union
Joined: September 28, 2004
KitMaker: 2,186 posts
AeroScale: 1,587 posts
Posted: Sunday, November 09, 2014 - 07:31 PM UTC
Fantastic model.

I would like to try a WW I model but all that wiring scares me

Tojo72
_VISITCOMMUNITY
North Carolina, United States
Joined: June 06, 2006
KitMaker: 4,691 posts
AeroScale: 238 posts
Posted: Sunday, November 09, 2014 - 08:35 PM UTC
Fantastic work Marc,never had the stones to try one of those early a/c's
wing_nut
_VISITCOMMUNITY
New Jersey, United States
Joined: June 02, 2006
KitMaker: 1,212 posts
AeroScale: 468 posts
Posted: Sunday, November 09, 2014 - 10:35 PM UTC
drablsab, Anthony... thanks a lot fe3las.
Don't be intimidated by the rigging. Scared hat crap outta me then you do one and it's not bad at all.
 _GOTOTOP