_GOTOBOTTOM
Pre-Flight Check
Constructive critique of your finished or in-progress photos.
Hasegawa F104C Starfighter 1/48th
Sheehan1
_VISITCOMMUNITY
Queensland, Australia
Joined: May 27, 2014
KitMaker: 135 posts
AeroScale: 124 posts
Posted: Tuesday, September 23, 2014 - 11:27 AM UTC
Hi All,
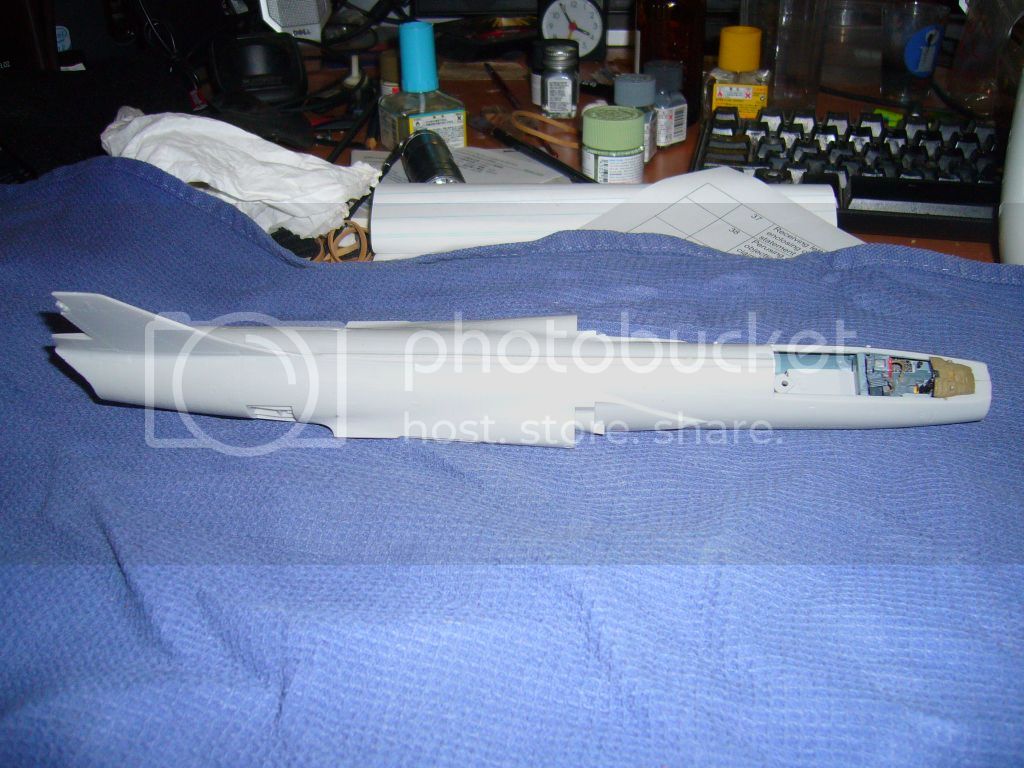
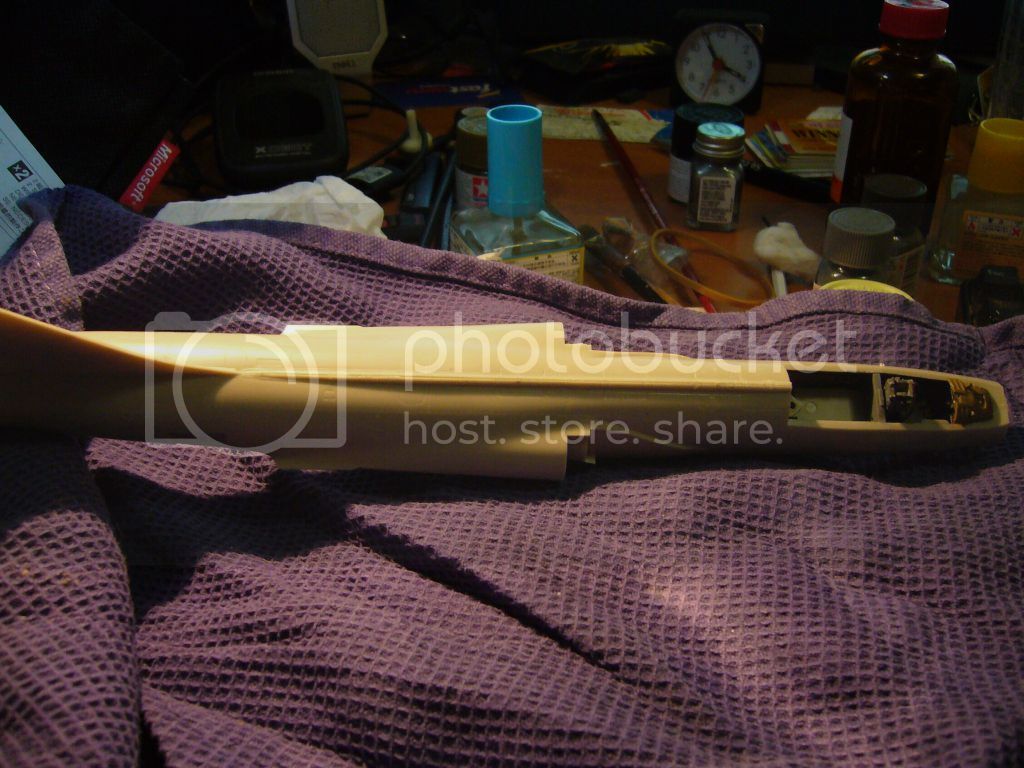
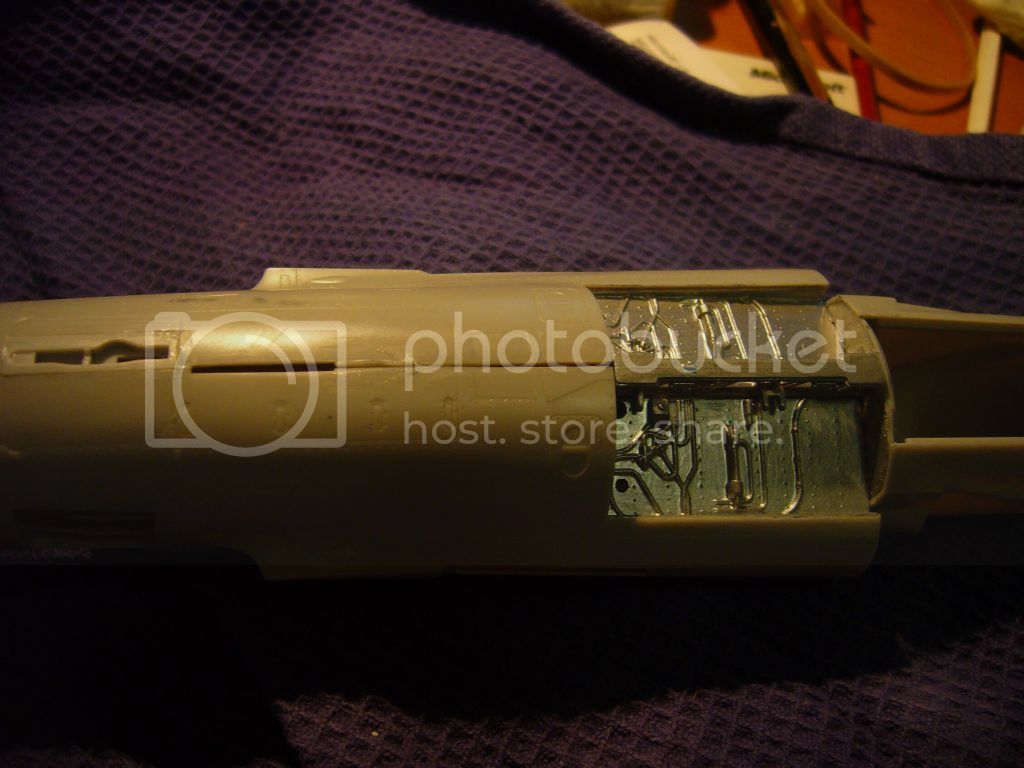
I have a Eduard Spitfire IXc going but I am waiting for a few paints so I decided to start another model I purchased, the Starfighter. Have just completed the fuselage. Luckily I did some research and looked at a few builds and noted that the instructions are wrong in relation to fitting the instrument panel. The instructions tell you to fit it at Step 7 which is after the two parts of the fuselage have been fitted. However if you do this you cant insert it into place. A few other modellers who followed the instructions had all sorts of problems in trying to fit it. Anyway I took the advice and had no problems.
I noticed a lot of the other builds commented on the fact that the parts fitted perfectly. However from the following you will see a little gap on the underside. I will fill with putty shortly and sand it back.
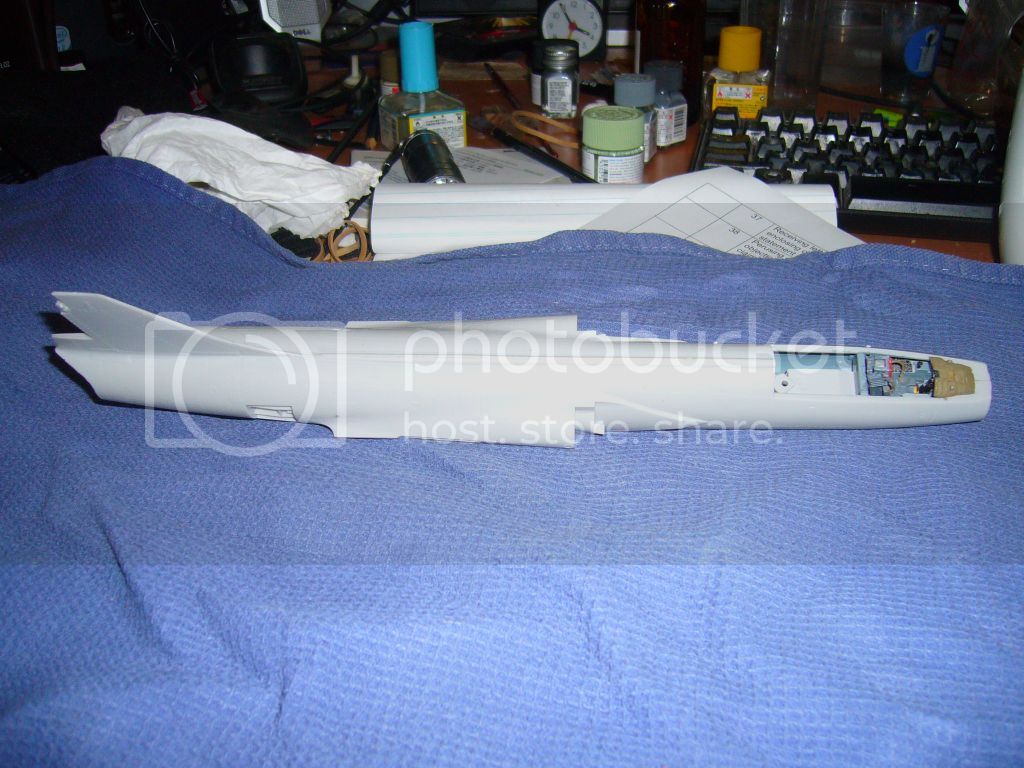
Is plastic putty the best option? I recall Joel mentioning using supa glue but I am a bit hesitant.
As far as painting is concerned the following picture is the colour scheme I have chosen
http://modelingmadness.com/review/viet/jackson104c.htm
I intend to use Alclad Polished Aluminium as the main colour with an alclad variant at the back just under the fin as shown in the above link. I have never attempted applying different colours to a model and would appreciate any hints.
Would I just paint the whole fuselage with the Polish Aluminium and then mask it off and apply the second colour.
Also is there any advantage in painting the wings before attaching them. The upsides are white and underneath a grey.
I dry fitted the wings and there is a small gap on the leading edge where it joins the fuselage.
Any advice would be appreciated as I am very new to this hobby.
I like the look of this aircraft. Kit is quiet good so far (except for the wrong instructions for the instrument panel)
Sorry for posting a copy of the same photos but I was having a little trouble recalling how to copy from Photobucket

Regards

Laurie

Joel_W
Staff MemberAssociate Editor
AUTOMODELER
_VISITCOMMUNITY
New York, United States
Joined: December 04, 2010
KitMaker: 11,666 posts
AeroScale: 7,410 posts
Posted: Thursday, September 25, 2014 - 04:37 AM UTC
Laurie,
You're becoming a model making machine

My general rule of thumb for gaps is to use strips of sheet plastic to fill it rather then just putty. Evergreen has a package of 3 sizes: .010, .020, & .040. I also use various thicknesses of strip plastic for a multitude of issues. Just cut a strip the length you need. work into the gap, then Extra Thin which will soften the sheet plastic and let you push it into the gap. Leave it a little high. When dry just sand. That will take care of the major gap. Clean the area with Iso Alcohol, then a light coat of putty or CA glue, and you're home free.

The problem with just using putty for gaps without a bottom is that the putty just continues to shrink even after it seems to be dry, eventually leaving a indentation that is visible.

The important thing to remember is that putty is porous, and will show through paint, especially Alcads, so you need to seal, polish to perfection. Prime and check.

As for masking Alcads, I've haven't had any issues doing so with Tamiya tape that is detacked. I've also used their Kleer Sealer #310 prior to masking, as I haven't found that it effects the overall finish very much if you're really concerned.

Pre-painting the wings would be a one way to handle them since their painted while the fuselage is left as a NMF. The issue is that the wing has a gap that needs to be addressed so that you get a flush fit. I'm not familiar as to how the wings attach to the fuselage. If it's a butt fit, the easiest way would be to use a strip of sheet plastic glued to the side, and blend it it to the matting surface. Gluing after painting the fuselage would be very tricky, especially with a NMF. Personally, I would glue up the wings to the fuselage before painting. Then prime the entire model with Tamiya Gray Primer. Paint the wings 1st, bottom, then top. Mask with strips of Tamiya tape as close to the wings as you can get. Polish the joint area to smooth out any paint on the primer. Now Alcad Black Gloss as a base coat. Let dry for 24 hrs. Polish to a smooth finish. Now apply your main Alcad color. Go with Aluminum, then use white aluminum and dark aluminum for panel variation.

Joel

Sheehan1
_VISITCOMMUNITY
Queensland, Australia
Joined: May 27, 2014
KitMaker: 135 posts
AeroScale: 124 posts
Posted: Thursday, September 25, 2014 - 10:20 AM UTC
Hi Joel,
Yes I am starting to get the hang of this hobby. I will post some pictures of the Spitfire later today.
On the Starfighter I found that the wing fits perfectly but there was a small gap where the flap is. Buth then I thought that the gap should be there as the flap has to move up and down. If I am correct then I think I will paint the wings separately. I just got an order for paints delivered and discovered I need aircraft grey for the underside of the starfighter. So I have order that and pay more freight. So I might leave the wings for a while until I need to order something else.
I am a bit afraid of the different colour panels. I realise it is a skill I have to learn. I will do a bit of research. I suppose you have to be so careful in masking and I am concerned that you may get a little raised area of paint on the join. I suppose you just polish it out.
I have already used the putty and I might give it another smear to compensate for the shrinking. I will try and orxder some of those plastic strips on my next order.
Good to hear from your again.
I see our countries are flying together in Iraq. They all seems to have the same planes the Super Hornet. I was watching some footage and when the missiles lock onto their target and start to pulsate and then poof. The terrorists in those trucks wouldnt know anything about it. If I was a terrorist and I would be avoiding driving any trucks around.

Regards

Laurie
JPTRR
Staff MemberManaging Editor
RAILROAD MODELING
#051
_VISITCOMMUNITY
Tennessee, United States
Joined: December 21, 2002
KitMaker: 7,772 posts
AeroScale: 3,175 posts
Posted: Thursday, September 25, 2014 - 01:26 PM UTC
Hi Laurie,

I look forward to more progress on your F-104! What a beautiful machine.

Joel gives good information. I will also suggest epoxy. I have used it to fill gaps between wings and fuselage, but not along round fuselage halves. It does not shrink and can be sanded - so long as it was mixed correctly and not tacky. So it can be tricky.

Acquiring some styrene strips is always useful. In the interim, if you have some, you can use plastic from blister packs - usually quite thin and can take up space requiring less putty/CA.

If you decide to paint panels I wish you success. I haven't used Alcad much and did not try different panels, yet I belive you may find it easier than it seems as an unknown.

I'll check back!
Sheehan1
_VISITCOMMUNITY
Queensland, Australia
Joined: May 27, 2014
KitMaker: 135 posts
AeroScale: 124 posts
Posted: Friday, October 24, 2014 - 01:47 PM UTC
I have just painted the wings on the Starfighter. The top of the wing was done in gloss white. The instructions said to use a Mr. color or Gunze aircarft gray for under the wing and on the nose cone. I went to a equivalent colour chart (Stockholm) and that informed me that Humbrol 147 enamel was the equivalent colour. I ordered that and applied it and then noticed it was a matt finish. Should the underside of the wing and the nose be in gloss, satin or matt? I can imagine the nose could be matt to avoid any reflection of light.
I see Humbrol have a similar colour to the aircraft grey which is a light grey satin finish. Should I buy that or just maybe apply a clear gloss over the existing matt finish?
Any advice would be appreciated.
berndm
_VISITCOMMUNITY
Niedersachsen, Germany
Joined: March 26, 2014
KitMaker: 844 posts
AeroScale: 630 posts
Posted: Friday, October 24, 2014 - 07:35 PM UTC
Hi Laurie, a good start on this beautiful aircraft, it is not so important, if a color is flat or semi gloss, you should apply a layer of a gloss cote over the entire model, that makes decaling much more easier and should stop those "silvering" of the decals. After everything is on just apply a flat or semi gloss laquer the seal everything.
If its help you, here is a photo tour i have done around a F-104
http://imodeler.com/groups/airshows-museums/forum/topic/lockheed-f-104-g-starfighter/
Keep up the good work
Bernd
Joel_W
Staff MemberAssociate Editor
AUTOMODELER
_VISITCOMMUNITY
New York, United States
Joined: December 04, 2010
KitMaker: 11,666 posts
AeroScale: 7,410 posts
Posted: Saturday, October 25, 2014 - 02:18 AM UTC
Laurie,
Most of the Mr. Color paints are semi gloss. As Bernd said, it really doesn't matter as you're going to be glossing the model to prep for decaling. Nearly all operational military aircraft are matt not gloss.

With that being said, gloss is the hardest to apply and matt the easiest.
Joel
berndm
_VISITCOMMUNITY
Niedersachsen, Germany
Joined: March 26, 2014
KitMaker: 844 posts
AeroScale: 630 posts
Posted: Saturday, October 25, 2014 - 04:06 AM UTC
Hi Laurie, forget something in my earlier post. For myself i am priming the model with a very dark and smooth color.The camo sprayed cloudy above the primer, allows the primer, to show in the panels lines a little bit through,that gives the surface panels a perfect look and a dark wash is not always needed to pronounce the panel lines.
i am using very fine sanding paper or toothpaste to smooth the surface.The decals look like painted on!
We use a Fuji Finepix bridge type camera for our photo hobby as well on my modelling photography, i am photographing all my models out in the open with no flash,the daylight is the best light to have.
Keep up the good work

Bernd

Sheehan1
_VISITCOMMUNITY
Queensland, Australia
Joined: May 27, 2014
KitMaker: 135 posts
AeroScale: 124 posts
Posted: Saturday, October 25, 2014 - 08:54 AM UTC
Hi Guys
Thanks for the advice. I was goin to do the final finish with Alclad Polished Aluminium . I do have the Alclad clear coat finish so I will probably use that. I thought I read somewhere that a clear finish can ruin a high polished alclad finish. Maybe I am wrong there. Anyway I really enjoyed those pictures of the Starfighter. It is a very good looking plane. I also have a work in progress of a Super Sabre which I will post later. It is a great looking plane as well

Laurie
Joel_W
Staff MemberAssociate Editor
AUTOMODELER
_VISITCOMMUNITY
New York, United States
Joined: December 04, 2010
KitMaker: 11,666 posts
AeroScale: 7,410 posts
Posted: Sunday, October 26, 2014 - 01:47 AM UTC
Laurie,
Like most things in plastic modeling, there is more then one way to do it. When I air brush on Alcads, I don't seal to decal, but I do seal with Alcad II Gloss Klear Coat to protect the decals from yellowing over time. My brother who builds 1/32 aircraft doesn't seal his Alcad/decals. The choice is yours. Just remember that the clear part of decals can yellow over time if not protected.

Alcad also makes their clear coatings in Mat and Satin. The stuff is expensive, so I only use it for Alcad NMFs. I still use Dullcoat, Glosscoat, and Pledge/Future for final finishes.

Joel
 _GOTOTOP